Try 20 Summer Waves Without Beach Mess for Stunning Results
Okay, let’s be real. We all want those perfect, effortless summer waves, but who actually wants the gritty, tangled, salt-sprayed mess that comes from a real beach day? Not me. My hair ends up feeling like straw and the style lasts for all of five minutes.
That’s why I got obsessed with finding all the ways to get that stunning, lived-in wave without ever setting foot on sand. It’s all about the right techniques and products that fake the look without the damage.
This is your ultimate guide to 20 totally achievable, no-mess wave styles. From the hottest 2026 hairstyles trends to timeless classics, we’re covering everything. Get ready to bookmark your favorites.
1. The Heatless Silk Scarf Wave
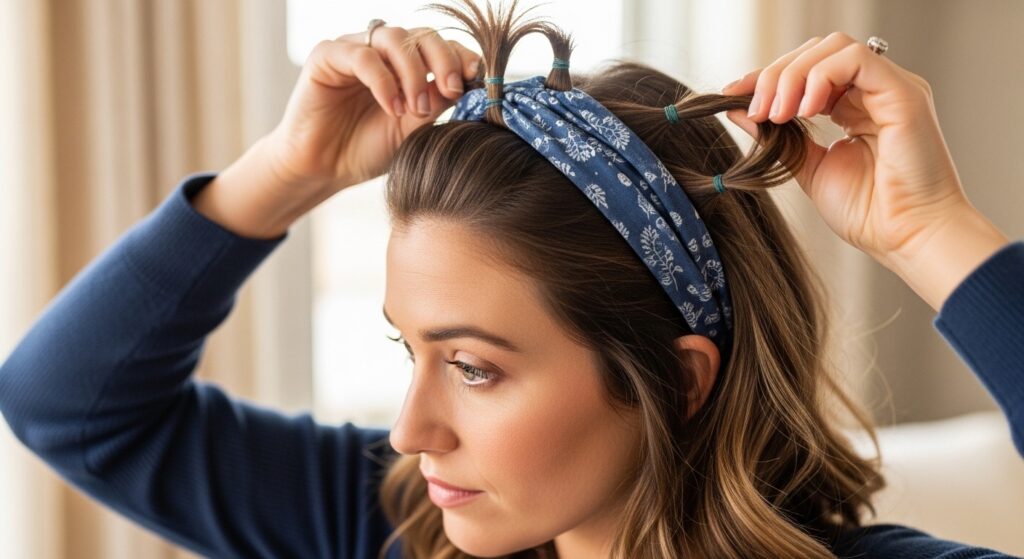
This is my go-to for zero damage and maximum sleep. It gives you that “I woke up like this” texture that’s pure old money hair vibes—polished but perfectly undone. All you need is a long, smooth scarf or a soft headband.
Start with damp, towel-dried hair. Apply a light mousse from mid-lengths to ends. Then, follow these simple steps:
- Fold the scarf into a long band and tie it around your head, just above your hairline.
- Take small sections of hair and twist them away from your face.
- Wrap each twist around the scarf band, tucking the ends under.
- Sleep on it (use a silk pillowcase!) and unravel in the morning for gorgeous, uniform waves.
2. The Blowout Brush Beach Wave
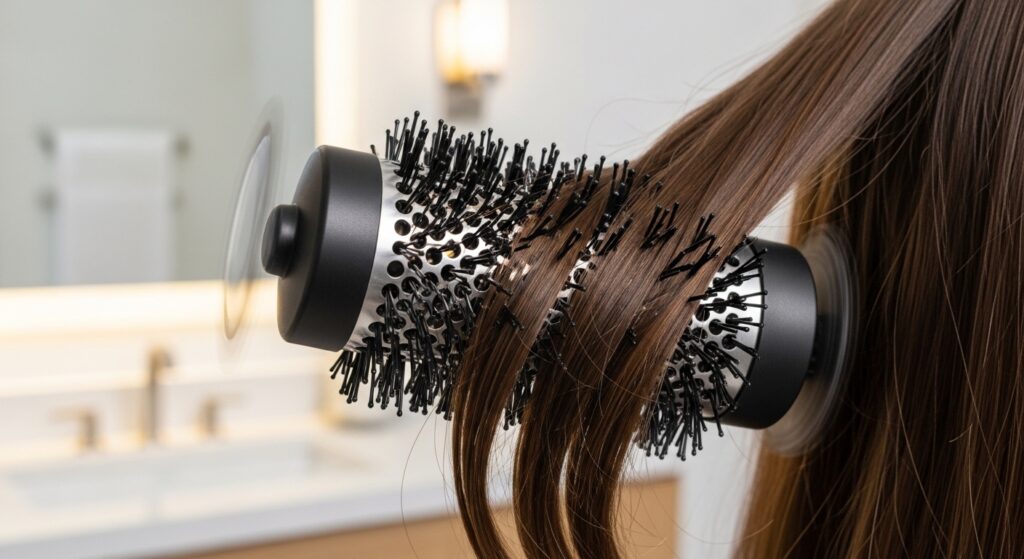
If you own a hot air brush, you’re already halfway to perfect waves. This method creates body and a subtle bend that looks natural, not overly styled. It’s incredibly fast for those rushed mornings.
Work on 80% dry hair. Use a heat protectant spray first. Take one-inch sections, starting from the nape of your neck. Roll the brush down the section, hold for 10 seconds, then gently release.
Alternate the direction of your curls—one section back, the next forward—for that effortless, piecey look. Finish with a light-hold hairspray to lock in the volume and wave.
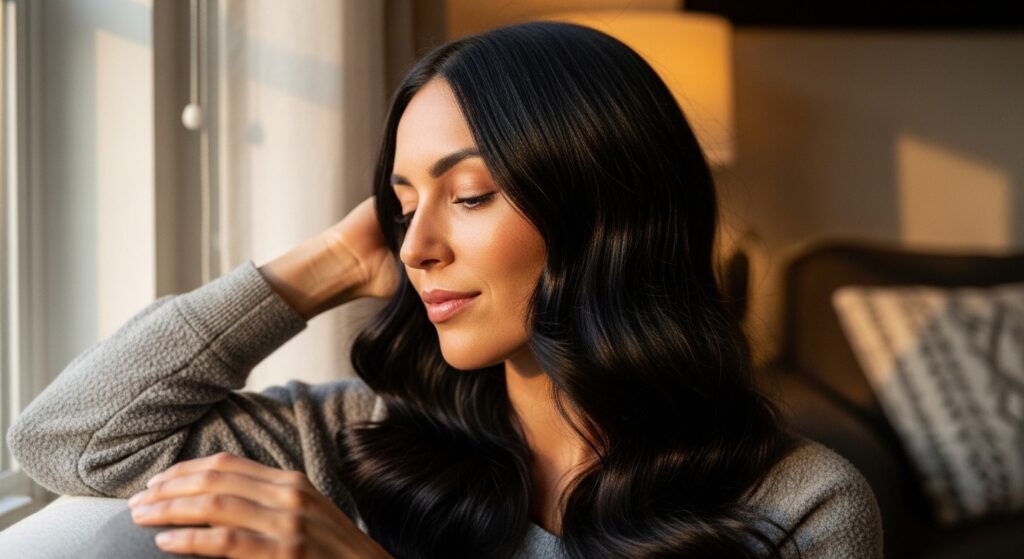
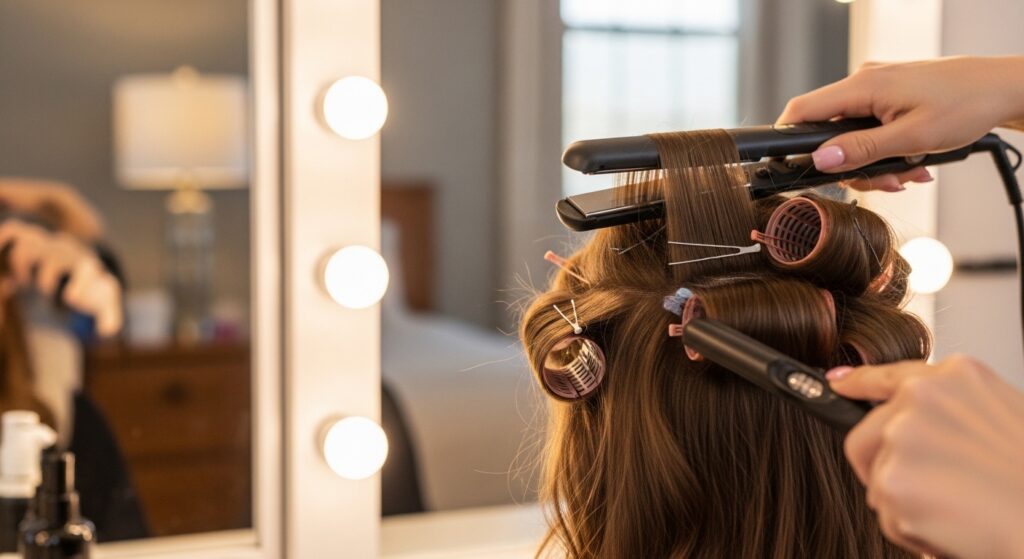
3. The “Quiet Luxury” Bob Wave
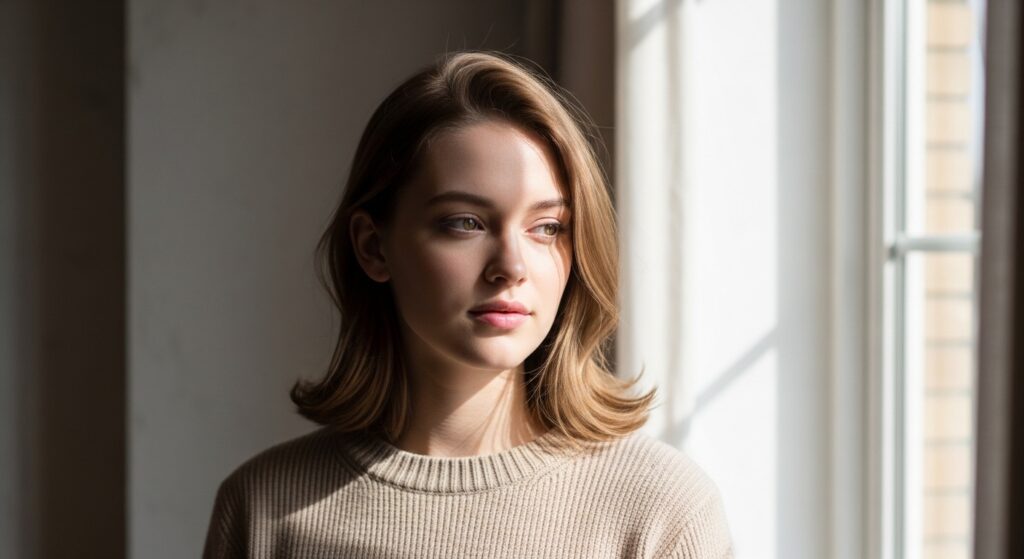
This look is all about subtle, expensive-looking texture. The quiet luxury bob isn’t about tight curls; it’s about a soft, internal movement in the hair. Think “barely there” wave.
For this, a flat iron is your secret weapon. On dry hair, take vertical sections. Clamp the iron near the root, twist it slightly away from the face as you glide down, and flick the wrist out at the end.
Don’t curl the very ends. This creates a soft bend. Run your fingers through the waves to break them up, and finish with a tiny amount of shine serum on just the ends to mimic healthy, hydrated hair.
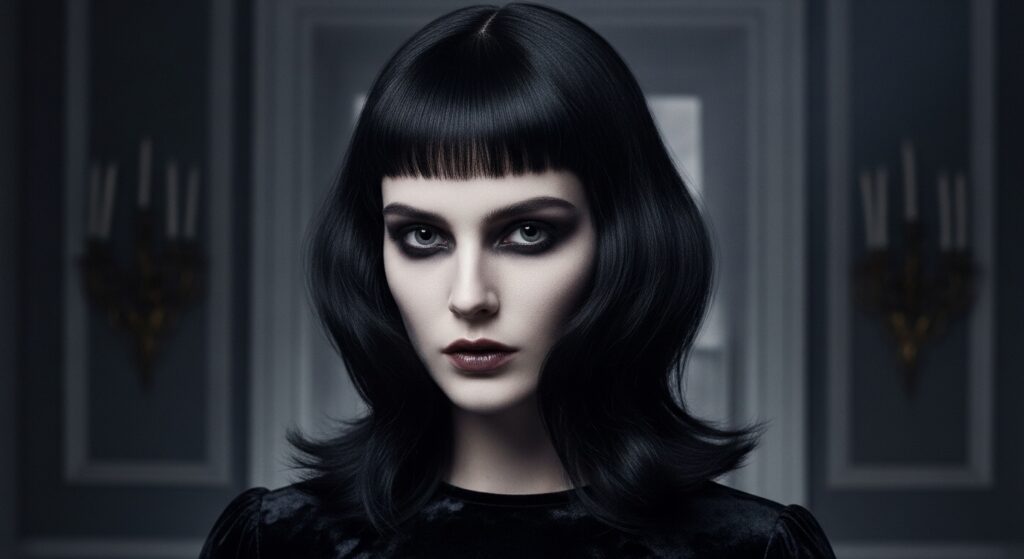
4. The Romantic Goth Undone Wave

Merging softness with edge, romantic goth hairstyles are huge. The wave here is looser, more lyrical, and paired with a deep hair color. It’s elegant with a touch of mystery, perfect for a summer evening.
Start by braiding damp hair into two loose, messy braids before bed. In the morning, unravel and shake out. Use a texturizing spray at the roots for lift and on the lengths to enhance the separated, piecey texture.
The key is to not brush it out completely. Use your fingers to style. Add a few face-framing pieces that are slightly more defined for that intentional, artful feel.
5. The Glitchy Glam Textured Ponytail

Glitchy glam hair is the trend that loves imperfection. It’s a sleek style, like a ponytail or bun, interrupted by random, textured waves. It looks cool, modern, and like you didn’t try too hard.
Create your waves first using a curling wand, but only curl random sections—leave some pieces straight. Then, gather your hair into a mid or high ponytail, keeping the front sleek.
Deliberately pull out a few of those wavy pieces around your temples and nape. Tease the crown slightly for a bit of hidden volume. The contrast between sleek and wavy is the whole point.
6. The Asymmetrical Lob Textured Flip
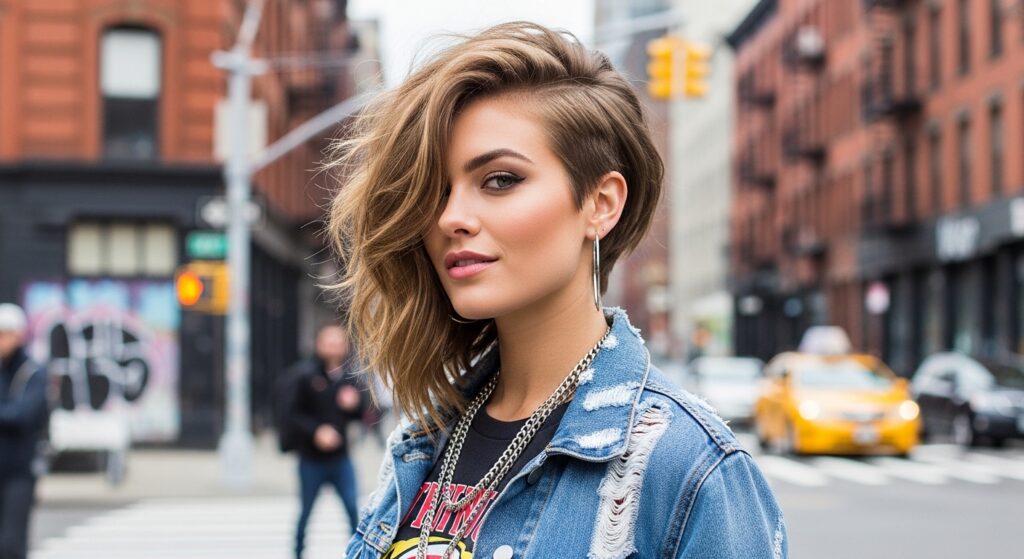
An asymmetrical lob (long bob) already has built-in drama. Adding waves amplifies it. The goal is to enhance the shape, with more movement on the longer side for a beautiful, face-framing effect.
Use a medium-barrel curling iron. Wrap all sections away from your face to follow the natural flow of the cut. On the longer side, take smaller sections for more defined waves.
Once cooled, flip your head over and massage your roots. When you flip back, use a pomade to piece out the ends and emphasize the difference in length. It’s a powerful, stylish look.
7. The Modern Vampire Haircut Wave
The vampire haircut—think sharp layers, curtain bangs, and a moody attitude—looks amazing with soft waves. It softens the edgy cut without losing its character. It’s all about contrast.
Focus the wave from the mid-shaft down, leaving the roots flat. Use a waver iron or a flat iron to create zig-zag, broken textures instead of uniform curls.
This “broken” wave pattern catches the light in interesting ways. Keep your curtain bangs lightly styled, either with a slight bend or left straight to frame the face. Finish with a dry shampoo for a matte, lived-in finish.
8. The Princess Hime Cut Soft Wave
The hime cut is a striking Japanese style with straight, blunt bangs and long sidelocks. Adding a soft, inward wave just at the ends of those long pieces creates a beautiful, doll-like silhouette.
This style requires precision. Keep the bangs and top layer pin-straight with a flat iron. Then, take the long, face-framing sidelocks and use a large-barrel iron to curl just the last two inches under, toward the face.
It creates a gentle, flattering flip. Use a strong-hold hairspray on a brush to sleek down the bangs and top, ensuring the wave is the only movement. It’s unexpectedly elegant.
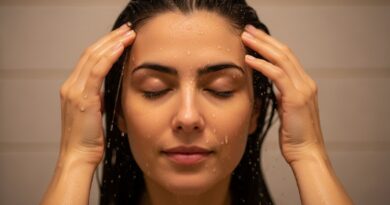
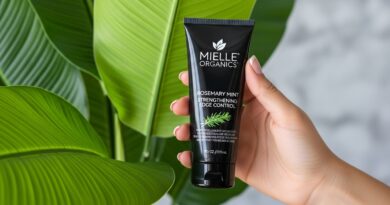
9. The Salt Spray Secret (Without the Salt)
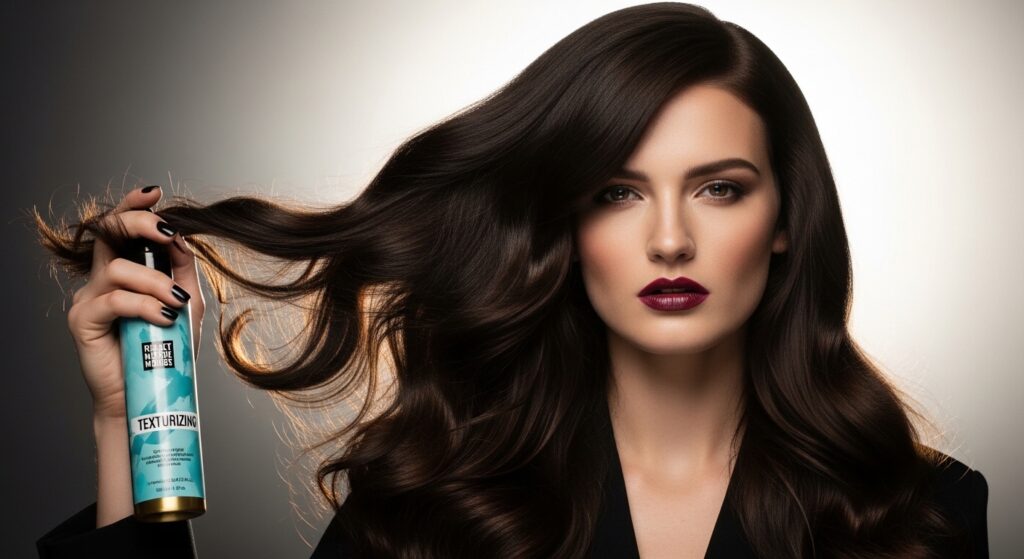
Real salt spray can dry hair out. The secret is to use a texturizing or sea salt spray formula that’s enriched with hydrating ingredients. These give the grit and hold without the dehydration.
Spray it generously on damp hair from roots to ends. Then, scrunch your hair upward with your hands as you blow-dry with a diffuser or let it air dry. The scrunching motion is what creates the wave pattern.
For more definition, once dry, twist small random sections around your finger and hit them with a blast of cool air from your dryer. This sets the wave and adds extra texture.
10. The Overnight Sock Curl Method
Yes, a sock! This viral method creates beautiful, spiral-esque waves that are surprisingly soft. It’s a fantastic heatless option for longer hair that needs more defined wave patterns.
You’ll need a long, soft sock (or a purpose-made hair curler). Tie the ends of the sock together to make a circle. Create a high ponytail, then thread the end of your ponytail through the sock circle.
Wrap your hair evenly around the sock circle until you reach your scalp, then spread the sock to cover the bun. Secure it and sleep on it. Unwrap in the morning for stunning, uniform waves.
11. The Flat Iron Wave & Shake
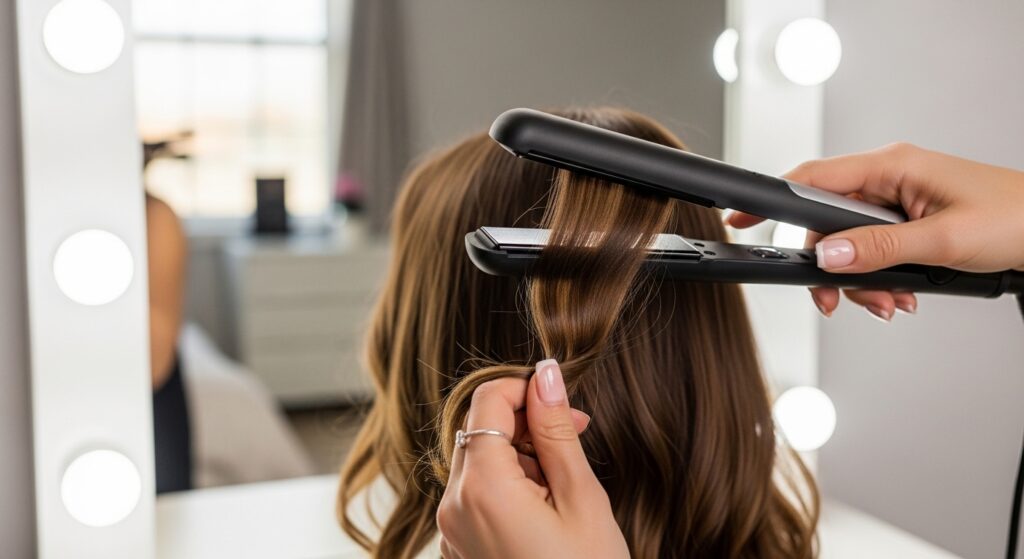
Your flat iron isn’t just for straightening. It’s one of the best tools for creating loose, flowing waves. The technique is different from curling, but once you get it, it’s lightning fast.
Take a one-inch section. Clamp the iron near the roots. Instead of pulling straight down, gently bend the iron in a slight “S” shape as you glide down to the ends.
It’s a small wrist movement. Alternate the direction of your “S” waves. When you’re done, don’t touch it! Let the hair cool completely, then shake it out with your fingers for soft, seamless waves.
12. The Headband Curl Refresh
This is the perfect trick for day-two or day-three hair that’s lost its oomph. Using a thin, fabric headband, you can add fresh waves at the roots and mid-lengths without re-wetting your whole head.
Take the headband and place it on your head like a crown. Take small, horizontal sections of hair around your face and crown, twist them lightly, and tuck them under the headband.
Continue around your head. Leave it in while you do your makeup (20-30 minutes) or use a blow dryer on a low, warm setting for 5 minutes. Take it down, and you’ll have voluminous, fresh waves.
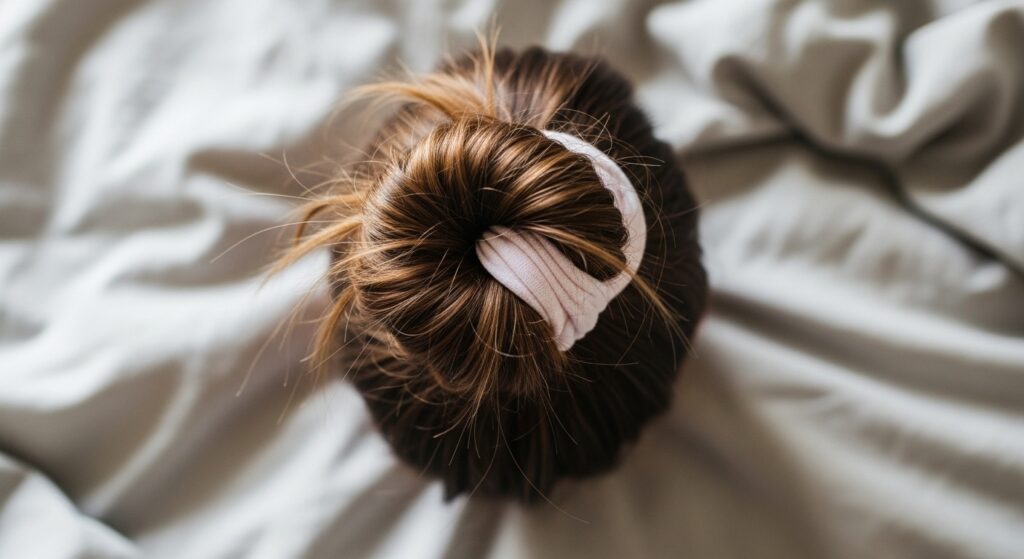
13. The “Tousled Bun” Wave Set
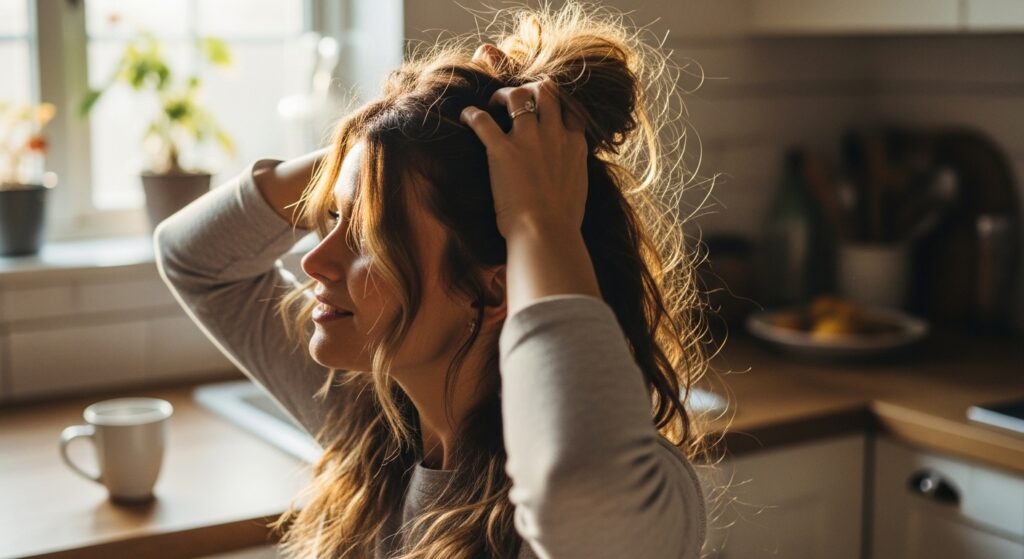
Sometimes the best waves come from an updo. This method sets the wave pattern as your hair dries in a bun, giving you a looser, more romantic result than braids.
On damp, product-treated hair, twist your hair into a loose bun at the nape of your neck. Secure it with a soft coil hair tie or scrunchie—nothing too tight. Let your hair dry completely, either naturally or with a diffuser.
When you take it down, you’ll have beautiful, cascading waves with tons of volume at the root. Gently separate the waves with your fingers and spritz with a flexible-hold spray.
14. The Robe Belt Heatless Wave
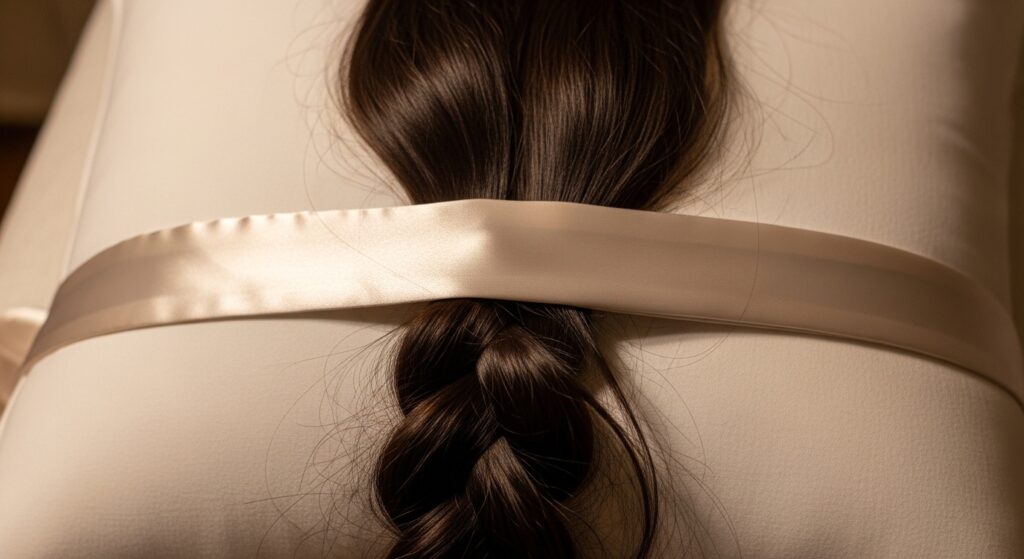
Similar to the scarf method but for longer, thicker hair. A soft, wide robe belt provides a larger base, creating a looser, more relaxed wave. It’s super comfortable to sleep in.
Lay the belt flat on your pillow where your head will go. Divide damp hair into two sections. Twist each section, then wrap it around the belt, coiling it away from your face.
Once both sides are wrapped, you can loosely tie the belt ends together under your chin or just leave it. Sleep on it. In the morning, unwrap for gorgeous, old-Hollywood inspired waves.
15. The Diffuser Definition Boost
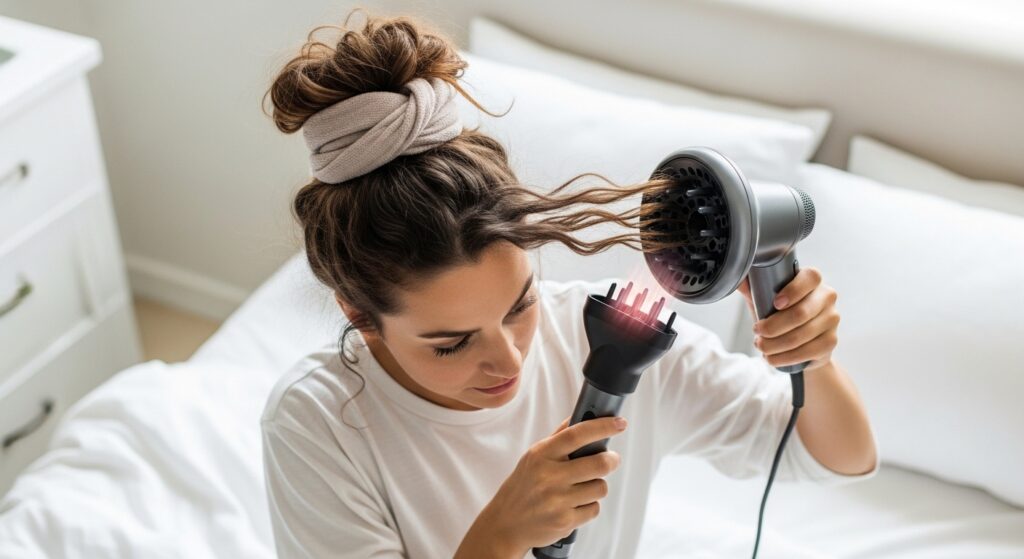
If you have a natural wave pattern but struggle with frizz or lack of definition, a diffuser is your best friend. It enhances what you already have, giving you that perfect “beach wave” look on demand.
Apply a curl-defining cream to soaking wet hair. Plop your hair in a microfiber towel for 10 minutes. Then, with your head flipped over, place sections of hair into the diffuser cup and hold it against your scalp.
Turn the dryer on low heat and low speed. Hold for a few minutes, then move to the next section. Don’t move the diffuser around—just hold. This encourages your natural wave to form with volume and less frizz.
16. The Pin Curl Set for Vintage Waves
For more defined, vintage-inspired waves, pin curls are the classic method. They take a bit more time to set but give you incredible, long-lasting shape and volume that looks polished.
On damp hair, take small, square sections. Wind each section into a flat circle against your scalp, following the direction you want the wave to flow. Secure it with a criss-cross bobby pin.
Continue over your entire head. Let air dry completely or sit under a hooded dryer. Gently remove the pins, and do not brush. Instead, use your fingers to separate the waves into your desired style.
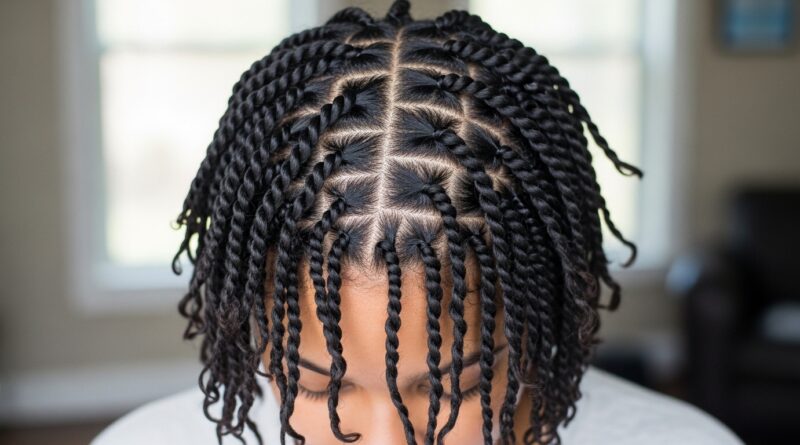
17. The Twist & Go Micro-Waves
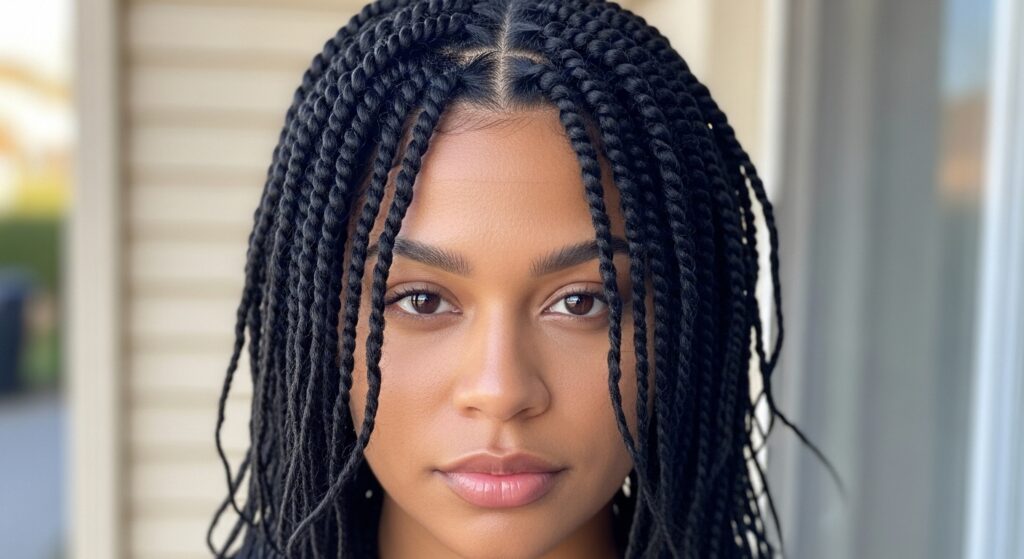
This is the ultimate lazy-girl method. On damp hair, simply divide it into many small two-strand twists. The smaller the twists, the tighter the wave pattern will be when you unravel them.
You can let these air dry, which takes a while, or use a blow dryer on a cool setting to speed it up. Once the twists are completely dry, carefully unravel them starting from the bottom.
You’ll be left with beautiful, defined micro-waves. Gently separate them with your fingers coated in a little oil to reduce frizz. This style can last for days with a satin cap at night.
18. The Curling Wand “Wrap & Drop”
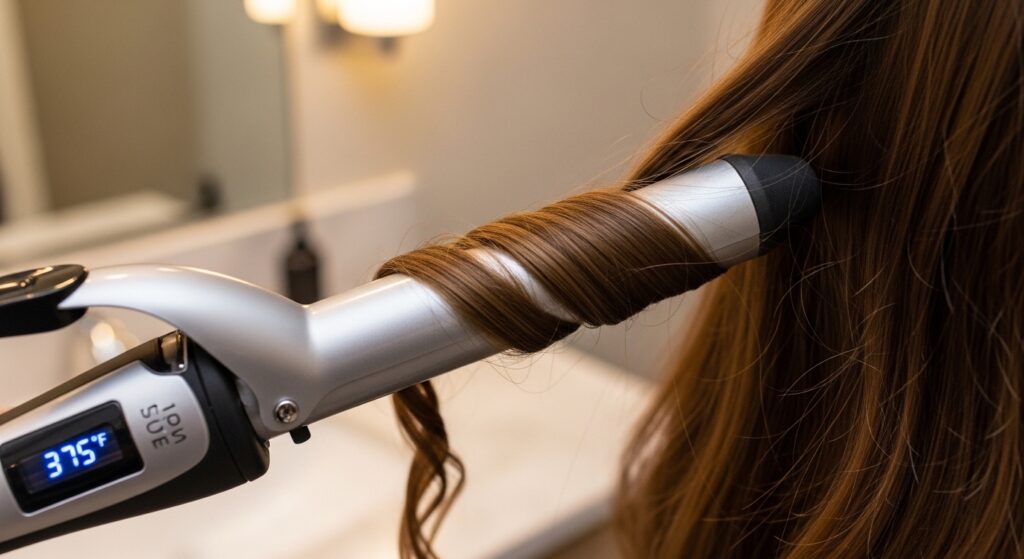
For defined but loose waves, a curling wand is perfect. The key is to not hold the wrap for too long. A quick “wrap and drop” technique gives you a softer, more modern wave.
Take a one-inch section. Wrap it around the wand, starting about halfway down the length of your hair (skip the ends for a more undone look). Hold for only 5-8 seconds, then gently release the curl.
Do not touch the curl until it’s cool. This allows the shape to set. Work around your head, alternating the direction you wrap for a natural, non-uniform finish. It’s fast and foolproof.
19. The Braided Crown for Root Volume
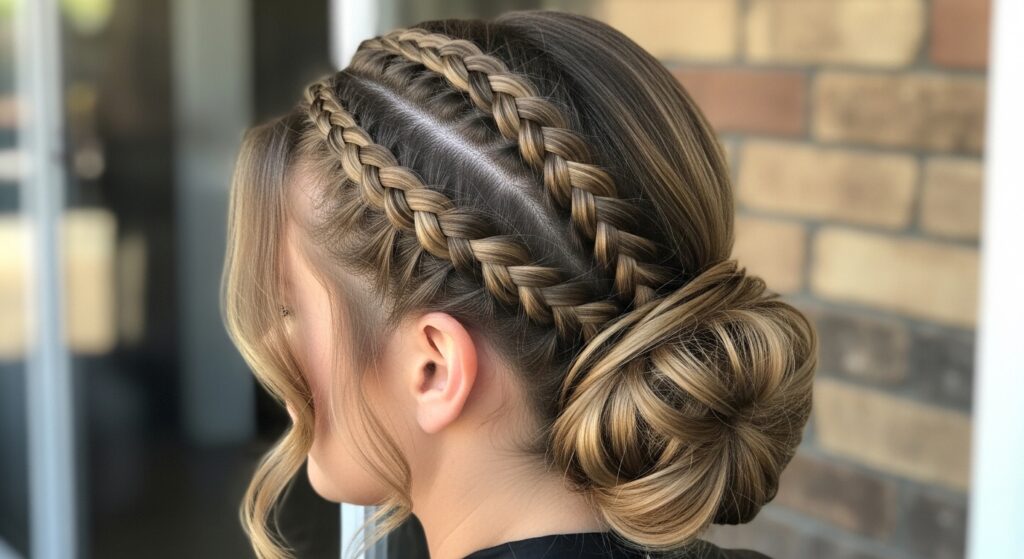
This style gives you waves and incredible root volume. It’s a great daytime protective style that turns into a gorgeous wave style for the evening.
Create two Dutch braids (braids where you add hair underneath) along your hairline, starting at the temples and going back to your crown. Secure the ends into a low bun or just with elastics.
Leave them in for several hours or overnight. When you take them down, you’ll have dramatic volume at the roots and beautiful, textured waves throughout the length. Perfect for a night out.
20. The “Rope Braid” Heatless Wave
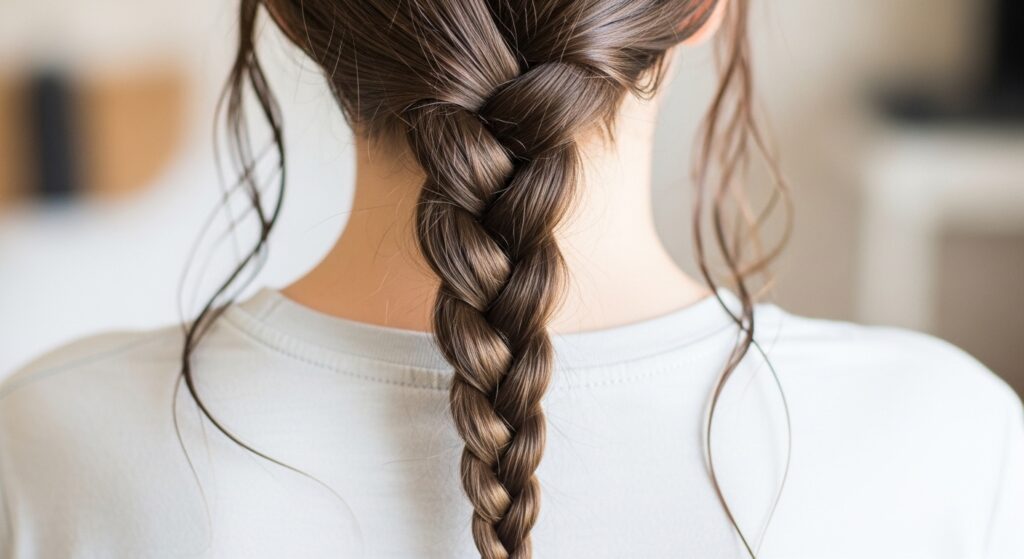
A rope braid (twisting two sections around each other) creates a different wave pattern than a regular three-strand braid—it’s looser and more spiral-like. It’s incredibly simple and effective.
On damp hair, split it into two equal sections. Twist each section tightly to the right. Then, wrap the two twisted sections around each other to the left. Secure the end with a soft tie.
Sleep on it. In the morning, unravel for stunning, uniform waves with great definition. This method tends to create less frizz than a traditional braid and gives a more elegant wave.
See? You don’t need sand, salt, or a single drop of seawater to get the wavy hair of your dreams. It’s all about clever styling and choosing the no-mess method that fits your hair type and the amount of time you have.
My personal favorites for a quick fix are the Blowout Brush method and the Flat Iron Wave & Shake. For days I plan ahead, nothing beats the heat