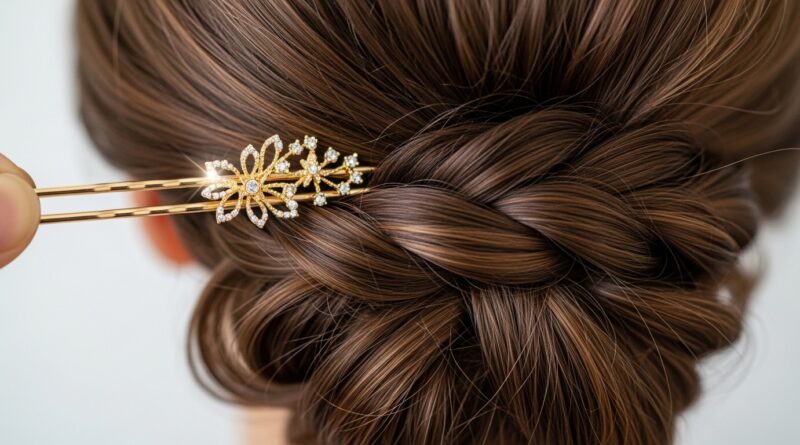
Twisted Updo Tutorial for Medium-Length Hair
Okay, let’s be real. We’ve all scrolled through endless 2026 hairstyles and romantic goth hairstyles, feeling like we need a salon appointment and three extra hands to pull them off. I get it. That’s why I’m obsessed with this twisted updo.
It’s the perfect middle ground—effortlessly chic but secretly simple. It works with that awkward medium-length hair that’s too short for a big bun but too long to just leave down.
This style gives you that old money hair vibe—polished and put-together—without any of the fuss. Think of it as your secret weapon for last-minute plans, bad hair days, or when you just want to feel a little extra.
Best part? You can master it in under ten minutes with just a couple of bobby pins. Let’s get into it.
Why This Twisted Updo Is a Game-Changer
This isn’t just another updo. It’s incredibly versatile. You can wear it for a Tuesday work call and then loosen a few pieces for a date night. It works with almost every hair texture, from straight to wavy.
It also protects your ends and gives you a break from heat styling. While trends like the glitchy glam hair or asymmetrical lob are stunning, they often require regular cuts and styling. This updo works with your hair as it is, right now.
It’s that “I woke up like this” polish we all crave. It feels special but doesn’t scream for attention, fitting right into the quiet luxury bob aesthetic of understated elegance.
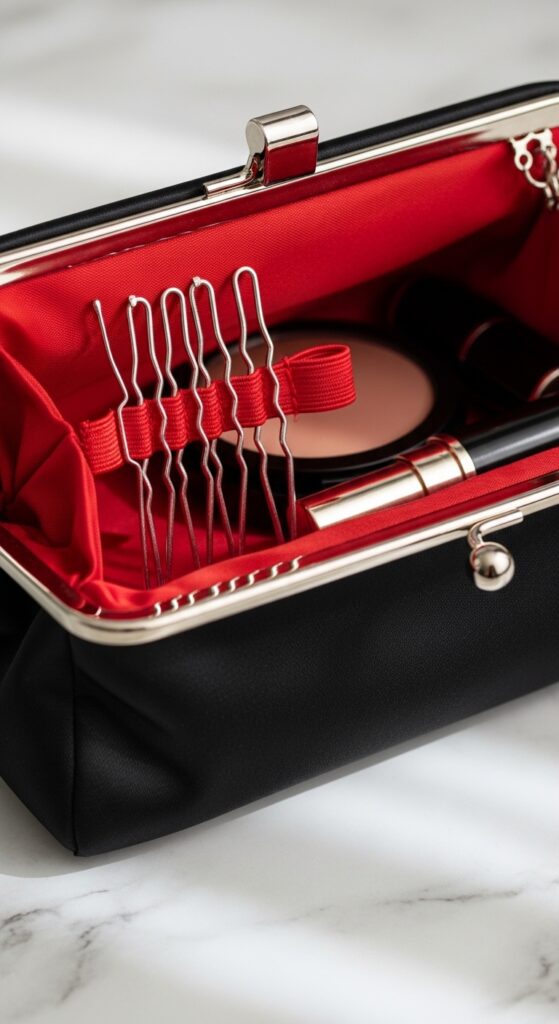
What You’ll Need (Spoiler: It’s Not Much)
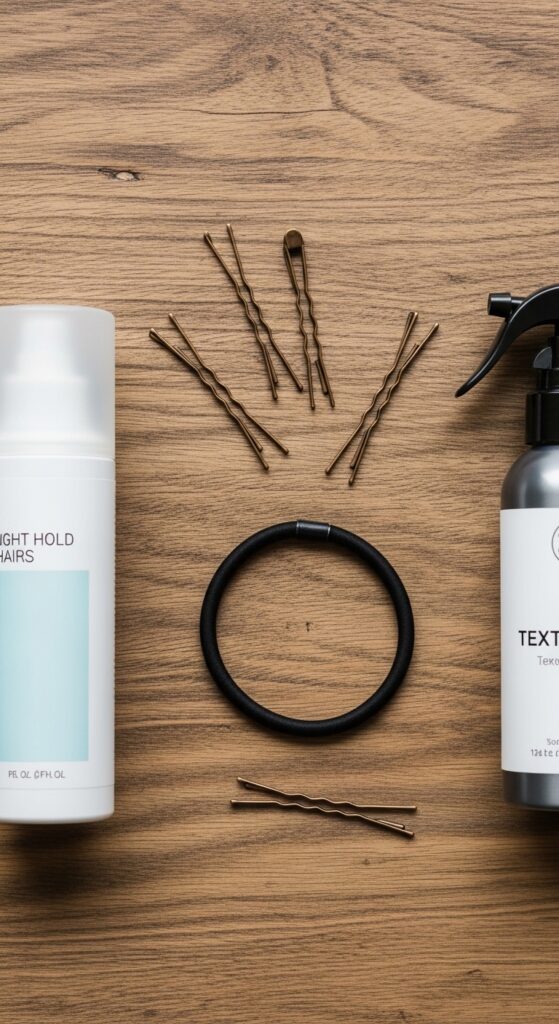
Gathering your tools is step one. You don’t need a professional kit. Here’s your simple checklist:
- Bobby pins: The matte, grippy kind work best. You’ll need 4-6.
- Hair elastic: A small, clear or matching one is ideal.
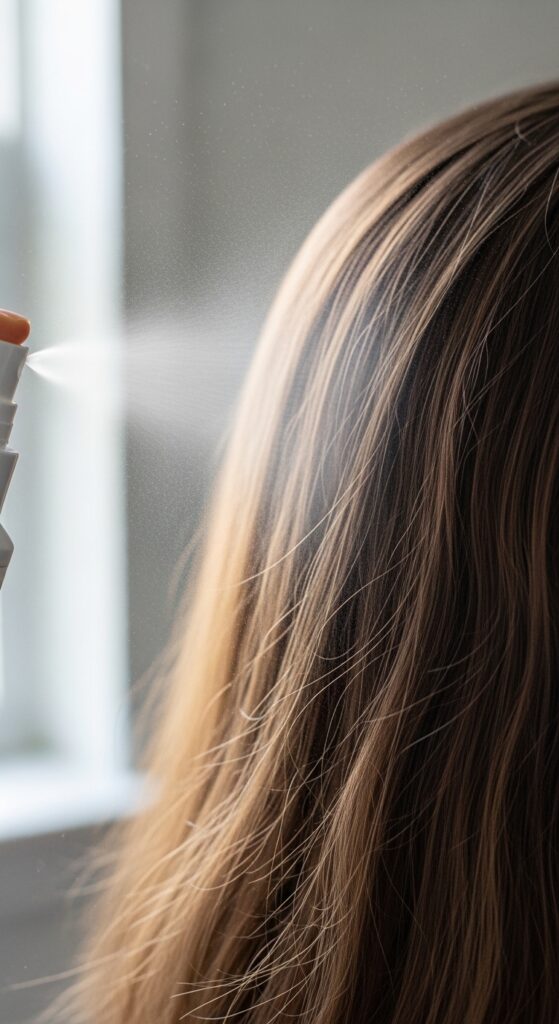
- Light-hold hairspray or texturizing spray: This adds grip and fights sleekness.
- Fine-tooth comb or your fingers: For creating clean sections.
That’s truly it. The magic is in the technique, not the products. If your hair is very slippery, a light mist of texturizing spray on dry hair before you start makes all the difference.
Start With Day-Old Hair (Trust Me)
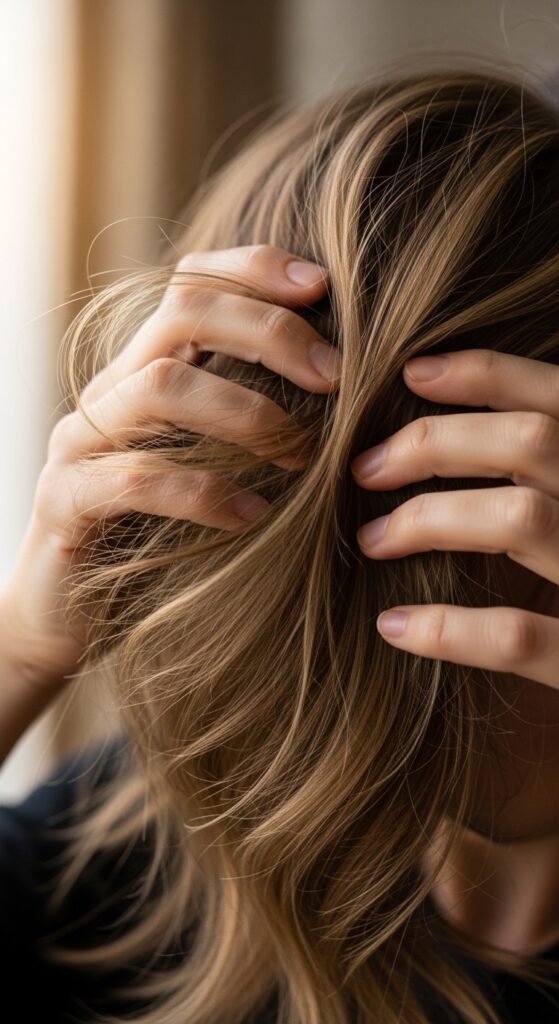
Freshly washed, super smooth hair can be your enemy for an updo like this. It slips right out of pins. Day-two or even day-three hair has the perfect amount of natural texture and grip.
If you must style on clean hair, work a texturizing spray or a light mousse through damp hair and blow-dry for volume. You want a little grit.
This is a pro-tip for most styles, from a sleek vampire haircut to a voluminous hime cut. A bit of natural oil gives hair something to hold onto, creating a longer-lasting style.
Step 1: Create a Deep Side Part
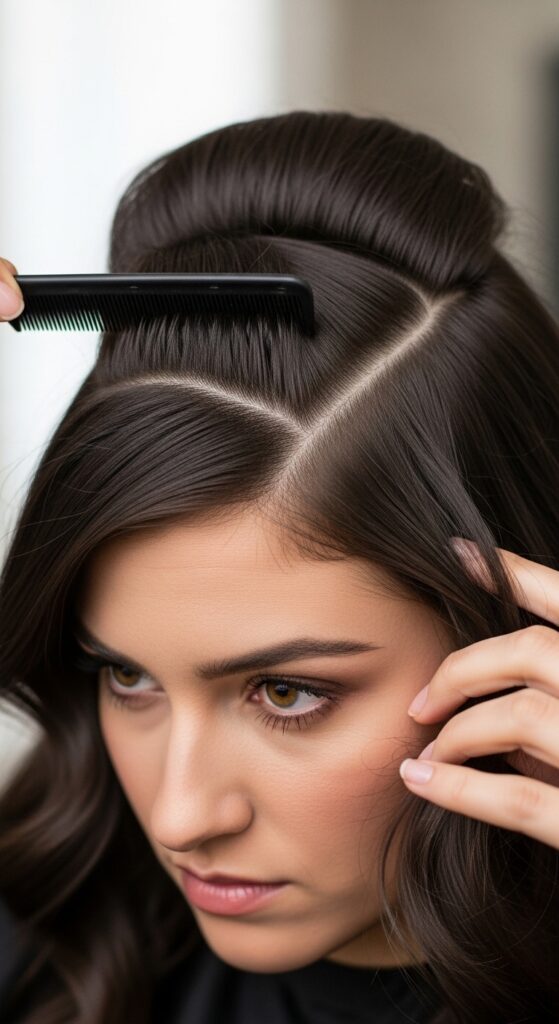
Don’t skip this! A deep side part instantly adds drama and volume, which is key for medium-length hair. It gives the style a direction and makes it look more intentional.
Use the fine end of a comb or your finger to create a clean line from the arch of your eyebrow back to the crown of your head. Which side? Go with your natural part or choose the side you usually photograph from.
This foundational step gives you that editorial feel. It’s a simple trick that elevates any look, much like how a sharp asymmetrical lob makes a statement with its shape alone.
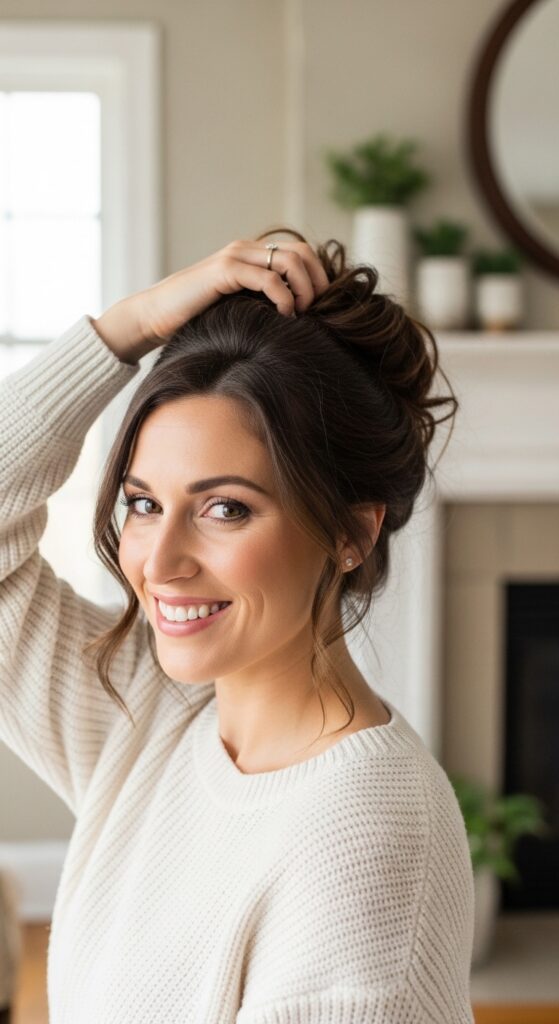
Step 2: Tease the Crown for Hidden Volume
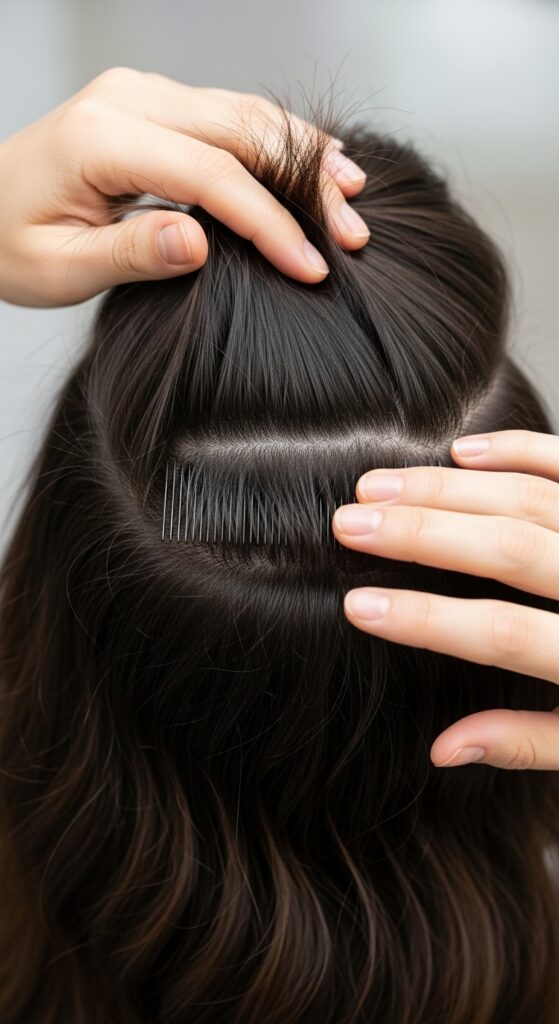
This is the secret to an updo that doesn’t look flat. Take a section at the crown of your head. Hold it straight up and gently backcomb the underside at the roots, just two or three strokes.
Then, smooth the top layer over the teased section. You won’t see the teasing, but you’ll feel the lift. This creates a beautiful base for the twists to sit against.
It’s that hidden structure that makes the difference between a “mom bun” and a style that has that old money hair fullness and polish.
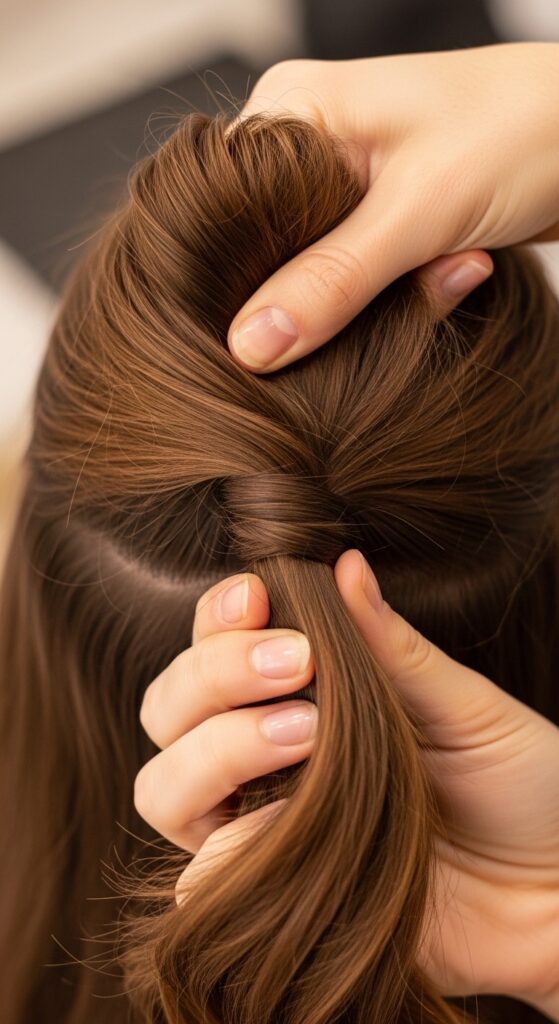
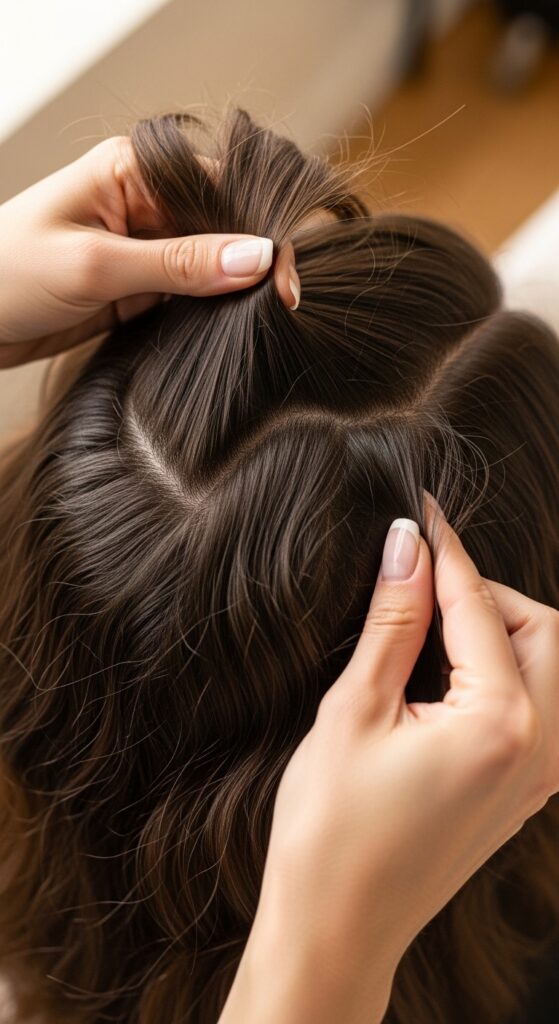
Step 3: Gather a Low Ponytail (But Don’t Pull Tight)
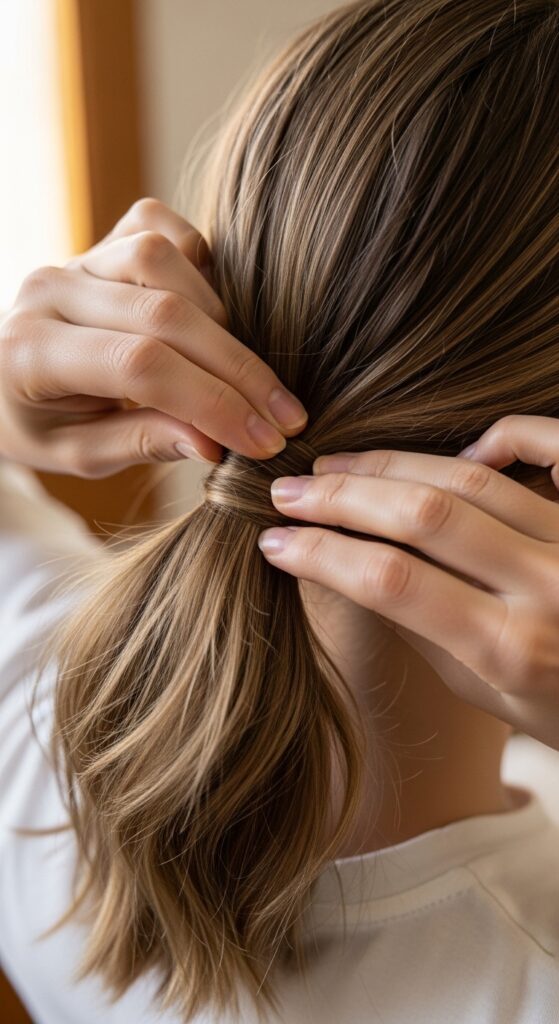
Gather all your hair at the nape of your neck, as if you’re making a low ponytail. Leave out the front sections on both sides—those face-framing pieces from your deep part.
Secure it with your elastic, but keep it loose. We’re not making a perfect ponytail; this is just a temporary holder to keep things organized while we work.
Leaving those front pieces out is crucial. They will become our beautiful, soft twists. This technique is great for adding softness, similar to the wispy edges of a romantic goth hairstyles look.
Step 4: Split the Ponytail in Two
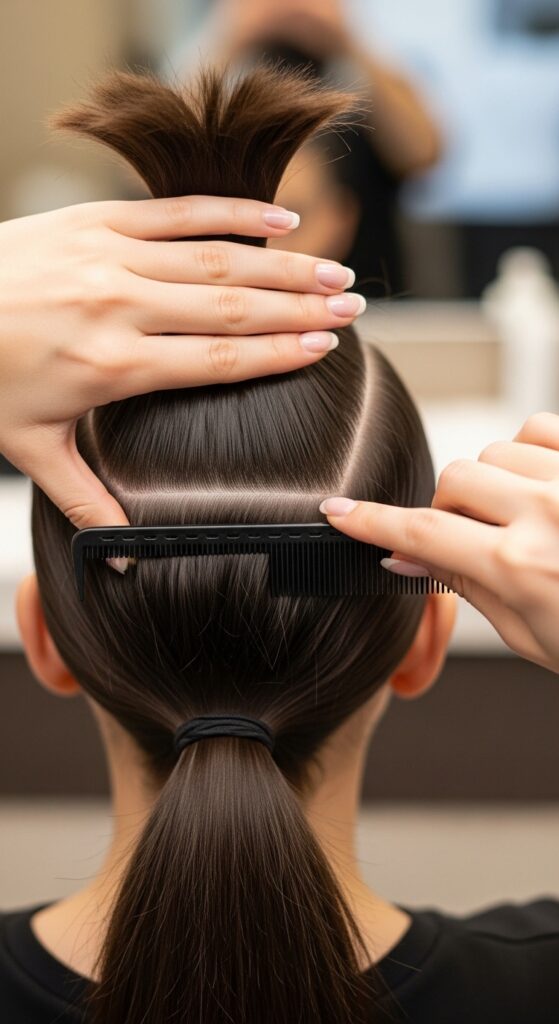
Once your ponytail is secured, split it horizontally into two equal sections. Think of it as a top half and a bottom half.
Gently twist the top section once or twice away from your face, just to keep it separate. This isn’t the final twist yet, just a way to manage the hair.
Having two distinct sections is what will build the body of the updo. It creates more dimension than a single twist, playing with the kind of textured interest you see in glitchy glam hair trends.
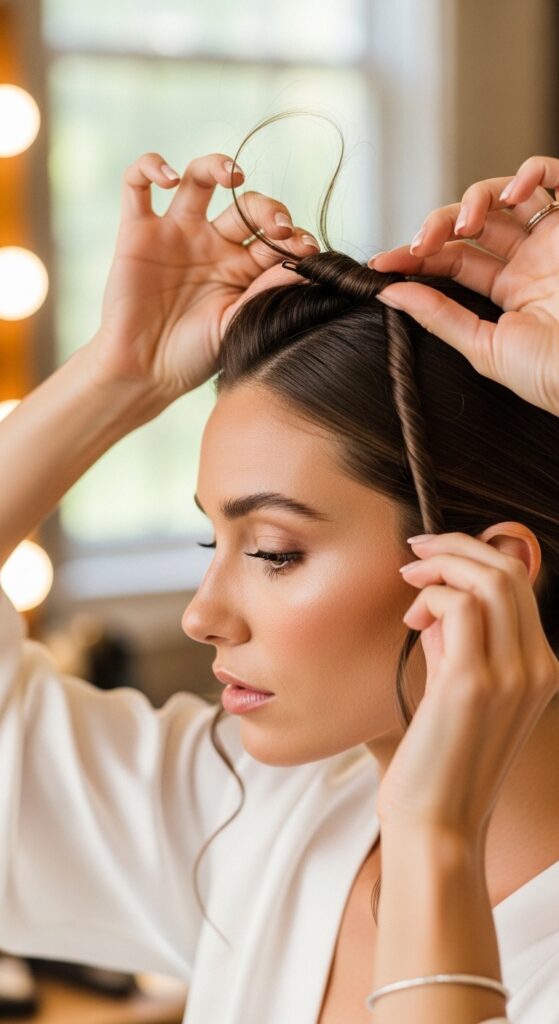
Step 5: Twist the Top Section Upwards
Now, take that top section. Twist it firmly (but not tightly) away from your neck, rolling it upwards toward the crown of your head where you created that hidden volume.
As you twist, the hair will naturally start to fold and coil against your head. This is good! Guide it into a flat, horizontal twist that sits just above the elastic.
Hold it in place with one hand. You’re building the first layer of your updo. The direction is key—up and away—to create lift at the back.
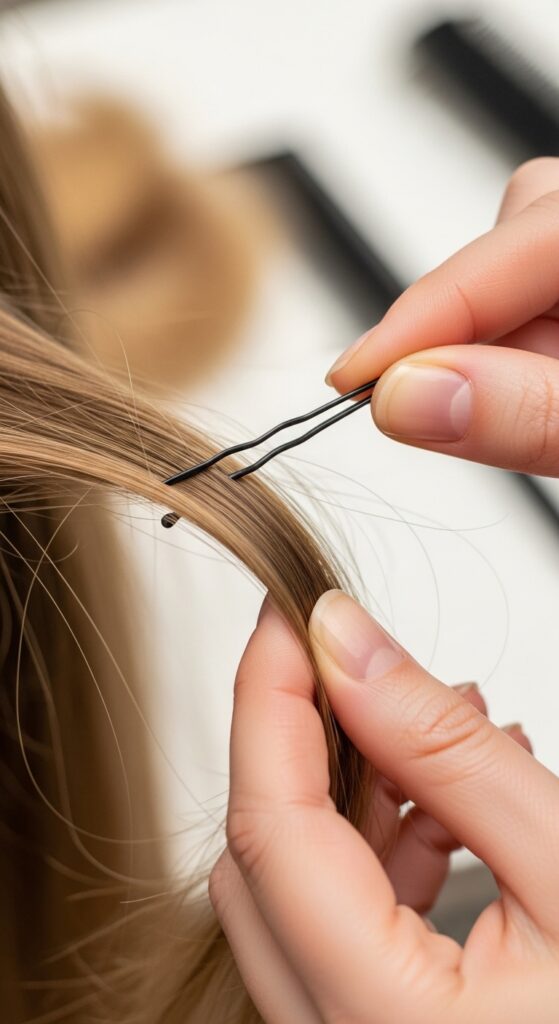
Step 6: Secure the First Twist with Bobby Pins
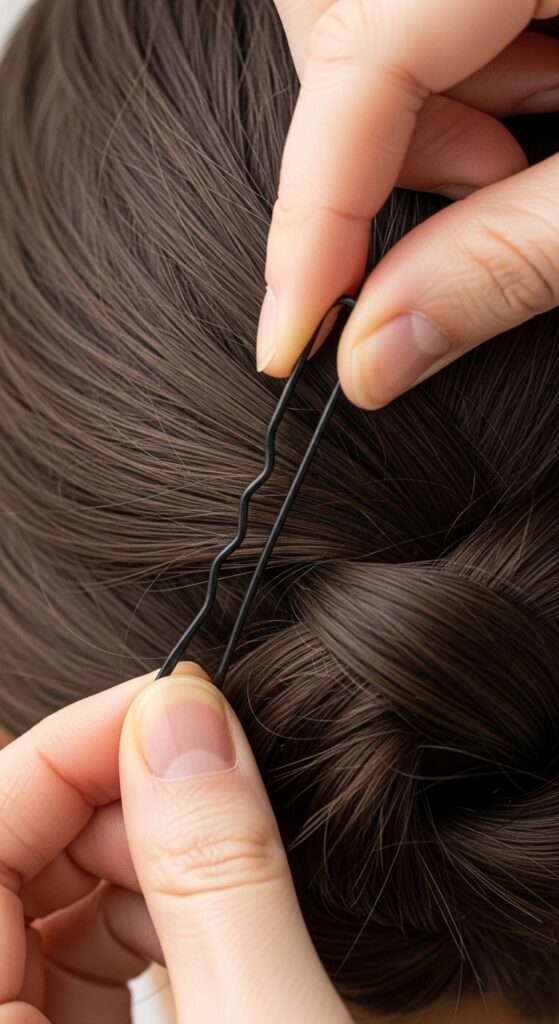
Here’s a bobby pin hack: always insert them with the wavy side facing down, toward your scalp. This gives them way more grip.
Slide 2-3 bobby pins into the base of your first twist, where it meets your head. Criss-cross them for security. Don’t just poke them in straight; angle them to catch more hair.
Give the twist a gentle push to make sure it’s secure. It should feel firm but not tight or painful. This is the anchor for the whole style.
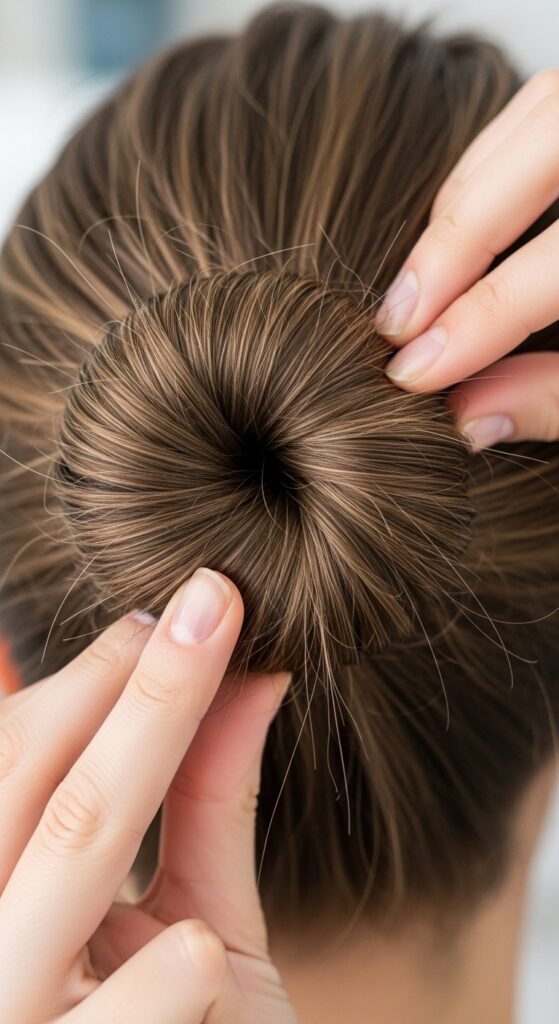
Step 7: Twist the Bottom Section & Wrap It
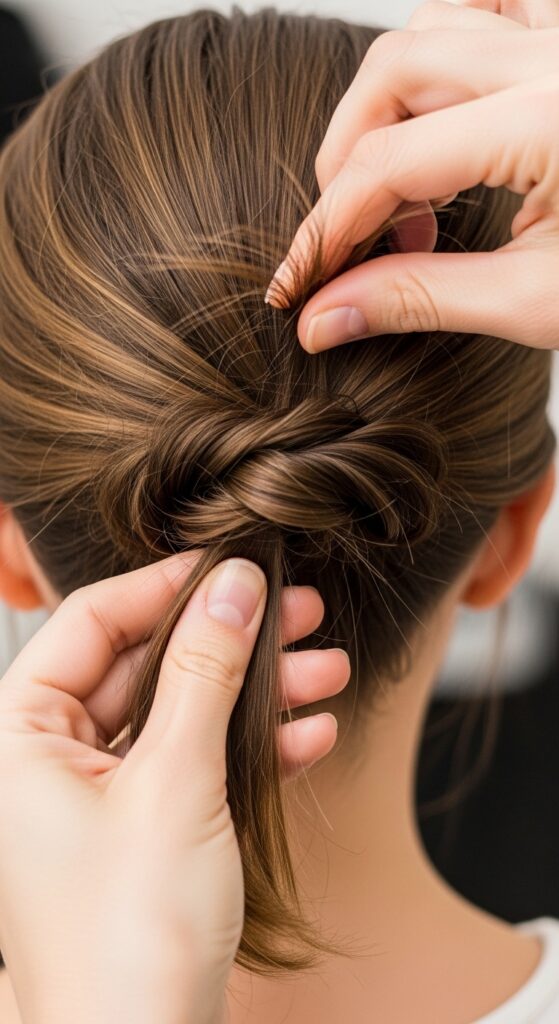
Now, take the remaining bottom section of your ponytail. Give it a firm twist in the same direction as the first one.
Wrap this twisted section around the base of the first twist (where the bobby pins are). This will cover the elastic and create a fuller, more intricate-looking bun.
As you wrap, try to tuck the end of the twist underneath the coil. This creates a clean finish and hides the ends seamlessly.
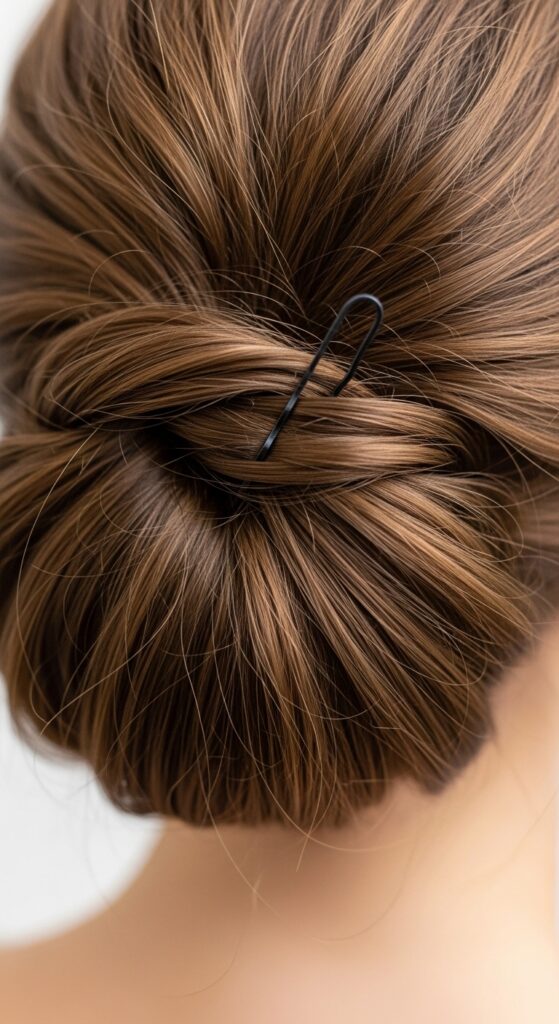
Step 8: Pin the Second Twist in Place
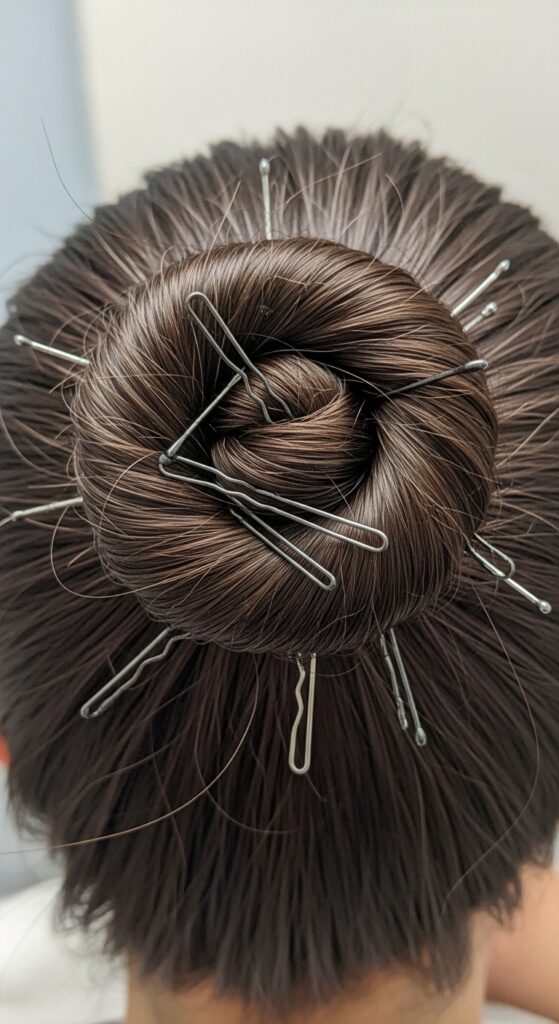
Use another 2-3 bobby pins to secure this wrapped second twist. Pin it into the first twist and directly into your hair at the base.
Place pins at different angles—some from the top down, some from the bottom up. Think of it as building a web that holds everything together.
Don’t worry if it looks a little messy or has some loose pieces. We’ll fix that. The goal is solid security first, perfection second.
Step 9: Pull Gently for a Messy, Full Look
This is the fun part. Once everything is pinned, gently tug on the edges of the twists. Pull out small pieces from the coiled bun to make it look fuller and less perfect.
Loosen the hair around your face and the twists themselves. You want it to look lived-in and soft, not stiff or helmet-like.
This “pancaking” technique adds volume and gives that effortless, I-did-this-in-five-minutes vibe that’s central to so many 2026 hairstyles forecasts.
Step 10: Work With Your Face-Framing Pieces
Remember those pieces you left out? Take the longer side from your deep part. Give it a soft, loose twist away from your face, following the direction of your updo.
Don’t pull it tight. You want a gentle, romantic twist that softens your features. This is where that romantic goth hairstyles influence comes in—soft, delicate, and a little undone.
Bring this twisted piece back towards your updo, laying it over the area where the bobby pins are. Hold it in place for now.
Step 11: Secure the Face-Framing Twist
Use one or two bobby pins to secure the end of this face-framing twist into the base of your updo. Try to hide the pins under the twist itself.
The goal is to make it look like the twist is just elegantly tucked in, not pinned down. Repeat on the other side with the shorter piece, if it’s long enough to reach.
If the shorter side won’t reach, just style it with a little texture and let it be. Asymmetry is chic, just like an asymmetrical lob.
Step 12: Check for Gaps & Tight Spots

Grab a hand mirror and check the back. Look for any obvious gaps or places where the style looks too tight or flat against your head.
If you see a gap, gently pull a small piece of hair from the twist nearby to cover it. If a spot looks too smooth, pull it out a bit for texture.
This final check ensures your updo looks good from every angle, not just the front. It’s the detail that makes it photo-ready.
Step 13: Lock It All In with Hairspray
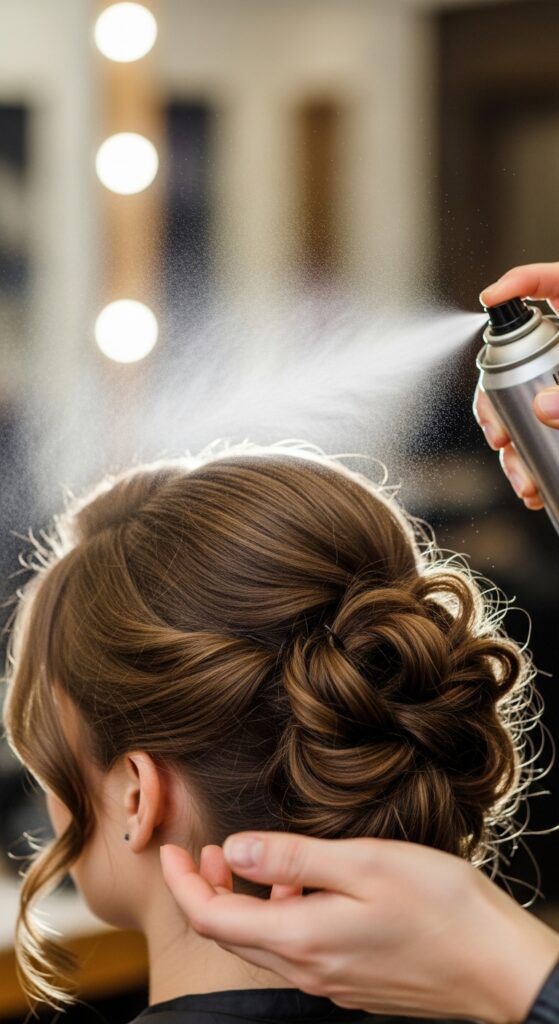
Hold your light-hold hairspray about 10 inches away. Give the entire style a light, overall mist. This sets everything without making it crunchy.
Then, lift the hair at the crown and spray a tiny bit at the roots for extra hold. You can also spray a little on your finger and gently smooth down any true flyaways.
The finish should feel soft and touchable, not stiff. It’s about hold, not shellac—very quiet luxury bob in its approach.
What to Do If Your Hair Is Slippery
If your hair is fine or silky, you might need extra help. Before you start, spray a texturizing or dry shampoo powder at the roots and through the mid-lengths.
You can also try this: after securing a section with bobby pins, gently pull the pin out halfway, then slide it back in over a wider section of hair. This grabs more.
Another trick is to slightly dampen your bobby pins before using them. The tiny bit of moisture creates more friction against your hair strands.
How to Make It Last All Day & Night
Start with day-old hair and good texture spray. That’s 90% of the battle. When pinning, always criss-cross your bobby pins for a stronger hold.
Tuck a couple of extra bobby pins in your bag. If you feel a section loosening on a long night out, you can quickly repin it without a mirror.
Avoid touching it too much! The natural oils from your fingers can smooth the texture and cause pieces to slip. It’s designed to be a set-it-and-forget-it style.
Adapting This for Very Thick Hair
If you have a lot of hair, you might need to break it into three sections instead of two from the ponytail. This gives you more control and prevents a heavy, bulky bun.
Make sure to use strong, durable bobby pins—the longer ones often work better. Pin each section individually before combining them.
Don’t be afraid to use more pins! Thick hair needs more anchors. The final look will be gloriously full, almost like a modern take on styles that inspire the hime cut‘s dramatic volume.
Adding Accessories for a Different Vibe
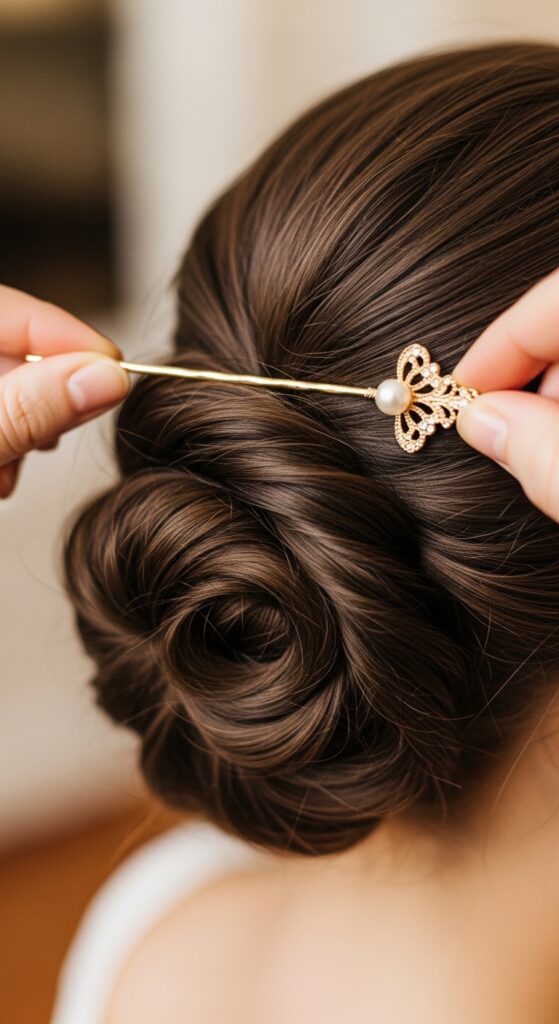
This updo is the perfect canvas. Slide in a few pearl-ended pins for a classic, old money hair feel. Or, add a dark velvet ribbon for a touch of vampire haircut drama.
For a bridal or party look, tuck in a small, sparkly hair comb. You can also wrap a delicate chain around the base of the bun for instant glitchy glam hair energy.
Keep accessories simple. Let the beautiful twist work be the star, with the accessory as a subtle accent. It’s easier than you think to elevate the look.
Common Mistakes & How to Fix Them Fast
Mistake 1: Twisting too tight. It looks severe and pulls. Fix: Gently pull the sides of the twist to loosen it immediately after pinning.
Mistake 2: Placing the ponytail too high. It becomes a weird half-bun. Fix: Always start at the nape of your neck for this classic look.
Mistake 3: Not leaving out face-framers. It can look harsh. Fix: Pull out a few tiny pieces around your ears and forehead after you’re done to soften it.
From Day to Night: How to Transform It
Wore this to work? To transition to evening, simply pull out a few more pieces around your face and at the nape of your neck. Make it messier.
Add a stronger hold hairspray if needed for dancing. This is the perfect time to add that sparkly hairpin or switch


