Upgrade 16 Rope Braid Wraps Circling Heads for Bohemian Charm
Okay, let’s be real. We’ve all seen those simple rope braid wraps and thought, “Cute, but what’s next?” I was right there with you. It felt like the style had hit its peak, until I started playing with the concept of circling the entire head. Guys, it’s a total game-changer.
This isn’t just another braid tutorial. It’s about taking that familiar technique and leveling it up into a signature look. We’re talking major bohemian charm with a touch of that effortless, “I woke up like this” vibe we all crave.
And the best part? It’s surprisingly practical. Whether your hair is long, medium, or even a chic asymmetrical lob, this idea works. I’m going to walk you through 16 stunning upgrades, from subtle accents to full-on crown-wrapping magic. You’ll find your new go-to in minutes.
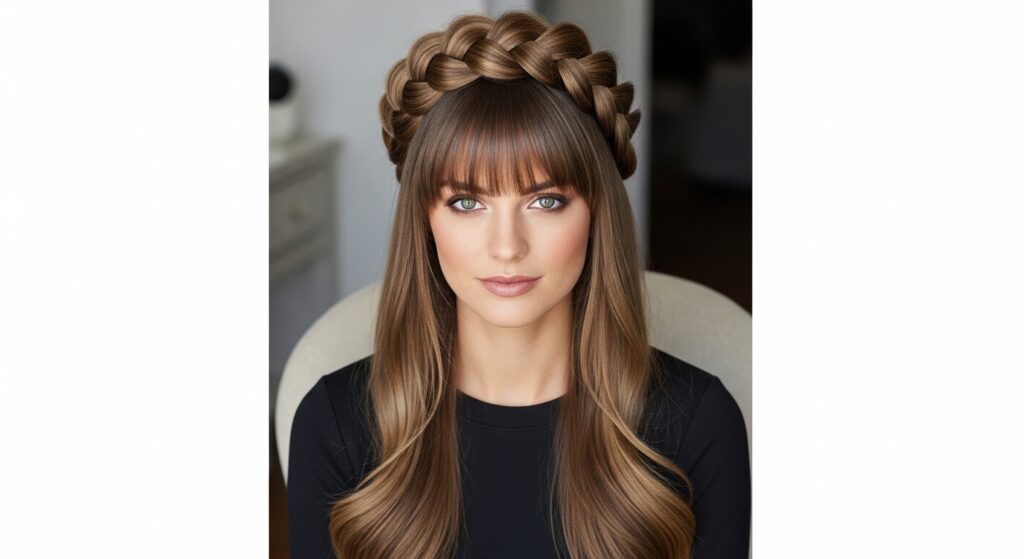
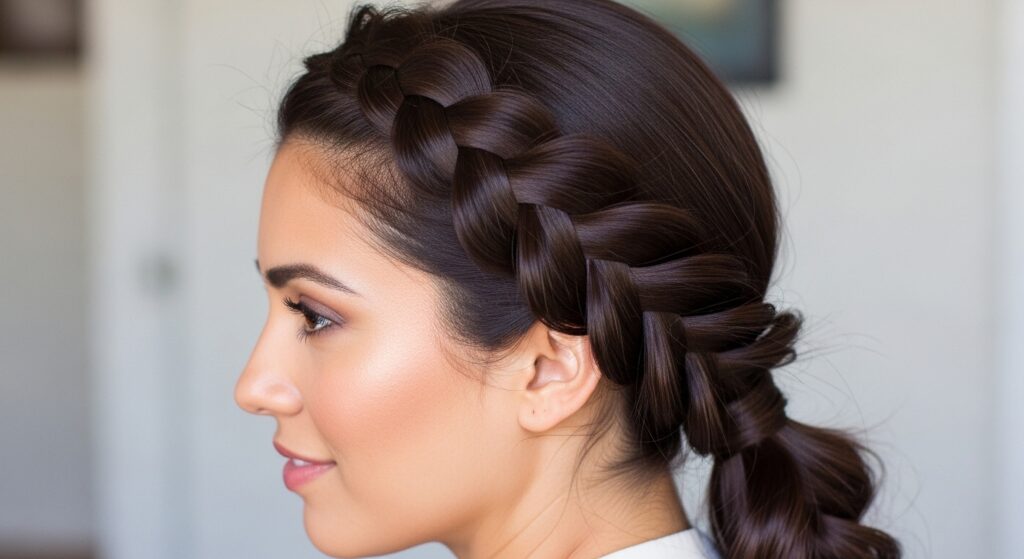
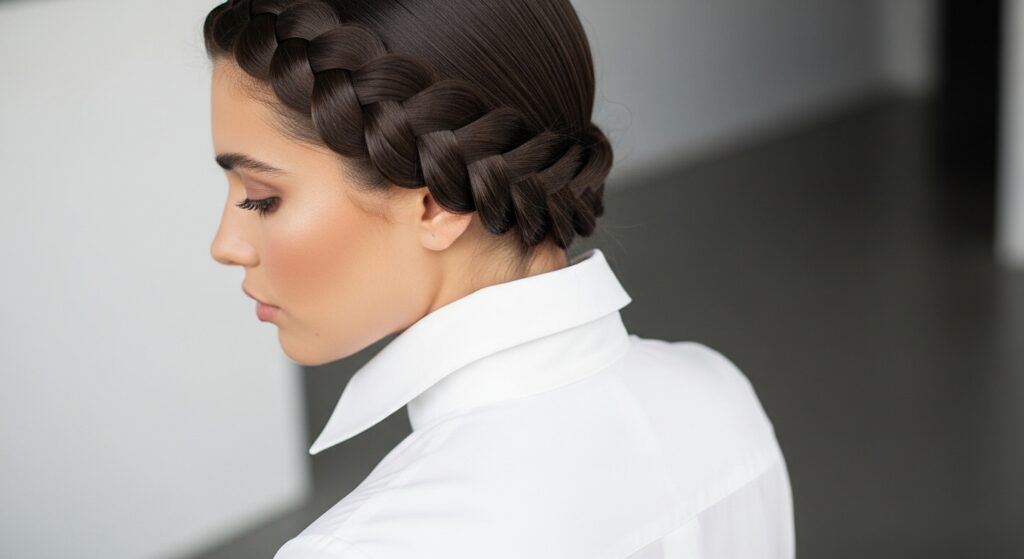
1. The Classic Crown Circle (Your New Base)
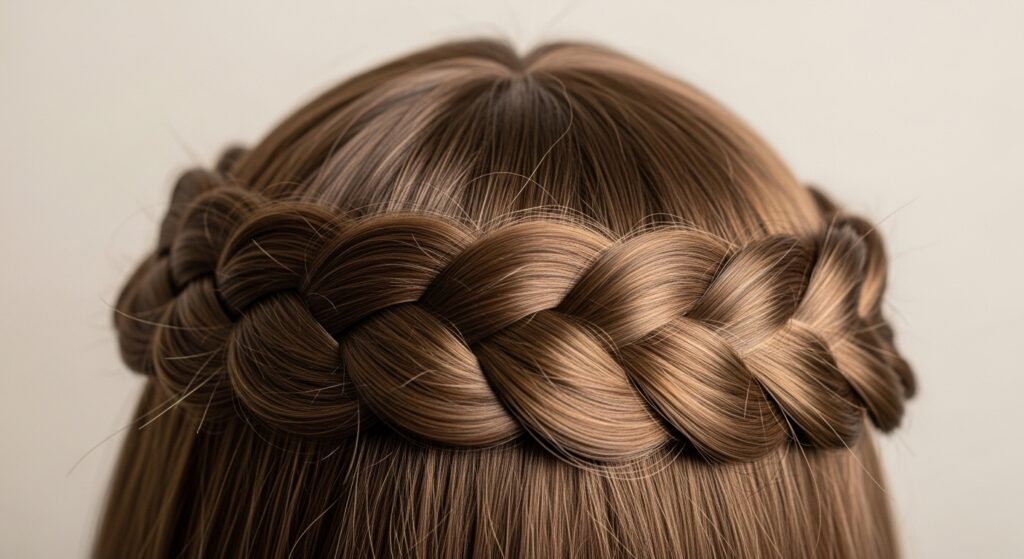
This is where every great idea starts. Master this, and the rest is just creative play. It’s the foundation for all our upgrades and gives you that instant boho princess feel.
Start with a deep side part. Take a section from your temple and begin a simple two-strand rope braid (just twist two sections around each other). Keep adding hair as you braid along your hairline, behind your ear, and around the back of your head. Secure the end under the starting point with a clear elastic. Tuck the end and pin it invisibly.
2. Double the Braids, Double the Impact
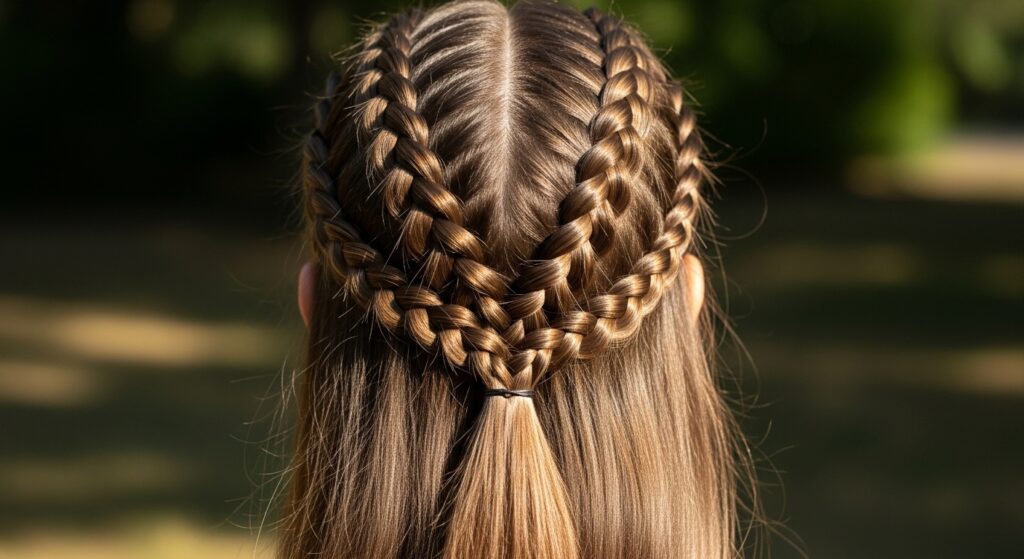
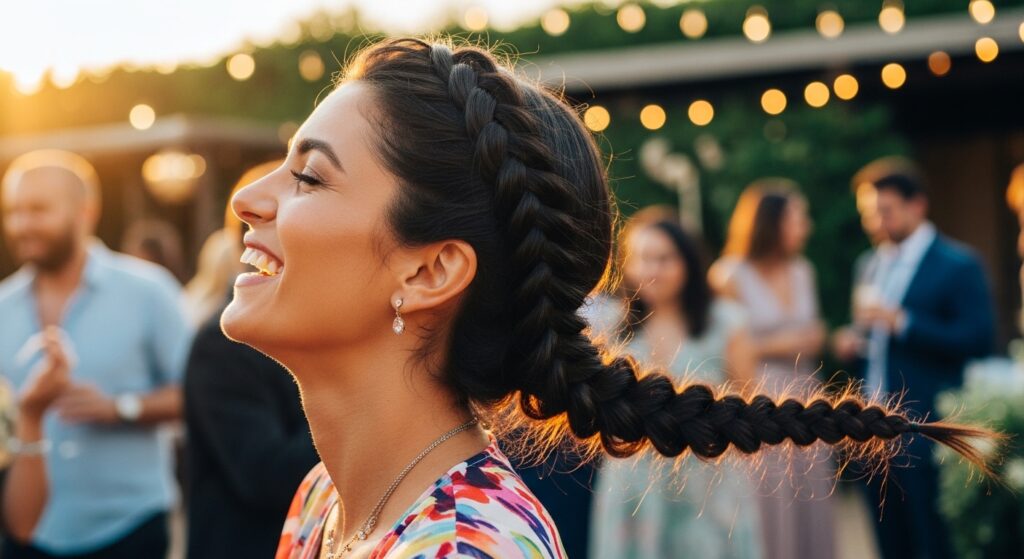
One braid is pretty, but two? That’s a statement. This creates a beautiful, symmetrical frame for your face and adds incredible texture. It works amazingly with wavy or curly hair.
Create two separate rope braids, one starting at each temple. Follow the same path as the classic crown circle, but have them run parallel to each other. Let them meet at the nape of your neck. You can tie them together or leave them separate for a more undone look.
3. The Half-Up Boho Halo
Need a style that keeps hair out of your face but looks like you tried? This is it. It’s the perfect blend of practical and pretty, ideal for work or a weekend market.
Only braid the front section of your hair, from ear to ear over the top of your head. Leave all the hair behind it down. This creates a beautiful halo effect that lifts your features and adds interest without being overwhelming. It pairs beautifully with 2026 hairstyles leaning into soft, romantic details.
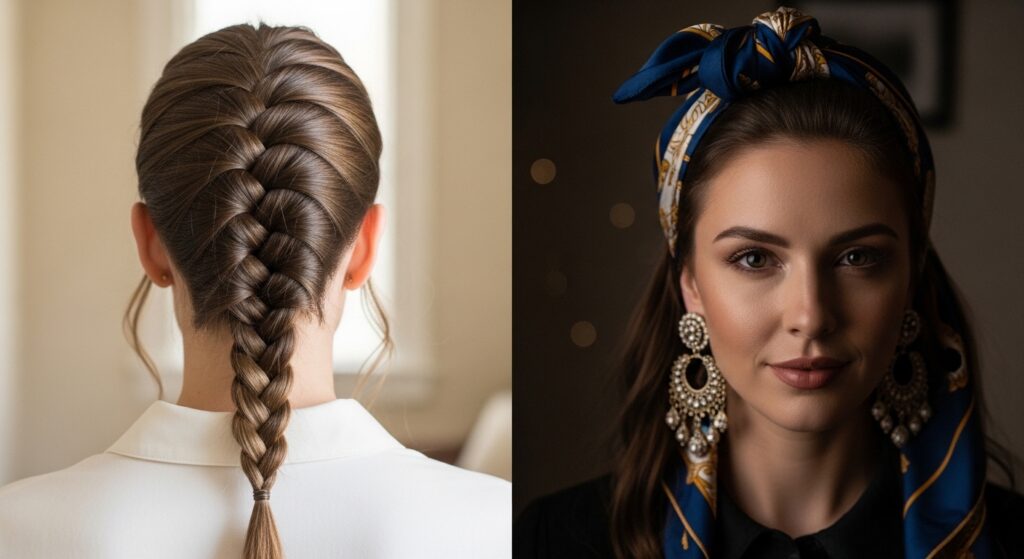
4. Incorporate a Silk Scarf
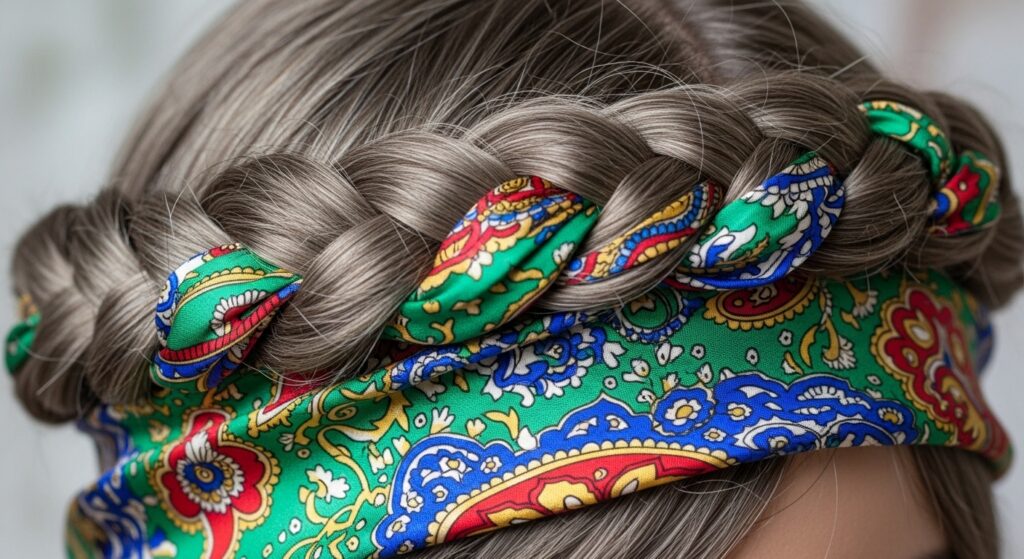
Want instant color and luxury? Grab a skinny silk scarf. This trick makes any basic braid look expensive and intentionally stylish. It’s a nod to old money hair aesthetics—effortless and quality-focused.
Fold a long, thin scarf into a strand. Treat it as a third piece when you start your rope braid, or simply twist it around an already-finished braid. You can let the ends flow freely or tie them into a small knot. The pop of pattern is everything.
5. Mini Braids for Maxi Detail
Instead of one chunky braid, try several delicate ones. This is for the detail-oriented among us. It creates a stunning, intricate look that’s absolutely worth the extra few minutes.
Section out four to six small pieces around your hairline. Create tiny rope braids on each. Wrap them around your head, pinning them strategically so they connect and overlap slightly. It gives a fairy-like, ethereal quality that’s pure bohemian charm.
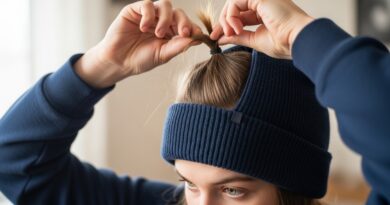
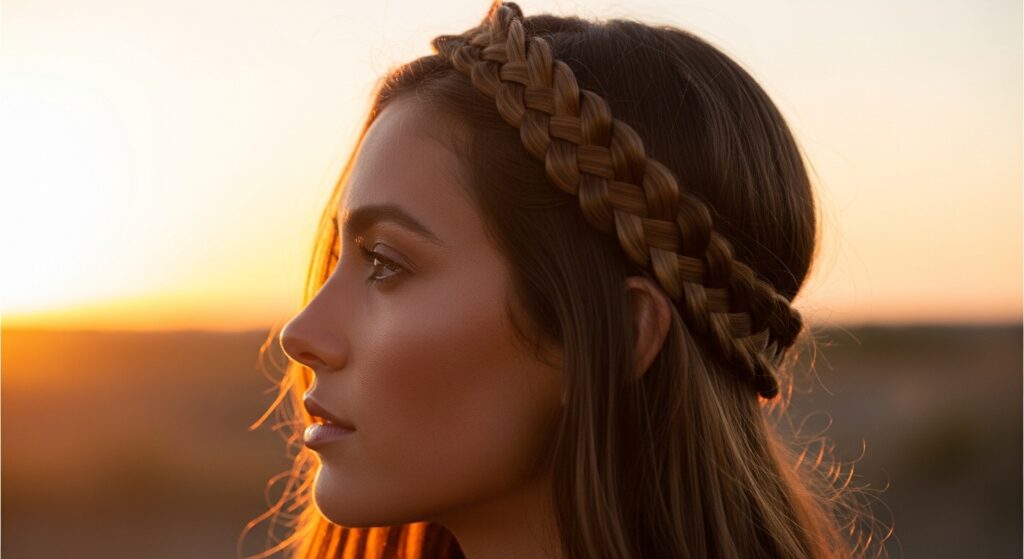
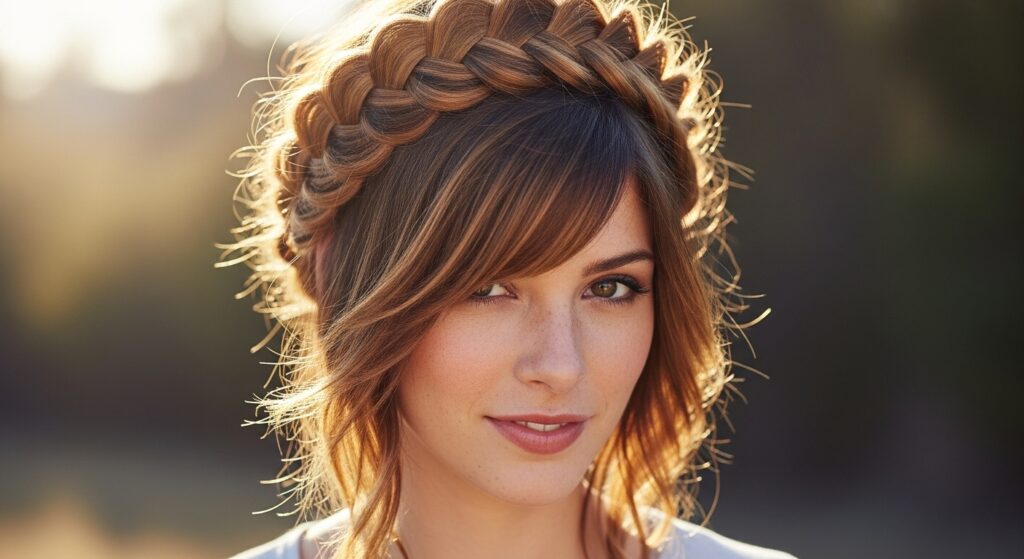
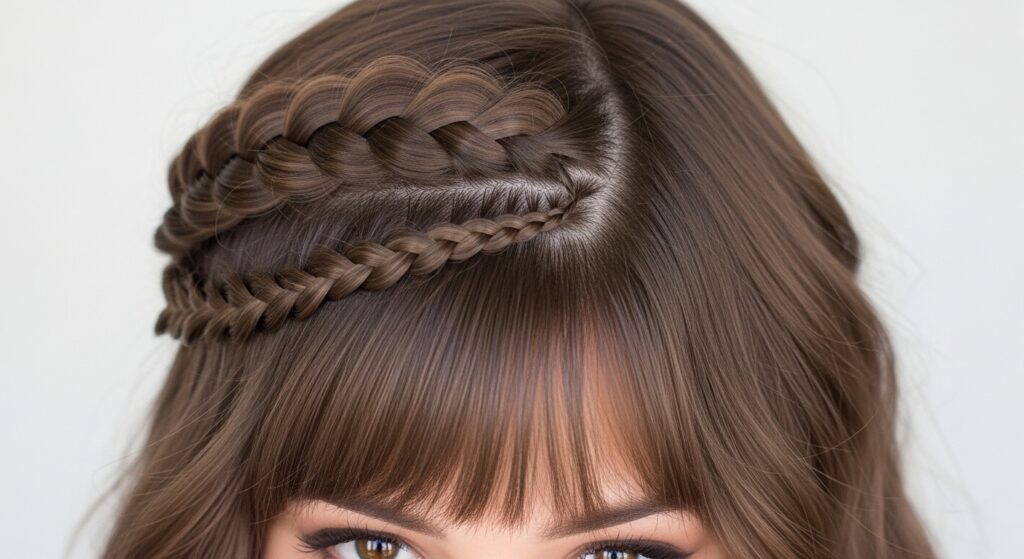
6. The Braided Headband Effect
This is the quickest upgrade of them all. It takes two minutes and completely changes your look. Think of it as the hair accessory you already own.
Braid a single rope braid from just above one ear to just above the other. Don’t circle the whole head. Pin it in place so it sits like a headband. This is a gorgeous way to style grown-out bangs or to add something special to a quiet luxury bob.
7. Mix With a Low Messy Bun
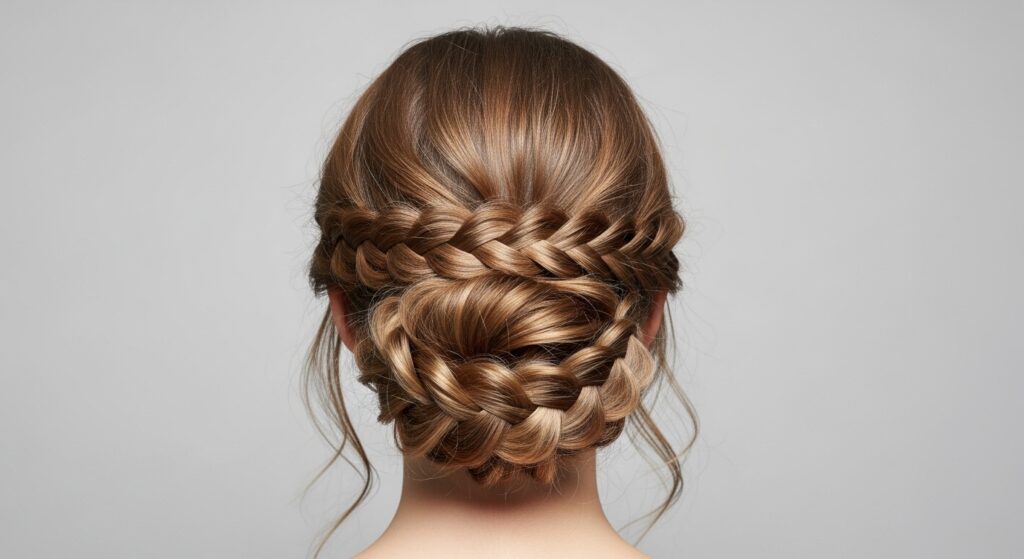
Elevate your basic bun instantly. This combo is elegant, secure, and perfect for any event from a wedding to a fancy dinner. It looks complicated but is so simple.
Create your classic crown circle braid. Gather all your hair, including the braid’s tail, into a low ponytail. Twist it into a bun and secure it, leaving pieces out for a soft effect. The braid becomes a beautiful detail wrapped into the bun itself.
8. The Gothic Romance Twist
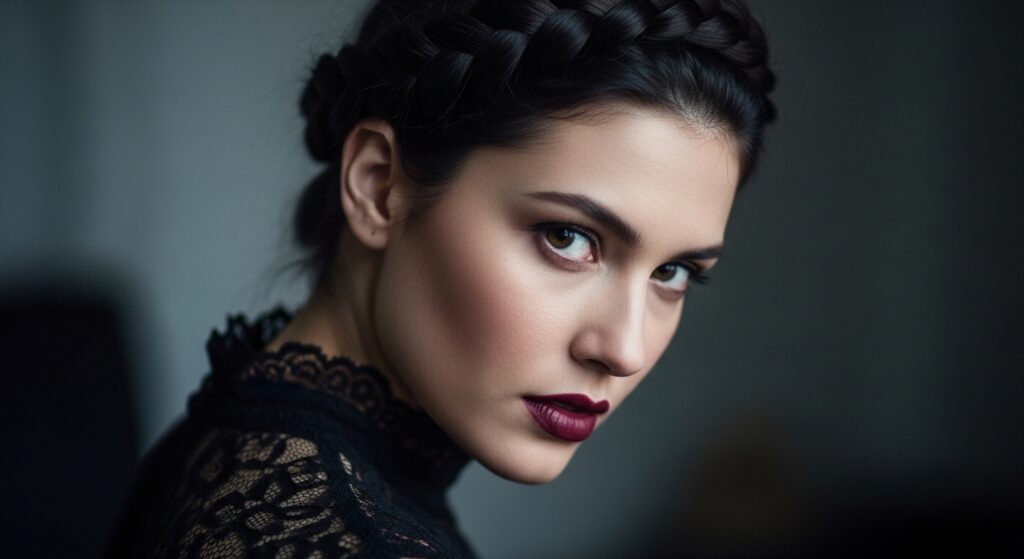
Bohemian doesn’t have to mean sunny and bright. This style taps right into the romantic goth hairstyles trend. It’s darkly romantic, elegant, and perfectly undone.
Go for a deeper side part and braid with intentionally messy texture—think slightly teased sections before braiding. Use a matte hairspray for piece-y definition. Pair it with deep makeup and you’ve got a look that’s both soft and striking, a far cry from a simple vampire haircut but in the same family.
9. Add Metallic Threads or Cords
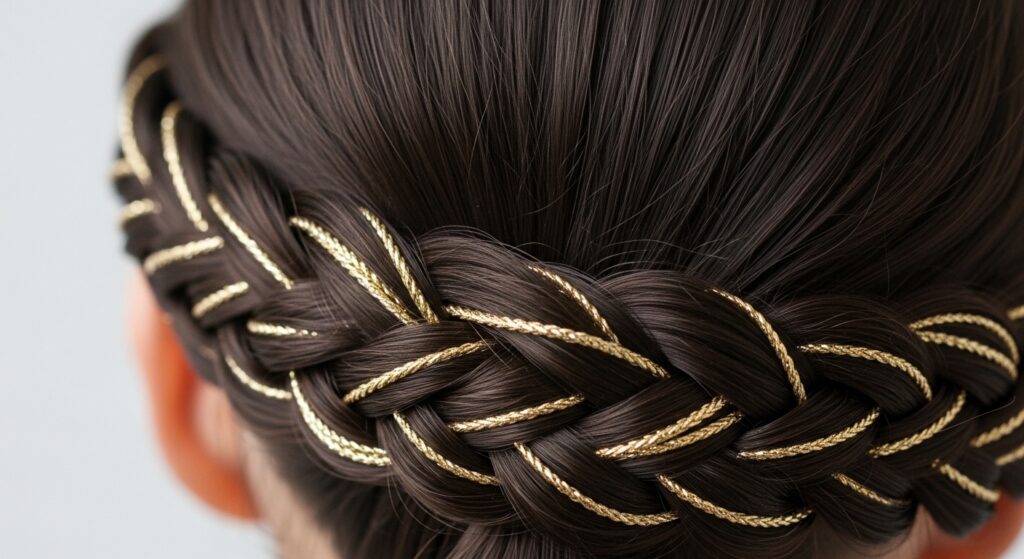
For a touch of glitchy glam hair, introduce something unexpected. A metallic thread or fine cord brings a futuristic edge to the earthy braid. It’s that perfect mix of raw and refined.
Take a thin metallic thread and lay it along one section of hair as you start your braid. Braid it right in. As you move your head, it will catch the light in subtle, surprising flashes. It’s a major trend update for the classic look.
10. Braid into a Side-Swept Ponytail
This is dynamic and playful. It adds movement and direction to your style. Perfect for when you want to feel put-together but still fun.
Start your braid at one temple and circle it around the back of your head to the opposite side. Gather all your hair, including the braid tail, into a low ponytail on that side. It creates a beautiful diagonal line that’s incredibly flattering.
11. The Undone Mermaid Finish
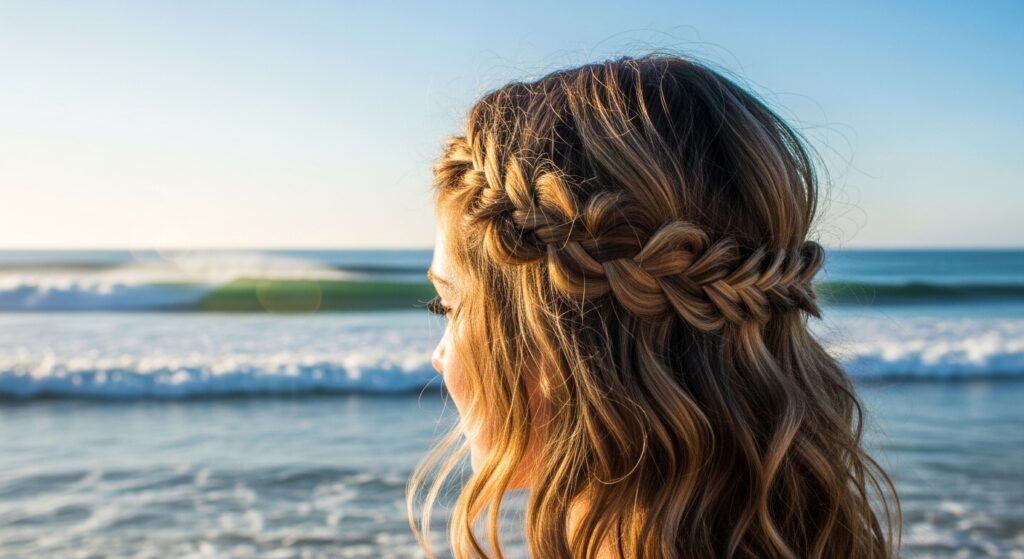
Don’t aim for perfection here. The goal is effortless, textured beauty. This style looks like you just came from the beach, even if you’re miles from the ocean.
After braiding, gently pull apart the sections of the rope braid to make it look fuller and softer. Spritz with texturizing spray. The key is to let little hairs fly free and for the braid to look almost accidental.
12. Pair With Face-Framing Layers
If you have an asymmetrical lob or lots of layers, this is your dream style. The braid helps contain the hair while showcasing your best cuts and layers.
The braid acts as an anchor. Let all your gorgeous layers and shorter pieces fall freely around your face and at the back. It creates a beautiful balance between structured and free-flowing, and is a perfect match for a hime cut’s blunt front pieces.
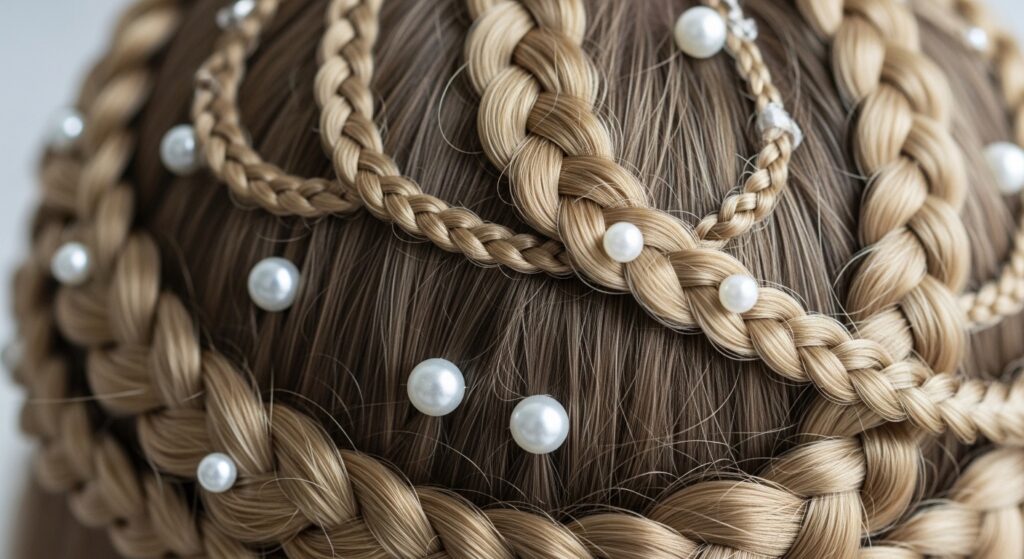
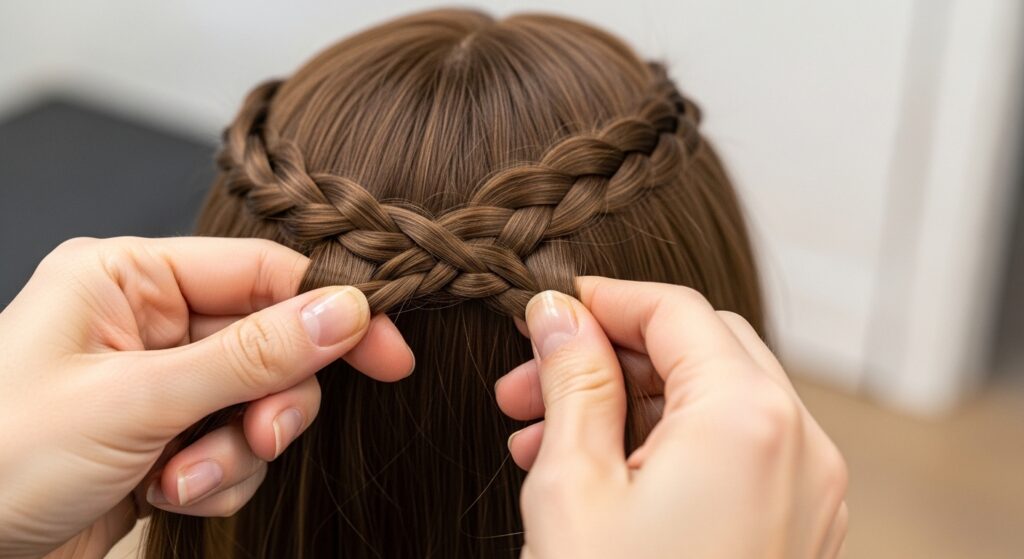
13. The Regal Double Crown

For true bohemian royalty vibes, layer your braids. This looks intricate and luxurious, like you spent hours, but the technique is just repetition.
Create your first braid around the crown. Then, directly below it, start a second, slightly thicker braid following the same path. Pin the end of the second braid under the first. This builds volume and detail that’s absolutely stunning.
14. Integrate Fresh Flowers or Greenery
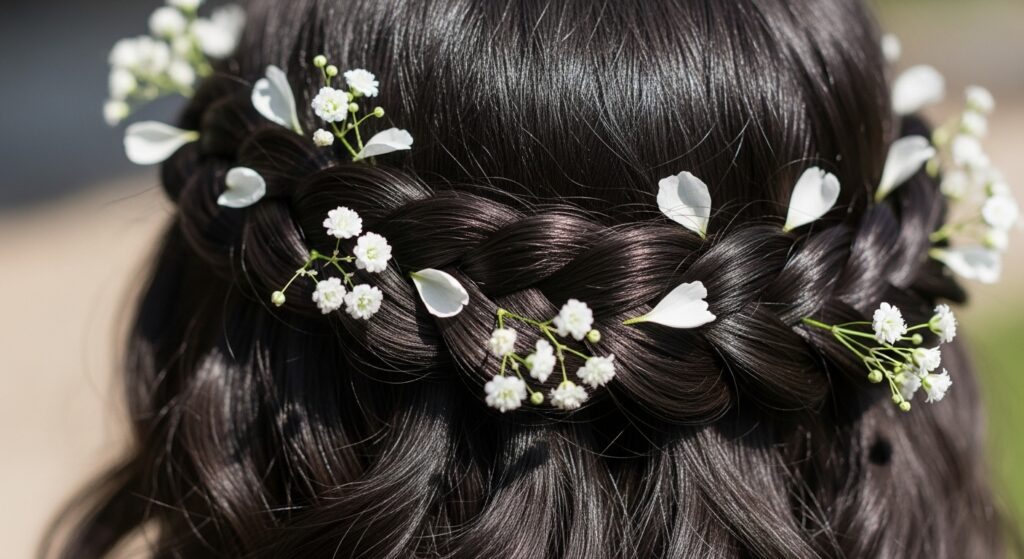
The ultimate festival or wedding upgrade. Using real (or very realistic fake) botanicals connects you to nature and adds a soft, romantic touch no accessory can match.
Keep your braid slightly looser. As you pin it in place, tuck small sprigs of greenery or tiny flowers like baby’s breath into the braid. Secure them with bobby pins. Avoid large, heavy flowers as they can weigh the braid down.
15. The Sleek, Polished Version
Bohemian charm can be polished. This version is all about sleekness and precision. It complements a minimalist wardrobe and feels very modern.
Start with well-moisturized, blow-dried straight hair. Use a strong-hold gel or pomade on the section before you braid to eliminate all flyaways. The result is a sharp, clean line that turns the braid into a graphic element.
16. The “Braid-Bang” Hybrid
This is for the bold. It’s a fantastic way to fake a fringe or just make a major style statement. It blends the braid seamlessly into your hairstyle.
Start a thick braid at one temple. As you braid across your forehead, gradually add less hair, allowing the braid to get thinner. Let it end and blend into your hair above the other ear. It’s a directional look that’s full of personality.
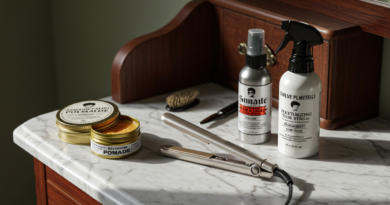
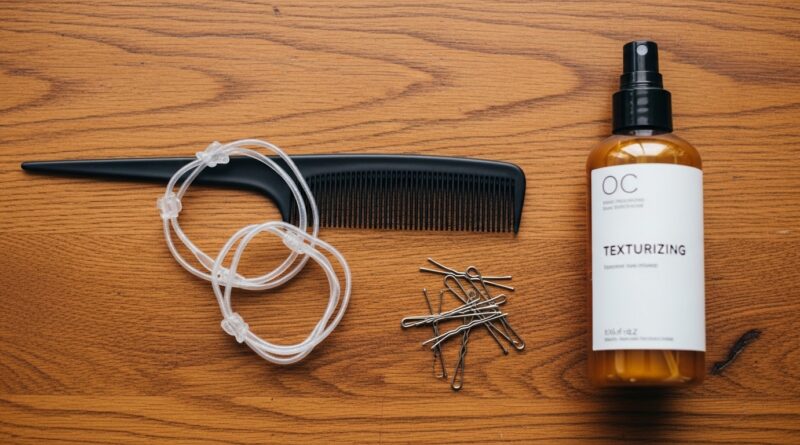
Essential Tools You Actually Need
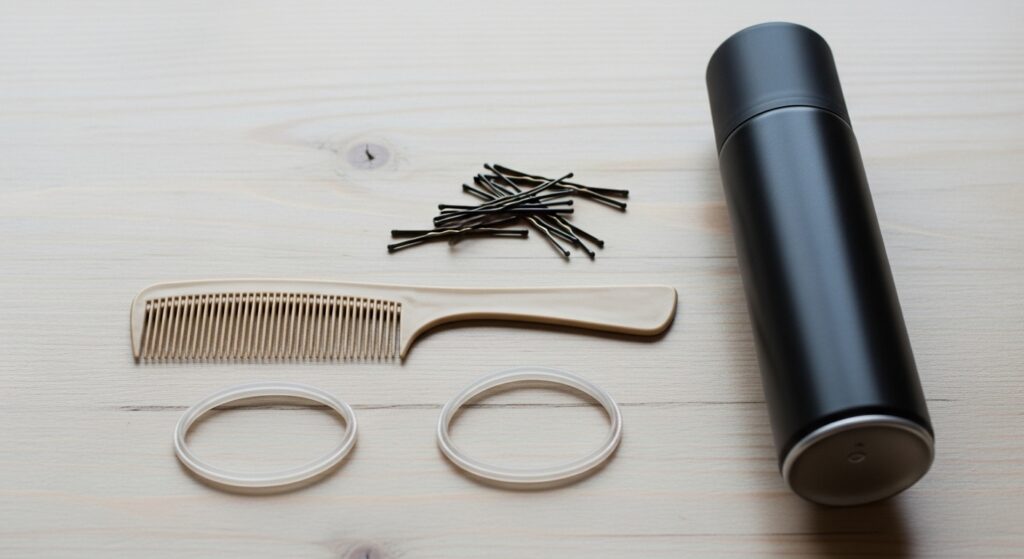
You don’t need a salon full of products. These basics will get you through every single style. Keeping it simple means you’ll actually do it.
- Fine-Tooth Comb: For clean sections and a polished start.
- Clear Elastic Bands: Essential for securing ends invisibly.
- Texturizing Spray: A must for grip and that undone finish.
- Good Bobby Pins: Matched to your hair color. They’re your best friend for hiding ends.
Mastering the Rope Braid Technique
If the rope braid itself feels tricky, let’s break it down. It’s easier than a traditional three-strand braid. Once you get the motion, it’s second nature.
- Divide a section of hair into two equal strands.
- Twist the right strand clockwise over the left strand.
- Now, add a small amount of hair from your head to the *right* strand.
- Repeat: twist the new right strand over the left, then add hair to the right side again. Continue this pattern.
Best Hair Types & Lengths for This Look
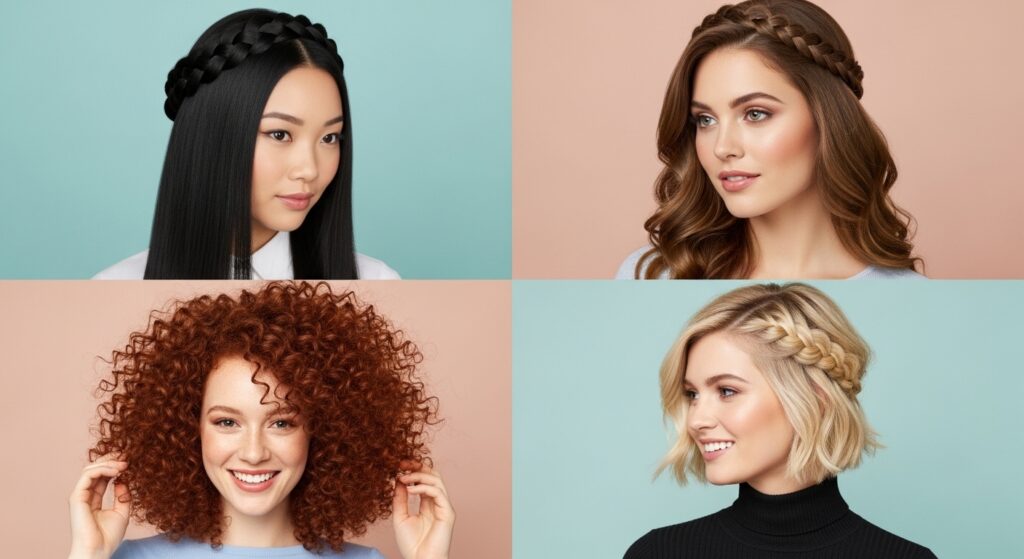
Yes, you can do this. Seriously. Length and texture just change the final effect, but every type can rock this style.
- Long Hair: Gives you the most versatility for multiple wraps and thicker braids.
- Medium to Lob Length: Perfect for the single crown circle or headband effect. It adds detail to a simpler cut.
- Curly/Wavy Hair: Provides amazing natural grip and texture. The braid will look fuller and more organic.
- Fine Hair: Use texturizing spray for grip. A slightly messier braid will actually look thicker.
Quick Fixes for Common Problems
Things happen. Your braid looks skinny, or it’s slipping. Don’t start over! Here are my on-the-go fixes.
Problem: Braid looks too thin or flat.
Fix: Gently pull the braid apart horizontally to plump it up. It’s called “pancaking” and adds instant volume.
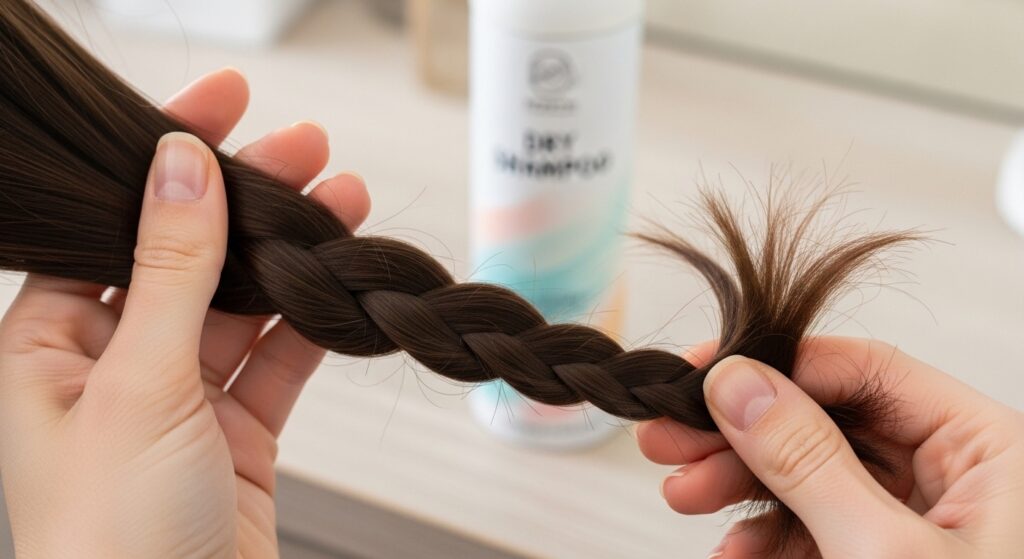
Problem: Hair is too slippery.
Fix: Braid on day-two hair, or apply a light texturizing spray or dry shampoo at the roots before starting. The grit helps.
From Day to Night in 5 Minutes
Your daytime boho wrap can easily transition to an evening look. It’s all about the accents and a touch of attitude.
- Add Sparkle: Pin in a few small, delicate hair pins or cuffs along the braid.
- Swap the Scarf: Replace a daytime cotton scarf with a sleek silk or satin one.
- Pump Up the Texture: Mist with a shine spray and tousle the loose parts of your hair for more volume.
- Bold Makeup: A stronger lip or a smoky eye instantly elevates the entire vibe.
Making It Last All Day & Night
Nothing’s worse than a fallen braid. A few pro tips will lock your style in place from your morning coffee to last call.
First, pin as you go. Don’t wait until the end. As you wrap the braid, use a bobby pin every few inches to anchor it to the hair beneath. Second, cross your pins. Insert them in a criss-cross pattern for maximum hold. Finally, a light mist of flexible-hold hairspray over the entire style will fight frizz without making it feel stiff.
Your Personal Style Playground
This is the real fun. Now that you’ve got the basics, mix and match! Your hair is your playground. Don’t be afraid to break the “rules.”
Combine the mini braids with a scarf. Try the gothic twist with metallic threads. The goal is to find what makes you feel most like you. These 16 ideas are just a starting point to spark your own creativity. The most beautiful style is the one that reflects your personal spirit.
So, there you have it—your full guide to transforming a simple braid into a crown of bohemian charm. I told you we could take that basic idea and make it something truly special. The best part is that none of these require a professional; they just require a few minutes and a willingness to play.
Remember, great