Victorian Roll Updo Mastered Quickly for Elegant Events
Okay, let’s be real. You have an elegant event coming up—a wedding, a gala, maybe a fancy dinner—and you want a hairstyle that looks like you spent hours and a fortune at the salon. But you also don’t want to spend more than 20 minutes doing it. I hear you. That’s exactly why I became obsessed with mastering the Victorian roll updo.
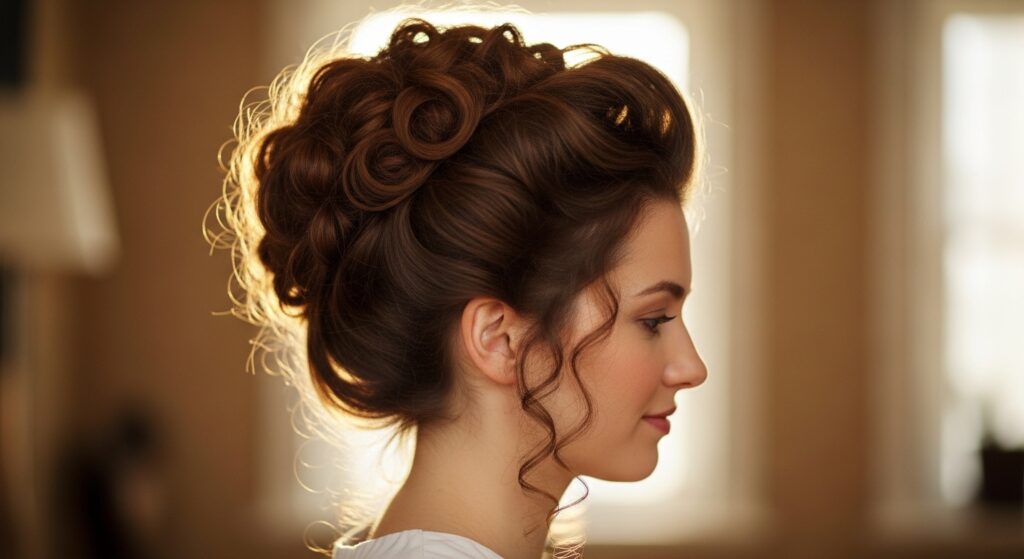
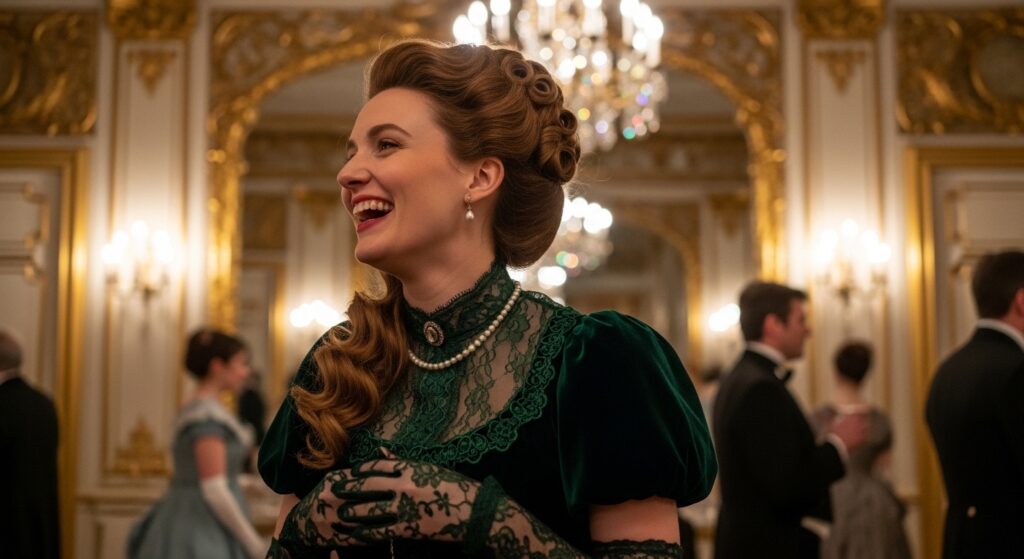
This style is the perfect mix of old-world romance and modern, effortless chic. It gives off major ‘old money hair’ vibes without the fuss. Think soft, rolled volume and a touch of vintage drama that works for so many events.
The best part? It’s much easier than it looks. With a few simple tricks and the right technique, you can get this elegant look quickly, right at home. Forget complicated braids; this roll is your new secret weapon for looking put-together in a pinch.
So, grab your brush and some pins. I’m going to walk you through the entire process, from prep to finish, so you can walk into that event feeling like the most elegant version of yourself.
Why the Victorian Roll is Your New Go-To
In a world of glitchy glam hair and bold asymmetrical lobs, the Victorian roll stands out for its timeless grace. It’s not a trend that will feel dated next year. This style is pure, soft elegance that complements any face shape and works with almost any hair texture.
It’s incredibly versatile. You can wear it tight and polished for a black-tie event, or loosen it up for a more romantic, bohemian feel. It pairs just as well with a sleek gown as it does with a simple blouse and jeans for a dressed-up lunch.
Gathering Your Simple Tool Kit
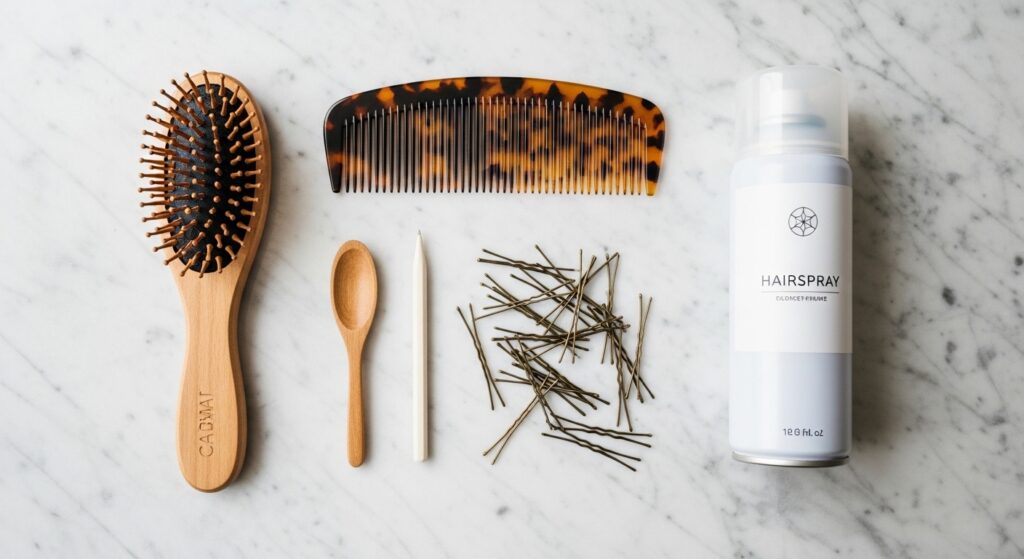
You don’t need a salon’s worth of products. Here’s your simple, practical list:
- A fine-tooth comb and a bristle brush for smoothing.
- Strong-hold hairspray (a must for hold).
- Hair pins and bobby pins that match your hair color.
- Small, clear elastic bands.
- Light-hold mousse or texture spray for grip (optional but helpful).
That’s it! Having these basics ready will make the whole process flow smoothly and quickly.
Start with the Right Base: Day-Old Hair is Best
Trust me on this: slightly dirty hair is your friend. Freshly washed hair can be too slippery and soft, making it hard for pins to grip. If your hair is very clean, spray a little dry shampoo or texturizing spray at the roots.
This adds the perfect amount of grit and volume. It’s the same principle behind many modern 2026 hairstyles that focus on lived-in texture and body. A good base is 80% of the battle for any updo.
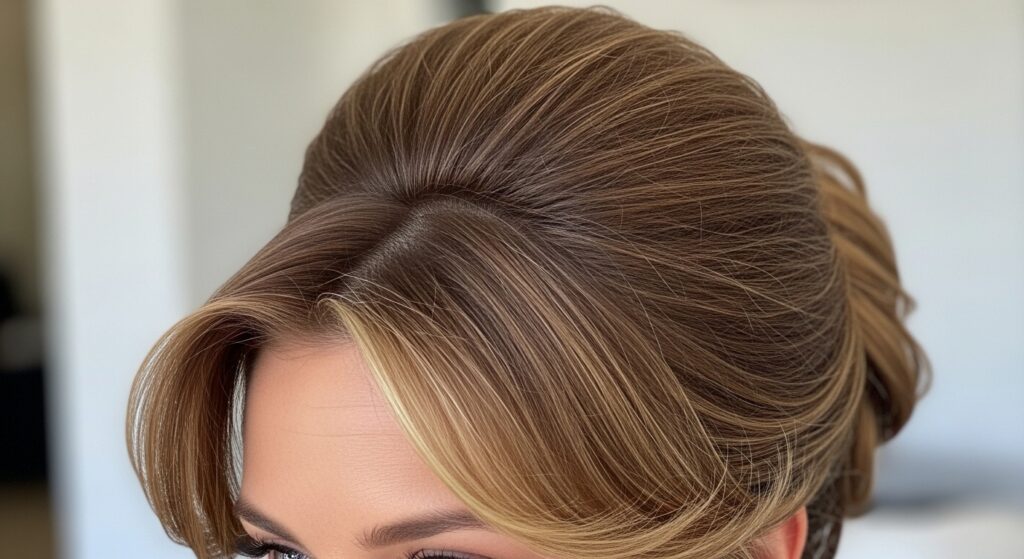
Creating Volume at the Crown
Before you start rolling, we need some height. Tease the hair at the crown of your head gently. Don’t go for 80s-level backcombing; just create enough lift so your head doesn’t look flat.
Use your comb to gently smooth the very top layer over the teased section. This gives you that soft, regal volume associated with quiet luxury hair—polished but never overdone. Secure this section lightly with a clip for now.

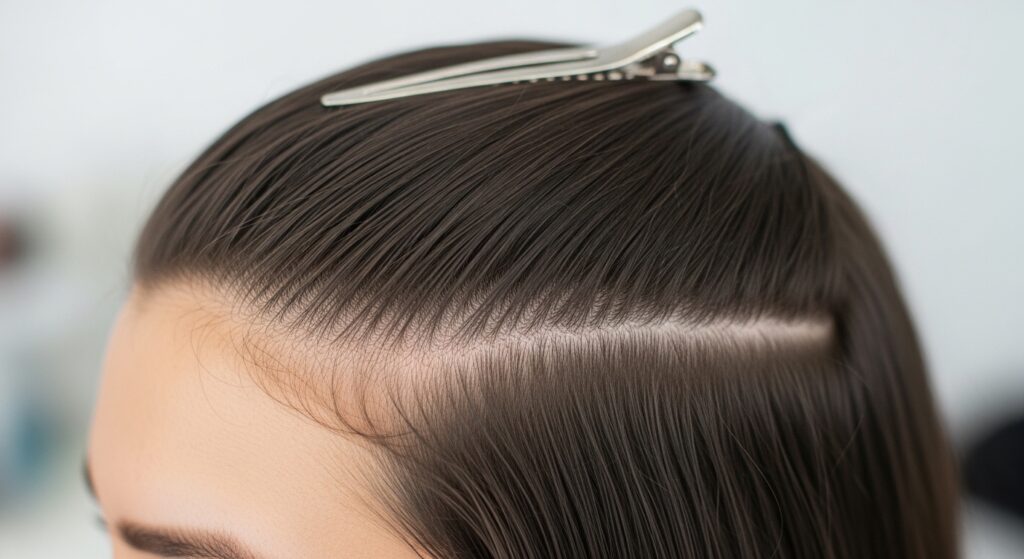
Sectioning Your Hair for Control
Divide your hair into two main sections. Create a horizontal part from ear to ear, separating the top section from the bottom. Clip the top section out of the way.
We’ll start with the bottom section to build our foundation roll. This makes the style feel secure and prevents sagging throughout the night. Clean sections are key for any complex-looking style, from a hime cut to this classic updo.
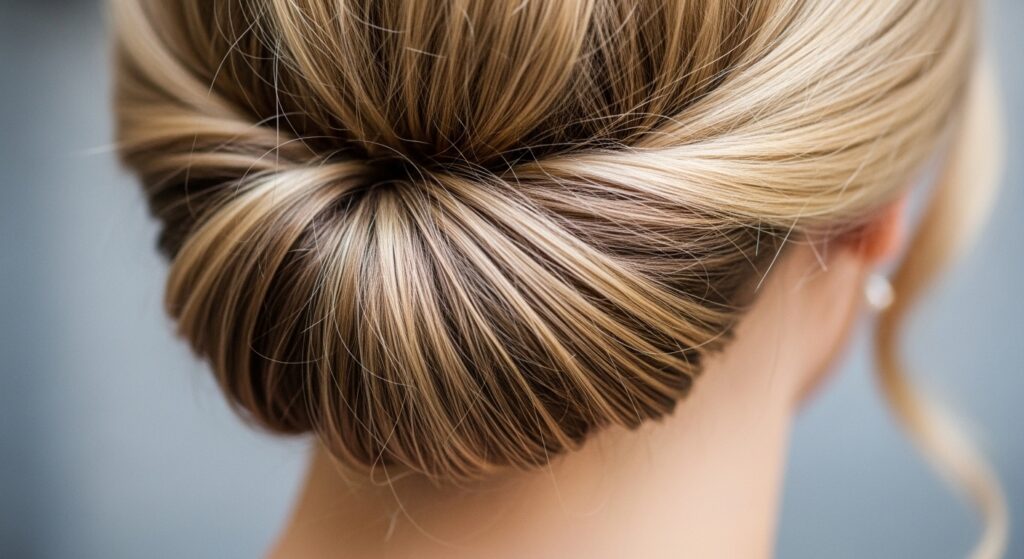
Forming the Foundation Roll
Take the bottom section of hair and comb it smoothly. Gently twist it once, then begin rolling it upwards towards the nape of your neck. Don’t twist too tightly; you want a soft, fat roll.
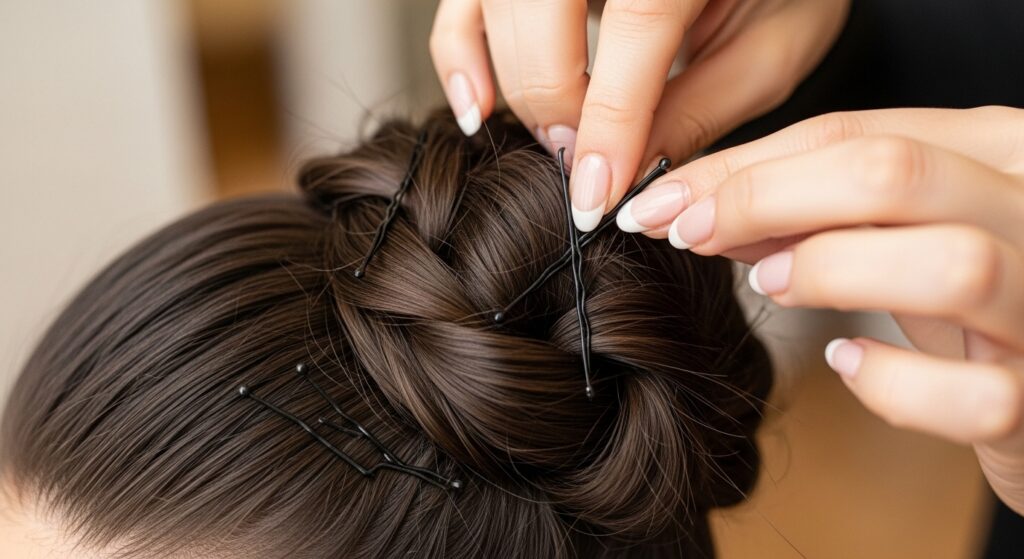
As you roll, use bobby pins to secure it from the underside. Place pins horizontally, catching the roll and anchoring it to the hair at your scalp. This first roll is the supportive base for everything else.
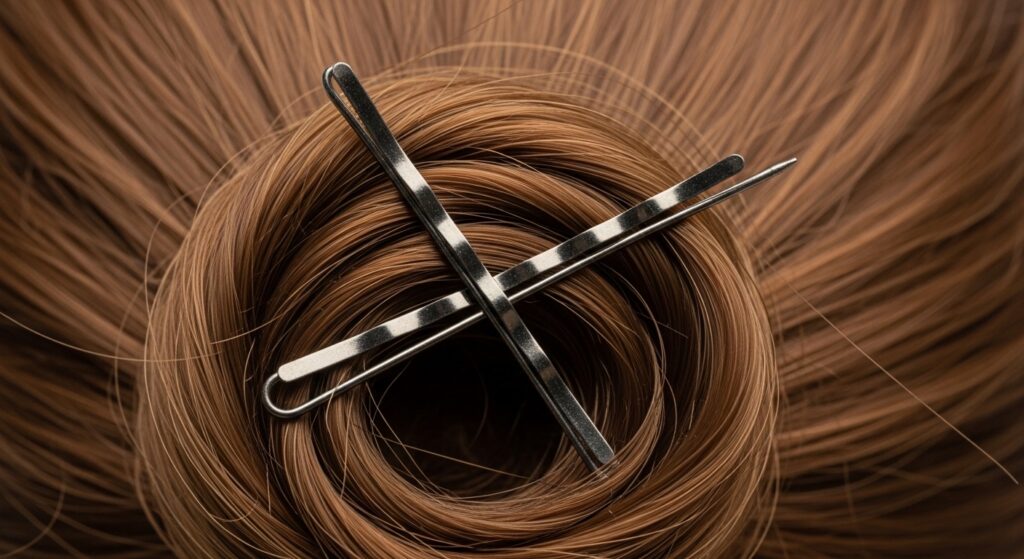
Securing the Roll Like a Pro
Pinning is the trickiest part, but here’s the secret: cross your bobby pins. Insert one pin going left, and the next pin going right. This creates a locking effect that holds far better than pins going the same direction.
Feel around the roll to make sure no parts are loose. Give it a gentle tug. If it feels solid, you’re golden. A strong foundation means you can dance all night without worry.
Releasing the Top Section
Now, unclip the top section of your hair. Smooth it over the teased volume at your crown. You’ll see you already have beautiful shape and a neat base to work with.
Comb this top section back, but keep it soft. We’re not going for a slicked-back look. A little softness around the face is very modern and flattering, blending vintage with today’s softer aesthetic.
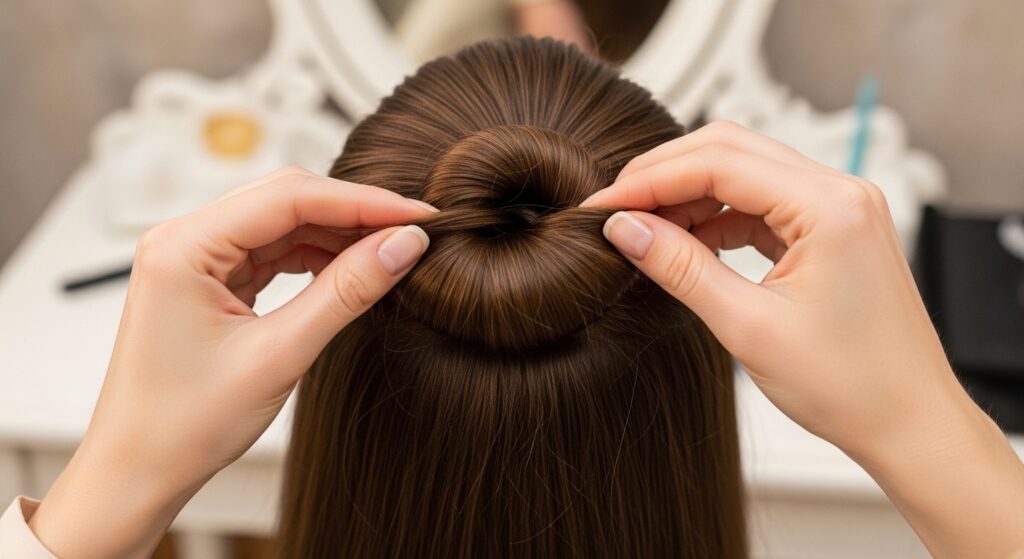
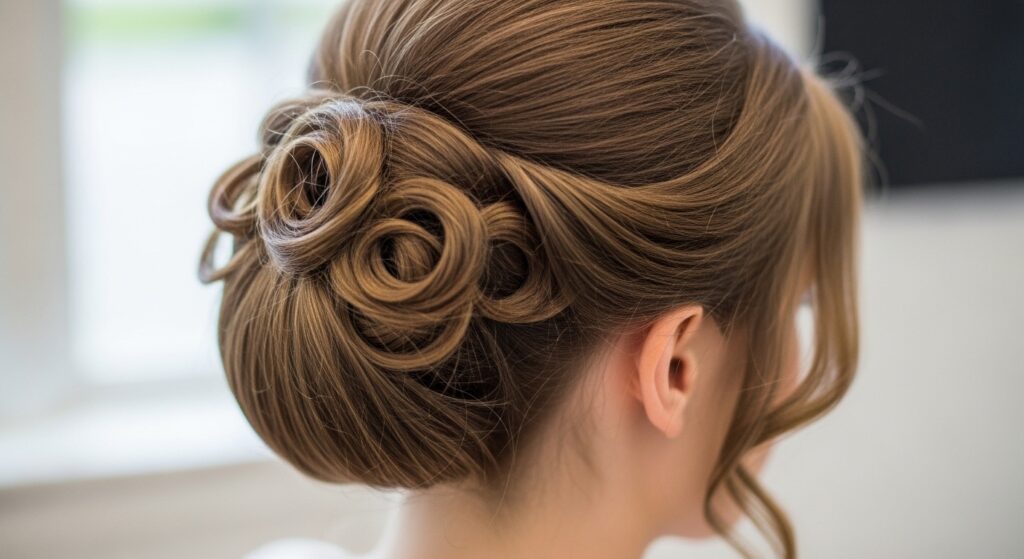
Creating the Top Roll
This is where the magic happens. Gather the top section as if making a ponytail, but don’t pull it all the way through on the last loop of your elastic. You want to create a loose, folded loop of hair.
Fan and shape this loop to cover the elastic band. This creates the signature “roll” appearance. It should sit just above or over the foundation roll you already made.
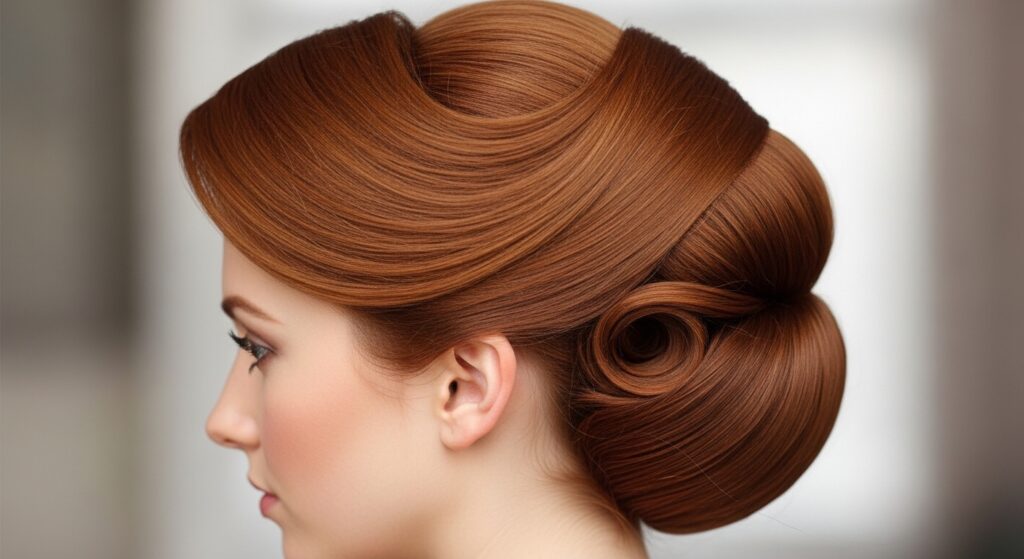
Integrating Both Rolls Seamlessly
Now, gently pull and adjust the top roll so it sits flush against the bottom foundation roll. You want them to look like one cohesive, voluminous shape, not two separate pieces.
Use more bobby pins to secure the top roll to the bottom one, and to anchor it to your head. Hide the pins by inserting them underneath the roll and through the center.
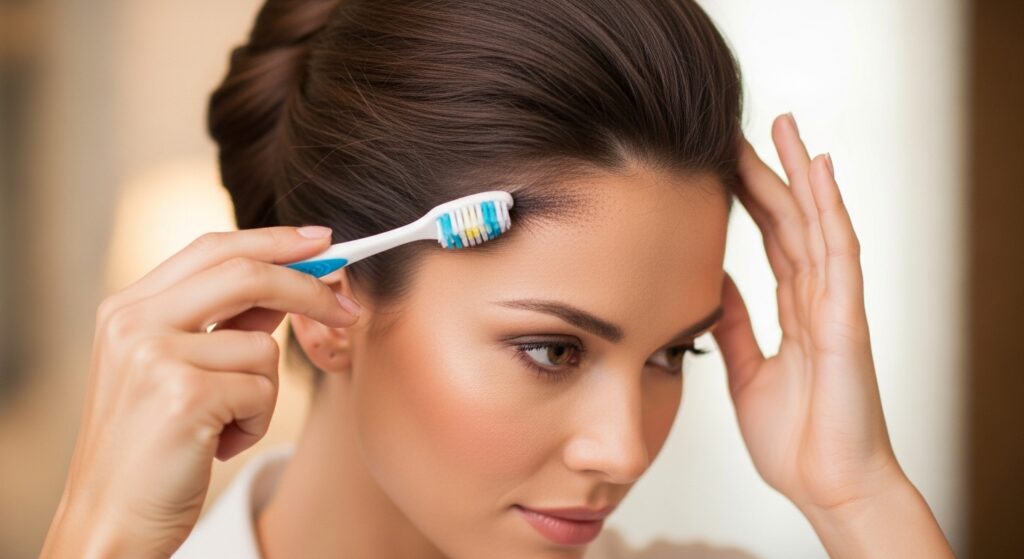
Taming Flyaways for a Polished Look
Even the most elegant updo can be ruined by little flyaways. Spray a light mist of hairspray on a clean toothbrush or a small bristle brush.
Gently brush down any stray hairs around your hairline and the nape of your neck. This trick gives you a salon-smooth finish without making your hair look stiff or helmet-like.
Adding Softness Around Your Face
For a more romantic, less severe look, pull out a few tiny pieces around your face. You can use the end of a pin or a pencil to curl these pieces softly.
This frame softens your features and adds a touch of effortless romance. It’s a trick seen in both romantic goth hairstyles and classic bridal looks—it’s all about balance.
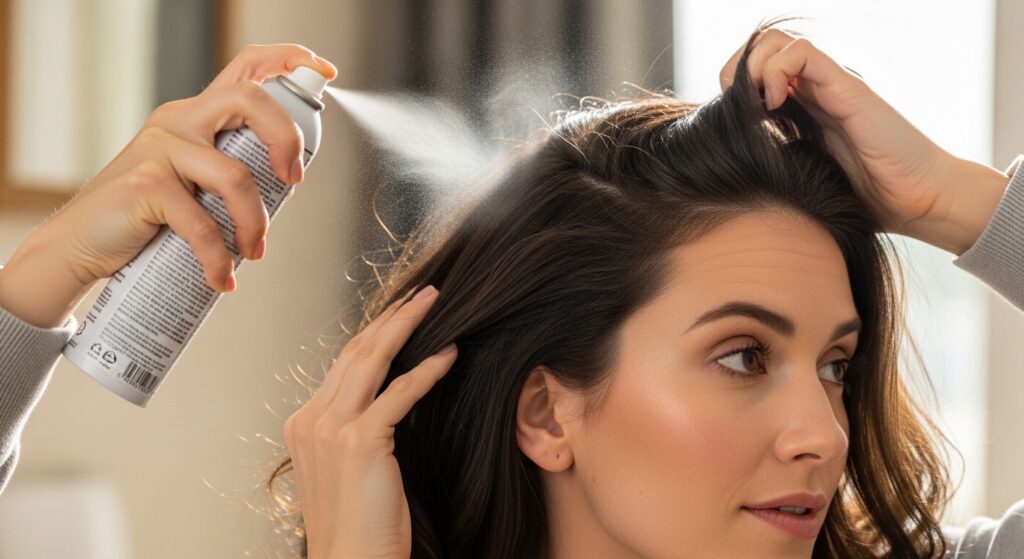
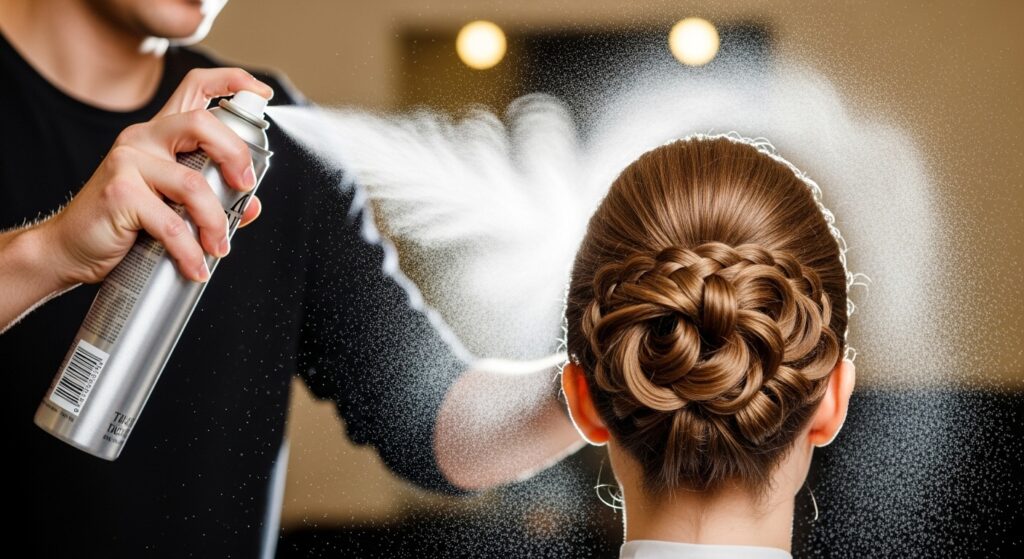
The Final Hold: Hairspray Strategy
Hold your hairspray about 10 inches away from your head. Give a few light, all-over sprays. Let it settle for a second, then do one more targeted spray on the rolls.
Avoid soaking your hair. You want flexible hold, not a crunchy shell. The goal is for the style to move *with* you, not be a rigid sculpture.
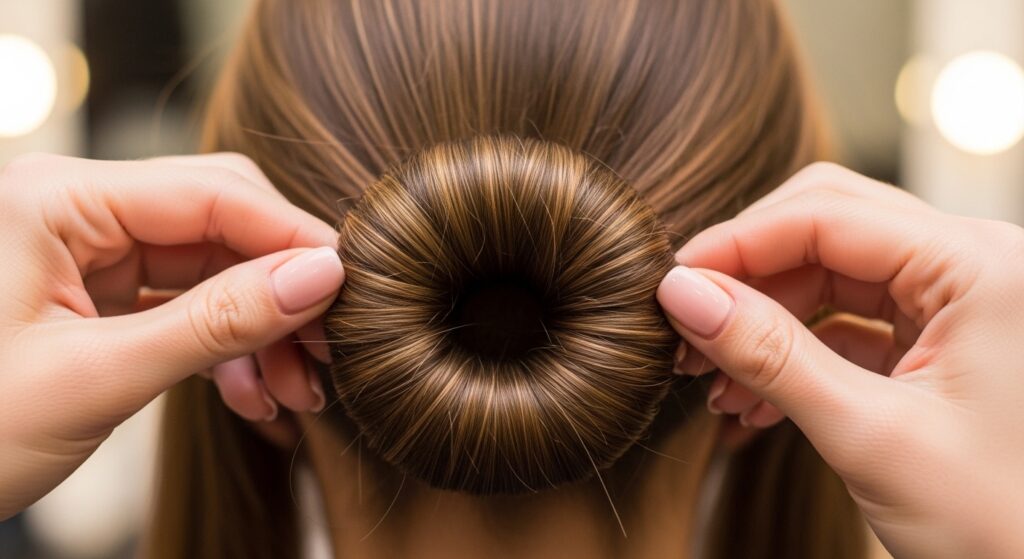
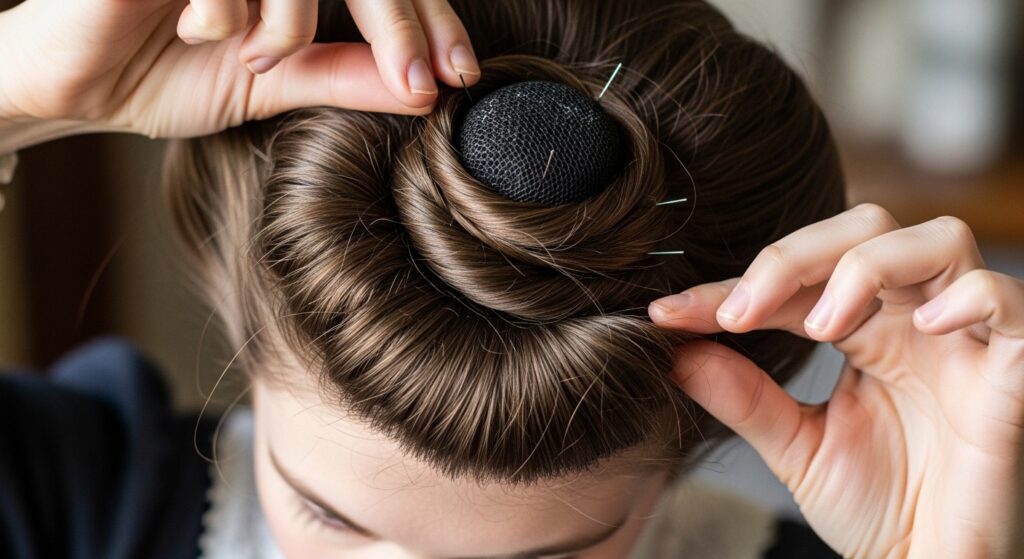
Adapting for Fine or Thin Hair
If you have fine hair, don’t skip the texturizing spray at the start. You can also use a small, silicone “donut” bun form. Place it where your foundation roll goes, and wrap your hair around it.
This creates instant volume and gives the pins something substantial to grip. It’s a total game-changer and makes this elegant style accessible for every hair type.
Adapting for Thick or Curly Hair
Your natural volume is a huge advantage! You may need to make your sections a bit smaller for more control. Use more pins, and don’t be afraid to really cross them for security.
If your hair is very curly, you might find styling it on slightly damp hair with mousse helps. The rolls will be incredibly full and beautiful, offering a different but stunning take on the style.
Adding Elegant Hair Accessories
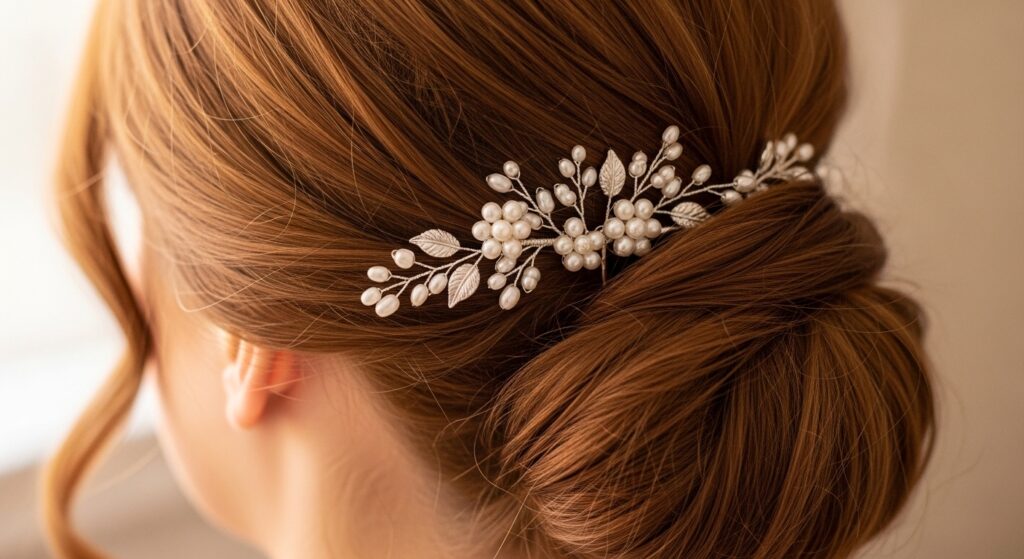
This style is the perfect canvas for accessories. Slide a delicate pearl-encrusted pin into the side of the roll. Or, tuck in a few fresh flowers or a simple velvet ribbon.
Choose one statement piece or a few small ones. The roll acts as a beautiful anchor, making any accessory look intentional and high-end.
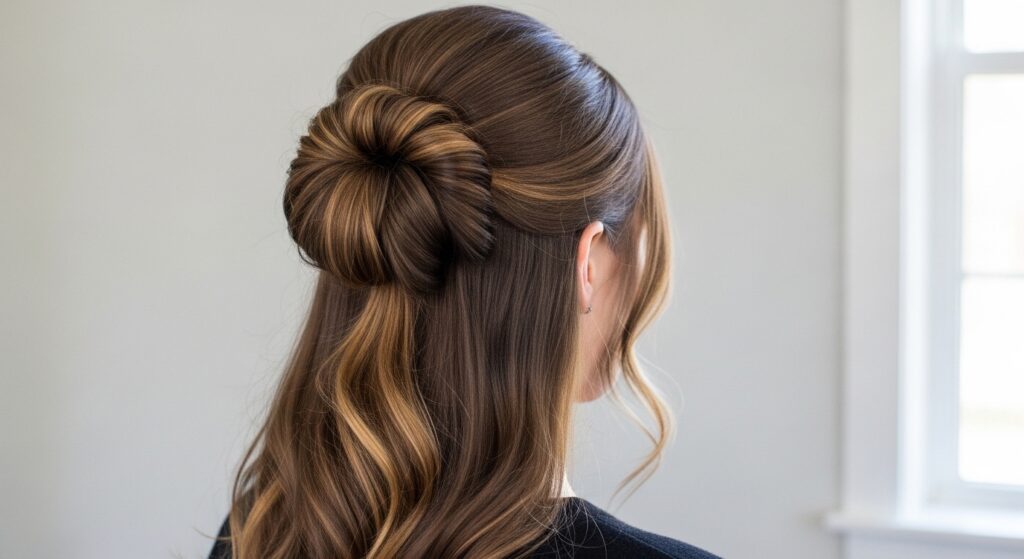
Transforming it Into a Half-Up Style
Short on time or want something less formal? Just do the top roll! Follow the steps for the top section only, leaving the rest of your hair down in soft waves.
This gives you that elegant, vintage feel while being ultra-quick. It’s a gorgeous way to elevate your everyday look or pair with an asymmetrical lob for a modern twist.
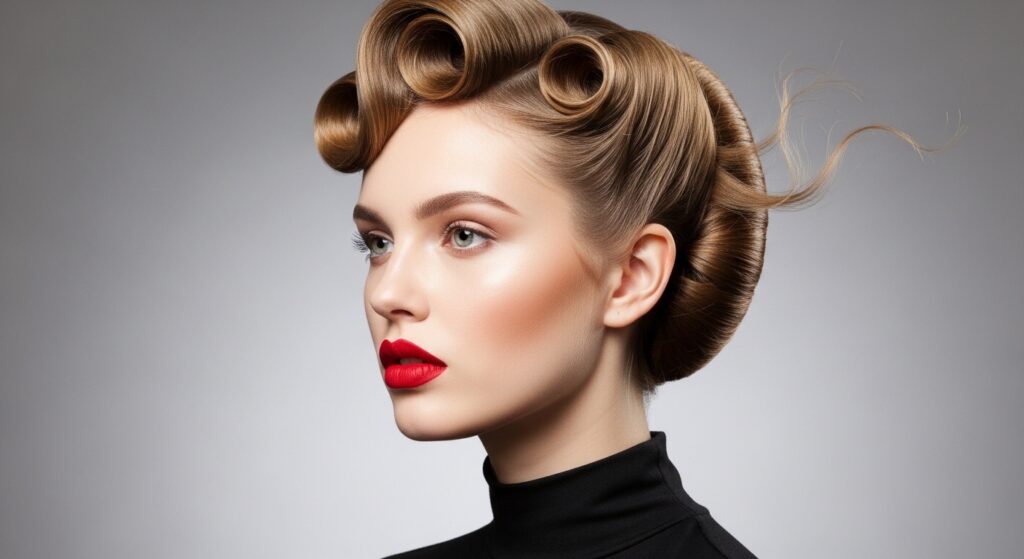
Pairing with Modern Makeup Looks
This hairstyle pairs beautifully with a classic red lip and clean skin—true old money aesthetic. But it also creates a stunning contrast with edgier makeup.
Think smoky eyes or even a vampy lip for a touch of vampire haircut drama. The elegant hair balances bold makeup perfectly, making it ideal for those who love glitchy glam beauty.
Common Mistakes and How to Fix Them
The roll feels loose? You likely need more pins, crossed securely. Hair looks flat? Remember to tease the crown before you start. Rolls look separate? Spend time blending and pinning them together.
Most issues are fixed with more pins and a good texturizing base. Don’t get discouraged; your second attempt will always be faster and better than your first.
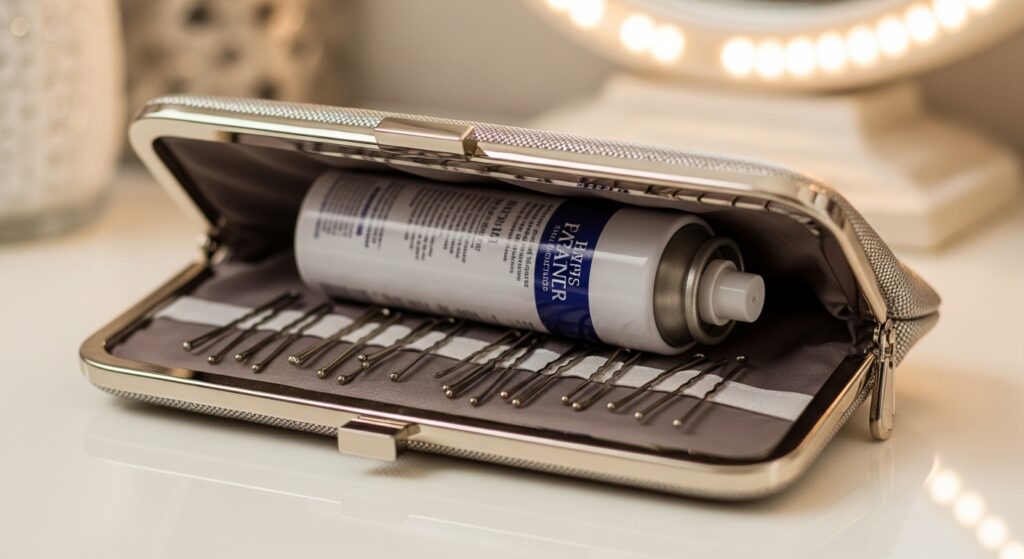
Making it Last All Night Long
Toss a few extra bobby pins and a travel hairspray in your clutch. If you feel a section loosening after hours of dancing, find a bathroom, pin it back, and mist lightly.
The beauty of this style is that it’s easy to do quick maintenance. A 30-second touch-up is all it takes to look flawless from the first toast to the last dance.
Why This Style Feels So Fresh Now
In an era of “quiet luxury,” this hairstyle fits right in. It’s not loud or overly trendy. It’s confident, elegant, and speaks to a timeless sense of style.
It takes inspiration from the past but executes it with a modern, effortless hand. That’s why it feels more relevant than ever, standing apart from fleeting trends.
Your Next Elegant Hairstyle, Mastered
See? I told you it was achievable. This Victorian roll is more than just a pretty updo; it’s a skill that will serve you for years at weddings, parties, and any event where you want to feel special.
It proves that you don’t need to be a professional to create something beautiful and sophisticated. With a little practice, this will become your signature elegant look.
And there you have it—your ticket to an effortlessly elegant event look. The Victorian roll might seem like a step back in time, but the feeling it gives you is completely timeless: put-together, graceful, and secretly easy.
Remember, the first time you try any new style takes a few extra minutes. Be patient with yourself. By your third attempt, you’ll be doing it in under fifteen minutes, I promise. It’s all about building that muscle memory.
Did this guide help you master the roll? I’d love to hear how it turned out for your event! Tag me on Instagram or leave a comment below. And if you want to keep this tutorial handy for your next fancy outing, save this post to Pinterest so you can find it whenever you need a dose of quick elegance.