Viral 19 Scroll-Inspired Mini Braids Intricate for Social Sharing
Okay, let’s be real. My “For You” page has been absolutely taken over by one thing lately: the most intricate, tiny, scroll-stopping mini braids. They’re not your average box braids. These are delicate, artful, and feel like wearable art. And everyone is asking how to get the look.
I was obsessed, so I went deep into the trend. I tried styles, talked to my braider, and figured out what actually works for everyday life. This isn’t just a passing fad; it’s a fresh take on protective styling that’s perfect for 2026 hairstyles.
So, if you’ve been saving those gorgeous, intricate braid inspo pics, you’re in the right place. This is your practical, step-by-step guide to getting the viral look, from talking to your stylist to keeping them flawless. Let’s dive in.
What Are Scroll-Inspired Mini Braids?
Think of these as the “quiet luxury” version of braids. They’re ultra-fine, often using very small sections of hair, and focus on intricate patterns rather than just length. The inspiration comes directly from social media’s love for mesmerizing, detailed content—the kind you can’t stop watching.
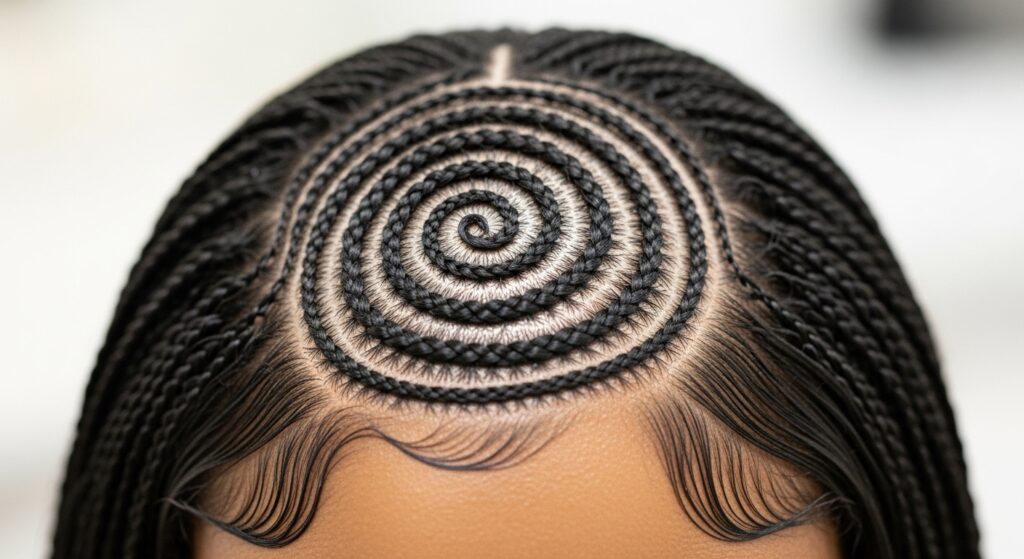
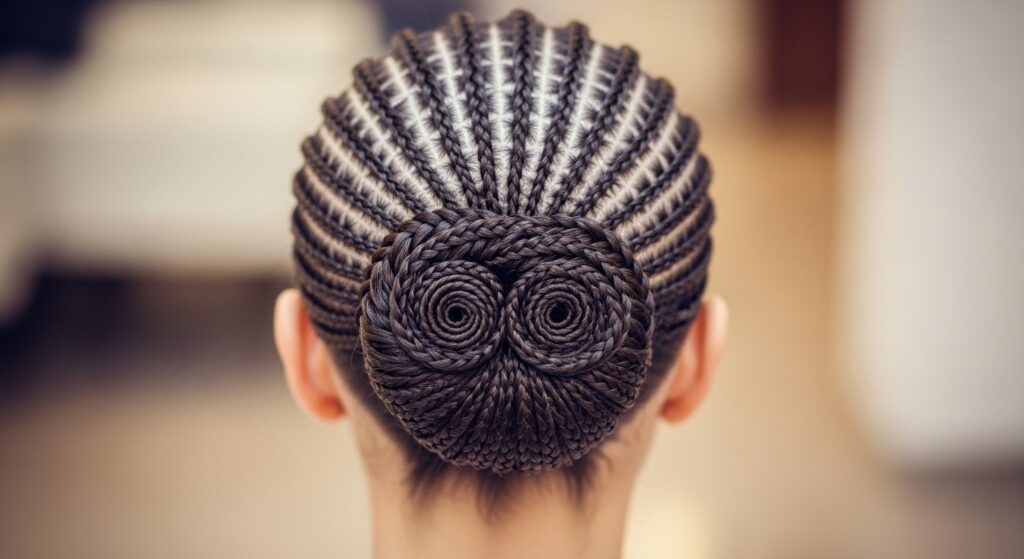
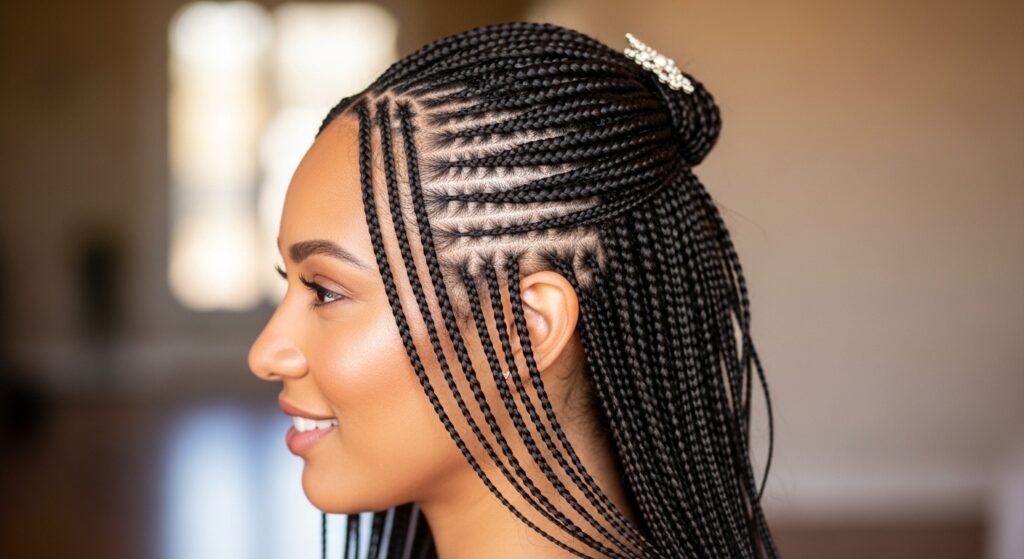
They’re less about heavy, chunky braids and more about creating a delicate, textured canvas. You’ll see patterns like tiny cornrows swirling into buns, braids that frame the face with lace-like detail, or even pieces woven with barely-there ribbons. It’s a soft, artistic approach.
Why This Trend Is Everywhere Right Now
This trend hits the sweet spot. It’s a protective style that feels new and fashion-forward, not just practical. In a world of glitchy glam hair and romantic goth hairstyles, these braids offer a unique, personalized middle ground. They can be adapted to so many aesthetics.
They’re also perfect for our digital lives. The detail photographs incredibly well, making them a dream for content. Plus, they speak to the desire for craftsmanship and uniqueness in our style choices, much like the popular hime cut or asymmetrical lob.
Key Features of the Viral Style
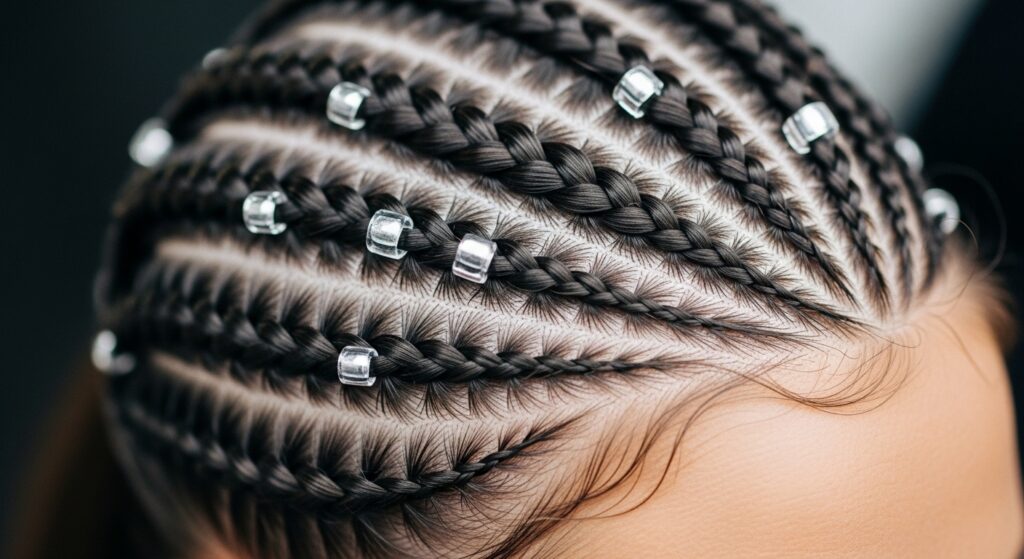
- Fine Sections: Braids are started with much smaller parts than traditional box braids for a detailed look.
- Intricate Patterns: Think swirls, zig-zags, heart shapes, or geometric parts instead of straight lines.
- Mixed Textures: Often, some hair is left out around the edges or braids are combined with loose curls for a soft effect.
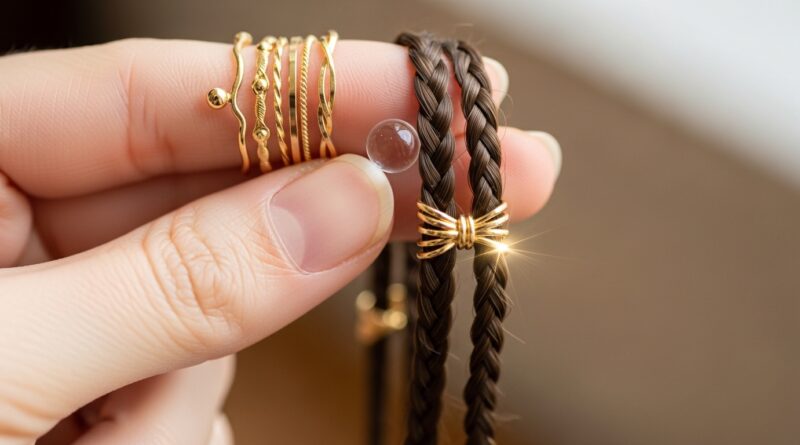
- Accessorized Minimally: Tiny gold cuffs, clear beads, or woven ribbons are used sparingly as accents.
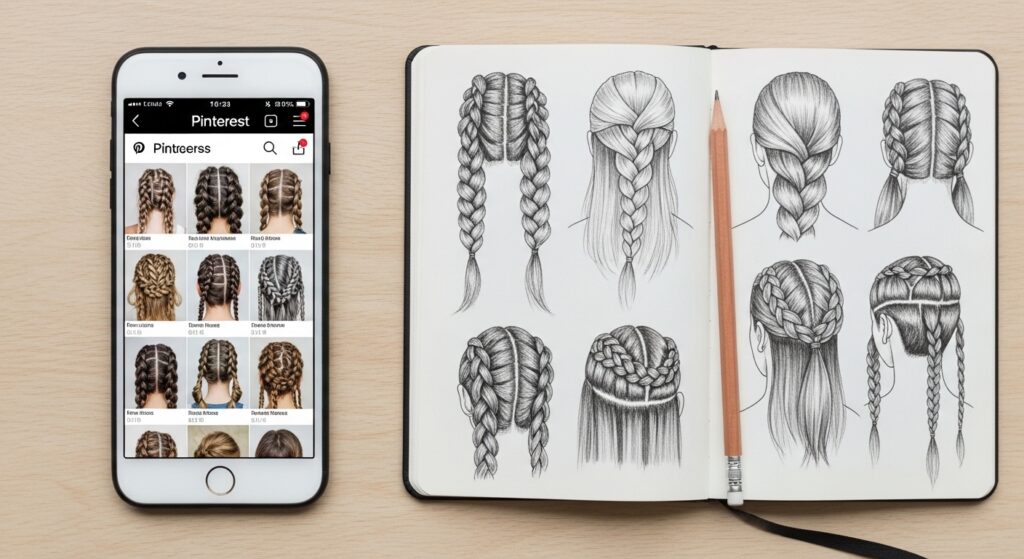
Finding Your Braid Inspiration
Start a dedicated Pinterest board or Instagram collection. Save every image that makes you pause. Look closely at the patterns. Do you love braids that gather into a bun? Or face-framing pieces that look like lace?
Pay attention to the overall vibe, too. Some looks lean into an old money hair feel—sleek, polished, and elegant. Others have a more romantic, undone texture. Knowing your preferred aesthetic will help guide your stylist perfectly.
Choosing the Right Stylist is Everything
This is not a style to cheap out on. You need a braider known for precision and patience. Scour their portfolio—do you see clean parts, consistent braid size, and intricate work? Read reviews that specifically mention detail-oriented service.
Be prepared to book well in advance and pay for the time and artistry. A good stylist for this trend is an investment, but it’s the difference between a sloppy look and the stunning, viral-worthy style you want.
The Essential Consultation Talk
Come to your consultation with your saved photos. Be specific. Point out exactly what you love: “I love how small these braids are here,” or “I want this swirl pattern at my crown.” Discuss your hair’s health and density to ensure it can handle the style.
This is also the time to talk timing and cost. A full head of intricate mini braids can take many hours, often split over two sessions. Get a clear quote and timeline so there are no surprises.

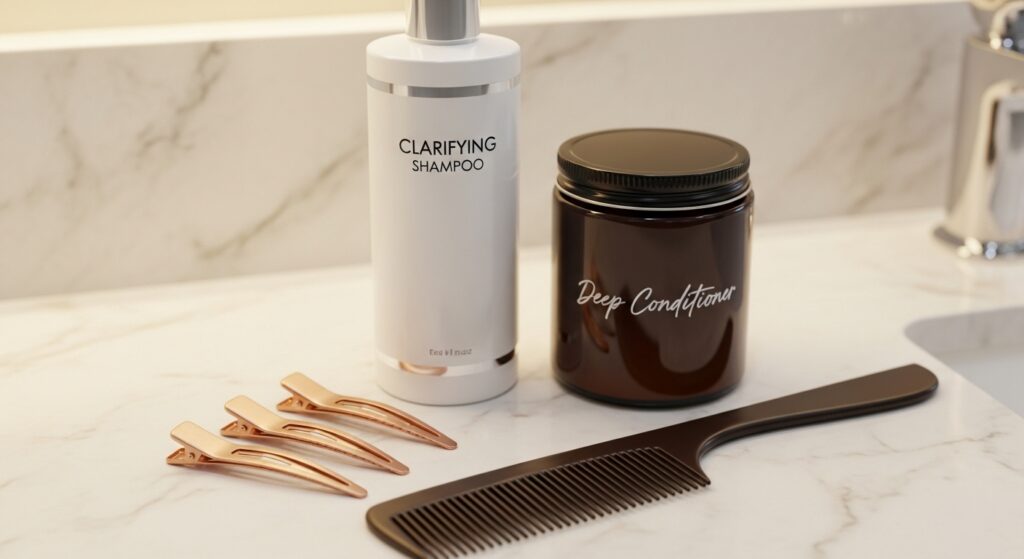
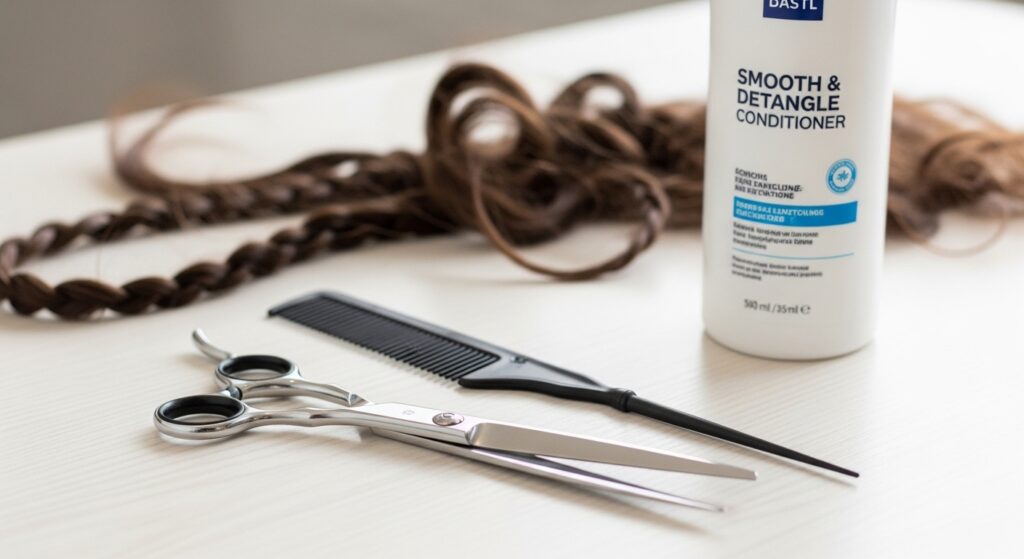
Prepping Your Hair Before the Appointment
- Cleanse & Clarify: Wash your hair 1-2 days before with a clarifying shampoo to remove any buildup for a clean base.
- Deep Condition: Follow with a rich, moisturizing deep conditioner. Your hair needs to be in its most supple state.
- Detangle Thoroughly: Gently detangle your hair while the conditioner is in to minimize breakage during the braiding process.
- Arrive With Dry Hair: Your hair should be completely dry, stretched, and free of any heavy products that cause slippage.
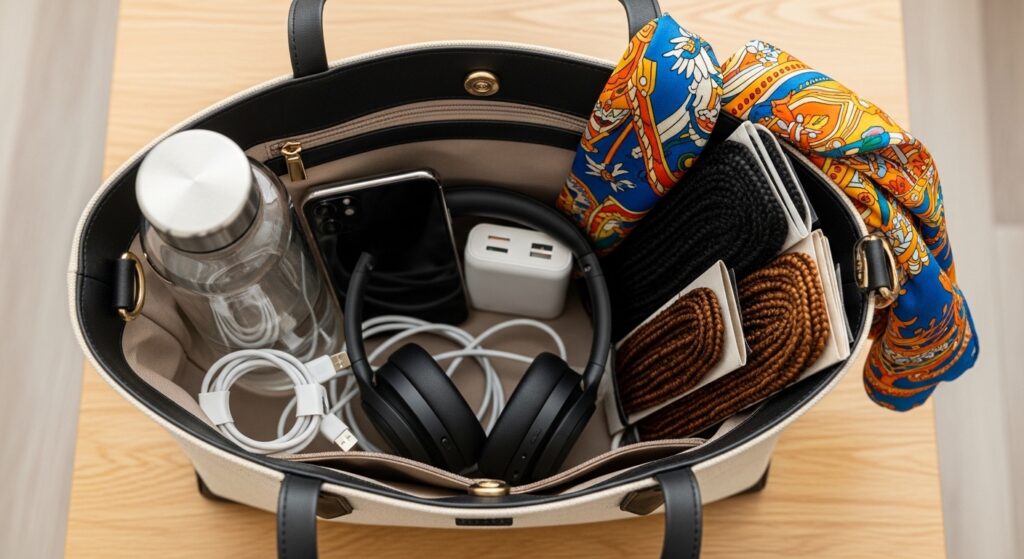
What to Bring to Your Braiding Session
- Your Inspiration Photos: Have them easily accessible on your phone.
- Hair Extensions (if needed): If you’re adding length or thickness, bring the hair your stylist recommended. Kanekalon or pre-stretched braiding hair is common.
- Your Patience: Seriously. Pack headphones, a charger, a snack, and water. Get comfortable.
- A Silk Scarf or Bonnet: For the ride home to protect your new investment immediately.
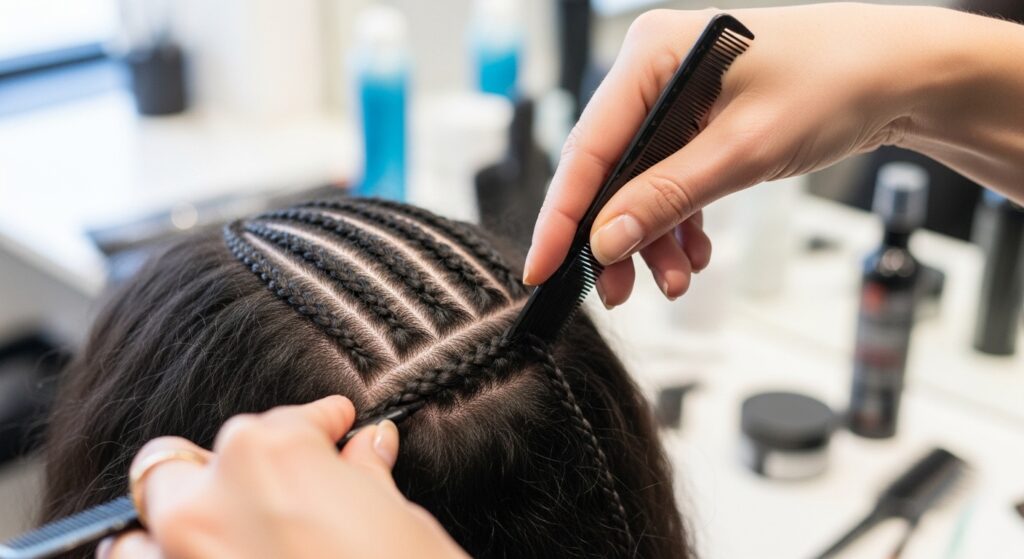
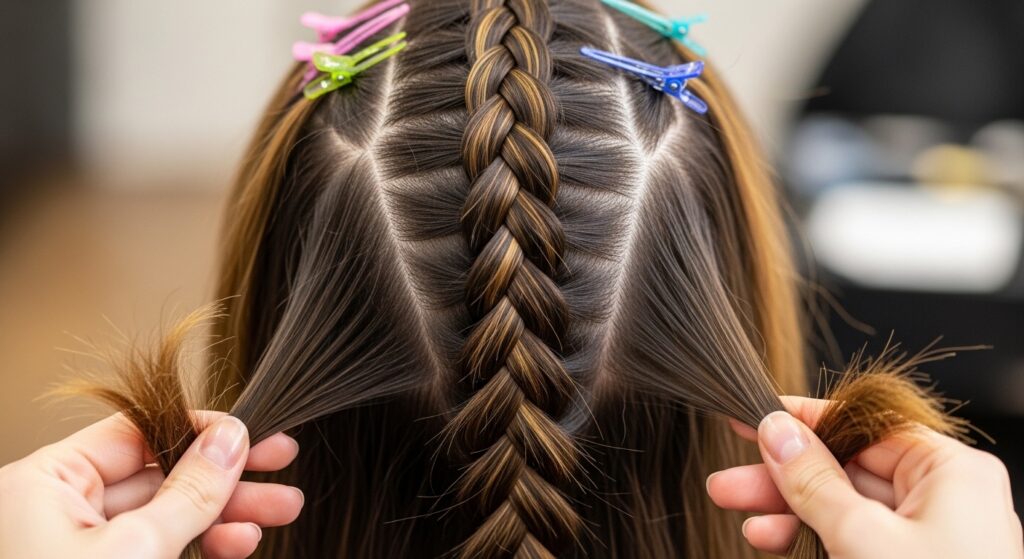
The Braiding Process Explained
The process will start with a meticulous sectioning of your hair according to the chosen pattern. This mapping stage is crucial. Then, your stylist will begin braiding each tiny section, likely from the nape of your neck upwards, adding extension hair if used.
The braiding itself is a slow, methodical process. Tension is key—it must be secure but not painfully tight to avoid traction alopecia. Don’t be afraid to speak up if something feels too tight. This is a marathon, not a sprint.
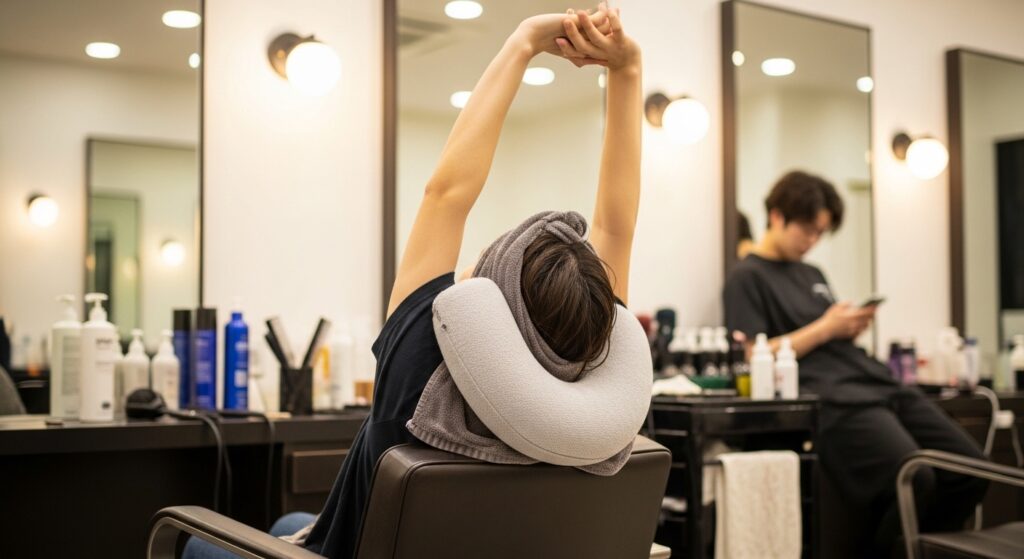
Managing Discomfort & Time
It’s normal to feel some soreness on your scalp, especially after hours of braiding. Take breaks to gently massage your scalp along your parts. Use a travel neck pillow for support. Stand up and stretch your back and shoulders periodically.
Communicate with your stylist. A good one will check in on your comfort. If you need a longer break, say so. Remember, the goal is a beautiful style, not a painful experience that makes you want to take it out immediately.
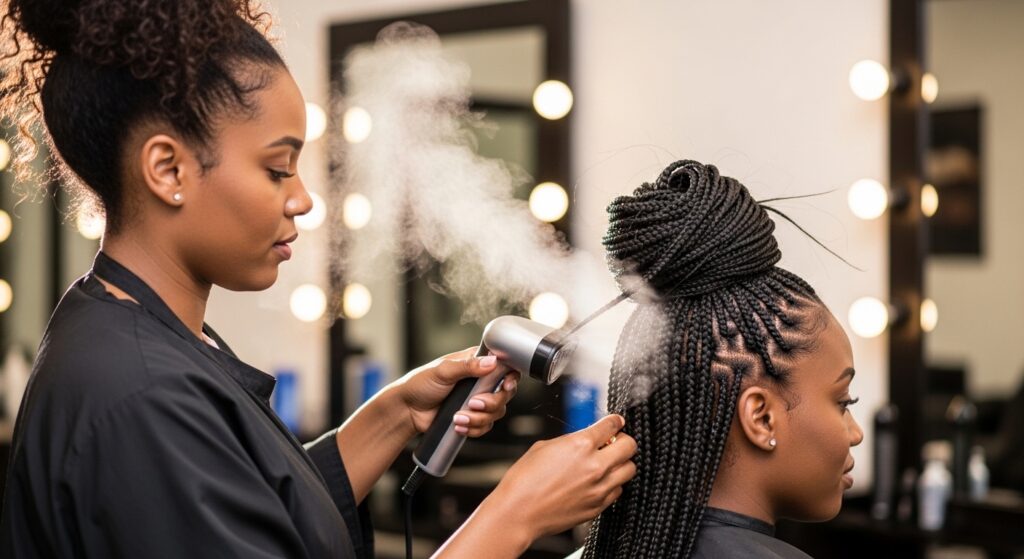
Styling Your Braids Right Away
Once they’re finished, the styling fun begins. Your stylist might steam the braids to set them and reduce frizz. You can then opt for a simple, sleek look—perhaps a middle part and down—or something more styled.
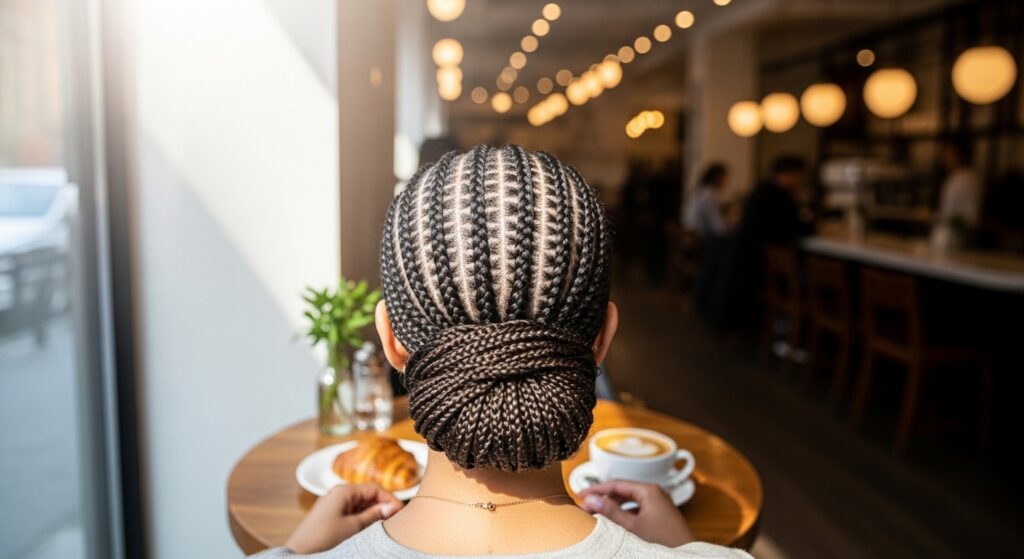
Popular first-day styles include a half-up, half-down look using the braids themselves, or a sophisticated low bun that shows off the patterns at the crown. Keep it simple to let the braids shine.
Daily Maintenance Routine
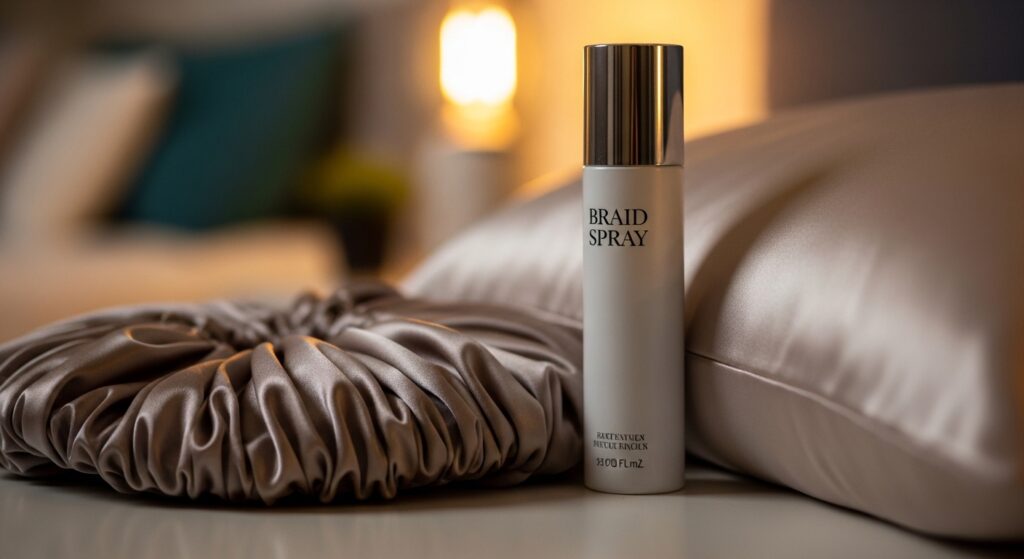
- Silk or Satin Protection: Sleep on a silk pillowcase or wear a silk bonnet every single night. This is non-negotiable to reduce friction and frizz.
- Moisturize Your Scalp: Use a lightweight, liquid-based moisturizer or braid spray along your parts every few days to prevent dryness and itchiness.
- Wrap Your Hair: Gently wrap your hair with a silk scarf when at home to keep the style neat and contained.
Washing Your Mini Braids
Yes, you can and should wash them! Dilute a gentle shampoo in water and apply it directly to your scalp, massaging with the pads of your fingers along the parts. Rinse thoroughly. Avoid aggressively scrubbing the length of the braids.
Follow with a diluted conditioner, focusing on your scalp and the braided hair near your roots. Rinse well. Gently squeeze out excess water with a microfiber towel and let them air dry completely—this can take a full day.

Fighting the Frizz & Flyaways
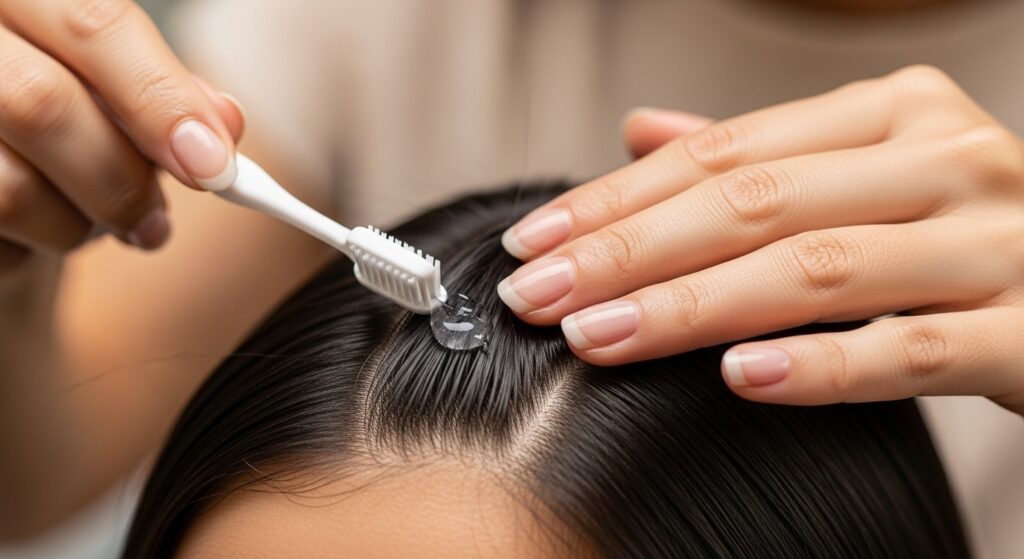
A little frizz is natural, but to keep that crisp look, have a few tools handy. A tiny bit of edge control or gel on a toothbrush can tame baby hairs. For flyaways along the braids, a very small amount of hair wax rubbed between your palms and smoothed down works wonders.
For a quick refresh between washes, a light braid spray or even a mix of water and a drop of leave-in conditioner in a misting bottle can revive the style without heaviness.
Accessorizing Your Intricate Braids
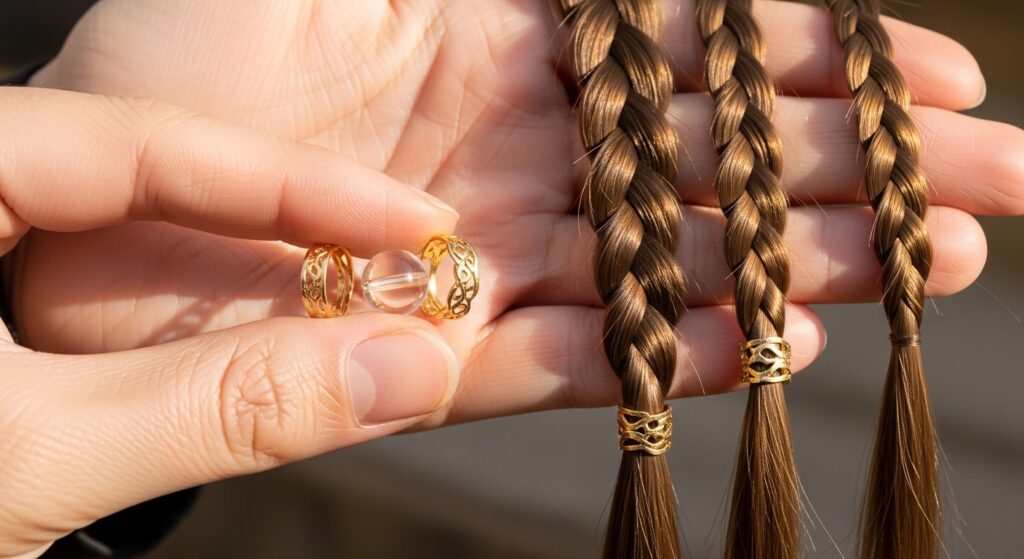
Less is more. The braids are the star. Choose a few delicate pieces like tiny gold or silver hoop cuffs, placed sporadically down a few braids. Clear, iridescent, or pearl beads are also stunning for a subtle touch.
You can also weave in thin satin or velvet ribbons for a soft, romantic goth hairstyles vibe. Just ensure any accessories are lightweight and won’t cause unnecessary stress or tangling on the fine braids.
Updos That Show Off the Patterns
This is where the style truly shines. Pull your braids into a high bun to display the intricate work at the nape of your neck. A low, twisted bun can highlight beautiful patterns at the crown. Use U-pins or spin pins for a secure hold that’s gentle on the braids.
For a modern take on the vampire haircut elegance, try a deep side part and gather all braids over one shoulder, securing the ends with a simple, elegant clip.
Half-Up, Half-Down Styles
Gather the front sections of your braids—maybe those with the most detailed patterning—and secure them at the back of your crown with a discreet elastic or a chic claw clip. Let the rest flow down.
You can also do a half-up style by creating a small, gathered ponytail at the top, leaving the sides and back down. This frames the face beautifully and adds volume on top, giving a playful twist on the glitchy glam hair aesthetic.
Protecting Your Edges & Hairline
This is the most important part of long-term hair health. If your braids feel too tight at the temples or hairline, ask your stylist to redo them immediately. Never suffer in silence. Massage your edges daily with a light oil like jojoba or almond oil.
Give your edges a break between styles. Don’t braid them back-to-back. Let your hairline rest with loose, gentle styles like a sleek bun or a protected wash-and-go for a few weeks.

How Long to Keep Them In
To maintain both the style’s freshness and your hair’s health, I recommend keeping these intricate mini braids in for no longer than 6-8 weeks. After that point, natural growth can cause too much tension, and product buildup becomes harder to manage.
Listen to your scalp and your hair. If you notice excessive itching, significant frizz at the roots, or thinning, it’s time to take them out, regardless of the timeline.

The Gentle Take-Down Process
- Gather Supplies: You’ll need sharp, small hair shears, a tail comb, a detangling conditioner, and patience.
- Cut the Extension Hair: Carefully cut the braided extension hair away from your own hair, about an inch from your roots.
- Unravel Slowly: Use the tail comb or your fingers to gently unravel each braid. Soaking the braids in warm water with conditioner can help soften any knots.
- Detangle & Cleanse: Once all braids are out, gently detangle your hair under a stream of conditioner in the shower, then shampoo and deep condition.
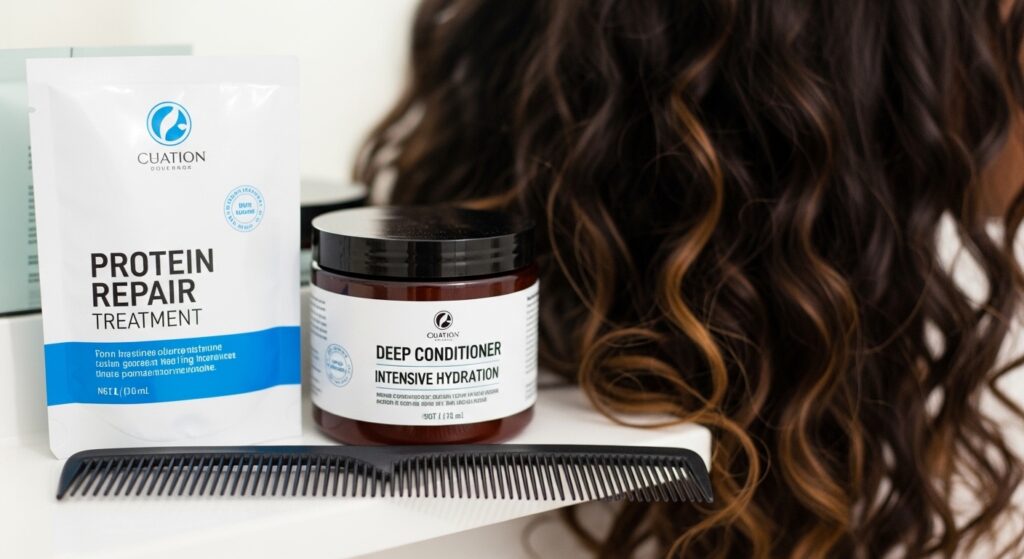
Post-Braid Hair Care Recovery
Your hair and scalp need TLC. After washing, do a strengthening protein treatment if your hair feels weak, followed by a moisturizing deep conditioner. Keep your styles low-manipulation for the next few weeks.
Think about styles like a simple asymmetrical lob if you need a cut, or embracing your natural texture. This is a great time to let your hair breathe and recover fully before considering another protective style.
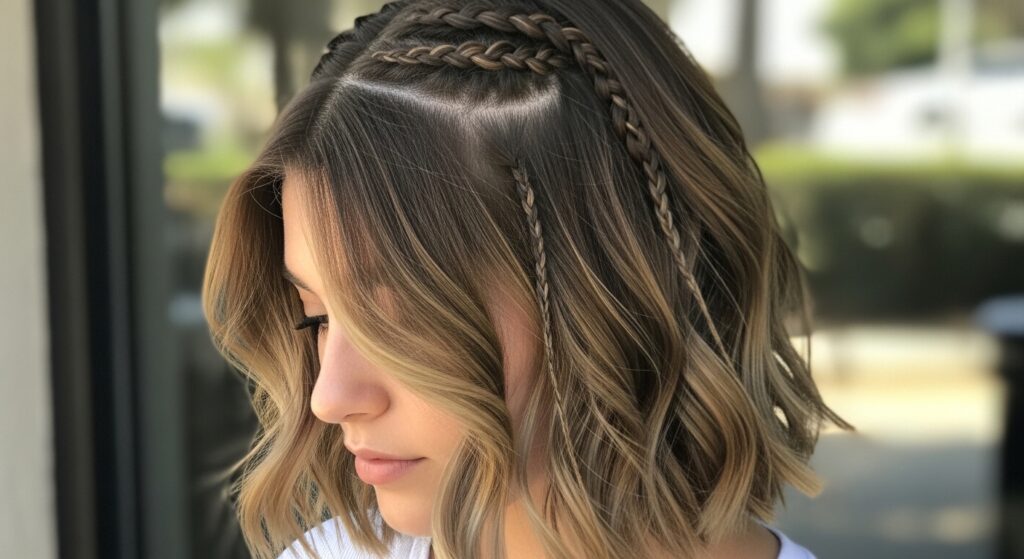
Adapting the Trend for Shorter Hair
Absolutely! If you have a bob or shorter hair, the trend adapts beautifully. Focus on intricate patterns just at the crown or as face-framing accents. You can do a partial style, braiding just the top layer and leaving the bottom out in its natural texture.
It creates a gorgeous, textured effect that plays with dimension. It’s a fantastic way to experiment with the trend without the commitment of a full head of long braids, perfect for a quiet luxury bob makeover.
Final Thoughts on the Braid Life
Embracing this trend is about celebrating artistry and giving your hair a break. It’s a commitment of time and care, but the payoff is a stunning, unique style that turns heads and feels special. It’s more than just a hairstyle; it’s a form of self-expression.
Remember, the goal is to feel beautiful and confident while protecting your natural hair. Whether you go for a full head of intricate patterns or just a few accent braids, make it your own.
I hope this guide makes you feel ready to rock those gorgeous, intricate braids you’ve been dreaming of. It’s one of those styles that feels empowering once you have it—a true blend of art and everyday life.
Have you tried this trend yet? Or are you planning to? I’d love to hear what patterns or styles you’re loving most! Drop your thoughts in the comments below—let’s chat all things braids.
Save this post to Pinterest to keep this guide handy for your big braid day!