Wash and Go Styles: Easy Curly Hair Routines
If you have curly hair, you’ve likely heard the term “wash and go” whispered like a holy grail. It promises defined, bouncy curls with minimal styling time—no twisting, no braiding, just apply product and let your hair air dry. But for many curlies, the reality often feels more like “wash and pray,” resulting in a frizzy, undefined, or shrunken mess. What if we told you the perfect wash and go is not a myth, but a matter of technique and the right routine?

What is a Wash and Go, Really?
Let’s clear up the confusion first. A true wash and go is not about skipping stylers. It’s a specific styling method where you apply leave-in conditioner and a defining styler (like a gel or curl cream) to sopping wet hair, then allow it to dry without any further manipulation like twisting or raking through sections after the initial application. The goal is to allow your natural curl pattern to clump and dry in its most organic, defined state.
The magic lies in the hydration and the cast. By applying products to dripping wet hair, you lock in an immense amount of moisture. The styler, particularly a gel, then forms a light cast around these water-logged curl clumps as they dry. Once fully dry, you “scrunch out the crunch” to reveal soft, defined, and touchable curls that last for days. It’s a celebration of your hair’s innate pattern, simplified.
The Foundational Steps for a Flawless Wash and Go
Consistency is your best friend. Follow these steps in order every time to build a reliable routine that your curls will thank you for.
Step 1: The Cleanse & Condition (The Reset)
Start with a thorough cleanse using a sulfate-free shampoo or a co-wash, focusing on your scalp. This removes buildup without stripping your hair of its natural oils. Next, apply a generous amount of a moisturizing conditioner from mid-lengths to ends. Use your fingers or a wide-tooth comb to detangle gently while the conditioner is in. This is the first step toward defining those clumps—well-detangled, conditioned hair forms better clumps. Rinse thoroughly with cool water to seal the hair cuticle.
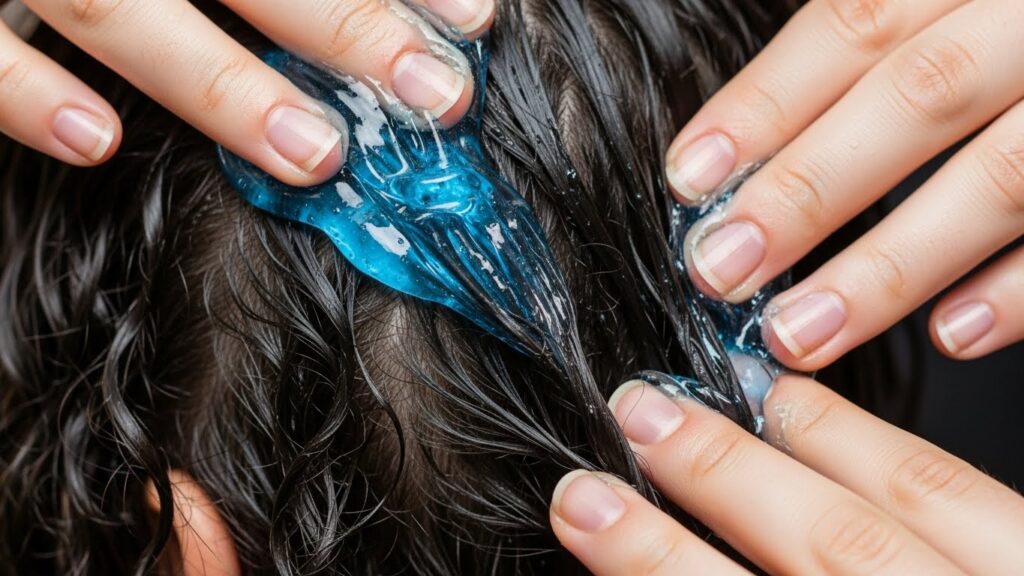
Step 2: The Sopping Wet Application (The Key to Definition)
This is the non-negotiable secret. Do not towel-dry your hair. Instead, immediately move to the sink or shower and re-wet your hair until it is dripping wet. The water acts as the primary hydrator and vehicle for your products. Apply a leave-in conditioner or curl cream first, raking or smoothing it through to ensure even distribution. Then, apply your defining gel. Techniques matter here: many find success with the “praying hands” method (smoothing product down the hair shaft) followed by gentle scrunching to encourage curl formation and eliminate excess water and product.

Step 3: Drying & The Cast (The Patience Phase)
Resist the urge to touch your hair as it dries! Air drying is ideal for maximum definition, but it can take time. For faster drying, use a diffuser on a low heat and speed setting. Hover diffuse by cupping sections of hair into the diffuser bowl without touching your scalp, then moving on. You’ll know you’re doing it right when a hard cast forms—your hair will feel crunchy and look a bit stiff. This is a good sign! This cast is what locks the curl pattern in place and fights frizz.
Step 4: Scrunch Out the Crunch (The Reveal)
Once your hair is 100% completely dry, it’s time for the grand reveal. Take a small amount of lightweight oil or serum on your palms, rub your hands together, and gently scrunch your hair upwards towards your scalp. You will hear a satisfying crinkling sound as the cast breaks. Continue until all the crunch is gone and your curls feel soft, bouncy, and defined. This step transforms your hair from a stiff sculpture into a movable, touchable masterpiece.
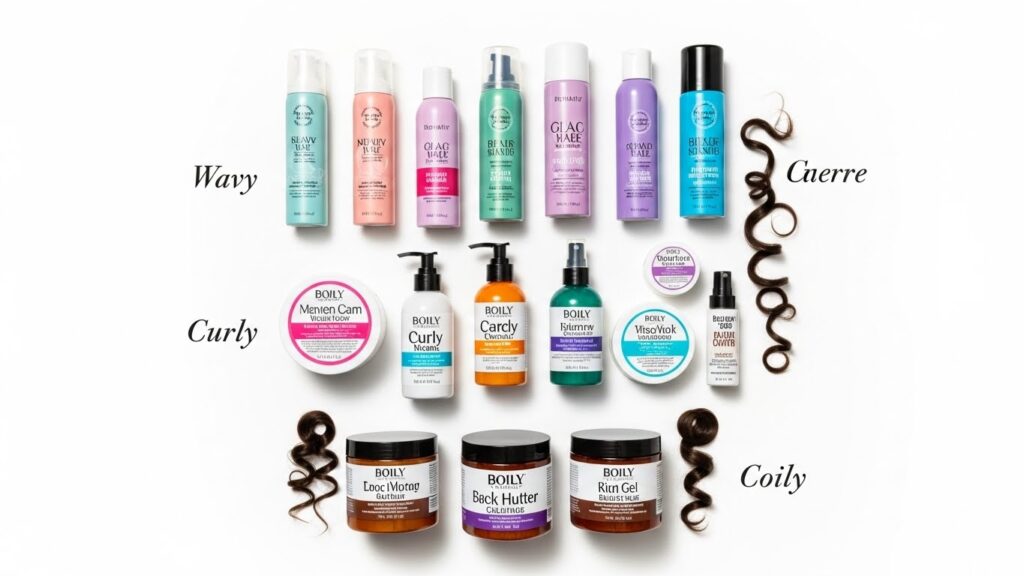
Choosing the Right Products for Your Curl Type
Not all products work for all curls. Your wash and go success hinges on choosing the right formulations.
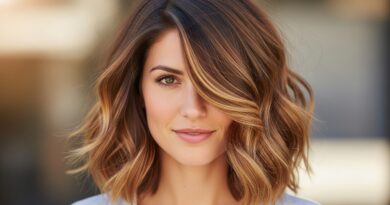
For Loose Waves (Type 2): Opt for lightweight milks, mousses, or light-hold gels. Heavy creams can weigh down your pattern. Look for terms like “volumizing” or “sea salt.”
For Defined Curls (Type 3): You have more versatility. A leave-in conditioner paired with a medium-hold gel is a classic combo. Cream-gel hybrids also work wonderfully for balance.
For Tight Coils (Type 4): Prioritize intense moisture. Use a rich leave-in or cream as a base, then layer with a strong-hold gel or butter to define shrinkage and combat frizz. The LOC (Liquid, Oil, Cream) or LCO (Liquid, Cream, Oil) method can be integrated here.
Pro Tip: Always apply products in the order of lightest to heaviest consistency. And don’t be afraid to mix products—a dollop of cream with a handful of gel can create your perfect custom styler.
Common Wash and Go Mistakes (And How to Fix Them)
Even with the best intentions, things can go awry. Let’s troubleshoot.
Mistake 1: Not Using Enough Water. If your hair feels producty or sticky, you likely applied to damp, not wet, hair. Fix: Next time, ensure your hair is dripping. You can even apply your styler in the shower.
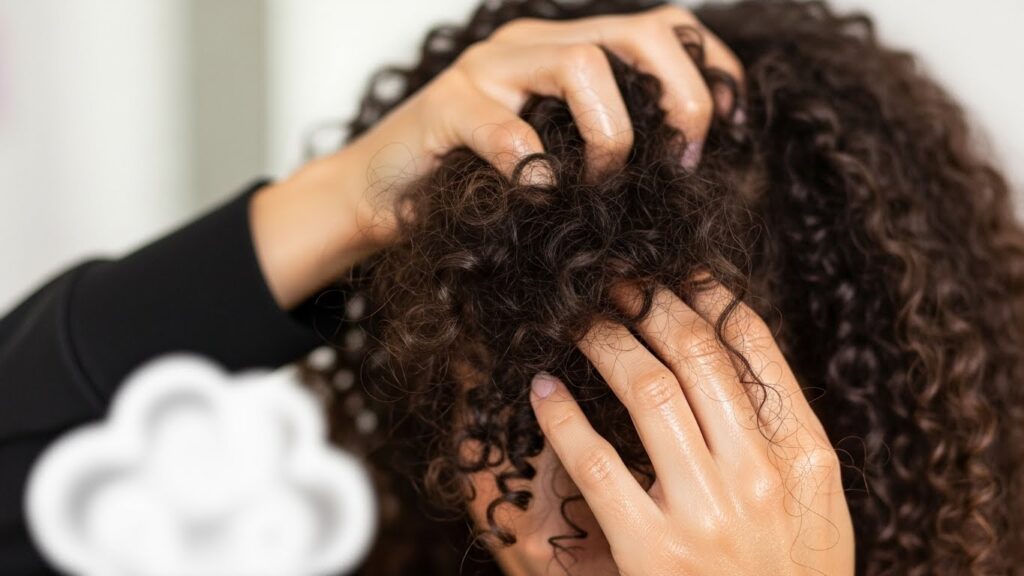
Mistake 2: Over-Manipulating During Drying. Touching or separating curls as they dry causes frizz. Fix: Apply product, then do not touch until 100% dry. Use a diffuser if you lack patience.
Mistake 3: Scrunching Out the Crunch Too Early. This leads to instant frizz and deflated curls. Fix: Be certain your hair is dry all the way to the roots. If in doubt, wait longer.
Mistake 4: Using the Wrong Products for Your Density. Fine-haired curlies get weighed down; thick-haired curlies may get insufficient hold. Fix: Assess your hair’s density (how many strands you have) and choose products formulated for fine, medium, or thick hair.
Extending Your Wash and Go: Refresh Routines
A great wash and go should last 3-5 days. To extend its life, you need a refresh routine.
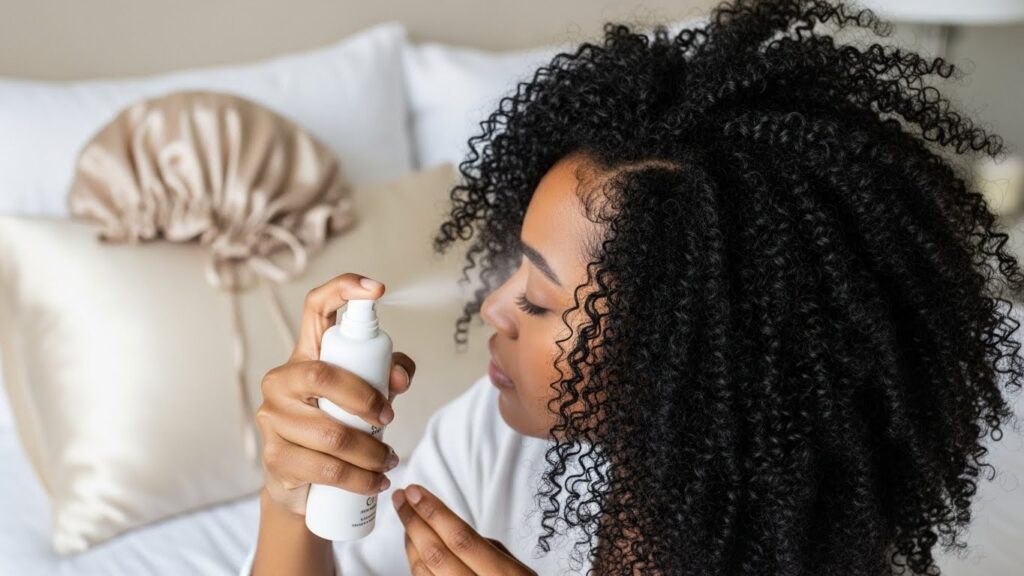
For Day 2 & 3: Lightly mist your hair with water or a dedicated curl refresh spray until damp (not soaked). Gently smooth and rescrunch small sections. You can add a tiny bit of gel emulsified with water to any frizzy areas. Let it air dry or diffuse lightly.
For Pineappling & Protection: At night, preserve your style by “pineappling”—loosely gathering your hair into a very high, loose ponytail on top of your head with a satin scrunchie. Always sleep on a satin or silk pillowcase to reduce friction and moisture loss. A satin bonnet is also an excellent option.
Embracing Your Unique Curl Pattern
The ultimate goal of the wash and go is to work with your hair, not against it. It may take a few tries to find your perfect product cocktail and technique. Your curls might look different day-to-day, and that’s part of their charm. The wash and go is more than a style; it’s a low-manipulation, healthy hair practice that celebrates the unique beauty of your natural texture.
So, embrace the water, find your holy-grail gel, and give your curls the freedom to clump, cast, and shine. With this easy curly hair routine, you’re not just washing and going—you’re washing and glowing.