Waterfall 13 Loose Integration with Everyday Ponytails Subtly Romantic
Okay, let’s be real. We all have those days where we need to look put-together but the thought of doing anything complicated with our hair is just… no. That’s where the magic of the waterfall 13 loose integration comes in. It sounds fancy, but I promise it’s your new best friend.
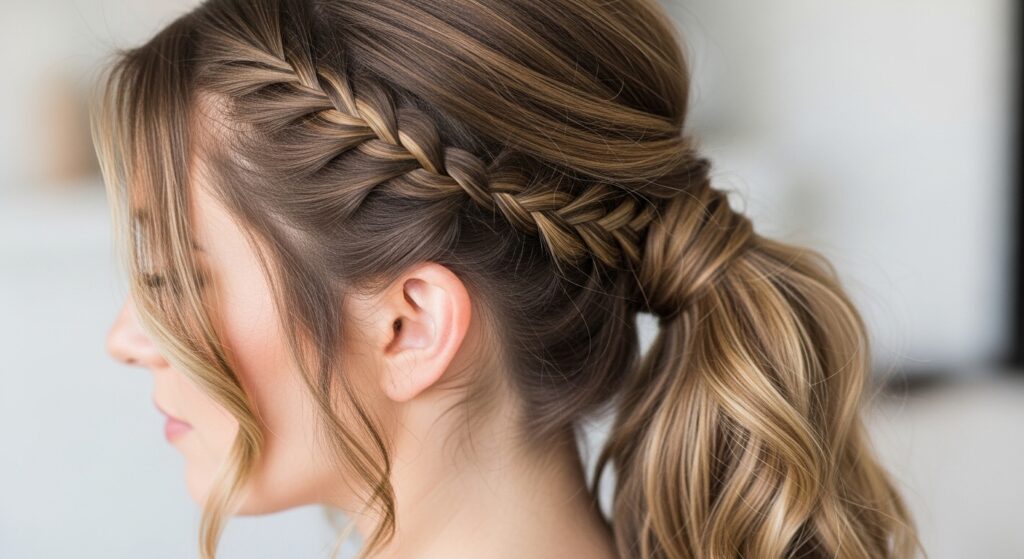
This isn’t about a rigid, perfect braid. It’s a soft, romantic trick that works with your go-to ponytail to make it look effortlessly special. Think of it as the “quiet luxury” of hair details—subtle, beautiful, and surprisingly easy.
I’m going to walk you through exactly how to do it, step-by-step. It’s perfect for adding a touch of that subtly romantic vibe to your everyday look, whether you’re running errands or heading to a nice dinner. Let’s get into it.
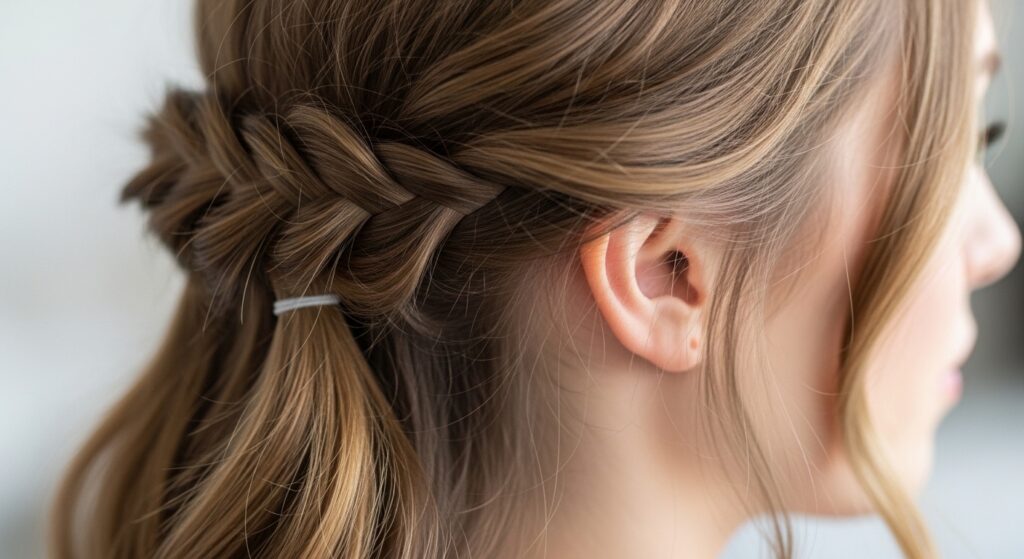
What Is The Waterfall 13 Loose Integration?
First things first, let’s decode the name. “Waterfall” refers to the cascading effect of the braid. The “13” is just a trendy way of saying it’s a modern, updated take on the classic. And “loose integration” means we’re not creating a full braid, just weaving a piece of it into your ponytail.
The goal is texture and softness. Instead of a tight, traditional braid, we let pieces fall freely to create movement. This technique adds a detail that feels intentional but not overdone, fitting right in with the effortless chic of 2026 hairstyles.
Why This Style Is A Total Game-Changer
This style solves so many problems. It elevates a basic ponytail in under five minutes. It adds interest to second or third-day hair when you need a refresh. And it works on almost every hair length and texture.
It gives you that “I tried, but not too hard” look that’s so coveted. It’s romantic without being fussy, elegant without being stiff. It’s the kind of detail that makes people ask, “How did you do that?” while you just smile because it was so simple.

Tools You’ll Need To Get Started
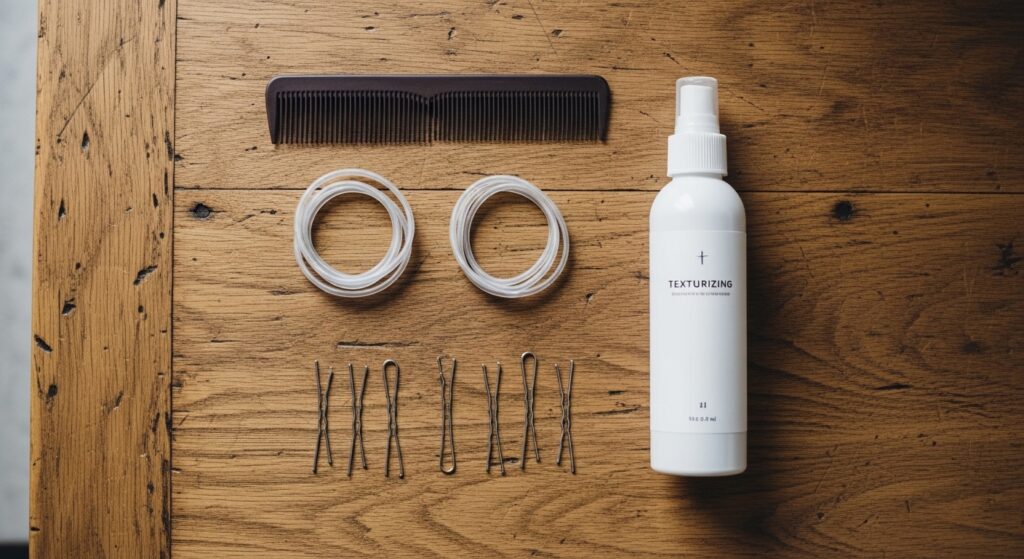
You don’t need much! Here’s your simple toolkit:
- A fine-tooth comb for clean sections.
- Two clear elastic hair ties (one small, one regular).
- A few bobby pins that match your hair color.
- Optional: A light-hold texturizing spray or hair oil for flyaways.
That’s it. Seriously. This isn’t a style that requires a ton of product or tools. The focus is on the technique and the natural beauty of your hair.
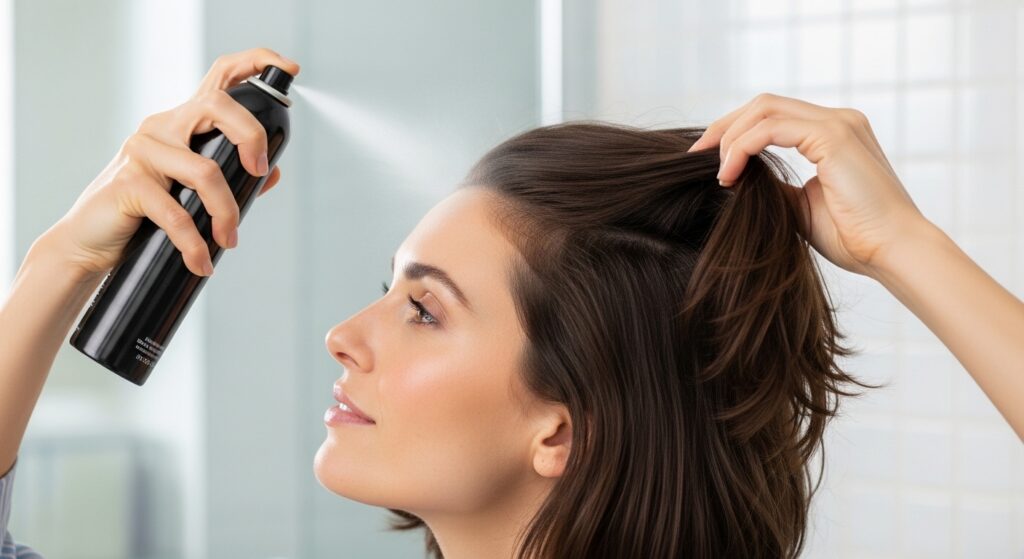
Step 1: Prep Your Hair Texture
Start with hair that’s not slippery-clean. Day-old hair or hair with a bit of dry shampoo or texturizing spray has more grip. This helps the braid stay put and look softer.
If your hair is very fine or silky, a light mist of texturizing spray at the roots and along the crown will be your best friend. We want that lived-in, soft feel, not a slick, polished look.
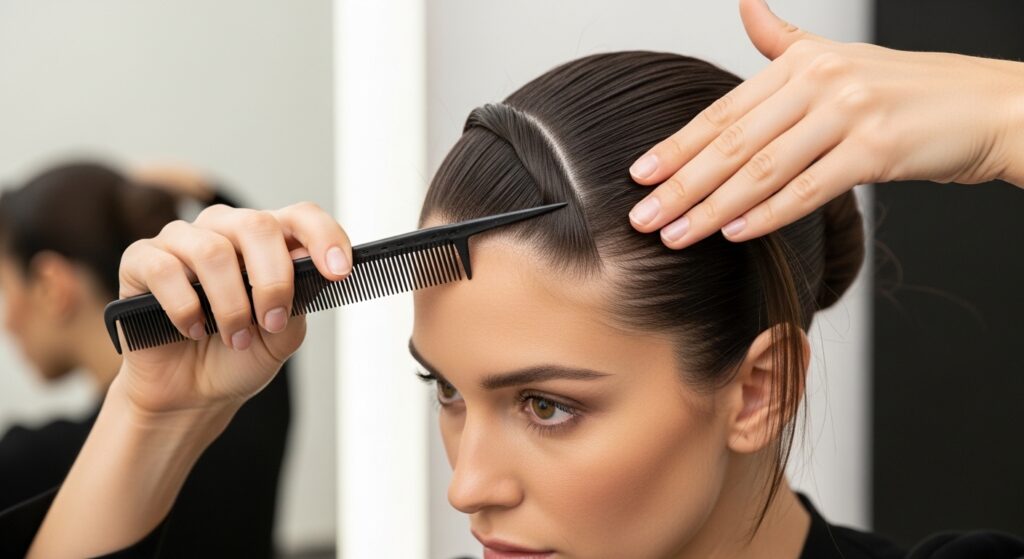
Step 2: Choose Your Starting Point
Decide which side you want the waterfall detail on. It typically looks best starting just above your temple on your dominant side (the side you part your hair on). This creates a natural frame for your face.
You can also do it on both sides for a more symmetrical, hime cut-inspired look, but for today, we’re keeping it simple with one side. Use your comb to create a clean, curved section from your temple back toward your ear.
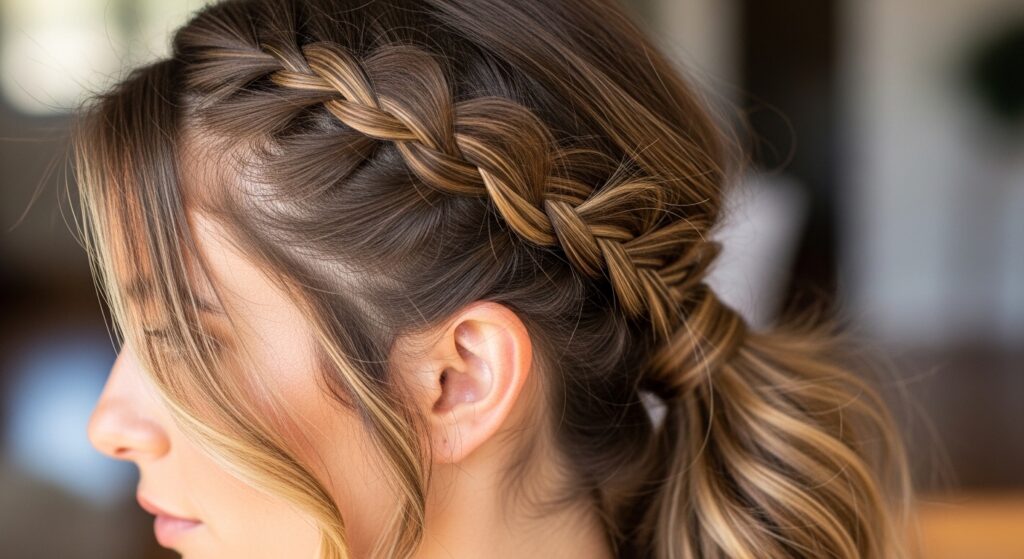
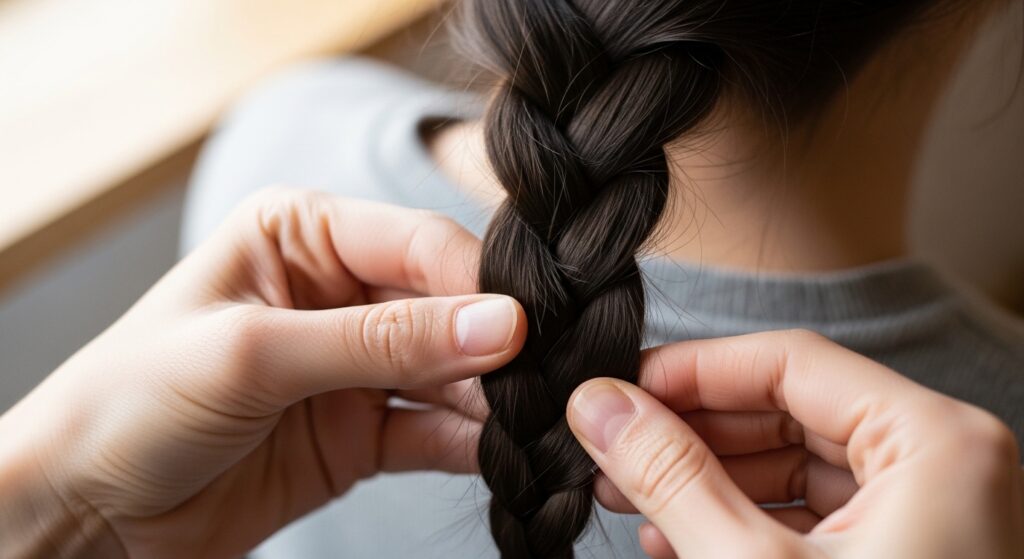
Step 3: Begin The Waterfall Braid Technique
Split your section into three equal strands. Start a simple three-strand braid: cross the top strand over the middle, then the bottom strand over the new middle.
Now, here’s the “waterfall” part. On the next stitch, when you drop the top strand (the one closest to your forehead), let it fall freely. Immediately pick up a new, similar-sized section of hair from above to replace it and continue braiding.
Step 4: The “Loose Integration” Move
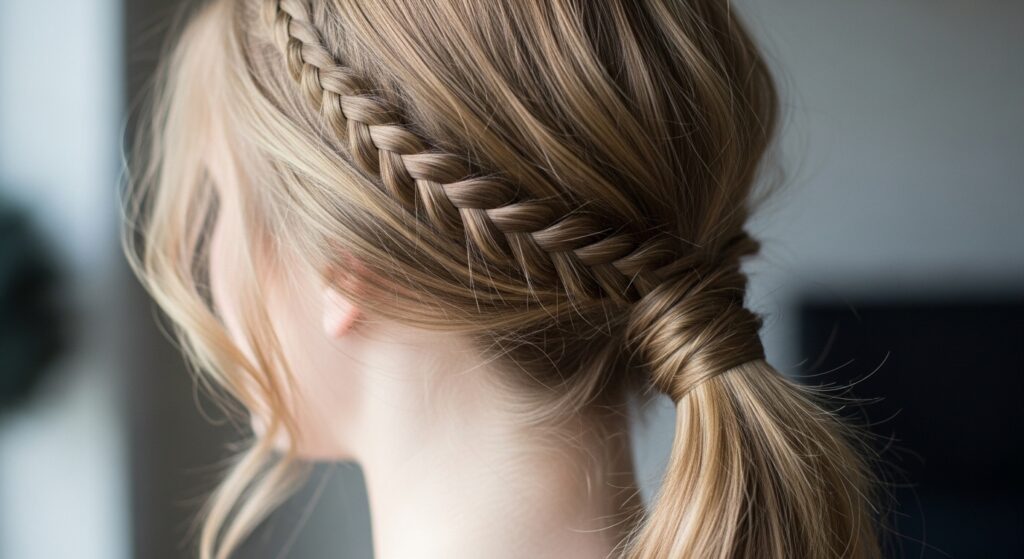
As you continue the waterfall braid for about 3-4 stitches, keep it loose. Don’t pull tight. You’re creating a soft, cascading effect along the side of your head.
After those few stitches, stop adding new hair. Simply finish braiding the remaining strands you’re holding into a tiny, short braid. Secure the end with the small clear elastic.
Step 5: Gather Your Ponytail
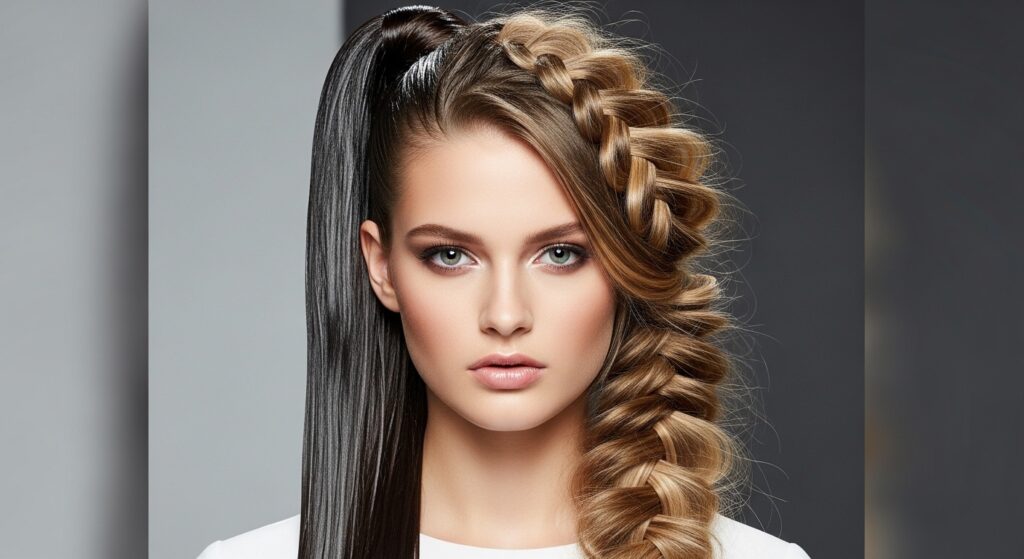
Now, gather all of your hair, including that little braid, into your desired ponytail position—low, mid-height, or even a high pony. Use your fingers, not a comb, for a softer look.
Make sure the little braid is integrated into the ponytail, not just sitting on top. The goal is for it to look like a beautiful detail that’s part of the whole style, not an add-on.
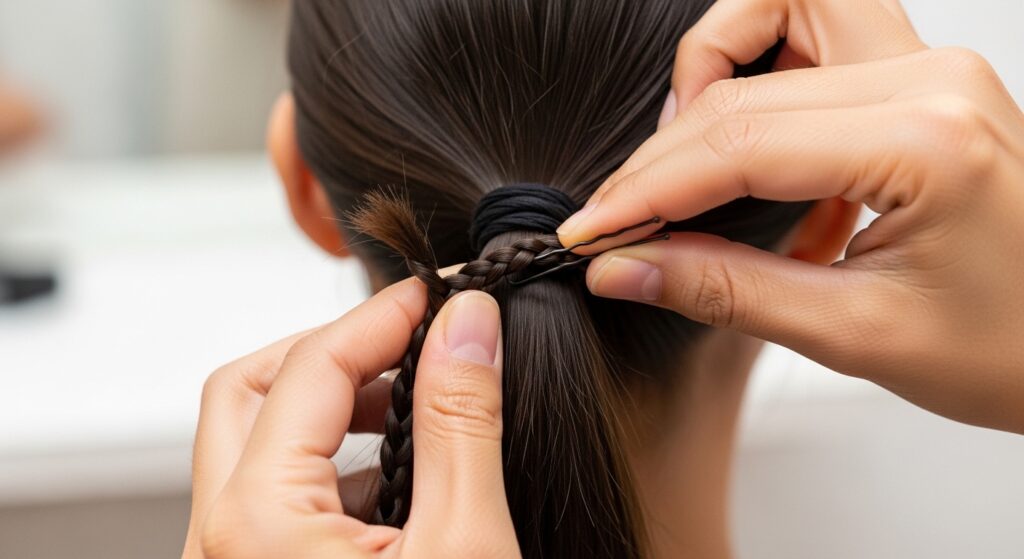
Step 6: Secure & Hide The Details
Secure your full ponytail with the regular clear elastic. Now, look at that tiny braid end. Gently twist it and wrap it around the base of your ponytail to hide the small elastic.
Use a bobby pin or two to secure the end underneath the ponytail base. Tug gently on the waterfall pieces to loosen them even more for that perfectly imperfect finish.
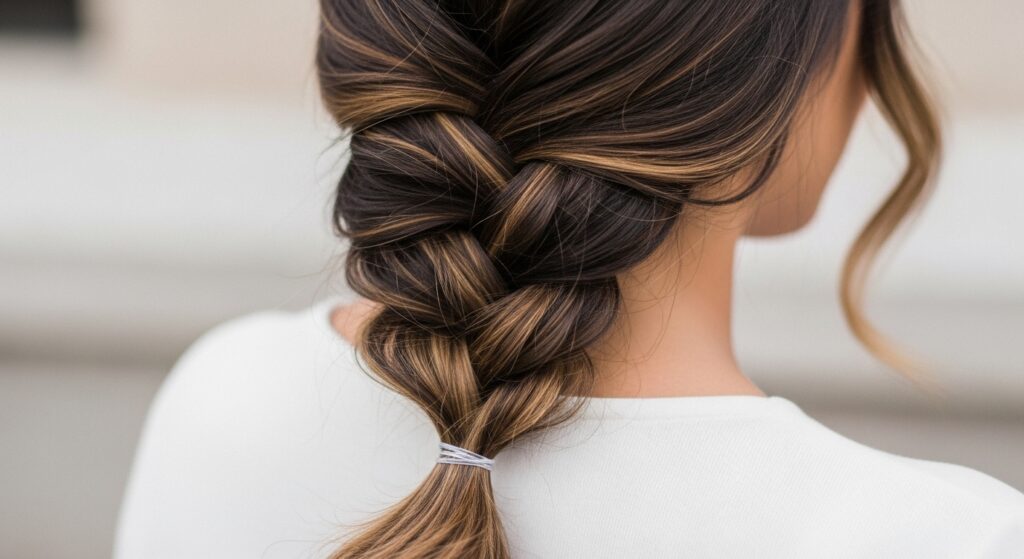
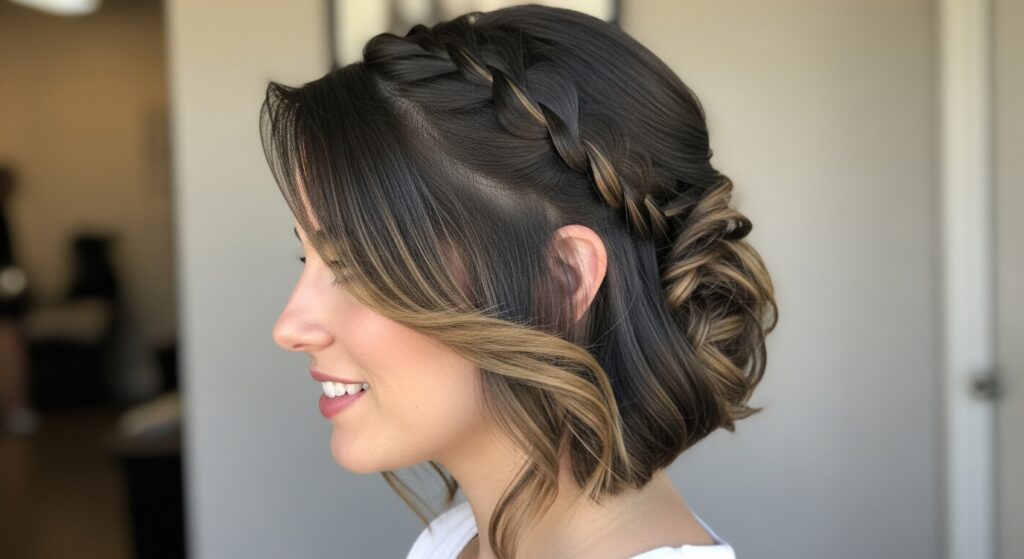
How To Make It Look Effortlessly “Lived-In”
Once everything is secure, this is the fun part. Gently pull apart the stitches of the waterfall braid to make it wider and softer. You want it to look more like a textured wave than a precise braid.
Pull a few face-framing pieces loose around your forehead and temples. The key is breaking up any harsh lines. This lived-in texture is what gives it that old money hair vibe—seemingly untouched but perfectly elegant.
Adapting The Style For Shorter Hair
If you have a bob, an asymmetrical lob, or even a vampire haircut with shorter front pieces, you can still do this! Just modify the braid length.
Start the waterfall section higher up, near your part. You might only get 2-3 waterfall stitches before you run out of length. That’s perfect! Integrate it into a half-up ponytail or a small clip for a gorgeous detail.
Creating A Subtly Romantic Vibe
The romance comes from the softness and the movement. To amplify it, ensure your ponytail itself isn’t too tight or slick. A low, loose ponytail works best.
You can also curl the ends of your ponytail lightly for a soft bend, or leave it straight if that’s your style. The waterfall detail provides the romantic element, so the rest can be simple.
From Day To Night: Elevating The Look
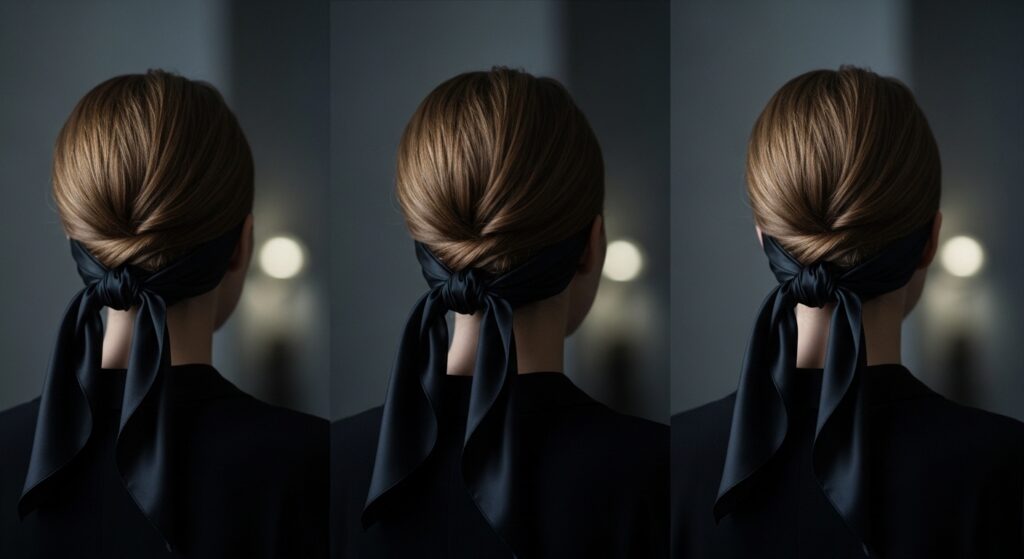
This style transitions beautifully. For daytime, keep it loose and paired with casual wear. For evening, you can make it feel more intentional.
Add a delicate silk scarf tied around the ponytail base, or swap the clear elastic for a sleek, black one for a touch of romantic goth hairstyles edge. A little more texture spray can also add a glitchy glam hair feel—piece-y and intentional.
Pairing With Other 2026 Hair Trends
This technique is so versatile. It pairs amazingly with the wet-look finish for a cool contrast of textures. Imagine the soft, dry waterfall braid against slicked-back sides.
It also complements the quiet luxury bob trend perfectly. Adding this detail to a simple, expensive-looking bob instantly makes it look fashion-forward and personal.
Solving Common Problems: Slippery Hair
If your hair is very smooth and the braid won’t hold, prep is everything. Use a texturizing spray on that section before you start. You can also slightly backcomb the root of the section for hidden grip.
Another trick is to do the style on slightly damp hair (not wet) and let it dry in place. The natural texture as it dries will help lock everything in.

Solving Common Problems: Thin Or Fine Hair
Don’t think you can’t do this! For fine hair, make your initial section smaller. A dainty waterfall detail is just as beautiful.
You can also tease the hair in the ponytail gently for more volume, making the integrated braid stand out more. The key is to keep everything light and avoid heavy products.
Making It Last All Day & Night
To ensure your style holds, once you’ve pinned everything, give it a light, all-over mist with a flexible hold hairspray from about 12 inches away.
Focus on the braid detail and the ponytail base. Carry a few extra bobby pins and a spare clear elastic in your bag for any quick touch-ups, though you likely won’t need them.
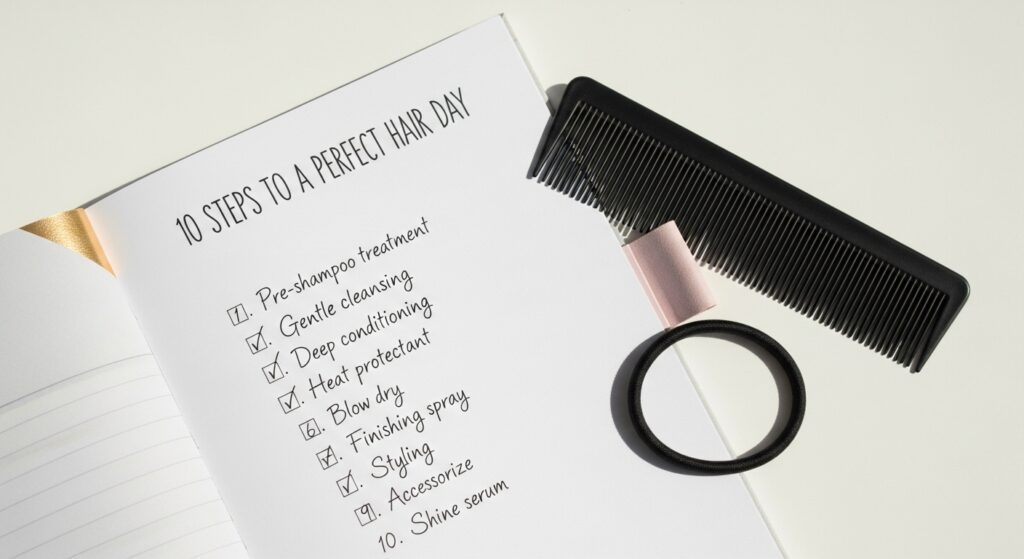
Your Quick-Reference Step Checklist
- Prep hair for texture.
- Section hair above temple.
- Start a 3-strand braid.
- Drop top strand, replace with new hair (waterfall).
- Repeat 3-4 times.
- Braid remaining ends, secure with small elastic.
- Gather all hair into a ponytail.
- Secure ponytail with regular elastic.
- Wrap small braid around base, pin.
- Loosen and style for softness.
Inspired Variations To Try Next Time
Once you’ve mastered the basic integration, play with it! Try starting the braid lower, near your ear, for a different frame. Do two mini waterfalls on either side.
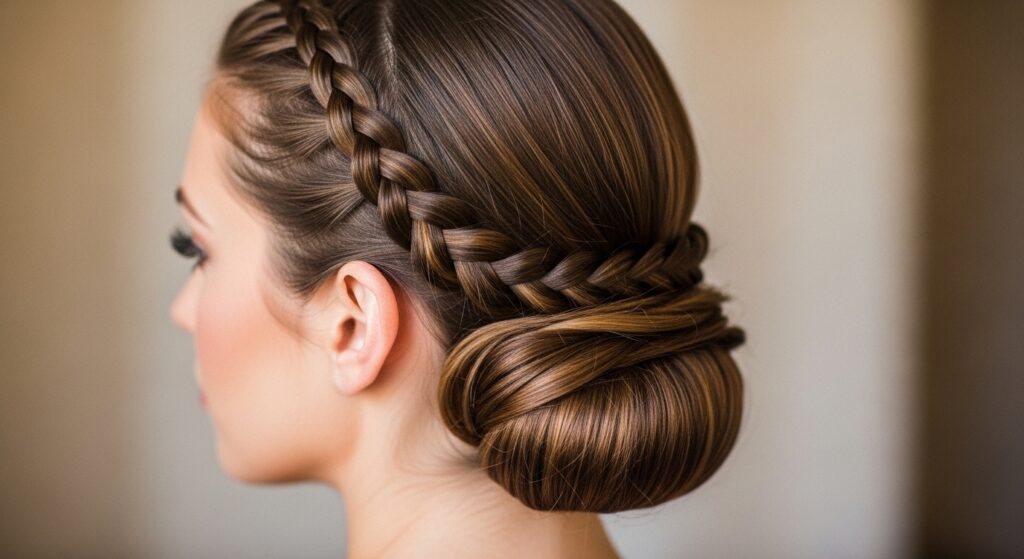
Integrate the braid into a bun instead of a ponytail for an even more elegant updo. Or, braid with a ribbon for a pop of color. The technique is your foundation for endless looks.
How This Fits Your Personal Style Aesthetic
What I love most about this style is how adaptable it is. It can lean minimalist and quiet luxury, or with a black ribbon and stronger texture, it taps into romantic goth.
It’s a detail that doesn’t overpower your outfit or makeup. It complements your personal style, adding just the right amount of “done” to your look. It’s a signature detail in the making.
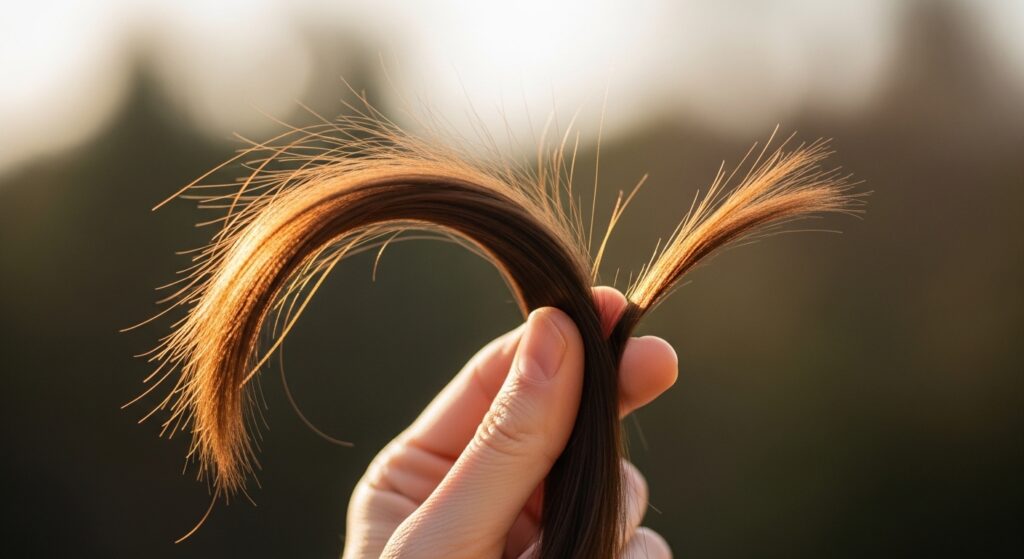
Final Touches & Haircare Reminder
After taking this style down, be kind to your hair. Gently remove the elastics and use a detangling brush or wide-tooth comb. A light oil on the ends can replenish any moisture.
Styles like this are why maintaining healthy hair is worth it. Regular trims and a good mask keep your hair flexible and shiny, making every style look better.
Your New Go-To, I Promise
I know trying a new technique can feel daunting, but this one is truly foolproof. It gets faster every time you do it. Before you know it, it’ll be your five-minute secret weapon.
It’s the perfect bridge between wanting to look special and needing something practical. And that’s what the best hairstyles are all about—making you feel great without the stress.
So there you have it—your guide to turning an everyday ponytail into something subtly romantic and special. It’s one of those little tricks that makes getting ready feel more fun and less like a chore.
I hope this gives you the confidence to try it and make it your own. Remember, the goal isn’t perfection. It’s that soft, beautiful texture and the bit of extra flair it brings to your day.
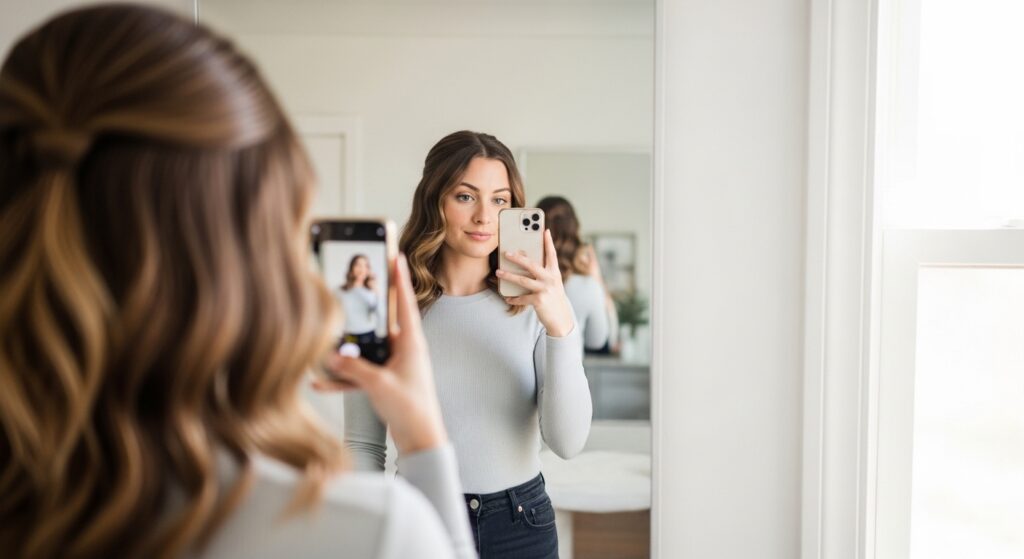
Save this post to Pinterest so you always have the steps handy! And I’d love to know—will you be trying this for work, weekends, or a special date night? Tell me in the comments below!