Waterfall Braid Step-by-Step for Long Flowing Hair
Okay, let’s be real. We’ve all seen that gorgeous waterfall braid on Pinterest and thought, “That looks impossible.” I was right there with you. It felt like something only hairstylists or people with three hands could pull off.
But after a ton of practice (and some serious frustration), I finally cracked the code. And guess what? It’s actually way easier than it looks. You just need the right breakdown.
This step-by-step guide is that breakdown. It’s the friend showing you exactly where to put your fingers. Whether you’re prepping for a wedding or just want to feel a little extra on a Tuesday, this braid is your ticket to effortless, romantic vibes.
So grab your brush, a couple of clear elastics, and let’s turn that hair envy into your new signature look. You’ve got this.
Why the Waterfall Braid is a Total Game-Changer
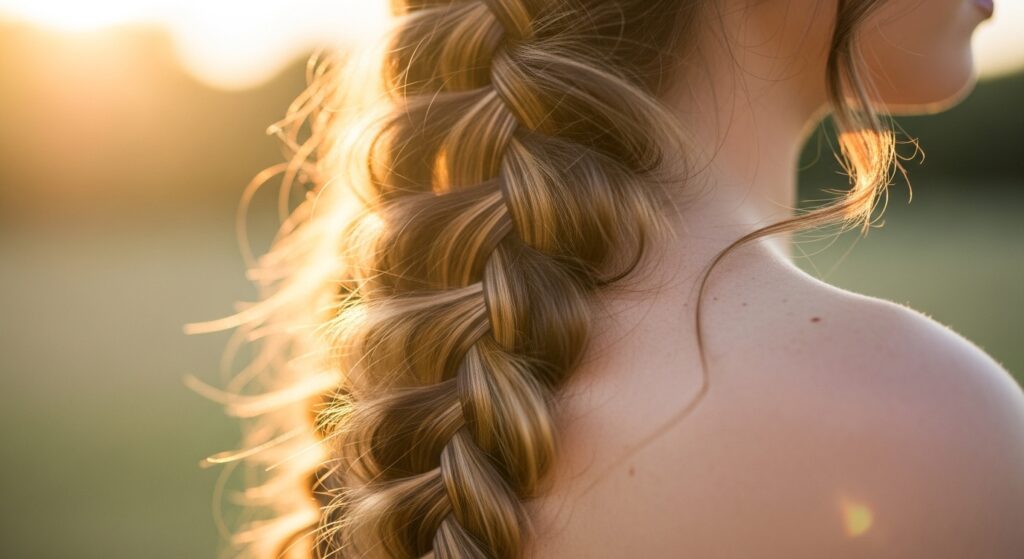
This isn’t just another braid. The waterfall technique creates this beautiful, cascading effect that looks intricate but is totally beginner-friendly once you get the rhythm. It’s soft, romantic, and adds instant elegance to any look.
It works for so many occasions. Dress it up for a formal event, or keep it loose and bohemian for a weekend brunch. It’s also perfect for keeping hair out of your face in the most stylish way possible. It’s a staple that feels right at home with 2026 hairstyles leaning into soft, tactile details.
Gathering Your Simple Tools
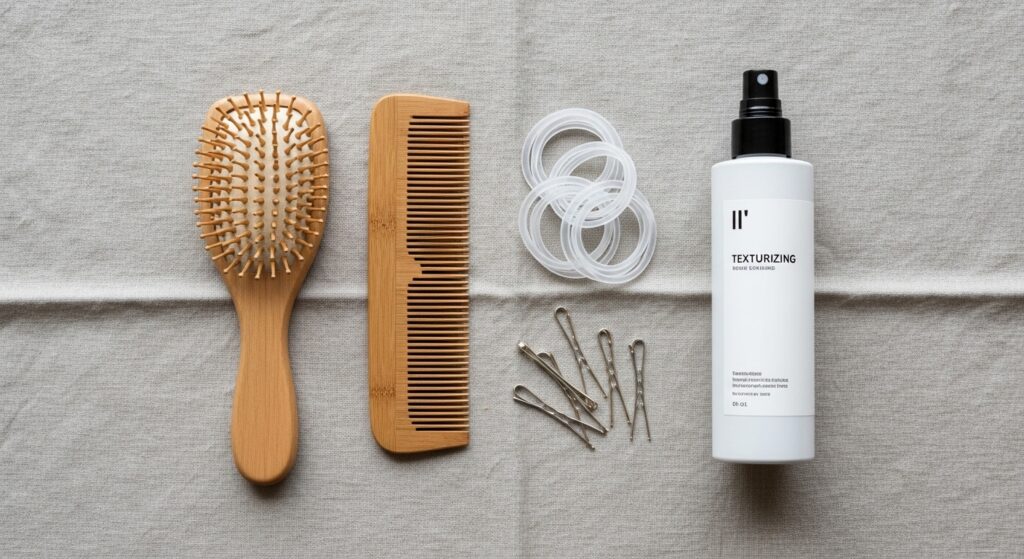
You don’t need a salon’s worth of products. Simplicity is key here. The right tools just make the process smoother and help your braid last all day.
- A fine-tooth comb for clean parts.
- A paddle brush to detangle without static.
- Two clear elastic bands (the small, thin kind).
- A light-hold hairspray or texturizing spray. A little grit helps hold the braid.
- A few bobby pins that match your hair color.
Start with the Perfect Base: Day-Old Hair
First, a pro tip: slightly dirty hair is your friend. If your hair is freshly washed and super silky, it might be too slippery. Day-old hair has more natural texture and grip.
If you just washed it, no worries! Just spray a little dry shampoo or texturizing spray at the roots and through the mids. This gives the braid something to hold onto. Brush it through so your hair is smooth but not slick.
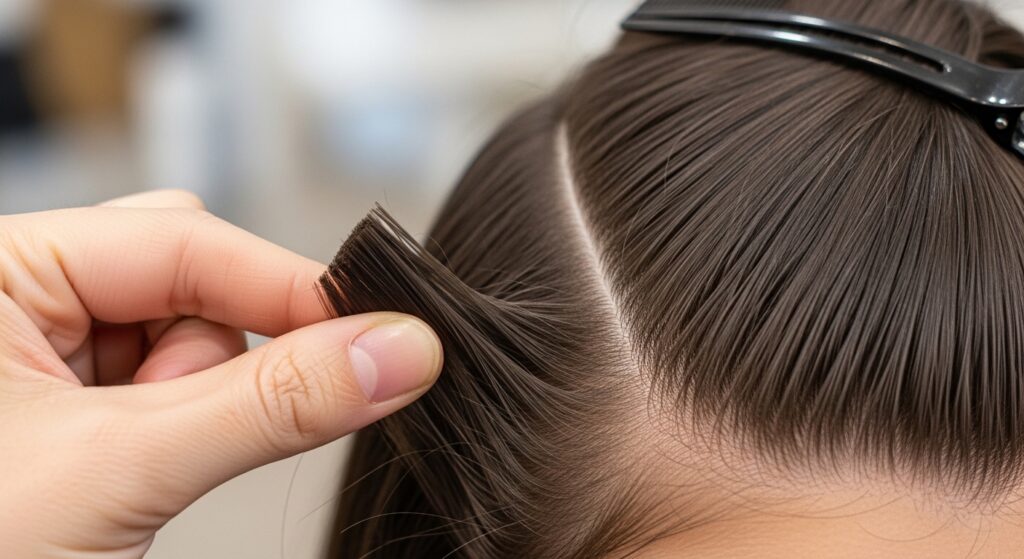
Step 1: Section Your Starting Triangle
Part your hair where you like it. I’m doing a side braid today. At the front, near your part, take a section of hair about two inches back from your hairline. Make it a triangular shape, not a square.
This triangle is your anchor. Clip or hold the rest of your hair out of the way so you’re not distracted. The size of this triangle determines the thickness of your braid’s first strand.
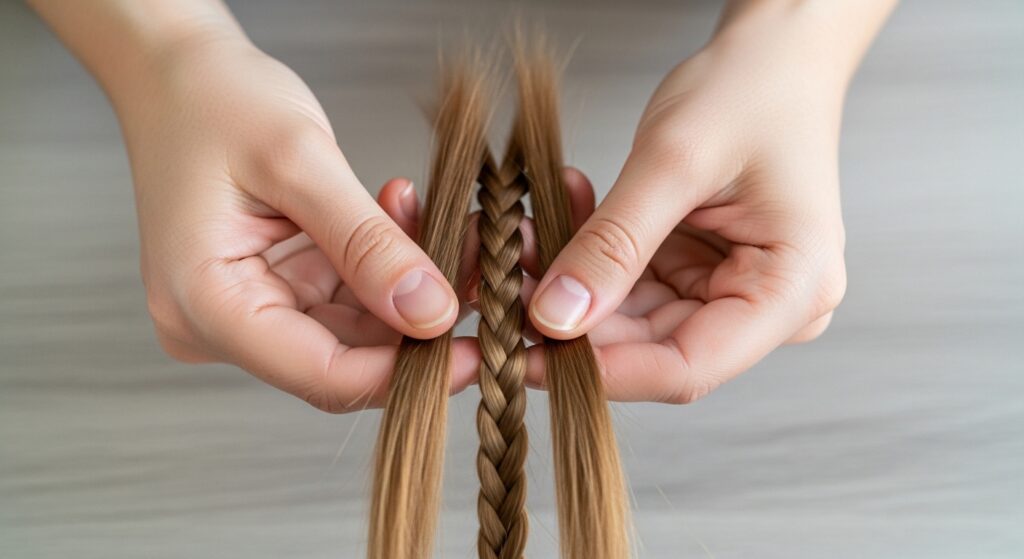
Step 2: Split into Three Equal Strands
Now, divide that triangular section into three equal strands. Hold them like you’re starting a regular three-strand braid. Label them in your mind: left, middle, right.
Keep a gentle but firm tension. Don’t pull super tight yet—we want this to be soft and romantic. Position your hands so you can easily drop and pick up new hair.
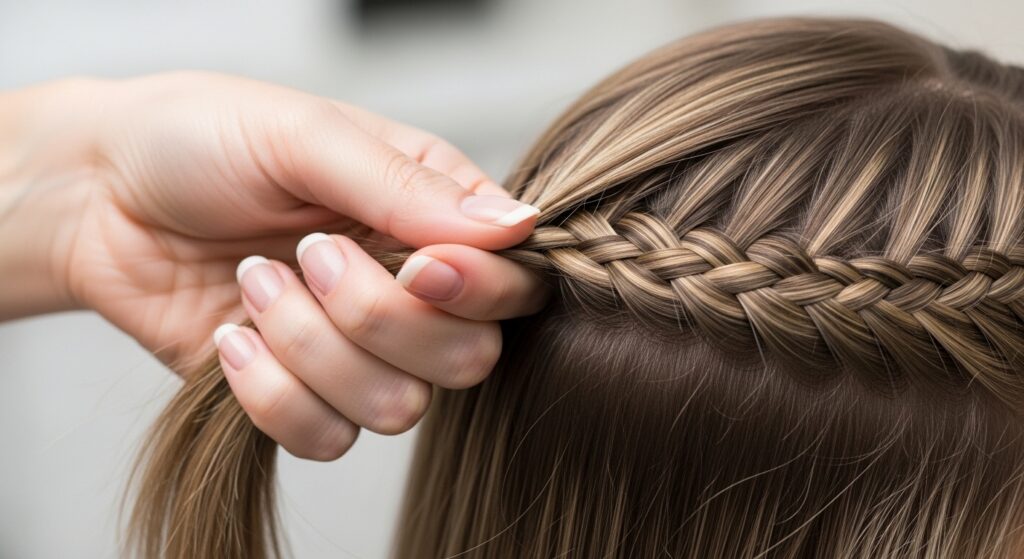
Step 3: The First Cross (Right Over Middle)
Here we go! Take the right strand and cross it over the middle strand. Your right strand is now the new middle. This is exactly like the start of a normal braid.
Check your tension. You want it secure but not scalp-tight. The beauty of this braid is in its soft, flowing look. Think “old money hair” – elegant and undone, not severe.
Step 4: The Left Cross & The Waterfall Drop
This is the magic move. Take the left strand and cross it over the new middle strand. But here’s the trick: instead of keeping this left strand in your hand, you’re going to let it drop.
Let it fall freely to join the rest of your loose hair. This is the “waterfall” effect. That dropped strand is now out of the braid.
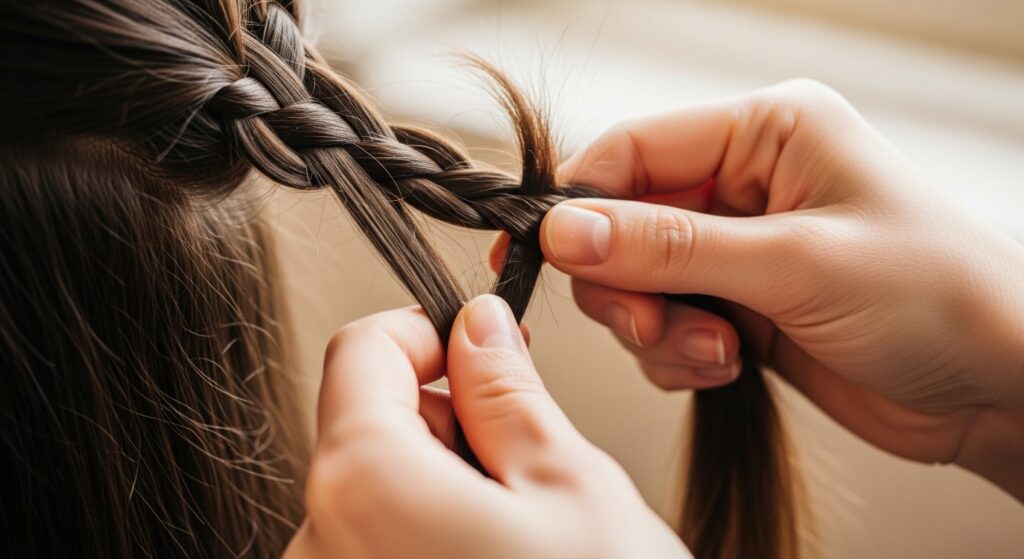
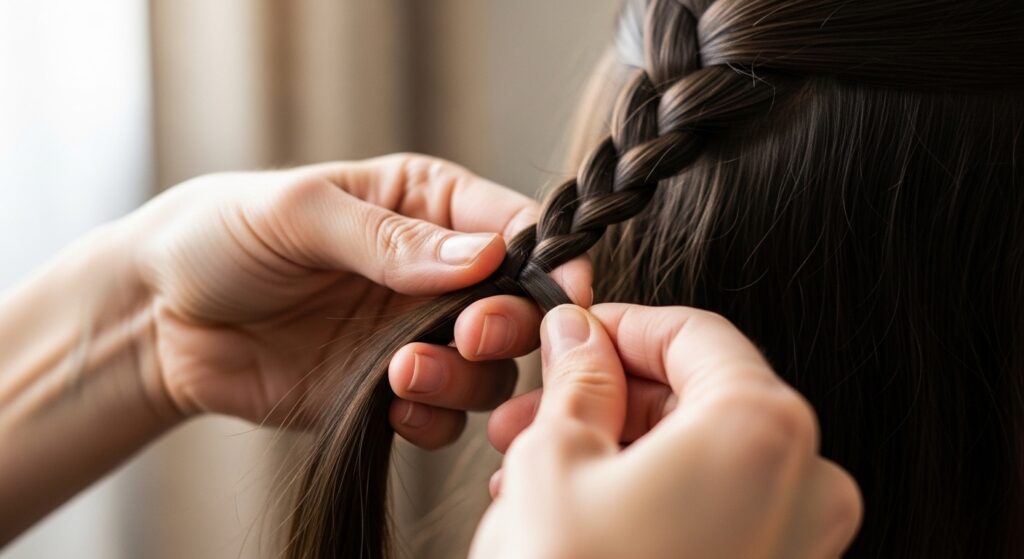
Step 5: Pick Up a New Section
Immediately after dropping the left strand, use your now-free left hand to pick up a new section of hair from the top of your head. This new section should be about the same size as your original strands.
This new hair replaces the strand you just dropped. Add it into the braid as your new left strand. Your braid now has three strands again: right, middle, and this new left.
Step 6: Repeat the Pattern: Right Over Middle
Keep the rhythm going. Now, take the right strand and cross it over the middle strand again. Right becomes the new middle. Smooth the strands as you go to keep everything neat.
This repetition is key. Right over middle, left over middle and drop, pick up new hair. Once you do it a few times, your hands will remember.

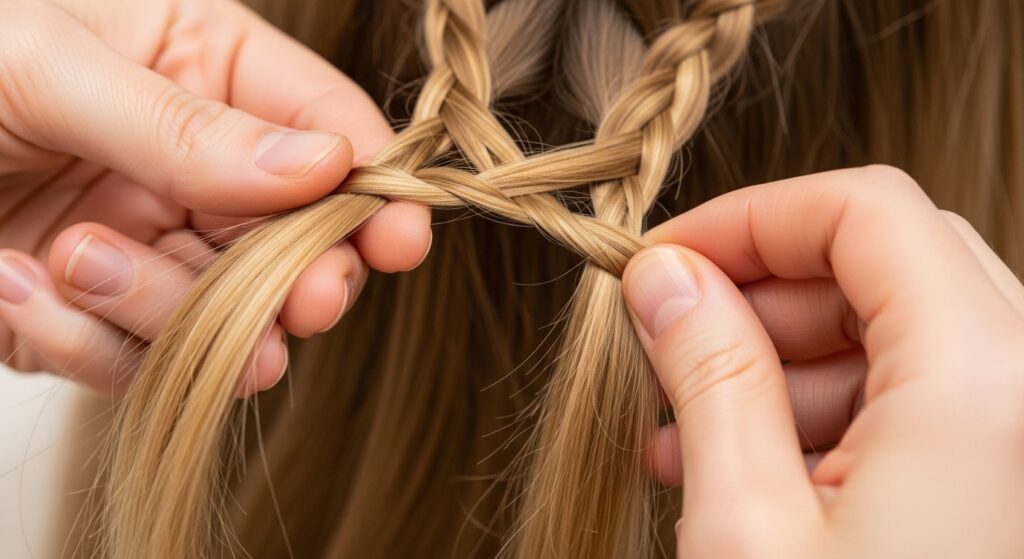
Step 7: Repeat: Left Over, Drop, & Pick Up
Next, take the (new) left strand, cross it over the middle, and let it drop to join the waterfall. Then, instantly pick up another fresh section from the top to become your new left strand.
See the cascade forming? Those dropped strands create the beautiful, flowing layers. It’s that romantic, soft detail we’re after, different from edgier romantic goth hairstyles but just as impactful.
Keeping Your Tension Consistent
The biggest beginner mistake is changing tension. Try to keep the pull even with every cross. If you start loose and then pull tight, the braid will look lumpy.
A good trick is to focus on the middle strand. Keep it steady and let the side strands move over it. Consistent tension gives you a smooth, uniform braid from start to finish.
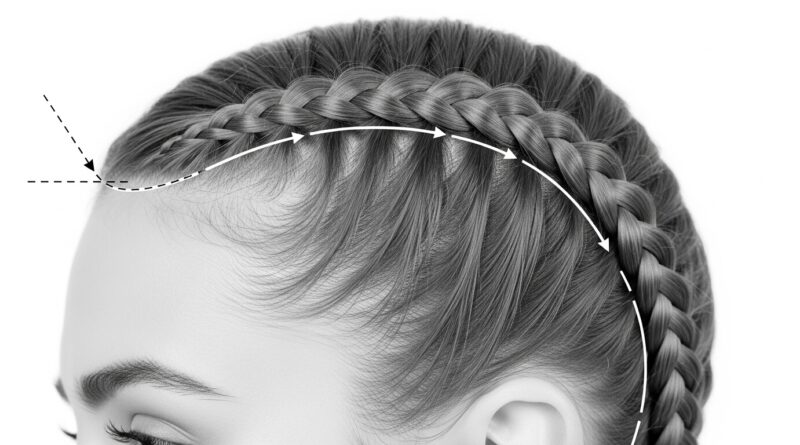
Following Your Head’s Curve
Don’t try to braid in a straight line. As you work, follow the natural curve of your head from the front temple back toward your ear. This makes the braid sit beautifully and feel more secure.
Your pick-up sections should come from along this curve. Think of it as drawing a gentle arc with your braid. This placement is flattering on everyone.
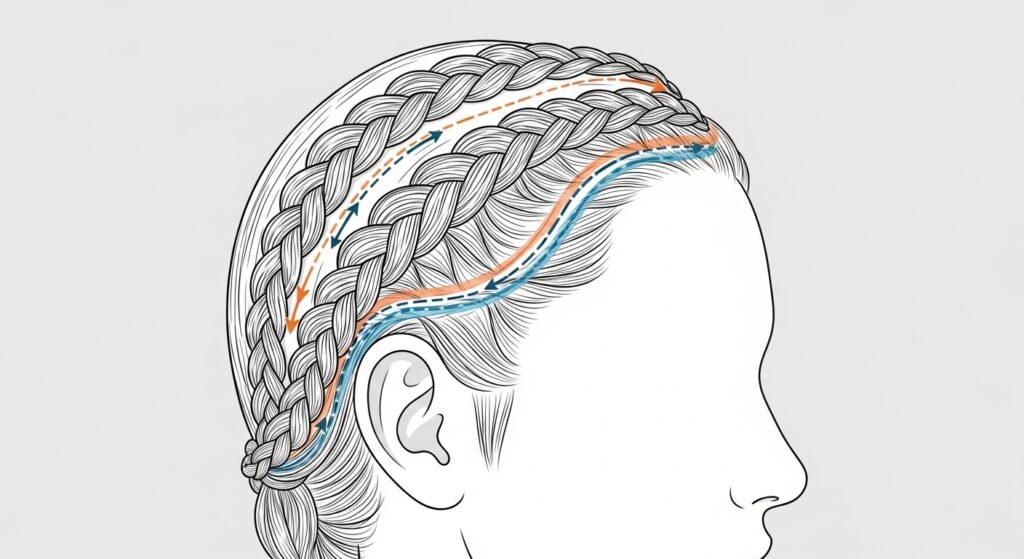
When to Stop the Waterfall Effect
You’ll continue the waterfall pattern until you run out of hair to pick up from the top—usually just behind your ear. At that point, you’ve incorporated all the hair you want into the braid.
Now, you’ll have a small section of three strands left in your hand, and a beautiful cascade of loose hair below the braid. This is where you transition.
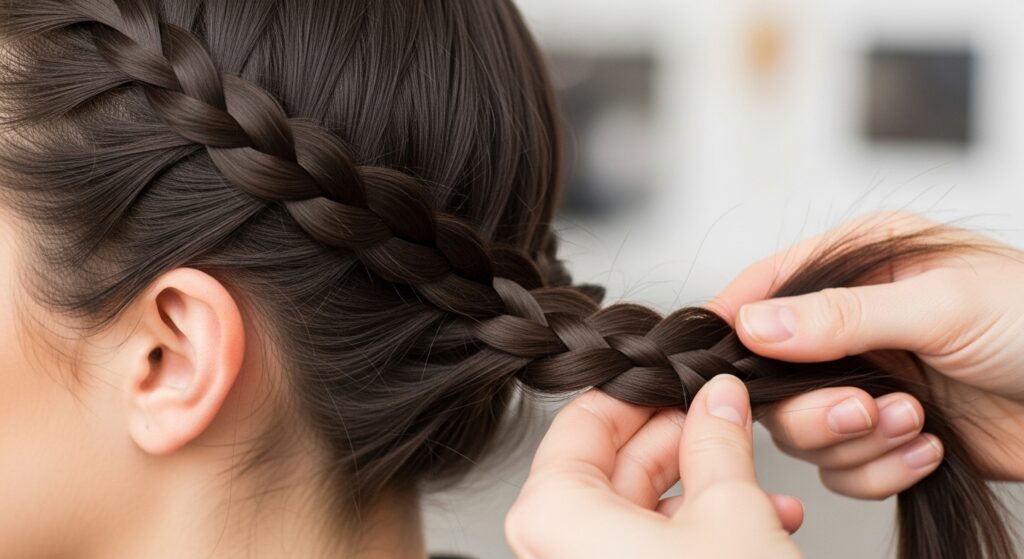
Finishing with a Regular Three-Strand Braid
Once you stop adding hair, simply finish the style with a classic three-strand braid. Take the remaining hair and braid it all the way down to the ends.
Secure the end with a clear elastic. This part can be as long or as short as you like, depending on how much hair you had left. It anchors the whole look.
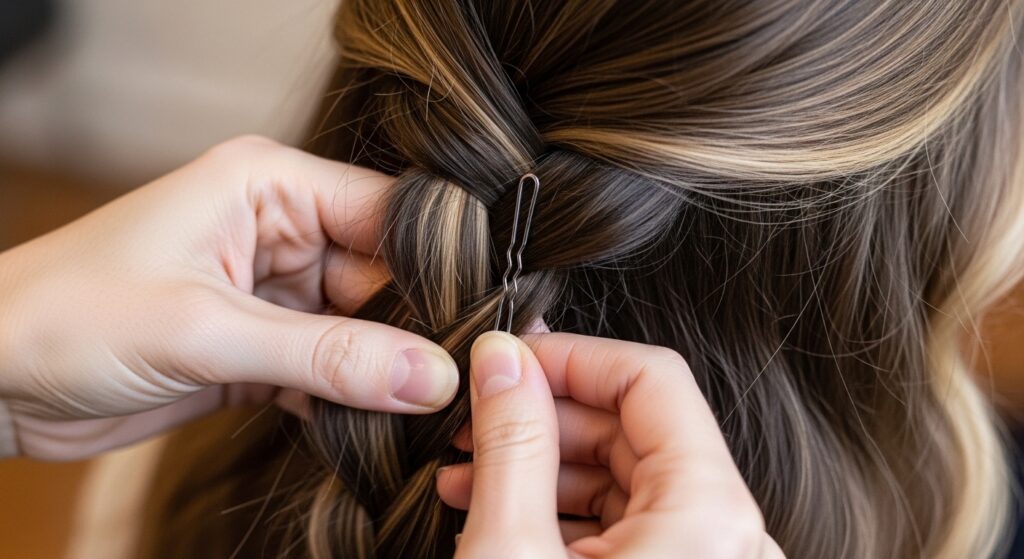
Securing and Tucking the End
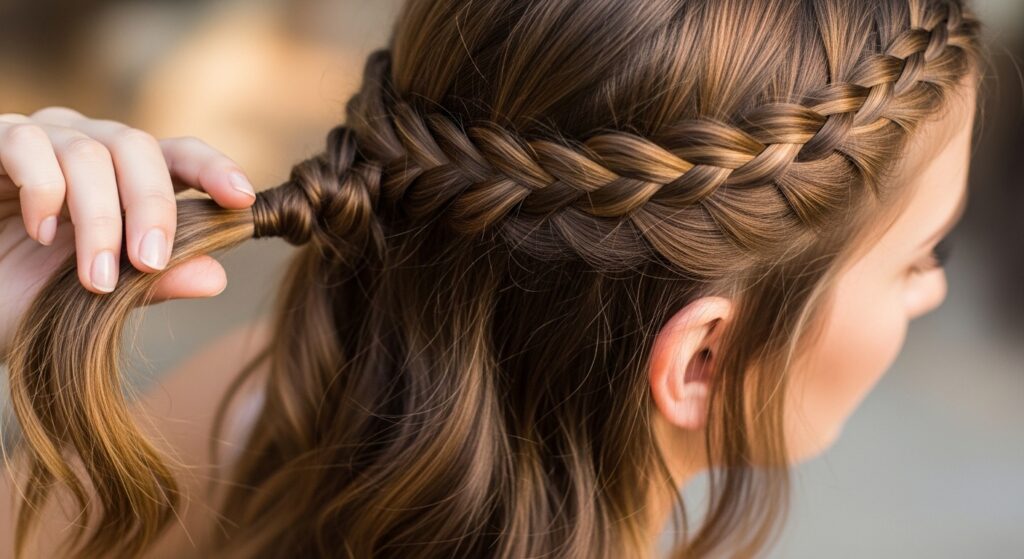
Now, gently pull on the outer loops of the waterfall section to loosen it slightly. This makes it look fuller and more romantic. Be gentle so you don’t pull it apart.
Take the tail of the braid and tuck it behind your ear, under the waterfall of loose hair. Secure it with a couple of hidden bobby pins. This hides the elastic and creates a seamless look.
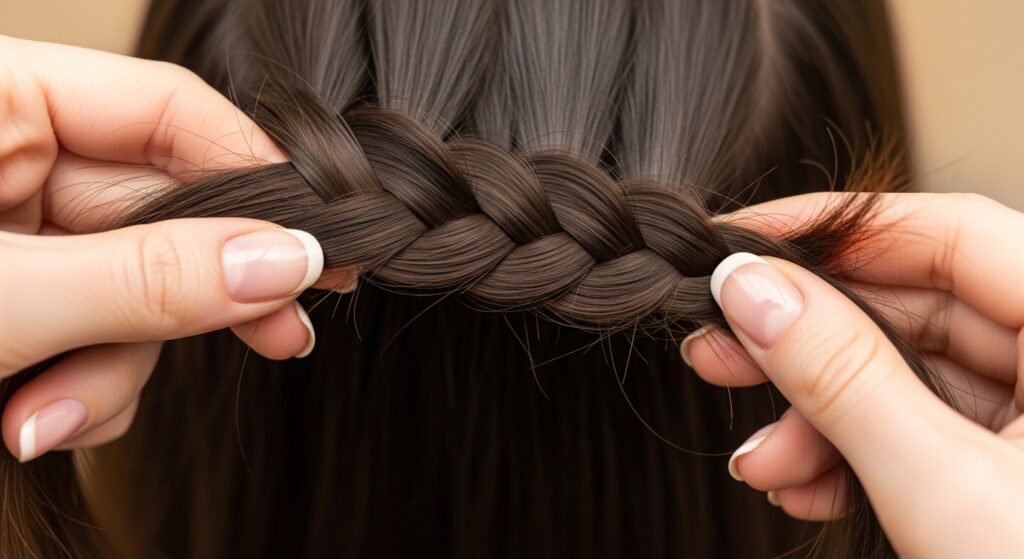
Pulling for That Effortless Volume
This step makes all the difference. Gently tug on the outer edges of each “loop” in the waterfall braid. Pull them outward to pancake the braid and make it look wider, softer, and more integrated with your loose hair.
Don’t be shy here! This pulling creates that dreamy, effortless volume. It’s the opposite of a slick, tight look and feels very now.
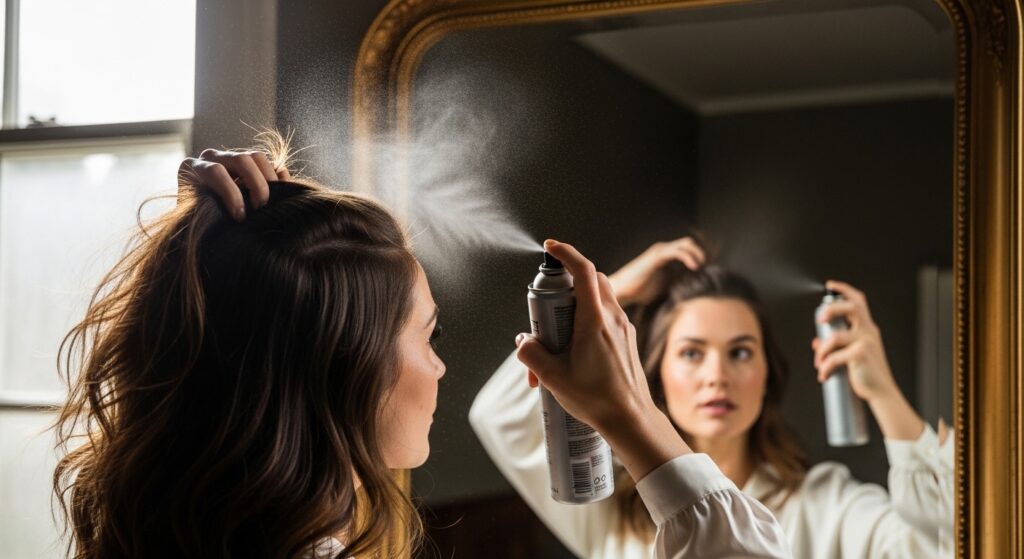
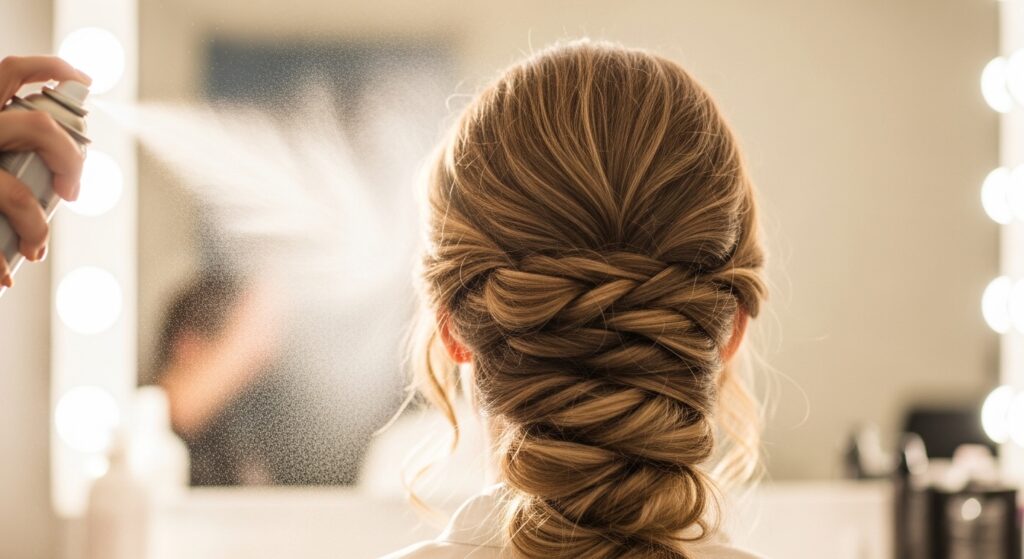
Setting It with a Light Hold Spray
Lock in your hard work. Hold a light-hold hairspray about ten inches away and give a light mist over the braid and the surrounding hair. Focus on the roots of the braid to fight flyaways.
Avoid heavy sprays that make hair look crispy. We want movement and softness. This just keeps those wispies in check all day or night.
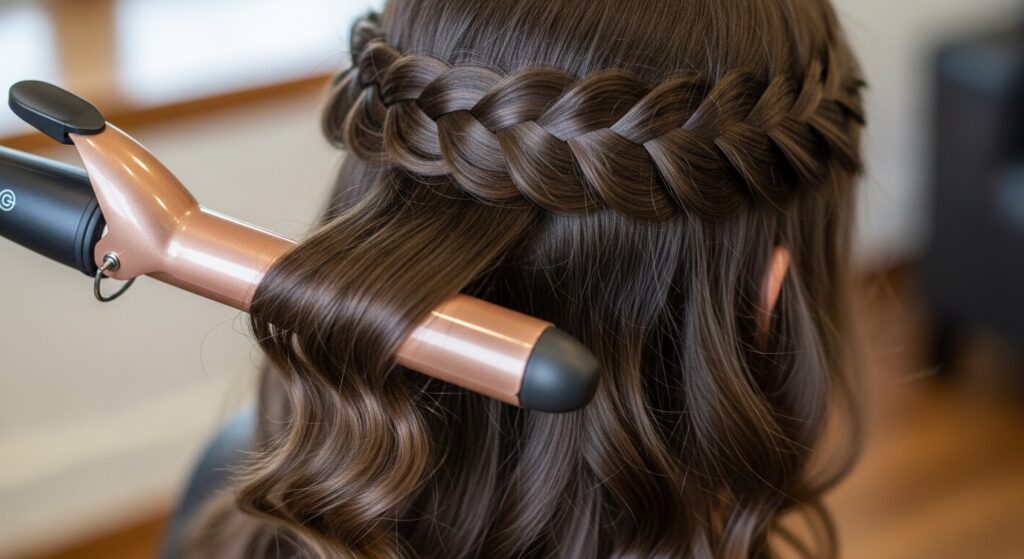
Styling the Rest of Your Loose Hair
Don’t forget the waterfall itself! The hair you dropped is the star. Give it a quick curl with a wand or straighten it for a sleeker look, depending on your vibe.
Blending the texture of the loose hair with the braid ties everything together. It’s that final polish that makes it look intentional, not like you just gave up halfway through.
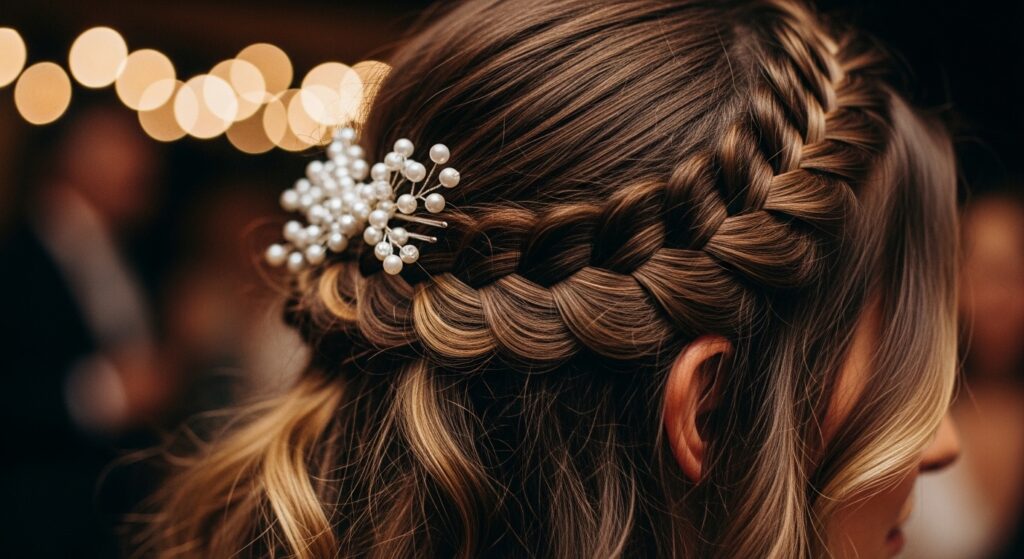
Transforming it for Evening Glam
This style is incredibly versatile. For night, add a sparkly pin or a few small pearls tucked into the braid. You can also pull more hair back into the braid for a fuller, more dramatic effect.
Smooth your loose hair into soft, defined curls. This elevates it instantly from day to night. It’s a perfect match for the glitchy glam hair trend—a mix of soft romance and a hint of sparkle.
Quick Fixes for Common Problems
If your braid feels loose or is falling apart, your tension was too light. No problem! Just gently tighten it by pulling on the middle strand backward toward your scalp.
If you have lots of flyaways, use a tiny bit of hair wax on your fingertips to smooth them down. Tuck them into the braid or the loose hair. A boar bristle brush is also great for smoothing without static.

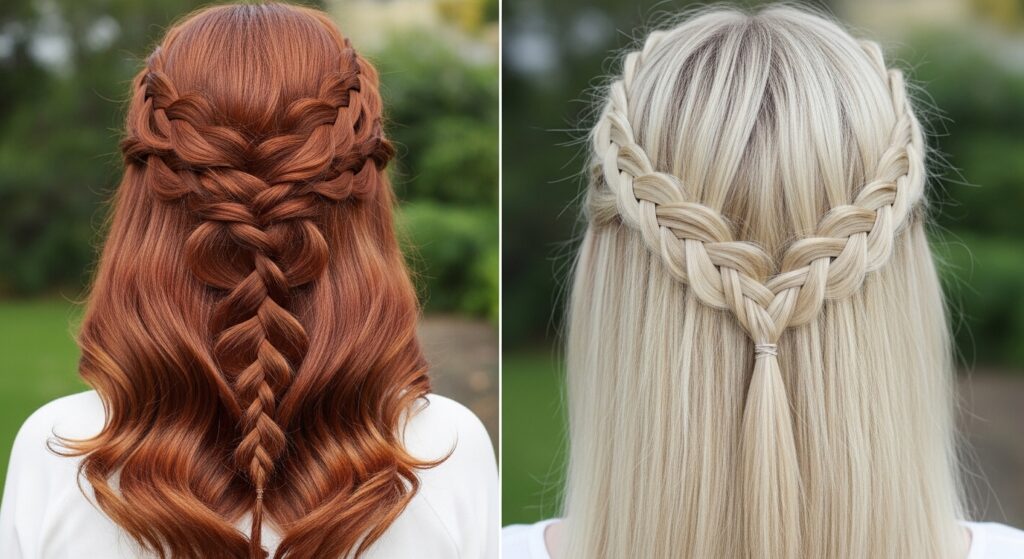
Adapting for Thicker or Thinner Hair
For thick hair, take smaller pick-up sections. This gives you more control and prevents the braid from getting bulky too fast. You might need a second elastic at the end for hold.
For fine hair, texturizing spray is non-negotiable. Consider taking slightly larger pick-up sections to make the braid more visible. A little backcombing at the roots of your starting section can also help.
Pairing with Other 2026 Hair Trends
This braid plays so well with others! Try it with face-framing layers or a shag cut—the texture is amazing. It’s a beautiful contrast to the sharp lines of an asymmetrical lob or the boldness of a vampire haircut.
Imagine this soft braid with the dramatic, straight-across bangs of a hime cut. It’s that mix of structured and soft that’s so compelling right now. It even works with a quiet luxury bob if you have enough length to braid.
And just like that, you’ve got it. That gorgeous, flowing braid you’ve been eyeing is now in your hair and, more importantly, in your skill set. The first time might feel fiddly, but I promise by the third try, your fingers will fly through it.
The best part about this style is how it makes you feel—put together, romantic, and special. It’s a little act of self-care that shows. Whether you’re wearing it to the farmer’s market or a friend’s wedding, it always feels right.
I’d love to see your masterpiece! Did you wear it out? Did you add your own twist? Leave a comment below and tell me all about it. And if you want to keep this guide handy for your next hair night, be sure to save this post to Pinterest so you can find it anytime you need a refresher. Happy braiding!