Wave 18 Step-by-Step Goddess Locs Installed for Beginners Confidently
Okay, let’s be real. The idea of installing your own protective style can feel totally intimidating. I get it. You see those gorgeous, flowing goddess locs all over your feed and think, “That’s a salon-only situation.” But what if I told you it’s absolutely possible to do it yourself, even as a beginner?
I’m Hailey, and I’m here to walk you through it, step-by-step. No confusing jargon, no professional secrets. Just a clear, simple guide to getting the look you love without the salon price tag.
This is your year to confidently try the styles you’ve been saving in your inspiration folder. Whether you’re into the effortless vibe of old money hair or the edge of romantic goth hairstyles, mastering a technique like this opens up so many doors. Let’s get started.
What Are Goddess Locs, Really?
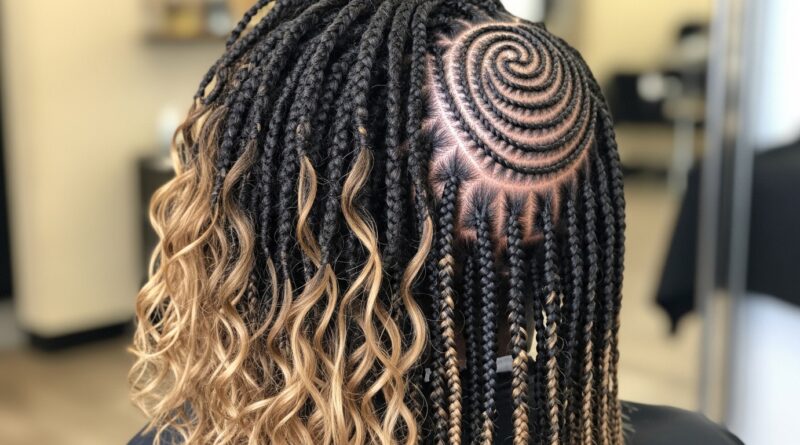
Think of goddess locs as the softer, more romantic cousin of traditional faux locs. They’re created by combining two or more braiding hairs, often with a wavy or curly texture, to build a single, beautiful loc. The result is a bohemian, textured look that feels both effortless and incredibly chic.
Unlike some tighter styles, goddess locs are known for being lighter on your scalp and more forgiving to install. They give you that “I woke up like this” glamour, which is why they’re a forever favorite, even among the newest 2026 hairstyles predictions.
Why This Style is a Game-Changer for Beginners
If you’re new to DIY installations, this is a fantastic place to start. The technique is repetitive, which means once you get the first few down, you’ve basically mastered it. The wavy texture is also very forgiving—it hides minor imperfections beautifully.
Plus, it’s a protective style that lets your natural hair rest while you rock a stunning look. You’re building a skill that lets you experiment with everything from an asymmetrical lob length to waist-long drama, all on your own terms.
Your Complete Supply List (No Fancy Tools)
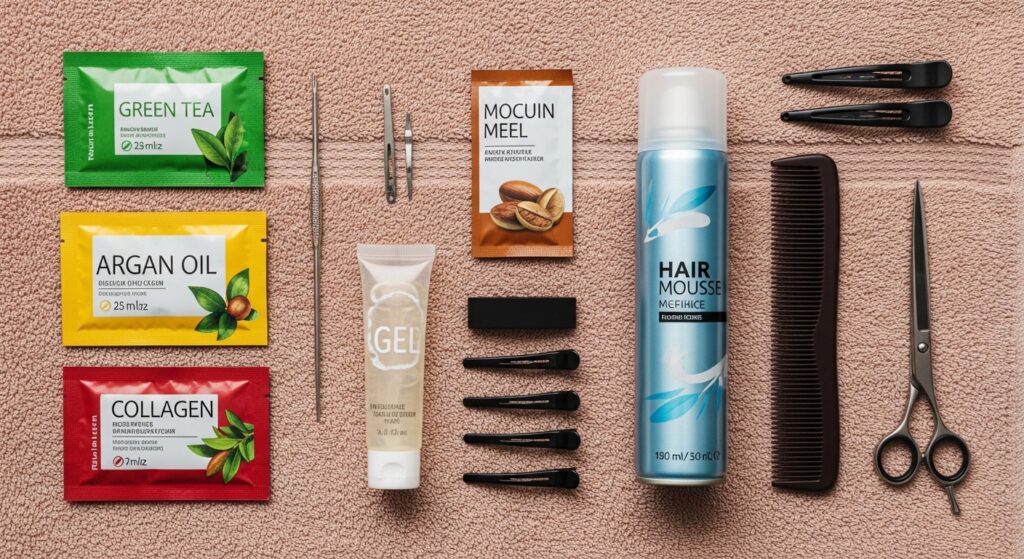
You don’t need a salon’s worth of equipment. Here’s the simple, affordable list to gather before you begin. Having everything within arm’s reach is key to a smooth process.
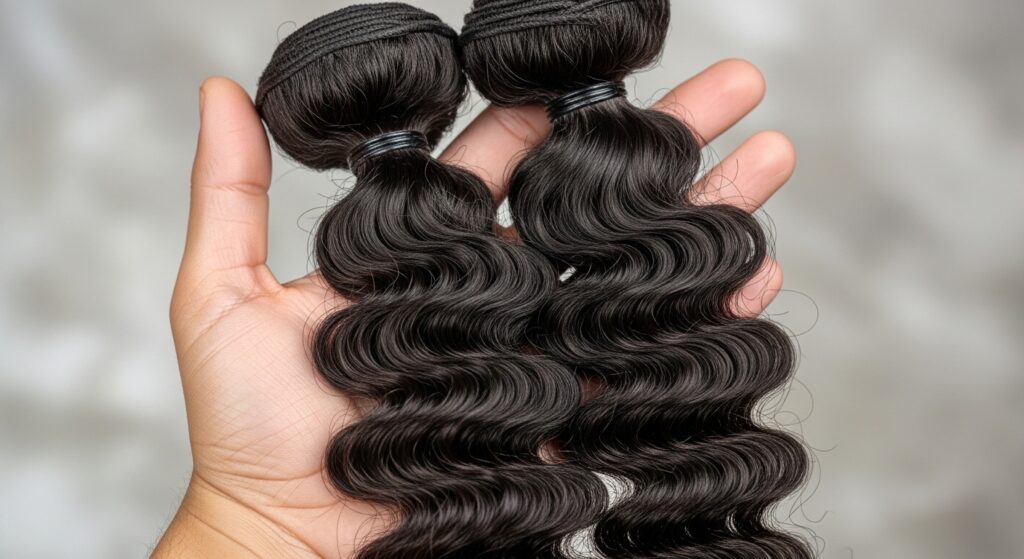
- Braiding Hair: I recommend 4-6 packs of pre-twisted or wavy braiding hair for the locs. Kanekalon or Toyokalon works great.
- Crochet Needle: A medium-sized latch hook needle. This is your main tool.
- Hair Gel & Mousse: For laying down your edges and smoothing your natural hair.
- Rat-tail comb, clips, scissors, and a mirror you can easily see.
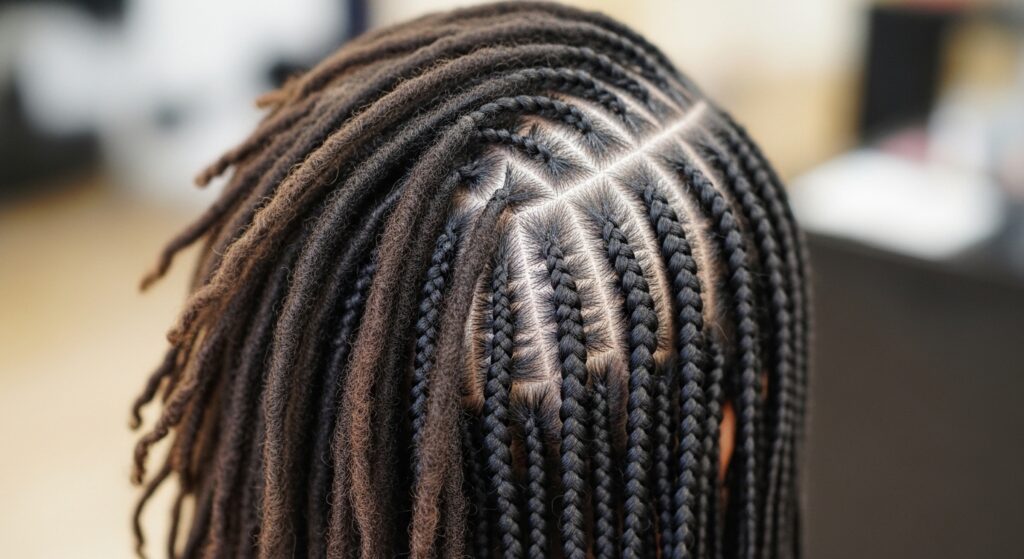
Prepping Your Natural Hair is Non-Negotiable
This step is the foundation for a style that looks good and feels good. Start with freshly washed and deep-conditioned hair. Your scalp will thank you for the next few weeks.
Thoroughly detangle and blow-dry your hair on a low heat setting until it’s completely dry. Then, braid or twist it into cornrows. The size of your cornrows will determine the size of your loc parts. Keep the braids flat and neat.
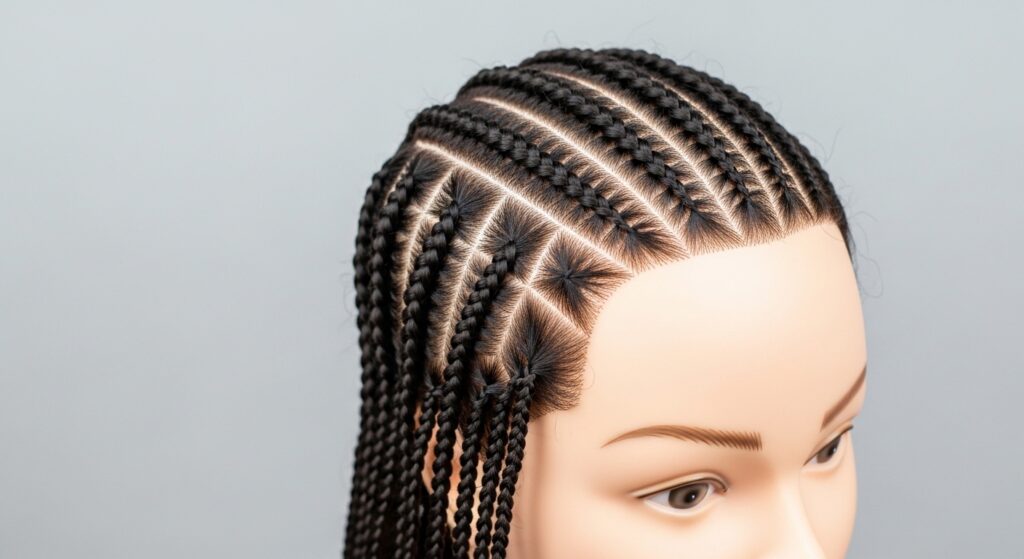
Choosing Your Hair: The Wave 18 Secret
“Wave 18” refers to a specific, beautiful wavy pattern in braiding hair. It creates that perfect, loose goddess texture right out of the pack. When shopping, look for packs labeled “Wave” or “Water Wave.”
The number (like 18) often indicates the hair length. Wave 18 gives you a lush, shoulder-grazing length that’s manageable for a first-timer. It embodies that glitchy glam hair vibe—intentionally imperfect and stunning.
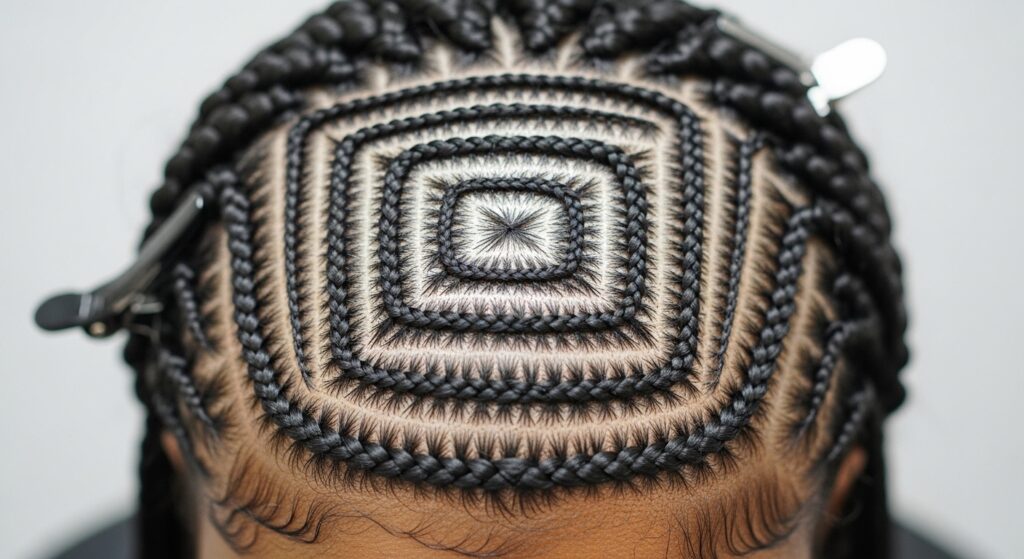
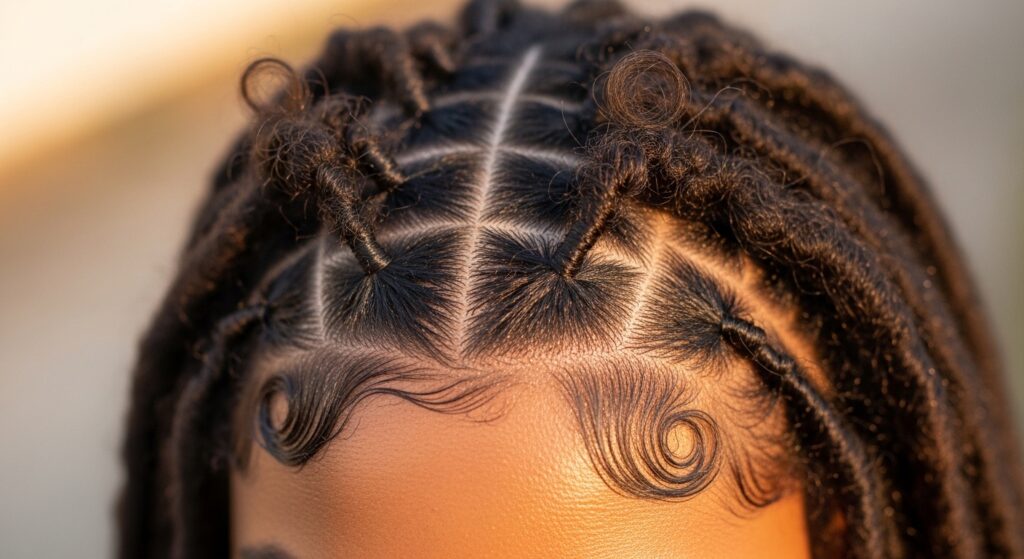
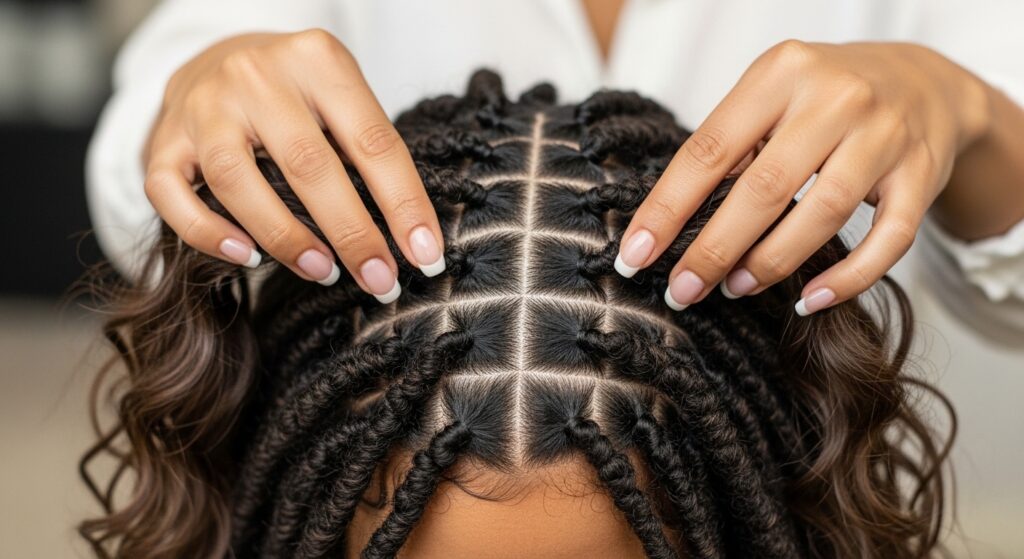
Step 1: Sectioning Your Hair With Intention
Unclip your cornrows. We’ll work in small sections. Using the tail of your comb, part out a small square section from the front of your head. This will be your first “test” loc.
Clip the rest of your hair away. Clean, straight parts make your final style look polished and professional, moving beyond a beginner’s try into true quiet luxury bob territory in terms of precision.
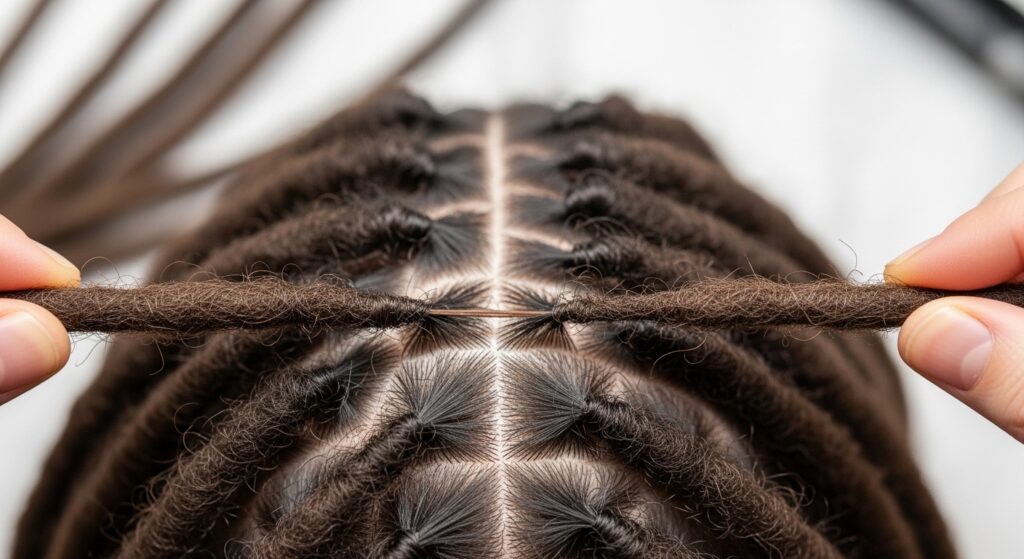
Step 2: Preparing Your First Loc Strand
Take one strand of your wavy braiding hair. Fold it in half to find the midpoint. This folded loop is what you’ll use to attach the hair to your cornrow.
You can also lightly stretch the wave pattern with your hands if you want a slightly looser texture. This is where you make the style your own.
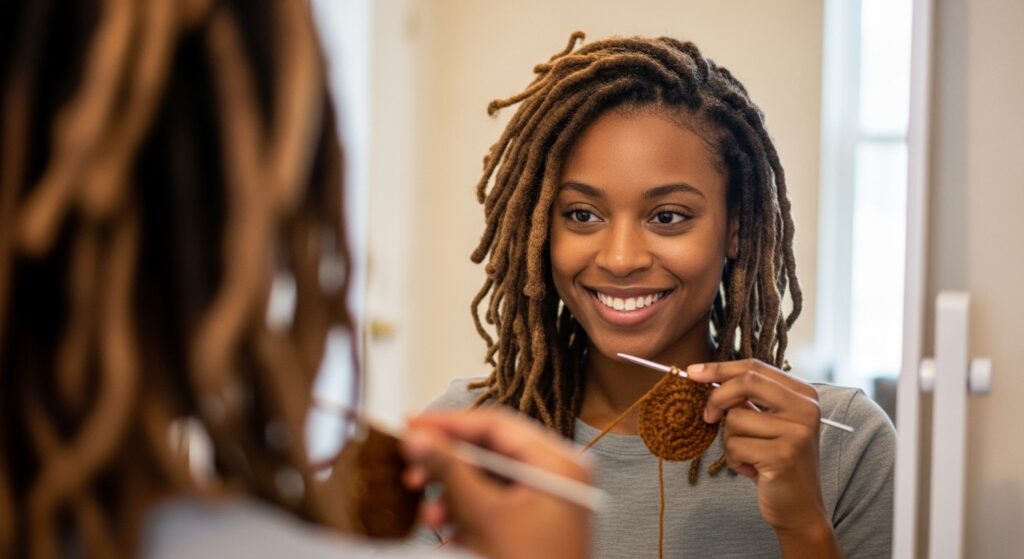
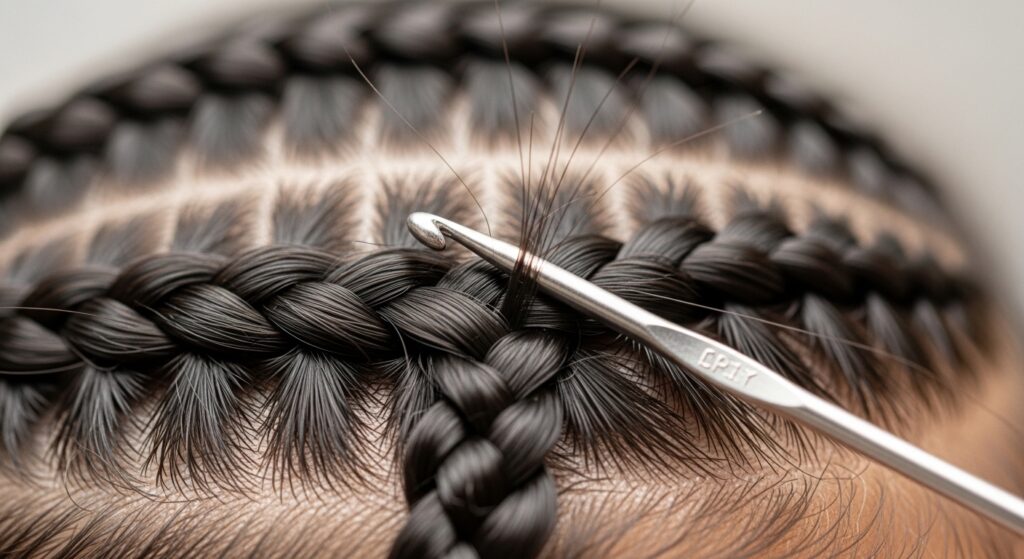
Step 3: The Initial Attachment with Your Crochet Hook
Insert your crochet hook under the base of your cornrow, right at the part line. Hook the loop of your braiding hair and pull it under the cornrow, so the loop pops out the other side.
Now, take the loose ends of your hair strand and pull them through that loop. Pull tight to secure a knot right at the base of your scalp. This is your anchor.
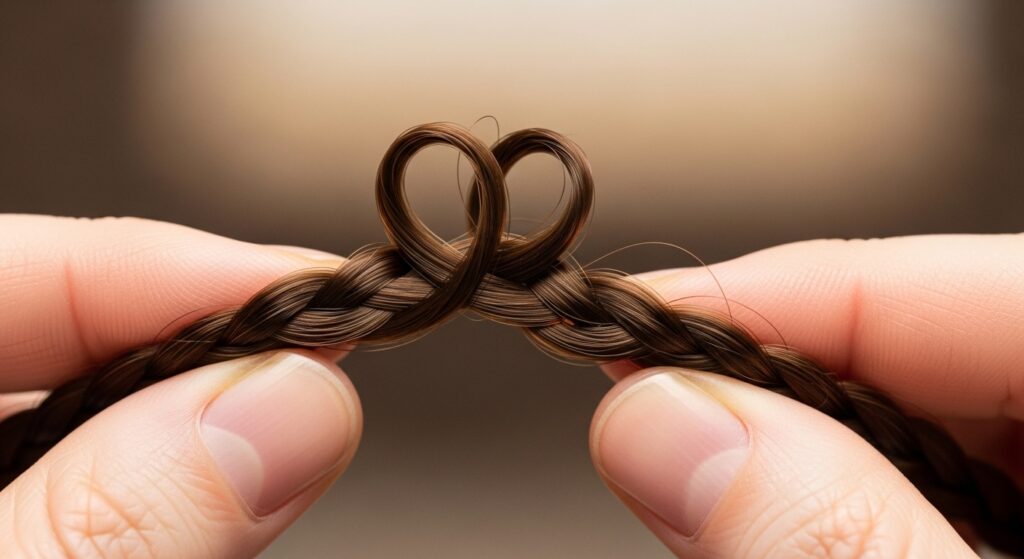
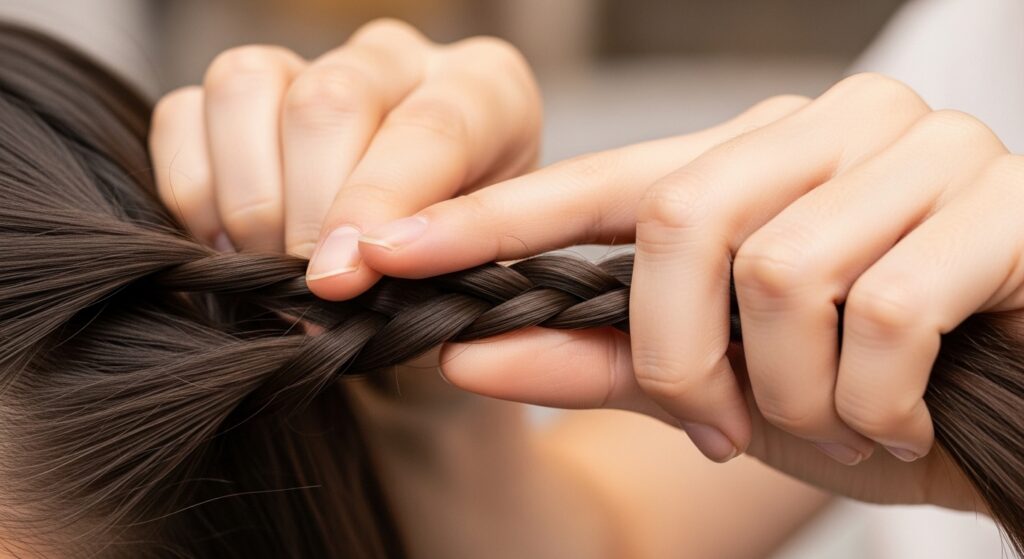
Step 4: The Simple Two-Strand Twist
Separate your attached hair into two equal sections. Now, simply twist them around each other, away from your face, for about 2-3 inches. This creates the core “locs” base.
Keep the tension firm but gentle. You’re building the body of the loc. This twist is what the wavy hair will wrap around.
Step 5: Adding in More Hair for Fullness
After your initial twist, it’s time to add volume. Take another full strand of wavy hair. Lay it alongside the twisted core you’re holding.
This new strand becomes part of the two sections you’ll continue twisting. This is how you make the loc thicker and fuller, moving from a skinny braid to a lush loc.
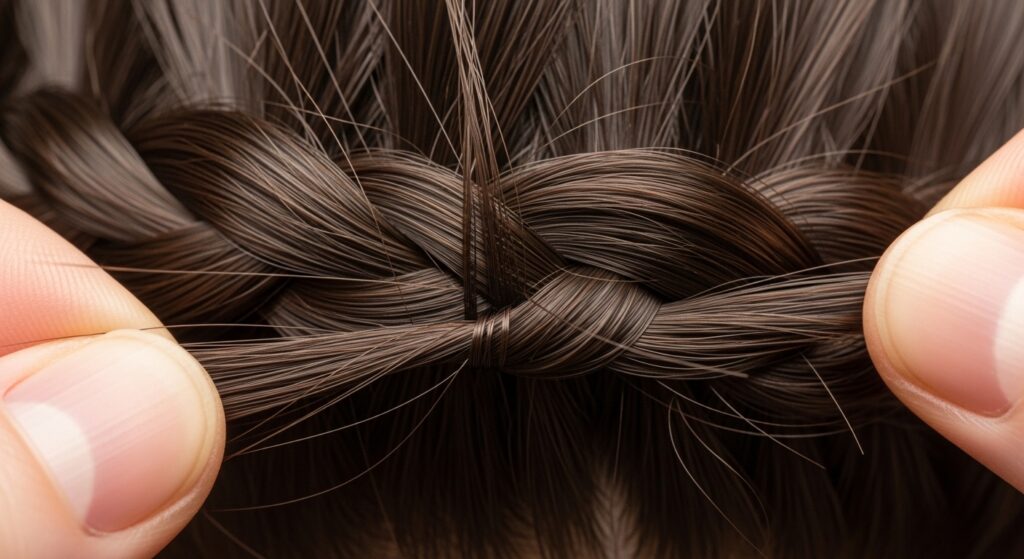
Step 6: The Continuous Twist & Wrap Motion
This is the main, repetitive motion. Keep twisting the two sections (which now include the added hair). As you twist, gently wrap the wavy hair around the core.
The wave pattern will naturally want to curl and coil. Let it! The wrapping doesn’t need to be perfect. The texture hides everything, creating that effortless romantic goth hairstyles feel.
Step 7: Knowing When to Add More Hair
As you continue down the length, the loc may start to thin. Whenever you feel it getting too skinny, just add another strand. Fold it in half, catch it into your twist, and keep going.
There’s no strict rule. It’s all about maintaining a consistent, full thickness that you love. This control is the joy of DIY.
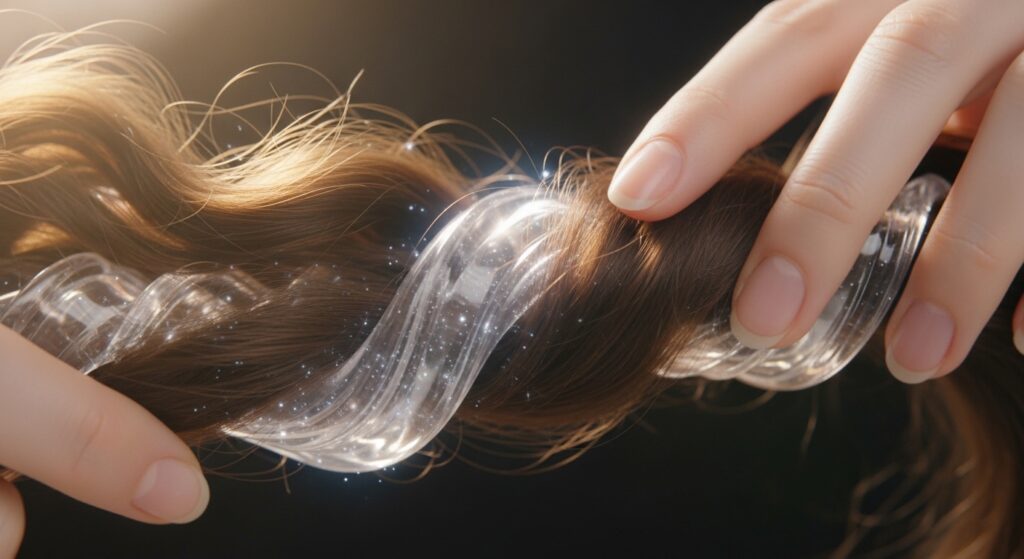
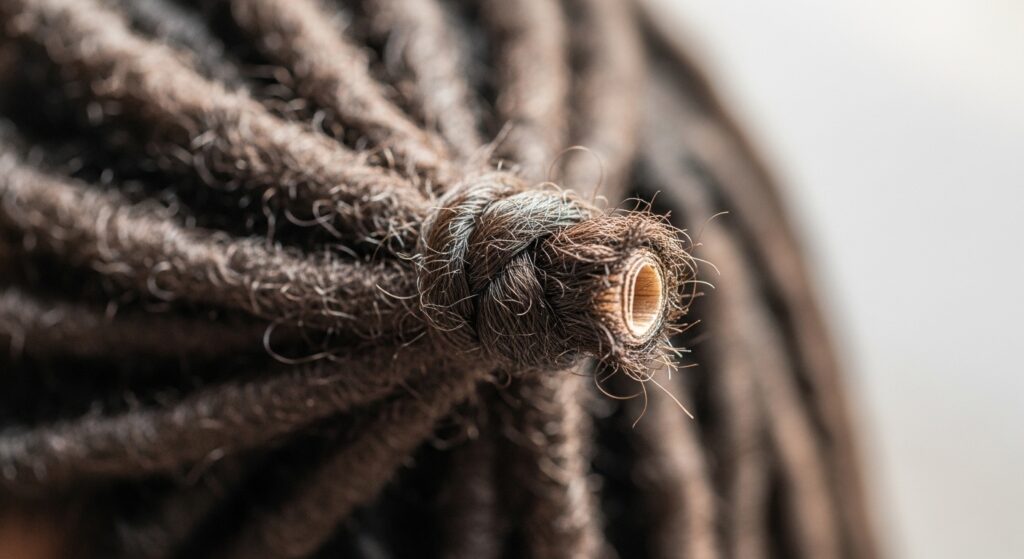
Step 8: Securing the End Perfectly
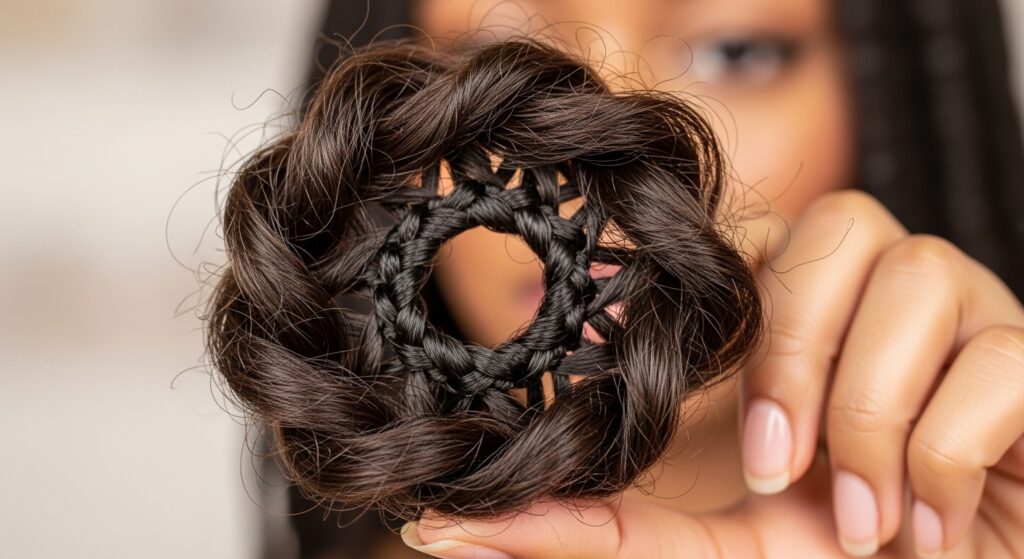
When you reach your desired length, take the very end of the loc and create a small, tight loop. Thread the ends through the loop to make a secure knot.
You can also dip the end in hot water (be careful!) to seal it, or simply use a small, clear elastic band. Trim any excess straggly bits for a clean finish.
Step 9: Repeating & Finding Your Rhythm
Unclip another small section of hair. Repeat the process from Step 1. The first loc will take the longest. By the third, you’ll have a rhythm.
Put on a good show or podcast. This is your self-care time. Embrace the process and watch your masterpiece come to life, section by section.
Step 10: Working Around the Edges & Hairline
For the front, use smaller sections for a more natural look. You can even leave out some of your baby hairs to style later. Be extra gentle here where your scalp is most sensitive.
These framing locs are everything. They can give you the face-framing effect of a hime cut or the softness of a quiet luxury bob, depending on how you place them.
Step 11: The Final Install Check
Once all locs are in, do a full head check. Gently tug on each loc to ensure it’s secure at the root. Look for any spots you might have missed or where parts have gotten too wide.
This is your quality control moment. Fix any loose ends now so you can enjoy the next few weeks worry-free.
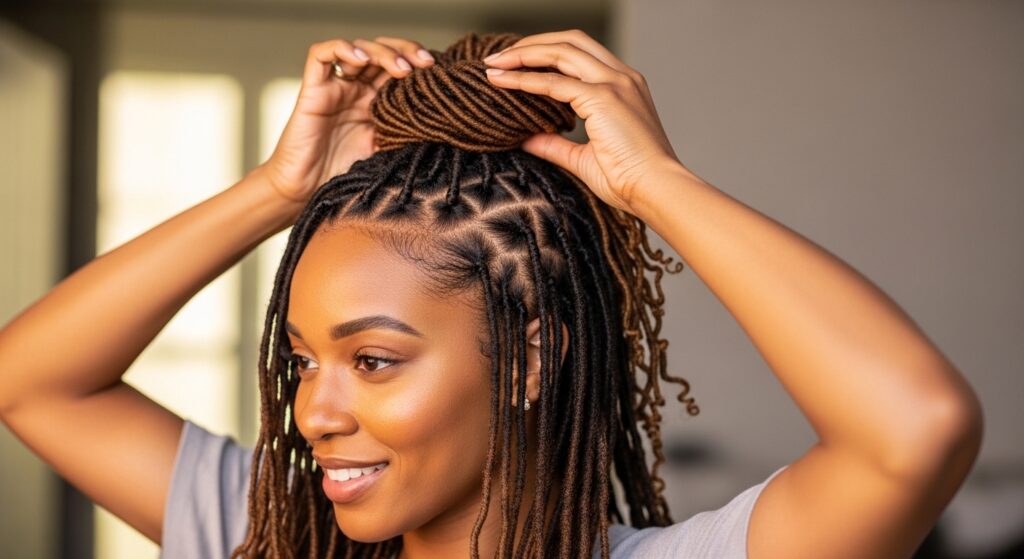
Styling Your New Goddess Locs Immediately
Don’t wait! Style them while they’re fresh. You can pull the front locs back into a half-up, half-down style, or let them all flow free. The waves will settle beautifully over the first day or two.
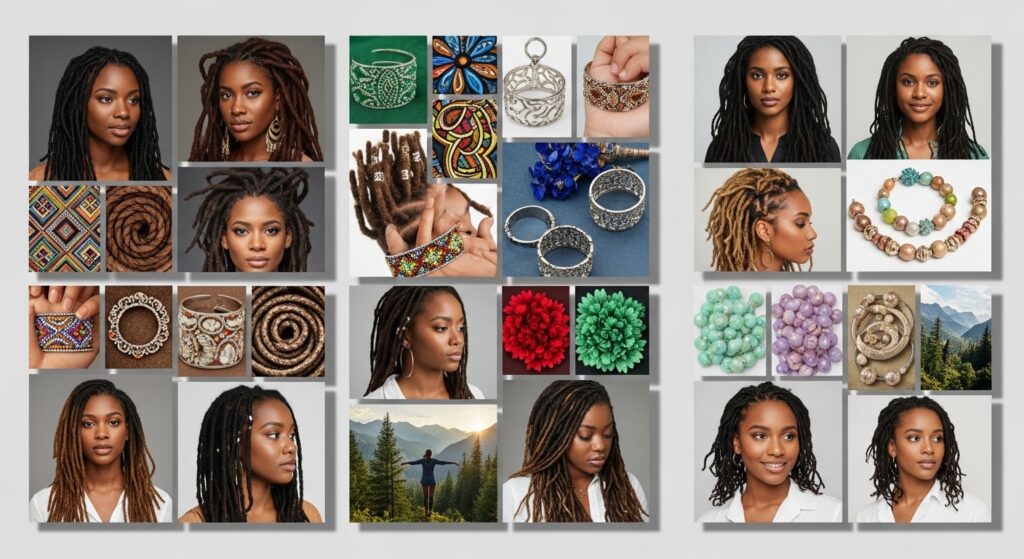
This is where you play. Accessorize with rings, beads, or scarves. The texture pairs perfectly with the dark romanticism of a vampire haircut aesthetic or clean, minimalist gold jewelry.
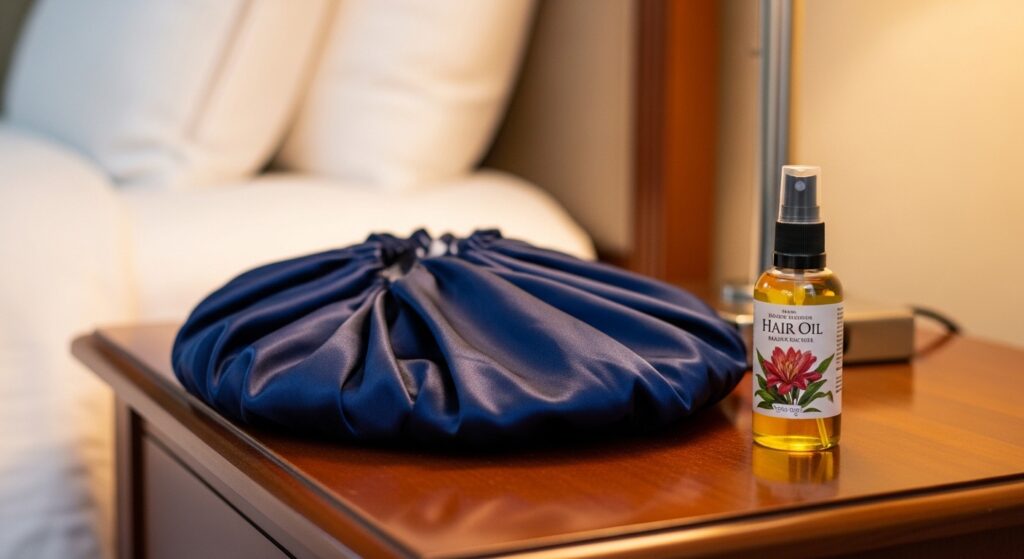
Daily & Nightly Maintenance Routine
To make them last, wrap your hair at night with a satin scarf or use a satin bonnet. This prevents frizz and keeps your style fresh. In the morning, a light spray of water and oil mix can revive the waves.
Keep your scalp moisturized with a light oil applied with a dropper along your parts. A little care goes a long way in extending the life of your install.
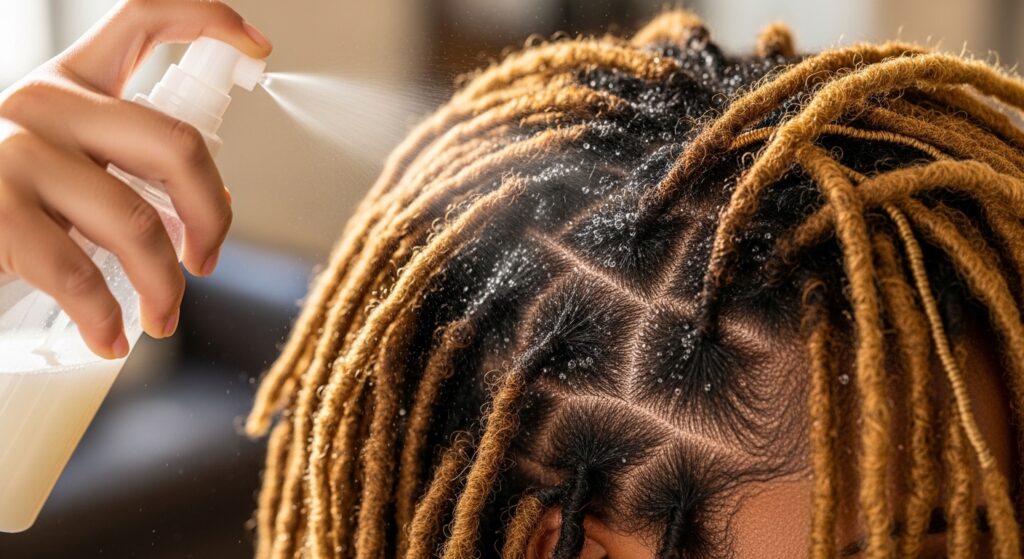
How to Wash Your Goddess Locs
Yes, you can and should wash them! Mix diluted shampoo in a spray bottle. Spray directly onto your scalp, massage gently with your fingertips, and rinse thoroughly using a handheld showerhead or a cup to pour water.
Focus on the scalp, not the length of the locs. Follow with a light conditioner spray. Dry completely at the roots to avoid mildew—a hooded dryer on low heat is perfect.
Common Beginner Mistakes & How to Avoid Them
- Too-Tight Installation: If your scalp throbs, it’s too tight. Take a deep breath and loosen your grip.
- Uneven Sectioning: Take your time with parts. It’s the foundation of the whole look.
- Overthinking the Wrap: The wrap doesn’t need to be perfect. The wave texture is your best friend.

Taking Them Out: The Gentle Removal Process
When you’re ready, carefully snip the sealed end of each loc. Slowly unravel the wrap and the twist until you reach the base knot. Use scissors to carefully cut that knot, freeing your cornrow.
Be patient. Detangle your natural hair gently with loads of conditioner. Follow with a deep conditioning treatment to restore moisture.
Inspiration for Your Next Style
Now that you’ve conquered this, imagine what’s next. You could try these techniques with straight hair for a sleeker look, or experiment with color. You’ve built a fundamental skill.
The world of 2026 hairstyles is all about personal expression—from the sharp asymmetrical lob to the ethereal glitchy glam hair trends. You have the tools to interpret them all.
You Did It! Celebrating Your Win
Seriously, take a moment. You installed a complex-looking protective style by yourself. That’s a huge win. Not only did you save money, but you gained confidence and a new creative skill.
Every time you look in the mirror, you’ll see a reminder that you can figure out beautiful, intricate things. That feeling is the best accessory of all.
And just like that, you’ve got a head full of gorgeous, bohemian waves that you created yourself. The process might have felt long, but that’s the beautiful part—you invested time in yourself, and now you get to enjoy the results for weeks. Remember, every pro was once a beginner who decided to try.
Your hairstyle journey is uniquely yours. Whether you stick with this classic or start blending trends—mixing the drama of romantic goth hairstyles with the precision of an asymmetrical lob—you’re now in the driver’s seat. You have the skill to bring your Pinterest dreams to life.
Save this post to Pinterest to keep this guide handy for your next install weekend! Did you try it? I’d love to hear how it went—tell me about your experience in the comments below!
