16 Spiral Curl Hacks That Add Volume and Bounce Instantly
Do you ever look at your beautiful spiral curls and wish they had just a little more oomph? That coveted volume at the roots, that energetic bounce with every step, that definition that turns heads? You’re not alone. Even the most gorgeous ringlets can sometimes fall flat, weighed down by product, routine, or the elements. But what if you could transform your curls in minutes?
Forget the endless search for a miracle product. The secret to next-level spiral curls often lies in your technique. We’ve compiled 16 game-changing, stylist-approved hacks that target volume and bounce directly. These are simple, actionable tips you can incorporate into your next wash day—or even use to revive second or third-day curls—for instantly lifted, springier, and more voluminous spirals. Get ready to see your curls in a whole new light.
1. The Upside-Down Reset
This is the quickest volume trick in the book. When applying your leave-in conditioner, styler, or gel, flip your head upside down. Scrunch the product upwards into your soaking wet hair. This simple reversal encourages the curls to form away from your scalp, creating instant lift at the roots. Continue diffusing upside down for the first few minutes to set that volume in place.
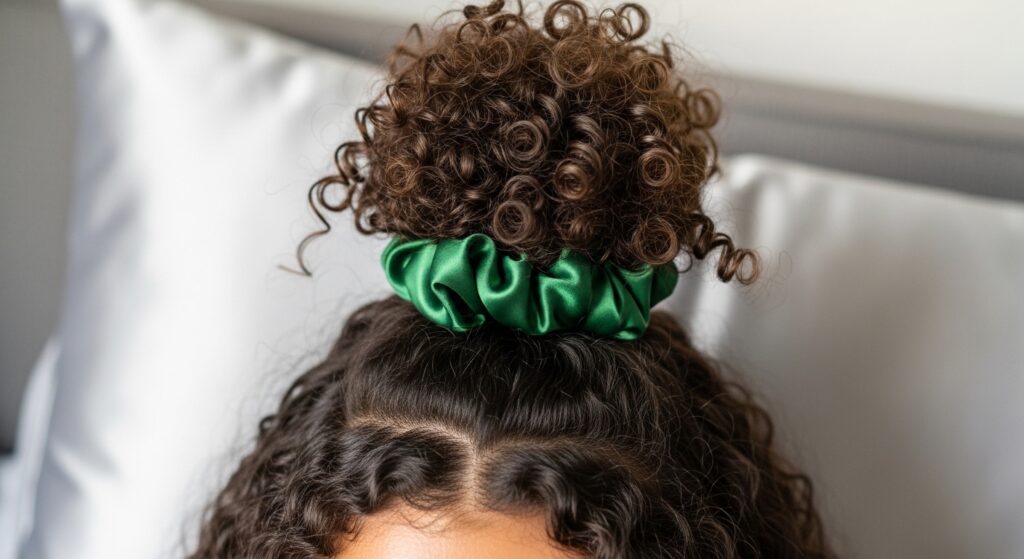
2. Master the “Pineappling” Prep
Night-time preservation is key for morning bounce. Instead of a basic high ponytail, try pineappling with a satin scrunchie. Gather your curls at the very top of your head, but keep the ponytail loose. The goal is to prevent the roots from being flattened against your head overnight. For extra volume, you can even pineapple in two sections—one on top of the other—to distribute the weight.
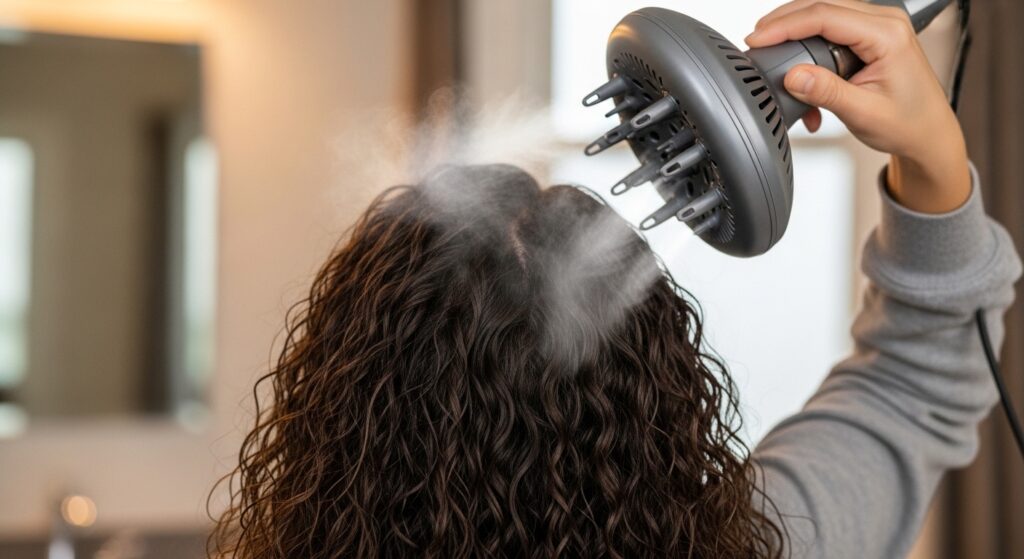
3. Diffuse with a Hover Technique
Stop plopping your diffuser directly into your curls! For maximum volume, start with the hover or pixie diffuse method. With your head flipped, turn the diffuser on a medium heat/medium speed setting and simply hover it near your roots without touching. This dries the roots first, locking in lift. Once roots are 50% dry, you can gently cup sections to dry the ends.
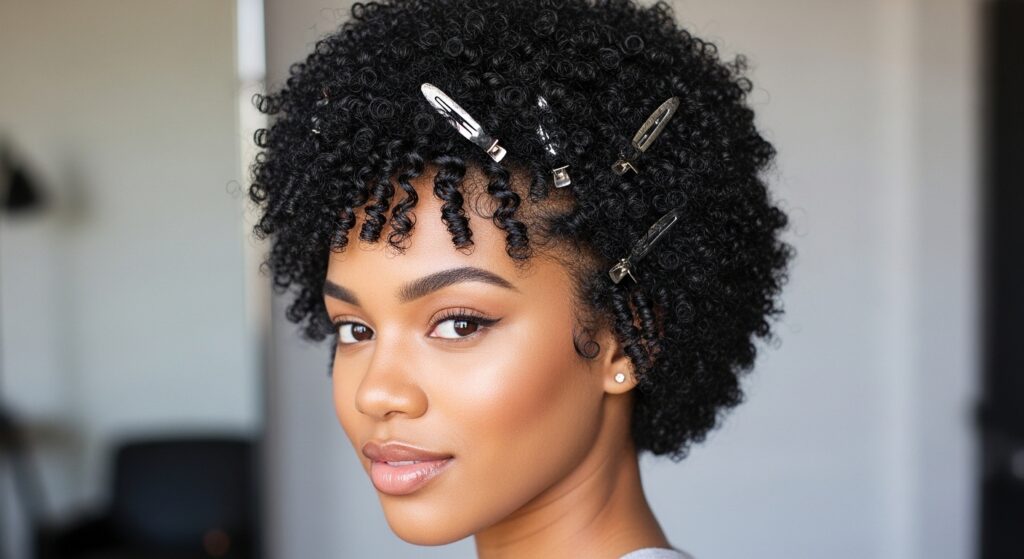
4. The Root-Clip Miracle
An old-school but unbeatable hack. After applying your styler, while your hair is still wet, use duckbill or butterfly clips to lift sections of your roots away from your scalp. Let your hair air dry or diffuse with the clips in. Remove them once your hair is completely dry for instant, lasting volume that won’t collapse.
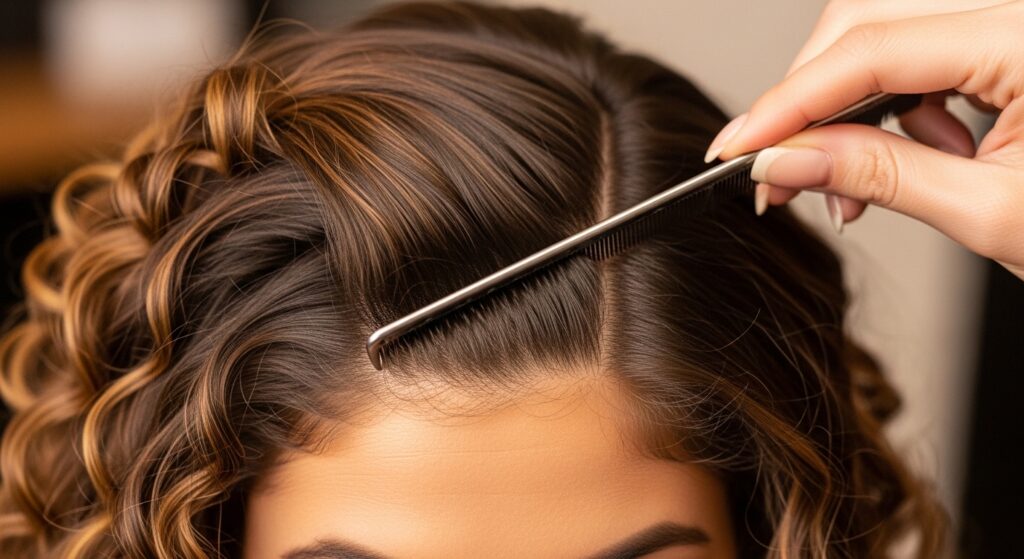
5. Switch Your Part (Even Slightly)
Your hair gets trained to lie a certain way. The simplest hack for immediate root volume is to change your part. If you normally part your hair on the left, switch it to the right, or try a zig-zag part. This forces the hair to lift from the opposite direction, creating noticeable body that lasts all day.
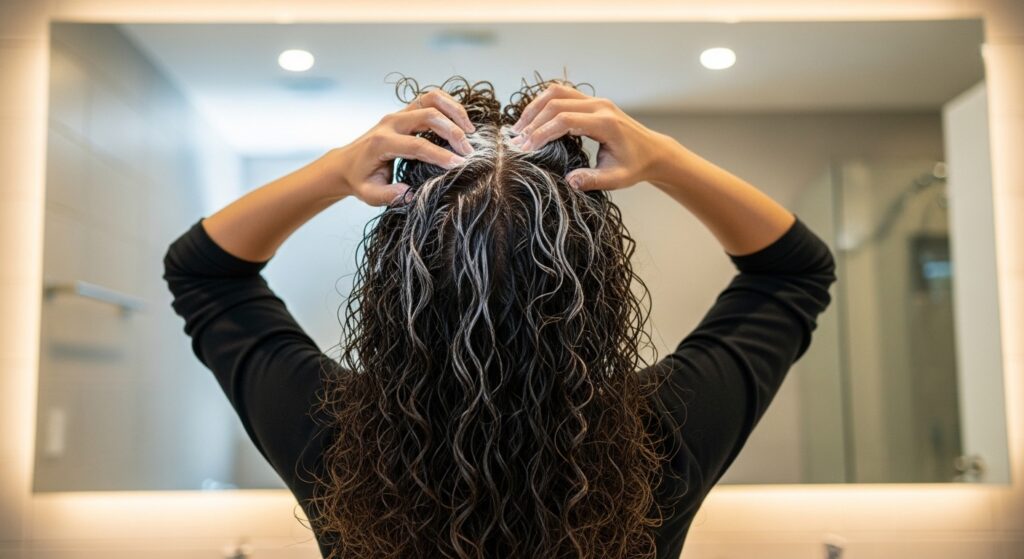
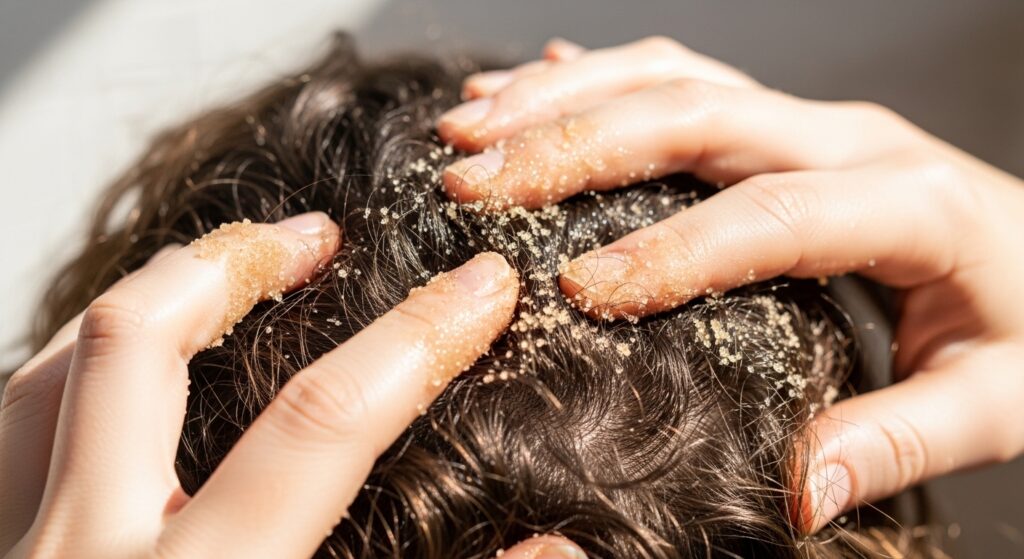
6. Pre-Wash with a Scalp Scrub
Volume starts at the scalp. Product buildup, oils, and dead skin can weigh down roots. Once a week, use a gentle scalp scrub or clarifying shampoo to deeply cleanse. A clean, stimulated scalp allows for better airflow and healthier hair growth, which translates to lighter, bouncier curls from the very foundation.
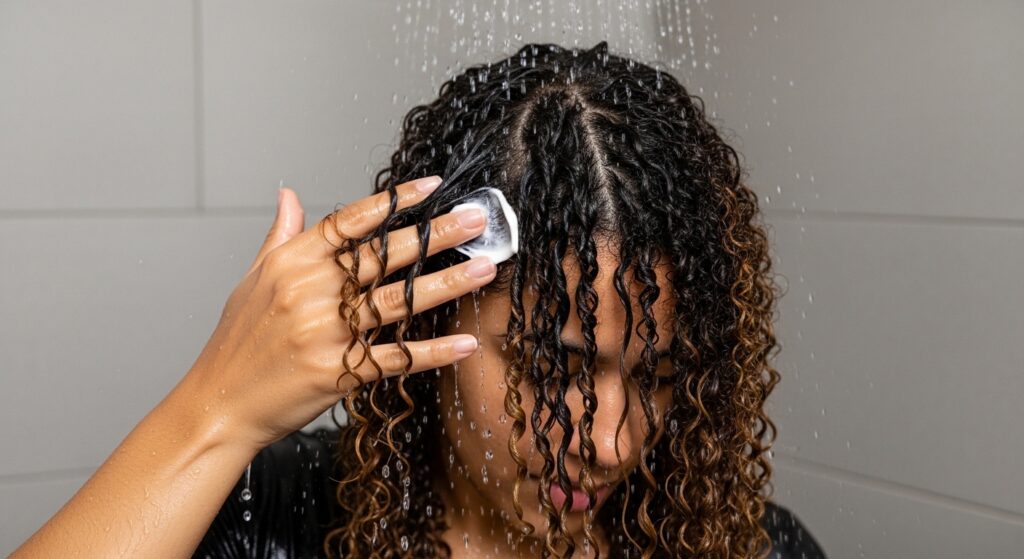
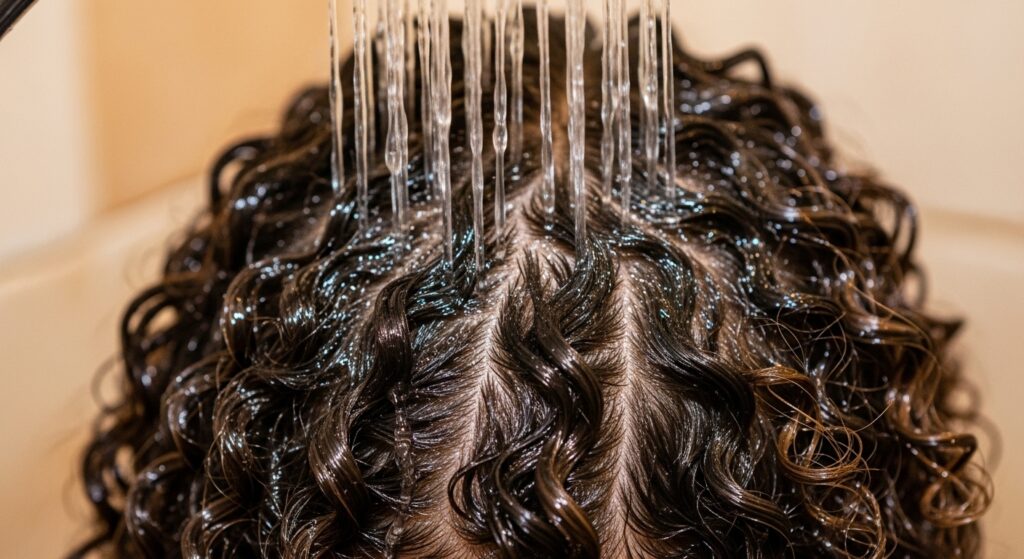
7. Apply Styler to Soaking Wet Hair
This is non-negotiable for bounce. Hair that is dripping wet when you apply your cream or gel has the highest water content, allowing the curl clump to form its fullest, most hydrated shape. Applying to damp hair often leads to frizz and smaller, less bouncy clumps. Soak your hair in the shower, don’t towel dry, and apply your product immediately.
8. The “Rake, Shake, and Cup” Method
For perfect clumps, try this application technique: Rake your styler through a section of wet hair with your fingers. Then, gently shake the section at the roots to encourage separation and lift. Finally, cup the curl in your hands and scrunch upwards. This creates defined, springy clumps with built-in volume.

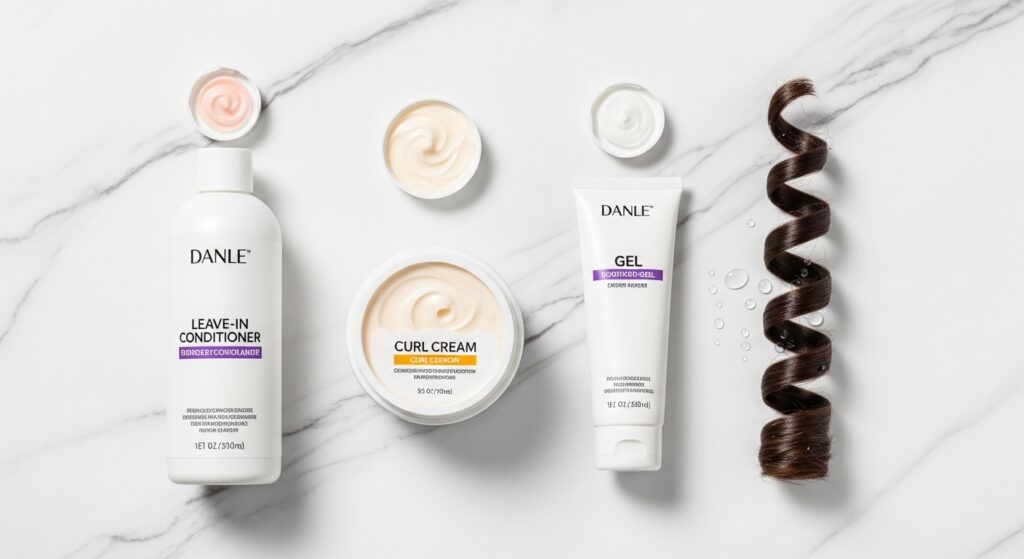
9. Layer Products from Light to Heavy
Product order matters. Always apply your lightest products (like leave-in conditioner) first, followed by creams, then gels or mousses. This ensures each product can penetrate without being blocked by heavier formulas. Proper layering prevents buildup that weighs down curls, allowing for better bounce and hold.
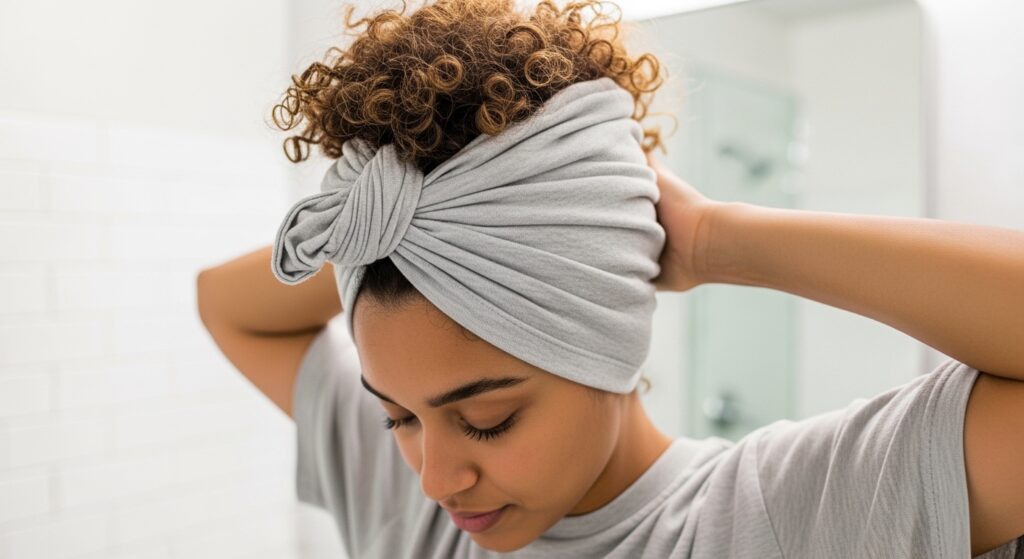
10. Use a Microfiber Towel or T-Shirt to Plop
Ditch the terrycloth towel! Its rough texture creates frizz and disrupts curl clumps. Instead, use a microfiber towel or a soft cotton t-shirt to gently scrunch out excess water. You can also “plop” your hair by piling it into the center of the t-shirt and tying it up. This method enhances curl pattern and reduces frizz for shinier, bouncier results.
11. Refresh with Steam, Not Just Water
When your day-two or three curls need a pick-me-up, plain water can sometimes cause shrinkage or frizz. For incredible bounce revival, use a continuous spray bottle filled with water and a drop of leave-in, or better yet, a handheld garment steamer held at a distance. The steam re-hydrates curls without disturbing their set, adding volume and rejuvenating the shape.

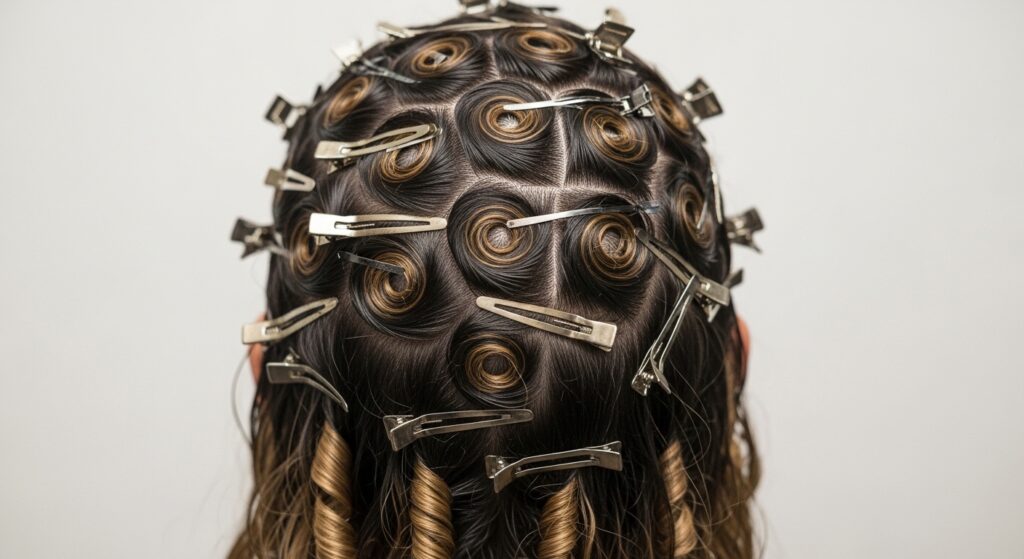
12. Try “Medusa Clipping” While Drying
This is a step up from root clipping. Section your damp, styled hair and coil each section loosely, then clip it to your scalp with a small jaw clip. The clips should look like snakes coming from your head (like Medusa). Let dry completely. When you remove the clips, you’ll have incredible, uniform volume and enhanced spiral formation all over.
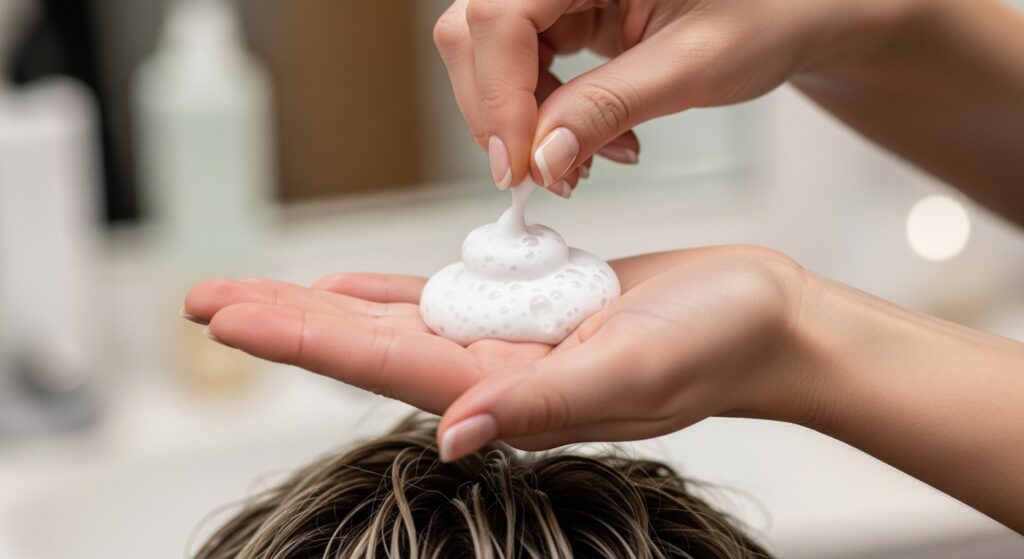
13. Incorporate a Lightweight Mousse
For volume that doesn’t quit, add a lightweight, volumizing mousse to your routine. Apply it after your curl cream but before or mixed with your gel. Mousse introduces air into the hair shaft, creating a light, airy hold that promotes bounce and prevents heaviness. Scrunch it in for the best effect.
14. Do a Cold Water Rinse Finale
At the end of your shower, give your curls a blast of cool or cold water. This helps to seal the hair cuticle, locking in moisture from your conditioner and products. A sealed cuticle reflects more light (for shine), smooths the hair shaft (reducing frizz), and can help curls snap back into a tighter, bouncier formation.
15. “Shingle” Your Curls for Maximum Definition
For smaller, spiral-focused clumps with tons of bounce, try shingling. Take a small section of hair coated with styler, and using your fingers (or a denman brush), smooth the product down the section from root to tip, encouraging it to form one cohesive, tight spiral. This meticulous process creates unparalleled definition and spring.
16. The Final Touch: Scrunch Out the Crunch with Oil
Once your gel cast is 100% dry and crunchy, it’s time to break the seal. Pour a tiny amount of lightweight oil (like argan or jojoba) onto your palms, rub them together, and gently scrunch your curls upwards. The oil breaks the hard cast without adding weight, eliminating crunchiness while releasing soft, voluminous, and incredibly bouncy curls.
Embrace Your Bounciest Curls Yet
Unlocking volume and bounce in your spiral curls doesn’t require a complete routine overhaul. Often, it’s about strategic tweaks and clever techniques that make all the difference. Start by incorporating two or three of these hacks that resonate with you—whether it’s mastering the upside-down dry, clipping your roots, or refreshing with steam. Pay attention to how your curls respond.
Remember, curl care is a journey of experimentation. Your perfect combination of volume and bounce is waiting to be discovered. With these 16 hacks in your toolkit, you’re equipped to combat flatness, invite incredible lift, and let your spiral curls spring to life with every move you make. So go ahead, give them a try, and get ready to fall in love with your hair’s fullest, most vibrant potential.