17 Teasy Lights Placement for Natural-Looking Brightness
Have you ever walked into a beautifully designed room that felt instantly welcoming, yet you couldn’t quite pinpoint why? More often than not, the secret hero is the lighting. Harsh overhead lights can create unflattering shadows and a sterile atmosphere, while thoughtfully placed, layered lighting can transform your space into a warm and inviting sanctuary. Achieving that perfect, sun-kissed, natural-looking brightness doesn’t require a degree in interior design—just a few strategic principles. Teasy lights, with their flexibility and subtle glow, are the perfect tool for this mission.
The Golden Rule: Layering Your Light
Before we dive into specific placements, understanding the concept of layering is crucial. Natural light in a room is never just one source; it streams from windows, bounces off walls, and creates a dynamic play of brightness and shadow. To replicate this, we use three layers:
Ambient Lighting: This is your base layer—the overall illumination in a room, often from ceiling fixtures or recessed lights.
Task Lighting: As the name suggests, this layer provides focused light for specific activities like reading, cooking, or applying makeup.
Accent Lighting: This is the decorative layer that adds drama and depth. It highlights architectural features, artwork, or plants.
Teasy lights are uniquely versatile and can be used to create all three layers. The key is placement and intention.
Ambient Glow: Creating the Foundation
Forget the blinding central ceiling light. Use Teasy lights to create a soft, diffused ambient glow that mimics daylight.
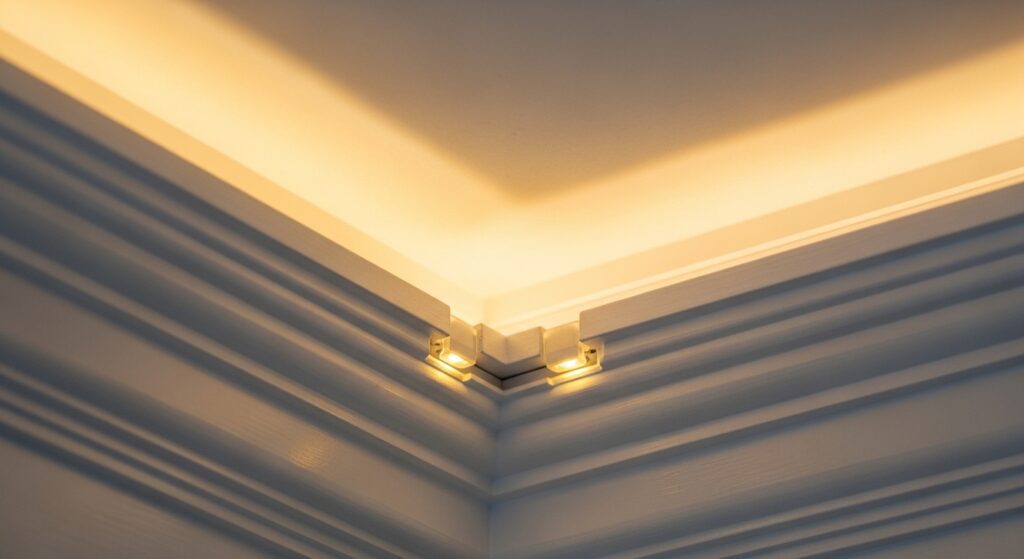
1. Crown Molding Magic: Run a strand of Teasy lights along the top of your crown molding, pointing upwards towards the ceiling. The light will bounce off the ceiling, creating a soft, widespread glow that makes the room feel taller and more open.
2. Behind the Valance: In rooms without crown molding, install a simple wooden valance near the ceiling and hide Teasy lights behind it. This creates a similar effect of indirect, comforting light.
3. Under-Cabinet Illumination (for ambiance): While often a task light, soft under-cabinet lighting in a living room or bedroom can provide a gentle upward wash of light, perfect for creating a calming atmosphere.
4. Floor Bounce: Place a string of brighter Teasy lights (like fairy lights in a glass jar or along a baseboard) pointing towards the center of the room. The light will reflect off the floor, providing a low-level ambient fill.
Task Lighting with Teasy Precision
Direct light where you need it most, without the harshness of a single spotlight.
5. Kitchen Counter Savior: This is a classic for a reason. Stick Teasy light strips under your upper kitchen cabinets to directly illuminate your countertops. No more chopping vegetables in your own shadow!
6. The Home Office Hack: Apply a strip to the back edge of your desk or monitor. This provides direct task light for writing and reduces eye strain from screen contrast in a dark room.
7. Closet Clarity: Line the upper shelf of your closet with a motion-sensor Teasy light strip. It turns on automatically, making it easy to find that navy blue sock in a pile of black ones.
8. Stairway Safety: Install subtle Teasy light strips along the underside of stair treads or along the stair railing. This provides essential pathway lighting that is both functional and looks incredibly modern.
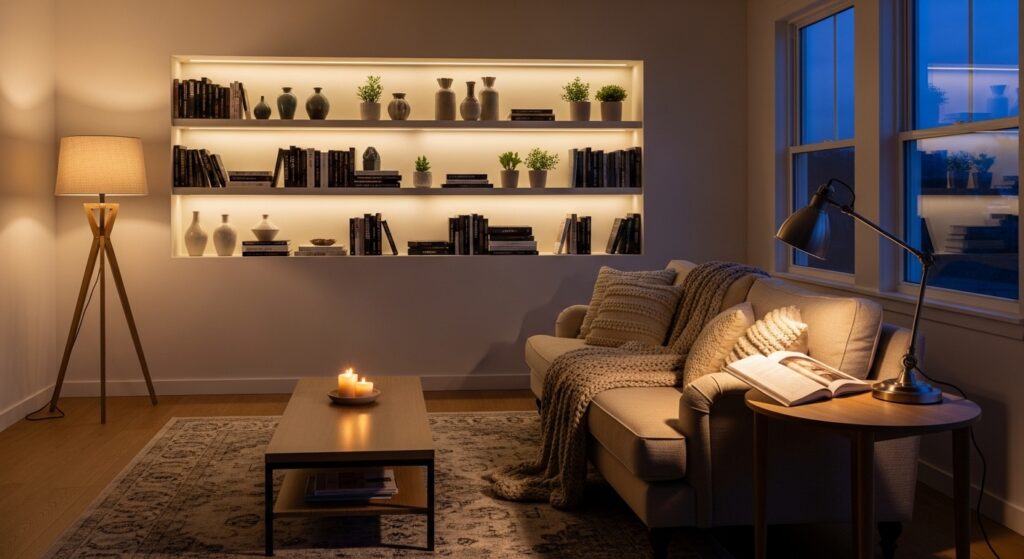
9. Reading Nook Ribbon: Create a dedicated reading spot by lining the inside of a bookshelf or the headboard of your bed with a warm white strip, offering perfect light for your latest novel.

Accent & Decorative Drama
This is where Teasy lights truly shine, adding personality and drawing the eye to your home’s best features.
10. Artwork Highlighting: Use short strips to frame the back of a painting or photograph on the wall. The light grazes the wall, making the art pop without creating glass glare.
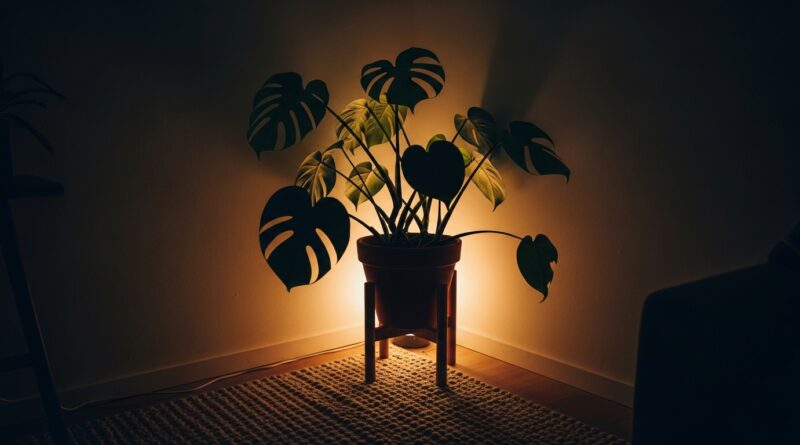
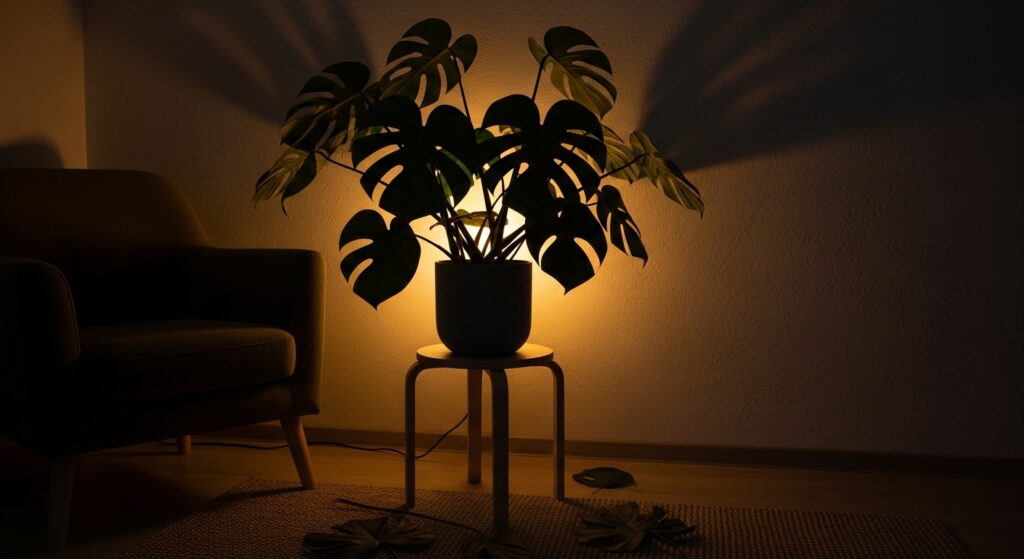
11. Sculptural Silhouettes: Place a strip behind a large potted plant, a sculptural vase, or even a piece of furniture. This creates a stunning backlit silhouette and adds incredible depth to the room.
12. Inside Glass Cabinets: Showcase your favorite glassware, collectibles, or books by lining the interior frames of display cabinets with subtle lighting. It turns storage into a display feature.
13. Headboard Halo: Apply a strip to the back of your bed’s headboard. The soft light reflecting on the wall creates a beautiful, relaxing halo effect, perfect for winding down.
14. Mirror Perimeter: For a truly luxurious and functional bathroom or vanity lighting, frame your mirror with Teasy lights. It provides even, shadow-free light for grooming.
Pro Tips for a Truly Natural Effect
Placement is half the battle. These final tips will ensure your lighting looks cohesive and organic.
15. Vary Your Brightness and Color Temperature: Not all lights should be the same. Use warmer tones (2700K-3000K) in bedrooms and living areas for coziness. Use cooler, brighter whites (3500K-4000K) in kitchens and offices for focus. Dimmable strips are a game-changer.
16. Think in Threes and Odd Numbers: When creating accent points (like lighting three separate shelves or art pieces), using odd numbers is more visually appealing and natural to the eye.
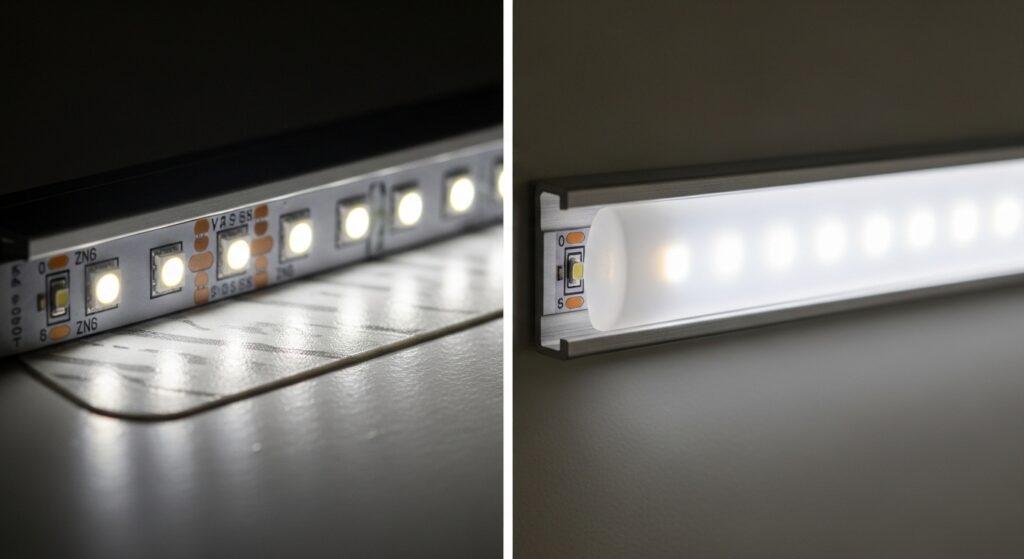
17. Conceal and Reveal: The source of the light should often be hidden, but the effect should be visible. Use channels, diffusers, or strategic placement behind objects to avoid seeing the individual LED dots, creating a seamless glow.
Bringing It All Together
Transforming your home with light is an iterative and creative process. Start with one area—perhaps the ambient layer in your living room with crown molding lights, then add task lighting under your kitchen cabinets, and finally, create an accent moment in your bedroom. The beauty of Teasy lights is their low commitment and flexibility; you can experiment until you find the perfect balance.
Remember, natural-looking brightness is about mimicking the subtle, multi-directional quality of daylight. It avoids a single, overwhelming source in favor of several gentle, purposeful ones. By using these 17 Teasy lights placement strategies, you’re not just installing lights; you’re designing an experience. You’re crafting a home that feels brighter, larger, and more inviting from the moment you step inside, at any hour of the day.
So, grab your lights, play with layers, and watch as your space transforms from simply lit to brilliantly alive.