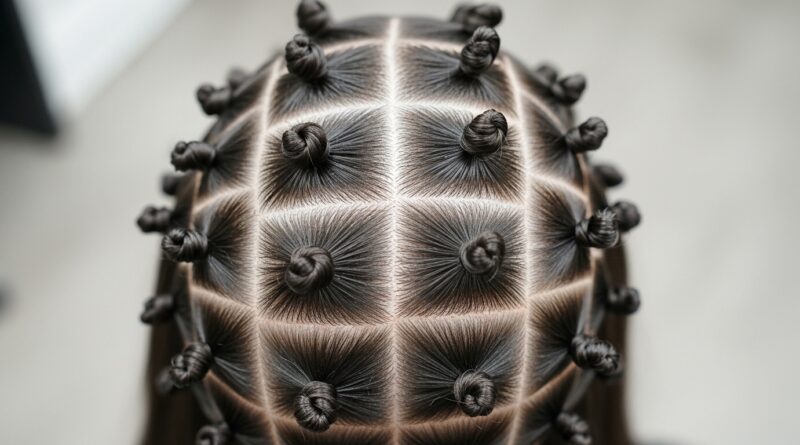
Craft 20 Overhand Knot Rows Creating Rope-Like Textured Effects
Okay, let’s be real. We’ve all seen those incredible, intricate braids and thought, “I could never.” But what if I told you there’s a way to get that stunning, rope-like texture without needing to be a professional braider? It’s true.
Today, we’re diving into the magic of the overhand knot. It’s the simplest knot you know, but when you repeat it in rows, it creates the most beautiful, textured effect. It looks complicated, but I promise it’s beginner-friendly.
This technique is a total game-changer. It works on almost any hair length and adds instant drama to your look. Whether you’re aiming for something romantic, edgy, or just uniquely cool, these knot rows have got you covered. Let’s get into it.
What Are Overhand Knot Rows?
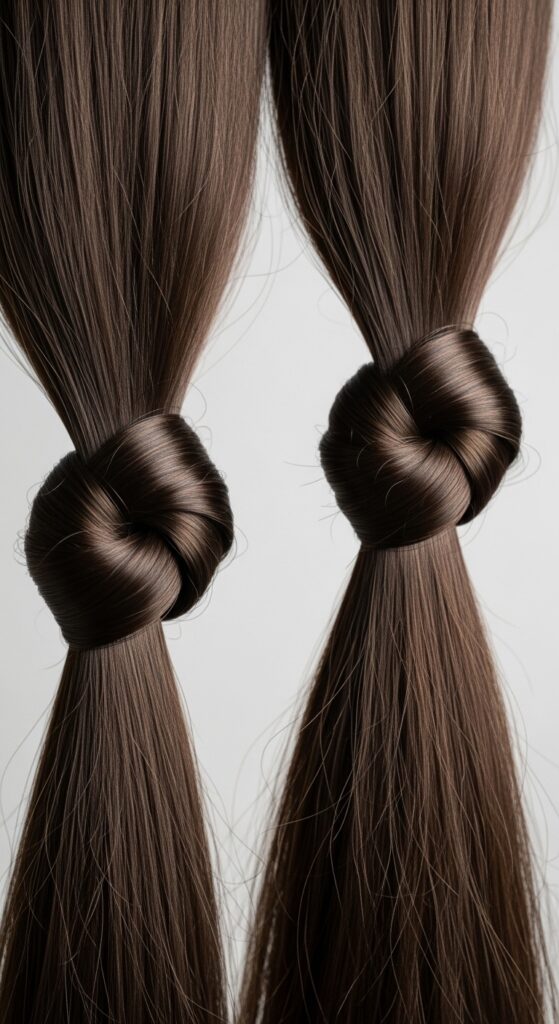
Think of this as hairstyling’s best-kept secret. You literally just tie sections of your hair into simple, single knots, one after the other, in neat rows. Each knot creates a chunky, dimensional bump that looks like twisted rope or delicate macrame.
The result is a head-turning texture that’s both organic and artistic. It’s a fantastic way to add interest to simpler cuts or to elevate an everyday style into something special for a night out.
Why This Technique is a 2026 Trend Now
We’re moving into an era of 2026 hairstyles that are all about personalized texture and craft. People want looks that feel handmade and unique, not perfectly polished from a machine. This knotting technique fits right in.
It has that “I just know how to do cool things” vibe. It bridges the gap between bohemian, gothic, and minimalist styles, making it incredibly versatile for anyone’s personal aesthetic.
Hair Type & Length: Who Can Rock This?
Great news: this isn’t just for people with waist-length locks. If your hair is at least chin-length, you can make this work. Texture is your friend here.
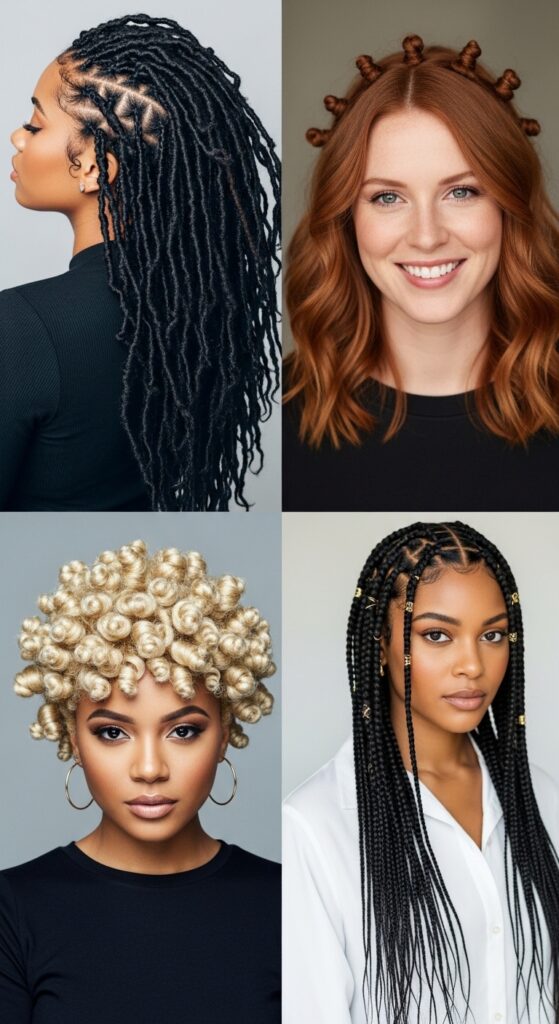
- Straight or Silky Hair: Use a texturizing spray first. The grit helps the knots hold their shape.
- Wavy or Curly Hair: Your natural texture will make the knots look even more amazing and hold them super well.
- Thick Hair: You’ll get gorgeous, pronounced knots. Just make sure your sections aren’t too bulky.
- Thin Hair: This creates instant volume! The knots add so much body and the illusion of thickness.
The Essential Prep: Don’t Skip This
Starting with clean, slippery hair is a recipe for frustration. Your knots will just slide right out. The key is to create some grip and texture.
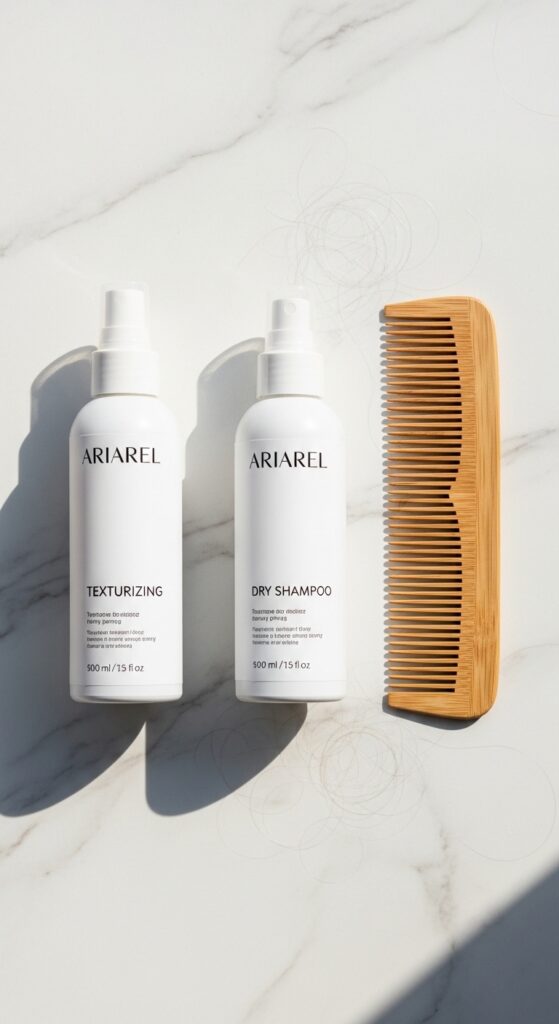
I always do this on day-two or day-three hair. If my hair is freshly washed, I spray a sea salt spray or a light-hold texturizing mist throughout. A tiny bit of dry shampoo at the roots also works wonders for adding that necessary hold.
Tools You’ll Need (It’s a Short List!)
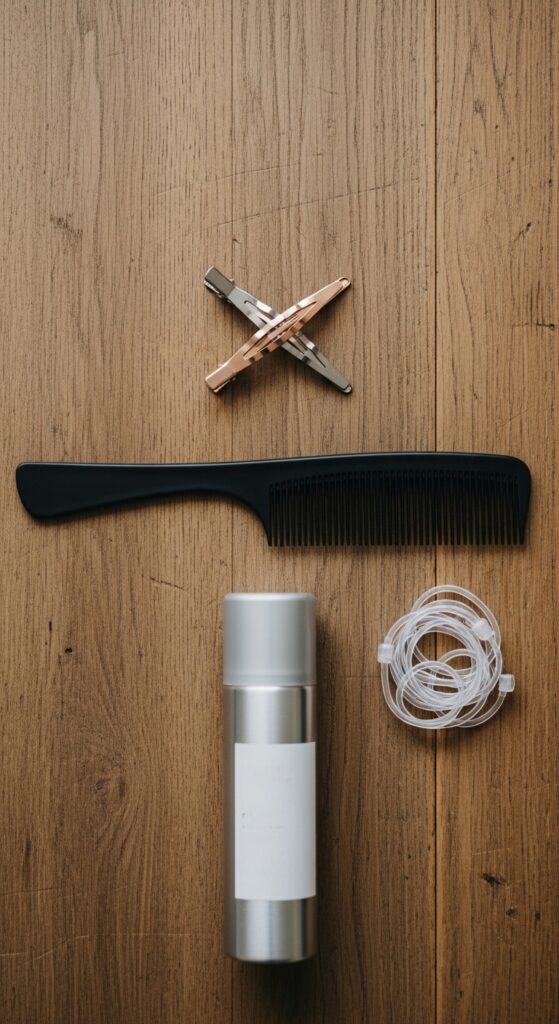
You don’t need a professional kit. You probably have everything already.
- A fine-tooth comb for creating clean partings.
- Small, clear elastic bands (for securing the ends, optional).
- Hair clips to section hair off.
- Strong-hold hairspray or a texture spray for finishing.
- That’s it! No fancy tools required.
Step 1: Sectioning Your Canvas
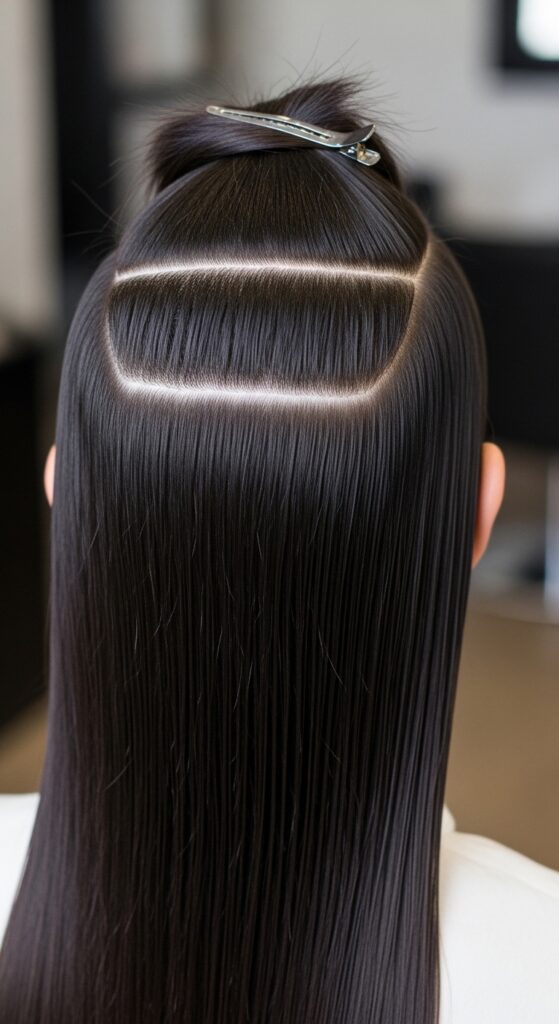
Start with brushed, textured hair. Use the tail of your comb to create a straight part from your forehead to the nape of your neck. Clip one side away.
On the working side, create a horizontal part from the top of your ear back to your center part. Clip the top section up. You’re now working on a clean, manageable section at the side of your head.
Step 2: Creating Your First Knot
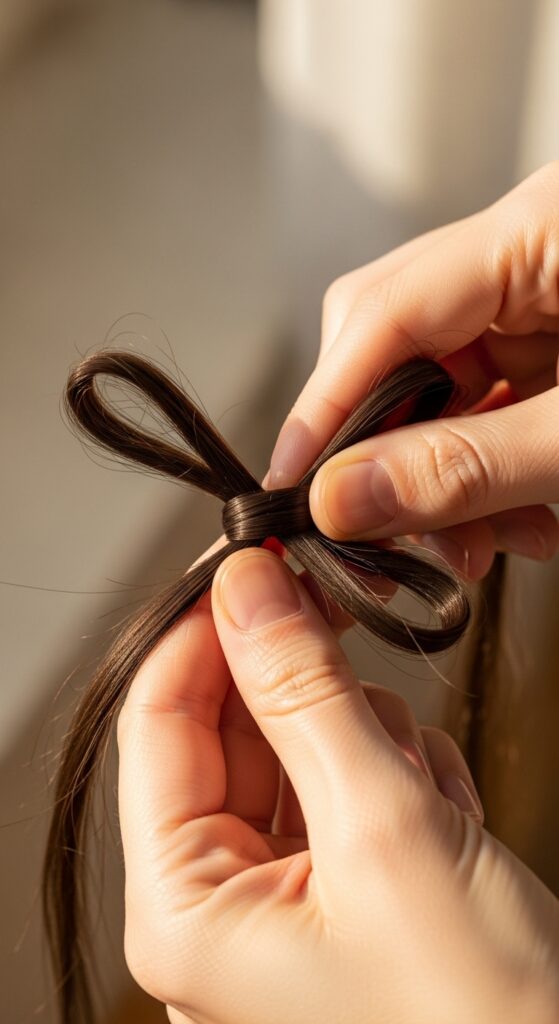
Take a subsection (about 1-inch wide) from the front of your working area. Split it into two equal strands, just like you’re starting to tie your shoes.
Simply tie a basic, single overhand knot. Pull it snug, but not so tight it pulls on your scalp. You should see a beautiful, chunky knot sitting right there. This is your first building block.
Step 3: The “Row” Magic
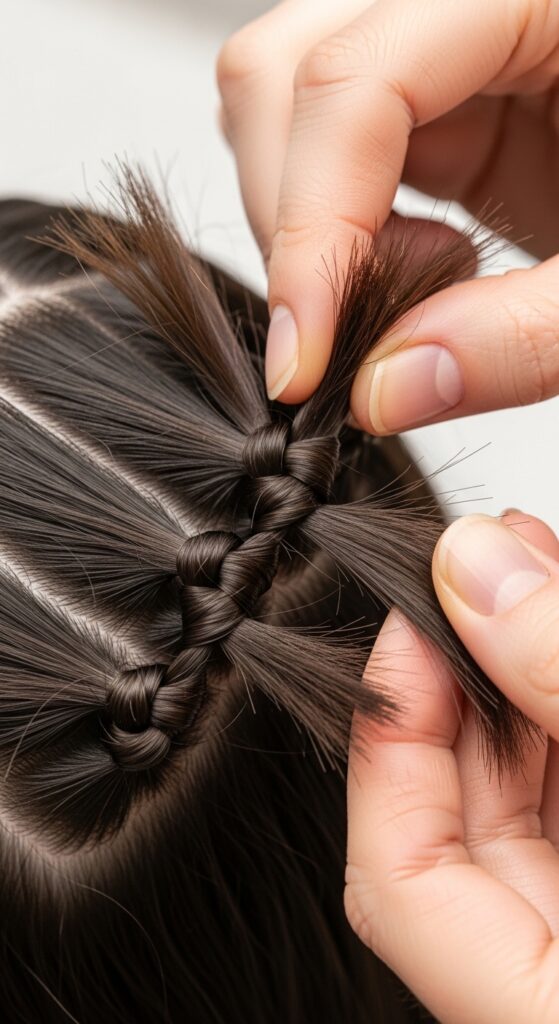
Right below that first knot, gather another 1-inch section of hair. But here’s the trick: incorporate the two ends from your first knot into this new section.
Split this combined hair into two new strands and tie your second knot. This links them together, creating that continuous, knotted row. Repeat this process all the way down the section until you run out of hair.
Step 4: Securing the End
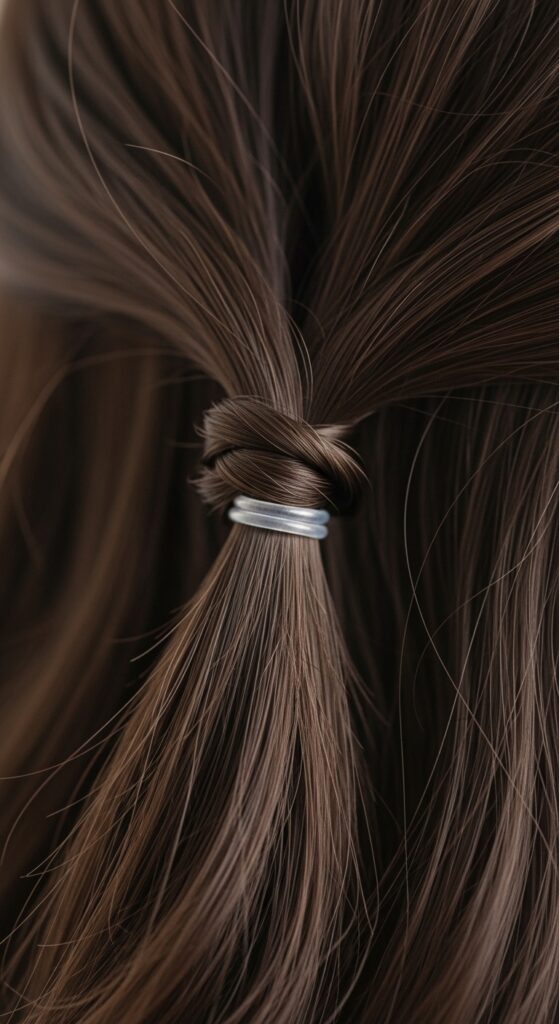
When you get to the ends of your hair, you have options. For a cleaner look, secure the end with a small, clear elastic. You can tuck it under or leave it as a tiny tail.
For a more undone, bohemian feel, you can lightly mist the end with hairspray and leave it loose. The knots themselves, if done on textured hair, should hold remarkably well on their own.
Step 5: Repeat & Mirror
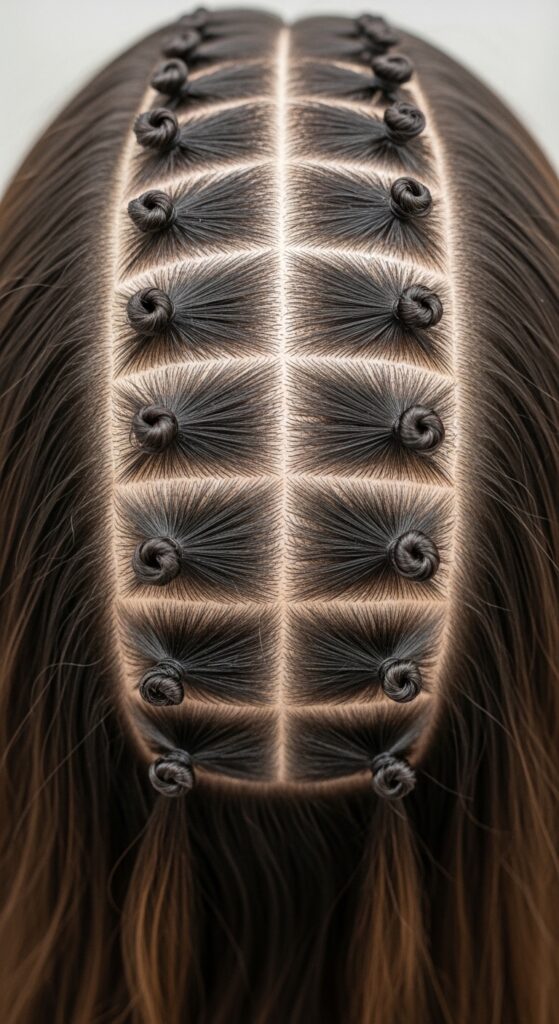
Unclip the next horizontal section of hair above your first finished row. Repeat the entire process: take a front subsection, knot, and continue the row down.
Complete 2-3 rows on this side of your head, then unclip the other side of your part. Mirror the process there. You want the rows to frame your face symmetrically for this classic look.
Pro Tip: Keeping Tension Consistent
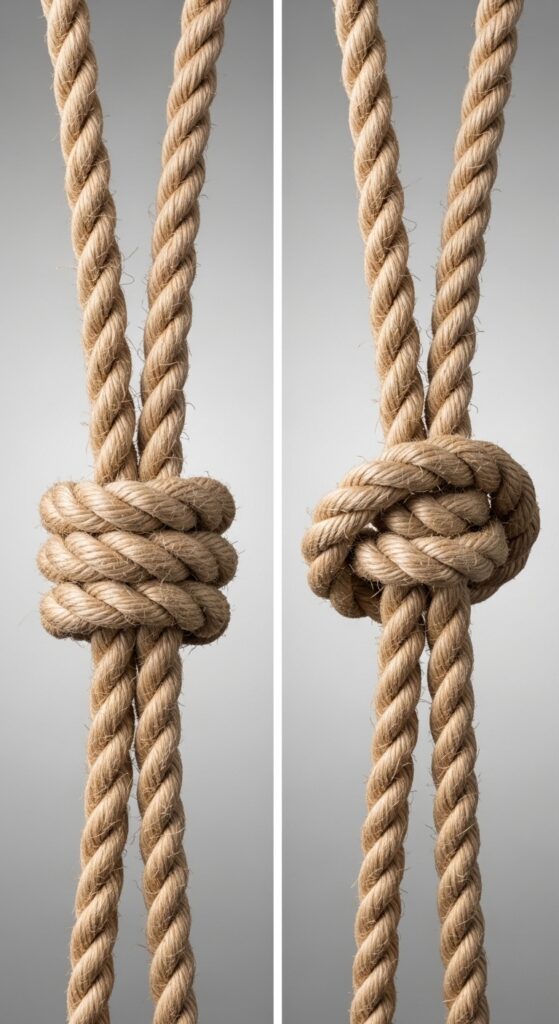
The biggest rookie mistake is pulling knots too tight. You want them firm enough to hold, but with a little softness. If you pull too hard, the style looks strained and can be uncomfortable.
Aim for a consistent, medium tension with each knot. This keeps the rows even and the overall look chic, not severe. Practice makes perfect here.
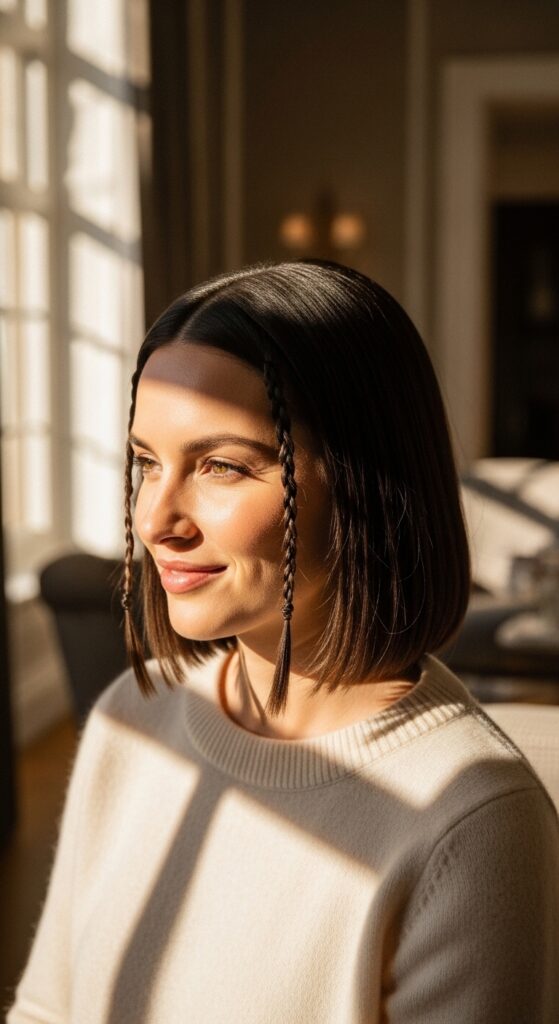
Styling Idea 1: The Quiet Luxury Bob
Transform a simple cut into an old money hair moment. On a blunt quiet luxury bob, create two or three delicate knot rows on each side.
Keep the rest of your hair sleek and polished. This adds just a whisper of artful texture, making your bob look expensive and intentionally crafted. It’s understated but deeply interesting.
Styling Idea 2: Romantic Goth Texture
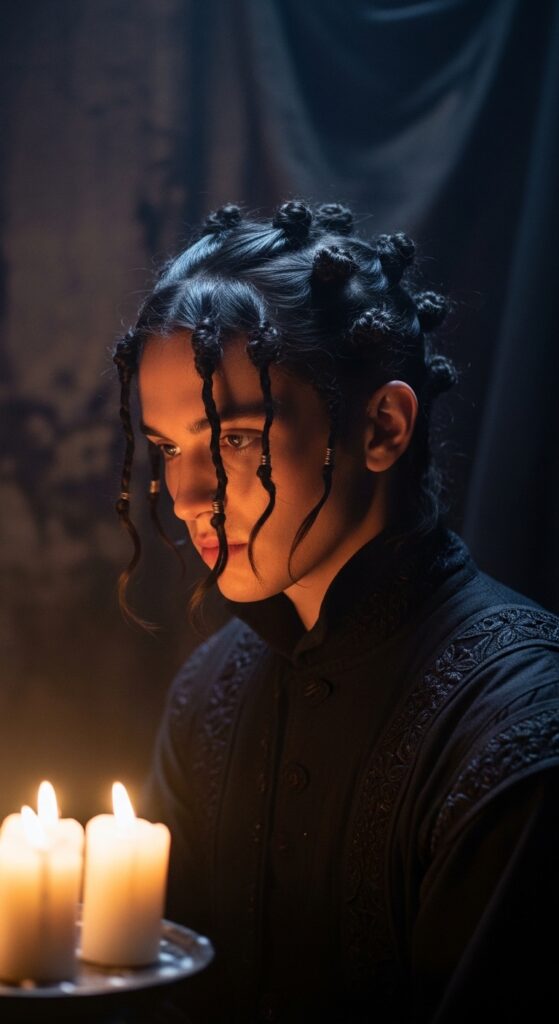
This is perfect for romantic goth hairstyles. Create deep, dark knot rows for a Victorian-meets-edgy vibe. Let a few face-framing pieces curl loosely.
Pair it with a velvet choker or dramatic earrings. The knots add a tactile, almost historical texture that feels perfectly melancholic and beautiful.
Styling Idea 3: Glitchy Glam Edge
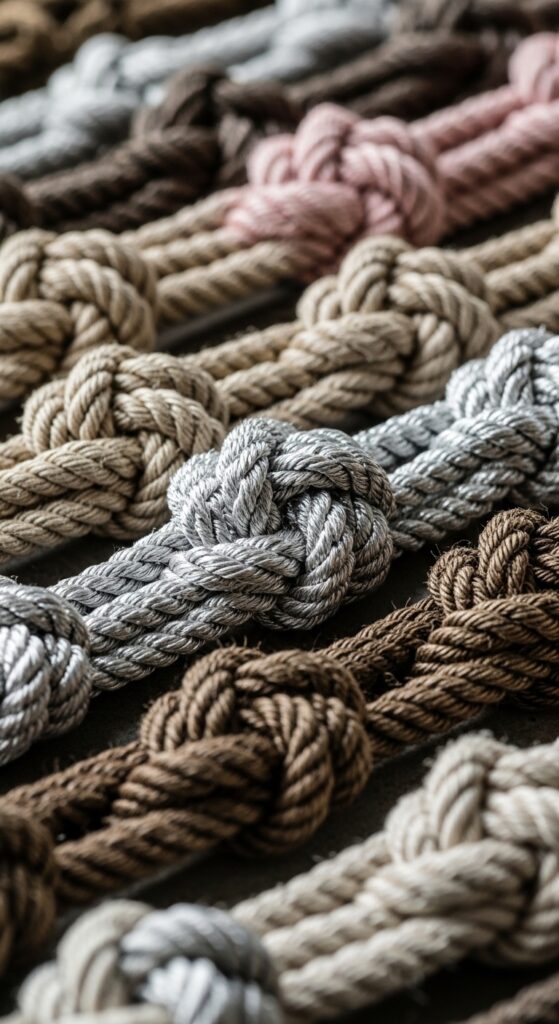
For glitchy glam hair, think disruption. Don’t make your rows perfect. Skip a knot, or make one row shorter than the others. Use a bit of colored hair wax on the knots.
It looks like a digital glitch in human form—polished but deliberately “broken.” This is a fantastic way to play with texture and make a bold statement.
Styling Idea 4: Asymmetrical Lob Drama
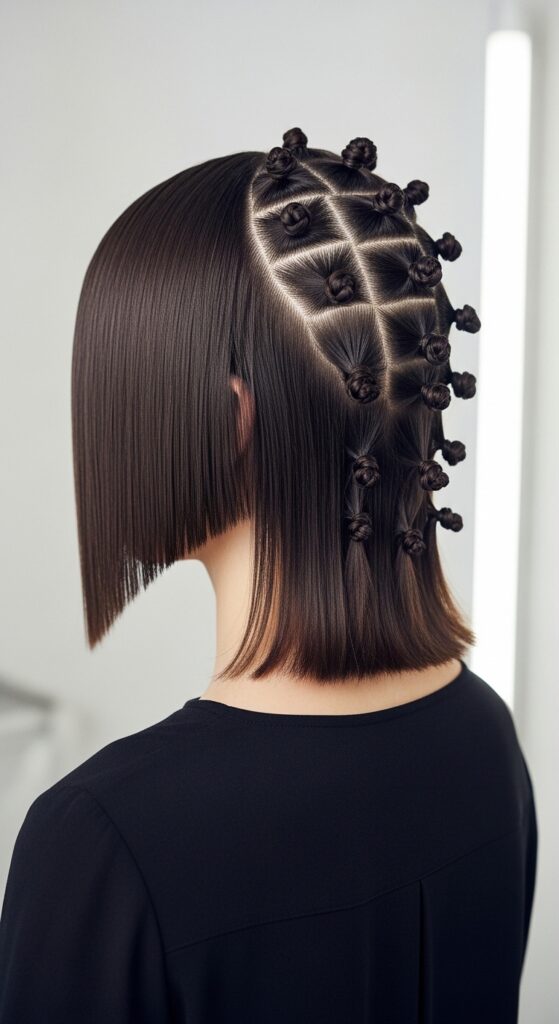
An asymmetrical lob already has drama. Amplify it. Concentrate several knot rows on the longer side of the lob, letting them cascade over your shoulder.
Keep the shorter side smooth or with a single accent knot. This balances the asymmetry with incredible texture, making the cut look even more dynamic.
Styling Idea 5: The Vampire Halo
Take the vampire haircut aesthetic to the next level. Create knot rows that start at your temples and curve around the back of your head like a dark halo.
Leave the crown hair smooth or with volume. It gives off an immortal, ethereal feel that’s both beautiful and slightly intimidating. Perfect for a night out.
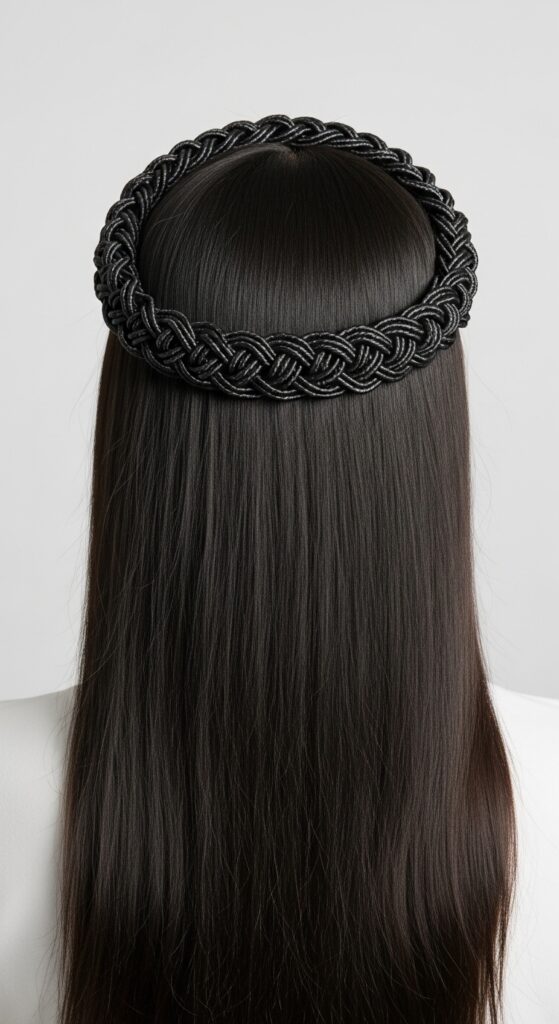
Styling Idea 6: Hime Cut Fusion
The hime cut is all about stark, straight lines. Add knot rows to the long, front sections of the cut before they frame your face.
This fusion of traditional Japanese style with modern textural art is stunning. It preserves the hime’s structure while injecting a totally unique, personal twist.
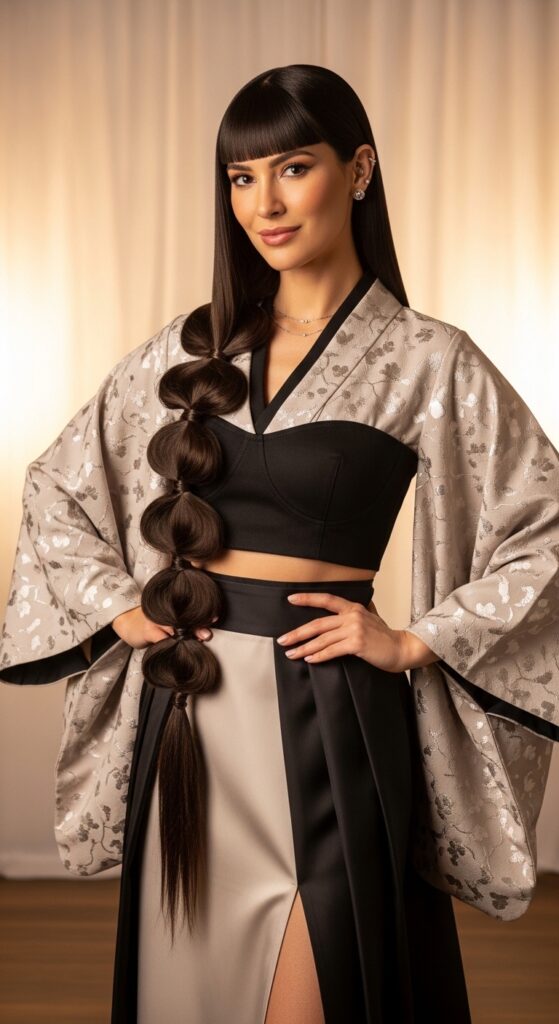
Half-Up, Half-Down Perfection
This is my go-to for a cute, daily look. Create two or three knot rows on each side of your part, starting at your temples. Then, gather the top half of your hair, including the knotted rows, into a half-up ponytail or bun.
It keeps hair out of your face while showcasing the beautiful texture. The loose bottom hair softens the whole look.
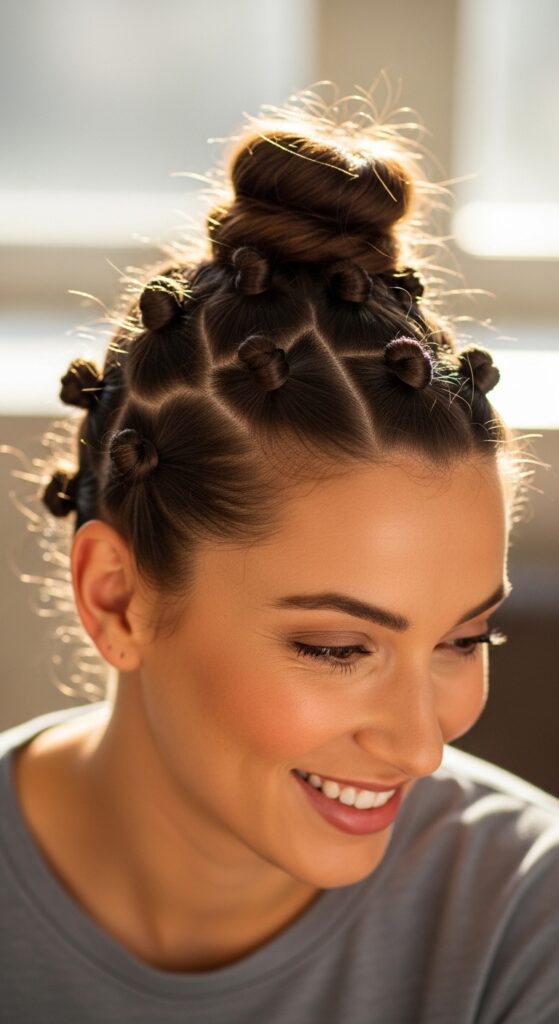
Full-Updo: The Textured Knot Bun
For a formal event, create knot rows all over your head. Once all your rows are done, gather all your hair into a low, elegant bun at your nape.
Let the knotted texture be the star—no need for extra accessories. It looks incredibly sophisticated and like you paid a fortune at a salon.
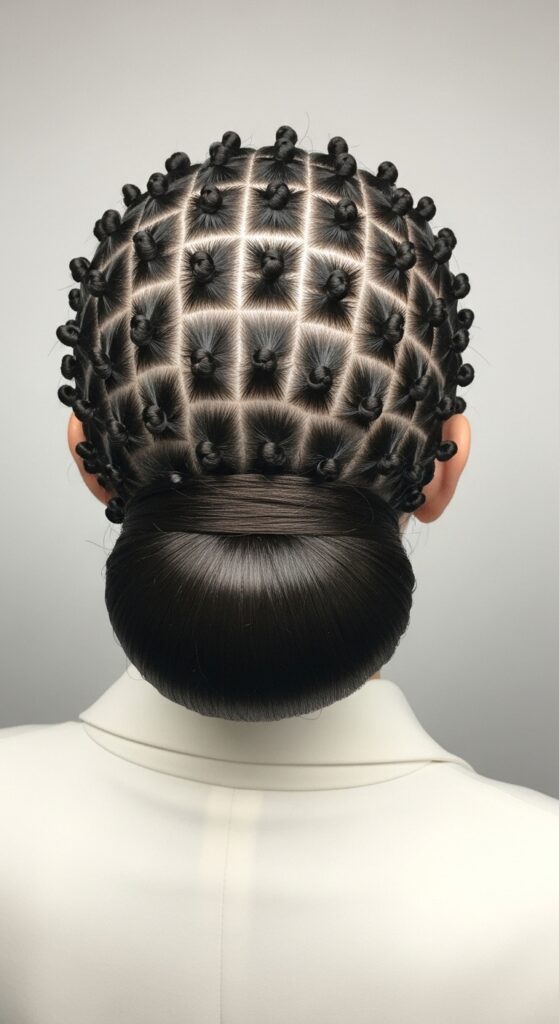
Accessorizing Your Knotted Rows
Less is more. The knots are the accessory. If you want to add something, think delicate.
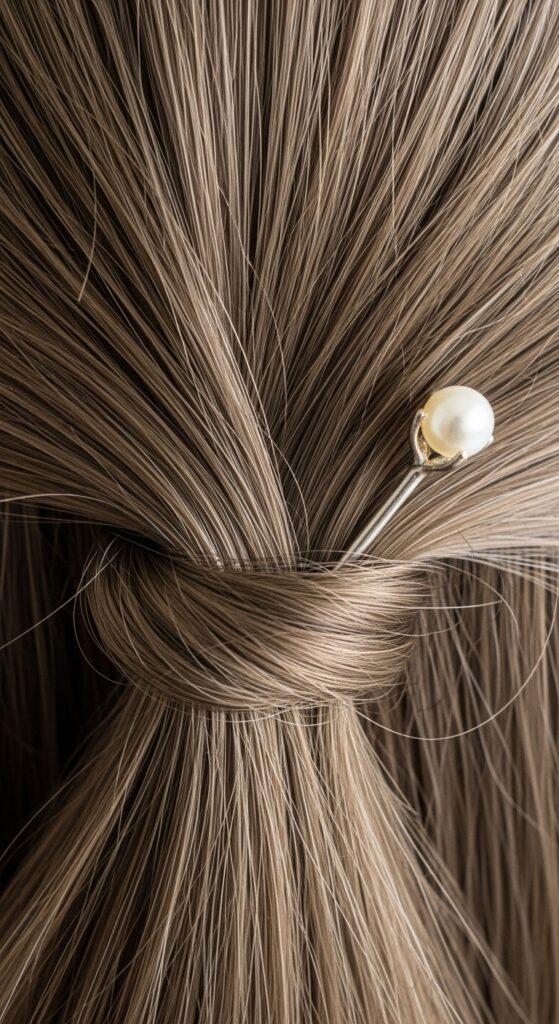
- Slide a few tiny, pearl-ended pins between knots.
- Weave a single, thin ribbon through a row before you tie the knots.
- Add small, delicate chain hair jewelry along your part.
- Avoid big, bulky clips that will hide all your hard work.
Making It Last: The Final Hold
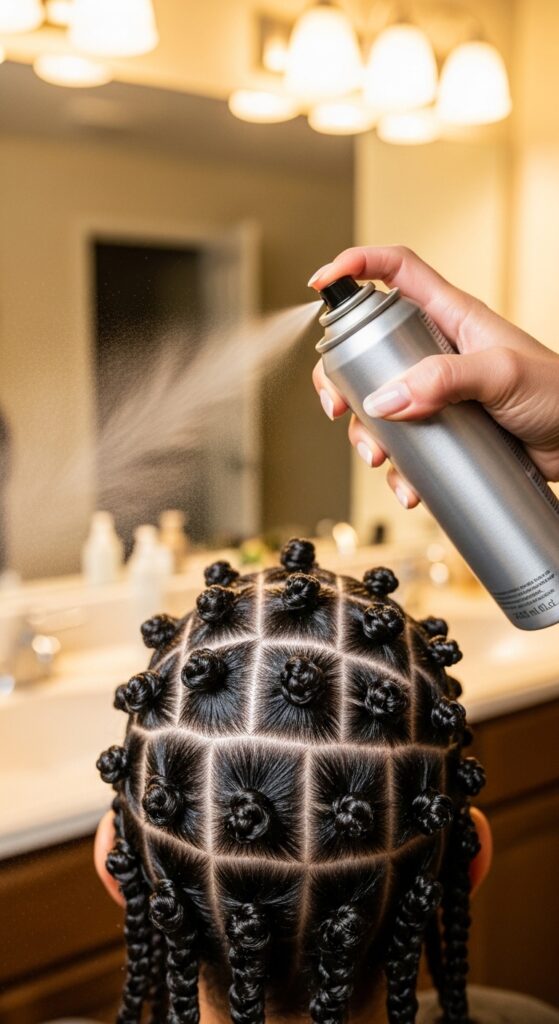
To ensure your masterpiece lasts all day or night, finish with a light mist of a strong-hold hairspray. Hold the can about 10 inches away—you want to lock it in, not make it crunchy.
For extra flyaway control and shine, smooth a tiny drop of hair serum just on your palms and gently run them over the surface of your hair, avoiding the knots directly.
Troubleshooting: Fixing Common Issues
Knots Too Loose? You started with hair that was too slippery. Spray a bit of texturizer on the specific section and re-tie.
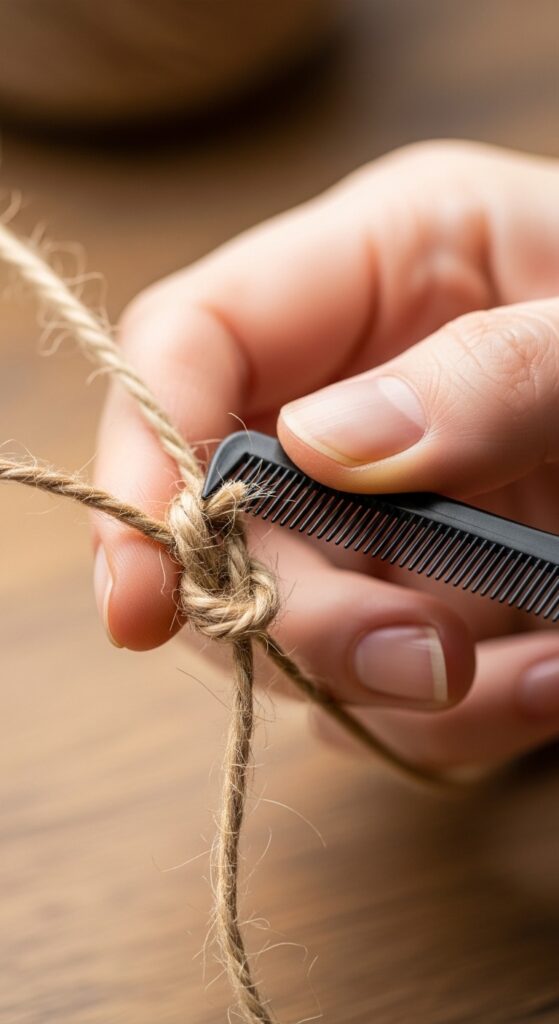
Knots Uneven? Consistency in section size is key. Use your comb to measure. Don’t worry, it gets easier with each row you do.
Scalp Showing? You’re pulling the knots too tightly or your sections are too thin. Gently loosen the knot and incorporate a bit more hair from the surrounding area.
Your Next Textured Adventure
Once you’ve mastered the overhand knot row, a world of texture opens up. Try combining two knotted rows into a thicker, braid-like effect. Or, mix knot rows with simple three-strand braids.
This technique is a foundational skill. It teaches you about tension and sectioning, which will make every other hairstyle you try easier and more successful. Have fun experimenting!
And there you have it! Your guide to creating one of the coolest textured looks out there. It might feel a little awkward the first time, but by your second or third try, your hands will know exactly what to do.
The beauty of this style is in its imperfections. Each knot row will be uniquely yours, with a character that no one else can perfectly replicate. That’s the magic of hands-on hairstyling.
Save this post to Pinterest so you can always find these steps when you’re ready to try it. And I’d love to know—which styling idea are you most excited to try? Tell me in the comments below!