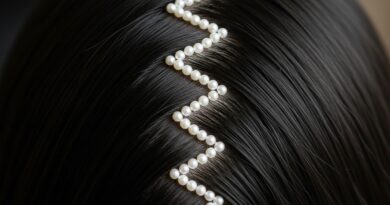
18 Cold Weather Protective Hairstyles Moisture Lock Sealed Winter Ends Tips
Let me guess. Your ends are starting to feel like straw, and the idea of another season of dry, brittle hair is making you want to cry. I have been there, friend. Every winter, my hair throws a tantrum the second the heater kicks on. But here is the good news: you don’t have to choose between looking cute and keeping your hair healthy. This year’s cold weather protective styles are actually stunning, and they work overtime to lock in moisture. I put together 18 of my favorites that will keep your strands happy and your ends sealed tight. Think of this as your no-fuss winter hair survival guide. We are talking soft, shiny, and seriously stylish.
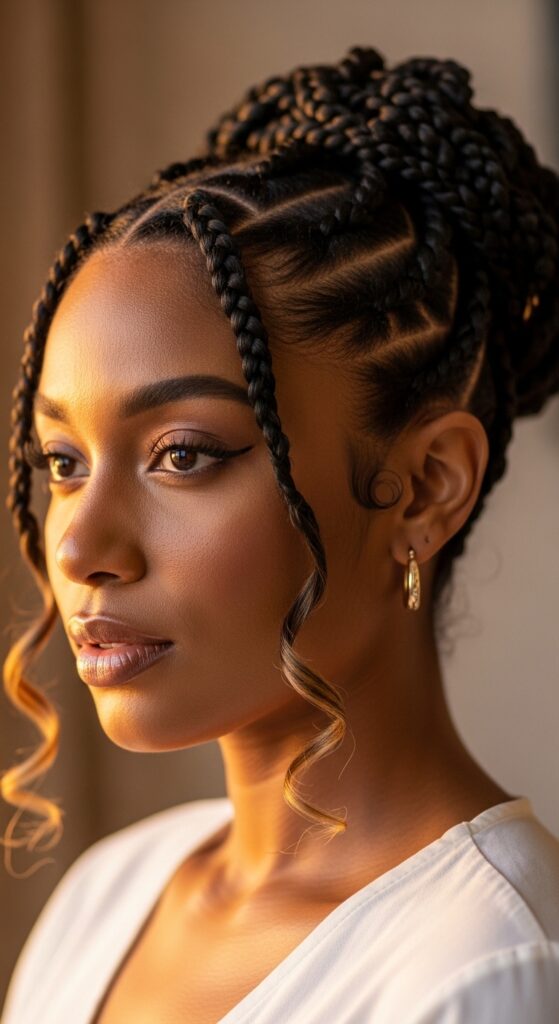
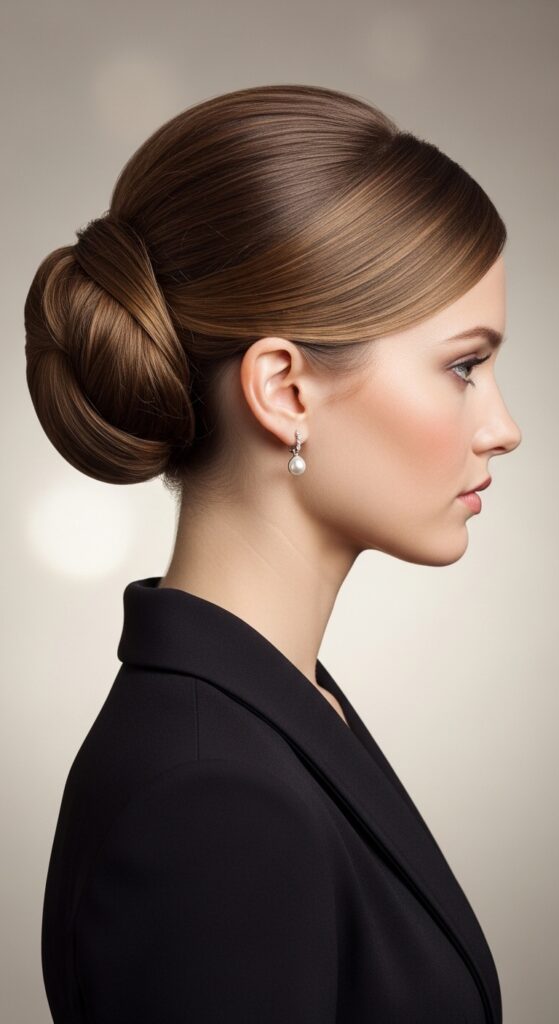
1. The Old Money Hair Low Bun
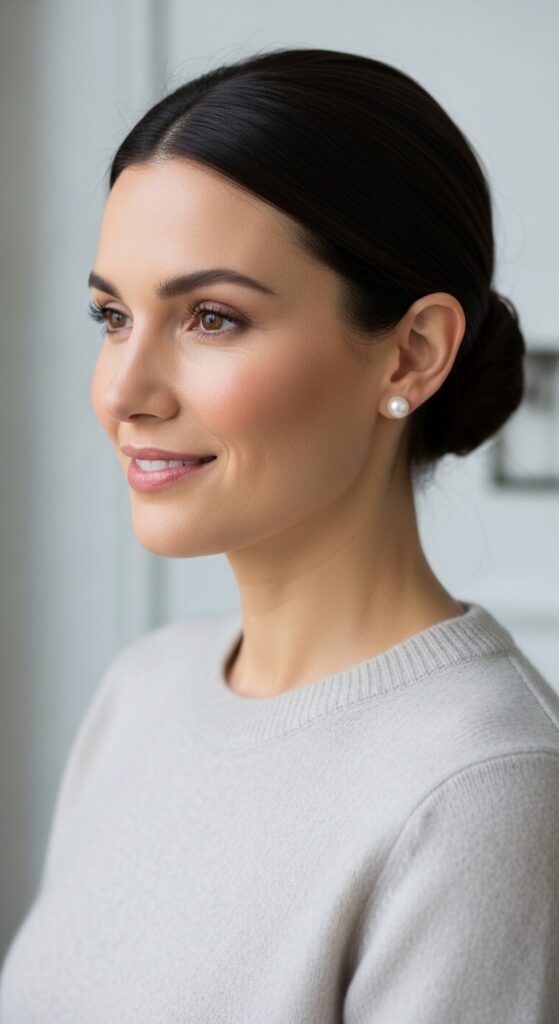
This is the definition of quiet luxury. The old money hair aesthetic is huge for 2026 hairstyles, and it is surprisingly easy to pull off. Start by smoothing your hair into a low ponytail at the nape of your neck. Twist the length into a loose bun and secure with a small elastic. To lock in moisture, apply a lightweight hair oil to your ends before twisting. The best part? Your ends are completely tucked away, so they stay protected from harsh wind and dry indoor heat. It looks polished with zero effort.
- Use a silk scrunchie to prevent breakage.
- Spritz a leave-in conditioner on your ends before styling.
- Sleep with a satin bonnet to keep the style fresh.
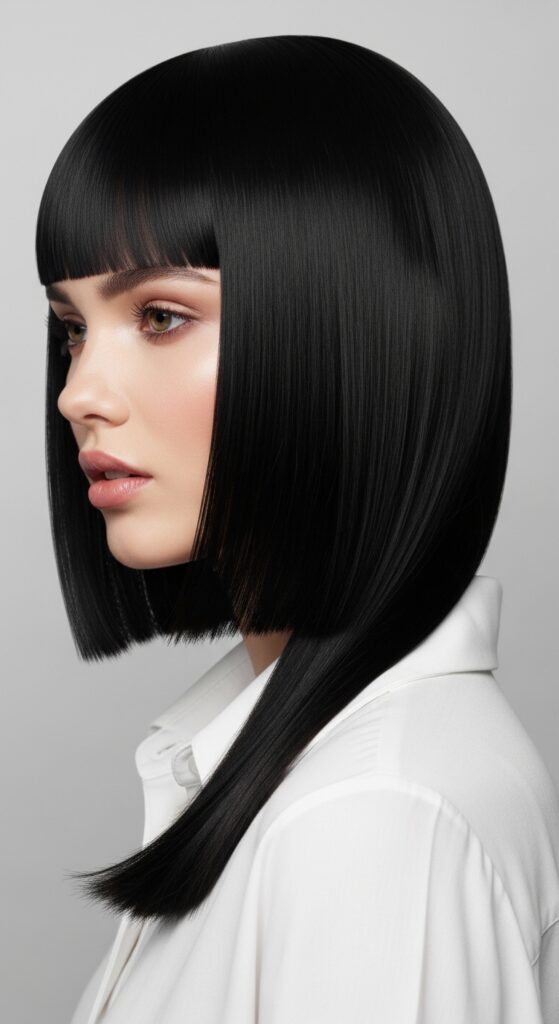
2. The Quiet Luxury Bob for Winter
The quiet luxury bob is everywhere right now, and it works perfectly for winter. It sits just at your jawline, which means your ends are less likely to rub against rough winter coats. To keep moisture locked in, I recommend a rich leave-in cream raked through damp hair. This bob looks expensive because it is. Ask your stylist for a blunt cut with minimal layers. It air-dries beautifully, so you can skip the heat. Sealed ends stay healthy, and the short length makes winter scarf season way less annoying.
- Blow-dry with a round brush for volume.
- Apply a sealing butter to the ends only.
- Tuck behind ears to avoid friction from hats.
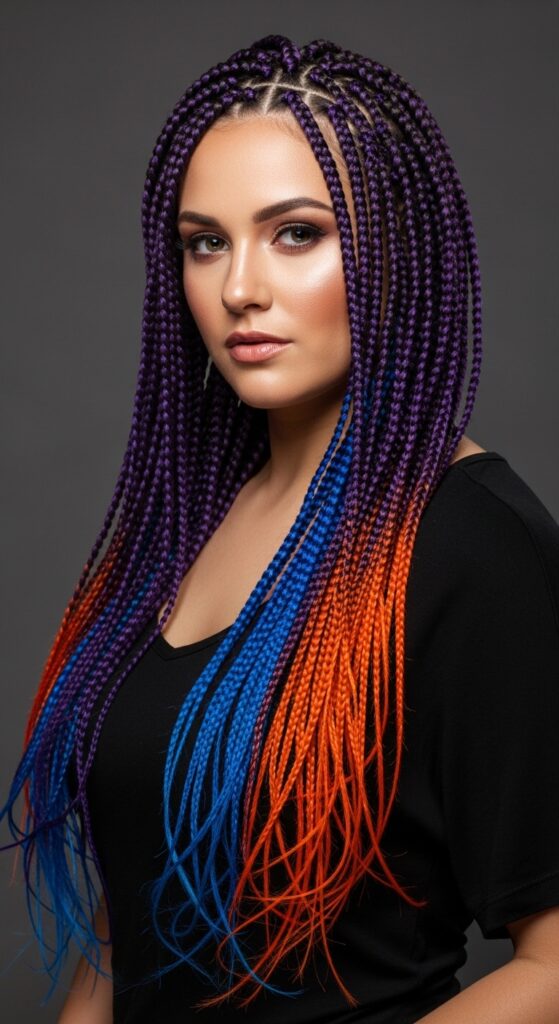
3. Romantic Goth Hairstyles: The Braided Crown
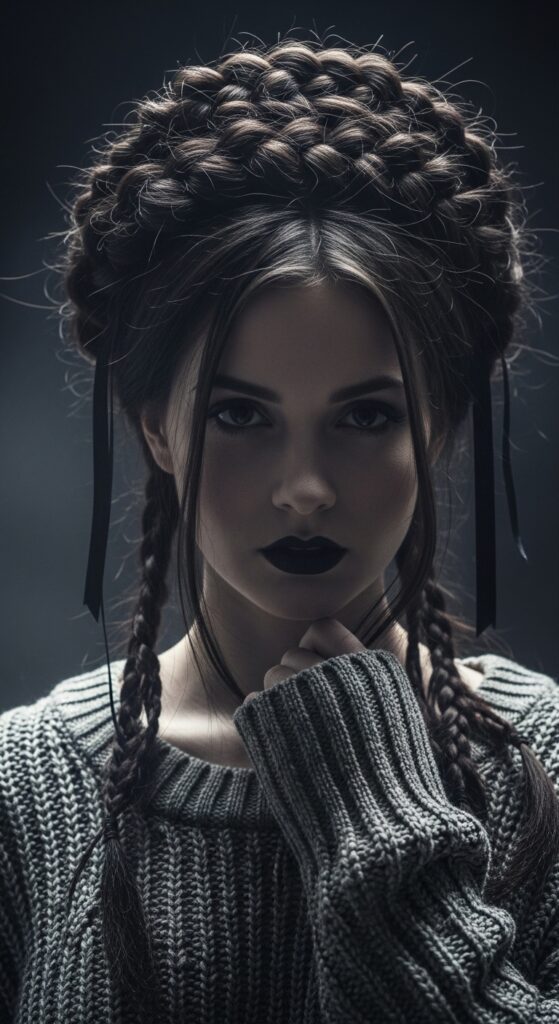
Dark lips, deep colors, and soft texture are making romantic goth hairstyles a top trend. A braided crown is my winter go-to. It wraps around your head, keeping every single strand tucked in. The braid itself acts like a moisture seal, trapping natural oils near your scalp. Start with two Dutch braids on either side, then pin them across the top of your head. Mist with a hydrating spray before braiding. It keeps your hair safe for days and looks like you tried so hard. You did not.
- Braid on second-day hair for better grip.
- Use bobby pins that match your hair color.
- Apply a tiny drop of oil to the braid for shine.
4. Glitchy Glam Hair with a Side Part
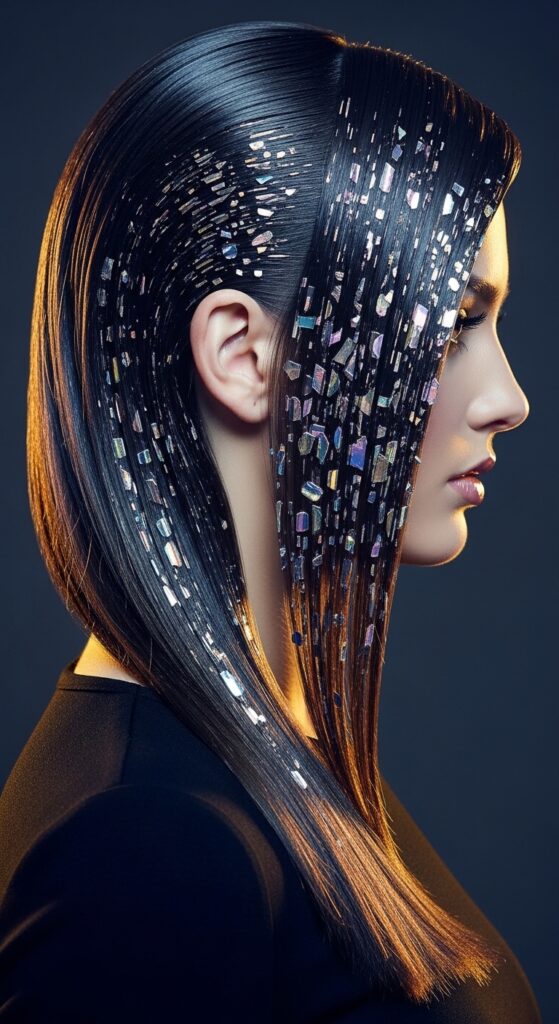
Okay, this one sounds wild, but it is actually super practical. Glitchy glam hair is about adding tiny metallic accessories or small cuffs along a sleek middle or deep side part. It creates a visual break that distracts from dry ends while keeping your hair down. To prep, coat your ends with a silicone-free sealing serum. Then slide in a few small gold or silver hair cuffs. They add a futuristic vibe without damaging your strands. It is the easiest way to make your winter style feel new.
- Only use smooth metal cuffs, not sharp ones.
- Keep them low on the hair shaft to avoid tangles.
- Remove before brushing to prevent snags.
5. The Vampire Haircut: Layered and Long
The vampire haircut is all about long, layered hair with short, choppy face-framing pieces. It is dramatic but practical. The longer length hides your ends under a coat, and the shorter layers remove damaged sections. Ask for heavy internal layers that start at your cheekbones. At home, seal the shorter layers with a butter balm. They will stay soft and shiny even when your skin is dry. This cut also pairs beautifully with a deep side part for maximum warmth.
- Shampoo only once a week during winter.
- Focus conditioner on the layered ends.
- Use a wide-tooth comb while conditioning.
6. The Hime Cut with Sealed Ends
The hime cut is a Japanese-inspired style with blunt, short front sections and long back hair. It is perfect for winter because the front pieces stay away from your neck and coat zippers. To seal moisture, focus on the back ends with a rich cream. The blunt cut naturally prevents split ends from traveling. If you want a low-maintenance style that still looks intentional, this is it. It makes your hair look thick and healthy. Just ask for a straight-across front cut.
- Maintain the front pieces every 6-8 weeks.
- Apply a heat protectant if you flat iron.
- Sleep with the front pieces pinned up to avoid creases.
7. The Asymmetrical Lob for Maximum Protection
An asymmetrical lob is genius for winter. The shorter side means less surface area for dry air to attack. The longer side still gives you something to style. I love this cut because it frames your face without letting your ends rest on your shoulders all day. Ask for a fade from short to long. At home, apply a sealing mask once a week. The layered ends benefit from extra moisture. Plus, it looks amazing with a turtleneck.
- Let your stylist know you want to protect your ends.
- Use a silk pillowcase to reduce friction.
- Air-dry with a curl cream for texture.
8. Low Manipulation Flat Twist Updo
Flat twists are my favorite low-manipulation style for winter. They keep your ends tucked away while allowing your scalp to breathe. Start by sectioning your hair, twisting flat to the scalp, and pinning the ends under. This style lasts up to a week if you refresh your edges with a light oil. The twists themselves create a natural moisture seal. It is quick to do while watching TV, and it looks so polished. Your ends will thank you.
- Keep twists small for longer wear.
- Cover with a satin scarf at night.
- Mist with water and oil each morning.
9. The Satin Lined Beanie with a Low Ponytail
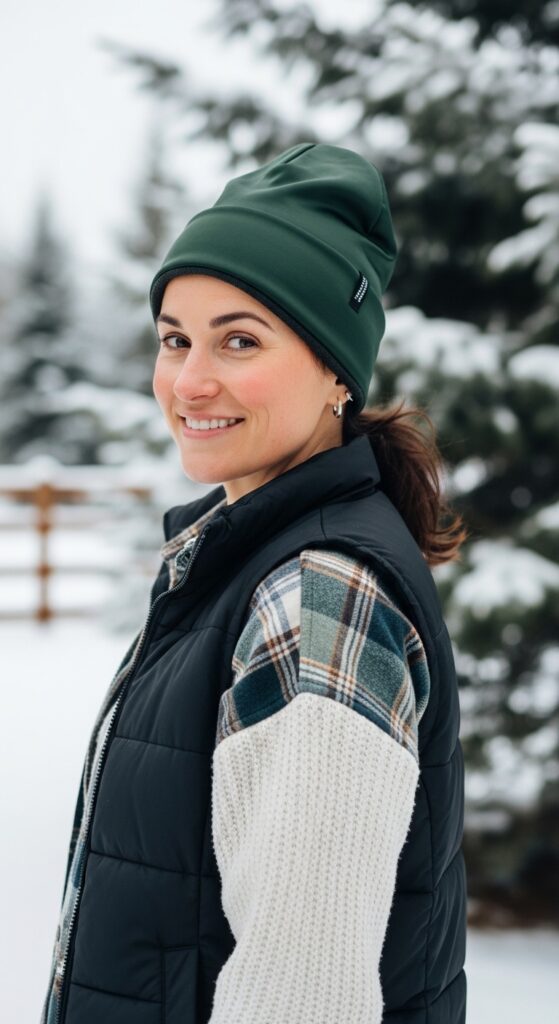
You do not have to sacrifice hair health for warmth. A satin-lined beanie is basically a protective style in itself. Pull your hair into a low ponytail, seal the ends with a thick butter, and slip the beanie over. The satin lining prevents friction and moisture loss. I keep one in my bag at all times. It is the easiest way to protect your hair when you are running errands. Plus, it looks cool and effortless.
- Buy beanies with 100% satin linings.
- Don not wear the same beanie two days in a row.
- Use a gentle elastic no metal.
10. The Spoolie Sealing Technique for Fine Hair
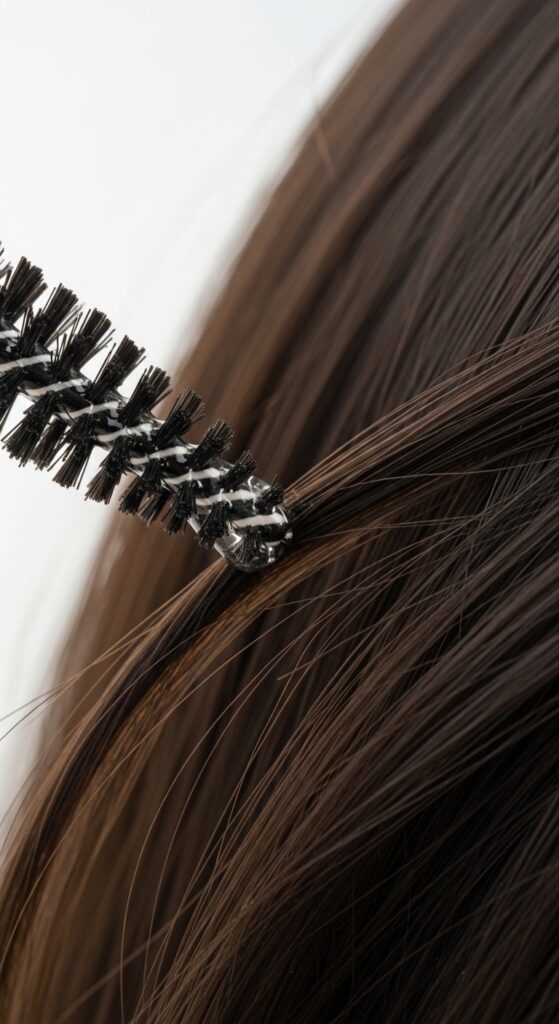
For my fine-haired friends, heavy oils can weigh you down. Try the spoolie sealing technique. Take a clean mascara spoolie or an eyebrow brush, dip it in lightweight argan oil, and gently brush it through your ends. This distributes the oil evenly without over-saturating. It seals the cuticle and prevents moisture loss. Do this every night before bed after stocking your hair. In a week, your ends will feel noticeably softer.
- Buy a pack of inexpensive spoolie brushes.
- Use three to four drops of oil total.
- Focus on the last inch of hair only.
11. The Overnight Pineapple for Curly Hair
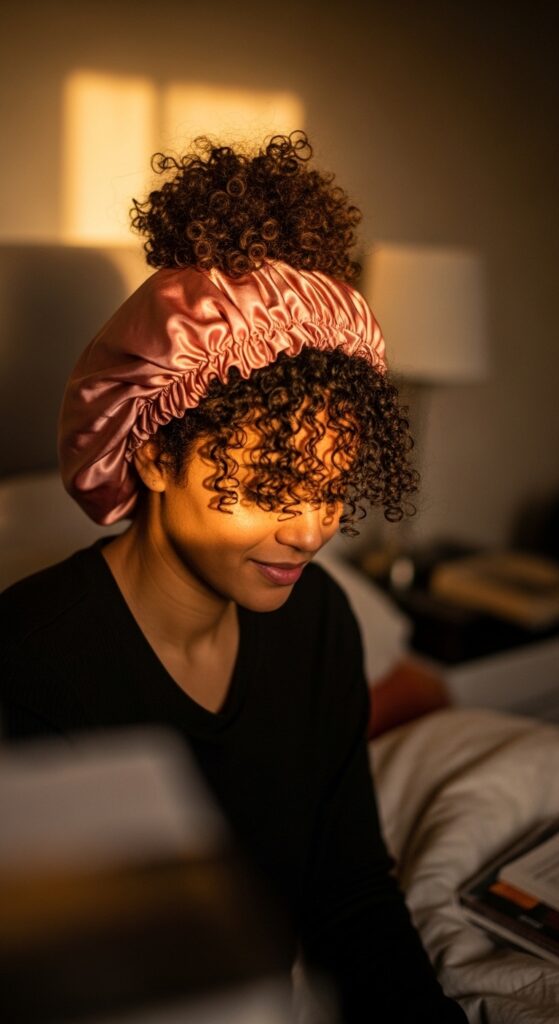
If you have curly or coily hair, the pineapple method is a winter lifesaver. Gather your curls into a very loose, high ponytail at the crown of your head. This prevents your ends from rubbing against your pillowcase overnight. Wrap your hair in a satin bonnet. In the morning, take it down and seal your ends with a few drops of jojoba oil. Your curls will stay defined, and your ends will stay moisturized. It takes thirty seconds.
- Use a scrunchie no tight elastics.
- Spray a little water before sealing.
- Refresh your pineapple every morning.
12. The French Twist with a Sealed Finish
The French twist is seriously underrated for winter protection. It tucks all your ends inside the twist, creating a sealed pocket of moisture. Start by gathering your hair at the back, twist it upward, and pin it with bobby pins. Rub a pea-sized amount of sealing balm on your palms and smooth it over the twist. This style stays in place all day, even under a hat. It is perfect for work, nights out, or just feeling put together.
- Tease the crown lightly for volume.
- Use at least six bobby pins for security.
- Set with a light-hold hairspray.
13. The Faux Curtain Bang with Sealed Ends

You can fake curtain bangs without scissors. Part your hair in the middle, take two small sections from the front, and twist them back. Secure with a tiny clip. The twisted ends are completely hidden, so they stay soft and moisturized. Mist the front pieces with a lightweight leave-in before twisting. This gives you the old money hair look without commitment. It also keeps your ends away from your neck and jacket zippers.
- Use small claw clips for a secure hold.
- Apply oil to ends before twisting.
- Release gently to avoid creases.
14. The Sealed End Box Braids
Box braids are an obvious protective style, but the real trick is sealing the ends. After braiding, dip the ends in hot water (not boiling) for a few seconds. This seals the synthetic hair or your natural ends, preventing unraveling and moisture loss. Apply a light oil to the braids to keep them from getting dry. This style can last up to eight weeks if you care for your scalp. It is a game-changer for winter.
- Boil water let it cool slightly before dipping.
- Only dip ends for 5 seconds.
- Pat dry with an old t-shirt.
15. The Sleep-In Flexi Rods
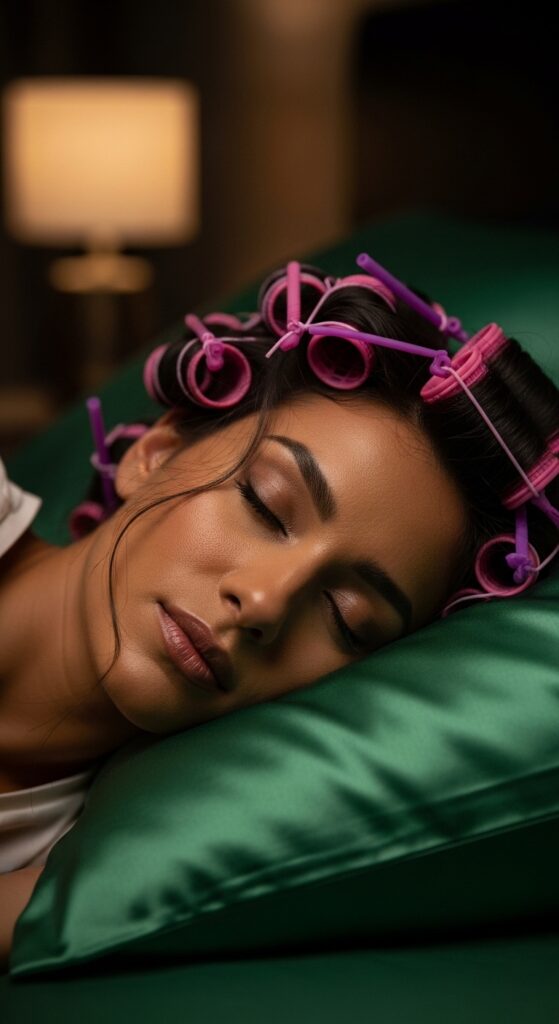
Flexi rods give you beautiful, heatless curls while you sleep. But here is the moisture trick: apply a curl cream to dry hair before rolling. The rods pull the hair tight, which helps the cream penetrate the ends. In the morning, take out the rods and separate the curls gently. Your ends will be curled under, sealed, and happy. No heat needed. Just a good night rest and a can of light hold hairspray.
- Use rods that match your hair length.
- Don not roll too tight to the scalp.
- Use a satin scarf over the rods.
16. The Deep Moisture Mask Before Any Style
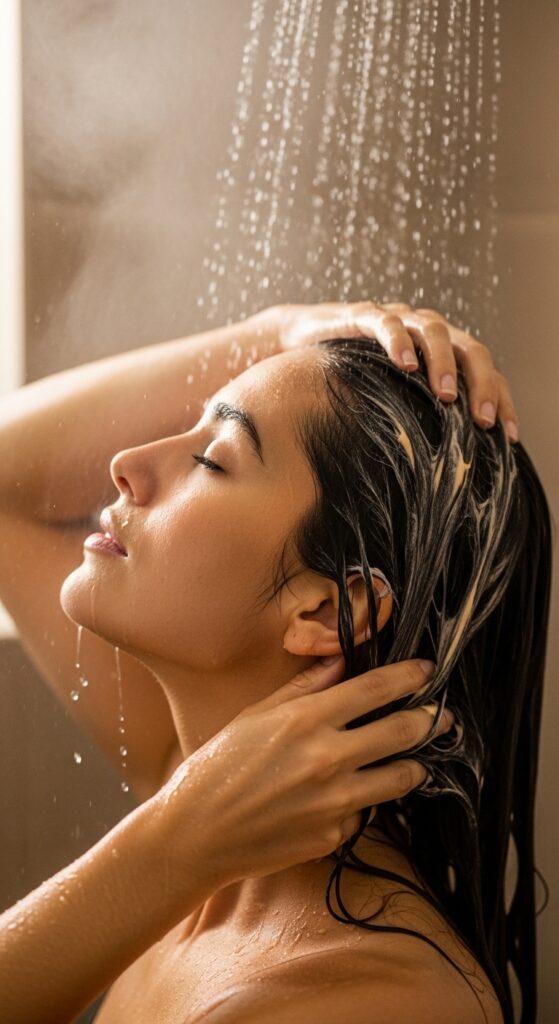
Before any protective style, always do a deep moisture mask. Apply it from mid-shaft to ends, and leave it on for at least 20 minutes under a shower cap. The heat from your scalp opens the cuticle, letting moisture in. Rinse with cool water to seal the cuticle shut. This prep step makes every protective style work better. Your ends will stay flexible and less likely to snap.
- Use a mask with shea butter or aloe vera.
- Focus on the ends, not the roots.
- Do this once a week, no more.
17. The Scarf Headwrap with Tucked Ends

Headwraps are not just for bad hair days. They are a legit protective style. Gather your hair into a low bun or twist, then wrap a silk scarf around your entire head. Tuck every loose end underneath. This completely seals your hair from the cold air and friction of winter scarves. It also looks incredibly stylish. I wear mine with a coat and boots, and it works. Your ends stay hydrated because they are literally wrapped in silk.
- Use 100% silk scarves only.
- Pre-fold the scarf for a clean line.
- Tuck ends securely no flapping.
18. The Trim and Seal Routine for Ends
Even the best protective styles need a foundation of healthy ends. Get a small trim every eight to ten weeks. Just a quarter inch removes split ends before they travel. After your trim, apply a sealing serum to the fresh ends. Pin your hair up in a loose bun to keep them safe. This routine alone will make your winter hair look ten times healthier. It is the simplest habit, but it makes the biggest difference.
- Trim on dry hair, not wet.
- Use professional hair shears only.
- Seal immediately after cutting.
So there you have it. 18 ways to keep your hair happy, soft, and protected through the cold months. You do not have to pick just one either. I love switching between the low bun and the braided crown depending on my mood. The key is always sealing those ends. A little oil, a good trim, and a soft hair tool go such a long way. Your hair is worth that extra two minutes.
Save this post to Pinterest so you can come back to it when the winter blues hit your hair. And honestly, I want to know which style you are trying first. Drop it in the comments below. I will be here cheering you on. You have got this, friend.