18 Diffusing Techniques That Enhance Natural Curl Pattern
If you have curly hair, you know the post-wash ritual is sacred. The transition from sopping wet to perfectly defined coils can feel like magic—or a mystery. While air-drying is a classic, it can sometimes lead to frizz, uneven drying, or a loss of volume. Enter the hair diffuser, your curl’s best friend. But simply blasting your hair with heat isn’t the answer. The true secret lies in how you diffuse.

Pre-Diffusing Essentials: The Foundation
Before you even turn on the dryer, your prep work sets the stage for success. These foundational steps ensure your diffusing technique actually enhances your pattern instead of fighting it.
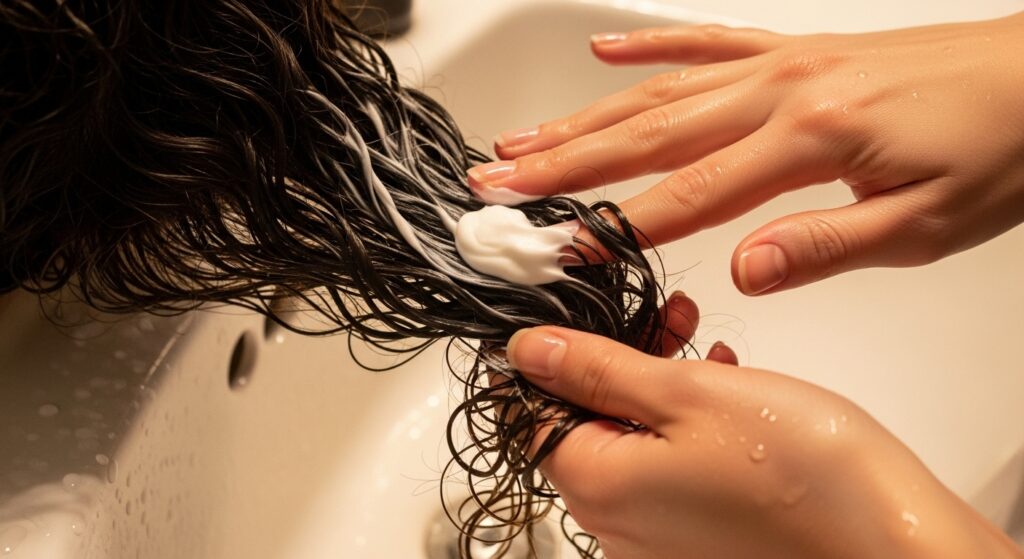
1. The Soaking Wet Application
Apply your stylers—cream, gel, or mousse—to soaking wet hair. This allows the product to be evenly distributed and diluted with water, forming a better cast and reducing stickiness. It also helps clump your curls together from the very start.
2. The Gentle Scrunch
After applying product, use a microfiber towel or cotton t-shirt to gently scrunch out excess water. Avoid rubbing or twisting, which can cause frizz. The goal is to get your hair from dripping to damp, creating a better canvas for diffusing.
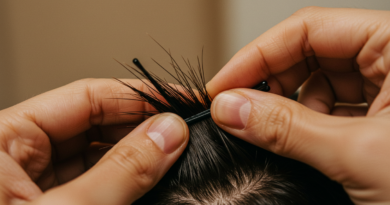
3. The Pixie Prep
For tighter curl patterns or those seeking extreme volume, lean forward and use your fingers to lift sections of hair at the root while still damp. This pre-positioning helps as you begin to diffuse.
The Core Diffusing Techniques
These are the primary methods for drying your curls. Each offers a different finish, from maximum definition to sky-high volume.
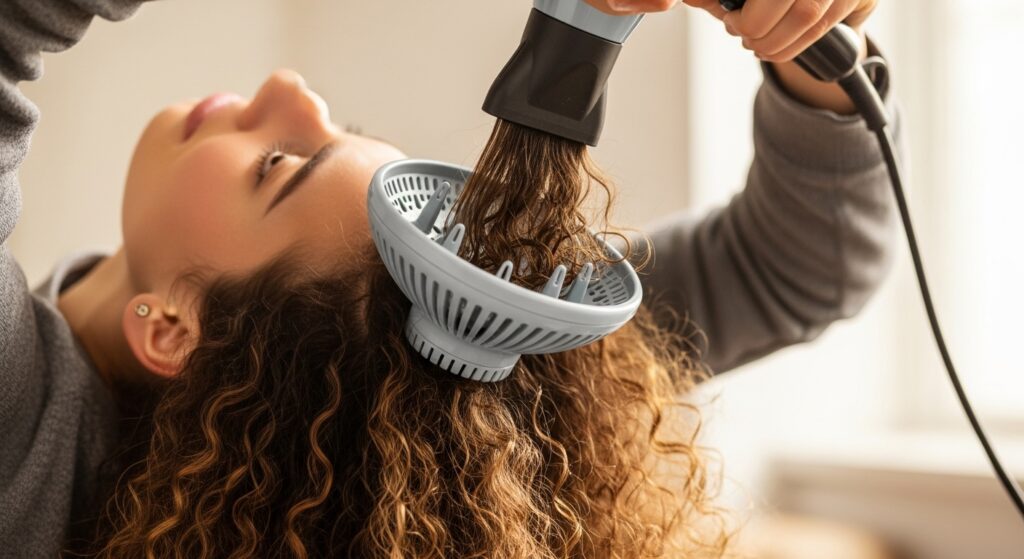
4. The Classic “Hover” or “Pixie” Diffuse
This is the gold standard for minimizing frizz. Do not touch your hair with the diffuser. Instead, turn the dryer on a medium heat and speed setting, and hover the diffuser bowl around your scalp and hair ends. Let the airflow do the work. This is excellent for delicate curls that lose definition easily.
5. The “Cup & Hold” Scrunch
Gently place sections of your hair into the diffuser bowl, then lift the diffuser up towards your scalp and hold for 30-60 seconds. Turn the dryer off before releasing. This technique encourages springy, bouncy curls and enhances your natural clumps.
6. The “Head Upside Down” Volume Method
Flip your head over and diffuse your hair entirely in this inverted position. Use either the Hover or Cup & Hold method. This is the ultimate technique for root volume and overall lift, though it may slightly disrupt your curl clump pattern.
7. The “Side-to-Side” Tilt
Instead of flipping your head fully upside down, tilt your head strongly to one side and diffuse that side, then switch. This gives great volume with a bit more control over the final shape and part.
Advanced Moves for Specific Goals
Once you’re comfortable with the core techniques, these advanced moves help you target specific curl concerns.
8. The “Cold Shot” Lock-In
Once a section is about 90% dry, hit it with the cool shot button for 10-15 seconds. The cold air helps set the curl shape, lock in moisture, and close the hair cuticle for added shine and frizz reduction.
9. The “Root Focus” Lift
With your head upright, use the diffuser (on low speed) to target just the roots. Gently lift sections at the root with the diffuser bowl. This adds volume where you need it most without disturbing the ends of your curls.
10. The “Ends First” Priority
For longer curls that take forever to dry, start by diffusing the ends of your hair. This prevents the weight of wet ends from stretching out the curls at your crown as you dry.
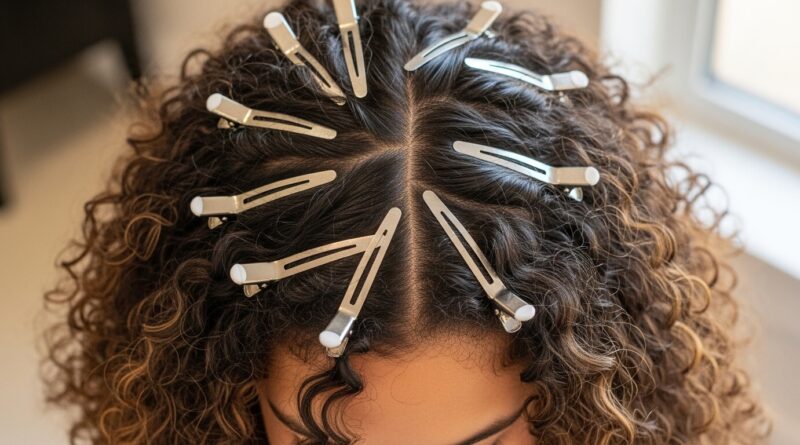
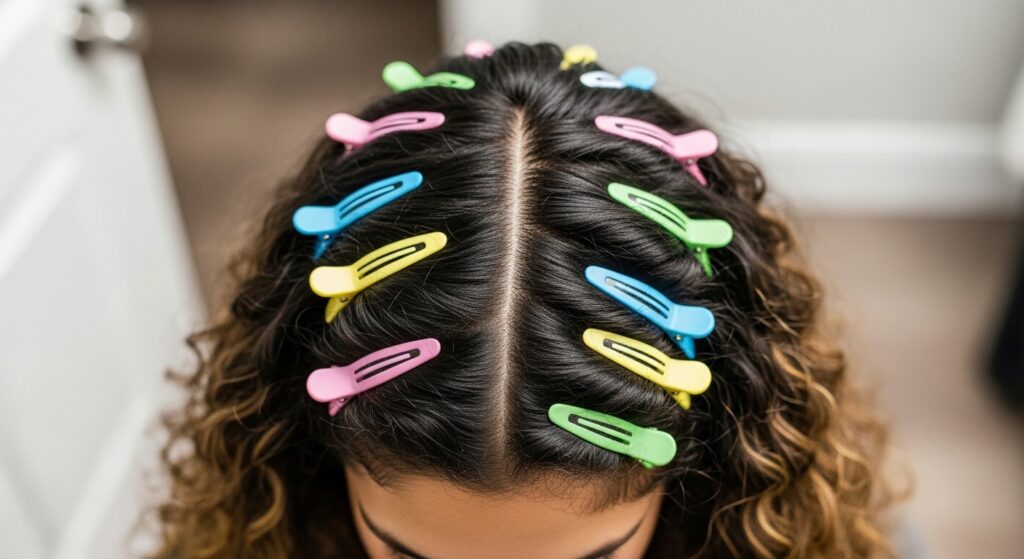
11. The “Medusa Clipping” While Drying
As you diffuse sections, use duckbill or claw clips to pin the dried roots up while you work on other sections. This provides instant volume lift that sets as the hair cools.
Techniques by Curl Type & Desired Outcome
Not all curls are created equal. Tailor your approach based on your pattern and the look you’re after.
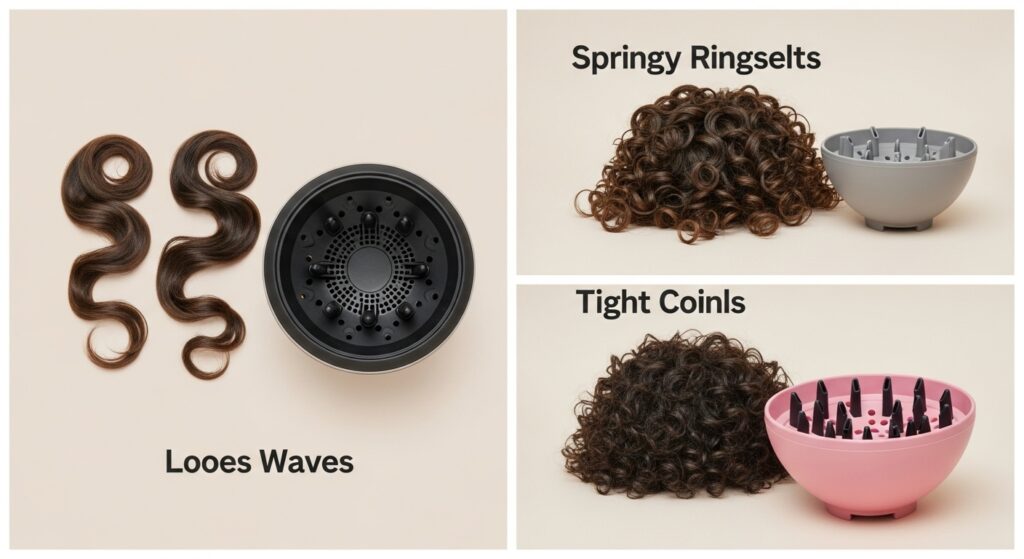
For Defined Waves (2A-2C)
12. The “Microfiber Plop” Pre-Diffuse: After applying product, plop your hair into a microfiber towel for 10-15 minutes. Then, diffuse on low heat using the Hover method. This prevents heaviness and encourages wave formation.
13. The “Smooth Scrunch”: Use a very gentle Cup & Hold, but keep your curls resting in the diffuser without much lifting. This encourages wave clumps without creating too much volume that can stretch the pattern.
For Springy Curls (3A-3B)
14. The “Sectional Cup & Hold”: Divide hair into 4-6 sections. Diffuse each section completely (roots to ends) using Cup & Hold before moving on. This ensures each curl clump dries in its intended, defined shape.
15. The “Diffuser Attachment Tuck”: For tighter spring, gently tuck individual curl clumps into the diffuser prongs (if your diffuser has them) while using the Cup & Hold method for enhanced spiral formation.
For Coils & Tight Curls (3C-4C)
16. The “Low & Slow” Preservation: Use the lowest heat and speed settings. Hover diffuse for a long time to set the cast without causing shrinkage too quickly, then gently scrunch out the crunch when 100% dry.
17. The “Steam Guard” Method: If your dryer has a steam setting or you use a moisture-rich product, the added humidity during drying can help maintain moisture in dense, coil-y patterns, reducing dryness and breakage.
For Maximum Volume
18. The “Hybrid Upside-Down & Side Tilt”: Start diffusing upside down for 70% of the drying time to build root volume. Then, flip right-side up and finish with a Side-to-Side tilt to shape your curls and soften the roots for a wearable, voluminous finish.
Pro Tips for Diffusing Perfection
Patience is Key: Rushing with high heat is the fastest way to frizz. Embrace the process. Don’t Touch! Resist the urge to finger-comb or separate curls while drying. Let the cast form. Clean Your Tools: A dusty dryer filter reduces airflow, making drying take longer. Protect with Heat: Always use a heat protectant spray before applying any stylers.
Your diffuser is more than just a dryer attachment; it’s a curl-shaping tool. By experimenting with these 18 techniques, you’ll learn the language of your own hair. You might find that a combination of the Hover method with a Root Focus finish is your holy grail, or that your coils thrive with a dedicated Low & Slow approach.
The journey to your best curl pattern is one of experimentation and patience. So, the next wash day, pick a new technique to try. Listen to your curls, observe how they respond, and enjoy the process of enhancing what naturally makes you, you. Happy diffusing!