18 Easy wave Ideas for natural Hair You Can Do at Home
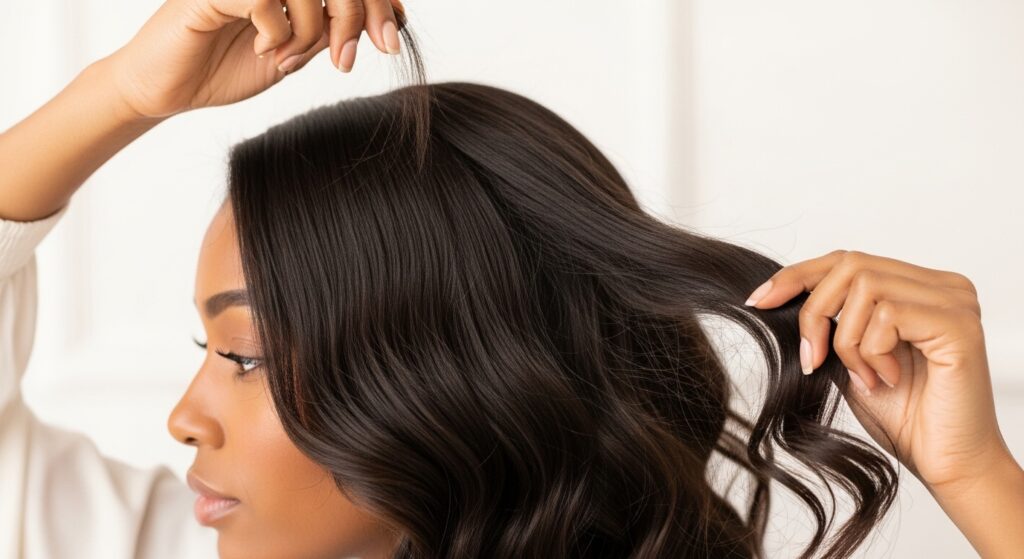
Are you ready to unlock a world of gorgeous, touchable texture for your natural hair? Waves are a stunning and versatile way to wear your curls, offering a beautiful alternative to your everyday fro or twist-out. The best part? You don’t need a professional stylist or expensive tools to achieve them. With a little patience and some simple techniques, you can create a head-turning wave pattern right in the comfort of your own home.
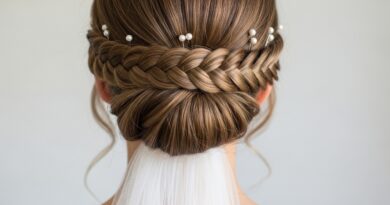
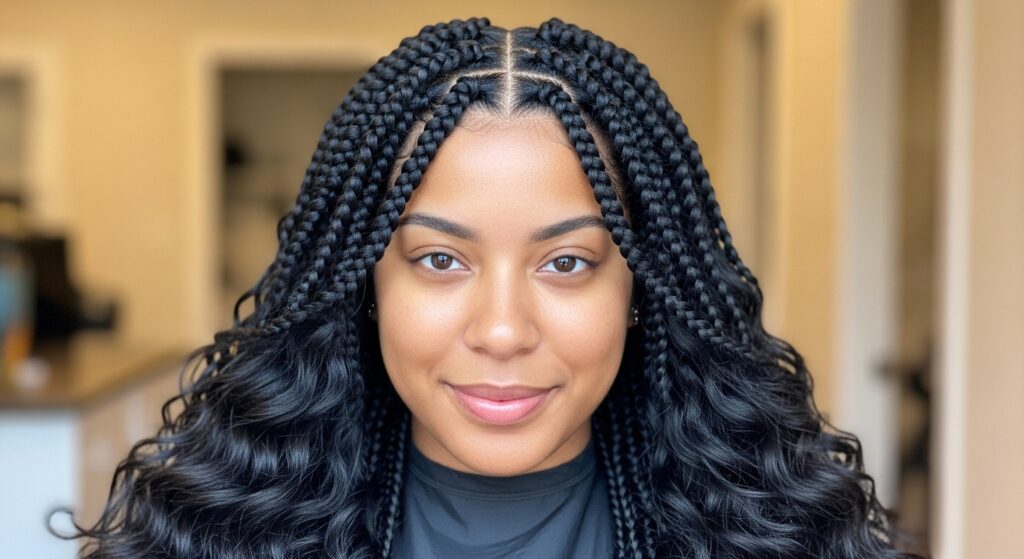
1. The Classic Braid-Out
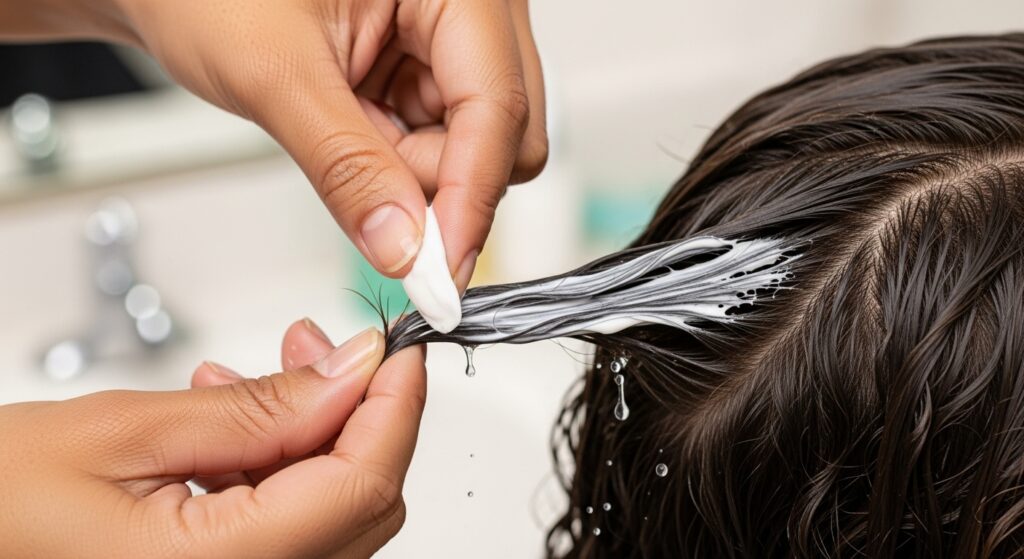
Let’s start with a timeless favorite. The braid-out is the foundation for many wave styles and for good reason. It’s simple, reliable, and produces beautiful, defined waves. To achieve this look, start on freshly washed and conditioned hair. Apply your favorite leave-in conditioner and a styling cream or butter to each section. Braid your hair into as many or as few braids as you like—smaller braids will create tighter waves, while larger ones result in looser, more flowing waves. Allow your hair to air dry completely or use a hooded dryer. Once dry, gently unravel the braids and separate the waves with your fingers for a soft, voluminous finish.
2. The Chunky Twist-Out
For a slightly different texture, the twist-out is your go-to. Instead of braiding, you’ll twist sections of hair. Chunky twists are perfect for a bold, artistic look with larger, more pronounced waves. This method is often faster than a braid-out and can give a more uniform wave pattern. Remember to twist in the same direction consistently for a cohesive look. After drying, untwist and fluff your roots for incredible volume.
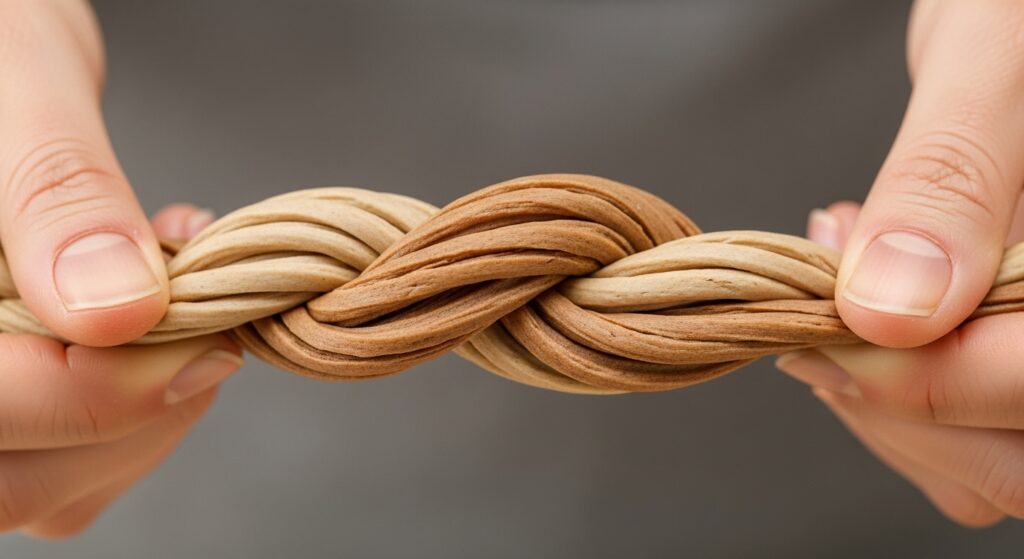
3. The Rope Twist Wave
Take your twist game to the next level with rope twists. This technique involves twisting two strands individually in one direction before wrapping them around each other in the opposite direction. The result is an incredibly defined, rope-like wave that has amazing hold and shine. It’s a fantastic protective style that also doubles as a stunning waved look when unraveled.
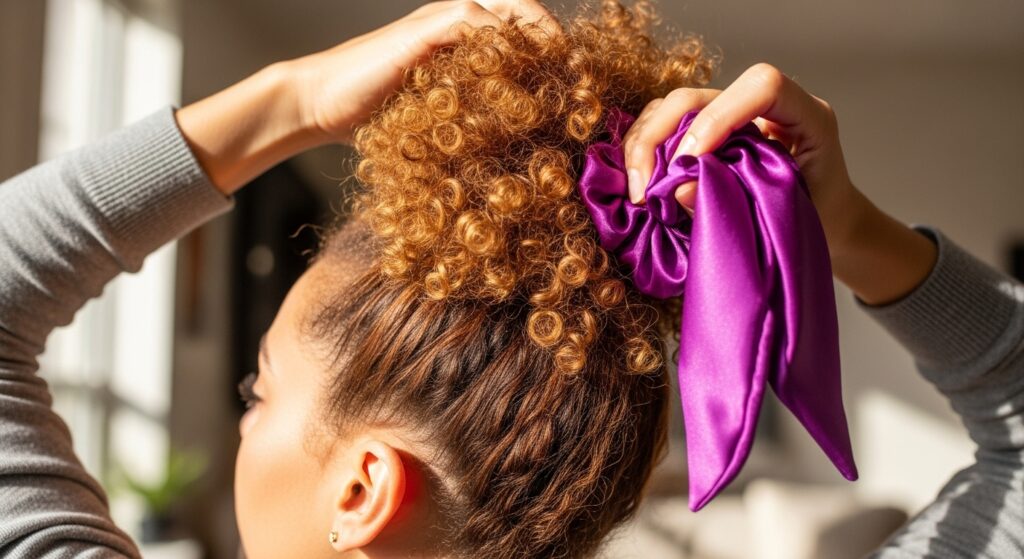
4. The Pineapple Puff Wave
This is a fantastic low-manipulation style that creates soft, stretched waves. Gather all your hair into a very loose, high ponytail on the very top of your head (like a pineapple) before you go to bed. Use a satin scrunchie to prevent breakage. As you sleep, the hair at the roots and in the ponytail will settle into soft, stretched waves. In the morning, take it down, fluff, and you’ll have effortless, bouncy waves with minimal effort.
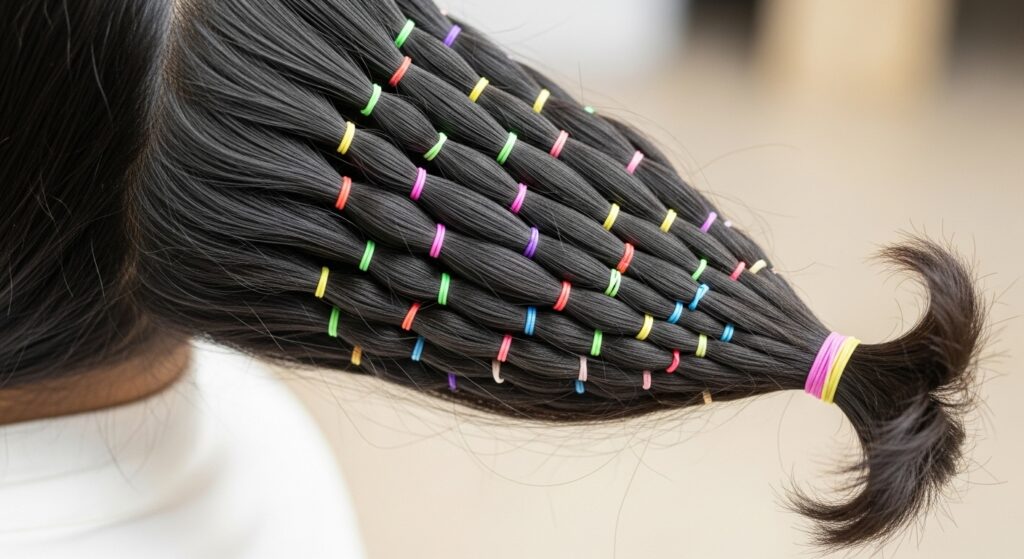
5. Banding for Stretched Waves
If you love the look of stretched hair without using heat, banding is your secret weapon. After washing, apply your products and part your hair into 4-6 large sections. Using soft ouchless hair bands, place one band at the root, and then continue placing bands down the length of the hair every few inches until you reach the ends. Allow your hair to air dry or sit under a dryer. When you remove the bands, you’ll be left with beautifully stretched, wavy hair that is perfect for updos or wearing down.
6. The Faux Bob with Waves
Want a chic, short look without the chop? Create a faux bob! First, create a wave pattern using a braid-out or twist-out on stretched hair. Then, tuck the ends of your hair under and pin them securely at the nape of your neck. The resulting waves will give your “bob” incredible texture and movement, making it look incredibly realistic and stylish.
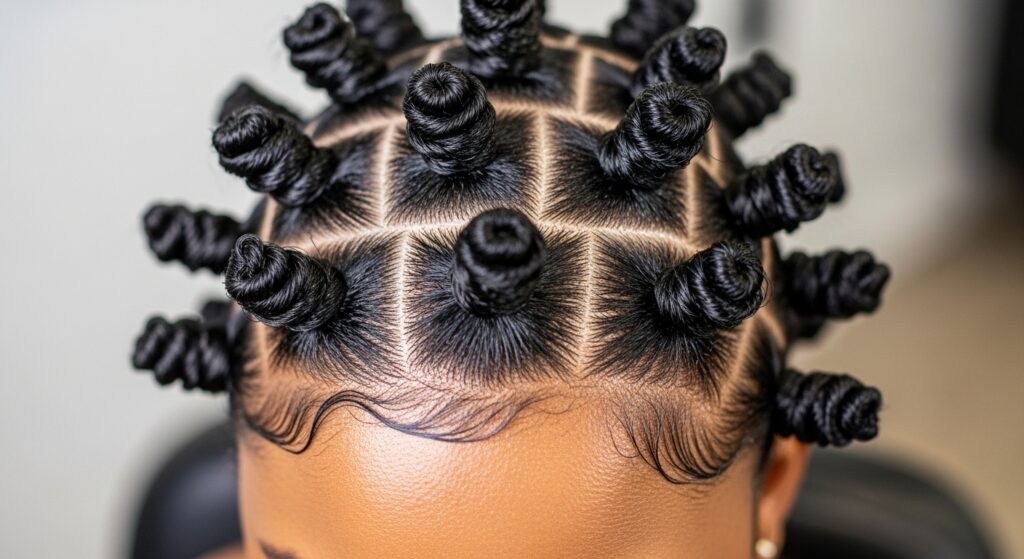
7. Bantu Knot-Out
For tight, spiral waves that are full of personality, try the Bantu knot-out. Section your hair and twist each section before coiling it into a small knot against your scalp. Secure the end with a bobby pin or small clip. After your hair is completely dry, carefully unravel each knot. You’ll be rewarded with a head full of beautiful, springy spiral waves. You can make large knots for bigger spirals or small ones for a more intricate pattern.
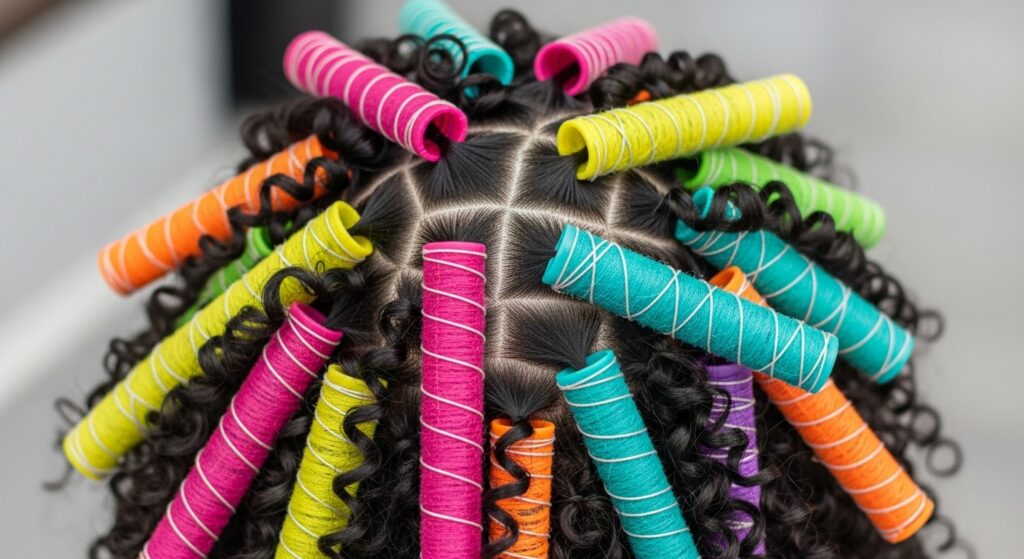
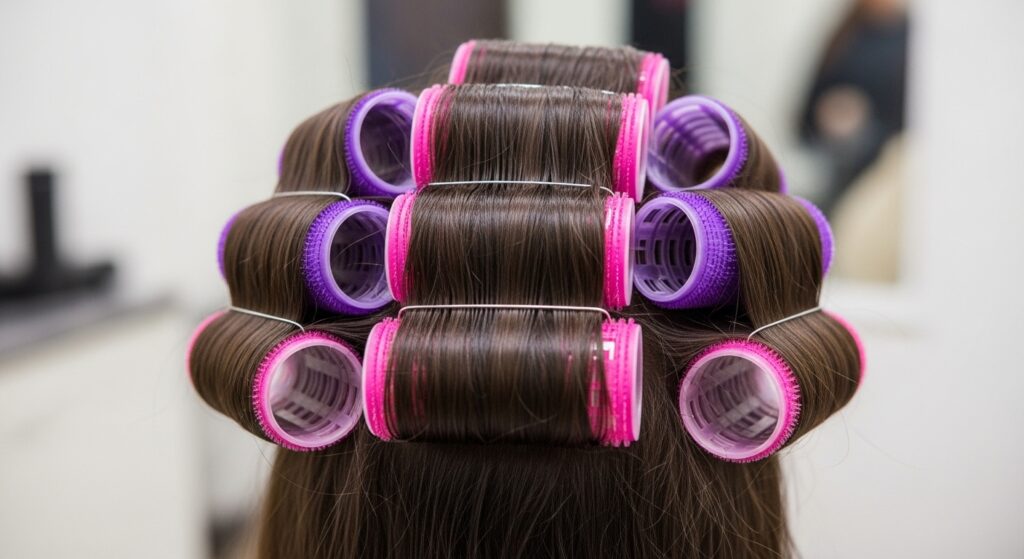
8. Perm Rod Set for Uniform Waves
For a more uniform, salon-like wave pattern, perm rods are a game-changer. On damp, product-laden hair, roll sections of hair onto perm rods. You can use different rod sizes—gray or purple rods will give you a nice, medium wave. Sit under a hooded dryer until bone dry. When you take the rods out, you’ll have a head full of perfect, bouncy ringlets that you can then separate into gorgeous, consistent waves.
9. The “Wash Now, Wear Later” Scarf Method
This is the ultimate lazy-girl wave technique. On damp hair, apply a light styling product. Take a long, silky scarf and lay it across your head from ear to ear. Tie it securely at the top, then take the two long ends and twist them together before wrapping them around your head and tying them at the nape. Go to sleep. In the morning, remove the scarf to reveal soft, flattened waves with incredible volume at the crown. It’s effortless and effective.
10. Flat Twist Crown with Loose Waves
Combine a stylish updo with beautiful waves. Create a crown of flat twists along your hairline, going from one temple to the other. Leave the rest of your hair loose. Perform a braid-out or twist-out on the loose hair. Once dry and unraveled, you’ll have a gorgeous, regal crown accenting a head of soft, flowing waves.
11. The “Wet Look” Wave Definition
For a sleek, modern take on waves, the “wet look” is incredibly chic. After doing a braid-out or twist-out, don’t fully separate the waves. Instead, take a strong-hold gel, rub it between your palms with a little water to emulsify, and gently glaze it over your defined waves. This will enhance the wave pattern, control frizz, and give you that gorgeous, glossy finish that’s perfect for a night out.
12. Halo Braid Waves
Create a beautiful, ethereal wave pattern with a halo braid. Create a Dutch braid (an inside-out French braid) that circles your entire head like a halo. Sleep with it in overnight. In the morning, carefully take the braid down. You’ll be left with soft, mermaid-like waves that frame your face perfectly. It’s a romantic and effortless style.

13. Finger Coiling for Defined Wave Clumps
If your natural pattern is loose or you want to encourage more defined wave sections, finger coiling is perfect. On wet hair with styler, take small sections and twist them around your finger from root to tip. Allow them to dry. When you separate them, you’ll have perfectly formed, chunky wave clumps with incredible definition and bounce.
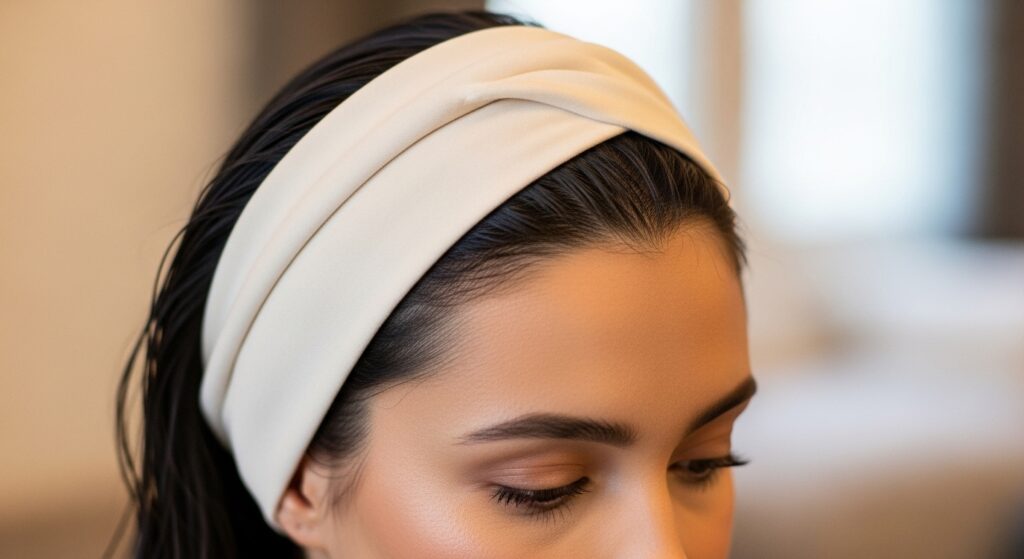
14. The Headband Method
No braiding or twisting skills? No problem. Take a flexible, wide headband and place it around your head like a crown. Take small sections of your damp hair and twist them, then tuck and wrap them over and through the headband, working your way around your head. Once dry, carefully remove each section to reveal soft, heatless waves with a beautiful, retro vibe.
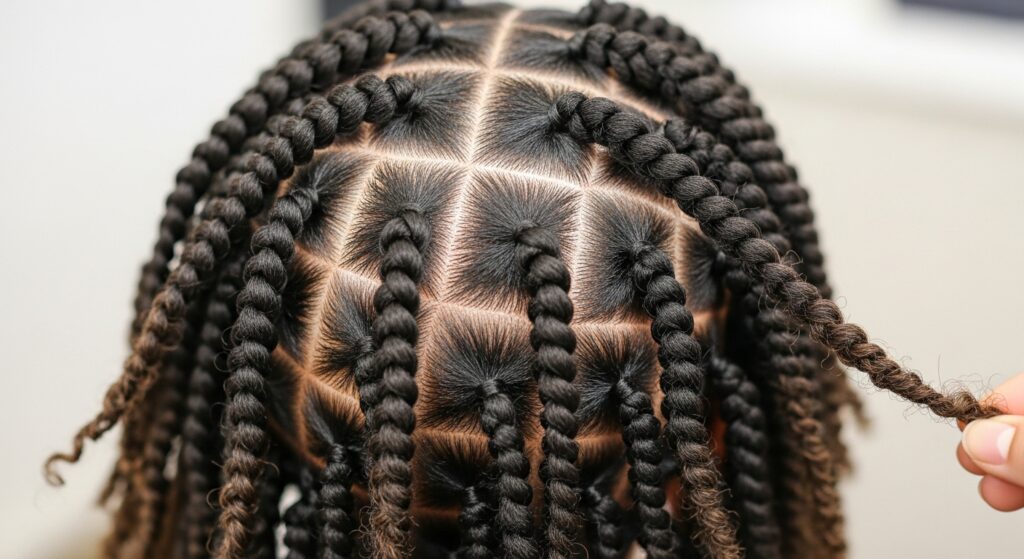
15. Two-Strand Flat Twist Wave
Similar to cornrows but with two strands, flat twists lie flat against the scalp and create a beautiful waved pattern when taken down. They are a great way to create a patterned wave look, especially along the hairline. You can do a full head or just a few as an accent.
16. The “Plopping” Method for Enhanced Waves
Plopping is a technique used to enhance your natural wave pattern right after washing. After applying your products, lean forward and place your hair in the center of a long-sleeved cotton t-shirt or a microfiber towel. Fold the bottom of the shirt up over your hair, then fold the sides over and tie the sleeves to secure it on your head. Leave it on for 20-30 minutes. When you take it down, your waves will be more defined and have less frizz.
17. The Roller Set on Stretched Hair
For big, bouncy, Hollywood-style waves, use magnetic rollers on stretched hair. After banding or blow-drying your hair on a cool setting, set your hair on large magnetic rollers. This will give you soft, flowing waves with incredible volume and movement, perfect for a special occasion.
18. The “Shingling” Technique for Maximum Definition
For the ultimate wave and curl definition, try shingling. This involves taking small sections of wet, product-covered hair and smoothing the product from root to tip with your fingers, ensuring every single strand is coated and defined. It’s a time-consuming process, but the result is unparalleled, frizz-free definition that showcases every beautiful wave in your pattern.
Final Tips for Perfect At-Home Waves
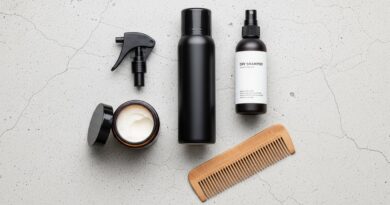
Start on Damp Hair: For most of these styles, starting with clean, damp hair that has been treated with a leave-in conditioner and a styling cream, mousse, or gel will yield the best results.
Patience is Key: Do not, we repeat, do not take your braids, twists, or rods down until your hair is completely dry. Damp hair equals frizz and a style that won’t last.
Seal with Oil: Once your style is complete and dry, you can rub a tiny amount of light oil between your palms and gently glaze it over your hair to add shine and reduce frizz.
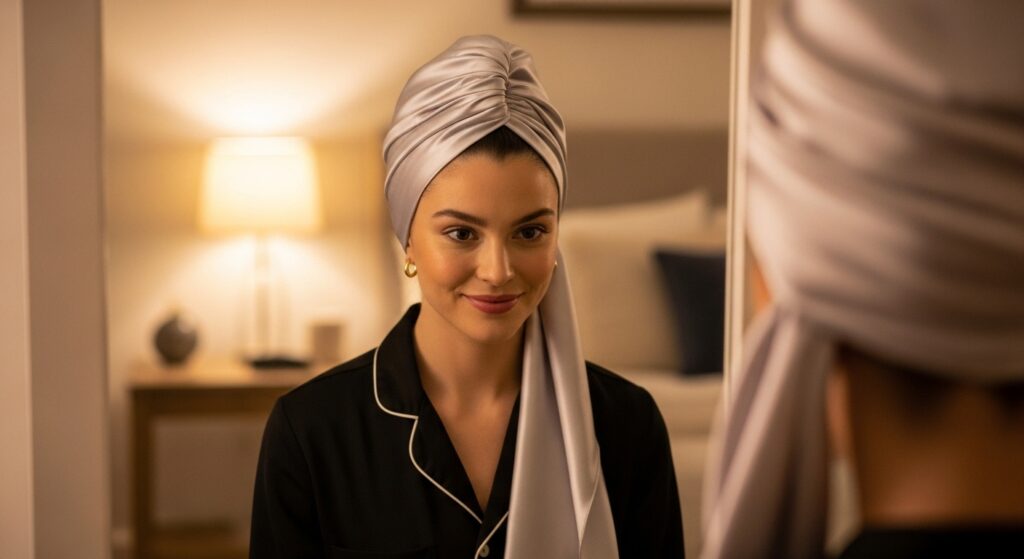
Protect Your Style at Night: Preserve your beautiful waves by sleeping on a satin or silk pillowcase or wearing a satin bonnet. This will minimize friction and help your style last for days.