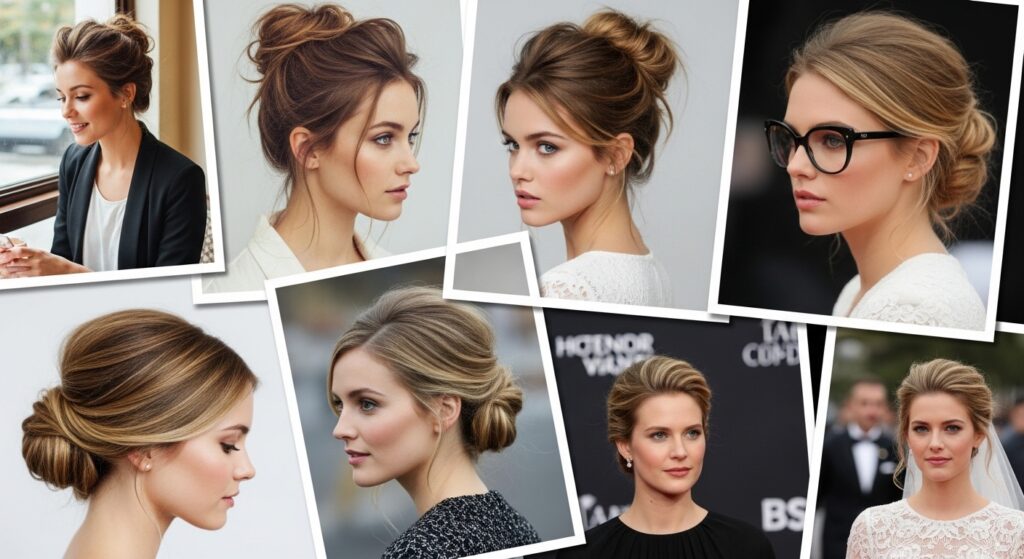
18 Swept Updo Techniques with Face-Framing Pieces
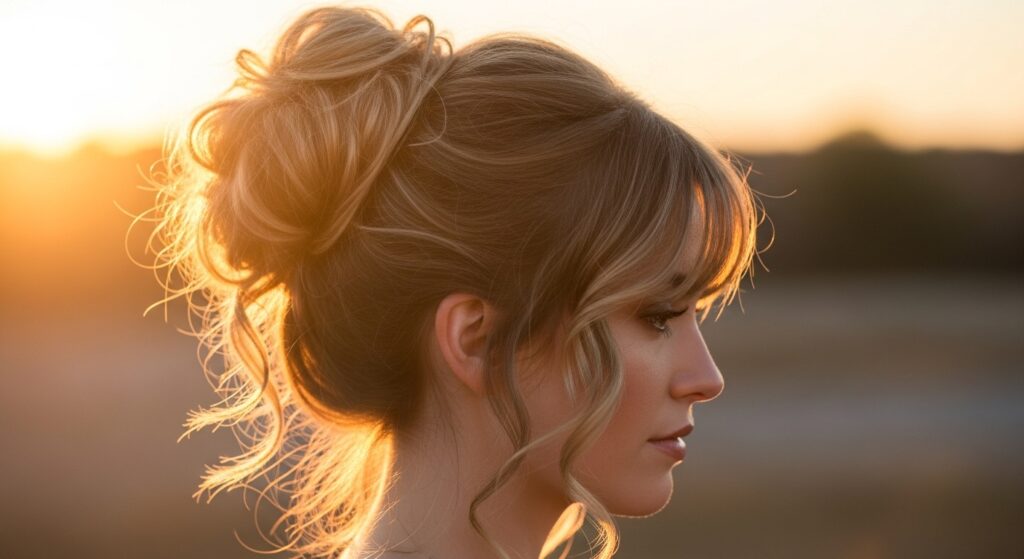
Imagine a hairstyle that captures the elegance of an updo but retains the soft, flattering charm of loose waves. That’s the magic of a swept updo with face-framing pieces. This timeless style is the secret weapon of celebrities on the red carpet, brides on their wedding day, and anyone who wants to look polished yet approachable. It’s more than just putting your hair up; it’s a strategic art form that highlights your best features, softens your jawline, and draws attention to your eyes.
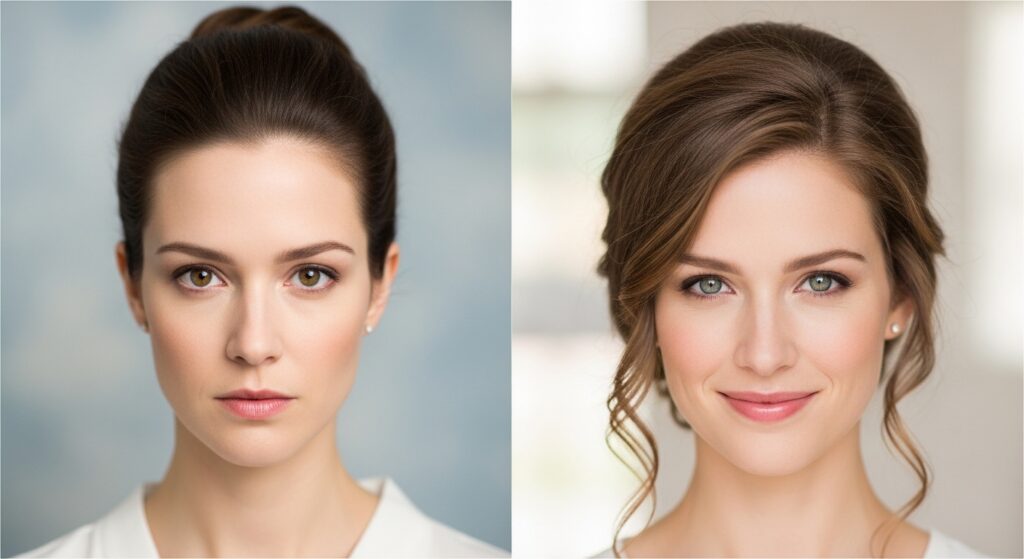
Why Face-Framing Pieces Are a Game-Changer
Before we dive into the techniques, let’s understand the why. Face-framing pieces are those deliberate strands left out of the main updo. They are not accidental flyaways; they are carefully curated. Their power lies in their ability to create balance. They can soften a strong forehead, accentuate cheekbones, and make a long face appear wider or a round face appear longer. They add movement, texture, and a touch of effortless romance that a severe, slicked-back updo often lacks. Essentially, they bridge the gap between formal and soft, giving you the best of both worlds.
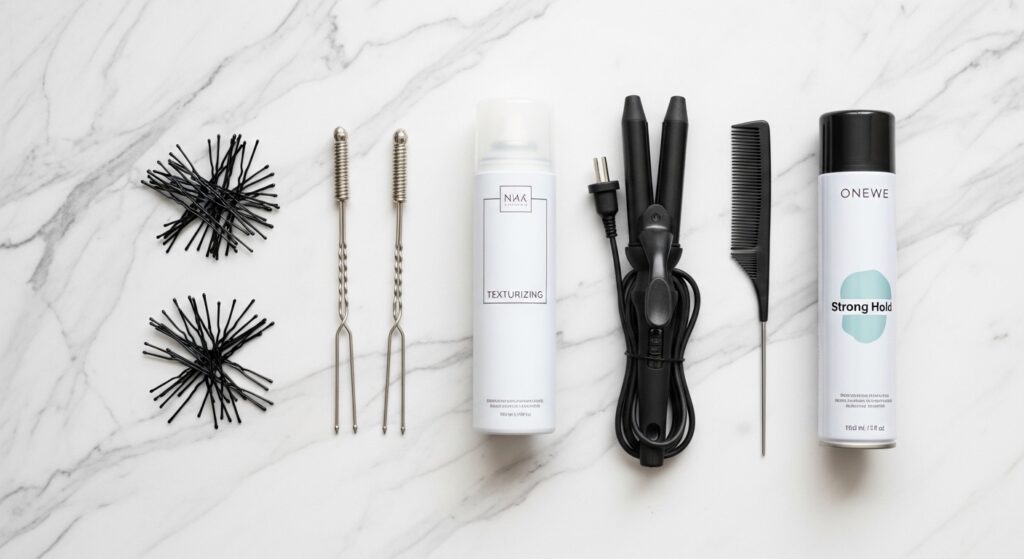
Essential Tools and Prep for the Perfect Swept Updo
Every masterpiece requires the right tools. For these updos, you’ll need a reliable set of hairpins (bobby pins), spin pins for hold, clear elastics, a teasing brush or comb for volume, and a strong-hold hairspray that also offers flexibility. Prepping your hair is crucial. Second-day hair is your best friend here, as natural oils provide grip and texture. If washing, use a volumizing mousse or texturizing spray on damp hair before blow-drying. For sleek looks, a smoothing serum is key. Always start with a well-brushed section of hair to be the “frame”—typically from the front of your temples back to about your ears.
Techniques 1-6: Elegant & Classic Swept Updos
These styles are the foundation—perfect for formal events, the office, or when you want timeless beauty.
1. The Classic Chignon with Wispy Bangs: Create a low ponytail, twist it into a bun, and secure. Gently pull out the finest wispy pieces around your hairline and temples, and use a curling iron to give them a soft bend.
2. The Voluminous Ballerina Bun: Tease the crown for height before gathering hair into a high ponytail. Form a donut bun, leaving out two slightly thicker front sections. Curl these pieces away from the face and pin them loosely behind the ears.
3. The Tousled Low Twist: Gather hair at the nape, twist loosely, and pin as it coils. Leave out pieces from the front and sides, then backcomb them slightly at the roots for a lived-in, romantic frame.
4. The French Twist with Escapees: Master the classic French twist, but instead of tucking all hair in, allow two defined sections from the front to remain free. Smooth them with serum or curl them for contrast.
5. The Sleek Knotted Updo: Part hair deeply to one side. Create a series of knots along the nape of your neck, pinning as you go. Leave the hair from the heavier side of the part out, sweeping it dramatically across the forehead before tucking it in.
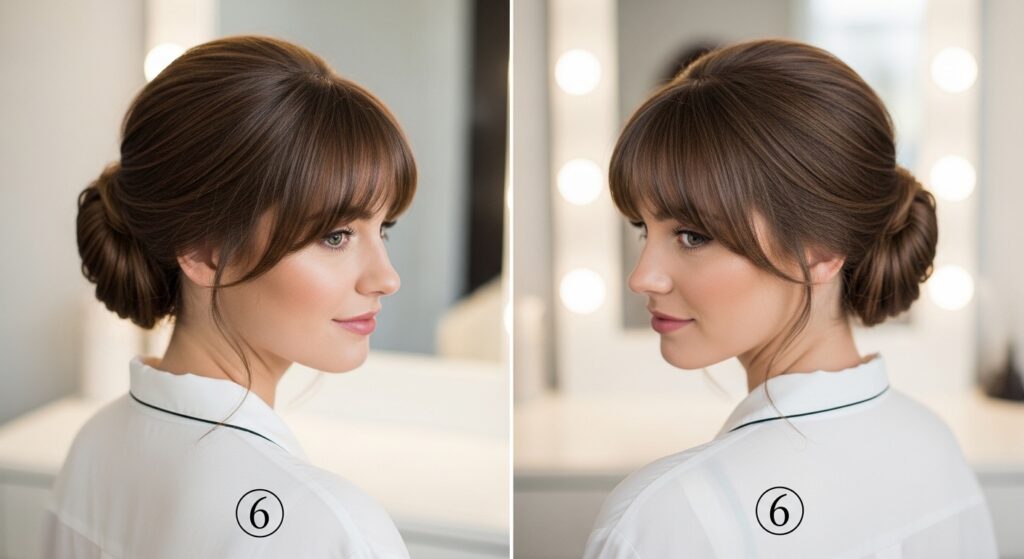
6. The Braided Crown with Soft Front: Create two Dutch braids starting at the temples, meeting at the back. Pin the ends into a small bun. Leave out all the baby hairs and shorter layers around your face, misting them for a defined, ethereal frame.
Techniques 7-12: Romantic & Messy Swept Updos
Embrace texture and carefree vibes with these styles ideal for dates, parties, or a stylish weekend look.
7. The Messy Textured Bun: This is all about imperfection. Pull hair into a high, loose bun, pulling it apart for volume. Leave out generous pieces around the entire face and curl them in alternating directions for a bohemian feel.
8. The Boho Braided Updo: Create a loose, messy braid with your entire head of hair, leaving out several pieces throughout the braiding process. Coil the braid into a bun and pull the face-framing pieces forward, twisting them lightly.
9. The Pull-Through Ponytail with Frame: Use a tool to create a voluminous pull-through ponytail high on the head. Before the final pull-through, leave out two front sections. Wrap these pieces around the base of the ponytail to hide the elastic.
10. The Gibson Tuck with Tendrils: Perform a classic Gibson tuck at the back, but leave out long, curled tendrils from the sides. The contrast between the structured tuck and the soft curls is stunning.
11. The Rope Braid Updo: Create two rope braids from the temples back, joining them at the nape into a low bun. Gently pull on the braids to fatten them, and leave the hair at the very front out to curl into ringlets.
12. The Half-Up Twisted Crown: Take two sections from the front, twist them back, and pin them at the crown, letting the rest of the hair flow down. Then, casually sweep the remaining long hair into a low, side-pinned bun, incorporating the ends of the twisted crown.
Techniques 13-18: Bridal & Special Occasion Swept Updos
These are the showstoppers, designed to hold up under pressure while looking effortlessly gorgeous.
13. The Cathedral Veil Updo: A low, intricate bun of twists or braids at the nape. The face-framing pieces here are critical—they should be perfectly curled and pinned just so to hold the veil’s comb while framing the face under the tulle.
14. The Hollywood Glamour Waves: Create a deep side part and sweep hair into a low, sleek bun at the nape. Leave out a substantial section from the heavier side of the part, and craft a defined, voluminous “old Hollywood” wave that sweeps across the forehead and tucks into the bun.
15. The Braided Halo with Face-Framing Curls: A crown of braids encircles the head, with all hair tucked in neatly. Then, strategically pull out a few soft, spiral curls from just below the braid halo to frame the cheeks and jawline.
16. The Asymmetrical Swept Knot: Gather all hair to one side, twist it into a knotted bun at the nape. Leave out the hair from the opposite side and the front, curling these pieces so they elegantly drape across the collarbone and shoulder.
17. The Waterfall Braid into a Bun: Start a waterfall braid at one temple, letting it cascade into the hair gathered for a mid-height bun. The pieces released from the waterfall braid naturally become the most beautiful, integrated face-framing layers.
18. The Regal Twist with Crystal Accents: A series of elegant twists gathered into a low chignon. Two clean, smooth face-framing pieces are left out, swept back behind the ears. These pieces are the perfect place to add tiny, sparkling hairpins or clips for a touch of glamour.
Pro Tips for Flawless Face-Framing Pieces
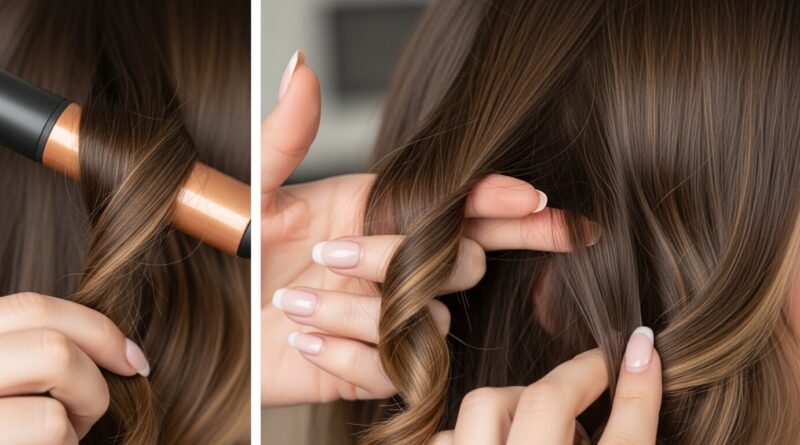
Mastering the technique is one thing; perfecting the details is another. Always curl or wave your face-framing pieces after the updo is secure. This allows you to customize the direction and tightness to suit your face shape. Use a 1-inch barrel curling wand for soft waves or a smaller barrel for tighter curls. To make them last, mist the pieces with a light-hold spray before curling, and once cooled, gently separate them with your fingers. For a piecey, modern look, apply a small amount of texturizing wax or pompie just to the ends.
Remember, the goal is to look intentional, not messy. The pieces should complement the updo, not compete with it. Step back from the mirror and assess the balance. If one side feels heavy, pull out a small piece on the opposite side to create symmetry.
Conclusion: Frame Your Beauty
The journey from a simple updo to a swept-up style with face-framing pieces is the journey from ordinary to extraordinary. These 18 techniques offer a blueprint for endless creativity. Whether you’re preparing for a milestone event or simply want to elevate your everyday style, the power to frame your face and highlight your natural beauty is now at your fingertips—quite literally. So grab your pins, select your favorite technique, and get ready to sweep your hair up and your confidence even higher.
Which technique will you try first? Practice makes perfect, so don’t be afraid to experiment with different amounts and styles of face-framing pieces to discover what makes you feel most beautiful.