19 Color Melt Techniques for Seamless Transitions
Imagine a sunset sky, where hues of orange, pink, and purple blend into one another without a single harsh line. Now, imagine that same breathtaking, seamless gradient flowing through your hair. That is the magic of the color melt. More than just a trend, this technique has revolutionized hair coloring, offering a low-maintenance, high-impact look that celebrates softness and dimension. Unlike traditional highlights or ombré, a true color melt creates a perfectly diffused transition from one shade to the next, making regrowth less noticeable and the overall effect incredibly natural—or artistically surreal.
The Foundation: What is a Color Melt?
At its core, a color melt is a coloring technique designed to blend multiple shades so seamlessly that they appear to “melt” into one another. The goal is to eliminate any visible lines of demarcation. It often involves working with three or more closely related tones, using a meticulous backcombing or feathering method to soften the points where the colors meet. The result is a fluid, painterly effect that adds immense depth and movement to the hair. It’s important to distinguish it from ombré (a darker-to-lighter transition) or balayage (hand-painted highlights); a melt is specifically about the blurring of the color boundaries themselves.
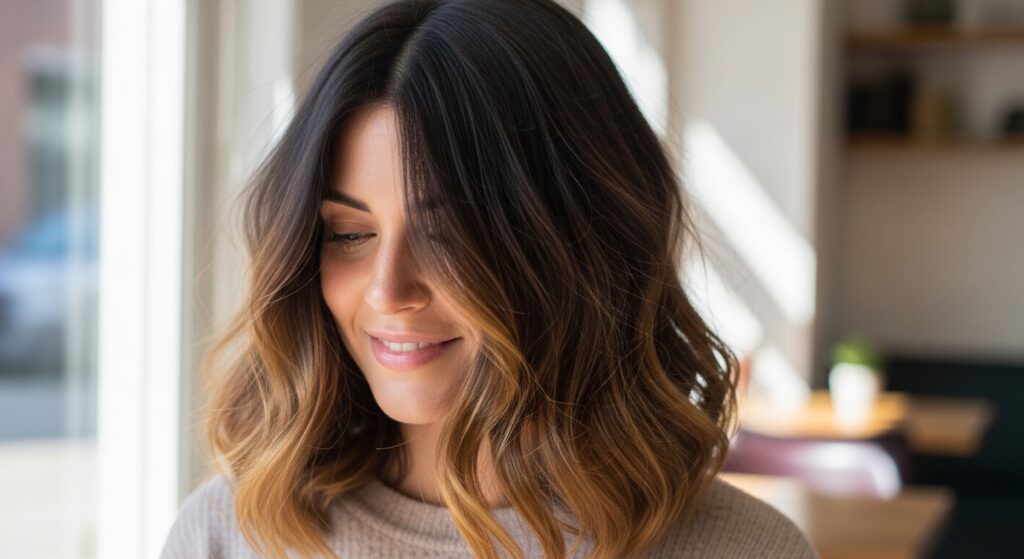
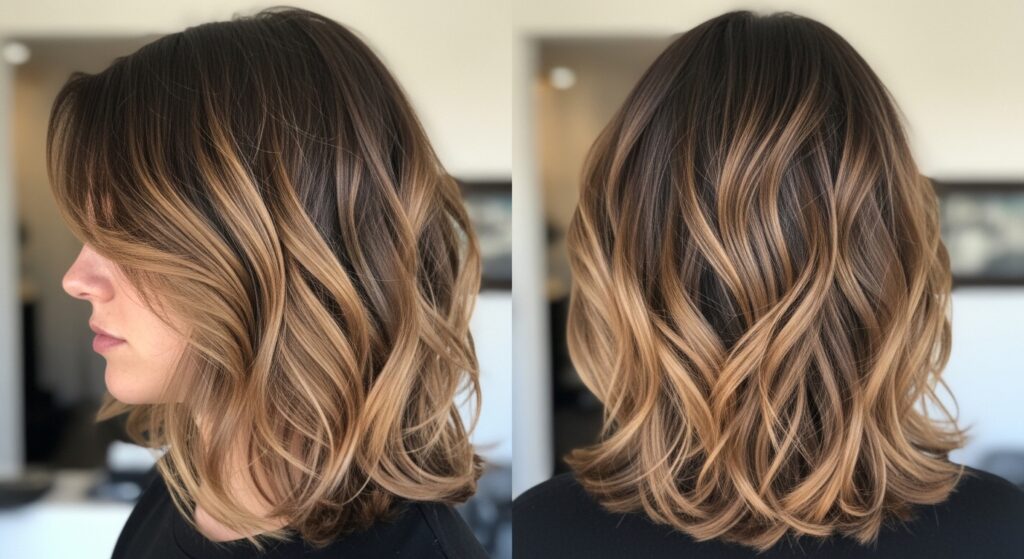
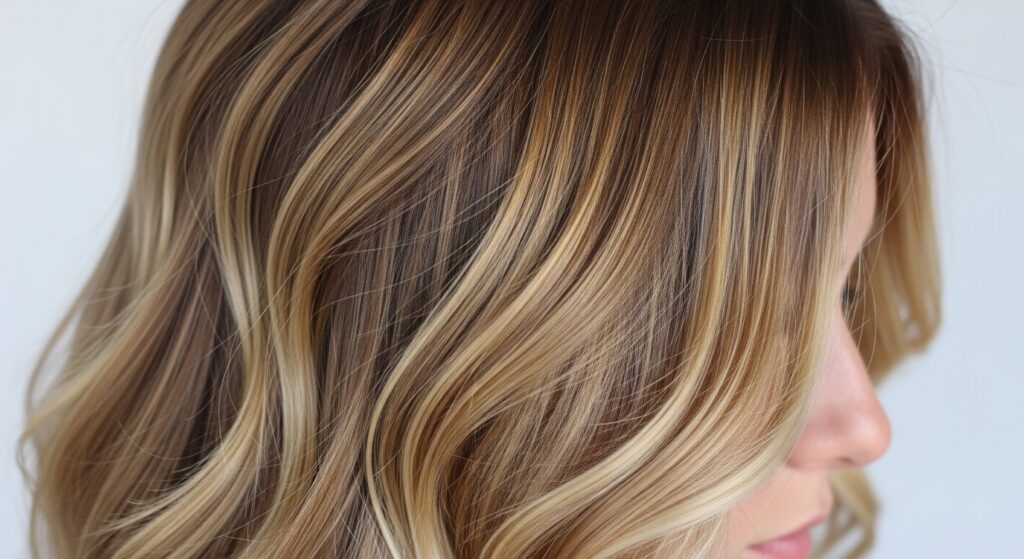
1. The Classic Brunette Melt
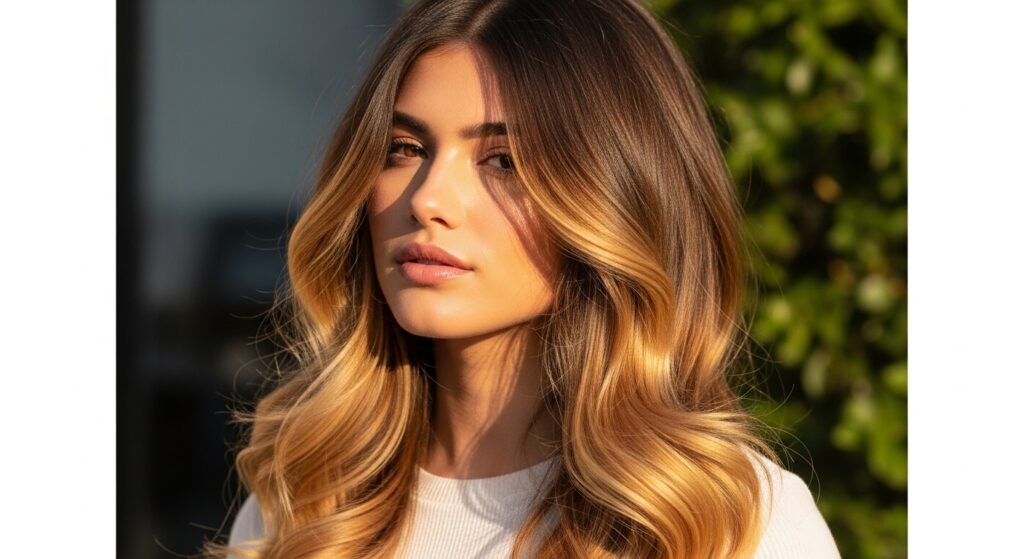
Start with the timeless. This technique melts dark chocolate brown into a rich caramel or toffee mid-length, ending with a honeyed blonde at the ends. The key is keeping all tones within the same warm or cool family. Use a root smudging technique to blend the darkest shade down, ensuring no hard line at the part.
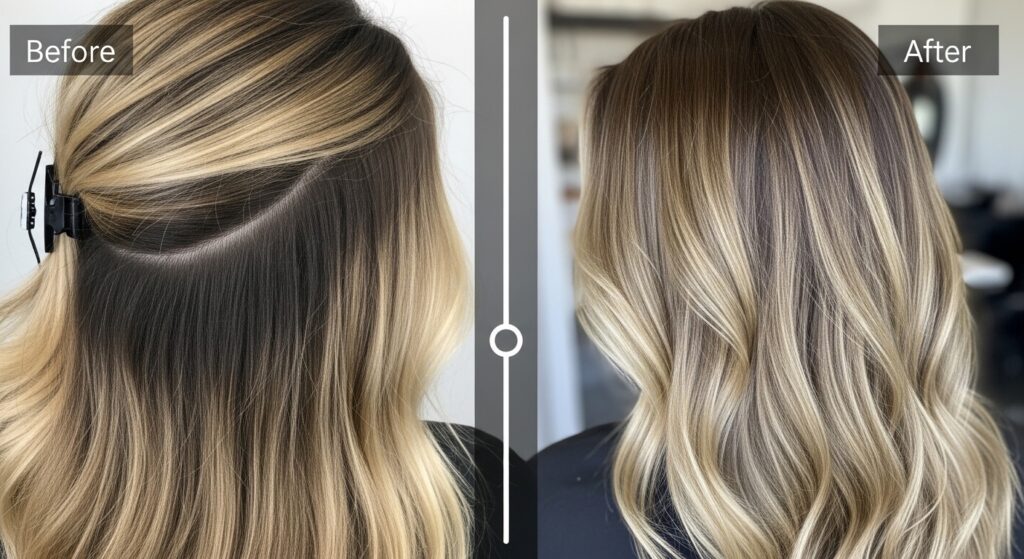
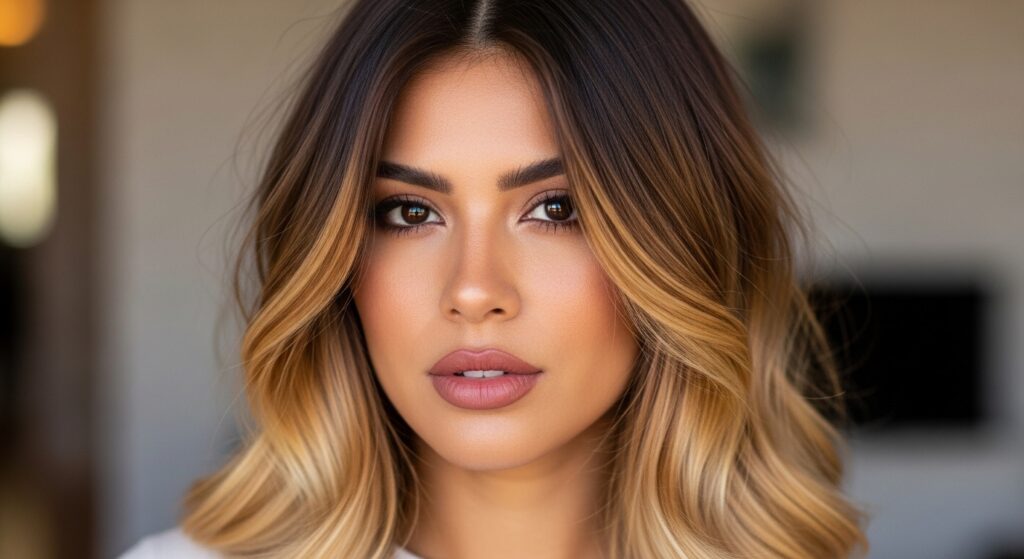
2. Blonde Ambition Melt
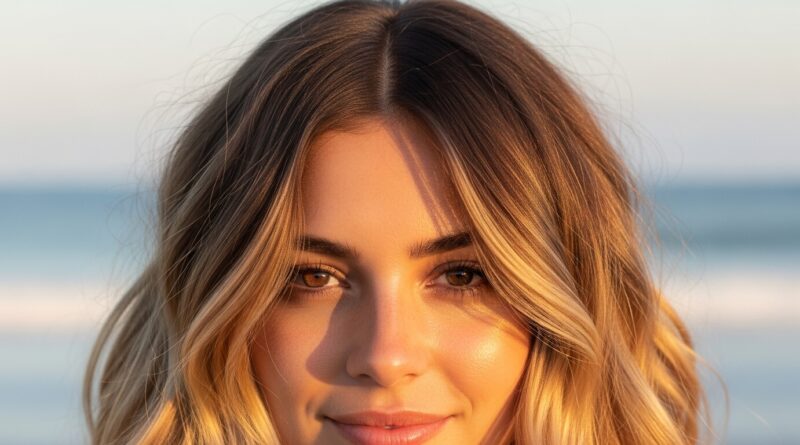
For blonde perfection, melt a dirty or ash blonde at the root into a beige blonde, then into a pale, icy toner at the ends. This requires impeccable toning to avoid brassiness and ensure each shade transitions smoothly. Babylights around the face can enhance the melted effect.
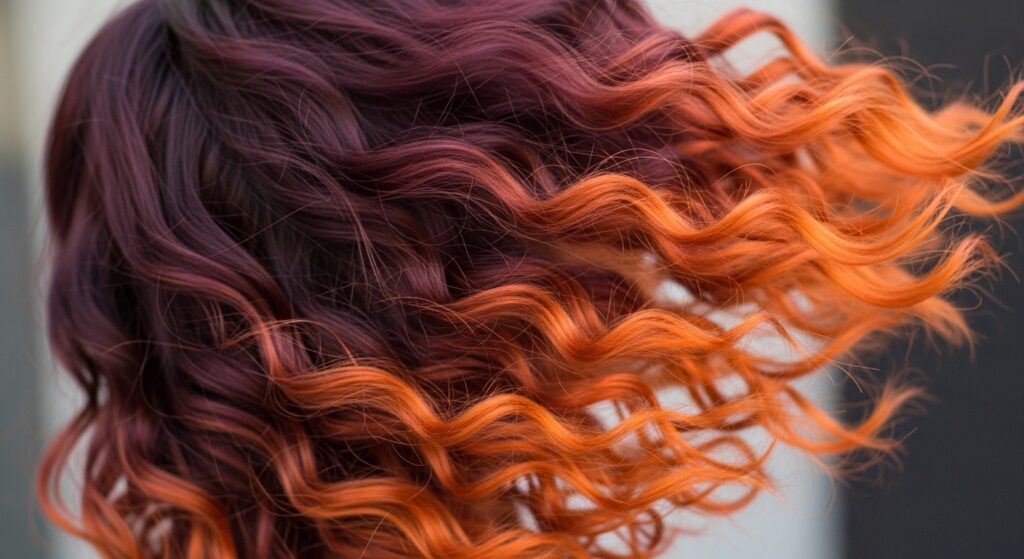
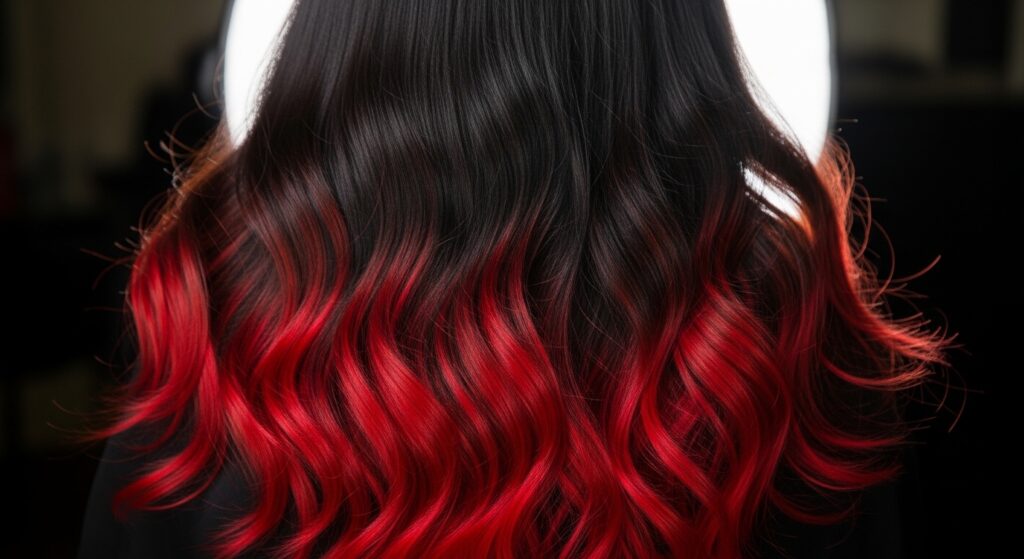
3. Ravishing Red Melt
From deep burgundy or violet-red roots to fiery copper midsections and bright strawberry blonde ends, a red melt is pure drama. Because red pigments fade faster, use a color-preserving glaze in the melting process to lock in shine and prolong the gradient.
4. Shadow Root Melt
This client-favorite involves painting a shadow (a darker shade) at the root area and melting it down into the lighter lengths. It’s the ultimate low-maintenance technique, as regrowth is part of the design. The melt should be soft and diffused, typically over pre-lightened hair.
5. Balayage Melt Fusion
Combine the freehand painting of balayage with the meticulous blending of a melt. Paint your highlights as usual, then use a clean brush to feather and blend the painted sections into the base color before processing. This creates a more organic, sun-kissed melt.
6. Money Piece Melt
Take the bold face-framing “money piece” and melt its edges back into the surrounding hair. Instead of a stark block of color, the bright front sections gradually soften into the interior colors, creating a stunning, blended frame for the face.
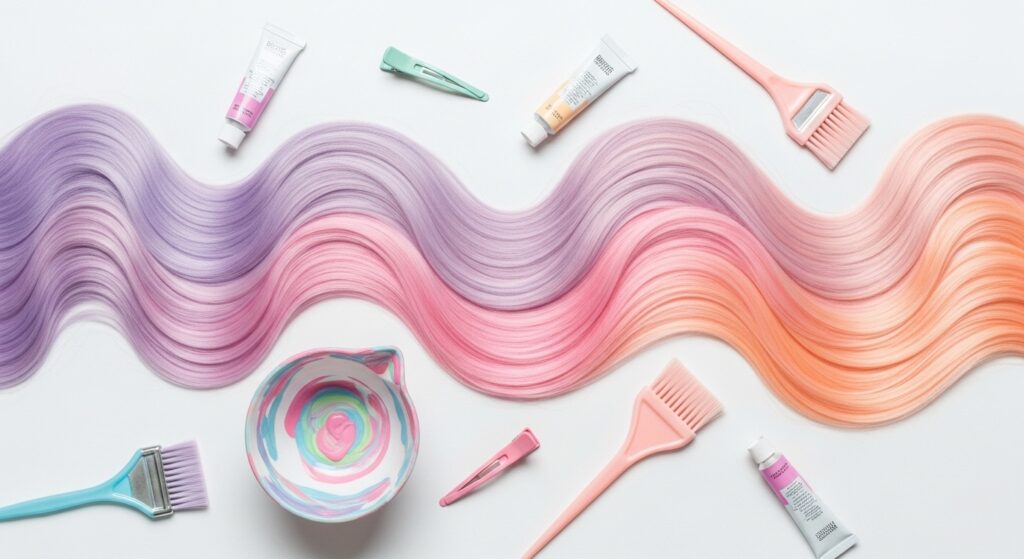
7. Pastel Dream Melt
Perfect for fantasy colors. Melt a soft lavender at the roots into a misty pink, then into a pale peach at the ends. The base must be a near-white blonde for true pastel vibrancy. Apply the colors in overlapping, horizontal sections for the best blend.
8. Sombre (Subtle Ombré Melt)
Sombre is the softer, more subtle sister of ombré. The contrast between shades is minimal, and the transition zone is much longer and more blended. Think “melted ombré.” It’s ideal for those wanting a hint of dimension without a dramatic change.
9. Face-Framing Melt
Concentrate the melting technique solely on the perimeter sections that frame the face. This involves creating a personalized gradient that brightens from the cheekbone down, drawing immediate light to the client’s features while keeping the rest of the hair simpler.
10. Peek-a-Boo Melt
Apply vibrant or contrasting colors to the under-layers of hair, but melt the top edge of the vivid section into the top base color. When hair moves, pops of color are revealed, but the line where they meet is beautifully soft and integrated.
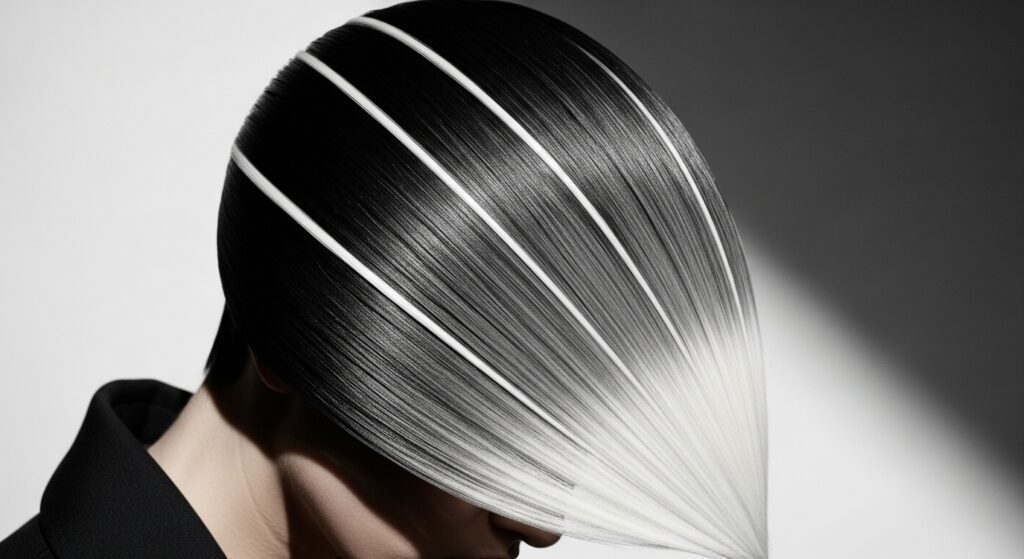
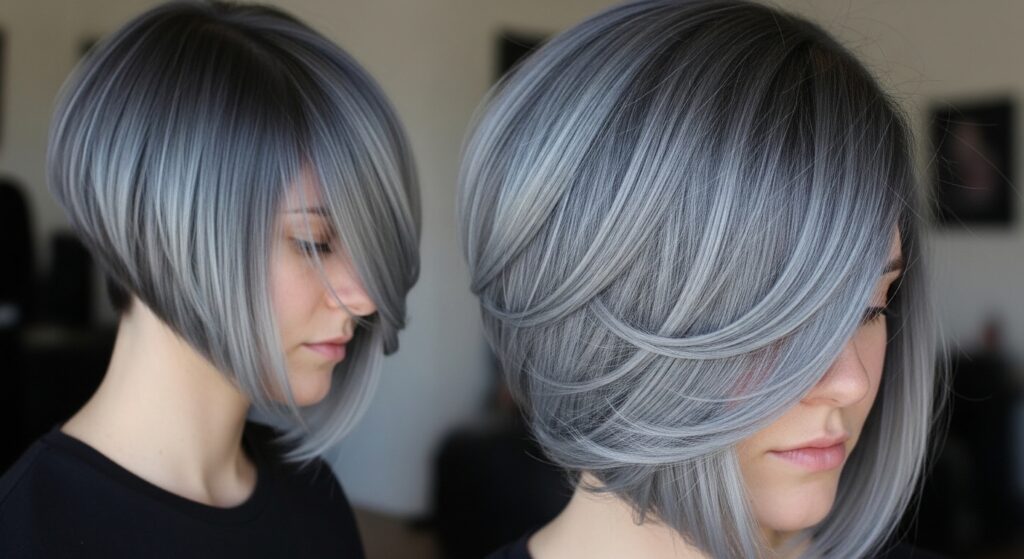
11. Triple-Tone Melt
Challenge your blending skills with three distinct but complementary tones. Example: charcoal grey roots, melting into a silver mid-length, melting into a pearl white end. This requires sectional precision and working quickly to blend before color develops.
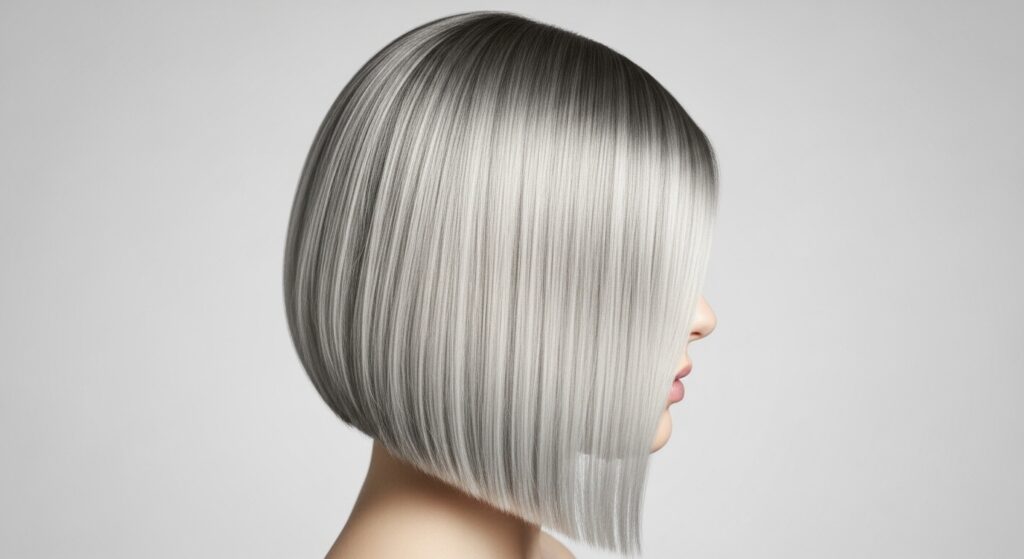
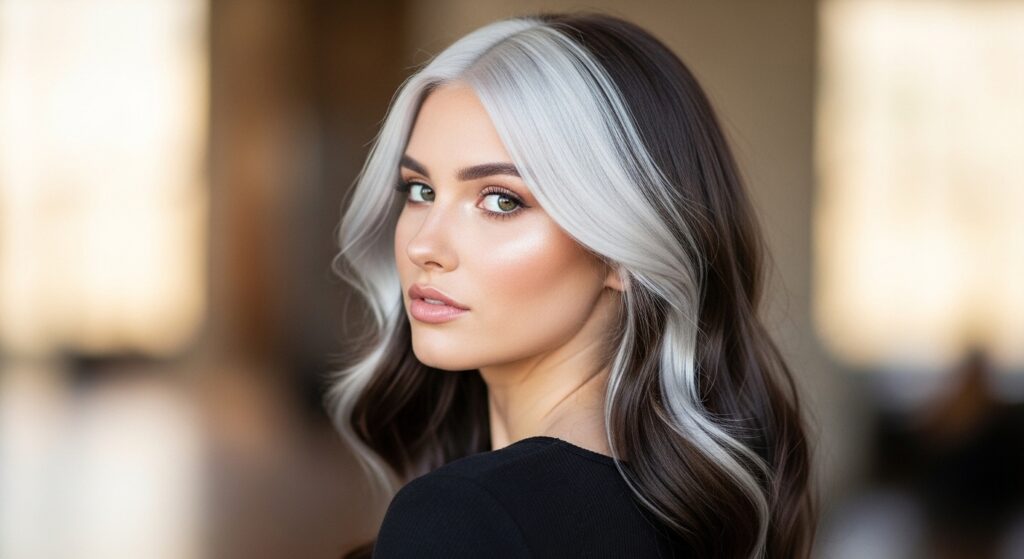
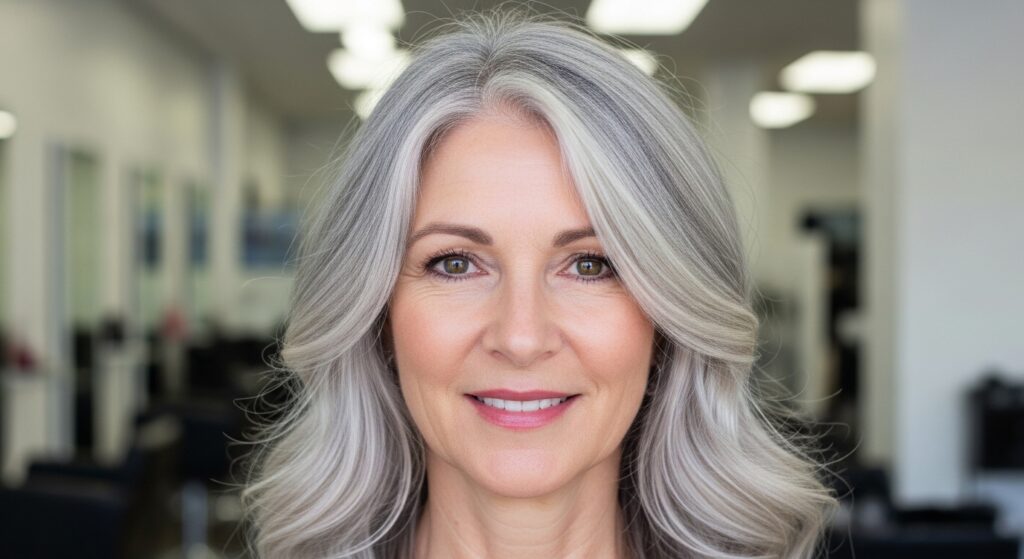
12. Natural Gray Blend Melt
For clients embracing their silver strands, use a melt to blend natural gray roots with pre-lightened or toned lengths. Apply a cool, sheer toner at the root area and melt it down to soften the line between new growth and existing color, creating a cohesive, glossy silver mane.
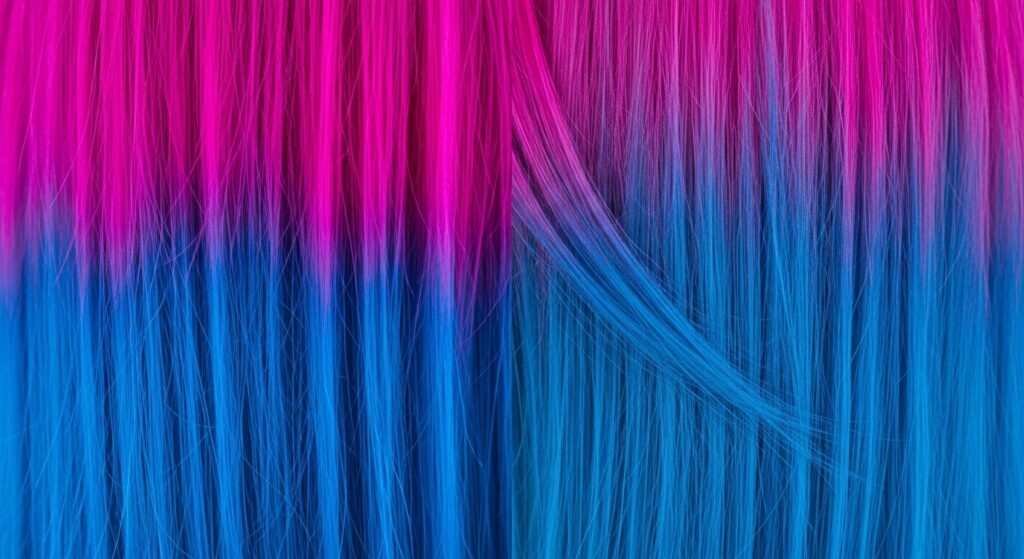
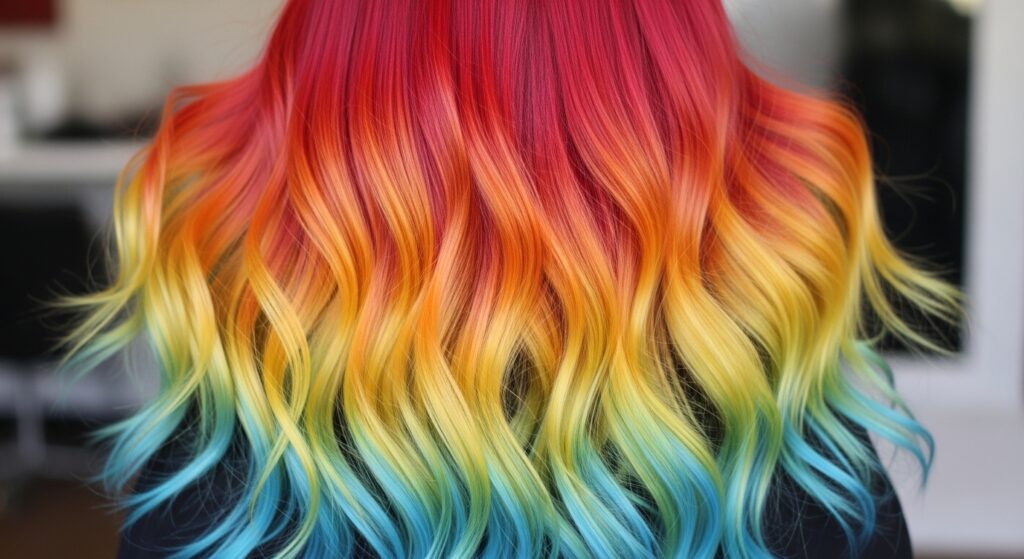
13. Rainbow Melt
The ultimate artistic expression. Choose a spectrum of colors (e.g., pink, purple, blue) and melt them into one another horizontally across the hair. The application is like painting a watercolor, using a clean, damp brush to blur the lines between each vibrant hue.
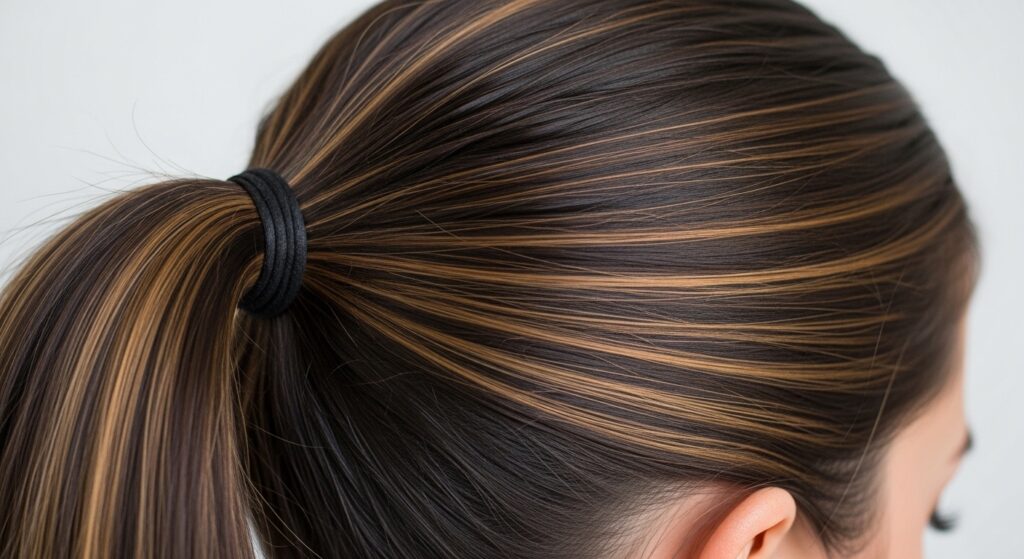
14. Melted Highlights on a Dark Base
Instead of a global application, place fine, melted highlights throughout a dark base. Each highlight should have a soft beginning and end, with no visible start point. This adds incredible dimension and light without the commitment of an all-over lightening.
15. The “Mushroom” Brown Melt
This trendy look melts a cool, ashy taupe (mushroom) root into a sand beige and then a creamy blonde. It’s all about cool, neutral undertones. The melt avoids any warmth, creating a sophisticated, modern gradient that is both edgy and wearable.
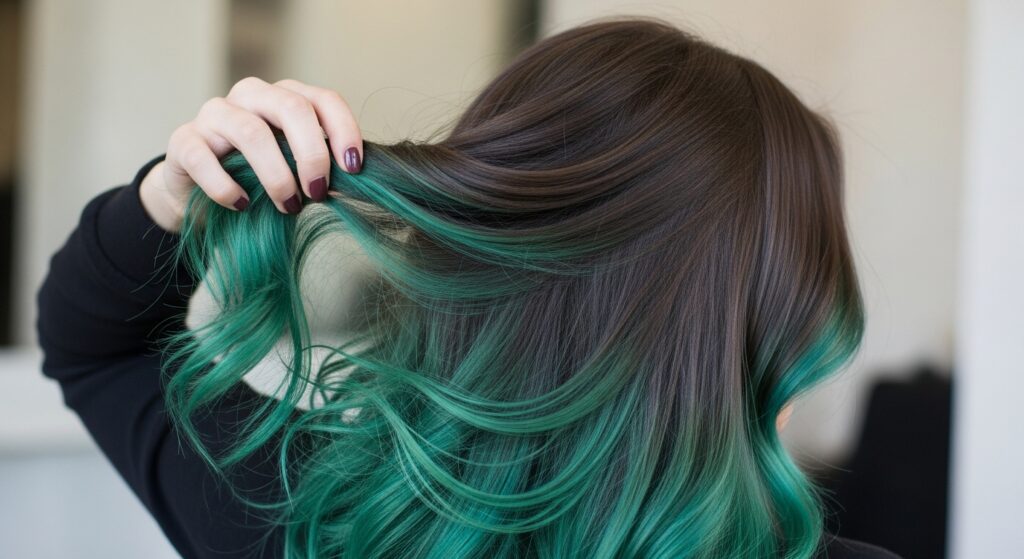
16. Melt into a Vivid
Start with a natural or dark base color at the roots and melt it directly into a bold, vivid color like electric blue or magenta on the ends. The middle transition zone often uses a intermediate shade (like a violet) to bridge the gap seamlessly.
17. Short Hair Melt
Melt techniques aren’t just for long locks. On pixies and bobs, a melt can add dramatic depth. Focus the lightest shade on the very ends and perimeter, melting upwards. This can make hair appear fuller and add a striking, modern edge.
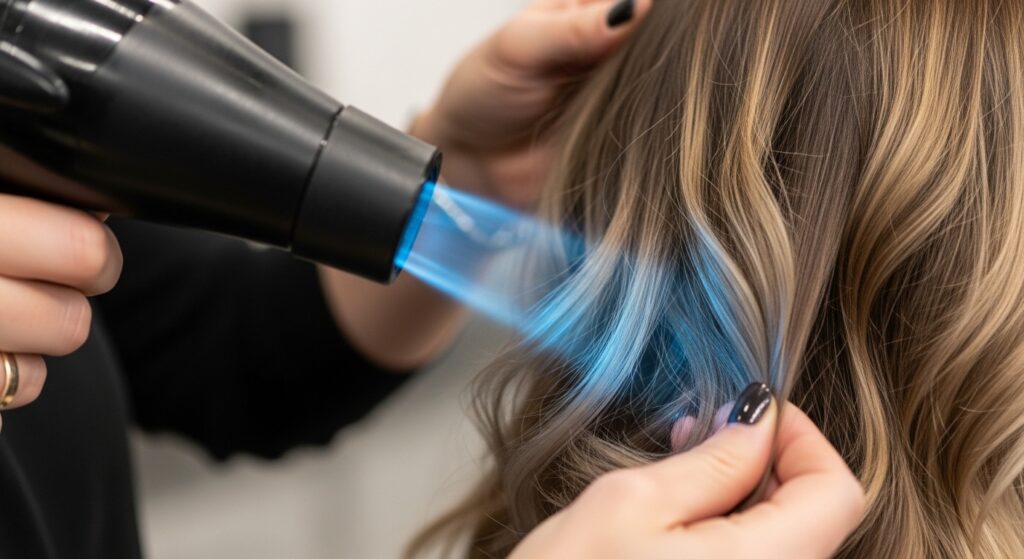
18. Thermal Color Melt
This advanced technique uses the heat from a blow-dryer or flat iron during the processing time to manipulate the color. By applying gentle heat along the transition lines, you can encourage the colors to bleed and blend into one another for an ultra-soft effect.
19. The “Lived-In” Melt
The holy grail of low-maintenance color. This melt uses multiple tones that are very close together in depth, with a focus on root shadowing and broken, textured application. It mimics the way color naturally grows out and fades, looking fantastic for months.
Pro Tips for a Perfect Melt Every Time
Preparation is Key: Always start with a clean canvas. Clarifying shampoo can remove buildup that blocks color absorption. For drastic melts, pre-lightening may be necessary.
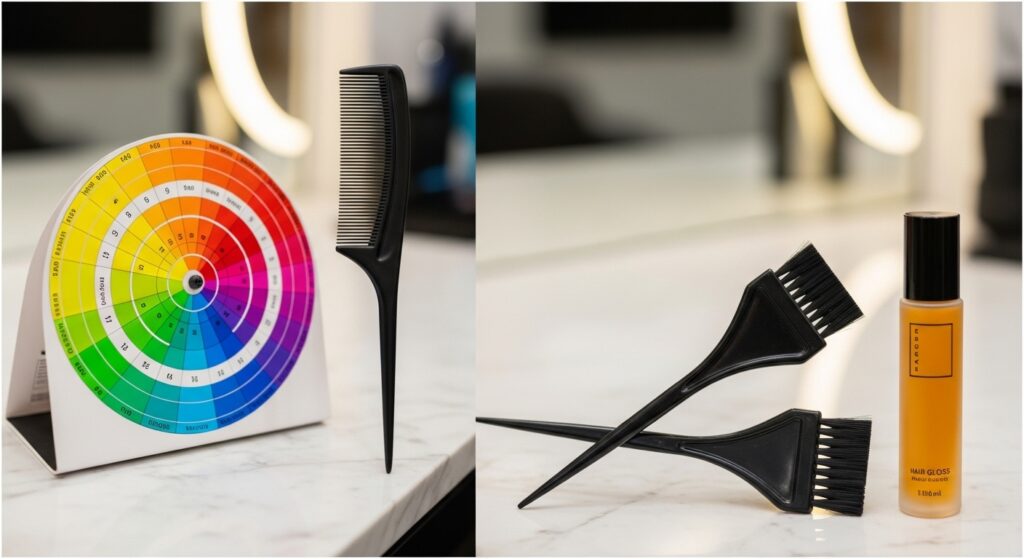
Choose Your Colors Wisely: Select shades that are within two levels of each other for the smoothest blend, unless going for a high-contrast artistic look. Remember, color theory is your friend.
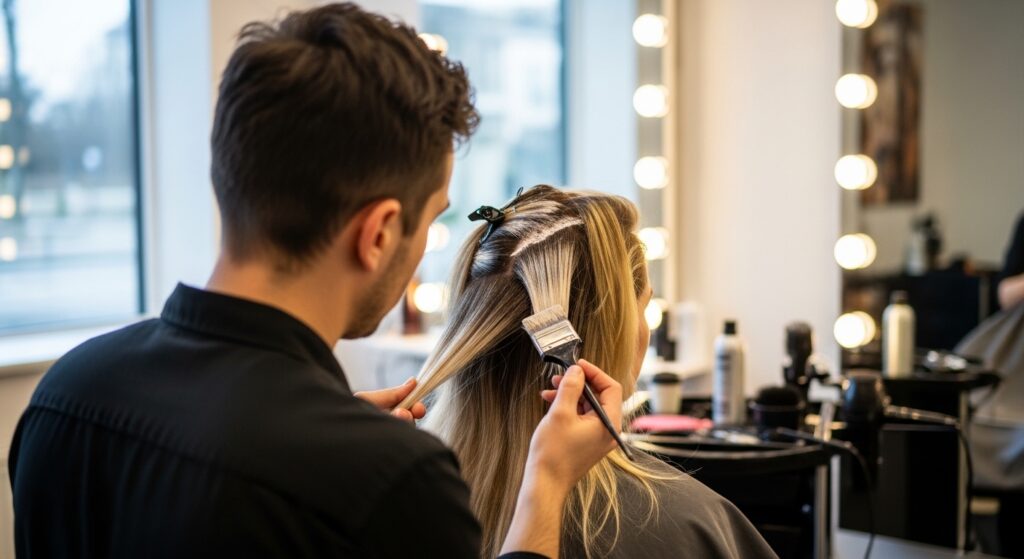
Master the Backcombing: This is the classic melt method. Apply your colors in horizontal sections, then gently backcomb (tease) the hair at the point where two colors meet before processing. This creates a feathered, blended line.
Keep it Moving: Use a damp, color-mixing brush to manually blend the demarcation lines in a soft, painting motion before processing. Don’t let color sit in harsh lines.
Gloss for Glory: A clear or toning glaze applied after rinsing can marry the colors further, add incredible shine, and ensure the melt looks cohesive and salon-fresh.
Conclusion: The Art of the Seamless Transition
The color melt is more than a technique; it’s a philosophy of hair color that prioritizes fluidity, dimension, and artistry. From the understated elegance of a sombre to the explosive creativity of a rainbow melt, these 19 techniques offer a world of possibility for every hair type, length, and personal style. By focusing on the seamless transition, you create looks that are not only stunning but also intelligent—designed to grow out gracefully and maintain their beauty. So, grab your brush, choose your palette, and start melting. Your next masterpiece awaits.