19 Modern Fingerwave Hairstyles Sculpted Defined Classic Updated Editorial Glossy
I am so excited to talk about finger waves today. You know that feeling when you want your hair to look polished and put together, but also a little bit fun and editorial? That is exactly what modern finger waves deliver. They have that classic Hollywood glamour, but with a fresh 2026 update. Whether you have short hair, long hair, or something in between, there is a finger wave look here for you.
I promise you do not need to be a professional stylist to pull these off. We have put together 19 ideas that are sculpted, defined, and honestly, just really pretty. Think glossy, shiny, and full of cool-girl energy. Let’s get into it.
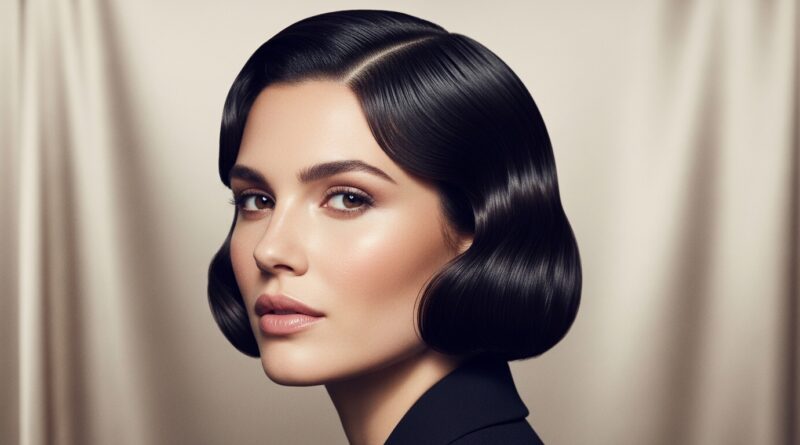
The Quiet Luxury Finger Wave Bob

If you love the quiet luxury trend, this is your starting point. Think of a short, clean bob with deep, sculpted waves that sit flat against the head. It is not loud, but it makes a statement.
- Keep the finish super glossy for that old money hair feel.
- Use a tiny bit of gel and a fine-tooth comb to define each wave.
- This style works perfectly for a date night or a work presentation.
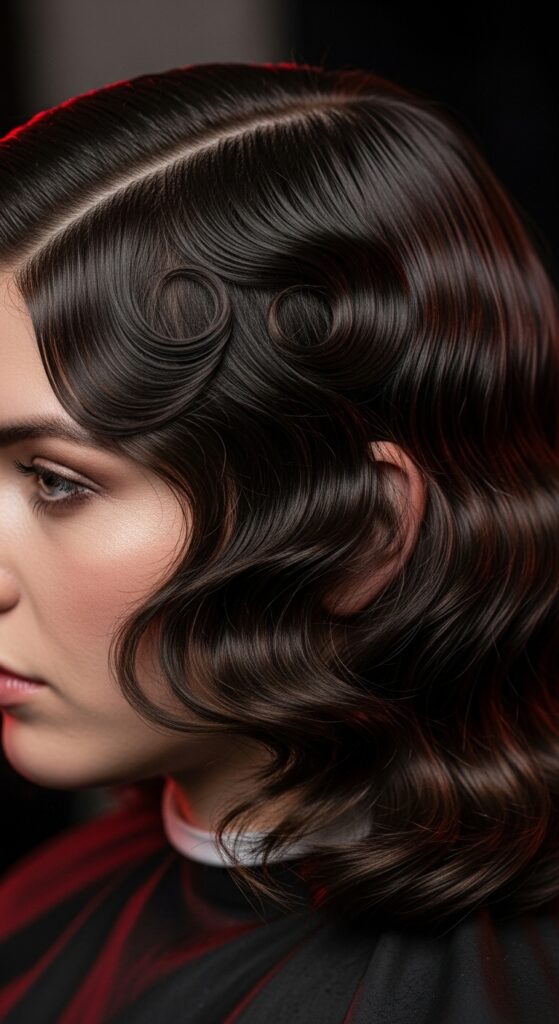
The Romantic Goth Finger Wave
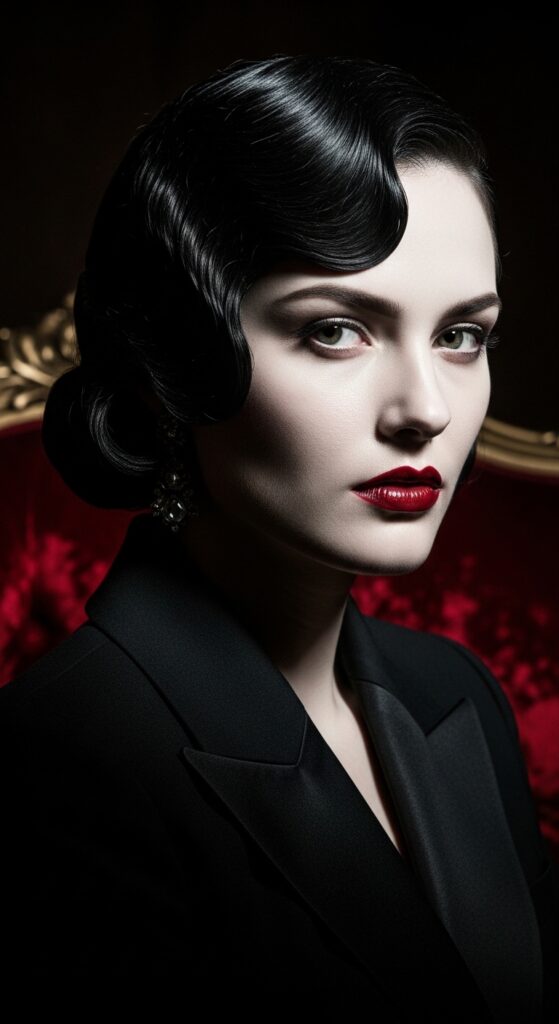
Romantic goth hairstyles are huge right now, and finger waves fit right in. You take the classic wave structure and add a dark, sultry vibe. Think Vampire’s Wife meets modern editorial.
- Start with damp hair and a strong-hold mousse.
- Create tight, close-to-the-scalp waves.
- Finish with a high-shine spray for that wet, glassy look.
The Glitchy Glam Finger Wave
For the girl who likes to break the rules. Glitchy glam hair takes the smooth finger wave and adds an element of surprise. You can leave one section straight or create a wave that stops abruptly.
- Use a flat iron to create sharp, geometric shapes.
- Mix in a few straight strands for contrast.
- This is perfect for a party or a photoshoot.
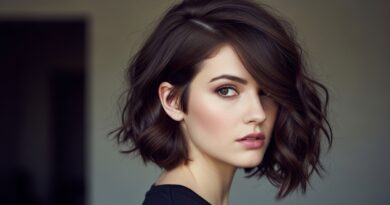
The Asymmetrical Lob with Waves
An asymmetrical lob is one of the most flattering 2026 hairstyles. Adding finger waves to the shorter side gives it a sculpted, architectural feel. It is edgy but still very wearable.
- Keep the long side sleek and straight.
- Focus the waves on the side with more volume.
- Great for oval and heart-shaped faces.
The Vampire Haircut Finger Wave
The vampire haircut is all about sharp layers and a lot of texture. You can take that classic cut and add finger waves at the top for a dramatic, almost Victorian feel. It is romantic and a little bit spooky.
- Razor-sharp layers help the waves hold better.
- Keep the ends a bit wispy for movement.
- Use a texturizing spray for grip before waving.
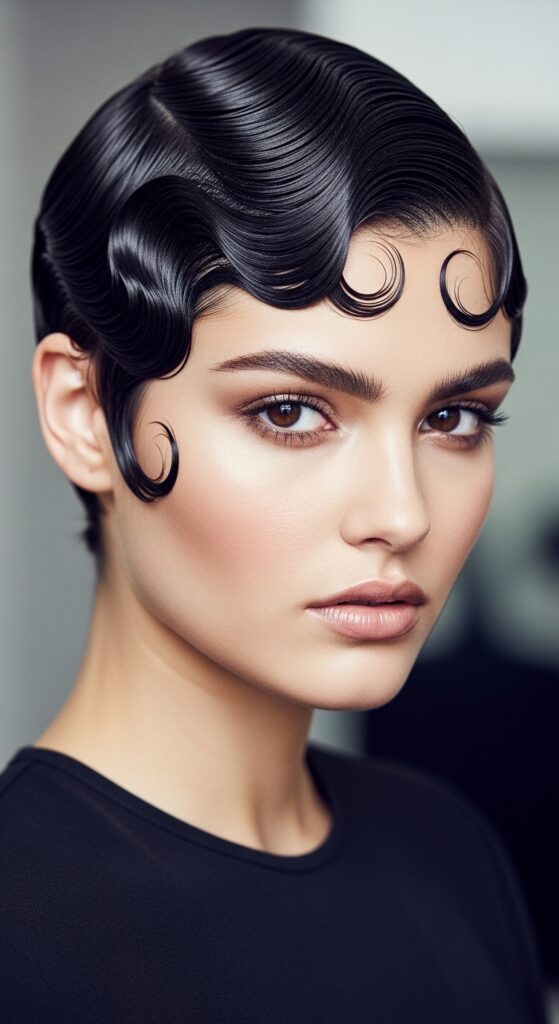
The Hime Cut Finger Wave
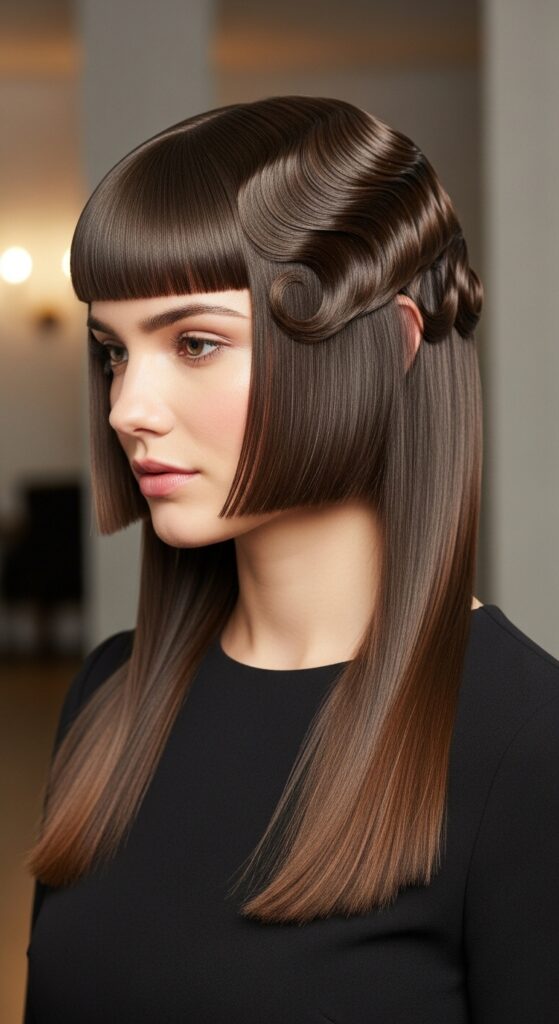
Have you seen the hime cut popping up everywhere? This Japanese-inspired style pairs perfectly with finger waves. You keep the blunt bangs and long lengths, but add waves just at the top.
- The contrast between straight and wavy is key.
- Use a strong gel to keep the waves separate from the straight hair.
- This is a very editorial, high-fashion look.
The Short Pixie Finger Wave
Short hair loves finger waves. A pixie cut becomes a work of art when every section is waved. It gives off major flapper energy, but with a clean, modern finish.
- Pro tip: Work in small sections.
- Use a boar bristle brush to smooth each wave.
- Finish with a strong-hold hairspray.
The Long, Swooping Side Wave
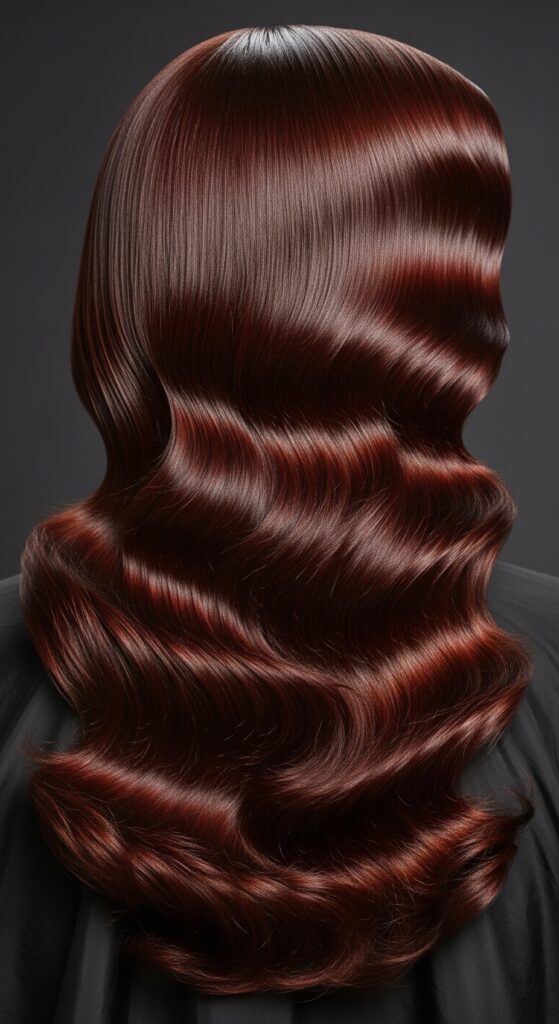
You do not need short hair for finger waves. Long hair can handle them too. You just create deep, swooping waves that run from the part all the way down. It looks like old Hollywood, but the 2026 version.
- Start with damp hair and a strong mousse.
- Use clips to hold each wave in place while it dries.
- This style lasts for days.
The Wet Look Finger Wave
Wet look hair is still going strong. You take your finger waves and make them extra glossy. It is simple, clean, and very high fashion. Think runways and magazine covers.
- Apply a generous amount of gel to damp hair.
- Use a comb to create the wave pattern.
- Let it air dry for a natural wet finish.
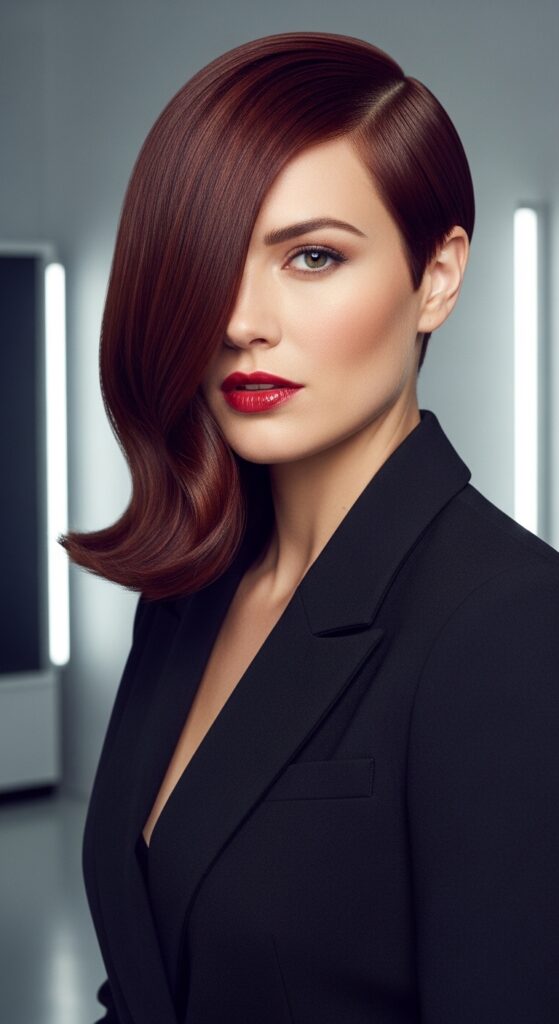
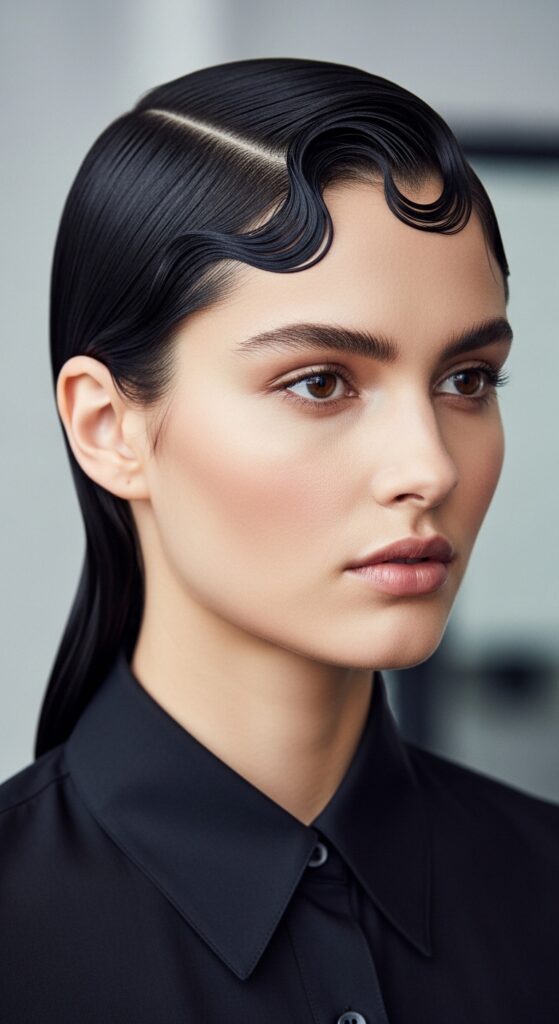
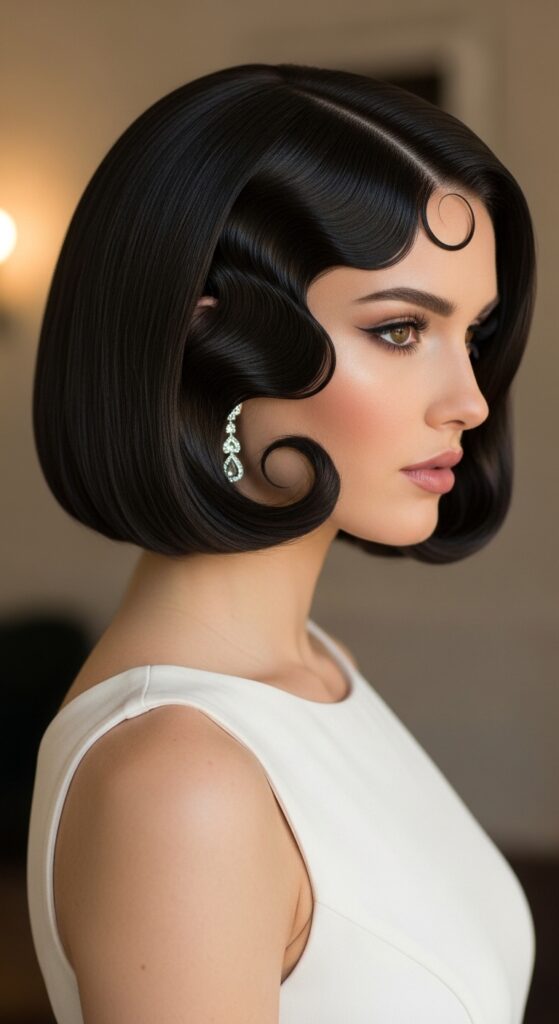
The Deep Side Part Finger Wave
A deep side part changes everything. It adds a sense of mystery and drama. The waves fall over one eye, and the rest stays sleek. This is pure glamour.
- Use a tail comb to define the part.
- Pin the waves in place while they set.
- Great for formal events.
The Faux Bob Finger Wave
If you have long hair but want the look of a bob, the faux bob is your friend. You pin the length under, then add finger waves on top. It looks like you have a whole new haircut.
- Roll your long hair under and pin at the nape.
- Mold the top section into waves.
- Spray everything to lock it in.
The Mini Wave Finger Wave
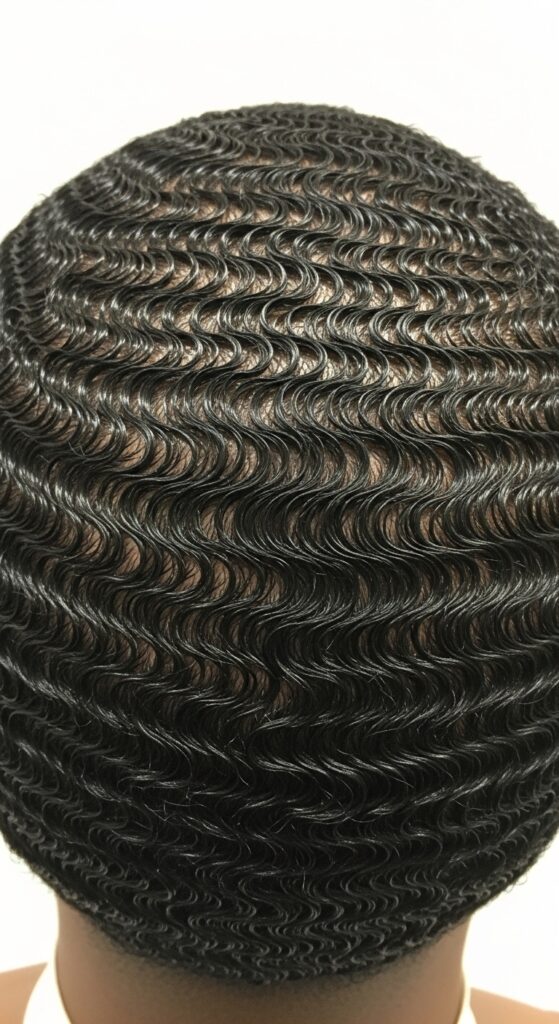
Sometimes you want a lot of detail. Mini waves are smaller and closer together. Takes patience, but the result is a beautiful, textured pattern that looks like art.
- Work with smaller sections than usual.
- Use a fine-tooth comb for precision.
- This is for the detail-oriented girl.
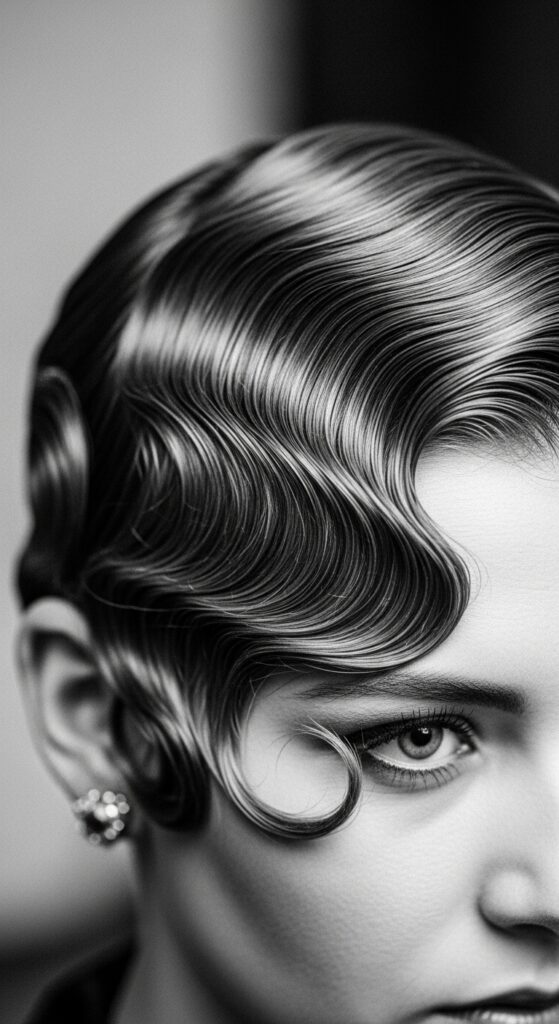
The Classic S-Wave
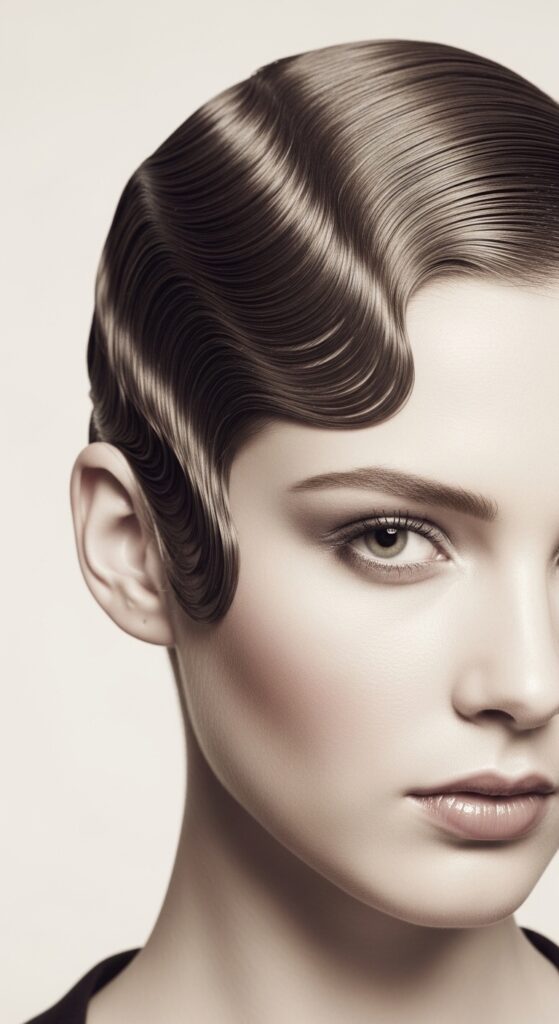
You cannot go wrong with the original. The S-wave is the foundation of all finger waves. It is timeless, elegant, and always looks expensive. This is where you start if you are a beginner.
- Practice the S-shape with your fingers first.
- Use clips to set each curve.
- Dry completely before removing clips.
The Half-Up Finger Wave
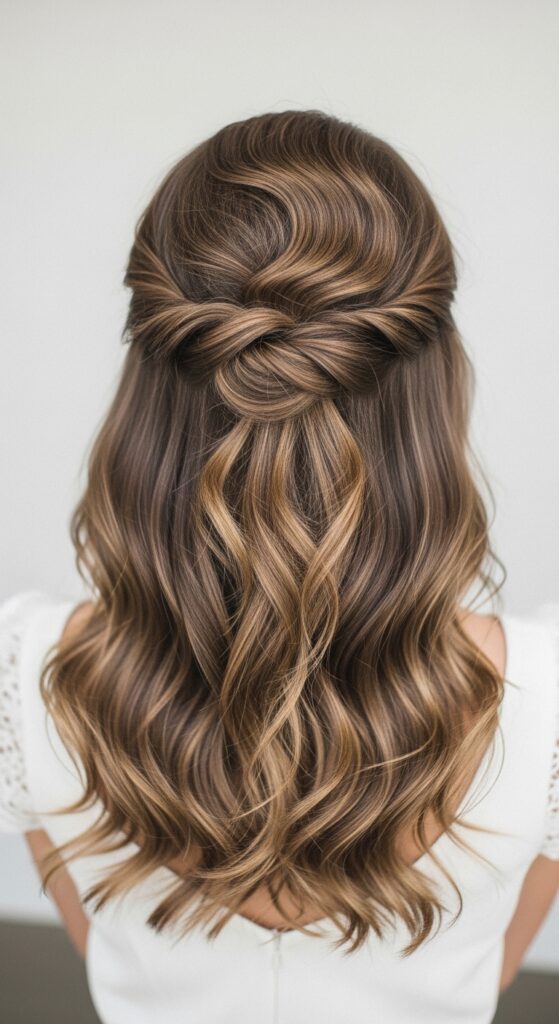
For a softer, more romantic look, try a half-up style. The top is perfectly sculpted, and the bottom flows freely. It is the best of both worlds.
- Wave only the crown and front pieces.
- Leave the back natural or with soft curls.
- Pin the waved section at the back.
The Textured Finger Wave
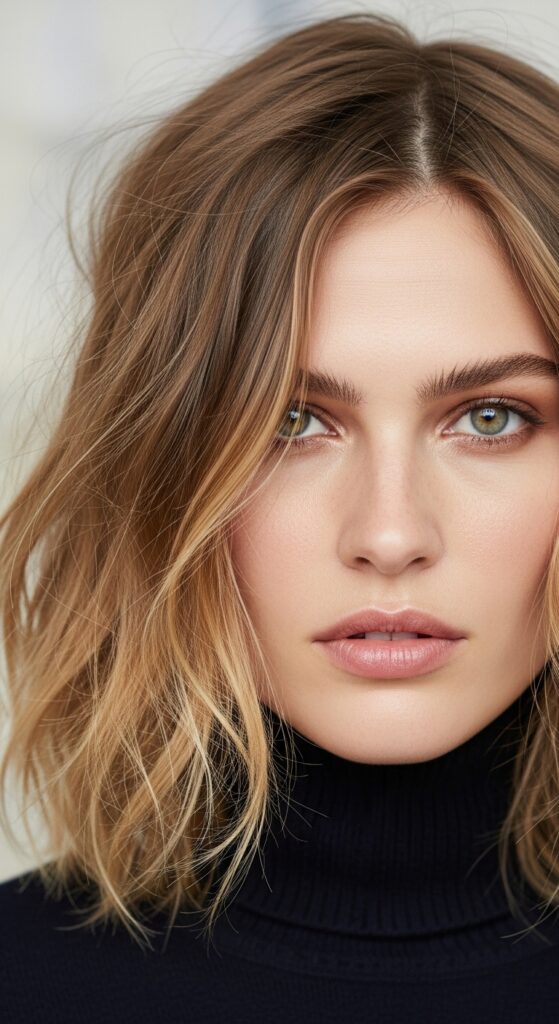
Not every finger wave has to be perfect. A textured wave is a little bit messy, a little bit relaxed. It feels more modern and less stiff. Perfect for a casual day out.
- Use a sea salt spray before waving.
- Do not over-smooth the gel.
- Run your fingers through gently to soften.
The Finger Wave Ponytail
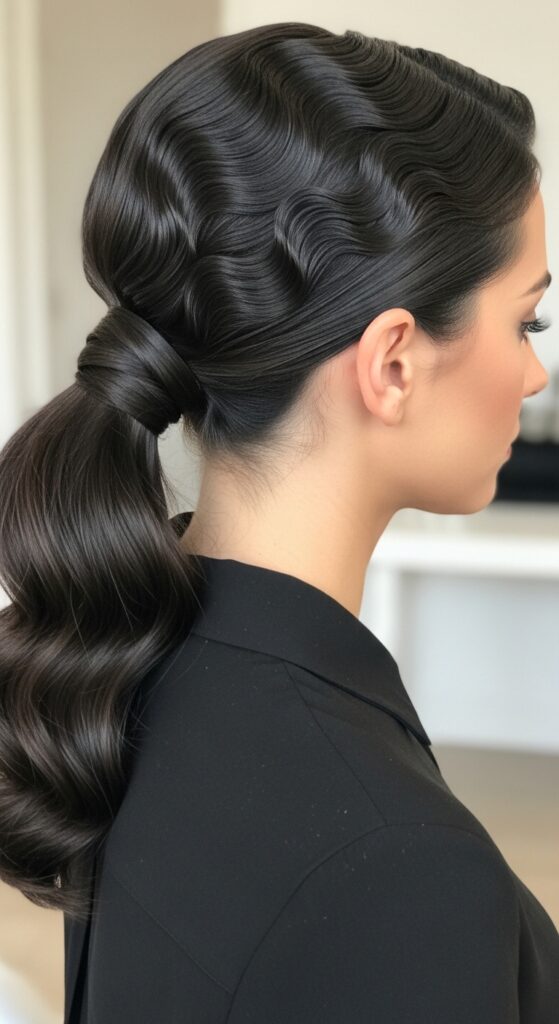
A ponytail is easy, but a ponytail with finger waves is a statement. You keep the front sculpted and the back sleek. It is a great way to dress up a basic style.
- Wave the front section first.
- Smooth the rest back into a low ponytail.
- Wrap a small piece of hair around the elastic.
The Finger Wave Updo
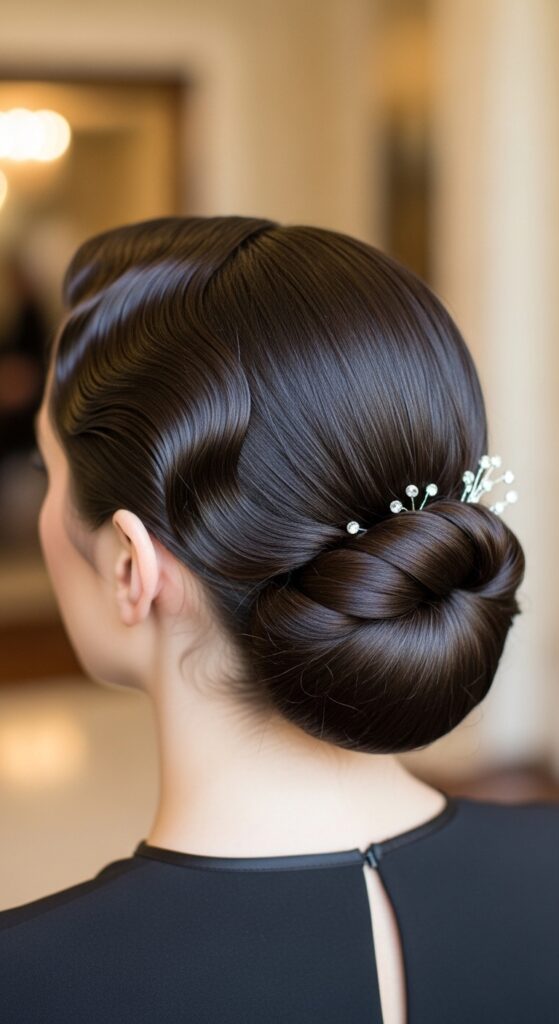
For a formal event, an updo with finger waves is unbeatable. It is polished, sophisticated, and looks like you spent hours on it. Great for weddings or galas.
- Create the waves first.
- Gather the back into a low bun.
- Use bobby pins to secure the waves.
The Accent Finger Wave
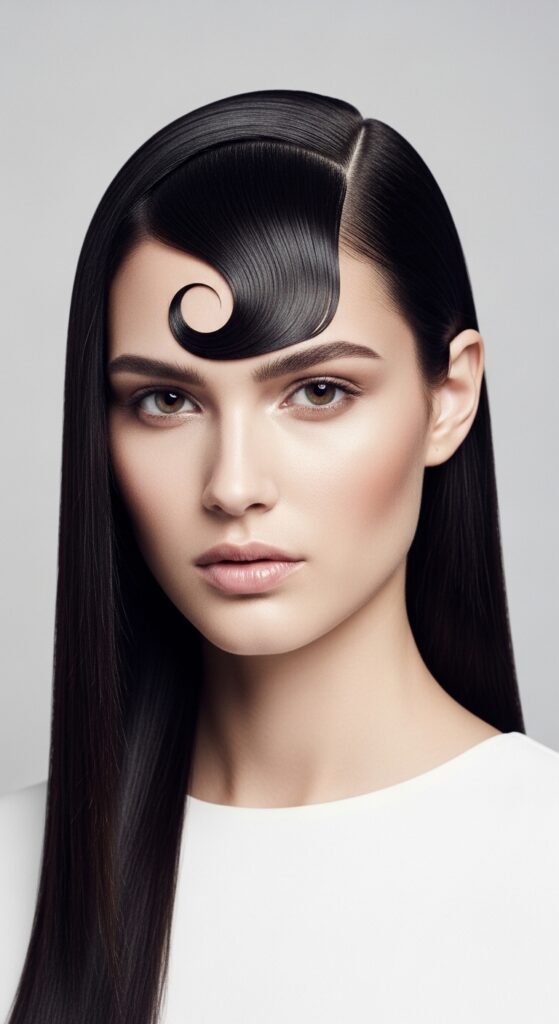
You do not need a full head of waves. Sometimes one single, perfect wave is all you need. It acts like a piece of jewelry for your hair. Very minimalist and cool.
- Choose one side of your part.
- Mold one deep wave with gel.
- Keep the rest of your hair completely straight.
The Side-Swept Finger Wave Bangs
If you have bangs, turn them into a finger wave. It is a quick way to look put together. Just sweep them to the side and shape them into a soft curve.
- Work on damp bangs.
- Use a small amount of gel.
- Smooth the wave with your fingers.
So there you have it, 19 ways to make finger waves your own. Whether you want something quiet and luxurious or glitchy and fun, there is a wave waiting for you. I love how these styles can feel both vintage and completely new at the same time.
If you try any of these, I would love to know which one is your favorite. Tag me in your photos or drop a comment below. And do not forget to save this post to Pinterest so you can come back to it later.