19 Pinned Updo Methods That Don’t Require Tons of Product
Let’s be honest: sometimes the dream of an elegant, polished updo crashes headfirst into the reality of sticky hands, half-empty bottles of product, and hair that feels more like a helmet than a hairstyle. What if you could achieve that coveted effortlessly chic look using mostly your own hair’s texture and a handful of trusty bobby pins? It’s not only possible; it’s a game-changer for your routine.
The Philosophy of Less-Is-More Styling
Before we dive into the techniques, it’s crucial to understand the mindset. The goal here isn’t to fight your hair’s natural texture, but to work with it. Slightly second-day hair is often your best friend, offering a bit of natural grit and hold that freshly washed hair lacks. The right pinning technique provides the structure, while your hair provides the softness and movement. We’re aiming for secure elegance, not shellacked perfection.
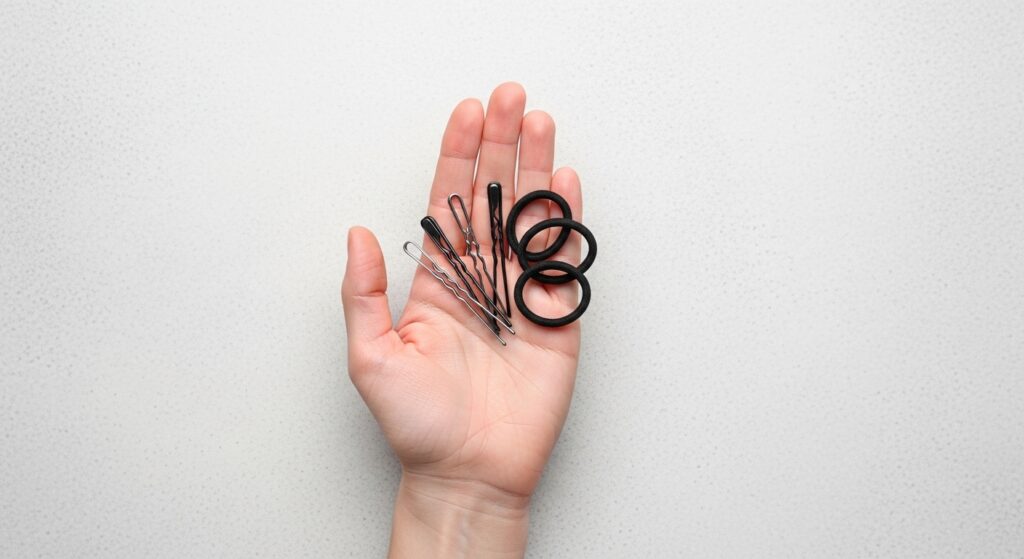
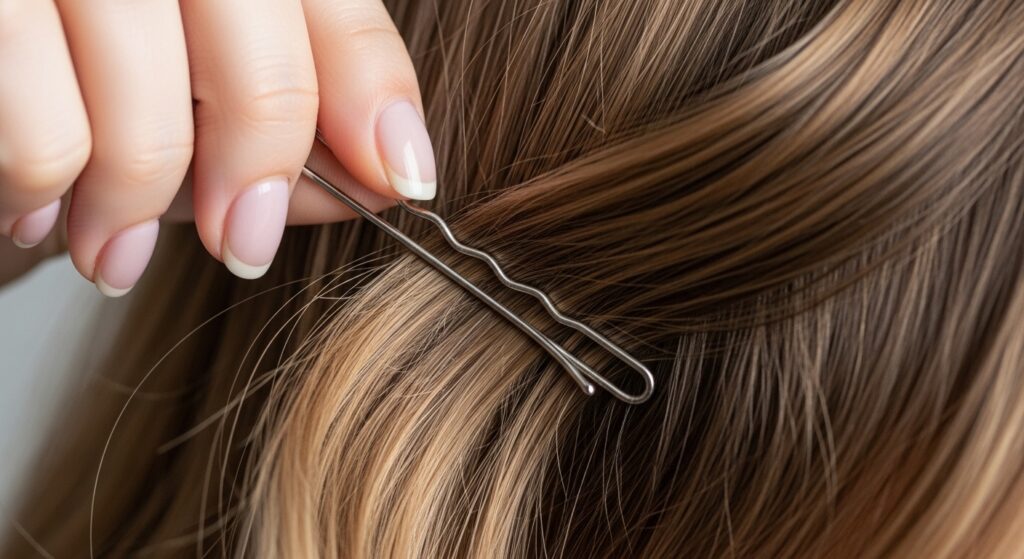
Foundational Techniques: The Pin Itself
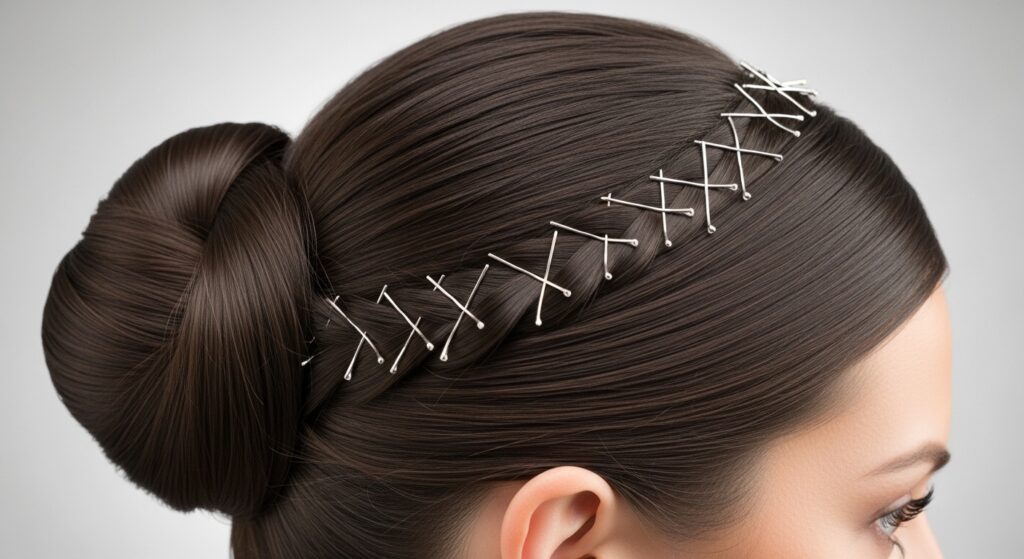
Mastering the bobby pin is step one. Did you know the wavy side goes down against your scalp for maximum grip? For most of these styles, criss-crossing pins (forming an “X”) over a section of hair will lock it in place far more securely than placing them parallel. And remember: sometimes, smaller pins offer more discreet and precise control than larger ones, especially for finer hair.
The Quick & Elegant: 5-Minute Pinned Updos
These styles are perfect for when you’re running late but need to look put-together.
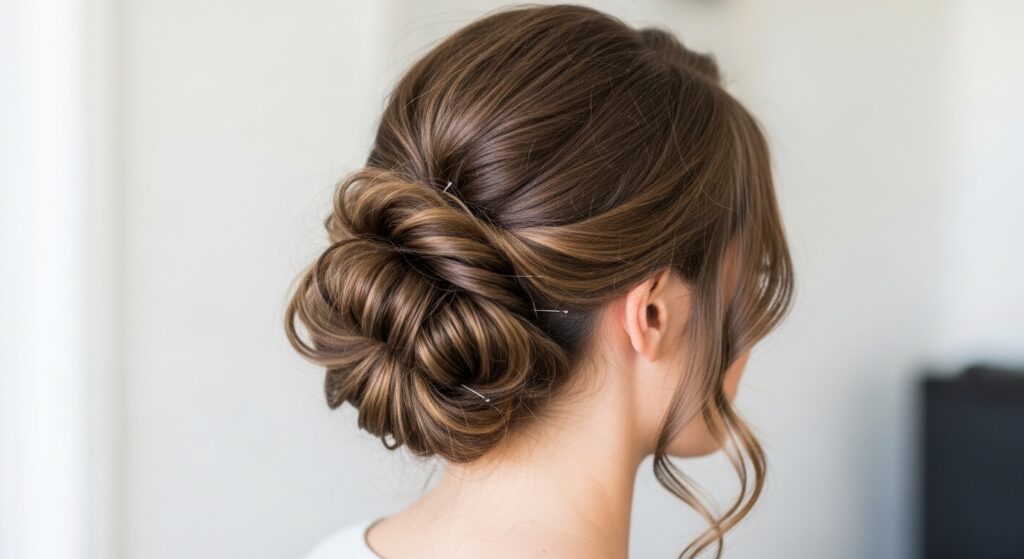
1. The Twisted Rope Bun: Gather a low ponytail, twist it tightly until it coils on itself, then wrap it into a bun. Use pins vertically through the coil’s rings to secure, tucking the end under.
2. The Hidden Braid Knot: Create a small, loose braid at your nape. Twist the remaining hair into a low knot and use the braid to wrap around and hide the knot’s base, pinning discreetly underneath.
3. The Half-Up Pinwheel: Take a section of hair from each temple, twist them back to meet at the crown, then twist them together and coil into a flat pinwheel, securing with pins radiating from the center.
4. The Tucked Ponytail: Make a mid-height ponytail but don’t pull the last inch through the elastic. Split the loop in half, fan it out, and tuck it upwards, pinning the base to the scalp for a chic, invisible ponytail.
Effortlessly Messy: The “Undone” Pinned Looks
This category celebrates texture and a little strategic looseness.
5. The Bubble Pinned Updo: Create a high ponytail. Place pins at random intervals down the length of the tail, then gently pull on sections between pins to create “bubbles.” Tuck the end under and pin.
6. The Twist-and-Tuck: Part hair deeply to one side. On the heavier side, take two sections, twist them loosely back and away from your face, and tuck the ends behind your ear, pinning from underneath. Let the other side fall freely.
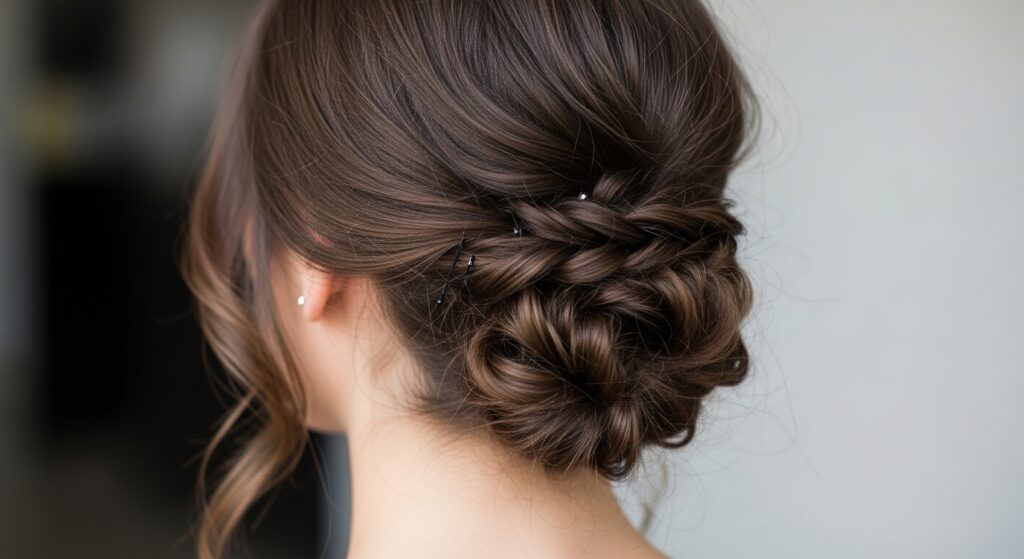
7. The Deconstructed Chignon: Gather hair at your nape as if for a low bun, but instead of making a clean twist, loosely fold the hair back and forth upon itself, pinning each fold at the scalp. Pull out face-framing pieces.
8. The Pinned-Back Curls (for Curly Hair): On dry, defined curls, simply gather the top half, lift it gently, and pin it back at the crown with decorative pins, allowing the curls to cascade down from the pin point.
Braided & Intricate: Pinned Styles with Detail
Braids add instant detail and help anchor the updo with their own structure.
9. The Braided Headband Updo: Create a Dutch braid along your hairline from one ear to the other. Gather all remaining hair (including the braid’s tail) into a low bun or twist, using the braid as a beautiful headband and pinning the bun as normal.
10. The Pin-and-Weave: Make a low, loose ponytail. Take a small section from underneath, twist it, and wrap it around the base, pinning. Repeat with 2-3 more sections, weaving and pinning for a intricate, bohemian look.
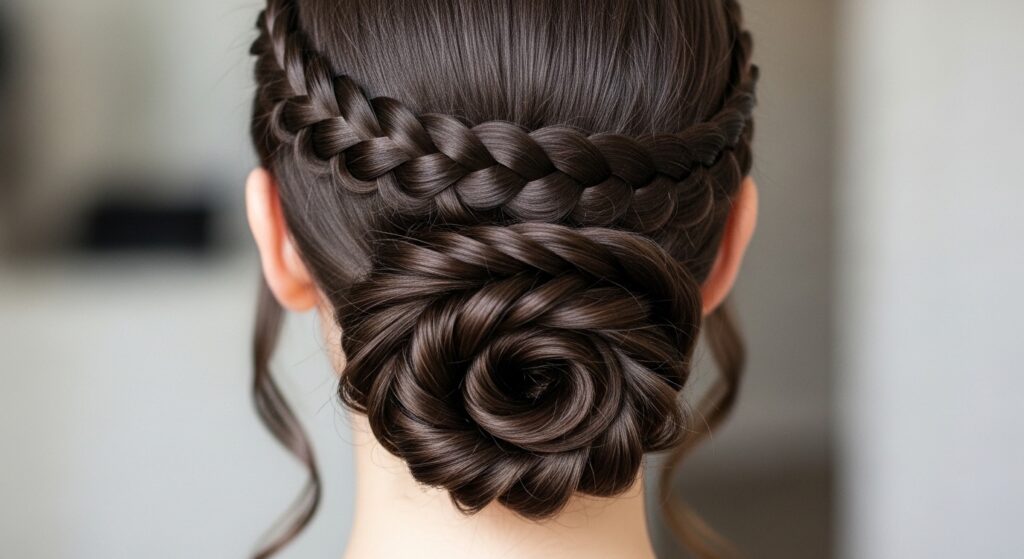
11. The Single Braid Wrap: A simple three-strand braid down your back can become an updo. Coil the braid into a bun at your nape, but instead of just pinning the end, pin the braided rope at several points along the coil to keep it flat and secure.
12. The Rope Braid Crown: Create two rope braids (twisted two-strand braids) on either side of your head. Bring them to the back like a crown, cross them, and tuck the ends under, pinning thoroughly along the braid paths.
Classic & Polished: Pinned Elegance for Events
These styles look complex but rely on clever pinning over product.
13. The Gibson Tuck Variation: Create a low ponytail. Flip the tail up and through the gap between the elastic and your scalp, but only halfway. Fan out the folded loop and tuck the ends under, pinning the entire folded structure flat against your head.
14. The French Twist (Modern Pin Method): Gather hair at the nape. Twist it upwards against your head. Instead of a comb, use a line of criss-crossed bobby pins along the folded seam from bottom to top to hold the twist in place.
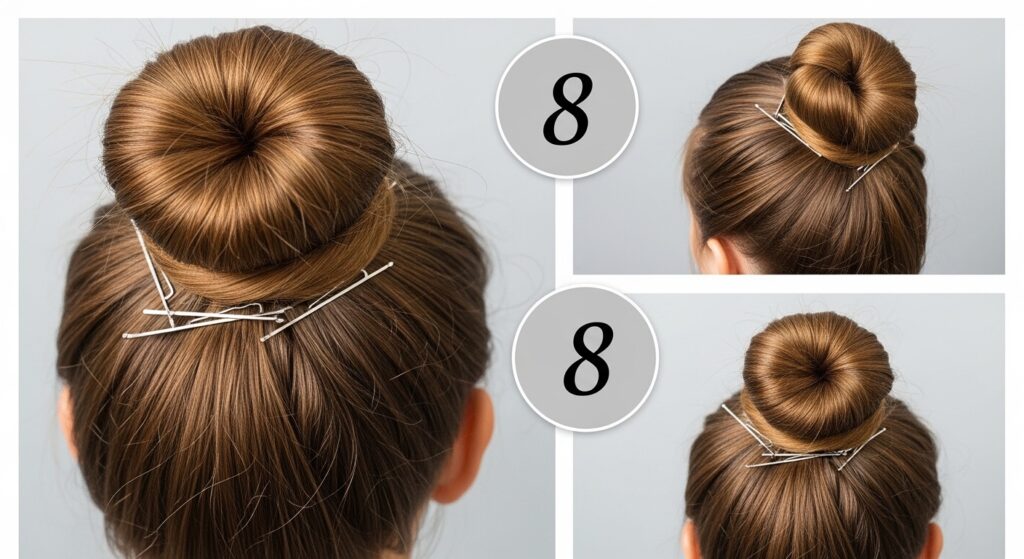
15. The Pinned Ballerina Bun: A classic donut bun can be made without the donut! Make a tight, high ponytail. Braid the tail, wrap it around the base in a flat circle, and pin through the braid into the base ponytail every inch. Tuck the end under.
16. The Asymmetric Fold: Gather all hair to one side at shoulder level. Twist once, then fold the length back up towards your head, creating a soft, asymmetric loop. Pin the base of the loop and the folded end securely near the scalp.
For Short to Medium Hair: Pinned Magic
Length is no barrier to a beautiful pinned style.
17. The Pinned-Back Pixie: Use small, flat pins to sweep longer sections of a pixie cut away from the face, pinning just above the ear or at the back of the crown for a sleek, retro look.
18. The Mini Twist Updo: On lob-length hair, create multiple small two-strand twists all over. Gather them collectively at the back or side into a small, textured bundle and pin the ends at the scalp for a chic, artistic updo.
19. The Fake Bob with Pins: Twist the ends of a medium-length bob under and pin them up and under at the nape of your neck. This creates a clean, tucked line that looks like a sharp bob from the front.
Pro Tips for Maximum Hold (Minimal Product)
To ensure your pinned masterpieces last all day without loading on spray, follow these final tips. Start on day-old hair for natural grip. Mist pins with a tiny bit of water or texturizing spray before inserting—this helps them grip better. Always pin into the direction of gravity, anchoring against the pull. Finally, for fine hair, backcomb the section at the root lightly before pinning; this creates instant volume and a rough surface for pins to hold onto.
Embracing the pinned updo is about celebrating simplicity and skill. These 19 methods prove that with a little practice and a handful of pins, you can create an endless array of beautiful styles that are kind to your hair and your routine. So put down the heavy products, pick up your pins, and start creating—your most elegant, effortless hair days are just a few strategic twists and tucks away.