20 Roller Set Methods That Rival Professional Blowouts
For decades, the roller set has been the best-kept secret of stylists for creating flawless, bouncy, and shiny hair. While the blowout gets all the glory, a meticulously executed roller set can deliver even longer-lasting, smoother, and more voluminous results. The best part? You can master this art at home. Forget expensive weekly salon trips. With the right technique, your hair can look and feel professionally styled, with a resilience that stands up to humidity and time. We’re unlocking the vault to reveal 20 roller set methods that will transform your routine and your hair.
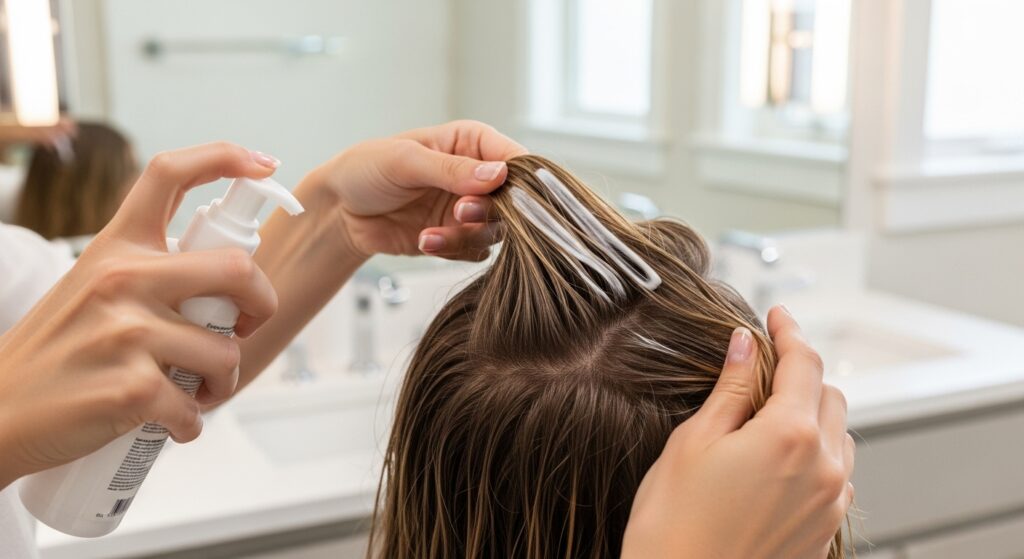
The Foundation: Preparing for a Perfect Set
Before you even pick up a roller, preparation is everything. Starting with clean, damp hair is non-negotiable. Use a clarifying shampoo once a month to remove product buildup that can weigh hair down. For your weekly wash, a moisturizing shampoo and conditioner suited to your hair type will create the ideal canvas. After washing, gently towel-dry to remove excess water—hair should be damp, not dripping. This is the time to apply your setting products. A light-hold mousse or setting lotion at the roots adds volume, while a smoothing cream or foam from mid-lengths to ends will combat frizz and enhance shine. Distribute the product evenly with a wide-tooth comb.
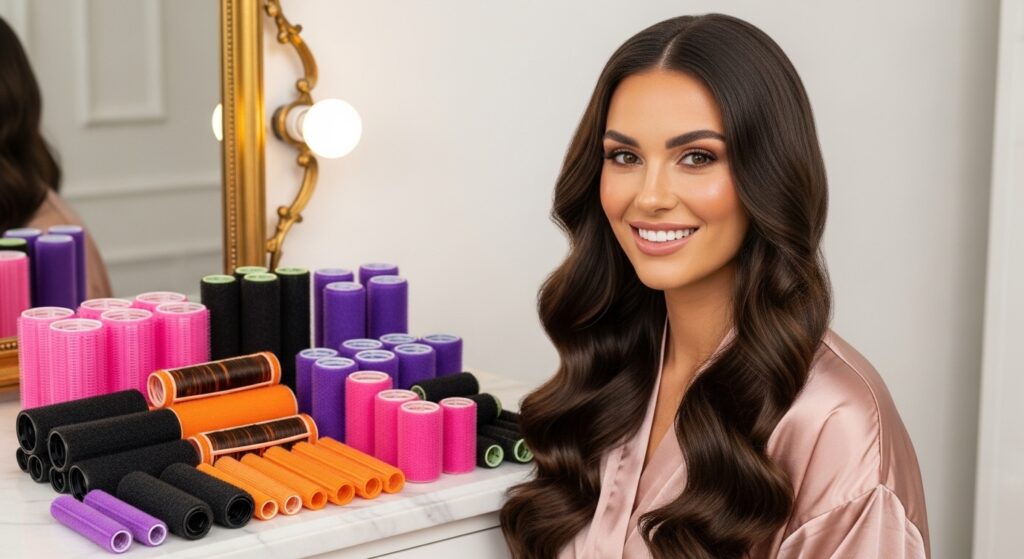
Choosing Your Weapon: A Guide to Roller Types
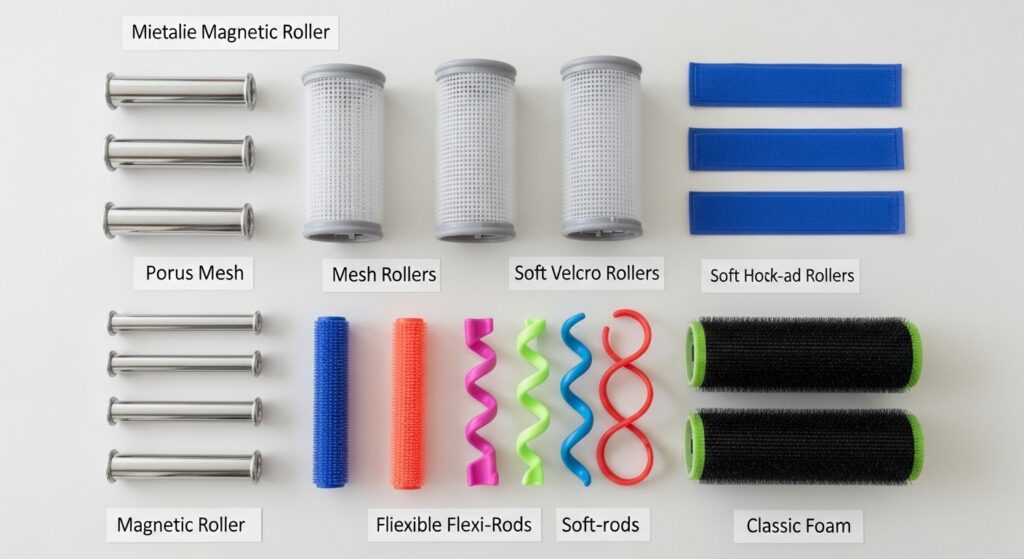
Not all rollers are created equal. Your choice dramatically affects your final look. Magnetic rollers are the classic professional choice, offering intense smoothness and tension for a sleek finish. Mesh rollers are fantastic for faster drying and a firm set. Velcro rollers are easy to use and great for adding volume without pins, but can tangle fine hair. Flexi-rods create beautiful, bouncy curls and waves rather than straight styles. Foam rollers are the gentlest option, perfect for overnight sets and creating loose waves. Having a variety in your arsenal allows you to customize your set.
The Core Techniques: 20 Methods for Flawless Hair
Now, let’s dive into the methods. Master these, and you’ll never look at a blow dryer the same way again.
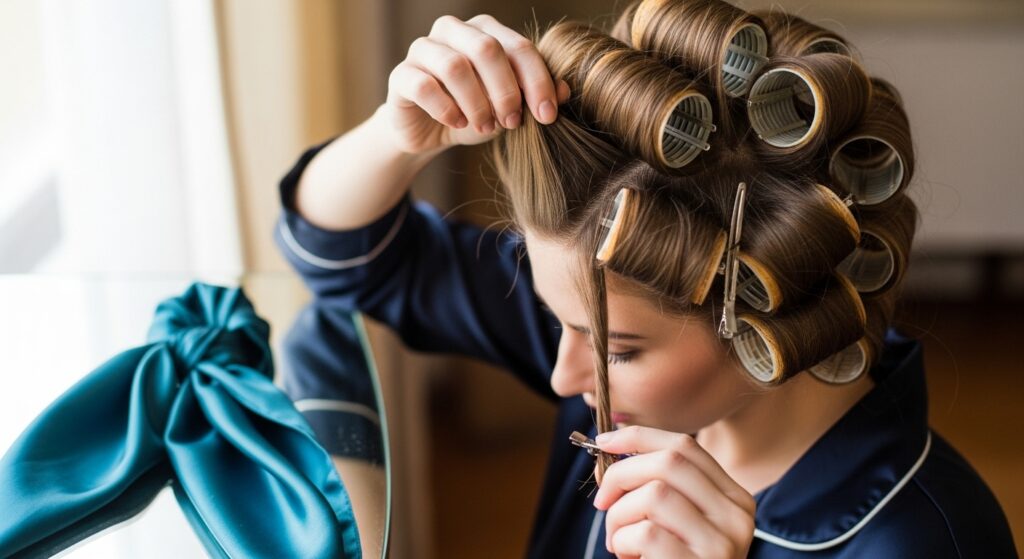
1. The Classic Base-to-End Wrap
This is the foundational method. Section hair neatly. Place the roller at the ends of the hair and roll smoothly down toward the scalp, ensuring the ends are neatly tucked. Secure. This gives a smooth, root-to-tip uniform curl.
2. The Root-First Volume Builder
For mega volume, start with the roller placed directly at the root. Roll the hair up and away from the face, keeping tension as you go. This lifts the root dramatically for a blowout-like lift.
3. The “Off-Base” Smoothing Technique
For a smoother crown with less lift, roll the hair so the roller sits just off the base of the section. This technique minimizes root volume while still curling the length, perfect for a sleek, polished look.
4. The “On-Base” Volume Bomb
The opposite of off-base. Here, the roller is placed directly on its base point on the scalp, and the hair is rolled under with maximum tension. This is your go-to for maximum, lasting height at the roots.
5. The Diagonal Forward Roll
Roll sections diagonally forward toward your face. This method creates a softer, more face-framing effect and beautiful movement, mimicking a stylist’s round-brush work around the face.
6. The Diagonal Backward Roll
Rolling diagonally backward away from the face creates volume at the back of the crown and a lifted look at the nape. It’s ideal for adding sophistication and shape to the back of your head.
7. The Cross-Winding Method
Instead of taking a straight section of hair, take a slightly diagonal section and roll it in the opposite diagonal direction. This advanced technique creates incredible root lift and eliminates part lines for seamless volume.
8. The Pin-Curl Set (For Ultra-Smooth Ends)
Use very small magnetic rollers and roll the hair under with extreme care, ensuring the ends are perfectly wrapped. This is the secret for getting those impossibly smooth, flick-free ends seen in vintage styles.
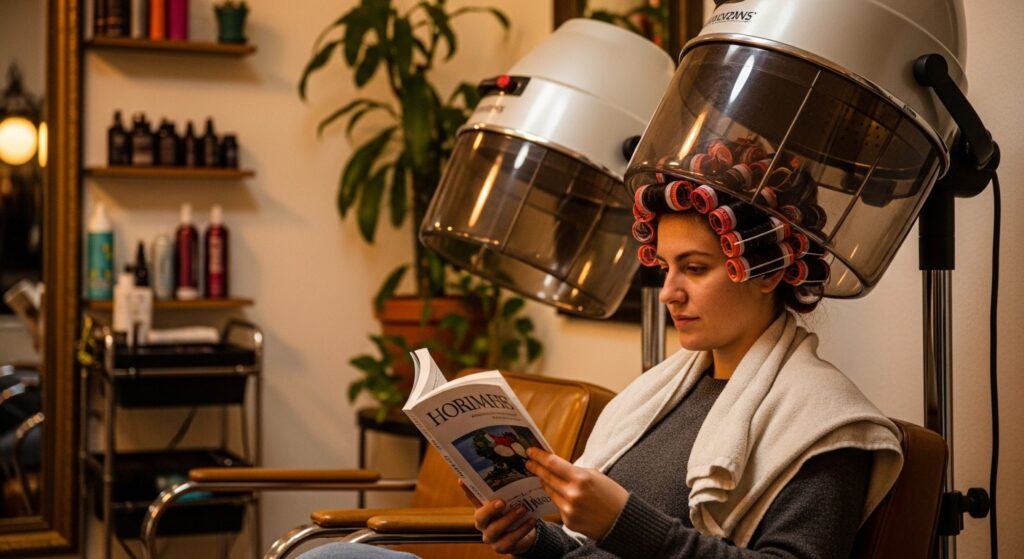
9. The Hybrid Drying Method
Roll your set as usual, then sit under a hooded dryer until your hair is about 90% dry. Let the rest air-dry completely. This prevents over-drying and keeps hair incredibly soft and shiny.
10. The Overnight Cold Set
Use foam or soft flexi-rods on damp hair with a light setting foam. Sleep on them (a satin bonnet helps!) and unravel in the morning for completely heat-free, lush waves and volume.
11. The Volumizing Crown Cluster
In the crown area, use smaller rollers than the rest of your head. Cluster 3-4 small rollers close together in a triangular pattern. This builds a powerful, concentrated lift that lasts all day.
12. The Tension-Free Waves (Flexi-Rod Method)
Wrap large sections of hair around flexi-rods from ends to roots without pulling tightly. The result is a soft, romantic, beachy wave with lots of body, not a defined curl.
13. The Directional Set for Movement
Roll the front sections of your hair forward and the back sections backward. When brushed out, this creates natural-looking movement and body, as if the hair has been expertly styled with a round brush.
14. The “Set and Stretch” for Length
Once your set is completely dry and cool, gently stretch each roller vertically before removing it. This elongates the curl, creating more length and a looser, flowing wave.
15. The Partial Set for Root Refresh
Short on time? Just set the top and crown layers with rollers. Let dry, brush out, and blend with the underneath hair. This instantly revives flat roots without re-styling all your hair.
16. The Roller Size Gradient
Use large rollers on the bottom layers of your hair, medium in the middle, and the smallest at the top. This creates natural volume that mimics the shape of a professional blowout—full on top, smoother underneath.
17. The Damp-to-Dry Blending Technique
Apply a heat protectant and use a blow dryer with a concentrator nozzle to gently dry the roots while the rollers are still in. This speeds up drying time while keeping the set smooth.
18. The Satin Wrap Finish
After removing rollers and brushing, wrap your hair smoothly around your head and secure with clips, covering with a satin scarf for 10-15 minutes. This sets the style, smoothes any flyaways, and creates a flawless silhouette.

19. The Teasing for Mega Volume
After brushing out your set, lightly tease the hair at the roots with a fine-tooth comb. Then, smooth the top layer over it. This adds insane, lasting volume that a blowout alone can’t achieve.
20. The Texture Spray Lock
Once styled, mist a light-hold texture or finishing spray all over, then scrunch the hair gently at the roots. This adds grit and memory, helping your roller set style last for days, not just hours.
The Art of the Take-Down & Final Brush-Out
Your set isn’t finished until you take it down correctly. Ensure hair is 100% cool and dry. Gently remove pins or clips, then slowly unroll each roller—don’t just pull it out. Once all rollers are out, use a wide-tooth comb or a paddle brush with natural bristles. Start brushing from the ends, working up to the roots to minimize breakage. Use a “brushing down” technique: lean forward and brush all hair toward the floor to encourage volume, then flip back up. Finish with a light mist of shine spray or a drop of serum on your palms, glossed over the surface.
Why a Roller Set Beats a Blowout Every Time
The benefits are undeniable. Roller sets cause significantly less heat damage than daily blow-drying and flat-ironing. The style lasts longer, often looking better on day two or three. It provides superior volume from the root, something blowouts can struggle to maintain. Furthermore, it trains your hair to hold a style, improving its texture and manageability over time. It’s a healthier, more sustainable path to beautiful hair.
Ready, Set, Roll!
Embracing the roller set is about embracing a timeless, effective technique for stunning hair. It may take a little longer than a quick blow-dry, but the payoff—in health, longevity, and show-stopping style—is incomparable. Start with one or two methods that match your desired look, practice, and soon you’ll have a repertoire of techniques that give you professional-quality hair on your own terms. Your journey to rivaling salon blowouts starts with your first perfect roll.