22 Twist Out Hairstyles Defined Curls Shrinkage Control Moisturizing Products Guide
Hey friend. Let’s talk about one of the most magical, yet sometimes frustrating, parts of having natural curls: the twist out. You put in all that work, let it dry, and then… surprise! Shrinkage. But what if I told you that with the right steps and products, you can get defined, elongated, and incredibly moisturized curls every single time?
This isn’t just about a basic style. It’s about creating a foundation for so many looks. Think of a perfect twist out as your secret weapon. It’s the starting point for everything from an elegant quiet luxury bob to those soft, romantic goth hairstyles we all love.
I’ve put together the ultimate guide, packed with 22 styles, real talk on shrinkage, and my holy-grail moisturizing products. This is everything I wish I knew when I started. Let’s get into it and transform your routine.
What Is A Twist Out, Really?
At its core, a twist out is a styling technique. You take sections of damp, product-loaded hair, twist them, let them dry completely, and then unravel them to reveal beautiful, defined waves and curls. It’s the opposite of a wash-and-go.
The magic happens in the twist. The pattern you create is the pattern you’ll get. Big, chunky twists give you loose waves. Small, mini-twists give you tighter, springier curls. It’s your most customizable tool.
The Non-Negotiable Prep Work
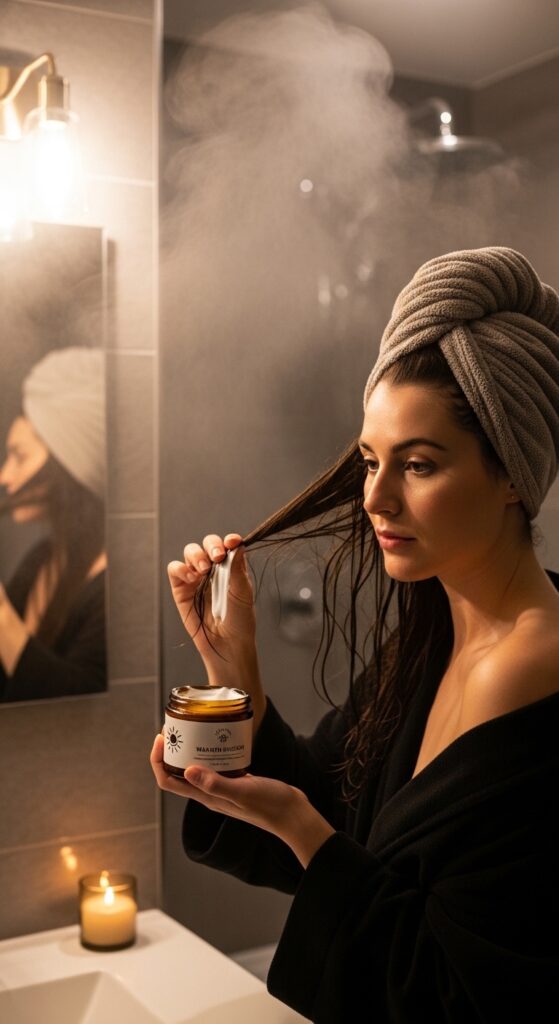
You can’t build a great twist out on a shaky foundation. It all starts in the shower. I always begin with a thorough cleanse to remove any product buildup. This lets your hair drink up moisture later.
Next, a deep conditioner is key. I leave mine on for at least 15 minutes under a warm towel. This step alone fights dryness and shrinkage before you even style. Your hair should feel like silk, not straw.

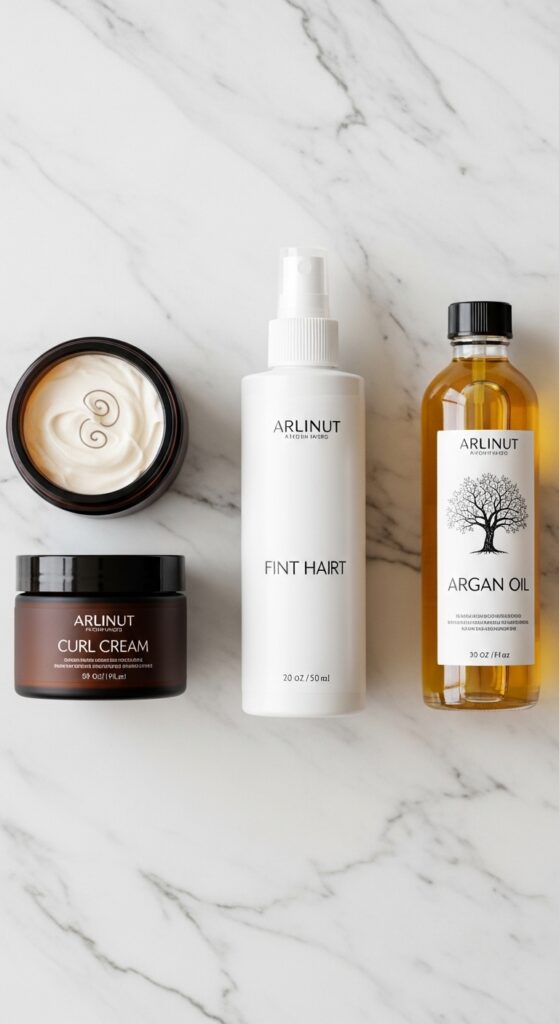
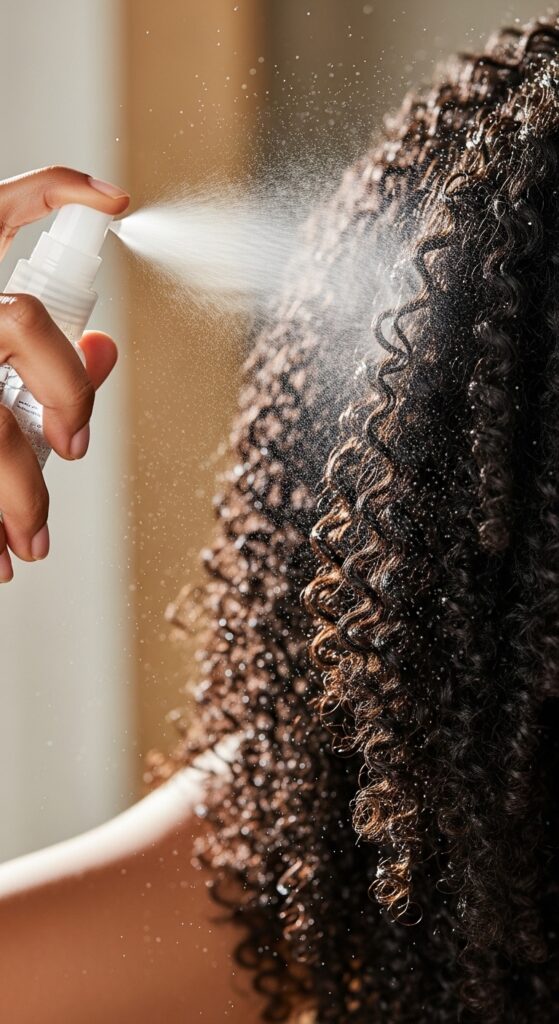
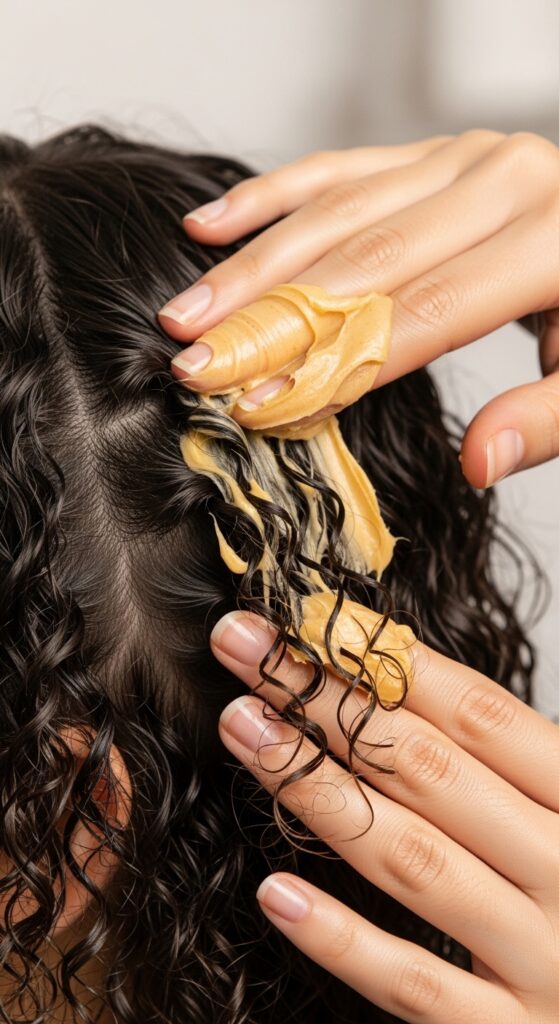
My Holy Grail Moisturizing Products
Product choice is everything. You need layers for lasting moisture. I follow the Liquid-Cream-Seal method religiously. It never fails me.
- Liquid: A leave-in conditioner or a light moisturizing spray.
- Cream: A thicker curl cream or butter for definition and hold.
- Seal: An oil or light gel to lock it all in and fight frizz.
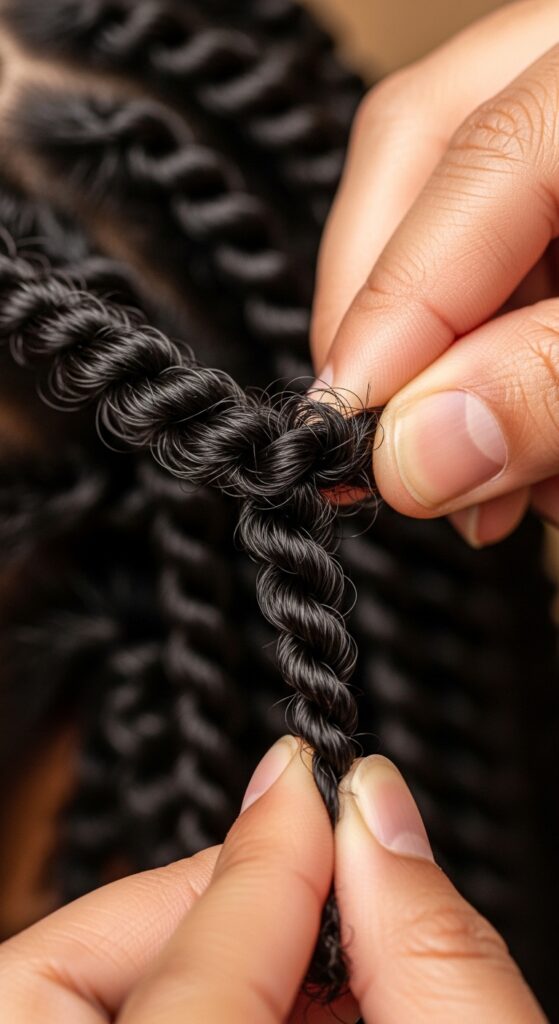
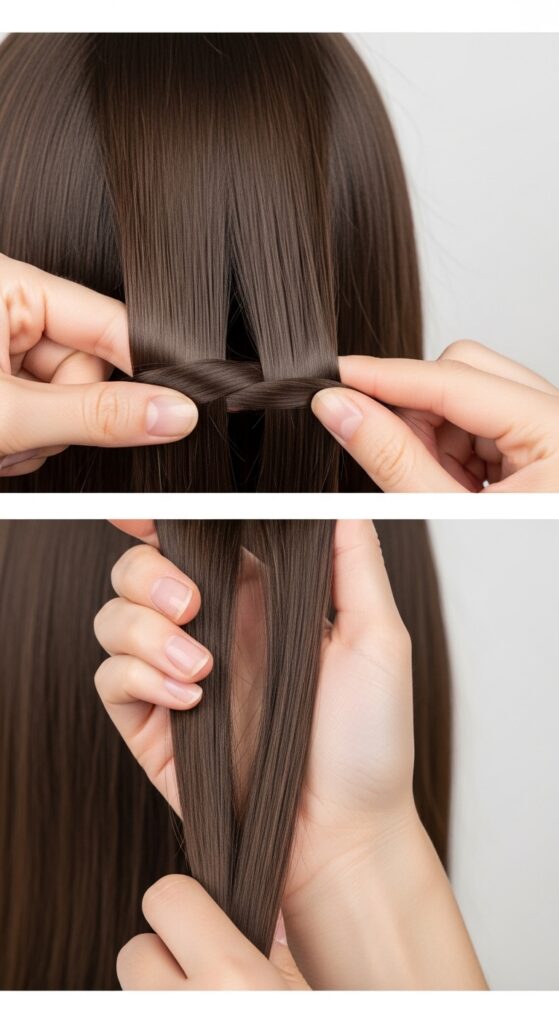
Step-by-Step: The Perfect Twist
- Start with hair that’s damp, not soaking wet.
- Take a small section and apply your liquid, cream, and sealant in that order.
- Using your fingers or a Denman brush, smooth the product through.
- Twist the section tightly from root to end. The tension is what fights shrinkage.
- Repeat until your whole head is done. Patience is your friend here.
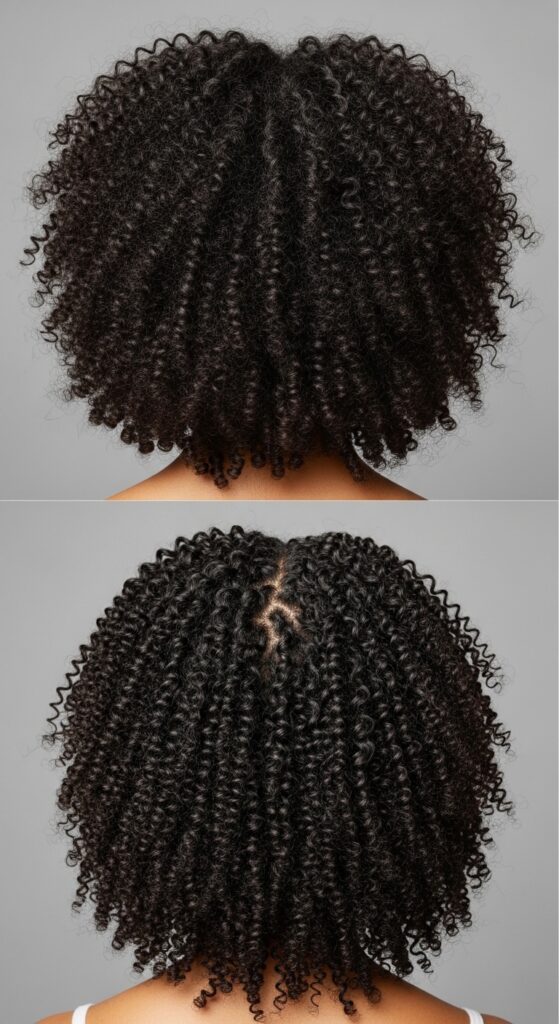
Conquering the Shrinkage Battle
Shrinkage is just a sign of healthy, elastic hair. But I get it, you want to see your length! The key is tension and weight while your hair dries. Make those twists snug. You can also try slightly stretching your twists as you pin them to your scalp.
Another trick? Don’t unravel until your hair is 100% dry. Damp hair will shrink up immediately. If you’re in a rush, use a hooded dryer on a low, cool setting.
22 Twist Out Styles You Have To Try
Your basic twist out is just the beginning. Once you master it, you can create so many of the 2026 hairstyles you’re already seeing. It’s all in how you set, part, and style it.
Think of this as your inspiration list. From timeless looks to trendy cuts, your twist out can be the base for it all. Let’s explore some of my favorites.

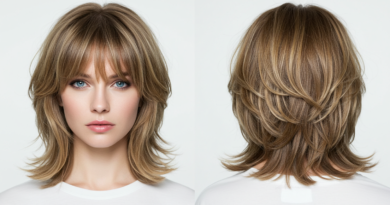
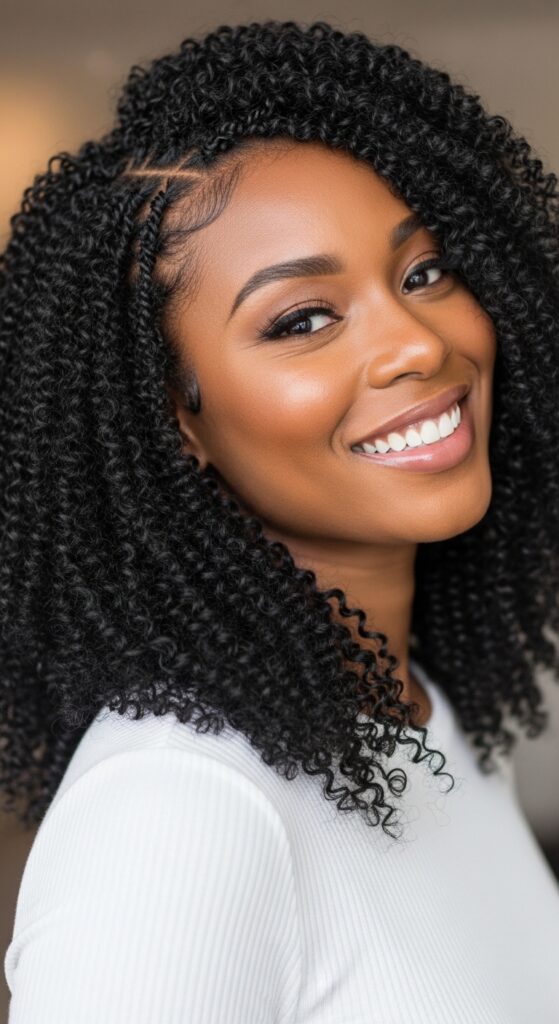
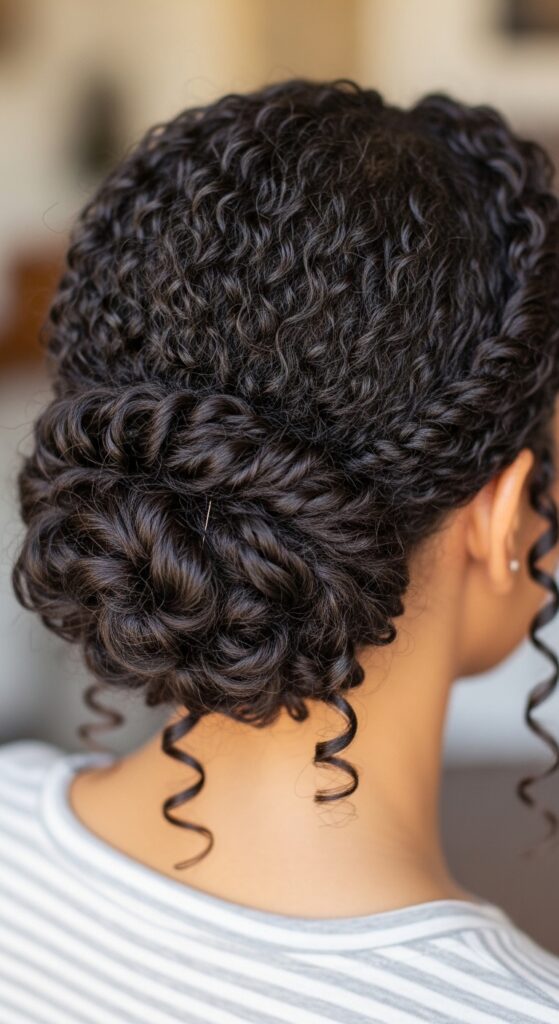
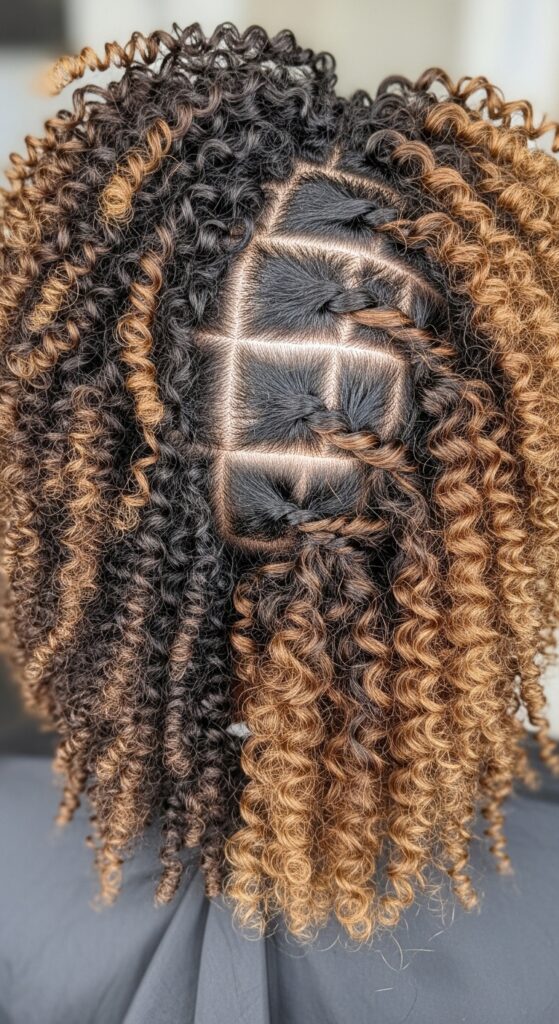
1. The Classic Defined Curl
This is your go-to. Medium-sized twists, a middle part, and flawless definition. It’s the effortless “I woke up like this” look that works for the office or a dinner date. It’s the foundation for every other style here.
For maximum definition, use a styling brush. And remember, less is more when you unravel. Gently separate the twists with your fingers, don’t pull them apart.
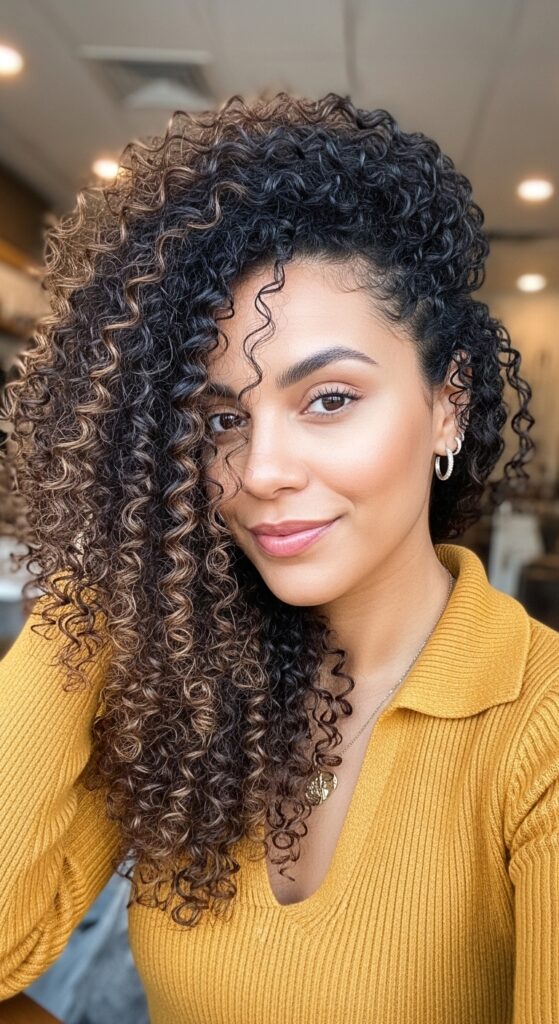
2. The Side-Swept Volume
Create a deep side part before you twist. This gives you instant volume and drama at the roots. When you take the twists down, use a pick to gently lift the roots on the heavier side for that glamorous, full effect.
This style has major old money hair vibes—polished, luxurious, and impossibly chic. It looks amazing with statement earrings.
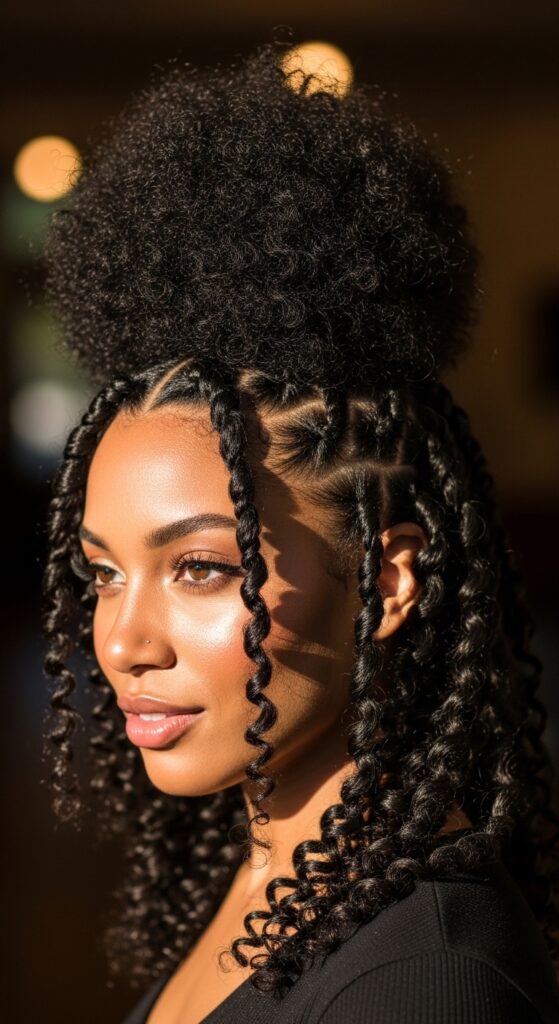
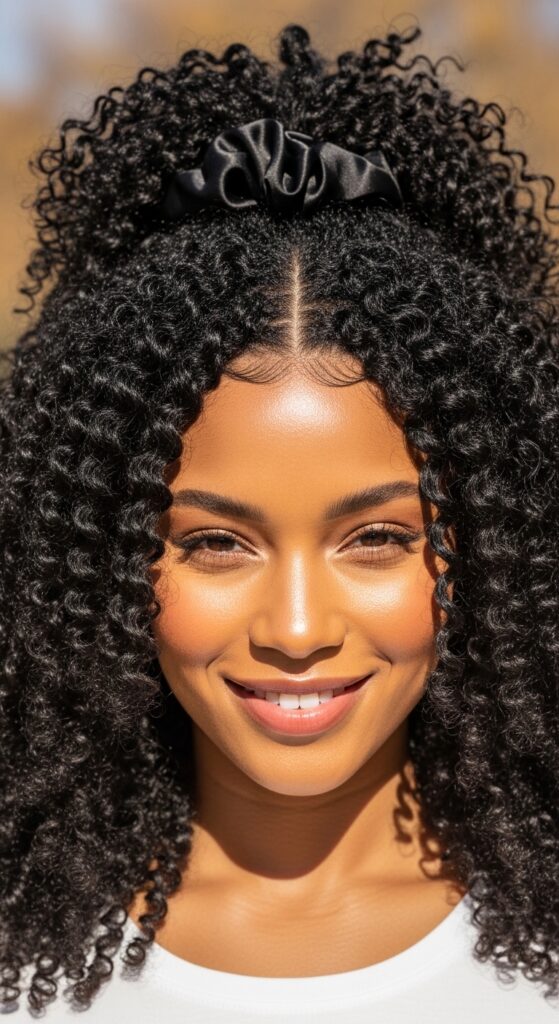
3. The High Puff
Twist the front and sides of your hair as normal, but gather the top section into a high ponytail before twisting. Once dry, unravel the front and sides, but leave the puff twisted or just fluff it out.
It’s playful, it’s cute, and it keeps hair off your neck. This is my ultimate summer survival style.
4. The Elegant Updo
Do a full twist out. Once unraveled, gather your hair into a low, loose bun or a chic twist. The defined texture makes the updo look intentional and sophisticated, not like you just threw it up.
This is perfect for weddings or any event where you want to look put together without trying too hard. It screams quiet luxury bob energy, but in an updo.
5. The Half-Up, Half-Down
This is such a flattering look. After your twist out, simply gather the top half of your hair and secure it with a cute clip or scrunchie. It shows off your curl definition while keeping hair out of your face.
It’s youthful, romantic, and works for literally any occasion. You can make it sleek or messy and bohemian.
6. The Tucked-Bob Illusion
If you have longer hair, you can create the look of a chic bob. Do your twist out, then gently tuck the ends under behind your ears. It gives a beautiful, rounded shape that feels very modern and polished.
This is a fantastic way to play with the asymmetrical lob trend without cutting a single inch. It’s all about the strategic tuck.
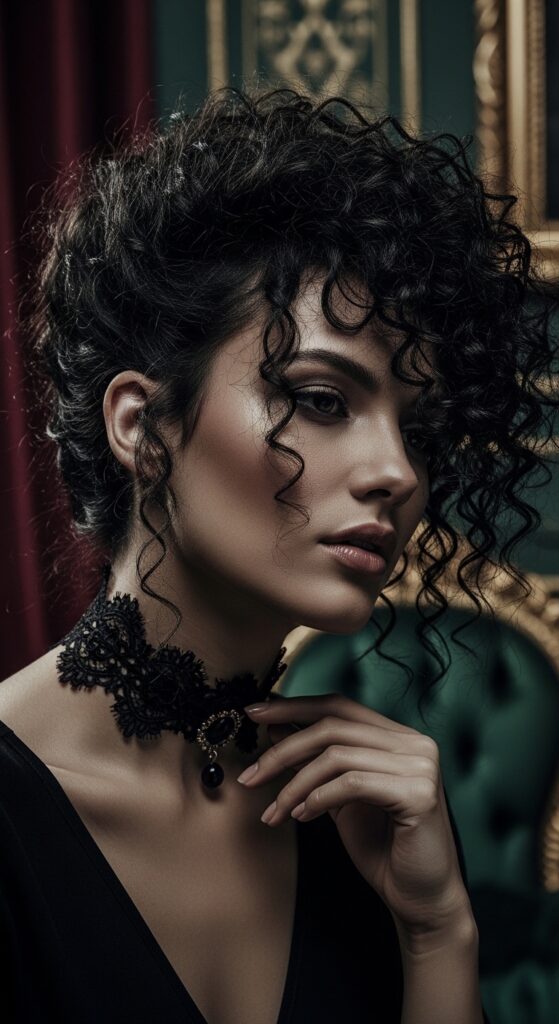
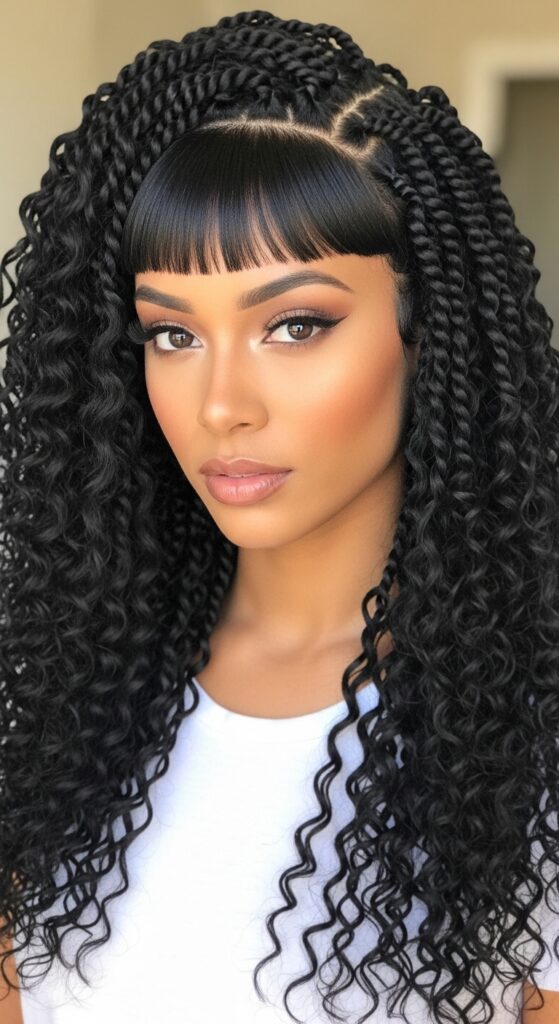
7. The Romantic Goth Base
Twist outs are the perfect texture for romantic goth hairstyles. Think deep, dark hair with intense definition. Add some face-framing pieces or braid a small section in the front before twisting for that ethereal, Victorian vibe.
It’s soft, it’s dramatic, and it’s far more wearable than you might think. Perfect for a concert or a moody photoshoot.
8. The Glitchy Glam Texture
Glitchy glam hair is all about imperfect, textured perfection. For this, don’t twist your whole head. Leave a few sections out to wear as a wash-and-go. When you combine the defined twist out curls with the frizzier, free-form sections, you get that cool, “glitched” effect.
It’s artistic, bold, and perfect for the fashion-forward friend.
9. The Hime Cut Framing
The hime cut is all about dramatic, face-framing layers. You can mimic this with your twist out. Focus on creating extra-defined, springy twists just in the front sections of your hair. Keep the back slightly more stretched or in bigger twists for contrast.
When you unravel, you’ll have that beautiful, framed look without the commitment of the cut.
10. The Vampire Haircut Texture
The vampire haircut is shaggy, textured, and a little undone. A twist out is the BEST way to achieve this on curly hair. The varying twist sizes create different curl patterns, giving you that perfectly imperfect, layered look.
Add a deep side part and some dry shampoo at the roots for that piece-y, lived-in texture. It’s effortlessly cool.
11. The Pineapple for Second-Day Hair
Preserve your twist out at night! The classic “pineapple” (a loose, high ponytail on top of your head) is your best friend. Use a silk scrunchie to prevent breakage. In the morning, just shake it out and go.
Day-two hair is often even better—the curls settle and get a softer, more lived-in wave. It saves you so much time.

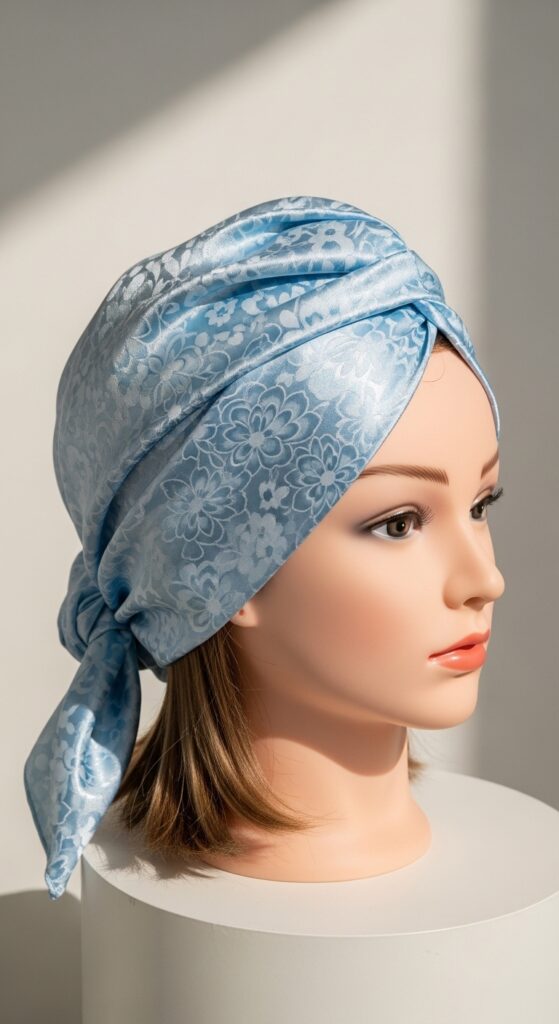
12. The Silk Scarf Method
If the pineapple doesn’t work for you, try the silk scarf. Before bed, loosely tie a silk scarf around your head, covering all your hair. It minimizes friction and keeps your style intact.
This method is fantastic for maintaining volume at the crown while protecting those precious ends. You’ll wake up with almost no frizz.
13. The Refresh, Not Redo
Don’t start over on day two or three! Mix a little leave-in conditioner with water in a spray bottle. Lightly mist your hair, then use your hands to smooth and reshape any frizzy sections.
You can even add a tiny bit of cream to your palms and glaze it over the hair. This revives your curls without weighing them down.
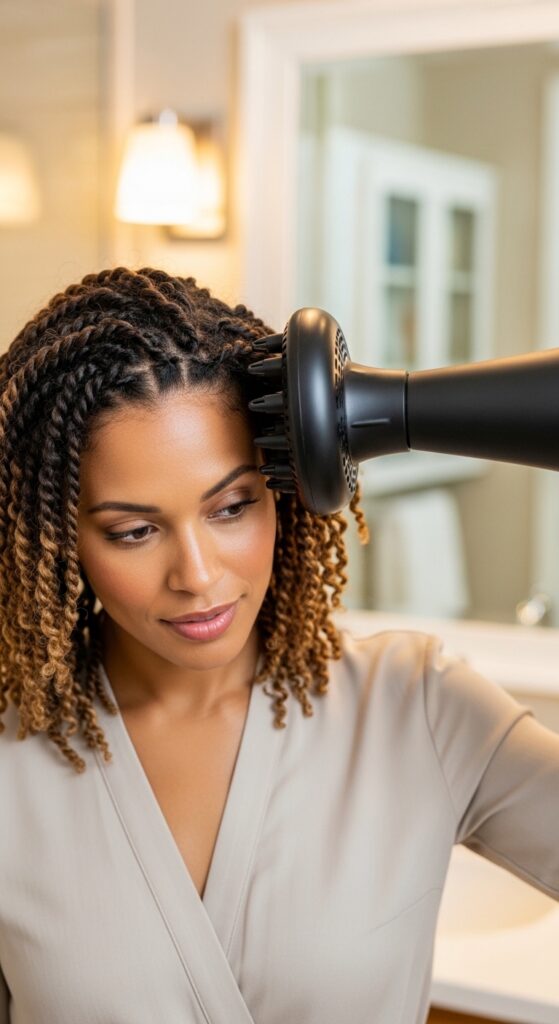
14. When to Use a Diffuser
Air-drying is great, but a diffuser is a shrinkage-control superhero. Use it on low heat and low speed. “Pixie diffuse” by cupping sections of your twists into the bowl and holding them up towards your scalp.
This adds volume at the root and helps set the shape faster. It cuts drying time in half and gives incredible longevity to your style.
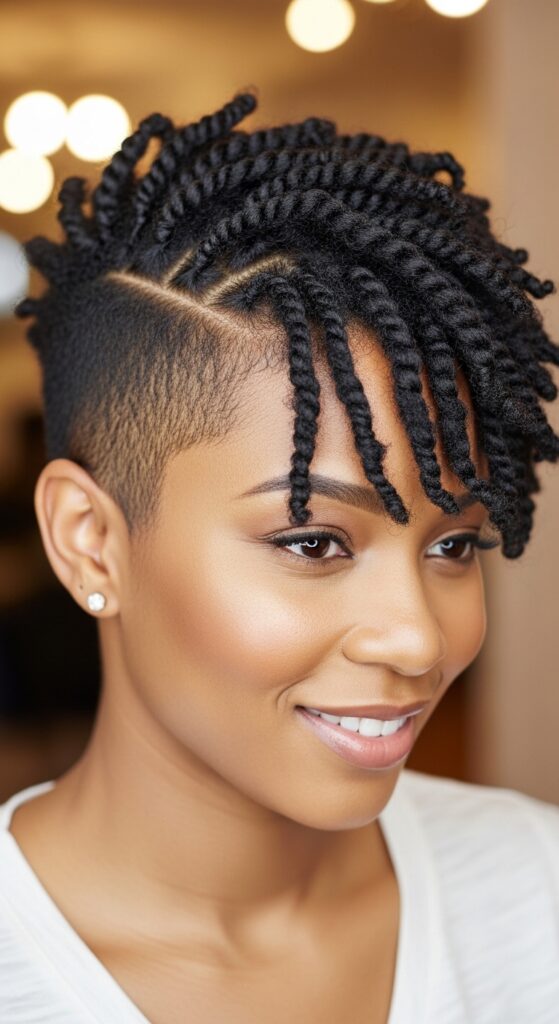
15. The Big Chop Regimen
If you’re newly natural or have a TWA, twist outs are still for you! Use very small twists for maximum definition on shorter hair. The process is the same, but your styling options are different—think cute hair accessories and bold earrings.
Embrace the shrinkage; it’s a sign of healthy curls. Play with patterns and have fun with it.
16. For Low Porosity Hair
If your hair repels water, you need warmth and lighter products. Apply your leave-in to WARM, damp hair to help the cuticle open. Use water-based creams and avoid heavy butters that will just sit on top.
Deep condition with heat. These small changes help your hair absorb the moisture it needs for a juicy, non-greasy twist out.
17. For High Porosity Hair
Your hair drinks moisture quickly but loses it just as fast. You need heavier sealants. After your cream, use a butter or a thicker oil to really lock everything in. Don’t skip the deep conditioning step.
Your twists might dry faster, but make sure they’re 100% dry before taking them down to prevent frizz.
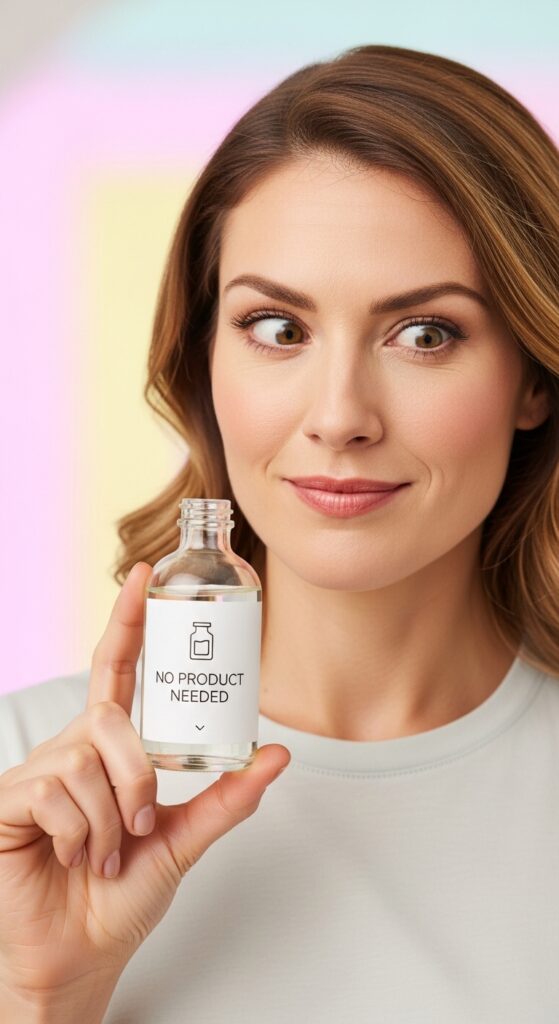
18. The “No-Product” Myth
Let’s be real: a great twist out needs product. The idea of a “no-product” natural hairstyle often leads to frizz and dryness. Product is your friend! It’s the tool that gives you definition, moisture, and hold.
Find products that work for your hair type. It makes all the difference between a good hair day and a great one.
19. Common Mistakes to Avoid
- Twisting soaking wet hair: It takes forever to dry and can cause mildew.
- Using too much product: This leads to flaking and weighed-down curls.
- Unraveling before hair is dry: This is the #1 cause of frizz and shrinkage.
- Not detangling: Start on detangled hair for smooth, defined twists.
20. Your Quick-Start Checklist
- Cleanse and deep condition.
- Apply leave-in conditioner to damp hair.
- Section hair into four parts.
- Apply curl cream and sealant to each small section.
- Twist from root to end with tension.
- Let dry COMPLETELY (air dry or diffuse).
- Gently unravel and separate.
- Fluff at the roots for volume.
So there you have it, my complete roadmap to twist out success. This isn’t about achieving someone else’s perfect curl pattern. It’s about learning what your unique hair loves and giving it exactly that. The process might feel long at first, but trust me, it becomes a relaxing ritual.
Remember, every “failed” twist out teaches you something. Maybe your hair needed more water in the product, or less gel, or a longer drying time. Be patient with yourself. Your best hair is on the other side of that patience.
I want to see your creations! Which of these 22 styles are you trying first? Did you find a new product combo that changed the game? Spill all your secrets in the comments below—let’s learn from each other.
Save this post to Pinterest so you always have this guide handy for your next wash day. Just hit that “Pin it” button! And tell me, what’s your biggest twist out challenge? I’m here to help.