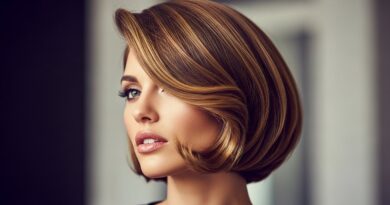
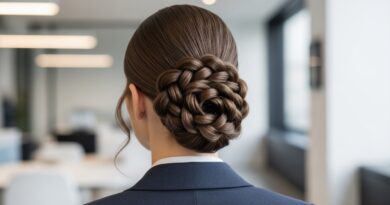
24 Beachy Wave Hairstyles Effortless Texture Salt Spray Summer Essentials
Okay, let’s be real. We all want that perfect, just-got-out-of-the-ocean wave, but achieving it can feel like a mystery. You know the look—effortless, touchable, full of texture, and somehow both undone and incredibly chic. It’s the ultimate summer hair goal.
But between humidity, product overload, and just not knowing where to start, it can feel out of reach. That’s where this guide comes in. I’ve spent years (and countless bottles of salt spray) figuring this out.
This isn’t about one perfect wave. It’s about 24 different ways to get that beachy texture, no matter your hair length or style. Think of this as your ultimate, no-fluff playbook for effortless texture all season long.
I’m breaking down the exact steps, the best tools, and the simple secrets to make it happen. Let’s dive in and get you that perfect, lived-in wave.
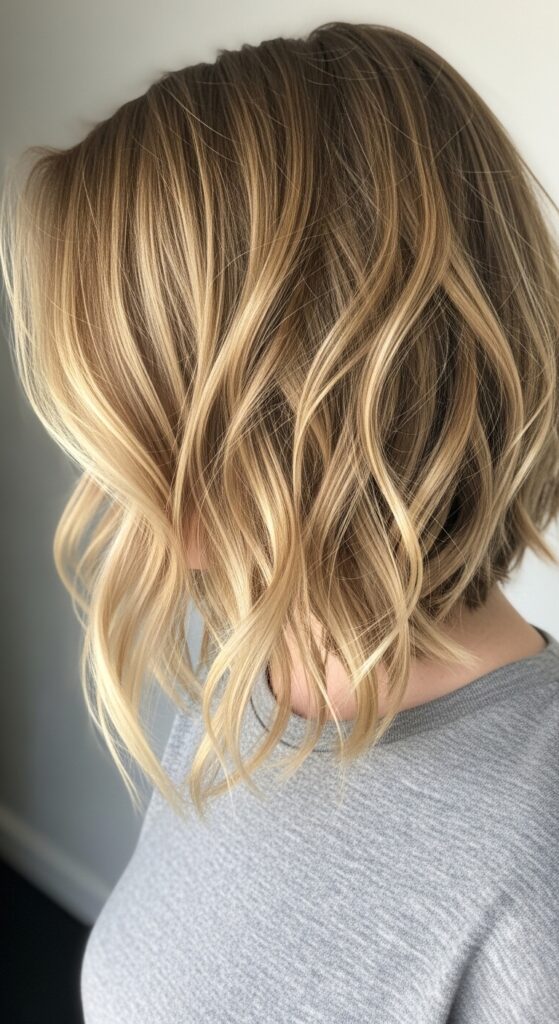
1. The Classic Salt Spray Method
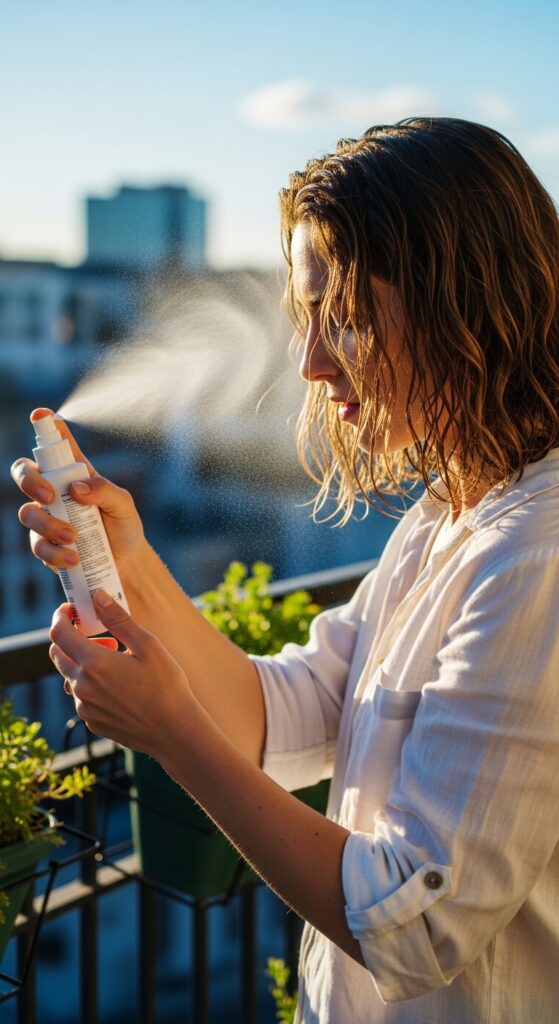
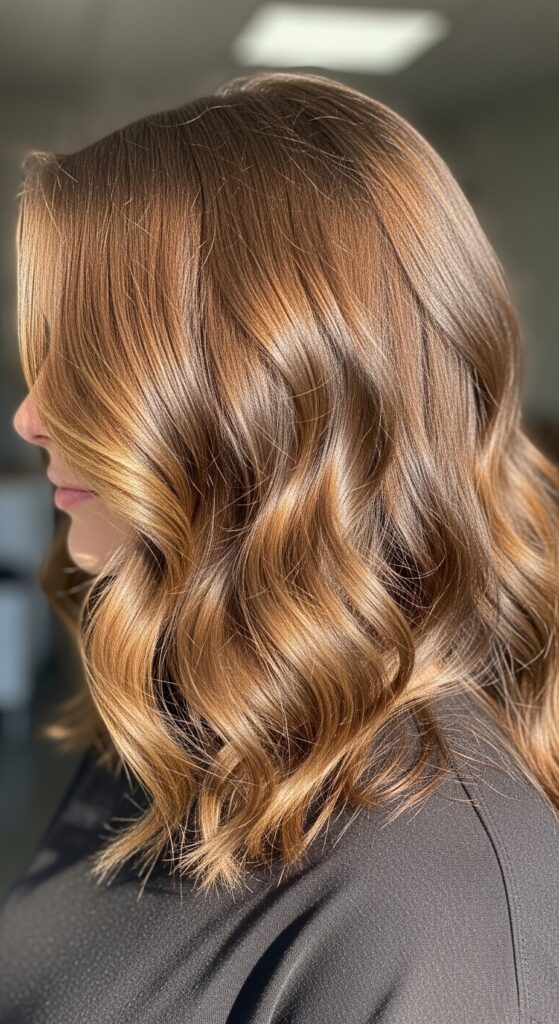
This is where it all begins. A good salt spray is your number one summer essential. It creates that perfect foundation of grit and texture that makes waves hold and look natural.
The trick is all in the application. Start with towel-dried hair that’s about 70% dry. Spray it in sections, focusing on your mid-lengths and ends. Don’t soak your roots!
- Shake the bottle well before each use.
- Flip your head upside down and spray for extra volume.
- Let your hair air dry or use a diffuser for more definition.
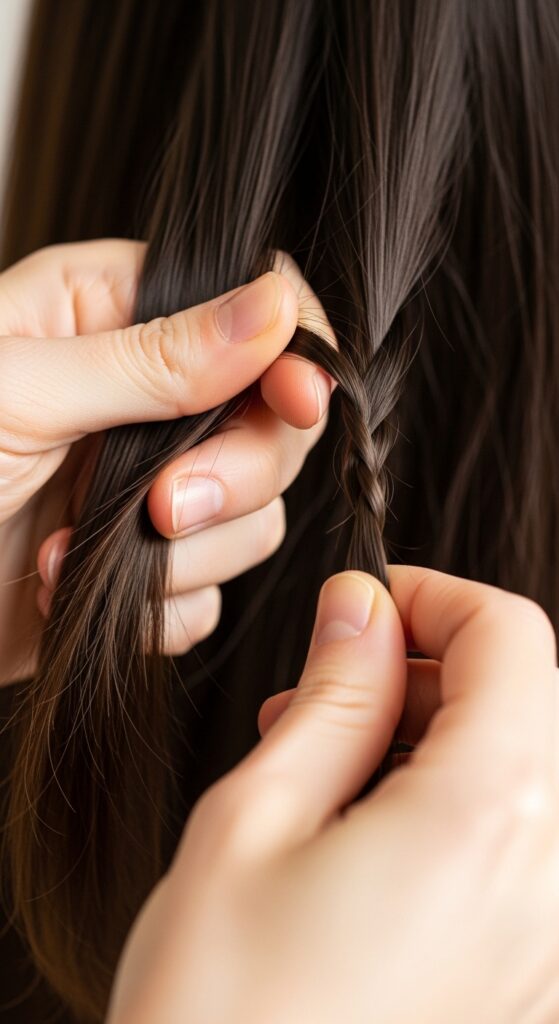
2. Overnight Braids for No-Heat Waves
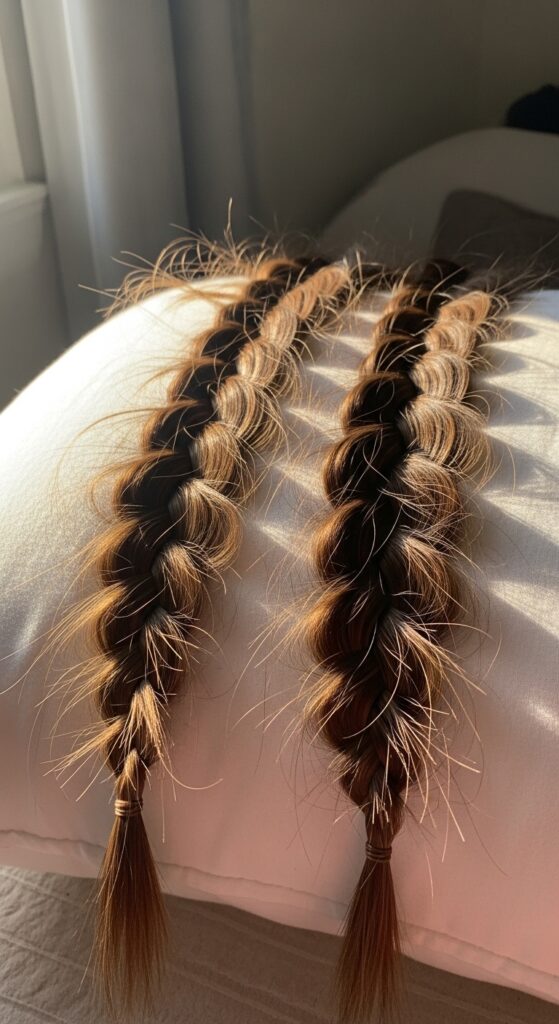
If you avoid heat styling, this is your best friend. It’s the ultimate lazy-girl method for perfect beachy waves. The smaller the braids, the tighter the wave; bigger braids give you a looser, more relaxed texture.
Do this on damp hair after applying a light texturizing spray. It helps set the wave and reduces frizz. You’ll wake up, unravel, and just shake out your hair with your fingers.
- Apply a light mousse or salt spray to damp hair.
- Create 4-6 loose braids (or more for finer hair).
- Sleep on it! Unravel gently in the morning.
3. The Diffuser Attachment Hack
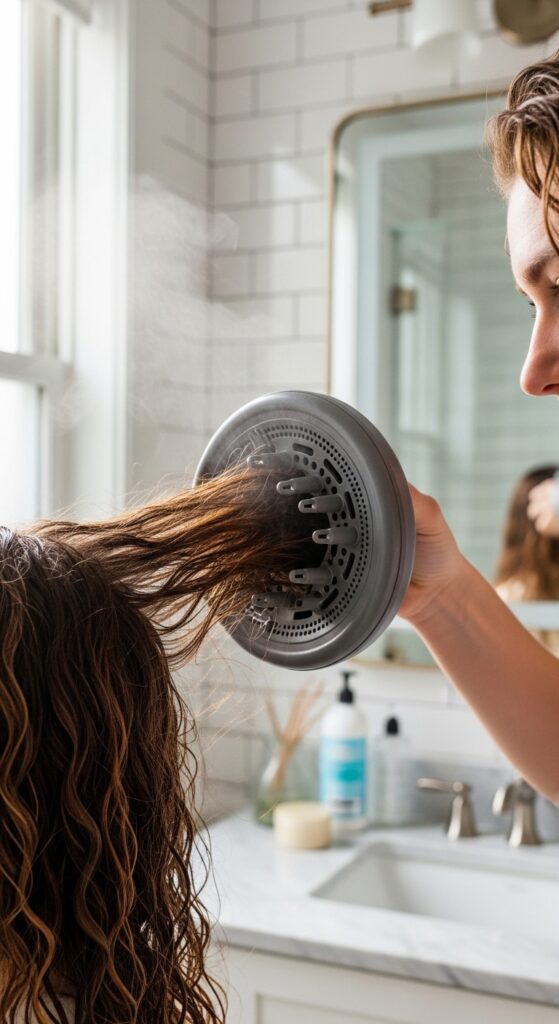
If you have naturally wavy or curly hair, a diffuser is non-negotiable. It protects your curl pattern while amplifying your natural texture into those perfect beachy waves. It’s all about technique, not time.
Don’t just scrunch wildly. Place sections of hair into the diffuser cup, hold it against your scalp, and let it dry on a low heat and speed setting. This builds volume and definition without the frizz.
4. Twists for a Softer Wave
For a wave that’s more romantic and less “crunchy,” try twisting. This method gives you a softer, more undone version of the braid wave. It’s perfect for achieving that quiet luxury bob texture with minimal effort.
Simply take two-inch sections of damp hair, twist them away from your face, and then loosely pin them up. Let them dry completely or use your diffuser on the pinned twists. Release for gorgeous, soft waves.
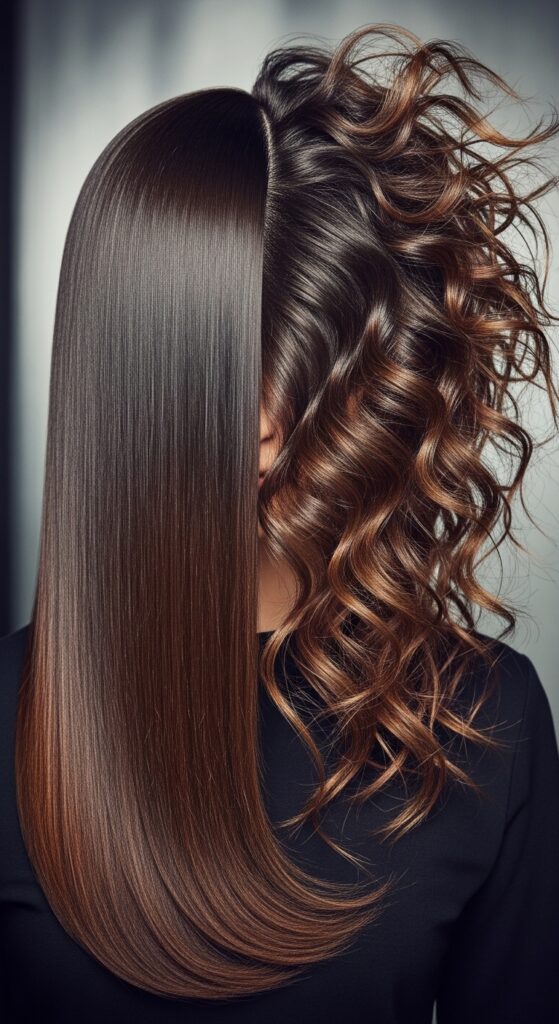
5. The Flat Iron Wave (It’s Easier Than You Think)

Don’t be scared of the flat iron for waves! With the right motion, it creates the most beautiful, uniform beachy texture. The key is to move in a slow, continuous “C” shape, not a sharp angle.
Use a heat protectant! Take one-inch sections. Clamp the iron near the roots, then rotate it away from your face in a smooth, curling motion as you slide it down the hair shaft.
6. Beachy Texture on a Blunt Bob
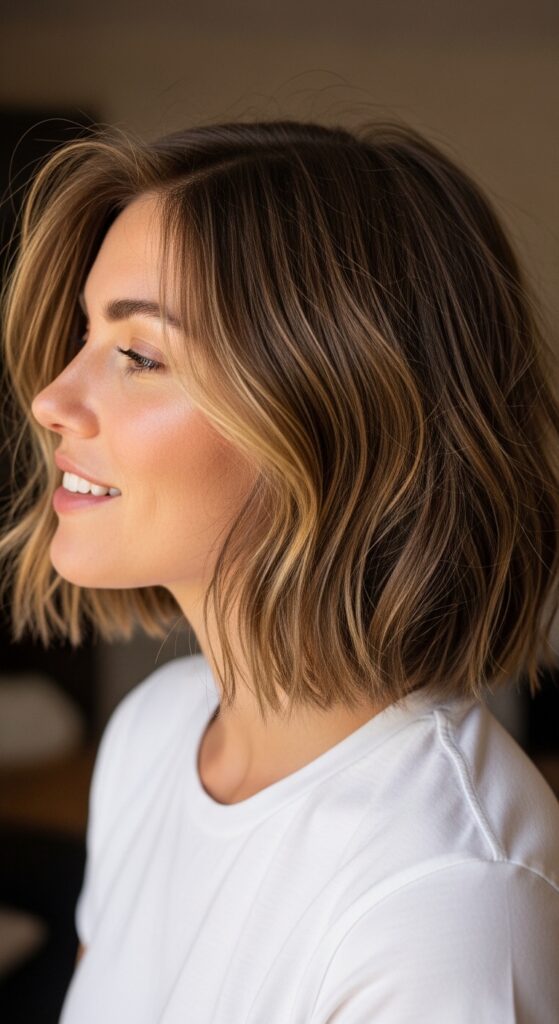
A blunt cut doesn’t have to be sleek. Adding beachy waves gives it a cool, modern edge. This look is a huge trend for 2026 hairstyles, moving away from perfection.
Focus on creating piece-y texture. Use a one-inch curling wand and only curl random sections, alternating the direction. Then, run your fingers through it and break it up with a texturizing paste for separation.
7. Mermaid Waves on Long Hair
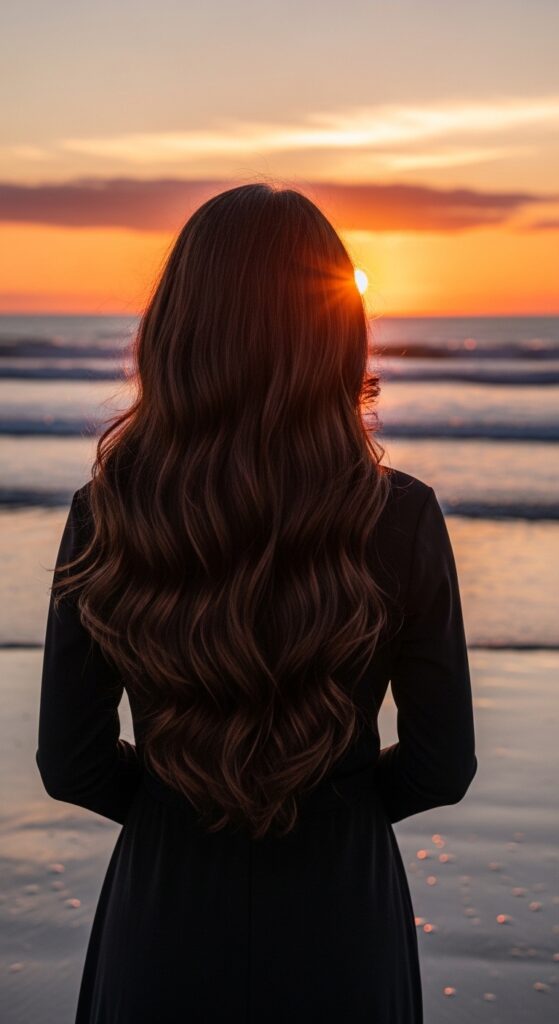
This is the ultimate fantasy wave. For super long hair, you need a larger barrel—1.5 inches or more. The goal is a deep, rolling wave, not a springy curl. It feels very old money hair: timeless and elegant.
Start curling from mid-length down, leaving the roots straight for a modern feel. After curling, brush through the waves gently with a wide-tooth comb to blend them into a seamless, wavy flow.
8. The “I Woke Up Like This” Pixie
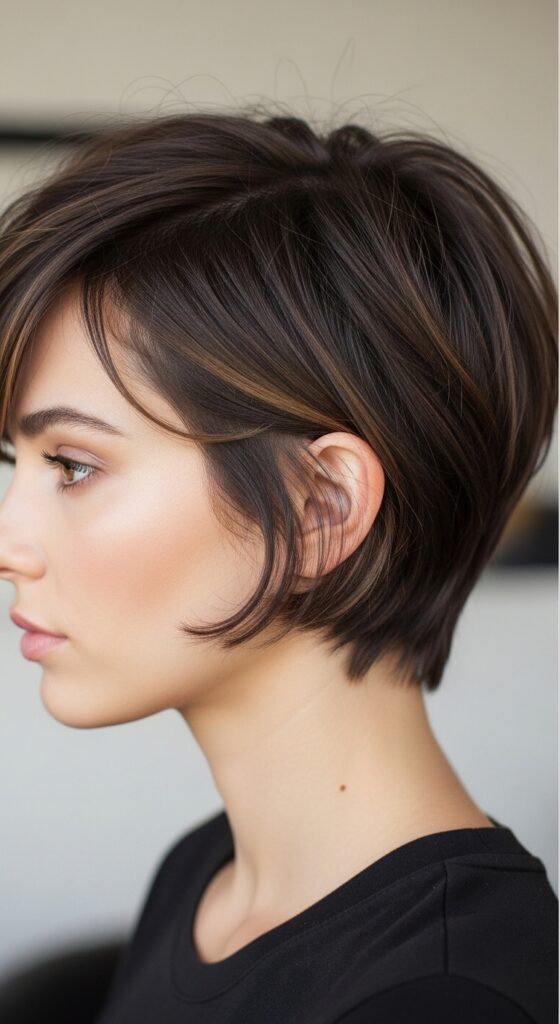
Short hair can have beachy texture too! It’s all about creating separation and a piece-y, touchable finish. This works amazingly on grown-out pixies and short bobs.
Use a strong-hold matte paste or pomade. Rub a tiny amount between your palms and then pinch and twist random sections of your hair, focusing on the ends. This creates the illusion of natural, wavy texture.
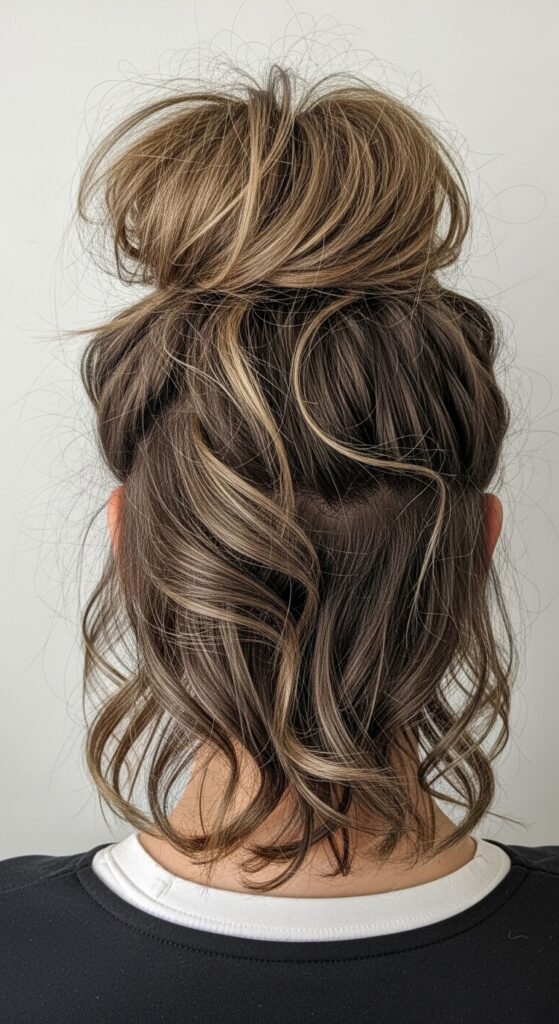
9. Half-Up, Half-Wavy
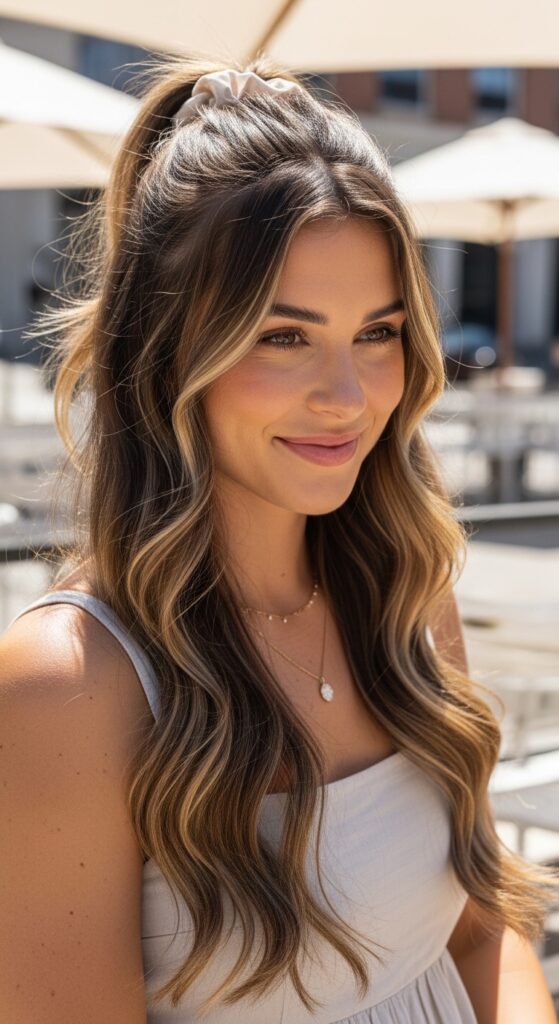
This is my go-to for second or third-day hair. It keeps hair off your face while showing off your beautiful texture. It’s practical, pretty, and takes two minutes.
Create your waves first. Then, simply take a front section from each side, twist them lightly, and join them at the back of your crown with a clip. Gently pull the style looser for that effortless feel.
10. Waves with a Boho Headscarf
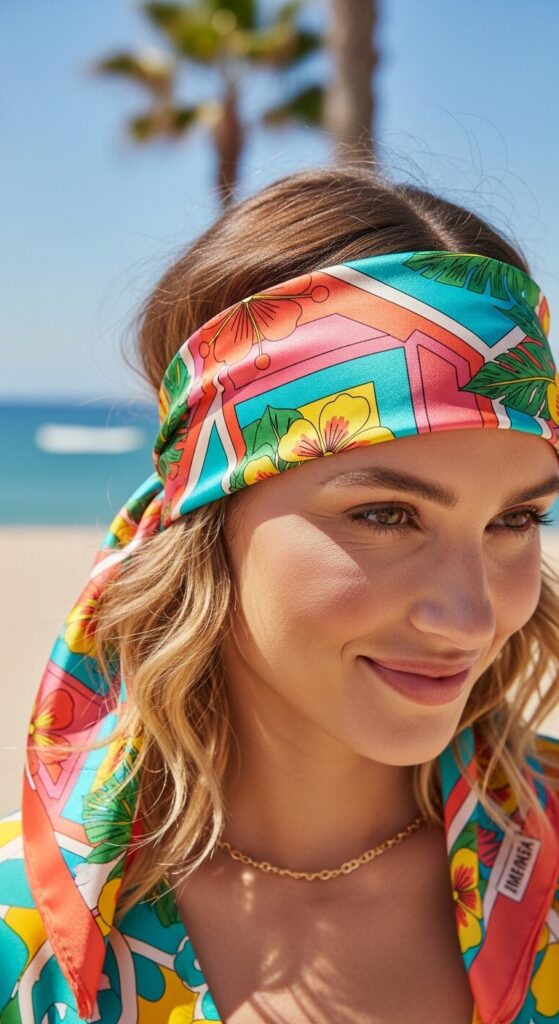
Accessorize your texture! A headscarf not only looks cute but also helps tame any frizz or flyaways. It elevates simple waves into a full boho look.
Style your waves as usual. Fold a long, thin scarf into a band. Tie it around your head, just behind your hairline, and knot it at the nape of your neck. Tuck the ends under the band for a clean finish.
11. The Textured Ponytail
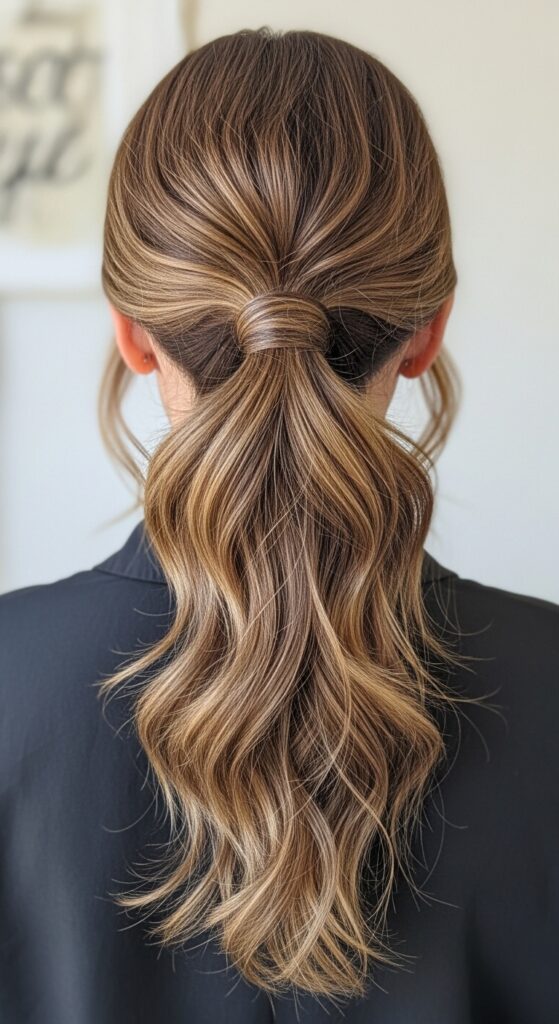
Don’t hide your waves in a ponytail—show them off! A textured pony is the perfect hot-day style. It looks deliberate and chic, not like you just gave up.
Create your beachy waves first. Then, gather your hair low at your nape. Use your fingers, not a brush. Secure with a coil hair tie. Pull out a few face-framing pieces and loosen the ponytail for volume.
12. Asymmetrical Lob with Texture
The asymmetrical lob is a forever-cool cut. Adding beachy waves to it emphasizes the dramatic line and makes it feel modern and edgy. It’s a perfect mix of structure and mess.
When styling, curl the longer side away from your face and the shorter side toward your face to enhance the asymmetry. Use a texturizing spray to break up the waves and keep them from looking too uniform.
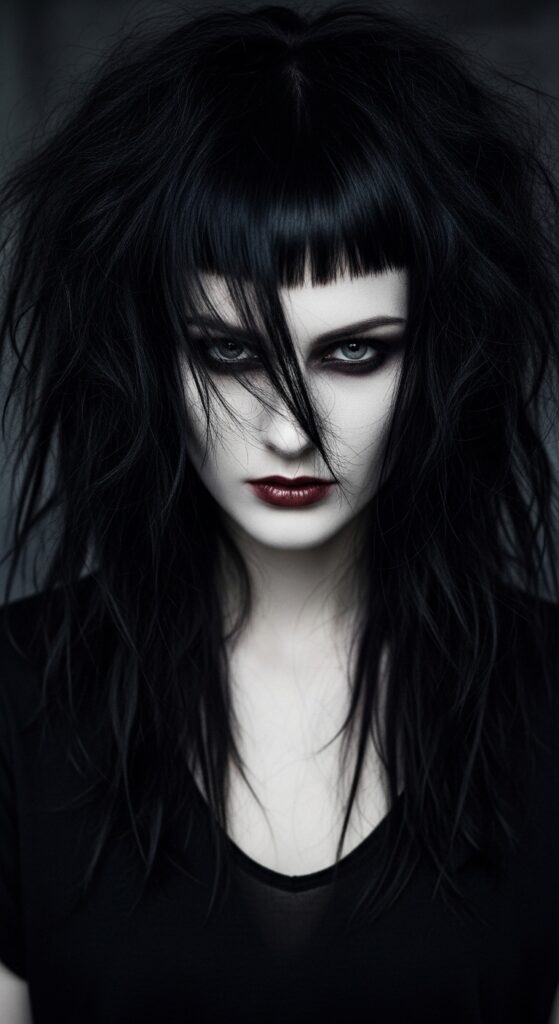
13. Romantic Goth Beach Waves

Yes, you can merge romantic goth hairstyles with beachy texture! The key is deep, dark hair and waves that are more “undone” than “sun-kissed.” It’s a beautiful, ethereal contrast.
Avoid products that add shine. Opt for matte texturizing sprays or dry shampoos to add grit. The waves should look a bit slept-in and mysterious, not bright and bouncy.
14. The “Glitchy Glam” Texture
Glitchy glam hair is all about intentional disruption. Think perfectly smooth roots leading into a section of wildly textured beach waves. It’s high-fashion and surprisingly wearable.
Style your hair as if for sleek, straight hair. Then, take just the front sections or random pieces and curl them with a very small barrel iron. Coat just those pieces with a strong texturizing spray for contrast.
15. Hime Cut with Soft Waves
The hime cut is bold and graphic. Softening the long, front sections with beachy waves creates a stunning balance. It makes the style feel more wearable and less severe.
Focus your waving efforts solely on the two long, face-framing sections of the cut. Use a medium barrel to create soft bends. Keep the rest of your hair straight or slightly textured to maintain the cut’s signature shape.
16. The Modern Shag Wave
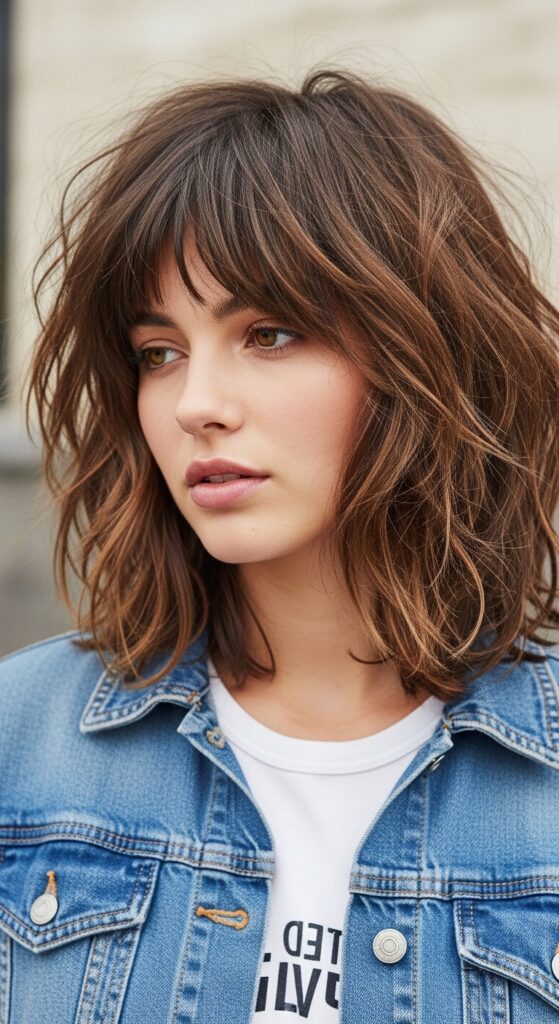
A shag cut is made for beachy waves. All those layers are just waiting to spring to life with texture. This is the ultimate “effortless” haircut that actually lives up to its name.
Apply salt spray to damp hair and scrunch. Diffuse upside down to maximize volume at the root. When dry, use a curling wand to add definition to the shorter, top layers for that perfect, rock-and-roll texture.
17. Vampire Haircut Texture
The vampire haircut gets its edge from sharp lines. Adding disheveled, beachy waves creates an amazing “undead chic” look—like you just rose from a centuries-old nap with great hair.
Keep the bangs blunt and straight. Use a flat iron to create irregular bends and kinks in the longer layers, avoiding uniform curls. Finish with a dry shampoo for a matte, ashy finish.
18. Waves for Fine Hair (The Volume Secret)
Fine hair can absolutely rock this look. The secret is root volume and avoiding heavy products. You want to create the illusion of thickness, not weigh hair down with product.
Start with a volumizing mousse at the roots on damp hair. When creating waves, curl every section away from your face. This simple direction trick creates instant volume at the base. Finish with a light-hold hairspray.
19. Second-Day Wave Revival

Your second-day waves might be flat or frizzy. Let’s fix that. This is about revival, not restyling. Dry shampoo is your hero here—it absorbs oil and adds grip for renewed texture.
Spray dry shampoo at the roots and massage it in. Lightly mist a salt spray mixed with water on your mid-lengths. Then, use a curling wand to touch up any waves that fell out, focusing on the top layer.
20. The Sleek-to-Wavy Bombshell
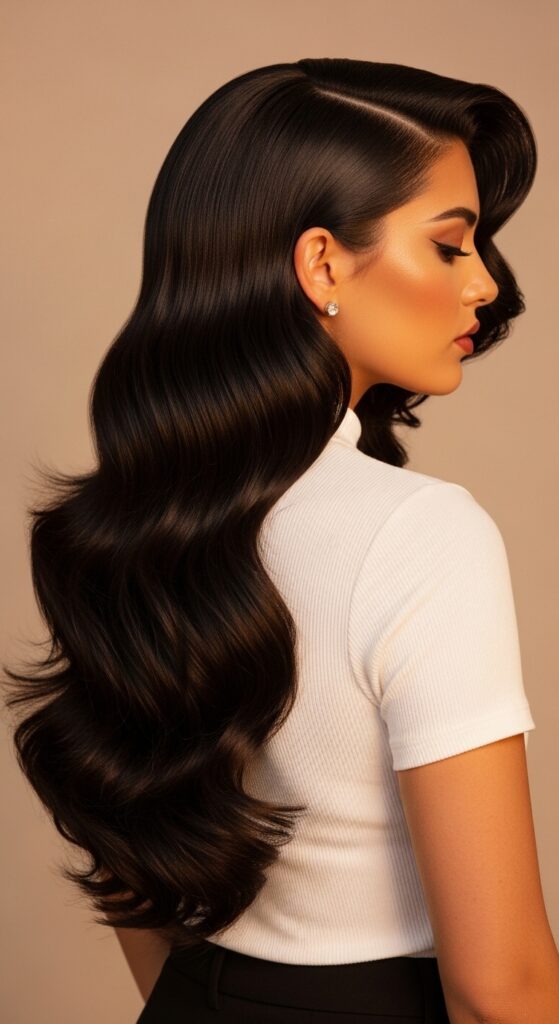
This is a red-carpet favorite for a reason. The contrast of sleek, smoothed roots with lush, bouncy waves is pure glamour. It feels like a modern take on old money hair—polished but soft.
Use a paddle brush and a blow-dryer to smooth your roots completely. Then, curl the bottom 2/3 of your hair with a large barrel iron. Brush through the curls gently to create soft, unified waves.
21. Braided Crown with Wavy Ends
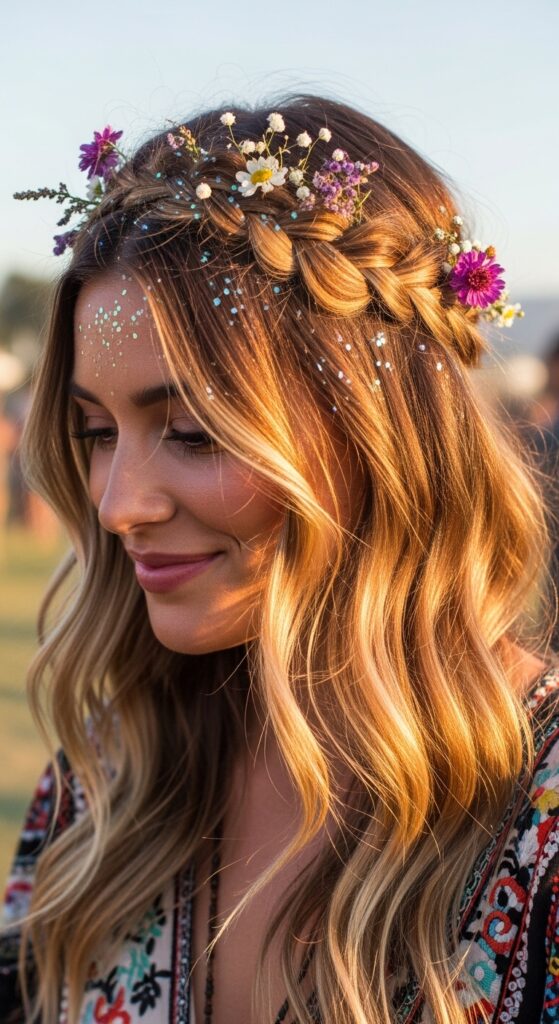
This is a gorgeous way to style your waves for a special day out. The braid keeps hair off your face and adds a boho touch, while the wavy ends keep it relaxed and youthful.
Create a deep side part. On the heavier side, start a loose Dutch braid (braiding under) along your hairline, continuing it to the other side. Pin it. Style the rest of your down hair into loose waves.
22. The Tousled Top Knot
Even an updo can have beachy texture. This isn’t a tight ballerina bun. It’s a loose, messy knot that lets your texture shine. Perfect for bad hair days that still need to look good.
Start with textured, wavy hair. Gather your hair into a high ponytail but only pull it halfway through on the last loop of the hair tie. Twist and pin the remaining length around the base. Pull out face-framing waves.
23. Wet-Look Waves

This is a cool, editorial take on the beachy wave. It uses the same waving techniques but swaps a matte salt spray for a high-shine gel or cream. It’s sleek, modern, and perfect for evening.
Apply a strong-hold styling gel to very damp hair. Create your waves using braids or a curling iron. Let it dry completely without touching it. The result is defined, glossy waves with a “just-out-of-the-water” set.
24. The Three-Minute Morning Refresh
No time? This is for you. Keep a waver tool (that creates an S-wave pattern) in your drawer. It’s the fastest way to add instant texture to straight or flat hair in the morning.
Spritz a section of dry hair with a heat protectant. Clamp the waver tool for just 3-5 seconds on random sections. Focus on the top layer and around your face. Run your fingers through, and you’re done.
And there you have it—24 ways to get the beachy waves of your dreams without the stress. The real secret? It’s not about perfection. It’s about finding the one or two methods that work with your hair and your lifestyle. Maybe it’s overnight braids or a 3-minute waver tool.
My biggest piece of advice is to play. Try a new method on a lazy Sunday. Mix a salt spray with a dab of pomade. The best texture often comes from a little experimentation and a lot of not caring too much.
I hope this guide takes the mystery out of it and gives you the confidence to rock that effortless, textured wave all summer long. You’ve totally got this.
Save this post to Pinterest to keep all these ideas handy for your next beach day or style refresh! Which wave are you trying first? Tell me in the comments below—I love hearing from you!