24 Natural Curly Hairstyles That Embrace Your Real Texture Without Any Heat
Hey friend. Let’s talk about the best hair day you’ve ever had. I’m betting it wasn’t the day you spent an hour frying your curls with a flat iron. It was probably the day you let them do their thing, air-dried, and felt that genuine “wow, this is actually me” confidence.
I get it. For years, I fought my texture, thinking sleek and straight was the only ‘polished’ look. It was exhausting. The real magic—and the real time-saver—happens when you work with your curls, not against them.
This list is your new playbook. We’re ditching the heat for good and exploring 24 stunning, totally natural styles. From everyday cuties to special-occasion showstoppers, get ready to fall in love with your real texture all over again.
1. The Effortless Wash-and-Go
This is the foundation. A great wash-and-go isn’t lazy; it’s strategic. It’s about using the right products and techniques to let your curls clump and dry in their happiest shape.
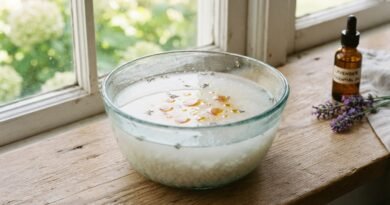
The key is applying your styler to soaking wet hair. I use a leave-in conditioner and a strong-hold gel. Then, I gently scrunch with a microfiber towel and don’t touch it until it’s 100% dry. Here’s my simple routine:
- Shampoo and condition as usual.
- Apply a leave-in conditioner, raking it through.
- Follow with a curling gel or cream, using prayer hands to coat each strand.
- Scrunch gently, then air-dry or diffuse on low heat.
2. The Pineapple Puff for Sleep
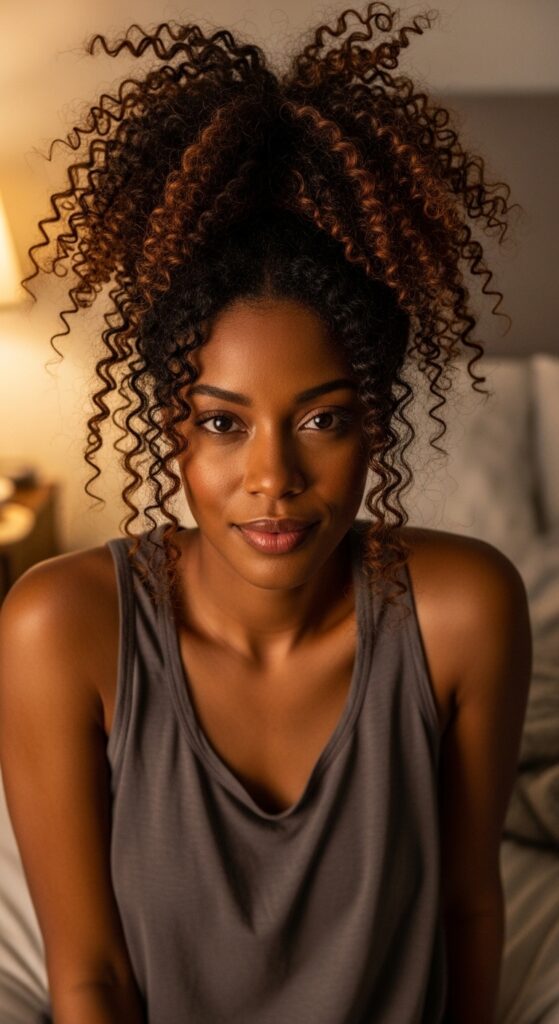
Protecting your curls overnight is non-negotiable for great second and third-day hair. The pineapple puff is the gentlest way to do it. It prevents flattening at the roots and reduces frizz from friction on your pillowcase.
Simply flip your head over and gather all your hair into a very loose, high ponytail at the very top of your head. Use a satin scrunchie—never a regular hair tie. The goal is lift, not tension. In the morning, just take it down, shake your roots, and go.
3. The Modern Shag Cut
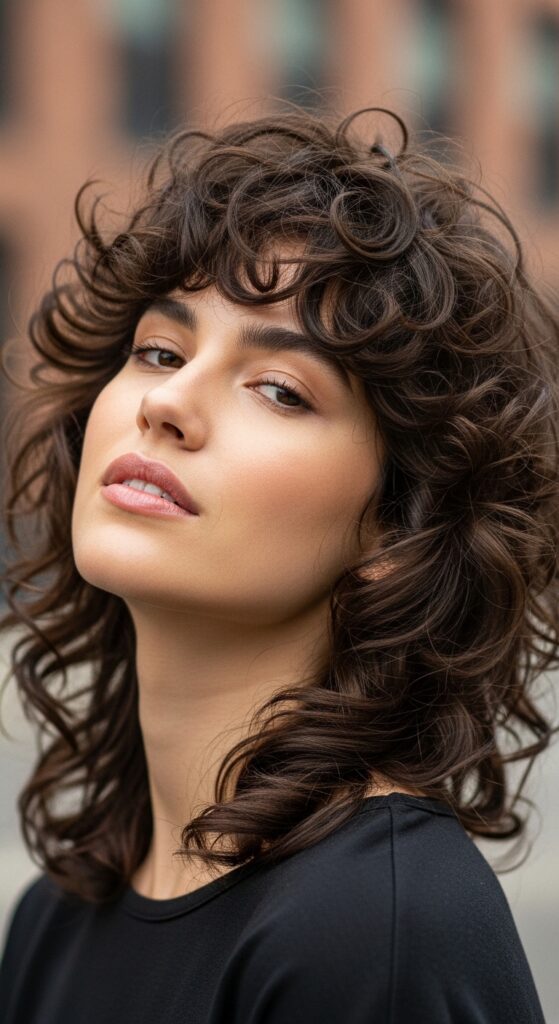
If you’re looking for a cut that does all the work for you, the modern shag is it. This isn’t your grandma’s shag. It’s built on layers that remove weight, encourage volume, and create amazing shape without any styling effort.
It’s a perfect match for curly hair because it celebrates texture. The shorter layers around the face and crown give you that iconic volume and movement. When you air-dry, the curls just fall into place. It’s a forever favorite for a reason.
4. The Sophisticated Curly Bob
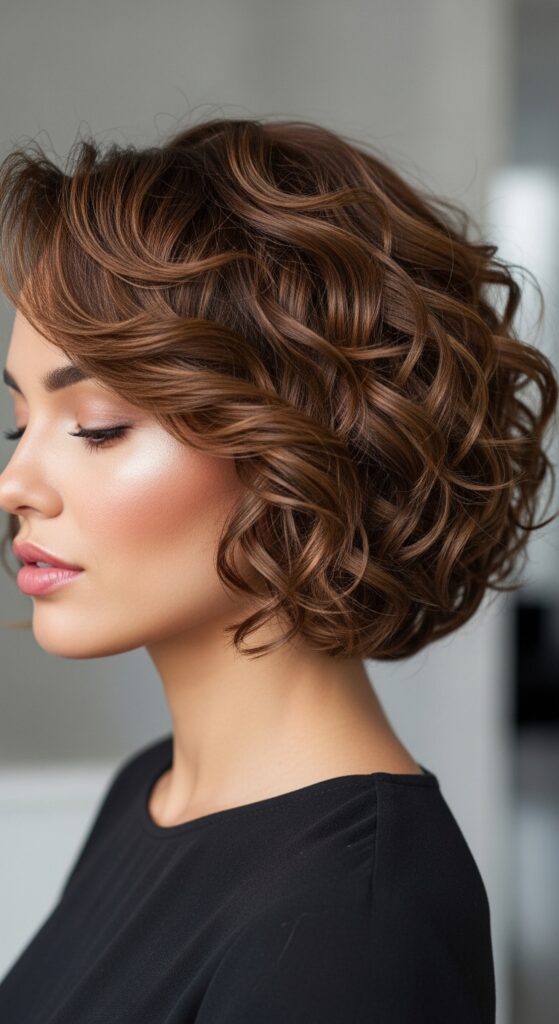
Talk about a statement. A curly bob is bold, low-maintenance, and incredibly chic. When your curls are this condensed, they spring up with incredible volume and shape. It’s a cut that feels both playful and polished.
To style, I apply a mousse to wet hair for light hold and volume, then air-dry. For a more “quiet luxury bob” vibe, use a defining cream for softer, more separated curls. The key is a great cut from a curl specialist—the shape needs to be perfect.
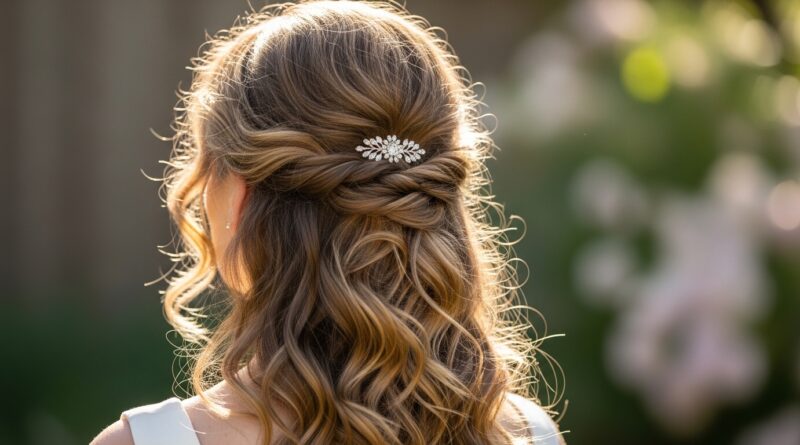
5. Romantic Half-Up, Half-Down
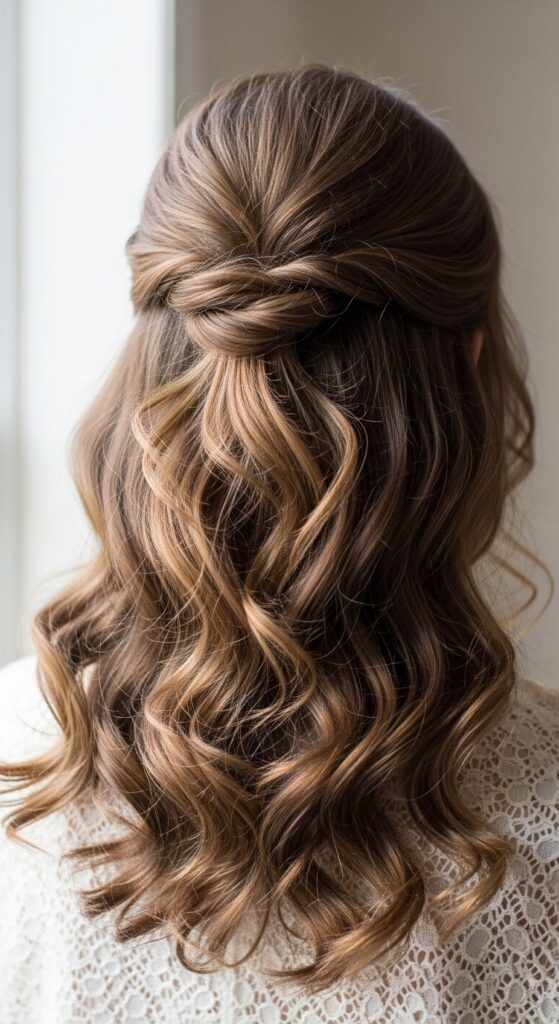
This is my go-to when I want to look put-together in 30 seconds. It pulls the hair away from your face but lets your beautiful texture shine in the back. It works on every curl type and for every occasion, from school drop-off to a date night.
Just gather a section of hair from your temples and crown. Gently twist or pull it back, but keep it loose. Secure it with a cute clip or a small scrunchie at the back of your crown. Gently pull on the front sections to loosen them and frame your face.
6. Defined Curly Fro

The afro is a celebration of density, volume, and natural shape. Achieving a defined, rounded shape is all about technique during washing and drying. It’s a stunning, confident look that requires zero heat.
Start with stretched hair (like from twists) for more uniform volume. Use a pick to lift the roots and shape the fro from the inside out. As you pick, shape it with your hands into your desired roundness. A light holding spray can help maintain the shape.
7. Twisted Crown Braid
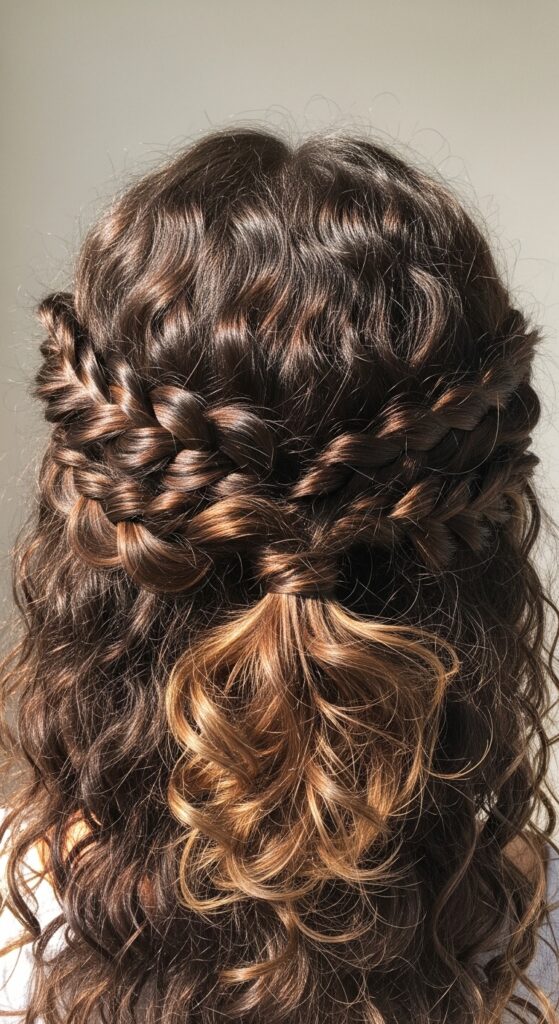
This feels fancy but is deceptively simple. Instead of tight Dutch braids, we use two simple twists. It’s gentler on your curl pattern and creates a softer, more romantic look. It’s perfect for keeping hair off your neck on a hot day.
Part your hair down the middle. On one side, take a section near your part, split it in two, and twist them around each other, adding in more hair as you go back toward your ear. Secure at the nape. Repeat on the other side and pin the ends together.
8. The Tousled Curly Pixie
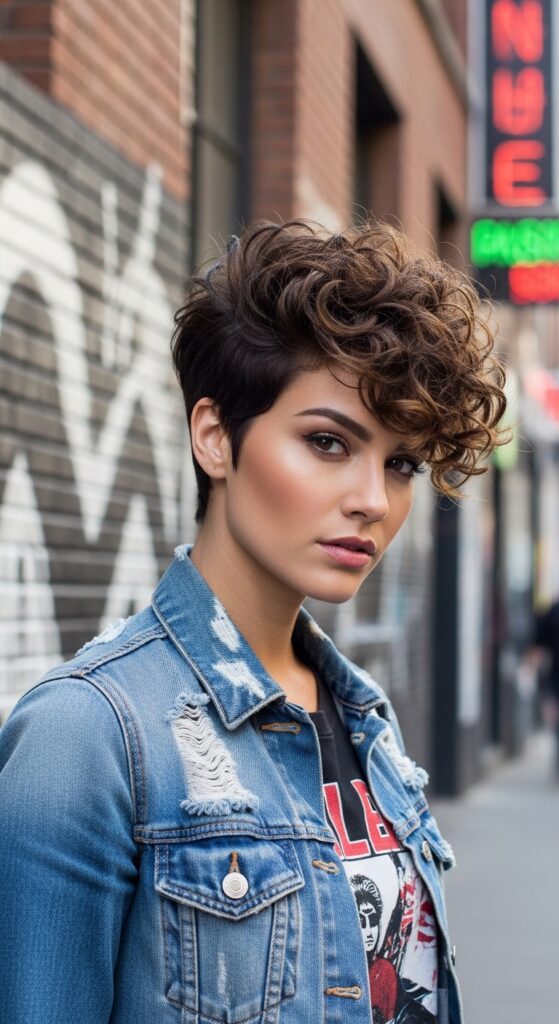
For the ultimate low-maintenance, high-impact style, the curly pixie wins. It’s all about the cut—great shape and layers allow your curls to dry perfectly with just a scrunch of product. It’s liberating, cool, and so easy.
Styling is a dream. Rub a tiny amount of pomade or wax between your palms and simply scrunch and piece out your curls once they’re dry. The goal is separation and texture, not definition. Embrace the fluff and the attitude that comes with it.
9. Curly Space Buns
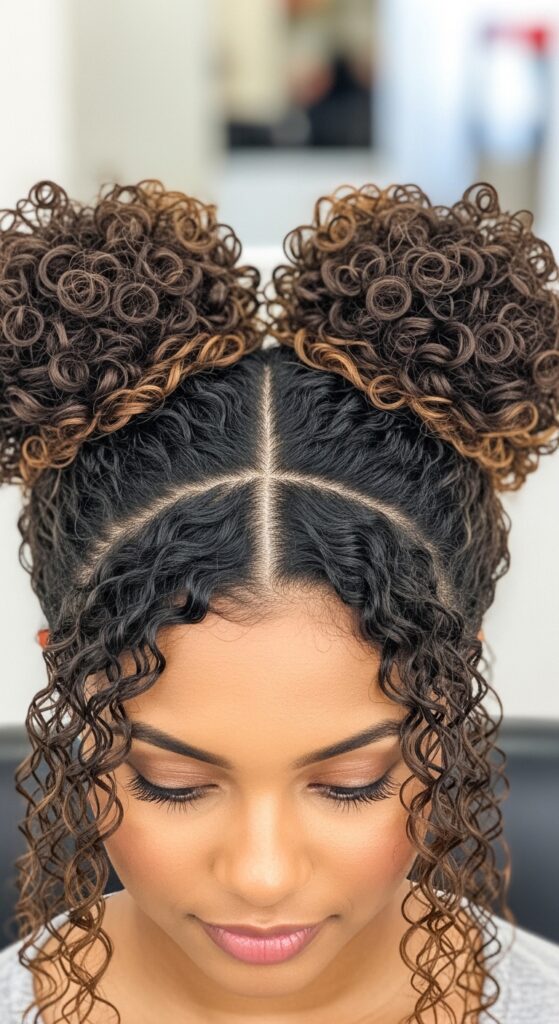
Don’t save this just for festivals! Curly space buns are a surprisingly cute and practical way to manage a lot of hair. They give you that fun, youthful vibe while actually protecting your ends. They work on both long and medium-length curls.
Create a high ponytail on each side of your head. Instead of twisting, gently coil your curly ponytail around its base to form a bun. Use bobby pins to secure the ends. The messier, the better. Pull out a few face-framing pieces to soften the look.
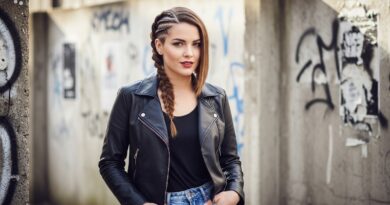
10. The “Vampire Cut” Shag
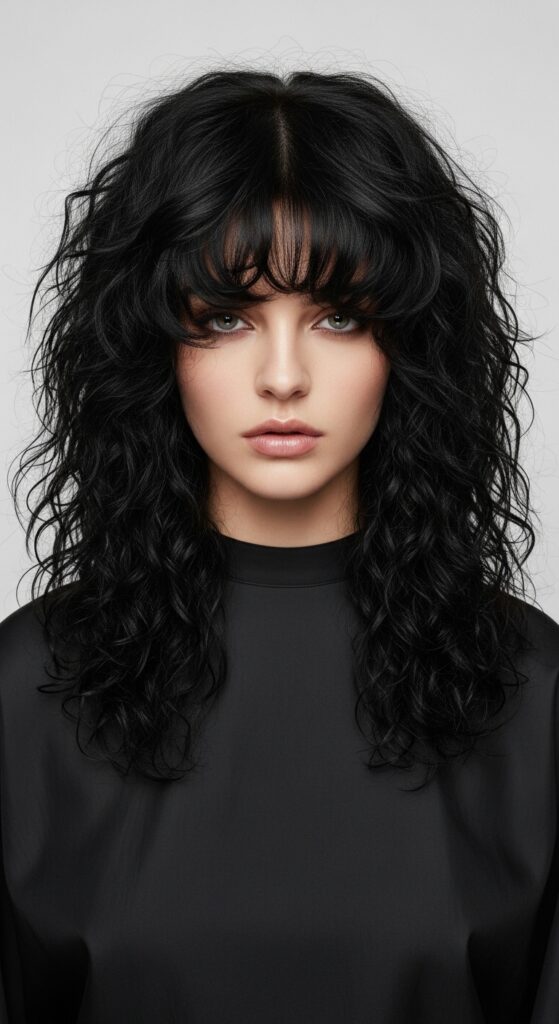
This trend is everywhere, and it’s a dream for curls. The “vampire haircut” is essentially a shag with very dramatic, long layers and often a strong fringe. It creates a ton of movement and fits perfectly with that romantic goth hairstyles vibe.
When air-dried, the layers create a perfectly imperfect, lived-in texture. The curtain bangs or heavy fringe dry with a natural separation that looks intentional. It’s a low-fuss way to achieve a high-fashion, edgy look that’s pure 2026 hairstyles energy.
11. Headband Styling
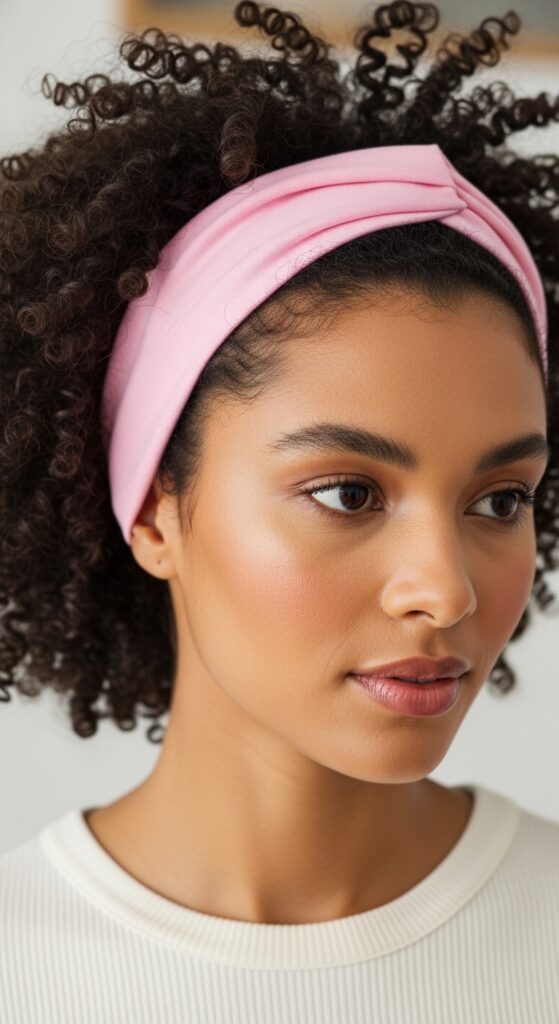
This is the easiest hack in the book. A simple headband can transform a day-three wash-and-go into a styled look. It tames frizz around the hairline, adds a pop of color or texture, and looks incredibly polished. It’s a quiet luxury hair accessory.
Choose a satin or fabric headband to avoid friction. Simply place it over your dry hair, pushing it back from your forehead. You can wear it straight across or at an angle. Let your curls spill out over the sides and back. It’s effortless and always looks put-together.
12. The Asymmetrical Curly Lob
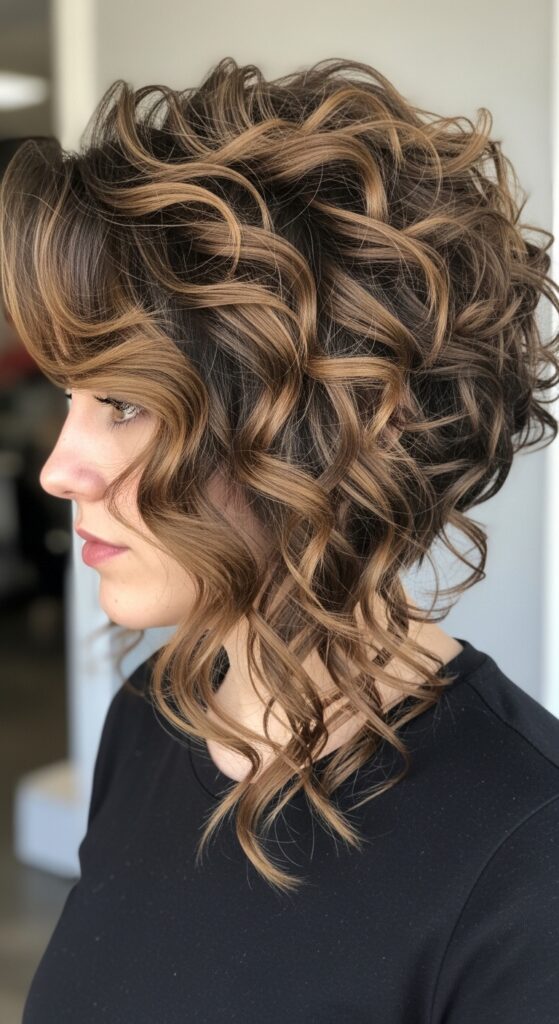
Want a cut that feels fresh and modern? The asymmetrical lob is a stunning choice. By having one side noticeably longer, it creates an interesting line that plays beautifully with curly volume. It’s artistic, edgy, and still very wearable.
This cut adds instant drama without any styling effort. When air-dried, the curls will naturally fall in a dynamic, eye-catching shape. It’s a great way to experiment with asymmetry without going super short. A defining cream will help each curl pop.
13. Curly Frohawk
The frohawk is a powerful, stylish look that combines close-cut sides with a majestic strip of volume on top. It’s a fantastic protective style for the sides while letting you play with height and definition on top. It commands attention.
The style starts with the cut. The top section is left long. To style, apply a strong-hold gel or foam to the top section for definition when wet, then pick out the roots once dry for maximum volume. The contrast is everything.
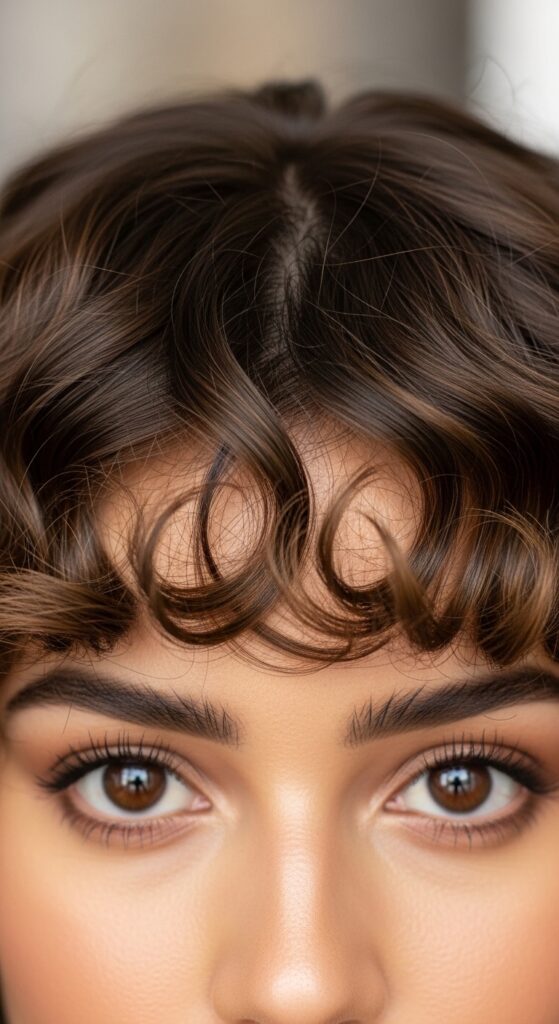
14. The “Hime Cut” with Curls
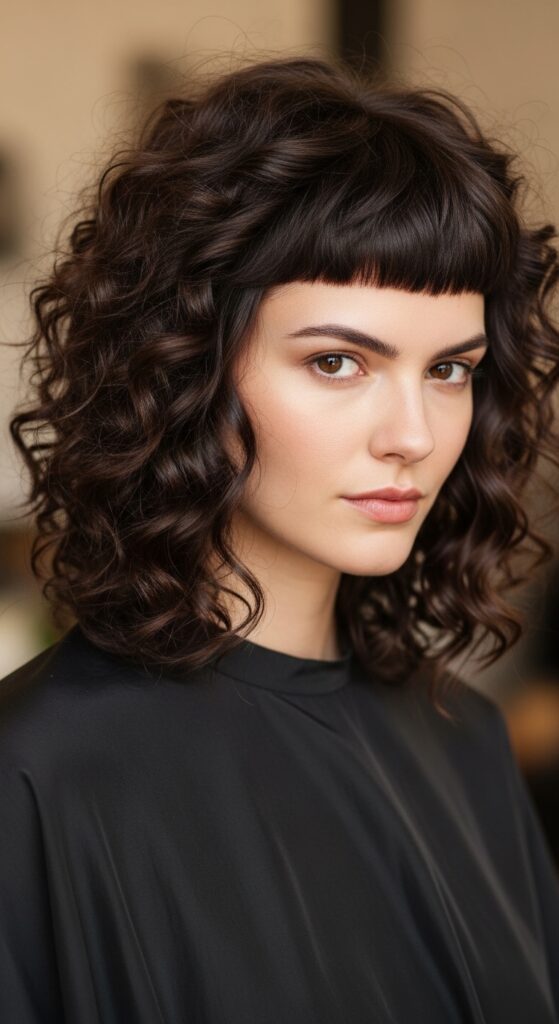
The hime cut, with its strong straight-across bangs and long face-framing pieces, gets a gorgeous update on curly hair. The curls soften the graphic lines, making it whimsical and unique. It’s a beautiful blend of structure and softness.
Styling is simple: just treat your bangs as a separate section. Apply a bit of extra defining product to them to encourage a uniform curl pattern. Let them air-dry separately, and you’ll have a beautiful, bold fringe that frames your face perfectly.
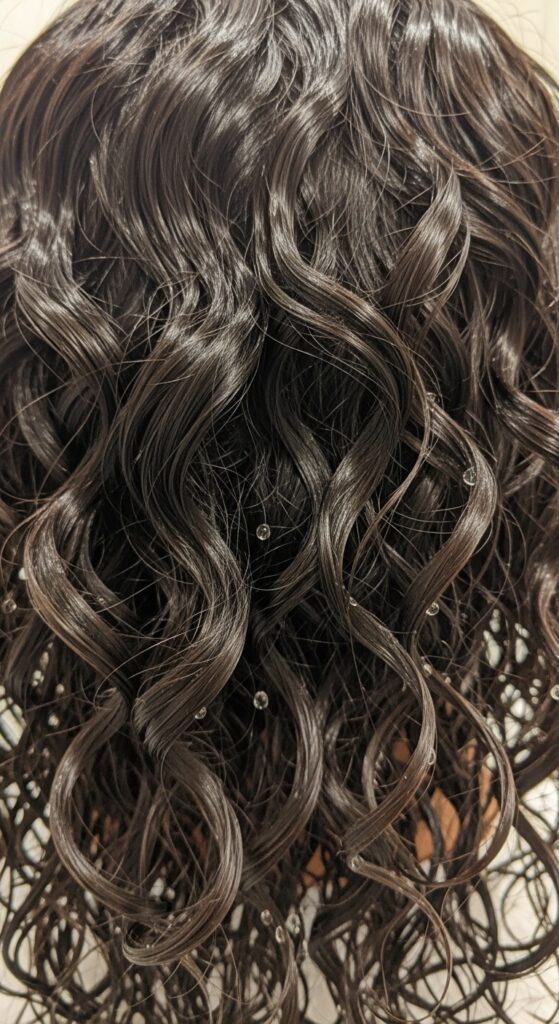
15. Rope Twist Out
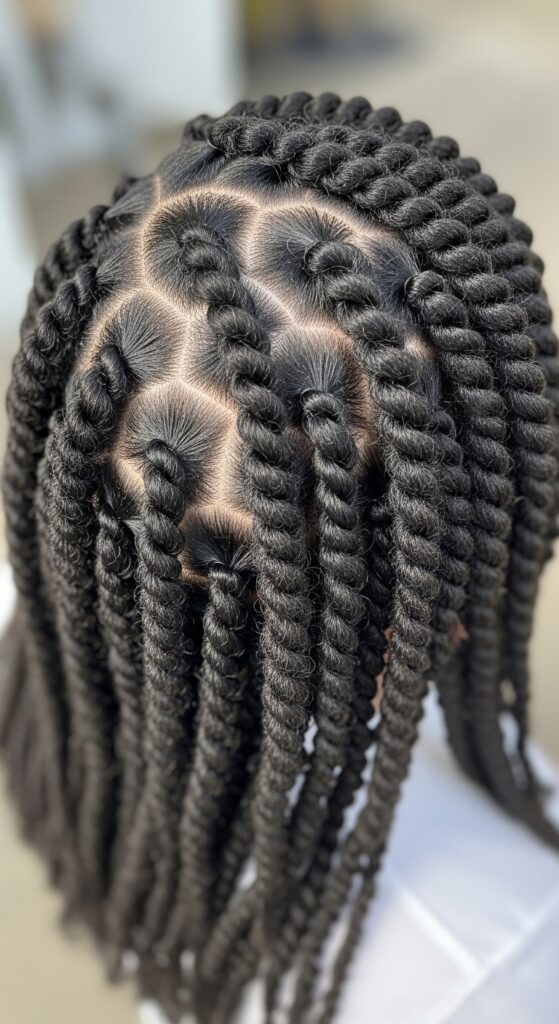
For elongated, defined waves with less frizz, the rope twist is a game-changer. Instead of regular two-strand twists, you twist the sections more tightly, almost like you’re wringing a towel. This creates a smoother, more uniform pattern.
On damp, product-treated hair, take a section. Split it in two and twist them around each other tightly from root to end. Let dry completely—this is key. Once bone dry, unravel gently and separate the twists into 2-3 larger pieces for beautiful, clumpy waves.
16. The “Glitchy Glam” Pony
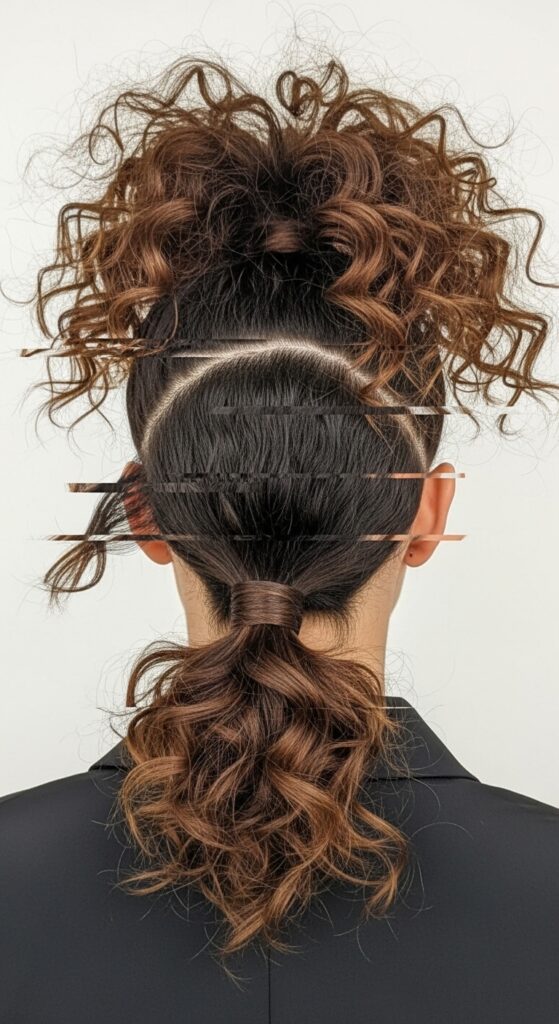
Glitchy glam hair is all about controlled imperfection. It’s a “broken” or deconstructed version of a sleek style. For a curly pony, that means leaving strategic pieces out—near your temples, a piece in the back—and embracing flyaways as part of the look.
Pull your hair into a high or low ponytail with your hands, not a brush. Before securing it, gently pull out a few small sections around your face and nape. Use a light-hold spray on those pieces to give them a separated, piece-y finish. It’s cool and effortless.
17. Banded Curls for Stretch

If you love your curl pattern but wish for a little more length, banding is your best friend. It’s a no-heat stretching method that reduces shrinkage and gives you gorgeous, elongated spirals. It’s also a great protective style for while you sleep.
On damp hair, make 4-6 large twists or loose ponytails. Apply a light product. Then, take soft hair ties (like coil ties) and place them down the length of each section, spaced a few inches apart. Let dry completely, then remove the bands and separate gently.
18. Curly Bubble Braids
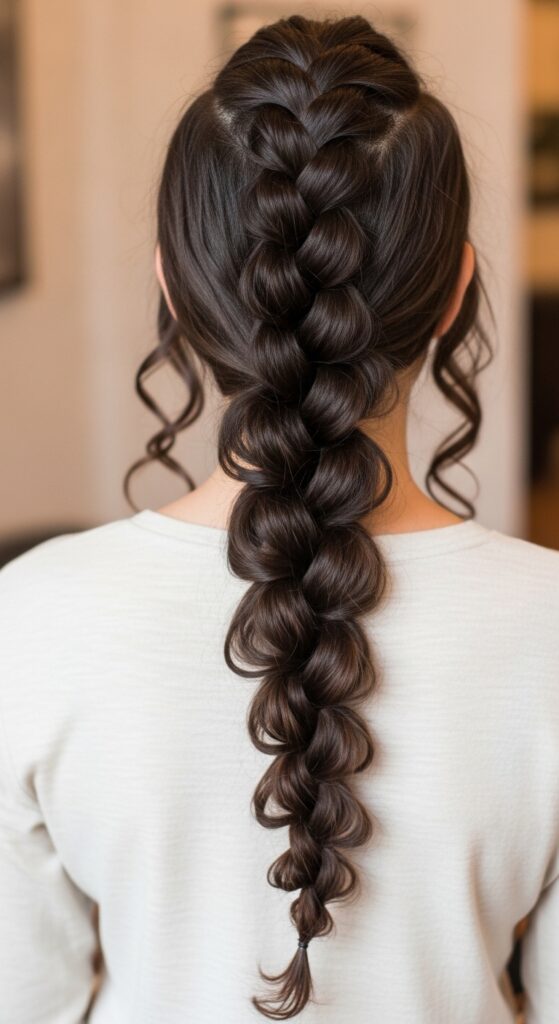
Bubble braids are playful, easy, and add instant fun to your look. They work beautifully on curly hair because the texture gives the “bubbles” a soft, full appearance. It’s a perfect style for a sunny day or when you want to feel a little extra.
Create a simple ponytail (high, low, or to the side). Place a hair tie a few inches down, then gently pull on the section between the ties to expand it. Continue adding ties and pulling to create bubbles all the way down. Fluff each section for maximum volume.
19. The “Old Money” Curly Updo
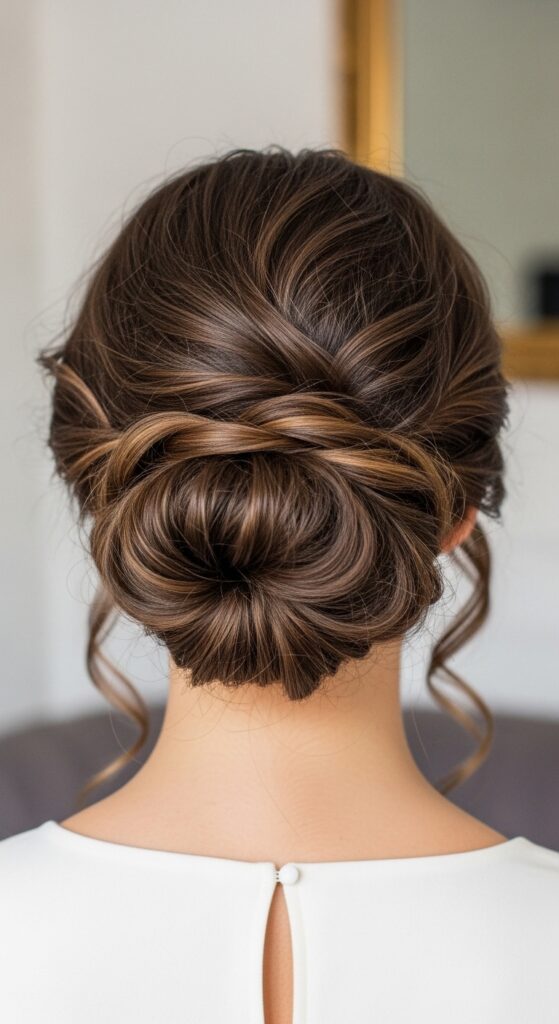
Old money hair is about looking timeless, elegant, and like you didn’t try too hard. A curly low bun or chignon is the perfect embodiment. It’s not slicked back; it’s soft, with pieces coming loose, looking like you just threw it up after a day at the yacht club.
Gather your hair at the nape of your neck. Twist it loosely and coil it into a bun, securing with pins. The key is to be gentle—don’t smooth out your curls. Pull out several tendrils around your face and neck. A light mist of hairspray finishes it.
20. Fringe Focus with Curly Bangs
Curly bangs are a commitment, but oh-so-worth it. They frame your face in the softest, most romantic way. The trick is to cut them on dry hair so your stylist can see exactly how they’ll fall. They shorten your styling time because they’re a style all on their own.
To style, I treat my bangs as their own section. I apply a little extra leave-in and a curl cream, then gently scrunch and coil them around my finger. I either air-dry them or use a diffuser, cupping them gently, to set their shape first.
21. The Curly “I-Woke-Up-Like-This” Bun
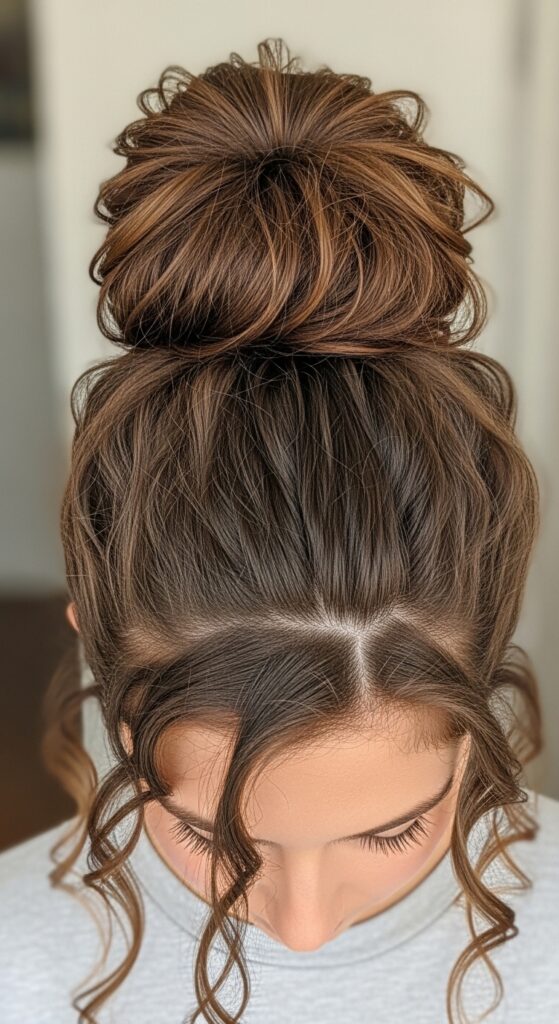
This is the bun you make in 10 seconds that gets compliments all day. It works best on second or third-day hair when your curls have a bit more grip and texture. The goal is height and volume, not neatness. It’s the ultimate practical, chic style.
Flip your head over and gather all your hair at the crown. Twist the length once and then simply wrap it around the base. Use a scrunchie or spin pins to secure it. Don’t tuck the ends! Let them stick out. Flip back up and gently pull the bun apart for volume.
22. Accessorized with Claw Clips
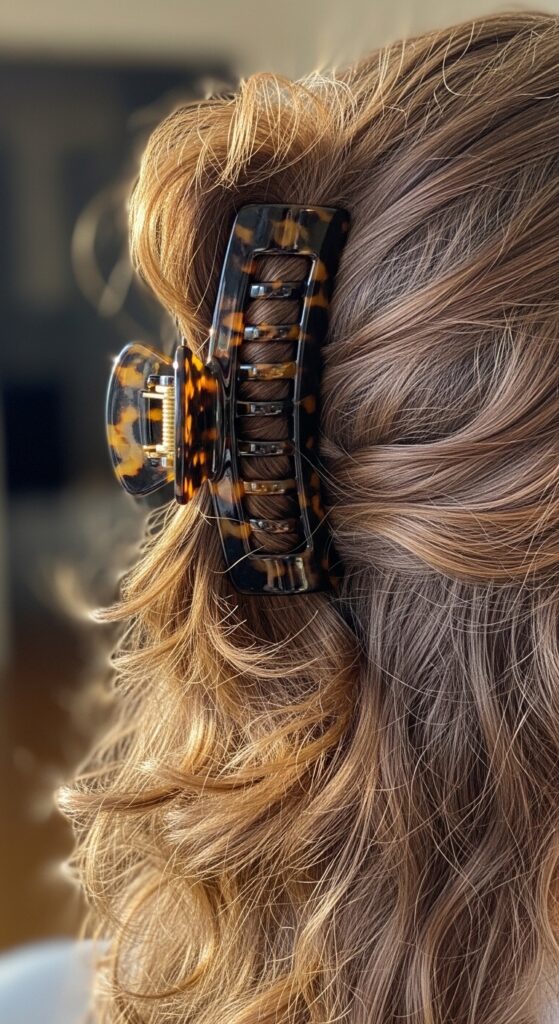
Claw clips are back and better than ever. They’re not just for the gym; a beautiful, large claw clip can be the centerpiece of your style. They’re a gentle way to put your hair up, add a touch of glam, and are incredibly quick.
For a casual look, gather a half-up section and clip it at the back of your crown. For a full updo, twist your hair loosely at the nape, coil it up, and secure the entire mass with a large, sturdy clip. Let the ends and pieces fall where they may.
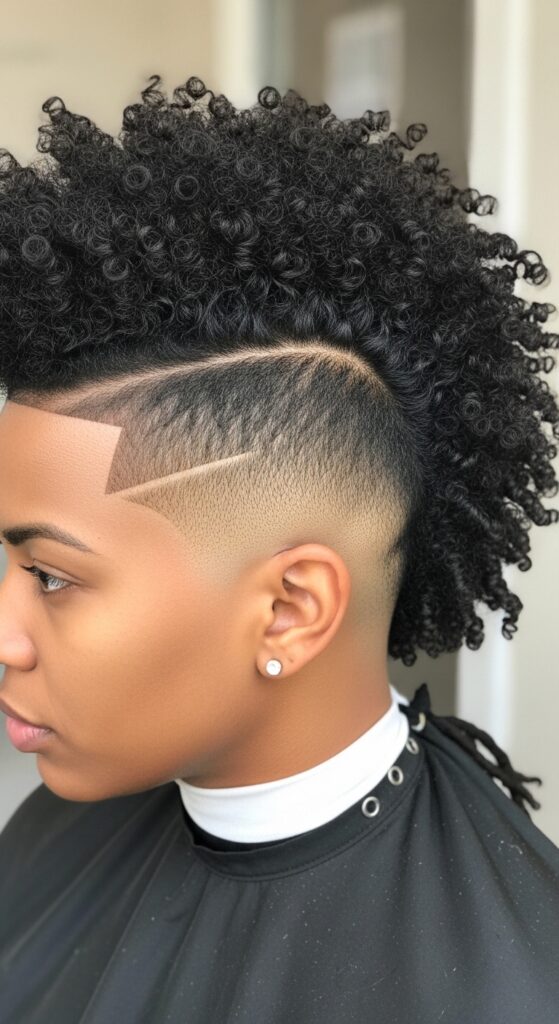
23. The Defined Curly Mohawk
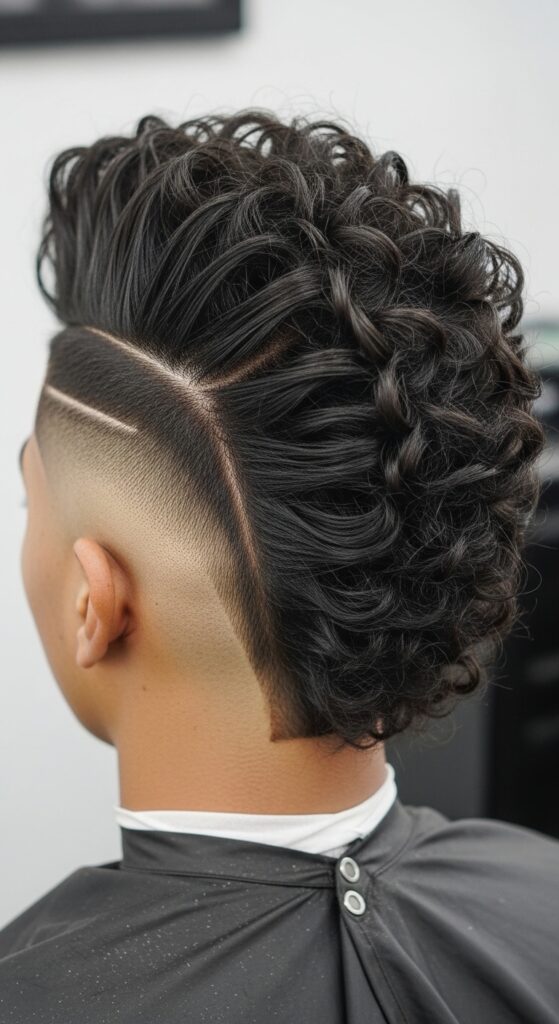
This is a bold, fashion-forward take on the mohawk. Instead of spiking it up, the center section is left in its beautiful, defined natural state, creating a striking strip of texture from the front hairline all the way down the back.
This style starts with the right cut. The sides are either shaved or cut much shorter. To style the center, use your normal defining routine. For extra drama, you can pick the roots once dry for added height. It’s a powerful look that truly embraces texture.
24. Simple Side-Swept Curls
Sometimes the simplest tricks are the most effective. Sweeping all your curls to one side instantly changes your look and feels glamorous. It shows off the length and density of your hair and is perfect for showing off statement earrings.
After your hair is dry, simply use your fingers to gently guide all your hair over one shoulder. You can secure it with a discreet pin on the opposite side if needed. Give your roots a little shake on the heavy side for extra volume. It’s a one-minute refresh.
And just like that, you have a whole new toolkit. The biggest takeaway? Your natural texture isn’t something to fix. It’s your starting point for endless, beautiful, and easy styles. Every one of these looks proves that you can look and feel amazing without ever plugging in a hot tool.
It’s about finding what makes you feel most like yourself. Maybe it’s the sophistication of a curly bob or the playful freedom of space buns. The best part is, with every day you skip the heat, your curls get healthier, bouncier, and more resilient.
I want to see your favorites! Which of these are you trying first? Tag me on Instagram so I can cheer you on. And before you go, do me a solid: Save this post to Pinterest so you can always come back to it on those days you need a little style inspiration. What’s your #1 heat-free curl tip? Drop it in the comments below!