25 Romantic Braided Crown Styles Perfect For Special Evening Events
You know that feeling when you have a big night coming up — a wedding, a gala, a dinner that actually matters — and you want your hair to look like you tried, but not like you tried too hard? That is exactly what a braided crown does. It frames your face, shows off your shine, and keeps every strand out of your way while you dance, toast, and hug everyone goodbye.
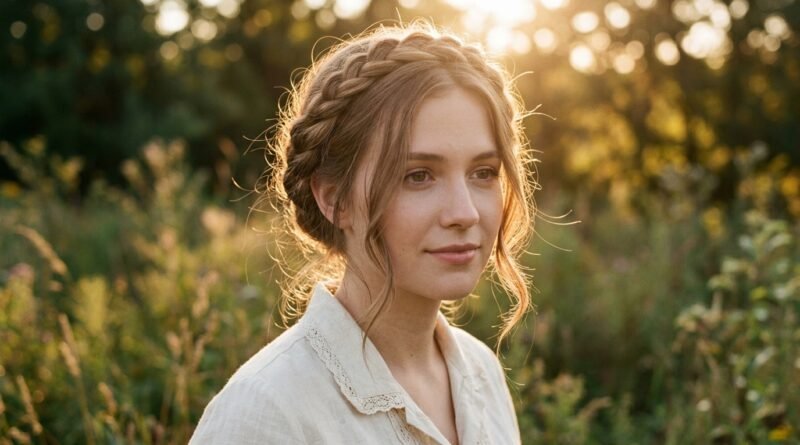
I put together 25 romantic braided crown styles for 2026, and every single one works for evening events. Some are soft and dreamy, some are sleek and expensive-looking, and a few lean dark and moody for my romantic goth hairstyles girls.
You do not need to be a braiding pro. Most of these take ten minutes or less, and I added a quick tip under each one so you can actually pull it off at home.
What Makes a Braid Feel Romantic, Not Sporty
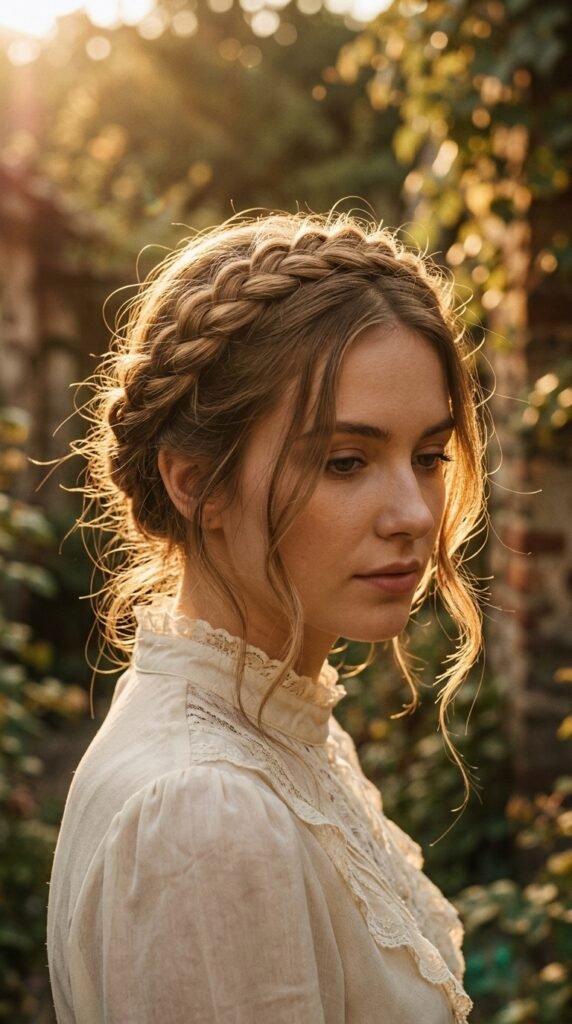
A braided crown can look like a gym hairstyle, or it can look like you hired someone. The difference is all in the details.
Three things do the heavy lifting:
- Looseness. Pull the braid apart gently so it looks soft and lived-in.
- Softness. Keep a few face-framing pieces out instead of slicking everything back.
- Finish. A little ribbon, a pearl pin, or a glossy shine spray makes it feel expensive.
Tighter, cleaner crowns read formal. Softer, thicker ones read romantic. Pick based on your dress and your mood, and you are already halfway there.
Soft Milkmaid Crown for Black-Tie Dinners
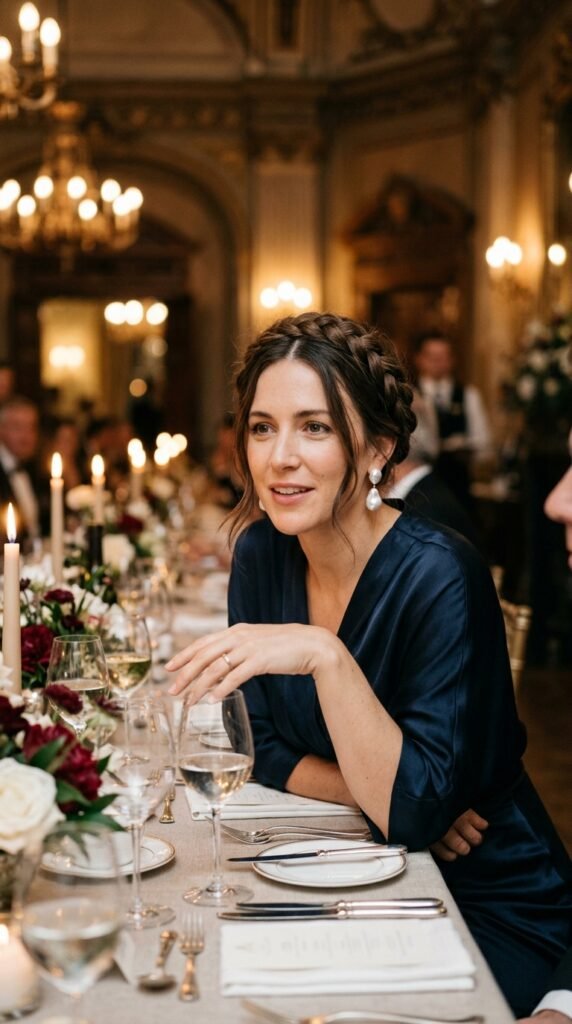
The milkmaid crown is the softer cousin of the classic braided crown. Instead of sitting flat against your head, it loops around like a halo with a little height at the top.
How to get it:
- Part your hair down the middle.
- Braid two loose plaits, one on each side.
- Cross them over the top of your head and pin.
- Gently pull the edges apart.
Pair it with a silk dress and simple earrings. This is one of those 2026 hairstyles that looks fancy in photos but takes about eight minutes in real life.
Halo Braid with Face-Framing Tendrils
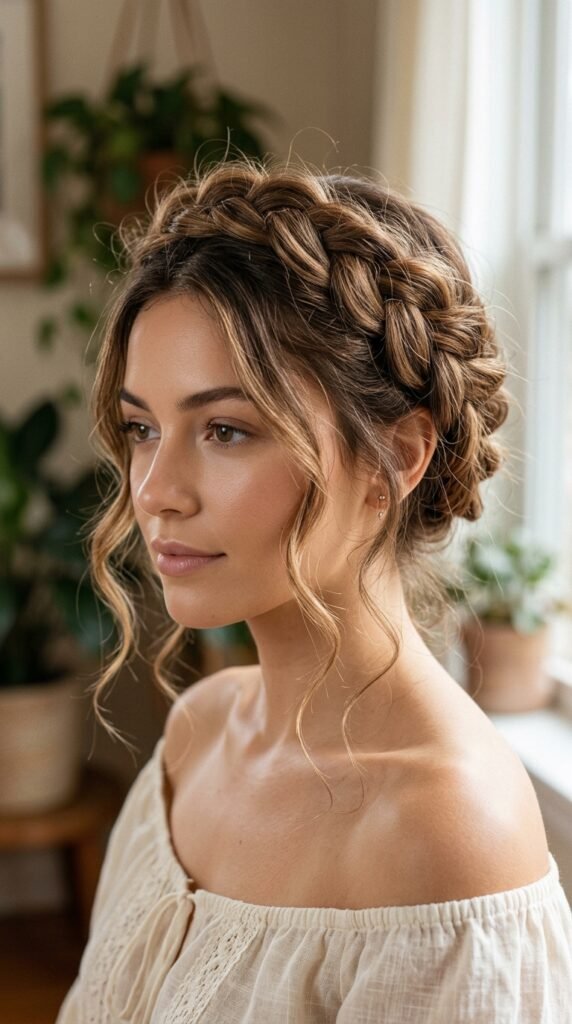
The halo braid sits exactly where a headband would, which is why it flatters almost every face shape. The magic is in the tendrils.
Leave two soft pieces out near your temples and curl them lightly with a wand. They soften the braid and keep it from looking too strict.
Quick tips:
- Braid in the same direction on both sides for a clean finish.
- Pin at the nape, not the top, so it stays hidden.
- Mist with flexible hold spray, never crunchy hairspray.
This one works for date nights, rehearsal dinners, and any evening where you want to look polished but still like yourself.
Twisted Crown with Old Money Hair Energy
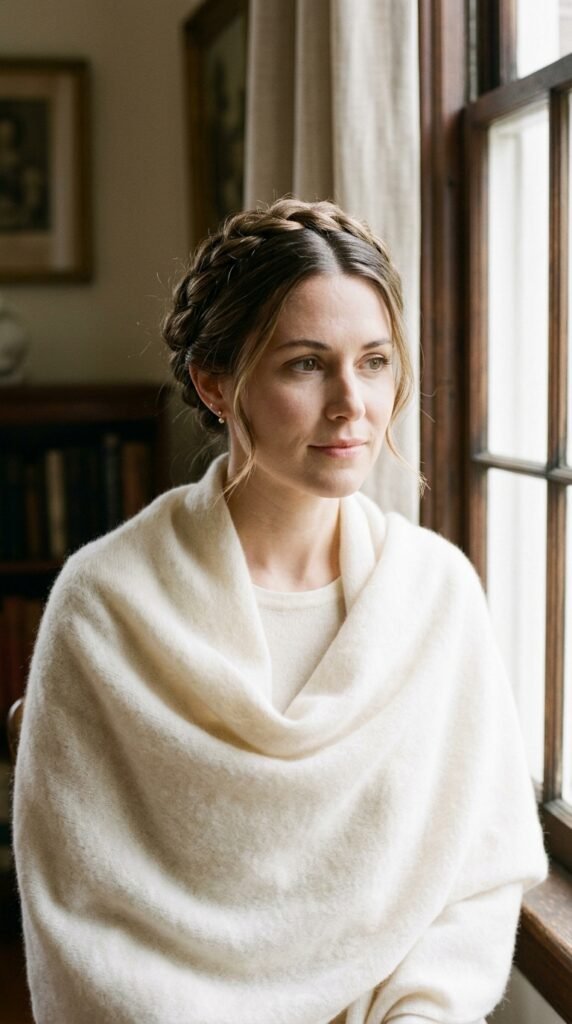
Old money hair is all about quiet polish, and a twisted crown is the easiest way to get it.
Instead of a traditional three-strand braid, you twist two sections around each other. The result is smooth, elegant, and a little bit French-girl.
To get the look:
- Start with day-two hair for grip.
- Keep your twists tight at the root and loose at the ends.
- Finish with a middle part and a small gold clip.
Wear it with a cashmere wrap or a simple black dress. Nothing loud. That is the whole point.
Pulled-Apart Dutch Crown for Big Volume
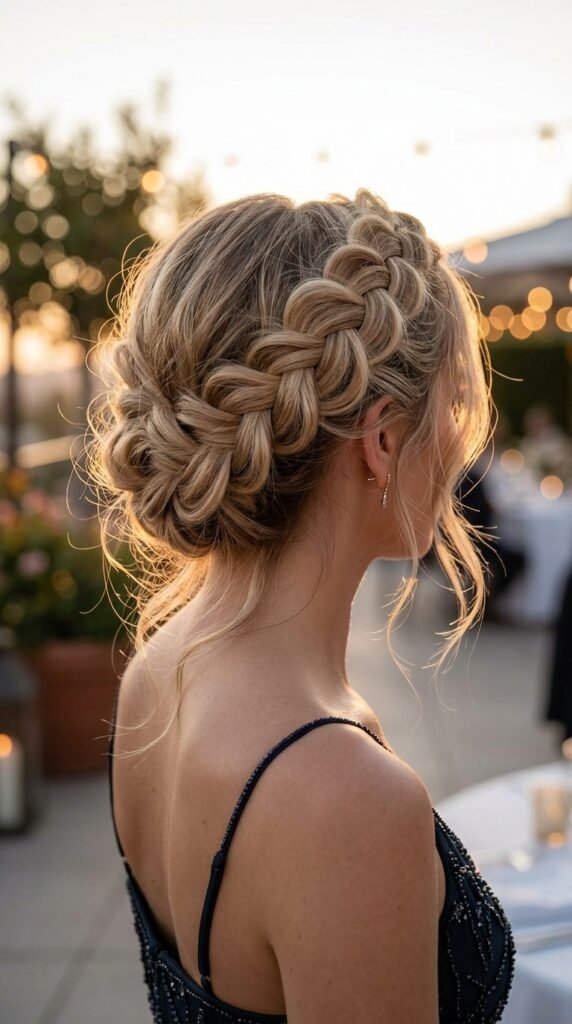
If thin, flat hair is your struggle, the pulled-apart Dutch crown is your best friend. Dutch braids sit on top of the hair instead of underneath, so they instantly add height.
Braid a Dutch crown around your head, then go back and gently pull each bump wider with your fingers. Do not rush this part. The more you pull, the bigger it gets.
Best for:
- Fine hair that needs body
- Round faces that want length on top
- Anyone wearing a statement earring
Set it with a little texture spray and you are done.
Double Dutch Crown for Thick Hair
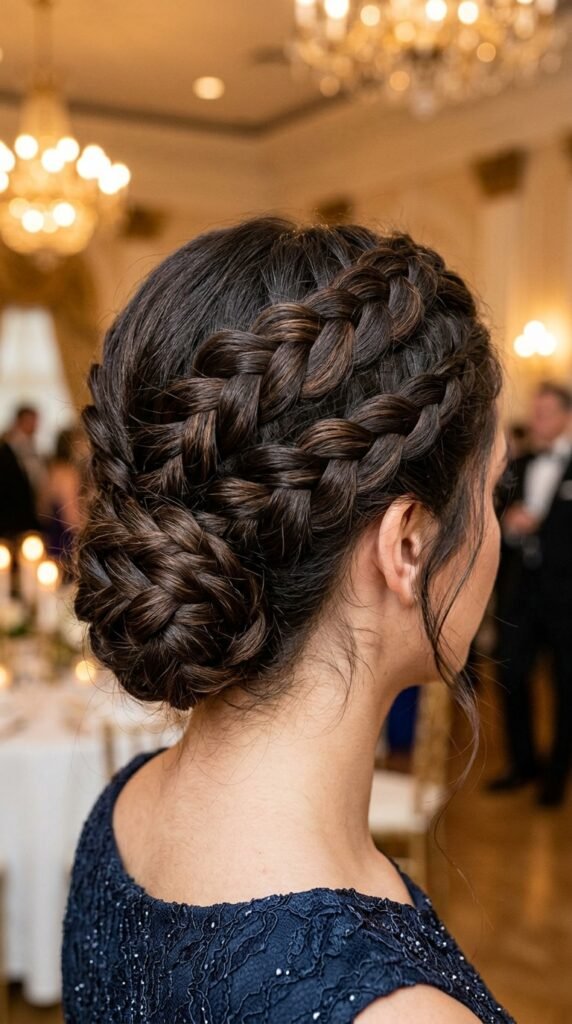
Thick hair can swallow a single braid. Two crowns solve that fast.
Braid one crown slightly higher and one slightly lower, so they stack instead of fighting each other. Keep the top one tighter and the bottom one softer for contrast.
Small things that help:
- Use bobby pins that match your hair color.
- Cross your pins in an X for a stronger hold.
- Skip heavy products, which make thick hair slide.
This is a gorgeous pick for weddings and holiday parties, and it works beautifully on medium to long hair.
Braided Crown on a Quiet Luxury Bob
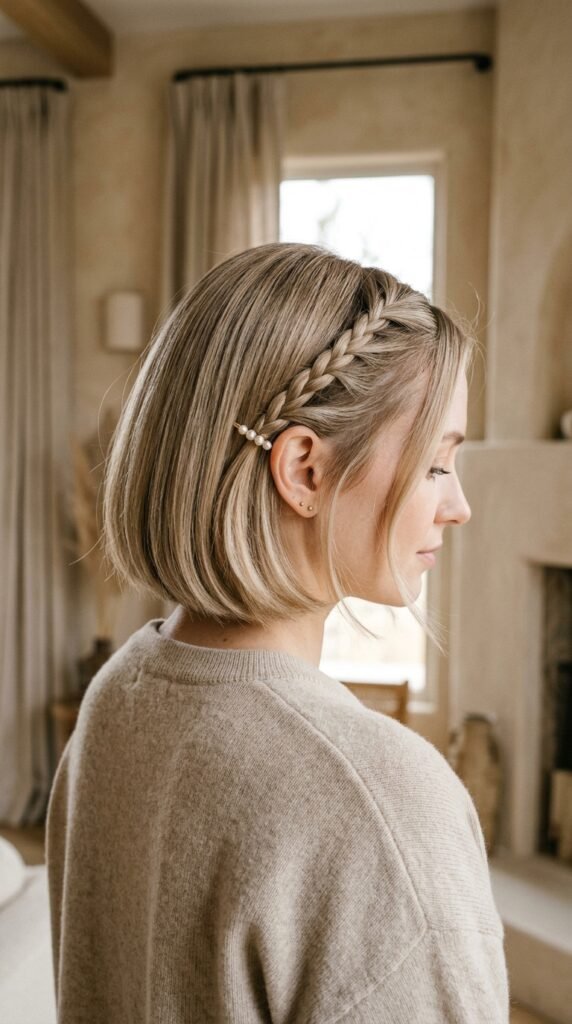
Short hair girls, you are not left out. The quiet luxury bob and a mini braided crown are a match made in heaven.
You only need about three inches of length to braid. Take a small section along your hairline, braid it toward the back, and pin it just behind your ear. Repeat on the other side.
Quick notes:
- Keep the braid thin and neat.
- Leave the rest of your bob smooth and glossy.
- Add one tiny pearl pin near the end.
It reads expensive, takes five minutes, and looks incredible with a sleek slip dress.
Half-Up Crown with Loose Waves
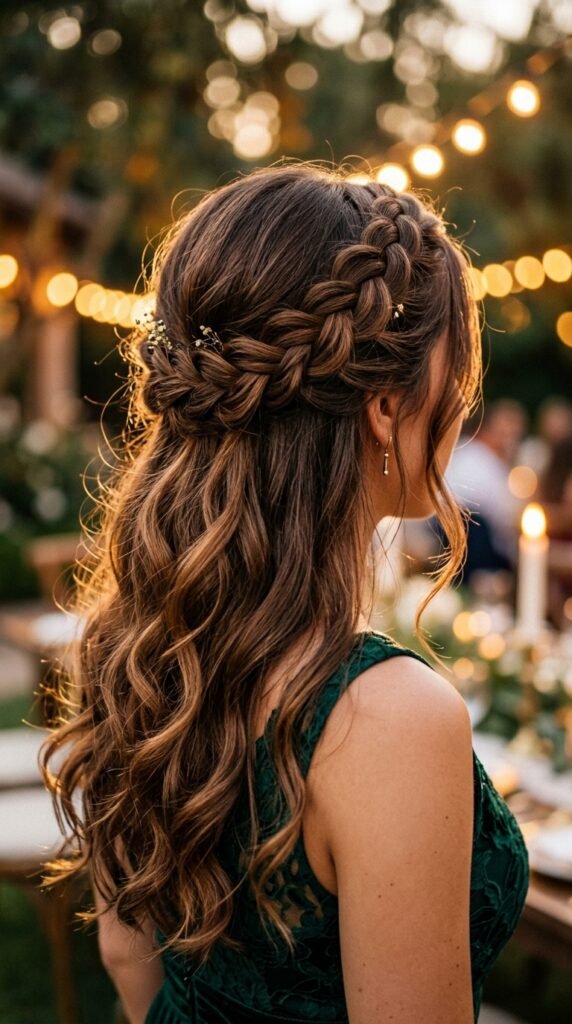
This is the style I recommend when you want the crown idea without committing to a full updo.
Braid two small sections from your temples back toward the middle, then join them into a tiny braid at the crown. Let the rest of your hair fall in loose waves.
Why it works:
- It keeps hair out of your face.
- It shows off your length.
- It photographs well from every angle.
Curling tip: wrap pieces away from your face for a softer, more romantic finish.
Rope Twist Crown for Fine Hair
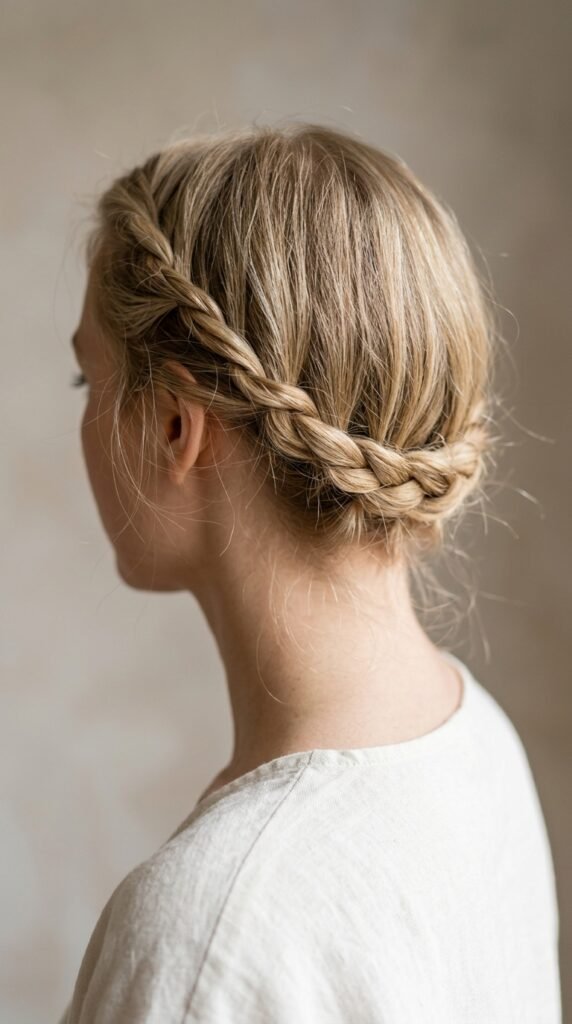
Fine hair loves a rope twist because it looks thicker than it is. A rope twist is just two strands twisted around each other, which doubles the visual volume.
Start at one temple, twist toward the back, and pin as you go. Then repeat on the other side and tuck the ends under.
Keep these in mind:
- Do not twist too tightly or it will look thin.
- Use dry shampoo at the roots for grip.
- Pin every few inches so nothing slips.
It is delicate, elegant, and perfect for a quiet dinner.
Sleek Fishtail Crown for Minimal Evenings
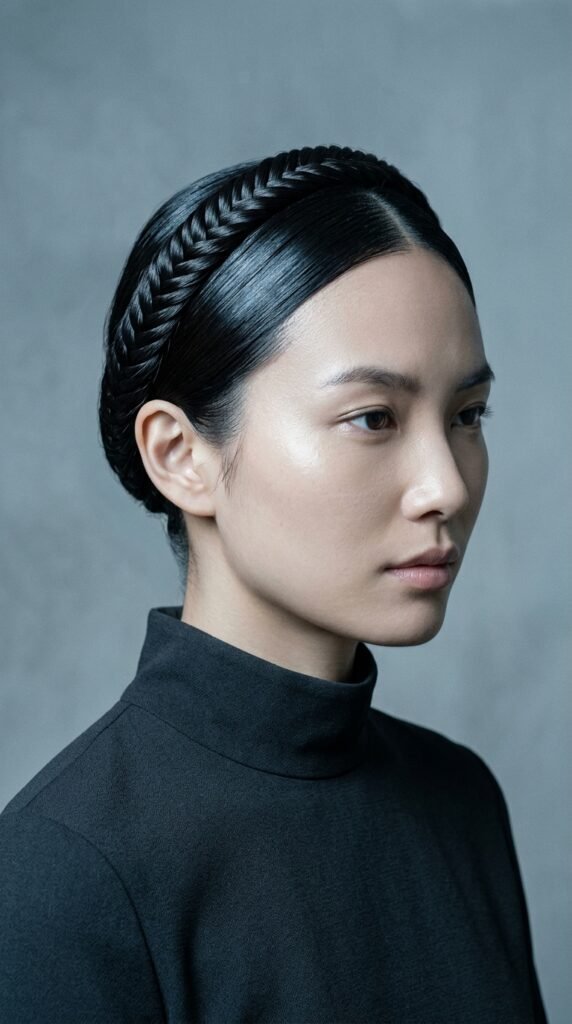
When you want drama without volume, go sleek. A fishtail crown is tight, smooth, and very modern.
Braid a fishtail along your hairline, working your way around your head in small, even sections. Keep it flat against the scalp for that polished finish.
To finish it:
- Run a drop of shine serum down the braid.
- Smooth flyaways with a soft brush and light spray.
- Pin the tail into a low bun at the back.
This pairs beautifully with a structured blazer dress or a column gown.
Romantic Goth Crown with a Velvet Ribbon
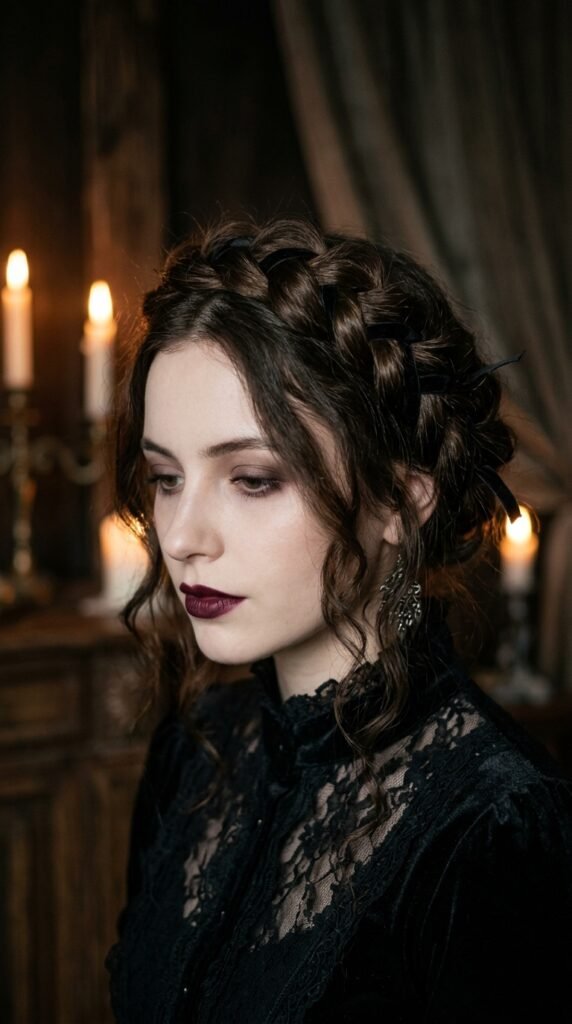
For my dark romantic girls, this one is everything. Romantic goth hairstyles are having a real moment in 2026, and a braided crown with black velvet ribbon is the easiest way in.
Braid a soft crown around your head, then weave a thin velvet ribbon through the braid as you go. Leave the ends long and trailing.
Style it with:
- Deep plum or burgundy lip color
- A lace sleeve or high neckline
- Smooth, shiny hair underneath
Keep the braid soft, not tight. Gothic is moody, not severe.
Glitchy Glam Hair Meets the Braided Crown
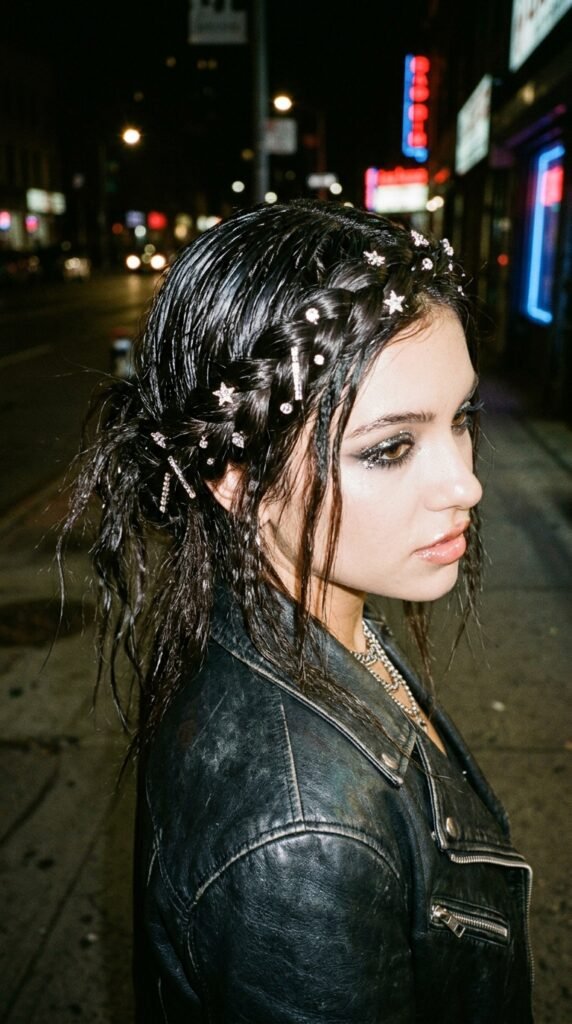
Glitchy glam hair is all about shine, contrast, and a little bit of edge. A braided crown is the perfect base because it gives you structure to play with.
Try a smooth crown braid with slicked roots, then add tiny crystal pins in an uneven line along the braid. The mismatch is the point.
Ways to push it further:
- Add a metallic temporary color spray on the ends.
- Use a high-shine gloss for a wet look at the roots.
- Mix in one thin braid that does not match the others.
Fun, modern, and made for a night out.
Vampire Haircut with a Hidden Crown Braid
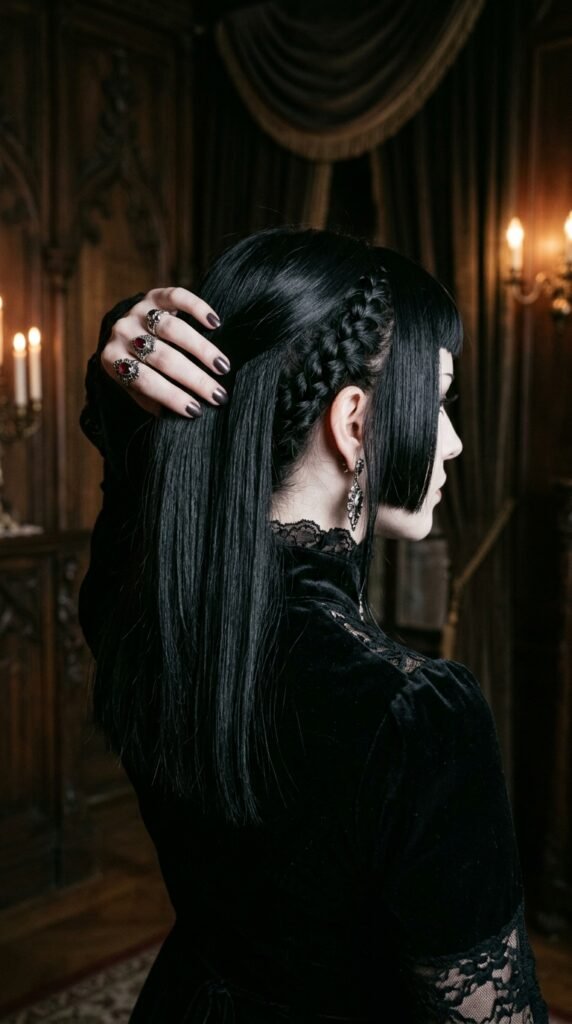
The vampire haircut — that sharp, layered, slightly gothic cut — looks amazing with a hidden crown braid.
A hidden crown is a tiny braid tucked underneath your top layer of hair. You see the shape and the lift, but not the braid itself. It is subtle and a little mysterious.
How to do it:
- Section off the top layer of your hair and clip it up.
- Braid a small crown along the mid-section.
- Release the top layer over the braid.
- Smooth and set.
Perfect for a dark, moody evening look.
Hime Cut with a Straight Crown Braid
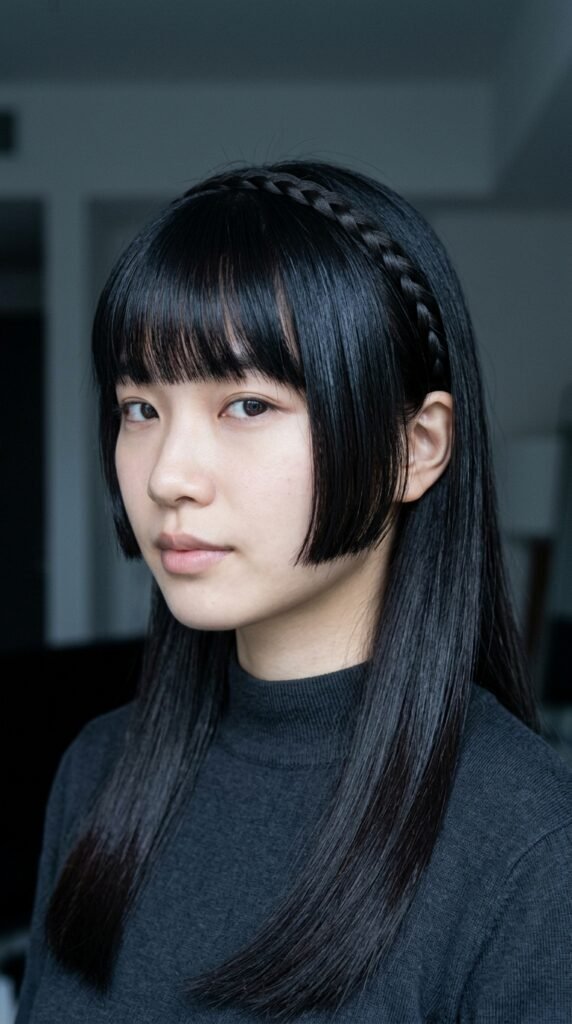
The hime cut — blunt sides with long straight back — is one of the most striking 2026 hairstyles, and it works beautifully with a straight, flat crown braid.
Keep the braid thin and even, and place it slightly back from your hairline so the blunt side pieces stay visible. That contrast is what makes the look.
Style notes:
- Flat-iron the ends for a crisp finish.
- Use minimal product so the hair stays swingy.
- Add a single hairpin for a subtle accent.
Modern, elegant, and very photo-friendly.
Asymmetrical Lob with a Side Crown
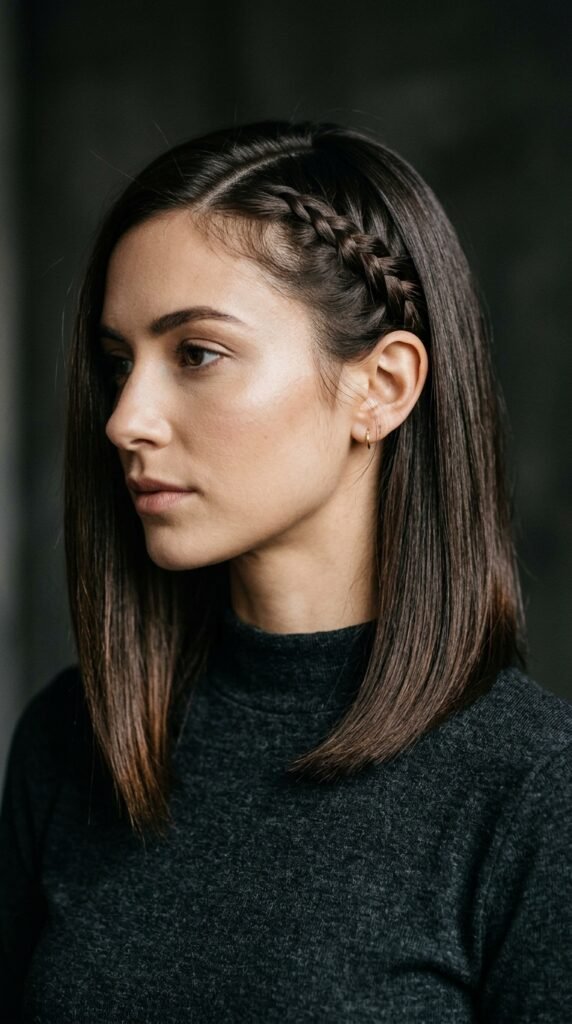
An asymmetrical lob has a natural advantage: one side is longer, so you can braid one side and let the other fall free. Instant balance.
Braid a crown from your part down toward the shorter side and pin it above your ear. Leave the longer side sleek and straight.
Quick tips:
- Braid the side with more hair for a cleaner line.
- Keep the braid small so it does not overwhelm the cut.
- Finish with a light oil for shine on the loose side.
Elegant, modern, and super flattering on angled jawlines.
Pearl-Pinned Crown for Weddings
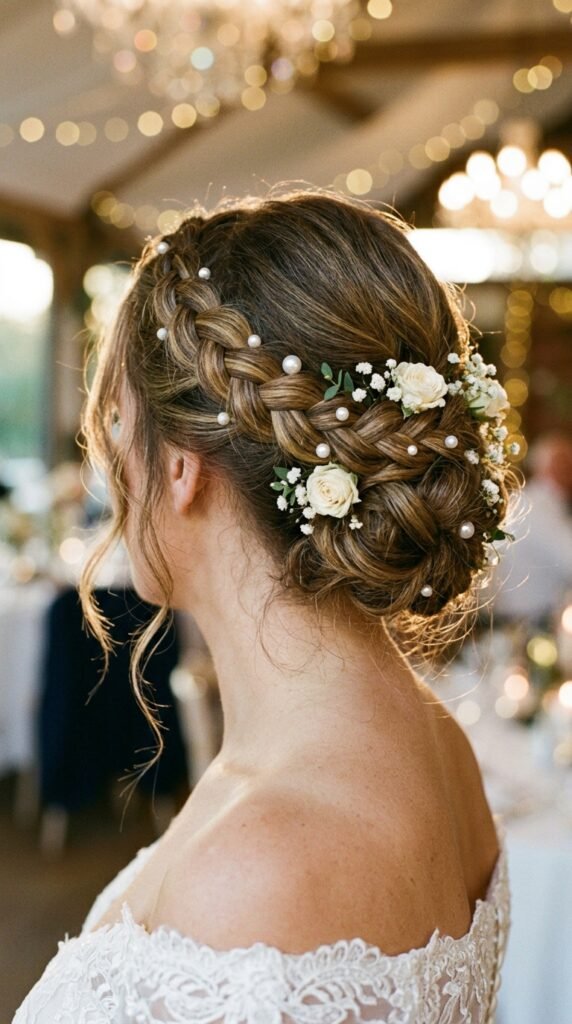
Pearls make everything feel more romantic, and they are the easiest upgrade for a braided crown.
Braid your crown as usual, then push small pearl pins into the twists every inch or so. Cluster a few near the top for a tiara effect.
Why brides love it:
- It holds all night.
- It works with a veil.
- It looks timeless in photos.
For guests, skip the veil and just wear the pearls. It is fancy enough for any celebration.
Fresh Flower Crown for Garden Parties
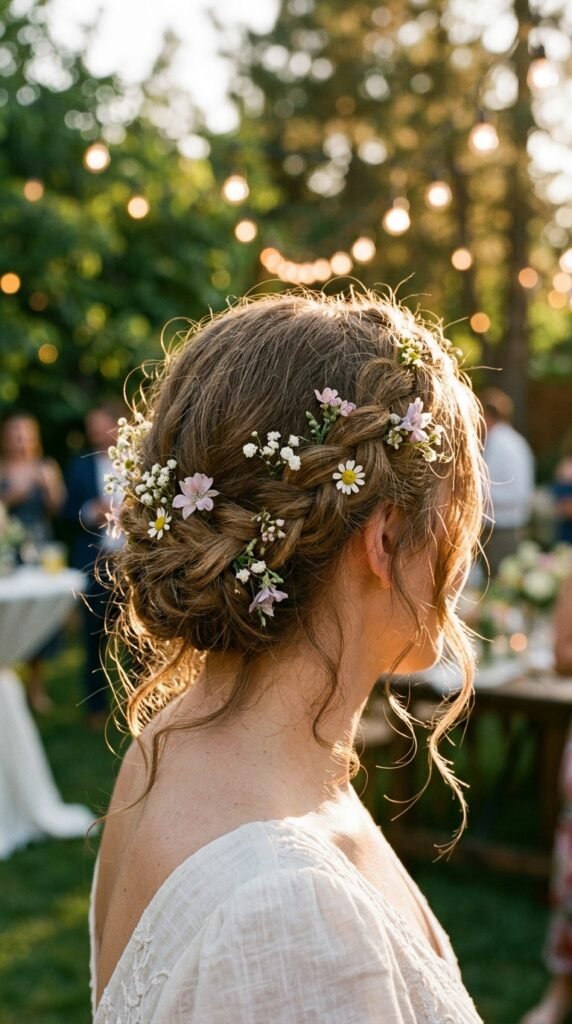
If your event is outdoors, fresh flowers beat hairspray every time.
Braid a soft, loose crown and tuck in small blooms as you go — baby’s breath, tiny roses, or dried lavender. Pin each stem carefully so nothing pokes.
Keep it simple:
- Two or three flower types max.
- Match the flowers to your dress, not the venue.
- Mist gently with water before you leave.
Soft, romantic, and very photo-ready.
Curly Crown Braid for Natural Texture
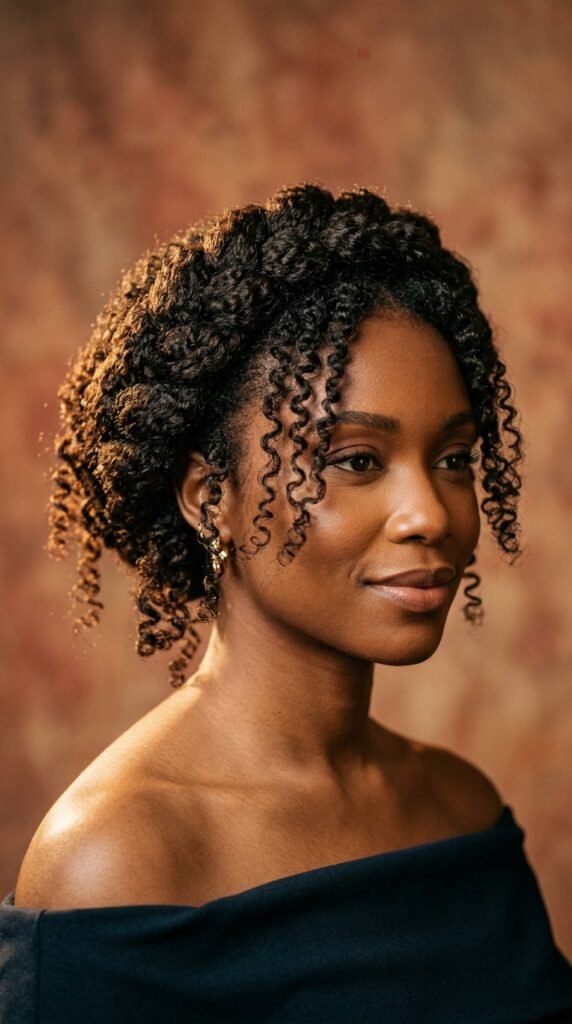
Curly and coily hair makes the most beautiful braided crowns because texture hides every pin and every gap.
Braid with your natural curls instead of stretching them first. Keep your sections small and add a little leave-in cream for hold.
A few things that help:
- Braid on damp, detangled hair.
- Use a gel with soft hold, not a hard one.
- Fluff the edges with your fingers when you finish.
The result is full, bouncy, and unbelievably pretty.
Crown Braid into a Bubble Ponytail
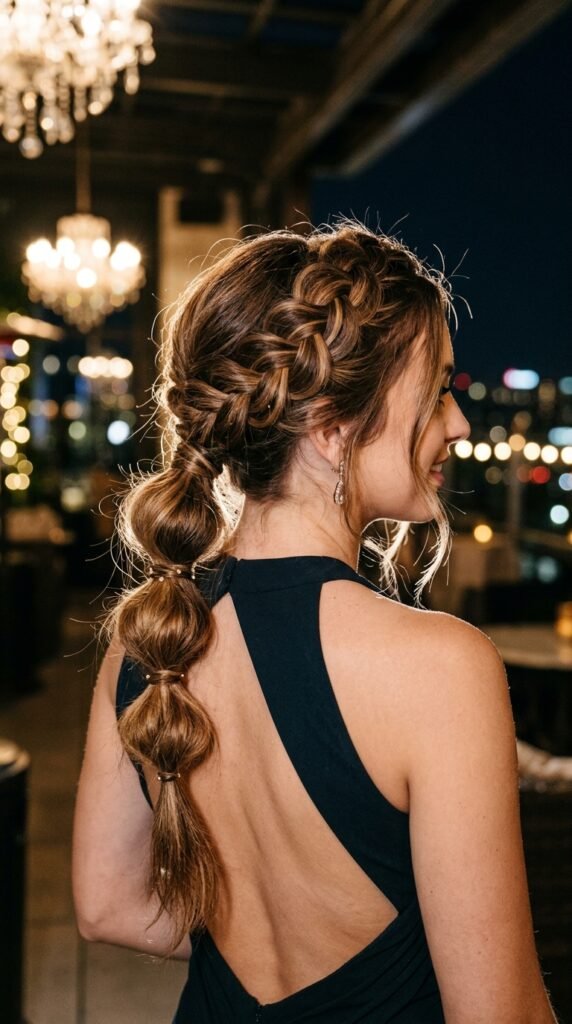
Want something fun and a little unexpected? Start with a crown braid and end in a bubble ponytail at the back.
Braid around your head, gather everything at the nape, then tie small elastics down the length of the ponytail and gently pull each section out into a bubble.
Helpful hints:
- Keep the crown part tight and the bubbles soft.
- Use clear or matching elastics.
- Add a ribbon at the base for a dressy touch.
Playful, but still elegant enough for an evening event.
Goddess Braid Crown for Very Long Hair
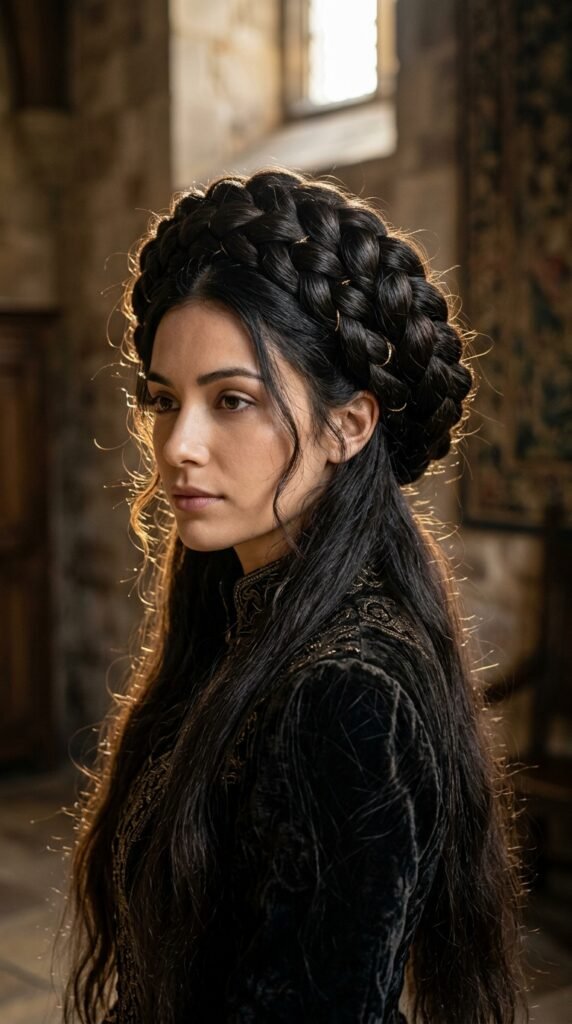
Long hair can handle the biggest, boldest crowns. The goddess braid is a thick, oversized braid that hugs the head and looks regal.
Take larger sections than usual and braid them loosely so the volume stays. Pin as you go around the head, tucking the tail underneath at the end.
Keep these in mind:
- Loosen each bump for that thick look.
- Use a few hidden pins, not a hundred.
- Set with a flexible spray.
This is a showstopper for formal nights.
Ribbon-Woven Crown for a Soft Romantic Look
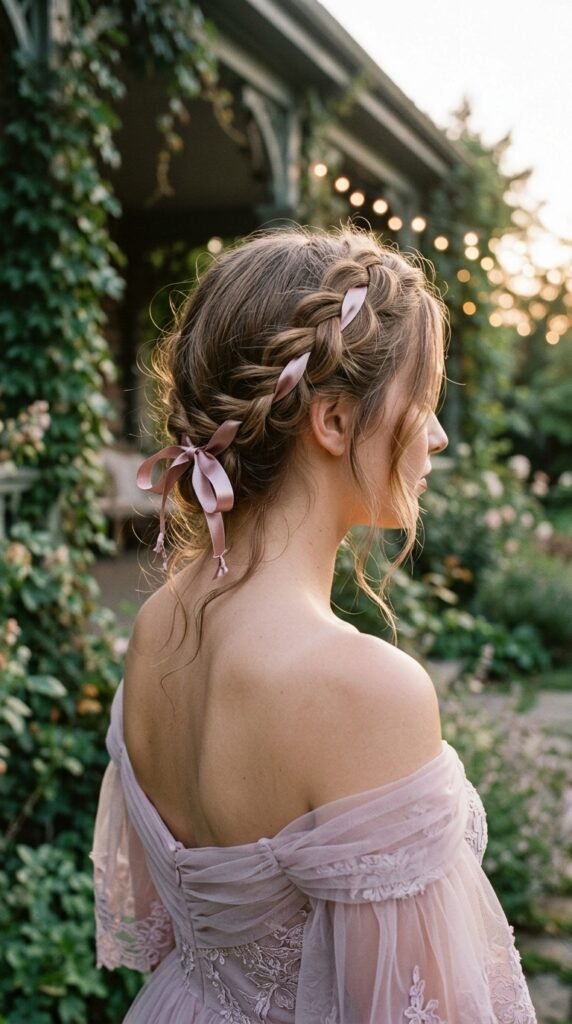
A ribbon woven through a crown braid instantly makes it look more romantic. It also holds the braid together, which is a nice bonus.
Choose a satin ribbon in a color that matches your outfit, then weave it through the braid with a small tapestry needle or your fingers as you braid.
Details matter:
- Thin ribbons for delicate looks, wide ones for bold looks.
- Leave the ends long and trim them at an angle.
- Satin reads dressy, velvet reads moody, grosgrain reads classic.
Simple, beautiful, and very you.
Micro Crown for Ultra-Fine Hair
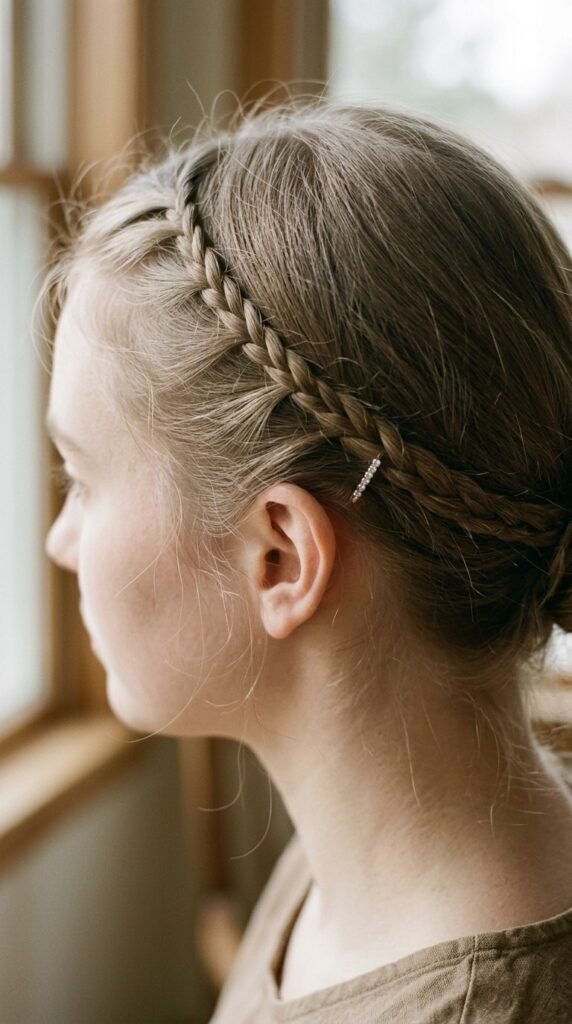
Ultra-fine hair does better with a smaller, more delicate crown than a thick braid.
Take very small sections and braid a thin crown close to the hairline. The smaller the braid, the more polished and intentional it looks.
Try this:
- Use a root-lift powder before you start.
- Backcomb the crown area gently.
- Pin with mini pins so nothing shows.
Add a tiny sparkly pin behind one ear for a little evening shine. Small and lovely. That is the whole idea.
Crown Braid for Shoulder-Length Hair
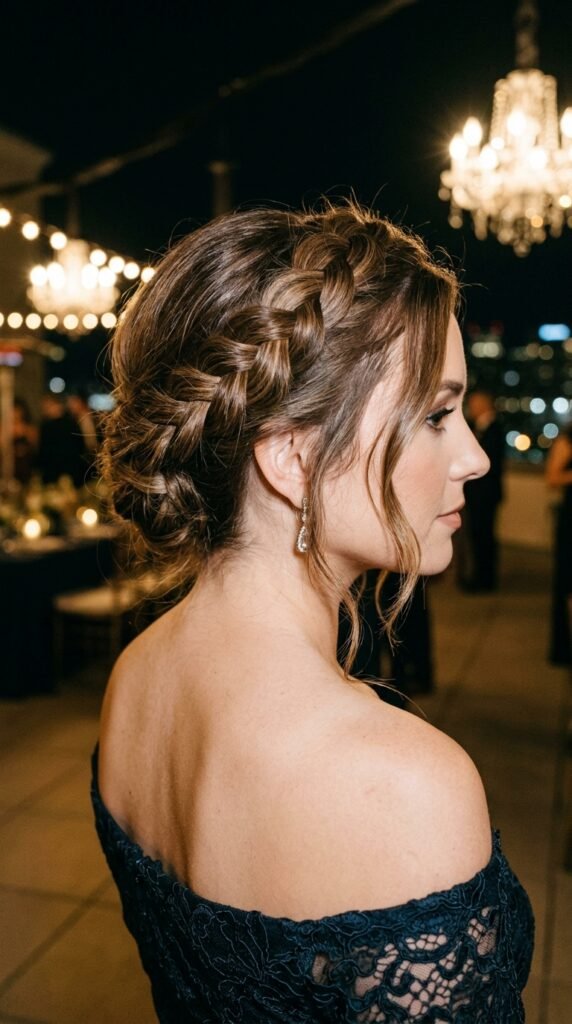
Shoulder-length hair is actually perfect for a crown braid, because the ends tuck easily.
Braid around your head, then instead of leaving a tail, tuck the ends under the braid at the nape and pin. No tail, no problem.
Tips for this length:
- Braid slightly tighter so the ends stay hidden.
- Use a tiny bit of wax on the ends for grip.
- Leave a few face-framing pieces loose.
Clean, romantic, and it stays put all night.
High-Shine Glossy Crown for Photos
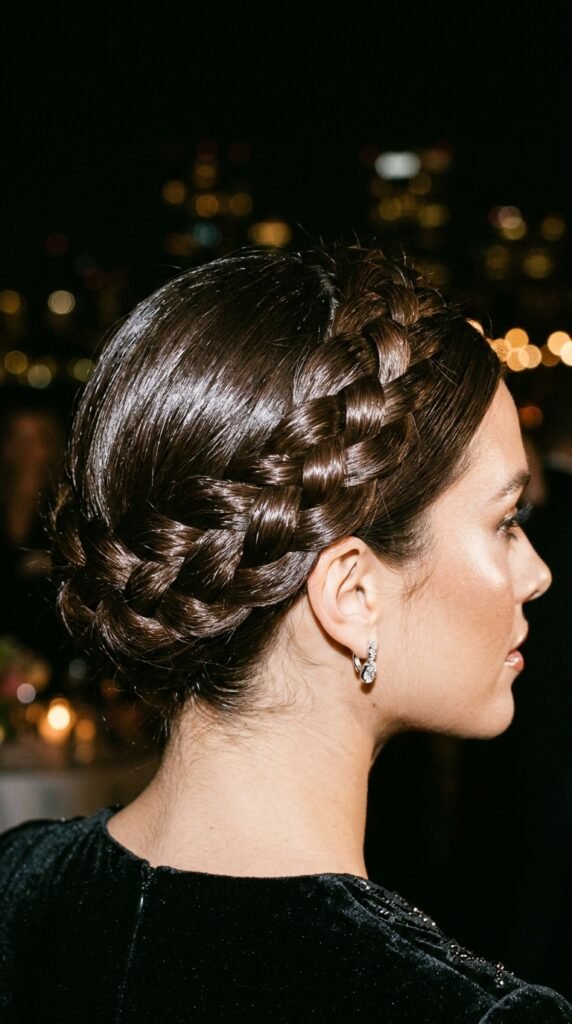
For a night with lots of flash photography, shine is your friend. A glossy crown braid reflects light and makes your whole look feel expensive.
Before braiding, work a few drops of shine serum through damp hair and blow-dry smooth. Braid a tight, even crown, then finish with a light gloss spray.
Keep these in mind:
- Skip matte products, they dull the shine.
- Do not overdo oil near the scalp.
- Touch up with a shine mist right before photos.
Glossy, sleek, and camera-ready.
Fast Fixes So Your Crown Lasts All Night
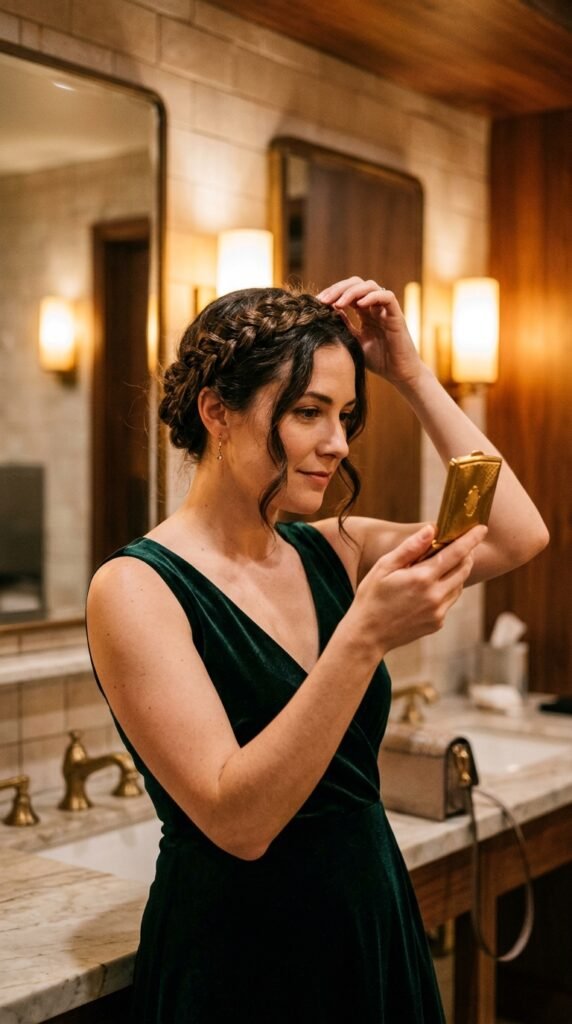
A braided crown is only as good as its hold. A few small tricks keep everything in place from the first toast to the last dance.
Do these before you leave:
- Pin at every turn, not just the ends.
- Mist with flexible hold spray and let it dry.
- Carry two bobby pins in your clutch just in case.
Quick fix if something slips:
- Find the loose section.
- Twist it back into place.
- Pin in an X.
Ten seconds in a bathroom mirror and you are good as new.
A Warm Goodbye From Me
There is something special about a braided crown. It is one of those rare styles that feels fancy and comfortable at the same time, and it works whether your night is a wedding, a birthday dinner, or just drinks with people you love.
Pick one style from this list, practice it once before the big night, and give yourself a little extra time for the details. The ribbon, the pins, the shine. That is what makes it feel like yours.
And if you try one, tell me how it went. I read every comment, and I love hearing what worked for you.
Save this post to Pinterest so you can find it the next time you have an evening event. Then drop a comment below and tell me which crown you are trying first — and which one you want me to break down step by step next!