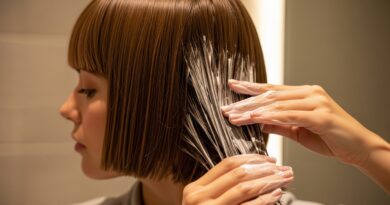
26 Sleek Center Part Styling Secrets For Symmetric Face Framing Looks
A center part sounds like the easiest thing in the world. Then you actually try it, and suddenly your roots fall flat, your face looks different, and you’re back to your side part in thirty seconds.
I’ve been there. But here’s the truth I’ve landed on: a sleek center part is one of the most flattering, face-framing, quietly expensive-looking moves you can make in 2026. It just needs a few small tricks.
That’s exactly what this post is. Twenty-six secrets — cuts, products, blow-dry moves, and face-shape fixes — that make a center part look intentional instead of accidental.
Grab a tail comb and read fast. You’ll have your best center part by tomorrow morning.
1. Why the Center Part Is the Quiet Luxury Move of 2026

A center part isn’t just a part. It’s a signal. It says polished, symmetrical, and put-together without trying too hard.
That’s why it’s everywhere in the 2026 hairstyles conversation. It’s the base layer of old money hair, the finishing touch on a quiet luxury bob, and the fastest way to make any cut look deliberate.
And here’s the best part: symmetry is built in. When your hair splits evenly down the middle, your face automatically reads more balanced. No contouring, no filters, no tricks.
2. Find Your Real Center Before You Style
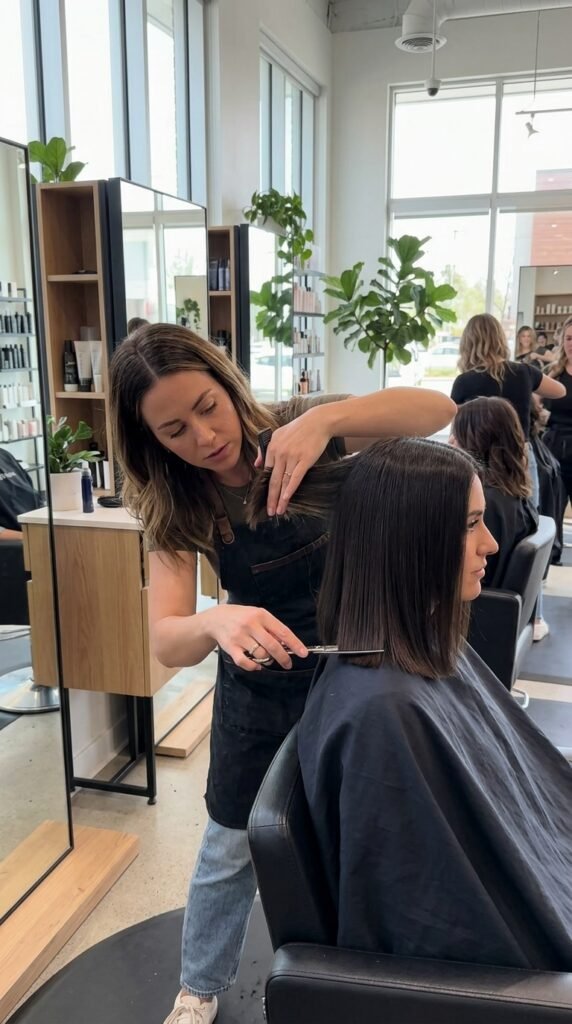
Before you buy a single product, find your actual center. Most of us work with a part that’s a centimeter off, and it throws the whole look sideways.
Here’s how I do it:
- Place a tail comb at the bridge of your nose.
- Drag it straight back over your crown.
- See where it lands at your hairline. That’s your true center.
- If a cowlick fights you, shift half an inch and work with it.
Snap a quick photo. The camera catches what the mirror forgives.
3. The Cut That Makes a Center Part Effortless

The cut matters more than the styling. A great center part starts with hair that actually wants to fall that way.
Ask your stylist for one of these:
- Blunt or barely-layered lob — heaviest, sleekest, and the easiest to keep symmetrical.
- Soft long layers starting below the chin, so they frame without breaking the line.
- Face-framing pieces that angle slightly away from your cheeks.
Bring two photos: one center part you love, one that scares you. That one conversation saves months of regret.
4. The 5-Minute Blow-Dry That Sets the Part

You don’t need a salon blowout for a crisp part. You need five minutes and a nozzle.
- Rough dry until hair is about 80 percent dry.
- Comb your center part into place with a tail comb.
- Point the nozzle straight down the part line, front to back.
- Finish with ten seconds of cold air.
That downward air flattens the roots right at the split, which is what makes a part look sharp instead of fuzzy. Do it once and you’ll never skip it again.
5. Set the Part With a Tail Comb While Hair Is Damp

Timing is everything. Part your hair when it’s damp — not dripping, not bone dry.
Damp hair holds a new part. Dry hair snaps back to old habits, and soaking wet hair just slides around while you chase it.
- Towel dry first, then comb.
- Use the end of a tail comb, not your fingers. Fingertips create frizz.
- Press the comb flat along the scalp for a clean line.
If your part keeps wandering back, you probably set it at the wrong dampness level. Try again tomorrow.
6. The Cold Shot Trick for All-Day Sleekness

Cold air is the most underrated tool in your bathroom. It’s free and it works.
Heat opens the hair cuticle. Cold closes it. When you finish your part with a cold shot, the cuticle lays flat, light bounces off it, and the sleek look lasts hours longer.
- Ten seconds down the part line.
- Five seconds on each side of the crown.
- Use cold air to finish your whole style, too.
If you wear a quiet luxury bob, this step is what makes it look expensive instead of just short.
7. Face Framing Pieces: Your Symmetry Secret Weapon

Symmetry doesn’t mean boring. It means balanced, and face-framing pieces are how you get there.
Ask for two pieces that start around your cheekbone and end between your chin and collarbone. Keep them angled slightly outward, away from your face.
Why it works:
- They soften a strong jaw without hiding it.
- They add width exactly where round faces need it.
- They give a center part movement instead of a flat curtain.
Keep both sides the same length for a clean, symmetrical finish.
8. The Quiet Luxury Bob With a Center Part

The quiet luxury bob is the center part’s best friend. Chin to collarbone length, blunt or barely layered, and glossy enough to reflect light.
Style it sleek with a middle part and a little shine oil on the ends. Or add a soft bend with a round brush so it moves when you walk.
Keep the part razor sharp. That contrast — soft hair, sharp line — is what makes it look intentional instead of unfinished. Pair it with a tucked-in white shirt and you’ve got a whole mood.
9. Old Money Hair: Soft Bend, Sharp Part
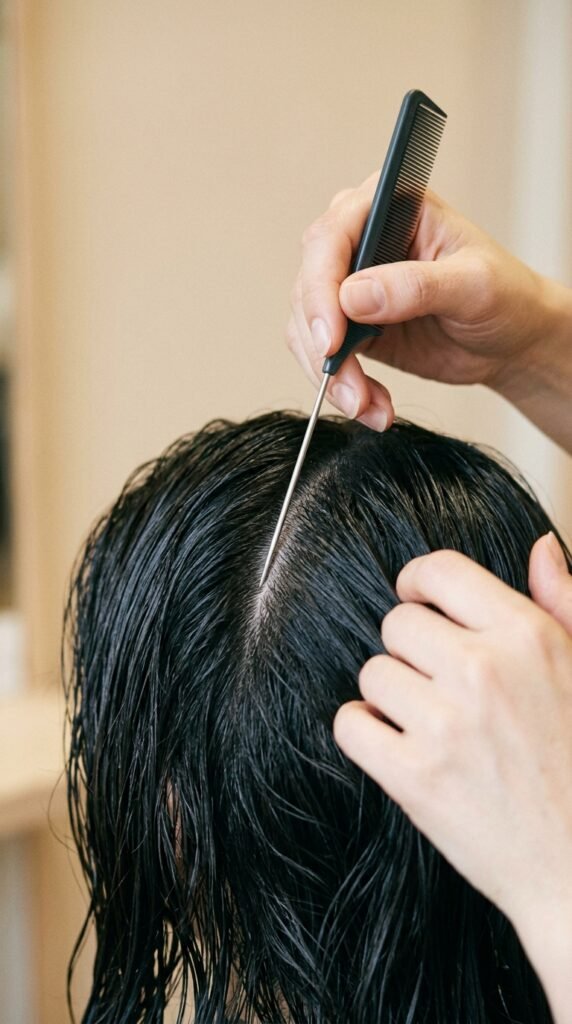
Old money hair isn’t about money. It’s about looking like you’ve never rushed a single morning in your life.
The formula: a clean center part, a big soft bend through the mid-lengths, and absolutely zero tight curls.
- Blow-dry with a large round brush, pulling sections up and away.
- Set each section with cold air before you release it.
- Finish with a light mist of flexible spray, never a crunchy one.
The part should look drawn, not sprayed. Soft, expensive, effortless.
10. The Asymmetrical Lob, Centered Anyway
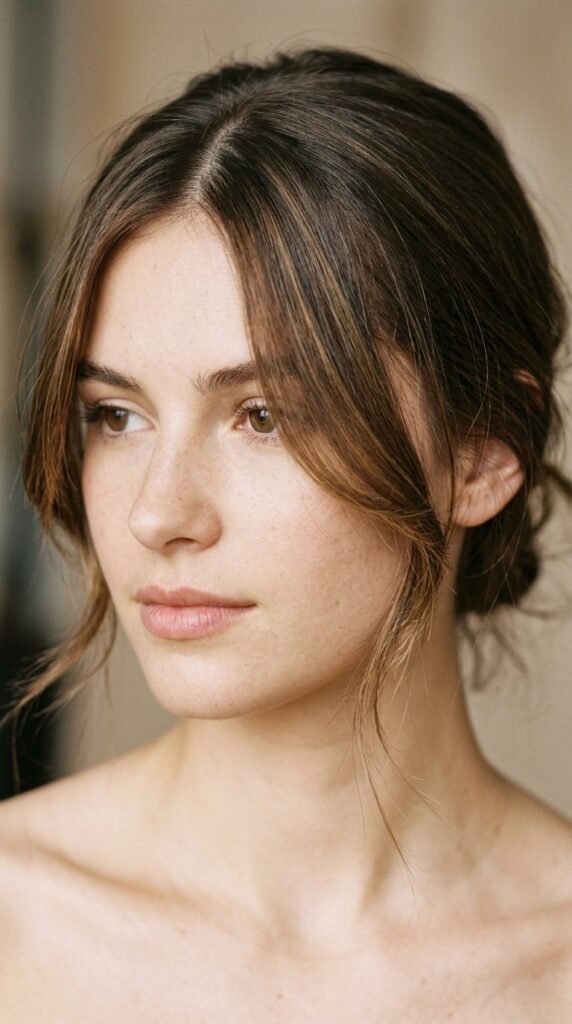
An asymmetrical lob usually leans on a deep side part. Here’s the twist: a center part makes it look even better.
When the cut is uneven and the part is even, your eye reads balance instead of chaos. It’s the easiest way to wear an edgy shape without looking like you got caught in the wind.
- Keep the longer side sleek and tucked behind the ear.
- Let the shorter side fall forward with a soft bend.
- Skip heavy layers near the part line.
Symmetric part, asymmetric cut. That tension is the whole trick.
11. Hime Cut Center Part for Bold Symmetry
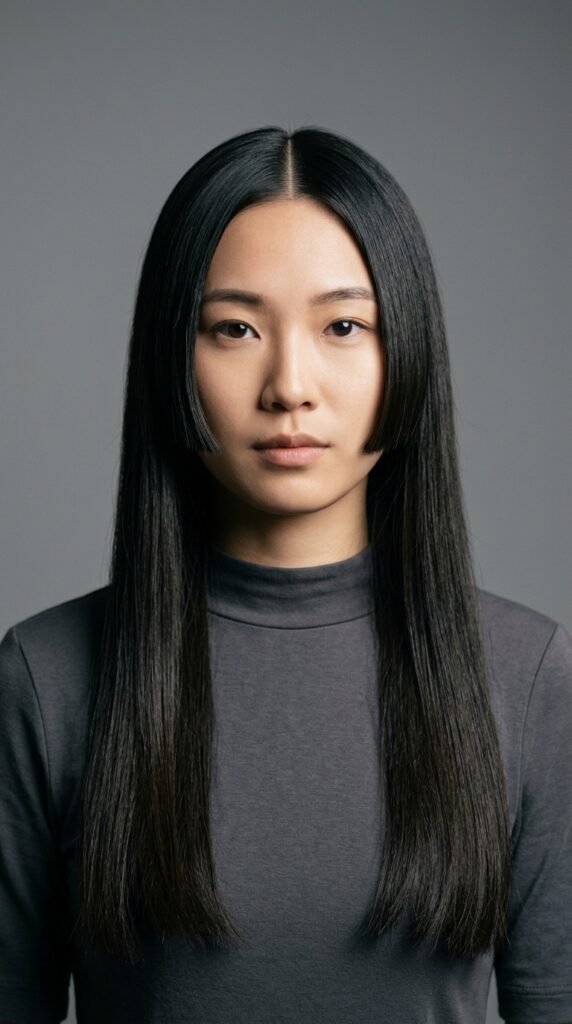
The hime cut is having a real moment, and it’s built for a center part.
If you don’t know it: blunt cheek-length side pieces in front, longer hair in back, sharp center part. Bold, symmetrical, instantly recognizable.
Make it work for you:
- Ask for blunt side pieces that hit at your cheekbone or jaw.
- Keep the back blunt or lightly layered. Nothing busy.
- Style it straight and sleek, or add a tiny bend to soften it.
It reads editorial, but honestly it’s one of the easiest shapes to style.
12. Romantic Goth Hairstyles With Slick Center Roots

Romantic goth hairstyles love a center part. Slick roots, soft ends, and a little darkness. That’s it.
Start with your sharp middle part and press the roots flat with a light gel or pomade. Then let everything from the ears down stay soft, wavy, or slightly undone.
Three ways to wear it:
- Slick top with loose waves.
- Two soft braids framing the face.
- Half-up with a matte black clip.
The contrast between sleek and soft is what makes it romantic instead of severe.
13. Glitchy Glam Hair: Shine, Part, Done

Glitchy glam hair is the fun, slightly weird cousin of sleek hair. High shine, sharp part, one unexpected detail.
Start with a clean center part and a glossy finish. Shine spray on the mid-lengths, a little oil on the ends. Then add the glitchy part.
- Two tiny clips placed just off-center.
- One silver pin on one side only.
- A wet-look root that stops abruptly mid-head.
Keep the base simple. The look depends on one crisp part holding everything together.
14. The Vampire Haircut and the Center Part

The vampire haircut is moody, dark, and blunt, and yes, it needs a center part.
Picture a sharp collarbone-length cut with heavy straight ends and deep color. The middle part gives it that quiet, unnerving symmetry that makes the whole look land.
Styling tips:
- Keep it straight and glossy.
- Press the roots flat with light gel.
- Add a soft bend at the very ends so it doesn’t look stiff.
Pair it with a dark lip and you’re set for the whole season.
15. Sleek Center Part for Round Faces

Round faces and center parts are a great match when the volume sits in the right place.
Your goal: height at the crown, less width at the cheeks.
- Blow-dry the top sections upward for lift.
- Keep the sides close to your head, not puffed out.
- Add face-framing pieces that fall below your chin.
Skip blunt cheekbone-length layers. They add width exactly where you don’t want it. Aim for length that visually stretches your face, like a collarbone lob or longer.
16. Center Part for Heart-Shaped Faces

Heart-shaped faces have a wider forehead and a narrower chin. A center part works beautifully if you balance the bottom half.
The idea: add a little width near your jaw and keep the top calm.
- Ask for soft layers that kick out around the chin.
- Keep face-framing pieces below your cheekbones.
- Skip heavy crown volume. It emphasizes a wide forehead.
Side-swept bangs are optional and forgiving if you want to soften the hairline without giving up your part.
17. Long Faces: Softening the Center Part

Long faces can absolutely wear a center part. You just soften the vertical line instead of celebrating it.
Try one of these:
- A slight off-center part, just half an inch, to break the strict line.
- Soft bends through the mid-lengths for horizontal movement.
- Volume at the sides rather than the crown.
Curtain bangs are your secret weapon here. They cut the length visually and add width where you need it. Keep everything blended so nothing looks like a hard stop.
18. Square and Angular Faces: Balance It Beautifully

Square and angular faces look incredible with a sleek center part, as long as you soften the edges.
Lean into waves that start at your cheekbones, not your jaw. That gentle curve pulls attention toward the middle of your face instead of a strong angle.
- Blow-dry with a round brush, curving sections inward.
- Keep the part clean and straight.
- Leave the ends soft and slightly undone.
Sharp part, soft shape. That’s the balance for angular features.
19. Products That Hold a Center Part Without Crunch
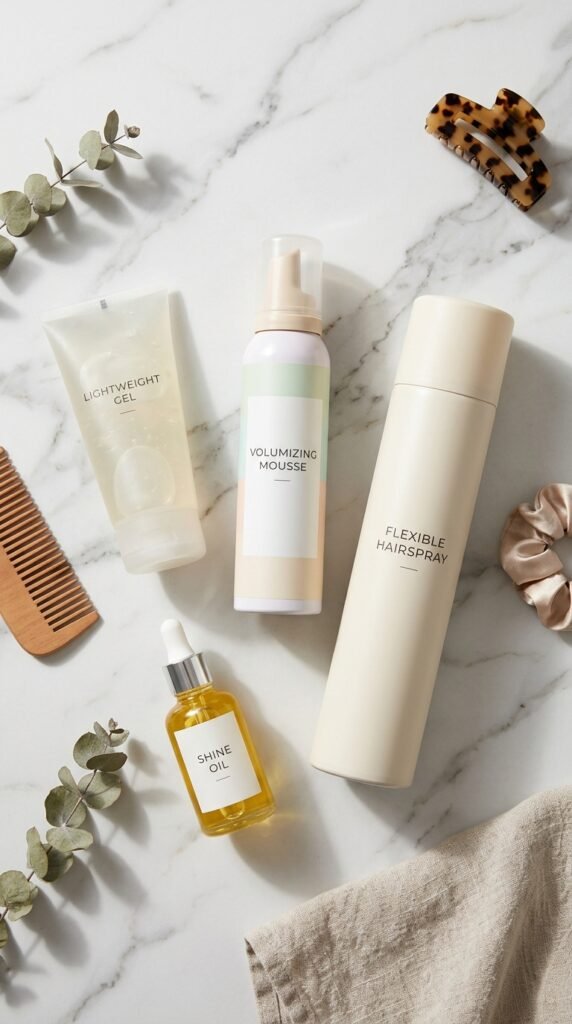
You want hold, not helmet. Here’s what actually works on a center part.
- Lightweight gel — for slick roots and clean lines.
- Volume mousse — for lift at the crown before you blow-dry.
- Flexible hairspray — mist from ten inches away, never soak the roots.
- Shine oil or serum — ends only, never the part line.
One rule: keep product off your scalp near the part. That’s where grease builds and your sleek look starts looking tired.
20. Beat the Greasy Center Part

The greasy center part is a real problem, and it shows up fast because the part line sits right on your scalp.
Fix it before it starts:
- Spray dry shampoo at the roots the night before, not in the morning.
- Keep your hands off your hair. Touching spreads oil.
- Clean your comb and brush regularly.
- Skip heavy conditioner at the roots in the shower.
If you’re already oily, a tiny bit of translucent powder along the part line works wonders. It disappears and soaks up shine instantly.
21. Heatless Overnight Sets for a Center Part

You can set a beautiful center part while you sleep. No heat, no damage, no morning rush.
- Part your hair down the middle while it’s slightly damp.
- Twist each side into a loose bun or braid.
- Secure with a silk scrunchie, not a tight elastic.
- Wrap with a satin scarf or sleep on a satin pillowcase.
Wake up, unwind, and you’ve got soft volume with a part that stayed exactly where you put it. It’s the laziest good-hair habit I have.
22. Sleek Center Part Updos for Busy Mornings
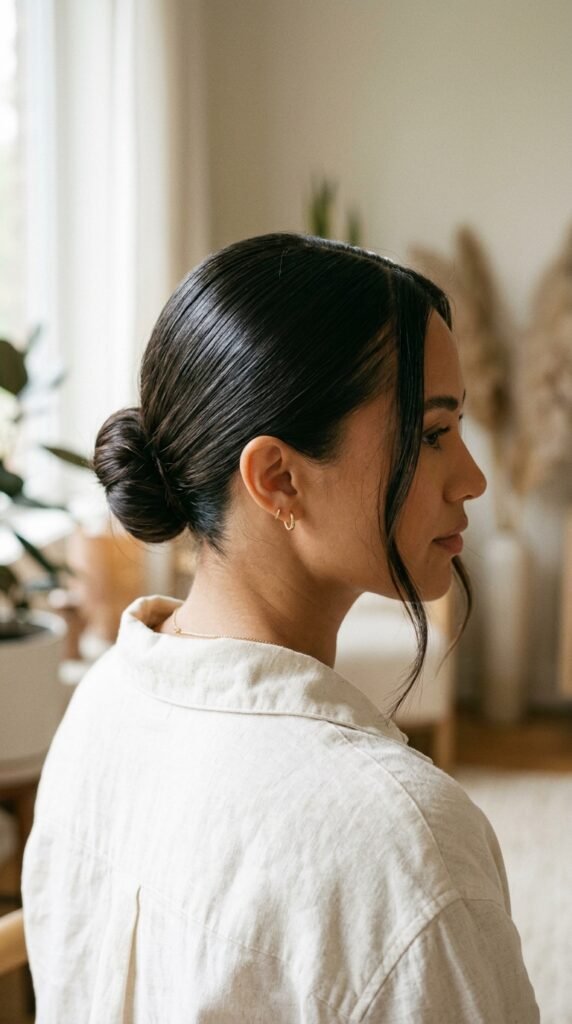
A sleek center part makes even the simplest updo look expensive. On busy mornings, this is my go-to.
Three fast options:
- Low sleek bun — smooth the top with a little gel, twist, pin, done.
- Claw clip twist — gather at the nape, clip, pull two face-framing pieces forward.
- Half-up — take the top section back, clip it, leave the rest down.
Keep the part crisp and the sides smooth. The contrast between polished and relaxed is what makes it look styled.
23. Accessories That Elevate a Simple Center Part
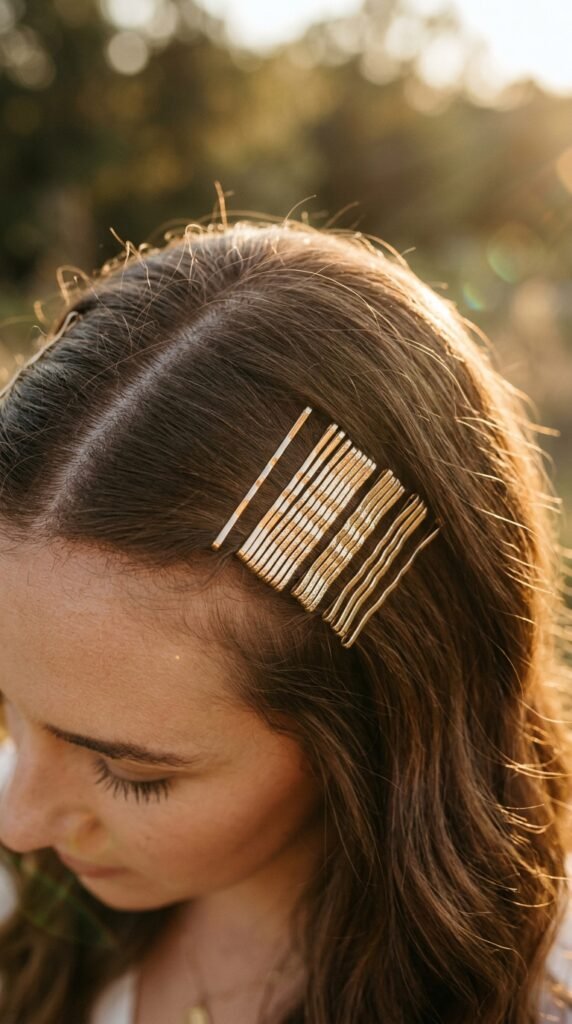
One good accessory can turn a plain center part into a whole look.
- Gold or silver pins placed along one side of the part.
- A silk scarf tied at the crown or worn as a headband.
- Flat claw clips in tortoiseshell or pearl for half-up styles.
- Small pearl studs near the part line for something subtle.
Keep placement symmetrical for a balanced feel, or deliberately offset for a modern edge. Either way, the center part stays the star.
24. Tuck Behind the Ears the Right Way

Tucking hair behind your ears can make or break a center part. Do it right and your cheekbones show up. Do it wrong and your face looks wider.
The trick: tuck the front section only, then pull one slim piece forward on each side.
- Tuck from the part line back to just behind your ear.
- Leave a face-framing piece loose in front.
- Keep both sides even for symmetry.
That loose piece keeps it soft. It also hides regrowth and cowlicks near your hairline.
25. Day-Two Refresh and Humidity Rescue

Humidity and day-two hair are the two biggest center part killers. Here’s how to handle both.
For a refresh, don’t redo everything. Just re-wet the part line with a damp comb, blow-dry it down, and hit it with cold air.
- Dry shampoo at the roots for oil.
- A light mist of water and a comb to reset the line.
- A drop of serum on the ends to bring back shine.
On humid days, finish with a light anti-humidity spray and keep your hands off your hair.
26. Center Part Mistakes to Skip (Plus Your 10-Minute Checklist)
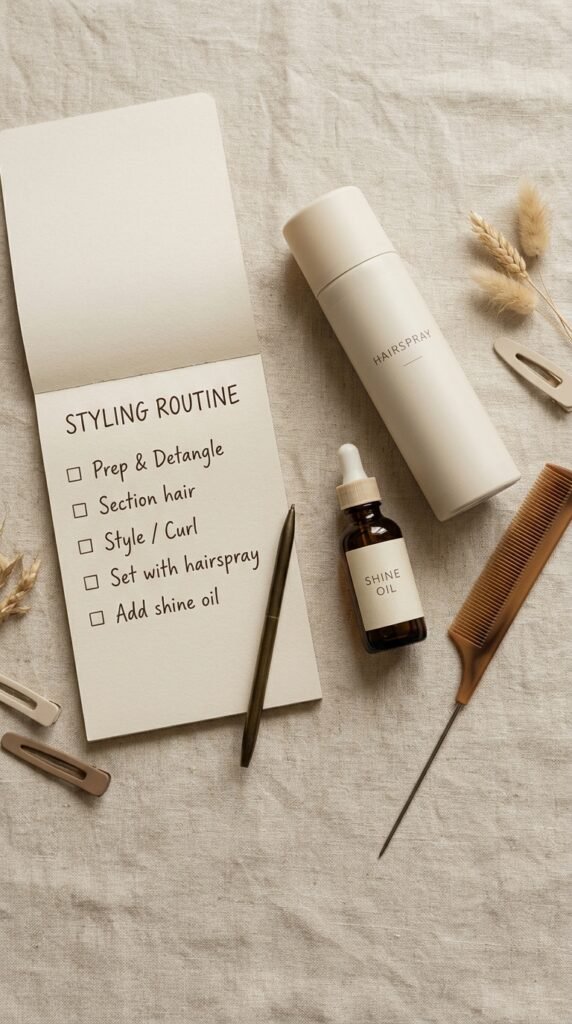
Let’s end with the mistakes that quietly ruin a good center part, plus your quick checklist.
Skip these:
- Parting soaking wet hair and expecting it to stay.
- Piling heavy product right on the part line.
- Cutting blunt layers at cheekbone height on a round face.
- Forgetting the cold shot.
Your 10-minute routine: part on damp hair, comb it clean, blow-dry down the line, cold shot, a little oil on the ends, light mist of spray. Symmetrical, sleek, done.
Your Center Part, Your Signature
Here’s what I keep coming back to: a center part isn’t about following a rule. It’s about framing your face the way you want to be seen.
Pick two or three tricks from this list and practice them this week. Maybe it’s the cold shot. Maybe it’s the face-framing pieces. Small moves, big difference.
And if your part still fights you some mornings, that’s normal. Hair has moods, and you’ll get faster at it.
Save this post to Pinterest so you have it the next time you’re standing in front of the mirror at 7 a.m. Then tell me in the comments: are you team center part, or still loyal to your side part? I read every single one.