27 Polished Long Haircut Layers Emphasizing Healthy Reflective Hair Shine
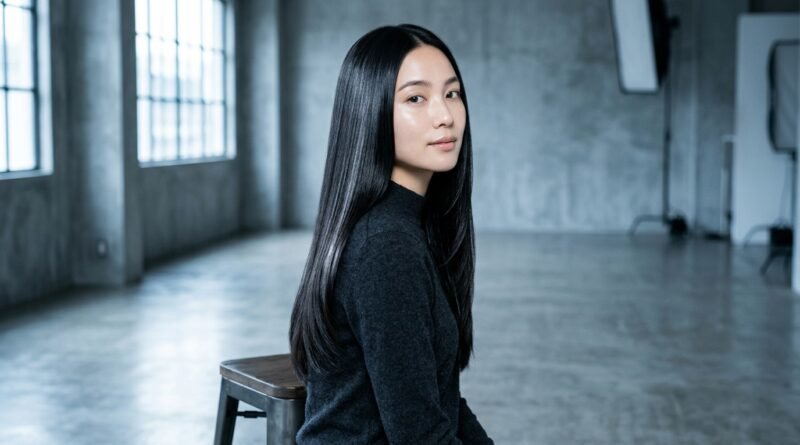
Long hair is having a moment in 2026, but not the frizzy, over-layered kind we all survived in high school. We’re talking polished, reflective, healthy long hair that catches light every single time you turn your head.
Here’s the thing. Layers are the secret. Cut right, they lift weight off your ends, add movement, and make your shine bounce around your face. Cut wrong, they go stringy and thin and you’re stuck with a ponytail for six months.
So I pulled together 27 polished long haircut layers — from old money hair to butterfly layers to the vampire haircut — plus the simple care routine that keeps them glossy between salon visits.
Grab a coffee. Let’s find your next cut.
1. Why Layers Are the Real Secret to Shiny Long Hair

Shine isn’t just about products. It’s about how light hits your hair. One blunt slab of long hair reflects light in one flat plane. Layered hair reflects it from multiple angles, which reads as glow.
Layers also remove weight, and heavy hair goes limp at the roots. Lift equals bounce, and bounce equals visible shine.
- Flat hair = flat light
- Movement = sparkle
- Less weight at the crown = more root lift
So before you buy another gloss serum, look at your cut first. The shape does half the work.
2. The 2026 Long Layer Look: Quiet Luxury Shine
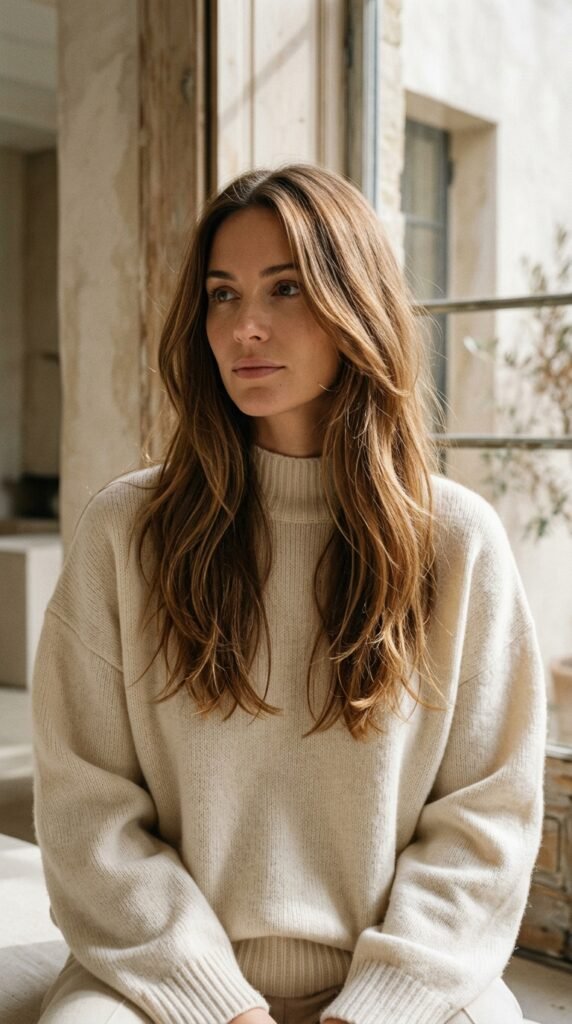
Quiet luxury hair in 2026 is not about obvious chunky layers. It’s about layers you can barely see. The silhouette stays long and smooth, but there’s softness around the face and a little lift through the crown.
Think of it like tailoring. Nothing loud. Everything intentional.
- Keep the perimeter long and clean
- Add invisible internal layers for movement
- Soft face-framing pieces starting at the cheekbone
This is the cut I recommend to anyone who wants 2026 hairstyles that still look great in 2030.
3. Face-Framing Layers That Flatter Every Face Shape

Face-framing layers are the hardest-working pieces in your whole cut. They decide how your face reads in photos and how your cheekbones catch light.
The rule is simple. Start them where you want attention.
- Round face: start below the chin to lengthen
- Square face: soft, curved pieces to balance the jaw
- Heart face: start at the cheekbone and taper down
- Oval face: almost anything works, lucky you
Ask for a soft blend, not a hard step. Hard steps look dated fast.
4. Old Money Hair: Long Layers With Zero Fuss
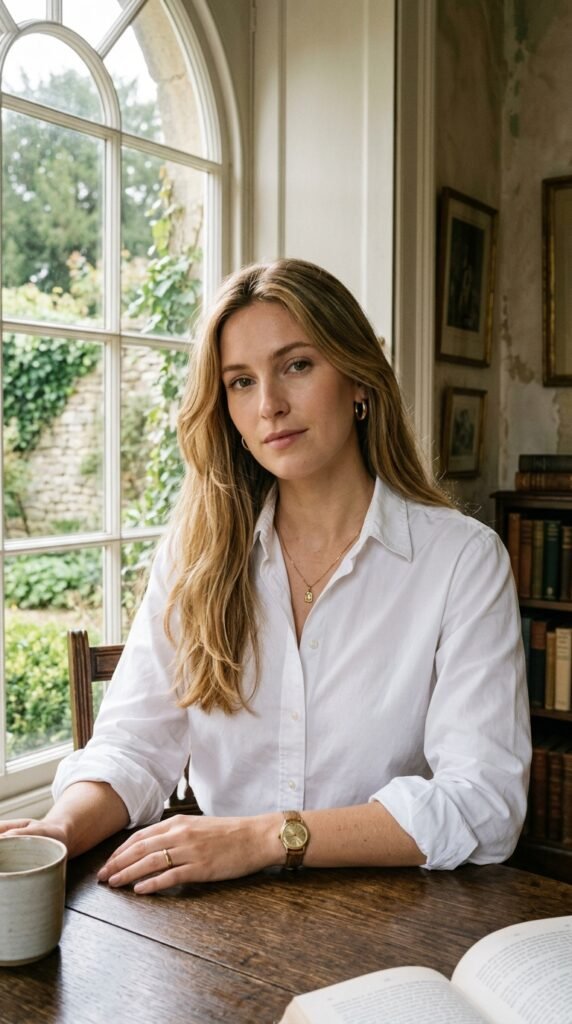
Old money hair is my favorite trend because it never actually leaves. It’s glossy, healthy, and slightly undone. Never over-styled, never crunchy, never trying too hard.
The cut is usually a soft U-shape with long, invisible layers. The color stays close to your natural tone with subtle dimension.
- Long, blended layers only
- Blunt-ish ends so it still looks full
- Gloss treatment every 8 to 10 weeks
Pair it with a center part and a silk scarf. That’s the whole formula.
5. Long Layers for Fine Hair That Needs Volume
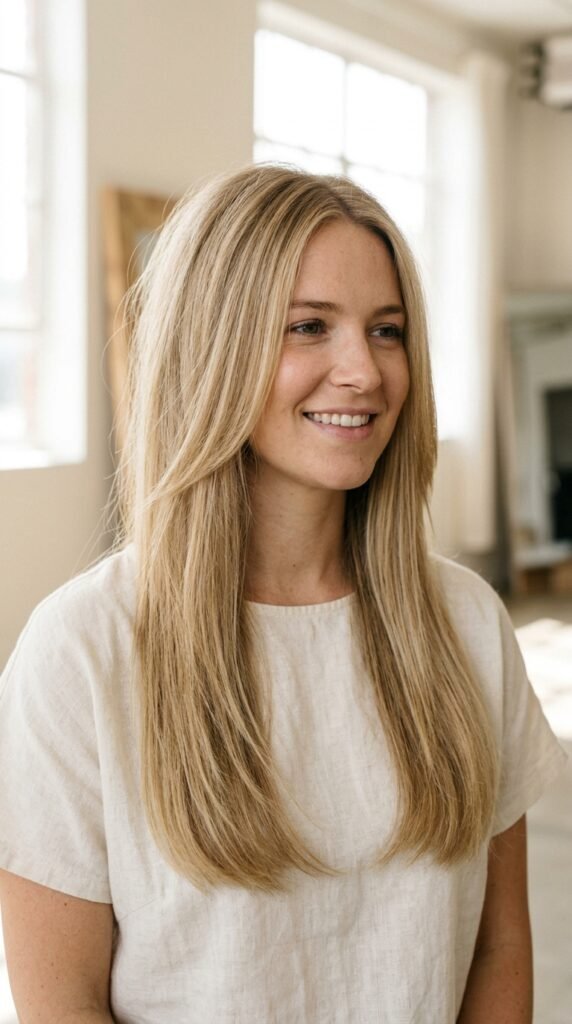
Fine hair and long layers can be best friends, or total enemies. The difference is placement.
Skip anything short near the crown. Short layers on fine hair create frizz-looking wisps and thin ends. Instead, ask for long internal layers that stay inside the shape.
- Keep all layers below the collarbone
- Ask for point-cutting, not thinning shears
- Add a few invisible layers at the crown for lift
Then use a lightweight volumizing mousse at the roots and nothing heavy on the ends.
6. Long Layers for Thick Hair That Feels Heavy
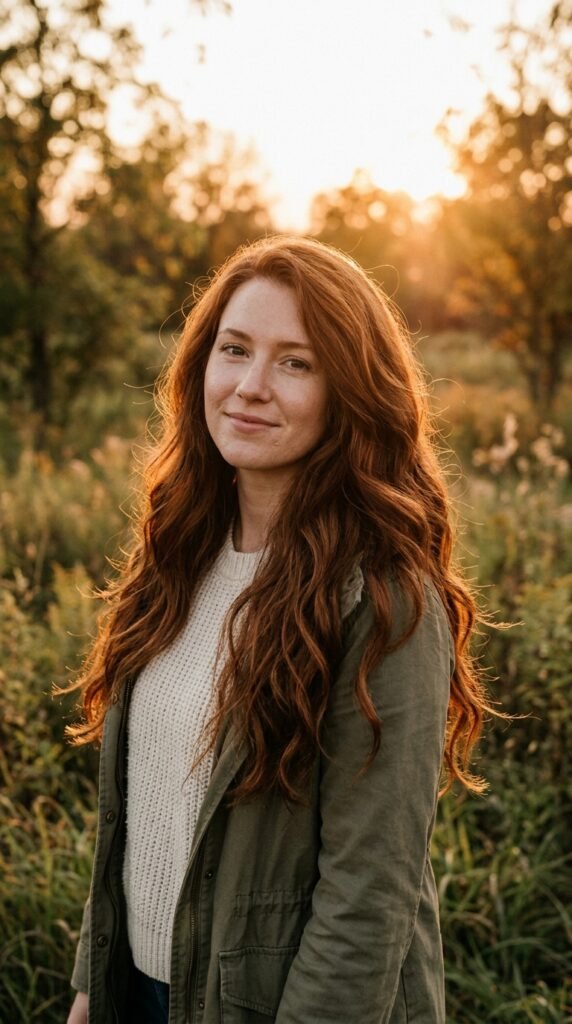
Thick hair is a gift, but long thick hair can feel like a curtain. Layers are how you get it to move and shine instead of sitting there.
You can go bolder here. Your hair has the density to support visible layers.
- Long graduated layers through the mid-lengths
- Slight texturizing at the ends
- Keep the face-framing pieces soft and blended
This gives you that hair-flip moment without losing length. It also dries faster, which honestly is the real win.
7. The Asymmetrical Lob, Grown Out Into Long Layers
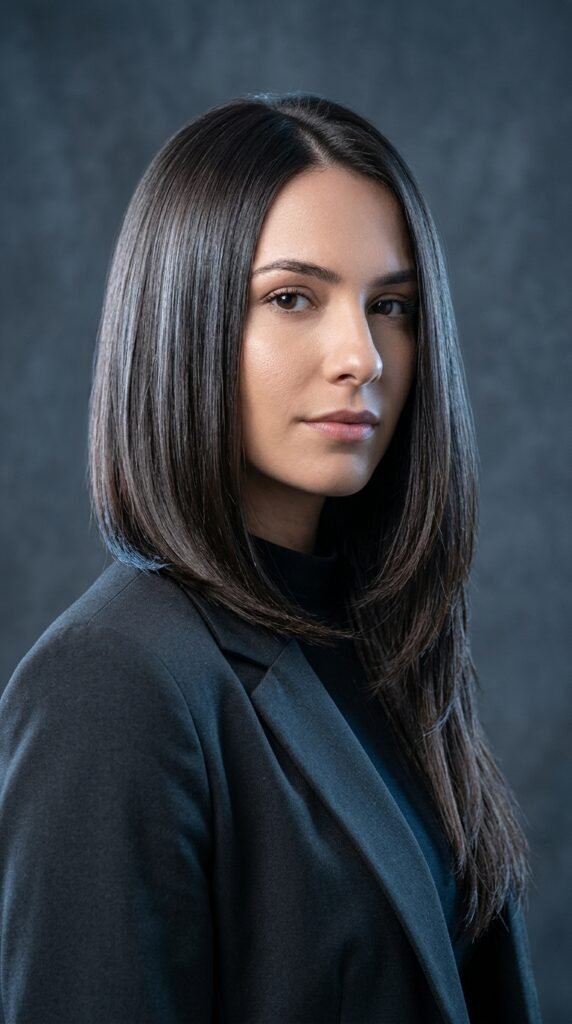
The asymmetrical lob is still one of the most flattering cuts out there, and it grows out beautifully into long layers.
If you’re transitioning, ask your stylist to keep the shorter side and blend it gradually.
- Angle the front pieces toward the chin
- Blend the back into soft long layers
- Refresh every 10 weeks to keep the angle sharp
It’s a great bridge cut if you’re growing out a bob but want polish now.
8. Soft U-Shape Layers for a Polished Finish
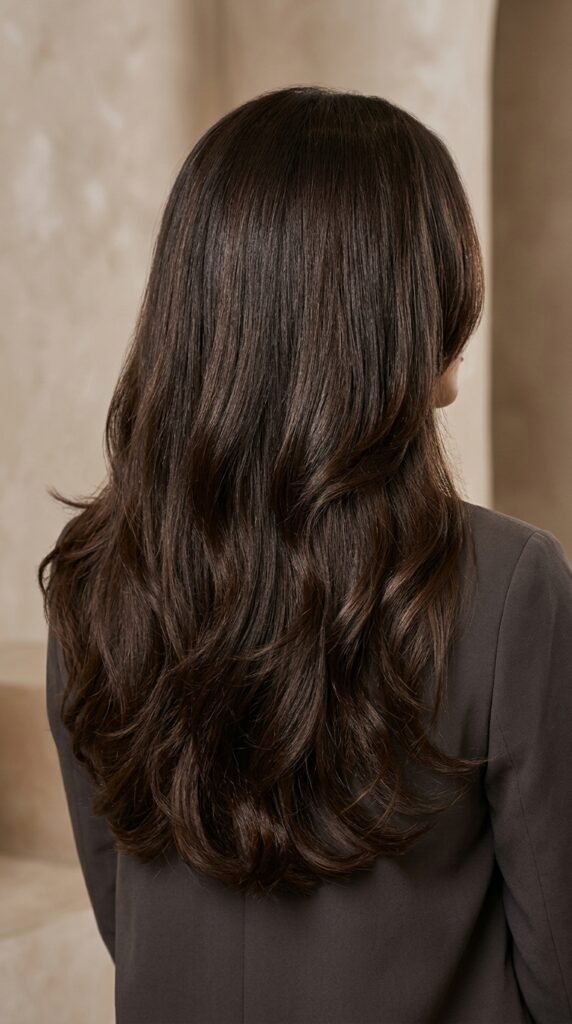
The U-shape is the classic polished long haircut. It keeps fullness at the sides and a gentle curve at the back instead of a harsh straight line.
It photographs incredibly well because the curve follows your shoulder line.
- Ask for a soft U, not a deep V
- Blend layers through the last four inches
- Keep the ends looking full, not tapered
This is the cut that makes long hair look expensive. Simple, timeless, and easy to style at home.
9. V-Shape Layers for Dramatic Movement
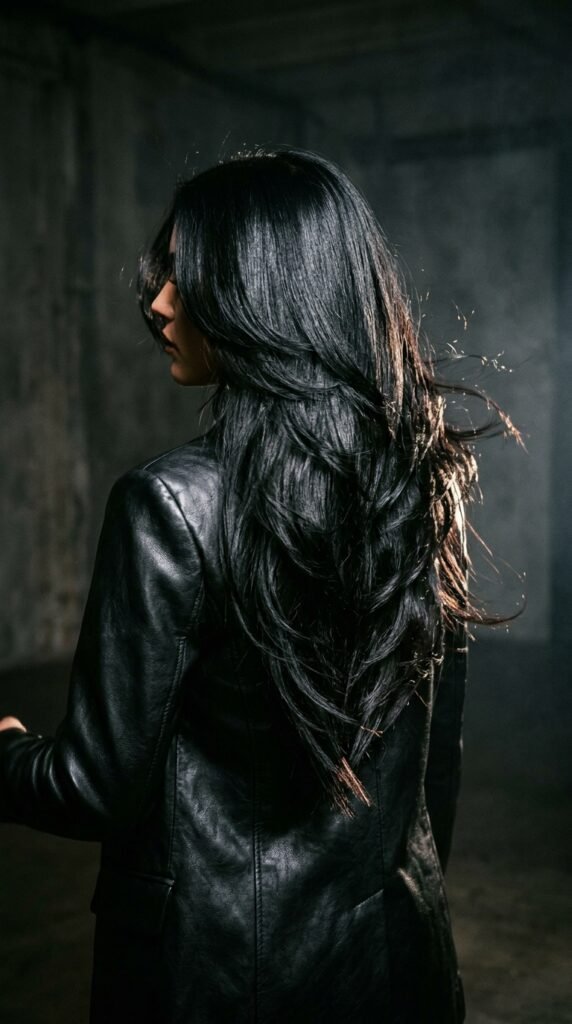
V-shaped layers are the bold sister of the U-shape. They point down the center back and create serious movement when you walk.
They look incredible on straight and wavy hair, but they need density to work.
- Best for medium to thick hair
- Adds a slimming vertical line
- Needs regular trims or it goes wispy
If you want that romantic goth hairstyles energy, a deep V with glossy black or dark cherry color is unbeatable.
10. Blunt Ends With Invisible Layers
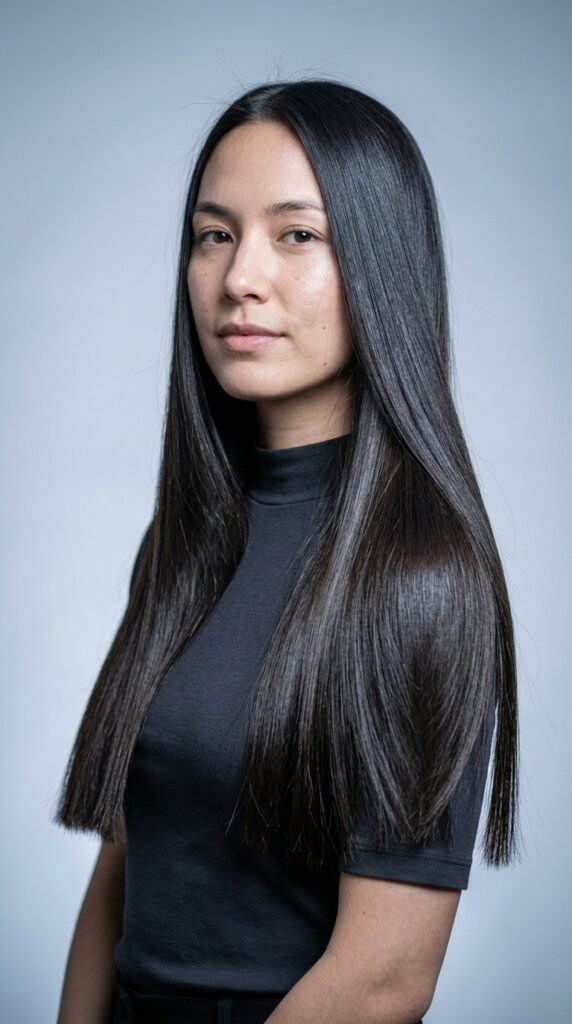
This is my go-to recommendation for shine lovers. You keep a strong, blunt perimeter so the ends look thick and reflective, then add layers that live inside the shape.
From the front, it looks like a one-length cut. From the side, it moves.
- Blunt ends for maximum light reflection
- Invisible layers through the interior only
- No visible steps anywhere
It’s the quietest way to get movement. Perfect if you hate the look of obvious layers.
11. Butterfly Layers, Made Wearable for Real Life

Butterfly layers are big, bouncy, and built around the face. The original version is very 90s supermodel. The 2026 version is softer and easier to maintain.
Ask for shorter face-framing pieces and longer blended layers behind them.
- Shorter pieces around the cheekbone
- Longer layers through the back for length
- Round brush blowout to finish
It’s a lot of hair, so it works best on medium to thick textures. Fine hair should go softer.
12. Hime Cut Meets Long Layers
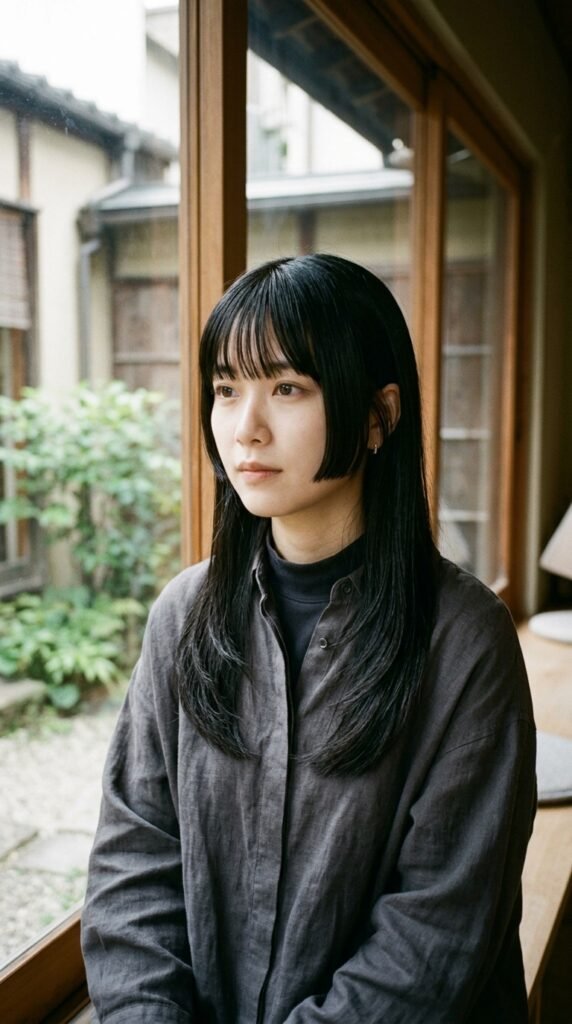
The hime cut is having a real moment. It’s defined by blunt side pieces at the cheek or jaw, with the rest of the hair long and straight.
To make it wearable, let your stylist blend the back into soft long layers.
- Keep the side pieces sharp and blunt
- Blend the back for movement
- Gloss is non-negotiable here
It’s striking, elegant, and very photogenic. Just commit to regular trims so the side pieces stay crisp.
13. Romantic Goth Long Layers
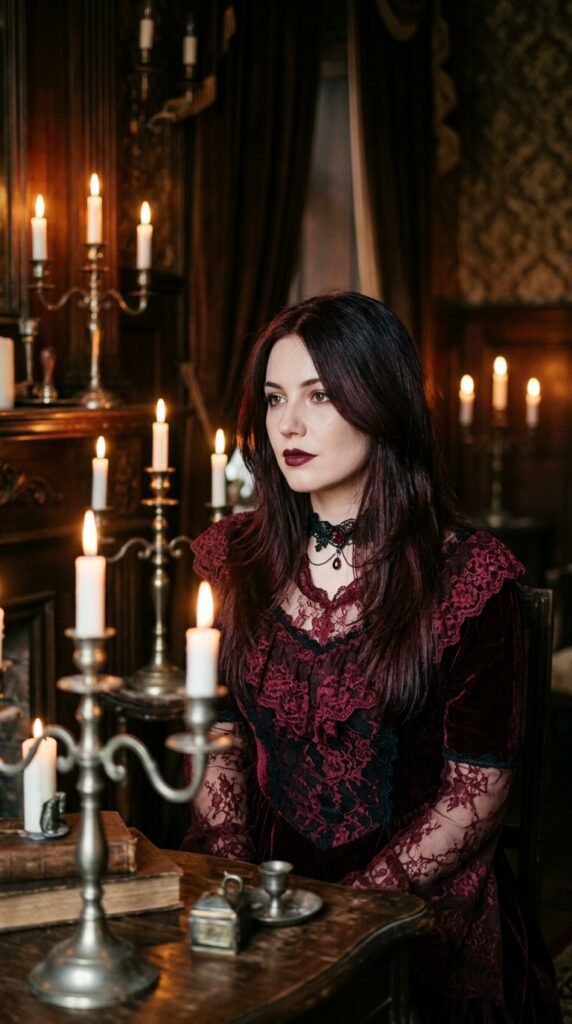
Romantic goth hairstyles are softer than the name suggests. Think long layers, lots of texture, deep rich color, and a slightly undone finish.
The shine comes from healthy hair, not heavy product.
- Long layered cut with soft face-framing pieces
- Deep black, burgundy, or espresso tones
- Light wave or bend for softness
Skip the crunchy spray. A little shine serum on damp ends is all you need.
14. Glitchy Glam Hair With Long Layers
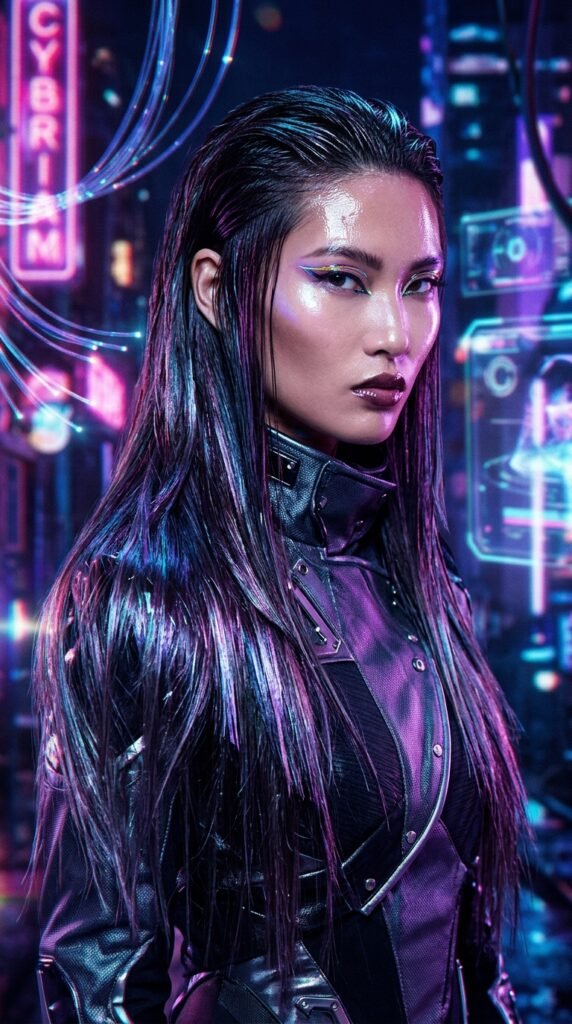
Glitchy glam hair is the fun, editorial trend that mixes slick roots with soft, shiny layered ends. It’s a little futuristic and a lot of fun.
The contrast is the point. Sharp on top, soft and reflective below.
- Slick the front and crown back with gel
- Keep the mid-lengths and ends soft and glossy
- Add a few undone pieces around the face
It works best on long layered cuts because you need movement at the bottom to balance the slick top.
15. The Vampire Haircut, Long and Polished

The vampire haircut is dramatic, layered, and a little dangerous. It usually features bold face-framing pieces, lots of movement, and deep, rich color.
On long hair, the goal is shine you can almost see your reflection in.
- Strong face-framing layers starting at the cheek
- Long, tapered back layers
- Deep color with a high-gloss finish
It’s one of my favorite 2026 hairstyles because it looks expensive and slightly mysterious at the same time.
16. Curtain Bangs With Long Layers

Curtain bangs and long layers are a perfect match. The bangs soften the face, and the layers keep everything connected instead of looking like two separate haircuts.
Ask for the bangs to start at the cheekbone and blend into your layers.
- Keep the center part soft
- Blend bang ends into the face-framing layers
- Style with a round brush and light hold spray
This combination is flattering on nearly everyone and grows out gracefully.
17. Wispy Fringe and Long Layers for a Soft Look
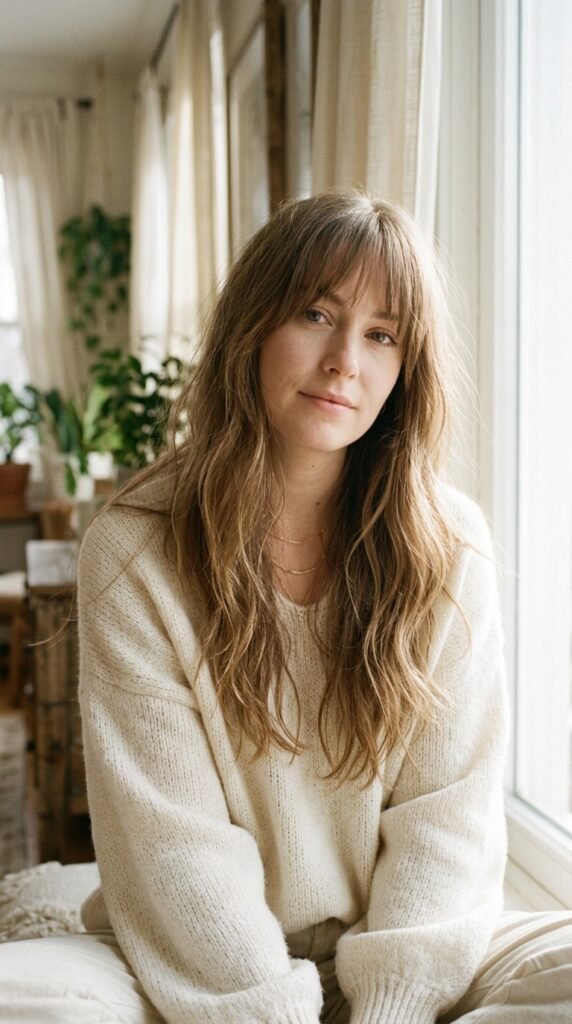
Wispy fringe is the lighter, breezier cousin of full bangs. It adds softness without a heavy line across your forehead.
Pair it with long layers for a romantic, pulled-together look that still feels relaxed.
- Ask for point-cut, airy fringe
- Keep the length just above the brows
- Blend the sides into face-framing layers
It’s low commitment and grows out without that awkward in-between phase.
18. Long Layers for Curly Hair

Curly hair needs layers, but it needs the right ones. Cut dry, curl by curl, so your stylist can see exactly how each piece falls.
You want a rounded shape with layers that support the curl pattern instead of fighting it.
- Always cut dry, never wet
- Keep layers long to avoid pyramid shape
- Trim every 10 to 12 weeks
Shine on curly hair comes from moisture, so layer in a leave-in and a light oil to seal.
19. Long Layers for Wavy Hair

Wavy hair is the easiest texture to layer. It has enough body to hold shape but enough softness to look relaxed.
Ask for long layers starting around the collarbone with soft face-framing pieces.
- Long layers for natural movement
- Face-framing pieces starting at the jaw
- Light texturizing at the ends
Air dry with a little curl cream and you’ve got a look that reads expensive with almost no effort.
20. Long Layers for Straight, Sleek Hair
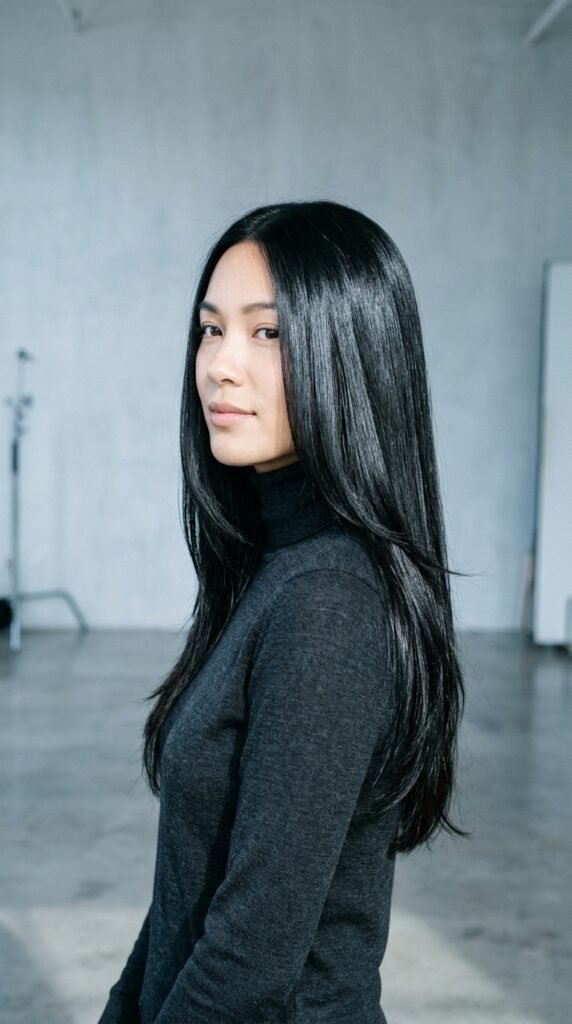
Straight hair shows every single cut line, which is why precision matters. Layers have to be clean and blended or they look obvious.
The goal here is a smooth, glassy finish with just enough internal movement.
- Long invisible layers only
- Blunt or softly rounded ends
- Gloss treatment for that mirror finish
Sleek long layers plus high shine is basically the quiet luxury bob energy, just longer.
21. How to Ask Your Stylist for Shiny Layers
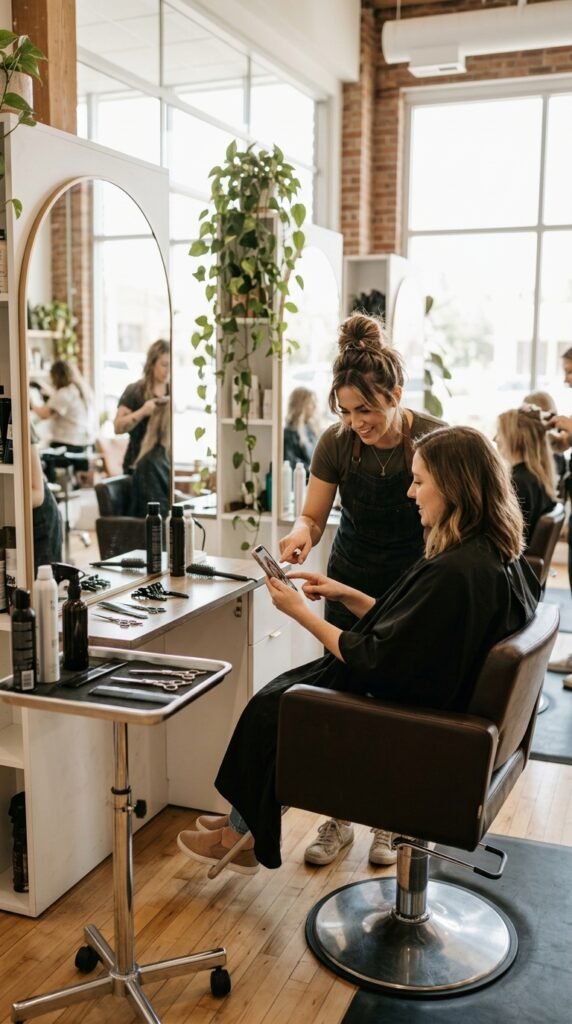
The consult is where your cut is actually won or lost. Go in with photos and specific words.
Say “invisible layers,” “blended,” and “full ends.” Mention “shine” and “movement” as your goals.
- Show two or three reference photos
- Say how much time you’ll style daily
- Ask what grows out easiest
A good stylist will tell you what your hair actually does. Listen to that, not just the photo.
22. The Shine Routine: Wash and Condition Smart
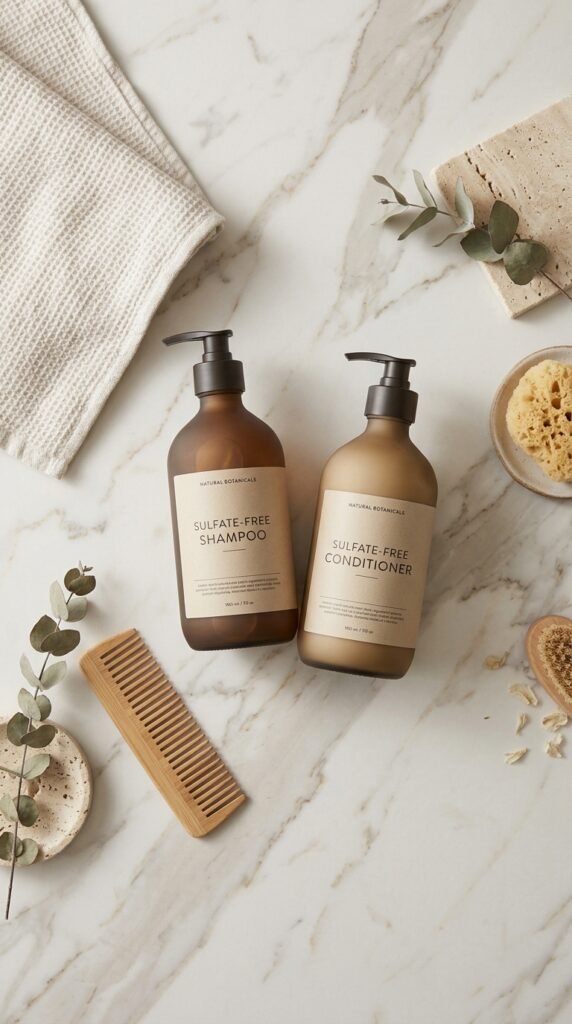
Healthy shine starts in the shower. No serum can fix dry, stripped hair.
Use a sulfate-free shampoo and focus it on your scalp, not your ends.
- Shampoo the scalp only
- Condition from mid-length to ends
- Rinse with cool water to seal the cuticle
Cool water is a small step with a real payoff. It lays the cuticle flat, and flat cuticles reflect light. That’s the whole shine secret in one sentence.
23. Weekly Treatments That Build Reflectivity

Once a week, give your hair a deep treatment. This is the habit that separates healthy reflective hair from hair that just looks okay.
Bond-building masks and hydrating masks do different jobs, so alternate them.
- Bond repair: every other week
- Deep moisture mask: every week
- Scalp oil: once a week before washing
Leave it on for 10 to 20 minutes. Five minutes barely counts, honestly.
24. Heat Styling Without Losing Your Shine
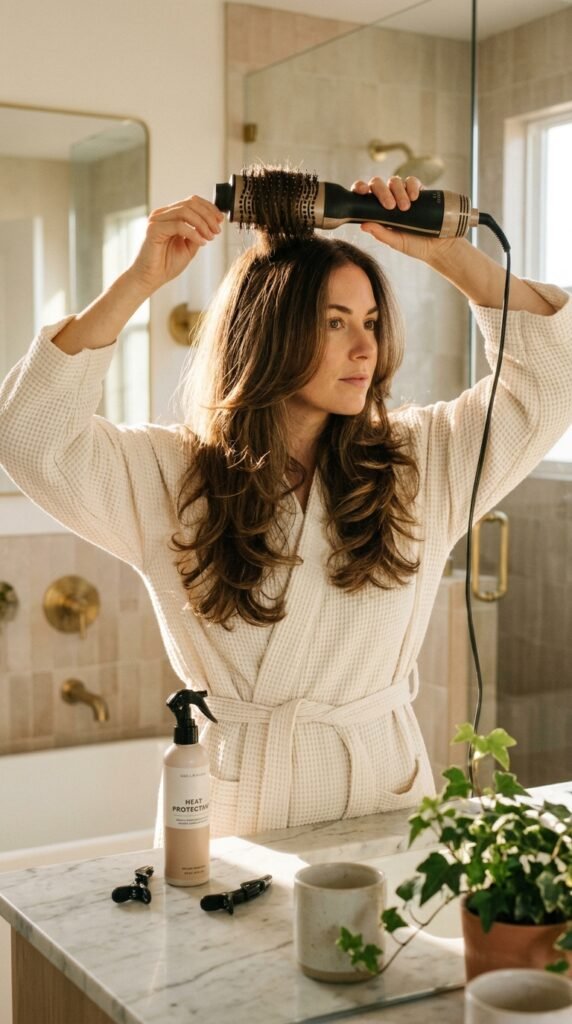
Heat is the fastest way to kill shine. It lifts the cuticle and roughs up the surface, and then no amount of serum fixes it.
So protect first, and turn the temperature down.
- Always use a heat protectant
- Keep tools under 380 degrees
- Point the dryer down the hair shaft
Drying downward smooths the cuticle. Drying upward roughens it. Same effort, completely different result.
25. Products That Actually Make Layers Reflect Light
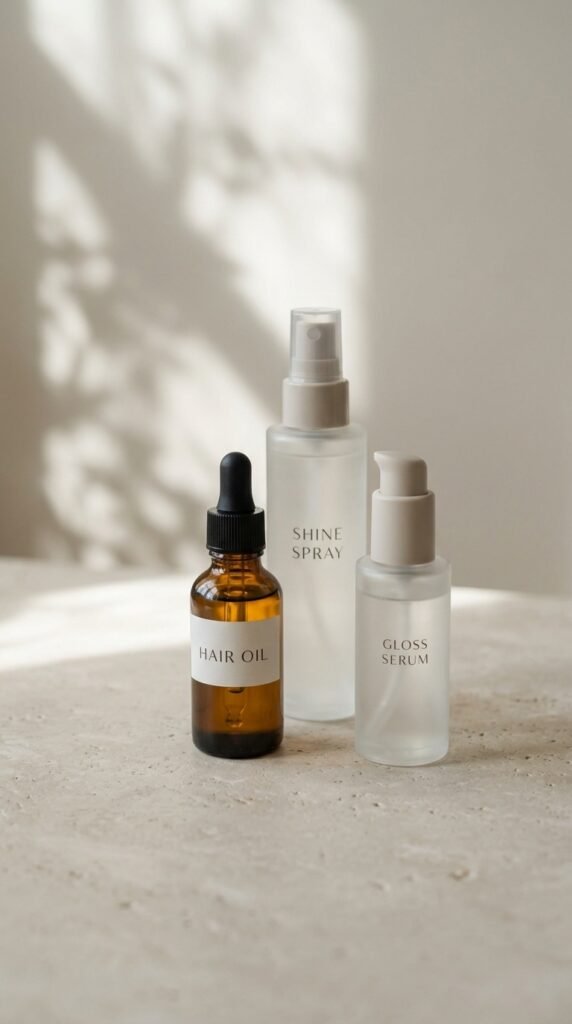
You need three products, not fifteen. Lightweight oil, a gloss serum, and a shine spray. That’s it.
Oil goes on damp ends. Serum goes on dry mid-lengths. Spray goes on at the very end for a finish.
- Oil: seals moisture into ends
- Serum: smooths and adds slip
- Spray: instant light reflection
Go light with every one of them. Overloaded hair looks greasy, not glossy, and it kills the bounce your layers just created.
26. Gloss and Glaze Treatments for Instant Shine
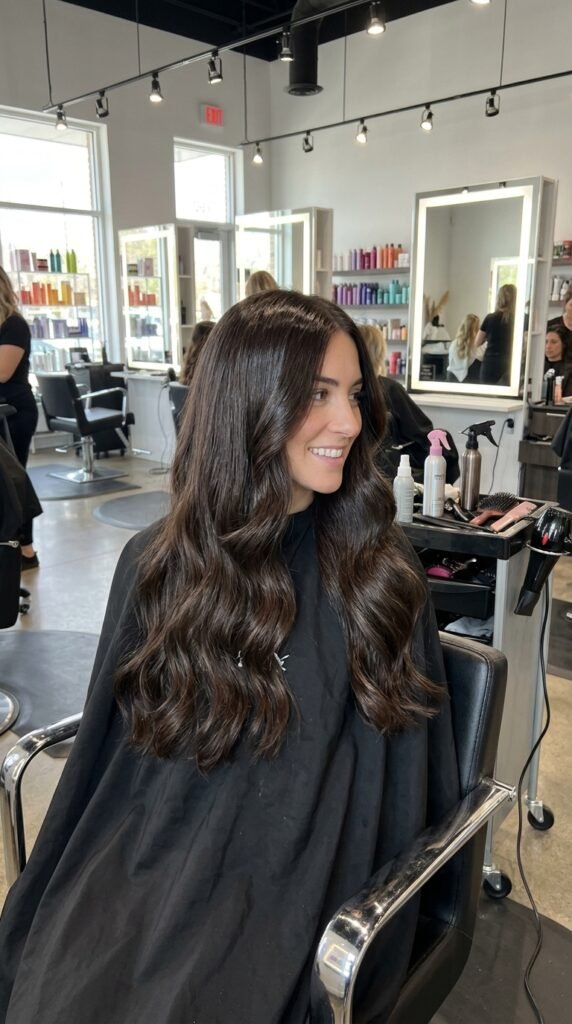
If you want shine today, book a gloss. It’s the closest thing to a shine cheat code.
A gloss adds a translucent layer of color and seals the cuticle, so hair looks instantly reflective. It also fades beautifully.
- Clear gloss: shine with no color change
- Tinted gloss: shine plus subtle tone
- Lasts about 4 to 6 weeks
It’s also amazing right after highlights to tone things down and boost that glassy finish.
27. Trim Schedule That Keeps Layers Polished
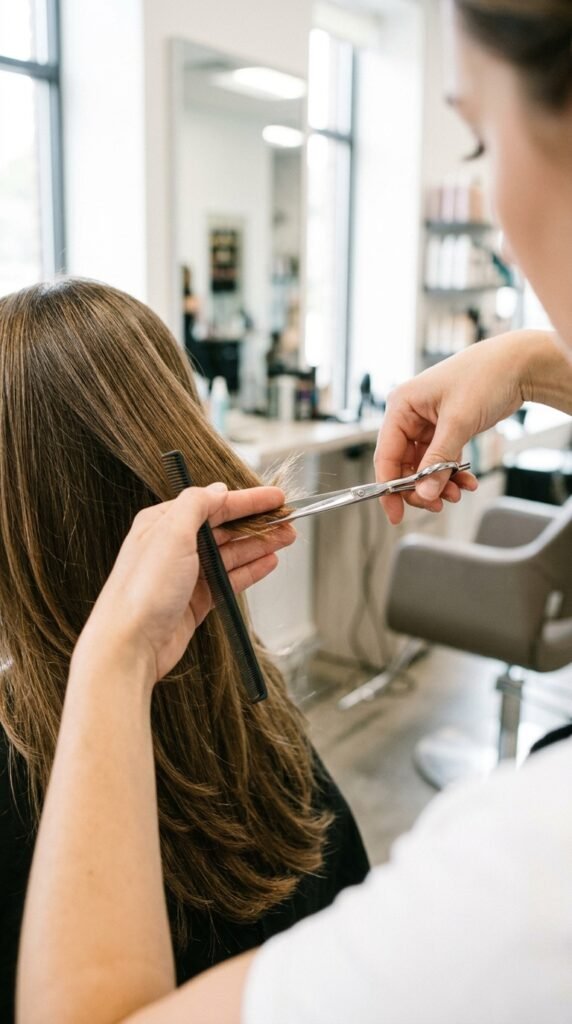
Polished layers need maintenance. You don’t have to cut much, but you do have to cut regularly.
Splits travel upward, and once they start, your ends look dull no matter what you put on them.
- Every 10 to 12 weeks for long layers
- Every 8 weeks for face-framing pieces
- Dusting trims in between if needed
A quarter inch is nothing. It’s the difference between reflective hair and frayed hair.
28. Blowout Tips for Bouncy, Glossy Layers
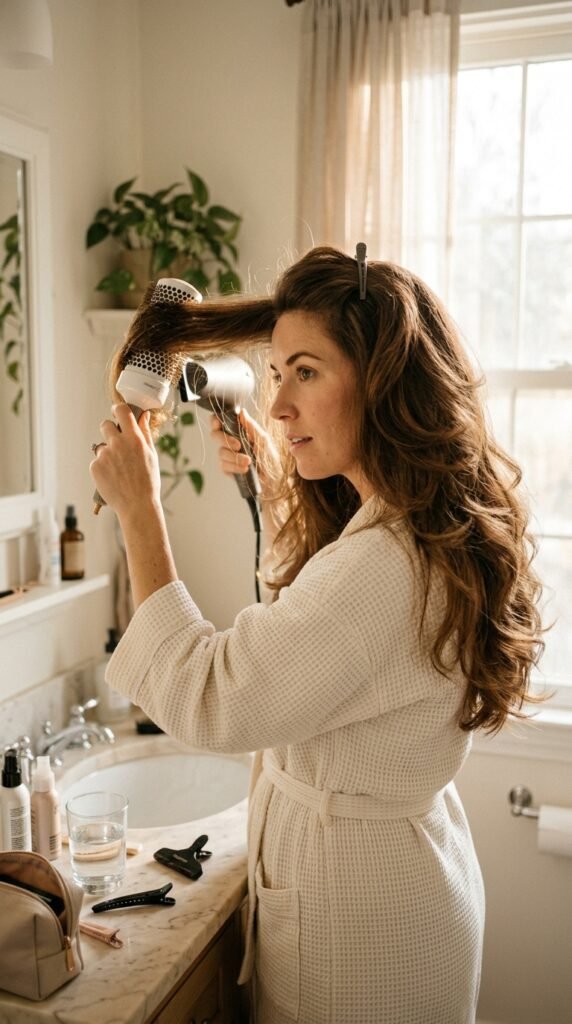
A good blowout is what makes layers look like layers. Without it, they can fall flat and disappear.
Work in sections and keep the tension steady.
- Rough dry to 80 percent
- Section hair into four parts
- Round brush each section downward
- Finish with a cool shot to set
The cool shot is underrated. It closes the cuticle and locks in the shine you just worked for.
29. Half-Up and Updo Styles That Show Off Layers
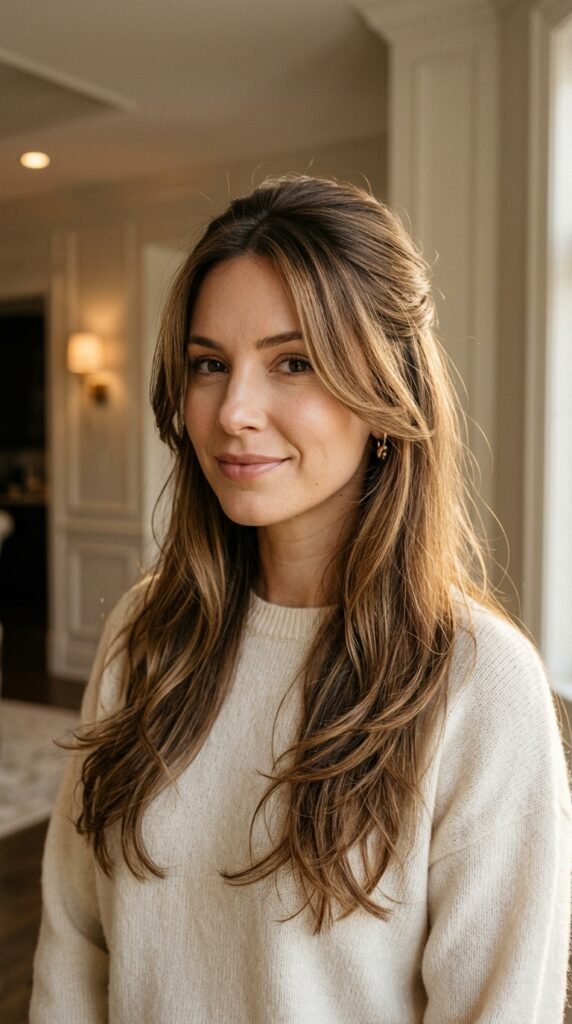
Layers aren’t just for wearing your hair down. They make updos look soft and romantic instead of tight and severe.
Pull your hair back and let the face-framing pieces fall out on purpose.
- Half-up with a claw clip for everyday
- Low bun with loose face-framing pieces
- Loose ponytail with a few soft strands out
Those little pieces are the entire point. They’re what makes the style look intentional.
30. Accessories That Highlight Shiny Layers
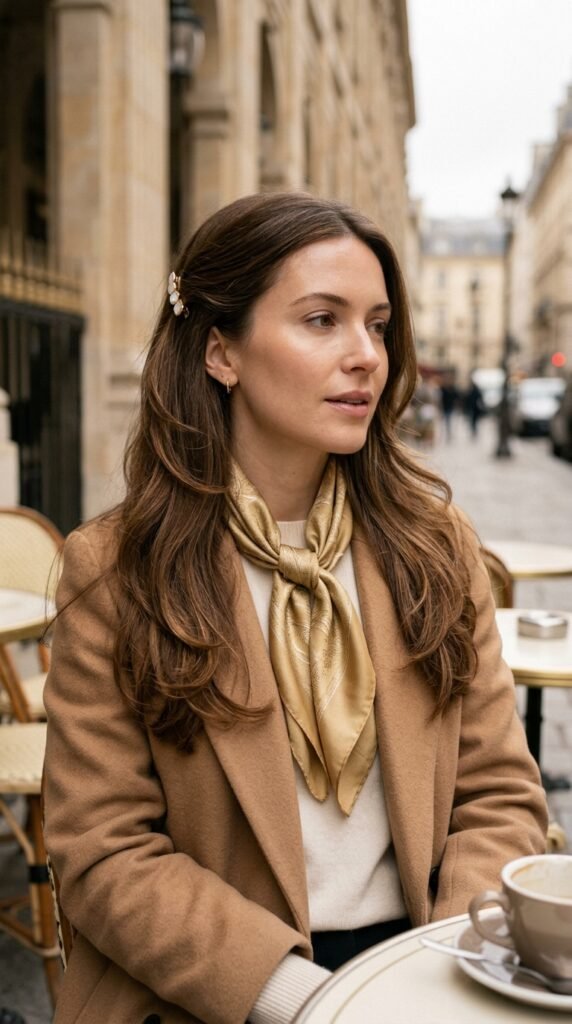
The right accessory draws the eye toward your shine. The wrong one hides it.
Stick with simple, quality pieces that complement your hair color.
- Silk scarves in neutral tones
- Small gold or pearl clips
- Silk scrunchies to prevent damage
Skip anything rough, metal-edged, or overly busy. Silk and soft metals keep your cuticle smooth and your layers looking expensive.
31. Mistakes That Make Long Layers Look Dull

I’ve made almost all of these, so learn from my mistakes.
- Over-layering fine hair until it looks stringy
- Using thinning shears on already thin ends
- Skipping trims for six months
- Piling heavy product on the roots
- Heat styling without protection
Most dull long layers come down to one of these. Fix the cut first, then the routine. It’s almost never the shampoo’s fault.
32. Finding the Right Layer for Your Hair Type
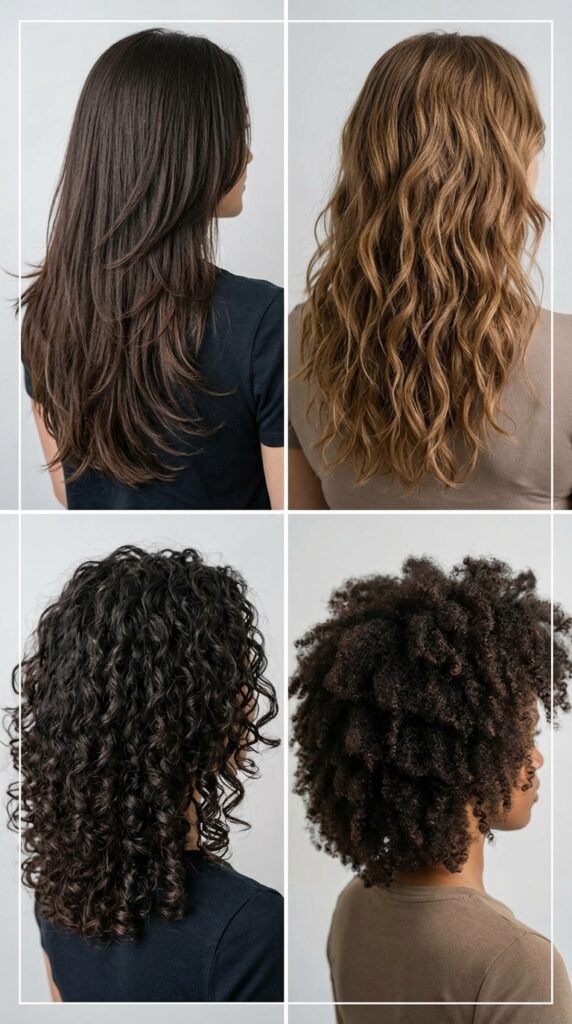
Here’s your quick cheat sheet. Save it for your next salon visit.
- Fine hair: long, invisible layers only
- Thick hair: graduated layers through mid-lengths
- Curly hair: dry-cut, rounded shape
- Wavy hair: long layers starting at the collarbone
- Straight hair: precise, blended, glossed
Matching the cut to your natural texture is what makes the layers look effortless instead of forced. Your hair should do most of the work for you.
Let’s Wrap This Up
Polished long layers come down to three things. The right cut, healthy ends, and a little shine upkeep. Get those right and your hair will reflect light from across the room.
Start with one change this week. Book the trim, or swap in a gloss treatment, or just dry your hair pointing downward. Small moves add up fast.
You don’t need a whole new head of hair. You need the right shape and a routine you’ll actually keep.
Save this post to Pinterest so you have all 27 ideas ready for your next salon appointment.
And tell me in the comments — which cut are you trying first? The old money layers, the vampire haircut, or something softer? I read every single one.