
27 Polished Long Haircut Layers Emphasizing Healthy Reflective Hair Shine
Long hair is easy. Long hair that looks polished, glossy, and genuinely expensive? That takes layers placed in the right spots, working with your hair instead of against it.
I spent years growing mine out, only to have the ends look flat, tired, and honestly a little dusty. The fix wasn’t a big chop. It was better layering and a shine routine I could actually keep up with.
So here’s the plan: 27 polished long haircut layers that put reflective shine front and center, plus the simple habits that keep that finish going between salon visits.
Skim the list, screenshot your favorites, and bring two or three to your stylist. This is your shortcut to hair that looks healthy first and stylish second.
1. Why Polished Long Layers Are the Move for 2026

2026 hairstyles are less about chasing trends and more about finish. People want hair that looks cared for, not overworked. Long layers are the easiest way to get there.
Layers remove weight, which lets hair move and catch light. That movement is what reads as “expensive” in photos and in real life.
- Layers add bounce without shortening length
- They frame the face and soften strong angles
- They make shine visible because hair moves
2. The Shine Rule: Healthy Hair Reflects Light
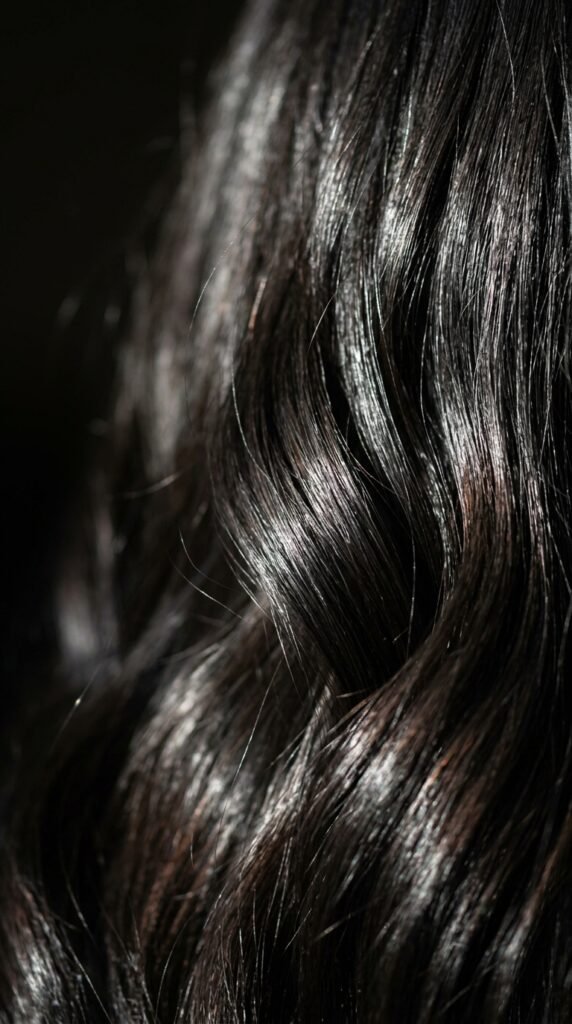
Shiny hair isn’t a product. It’s geometry. When the cuticle lies flat, light bounces straight off and you see that mirror finish. When it’s rough or lifted, light scatters and hair looks dull.
That’s why polished layers pair with healthy ends. One without the other always looks slightly off.
- Flat cuticle = reflection = shine
- Rough cuticle = scattered light = dullness
- Layers help by removing dry, splitting weight
3. Face-Framing Layers vs. All-Over Layers
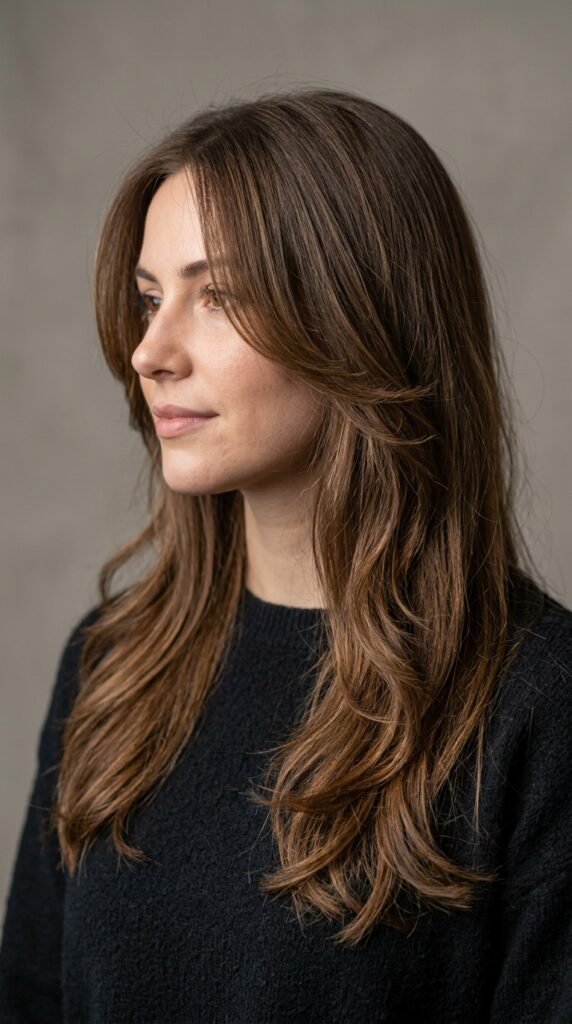
Face-framing layers start around the cheekbone or chin and blend into the length. They’re the safest choice if you want a visible change without losing your long hair.
All-over layers run through the whole head. They give more movement and volume, but they need more styling and more frequent trims.
If you’re unsure, start with face-framing. You can always add more later, and your stylist will thank you for the flexibility.
4. The Quiet Luxury Bob Grows Into Perfect Long Layers

The quiet luxury bob is still everywhere, and here’s the good news: it grows out beautifully into long layers. Those chin and collarbone pieces become your face-framing layers as the length comes in.
If you already have one, ask your stylist to blend the growth line instead of cutting it back to blunt. You’ll keep the shape and gain softness.
- Keep the front pieces long enough to blend
- Trim the back slowly, not all at once
- Add light texture through the mid-lengths
5. Old Money Hair: Soft Movement, Blunt Ends
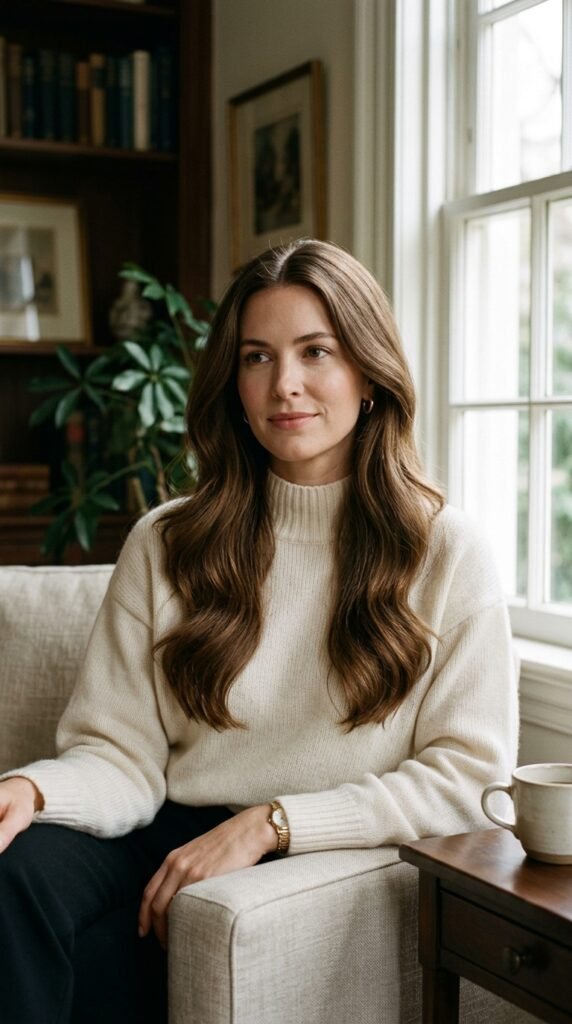
Old money hair is simple: a clean center or slight side part, smooth mid-lengths, and ends that look intentional rather than wispy. The shine does the talking.
The trick is keeping ends blunt enough to look healthy while adding just a few internal layers for movement. Too many layers and it reads messy instead of elegant.
- Blunt ends, soft interior layers
- Smooth blowout over curling iron waves
- Minimal product, maximum gloss
6. The Asymmetrical Lob as a Stepping Stone
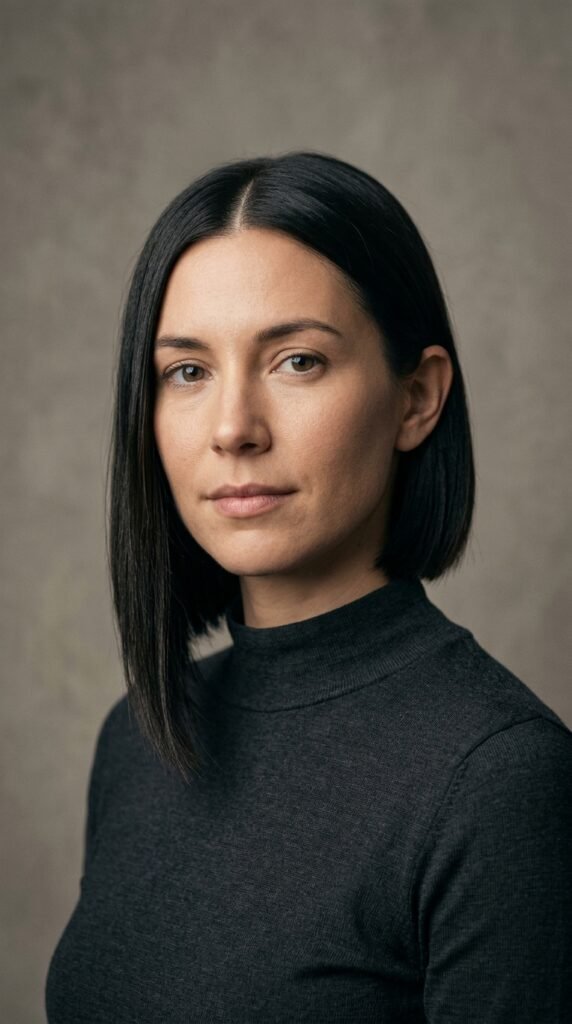
Not ready for full long layers? The asymmetrical lob gets you there gracefully. One side sits slightly longer, which creates instant movement and makes the grow-out process look deliberate.
Ask for a soft angle rather than a sharp diagonal. It photographs better, styles easier, and blends into long layers as it grows.
- Keep the shorter side at collarbone length
- Blend the angle through the back
- Add a subtle face-frame on the longer side
7. Romantic Goth Hairstyles With Polished Layers

Romantic goth hairstyles live and die by texture and shine. Long layers give you that soft, cascading look with a little drama, especially in dark hair where light reflection is most visible.
Keep the ends neat and the mid-lengths airy. The contrast between a clean finish and a moody vibe is what makes it work.
- Long, soft layers from the jaw down
- High-shine gloss to catch the light
- Loose waves, never tight curls
8. Glitchy Glam Hair: Shine With a Little Edge
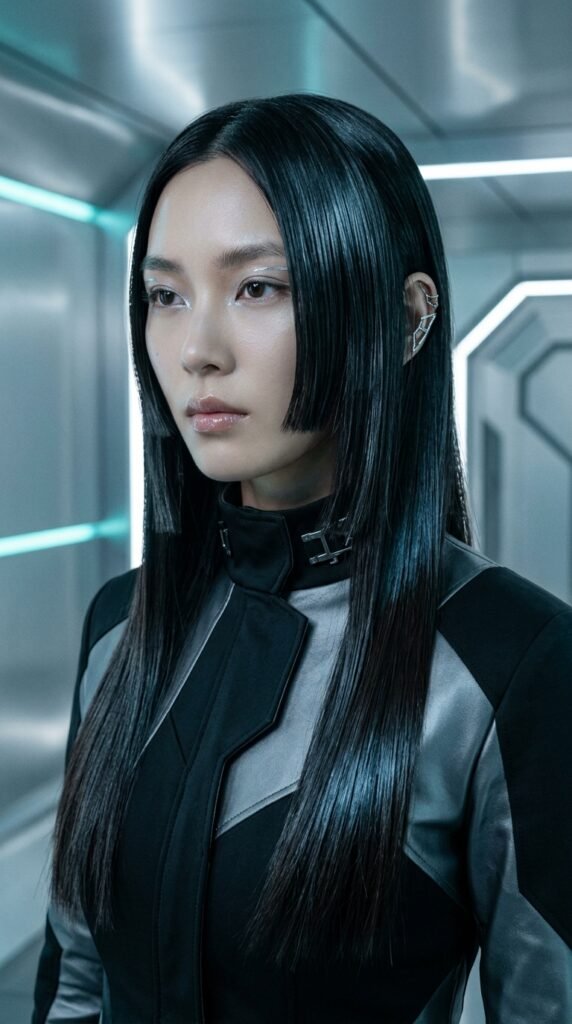
Glitchy glam hair is polished hair with one deliberate disruption, like a sharp internal layer, a micro face-frame piece, or a slightly uneven parting. It’s controlled, not chaotic.
This is where long layers get fun. You keep the healthy shine but add a small, unexpected detail that makes the cut feel current.
- One sharp layer among soft ones
- A tiny face-frame piece at cheek level
- Sleek finish to balance the edge
9. The Vampire Haircut, Softened for Long Hair
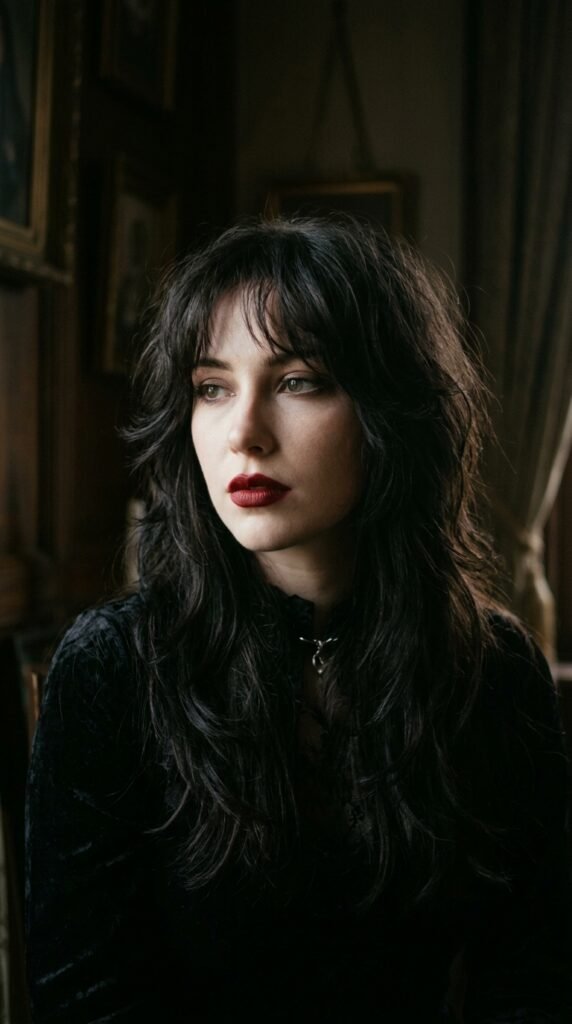
The vampire haircut is dramatic layering with volume at the crown and tapered, face-framing pieces. On long hair, soften it slightly so it looks elegant rather than costume-y.
Ask for graduated layers around the face and lighter texture through the back. It gives you that moody shape without losing the length you’ve been growing.
- Volume at the crown, taper at the ends
- Face-framing pieces below the chin
- Gloss finish to keep it sleek
10. The Hime Cut, Modernized for Long Hair
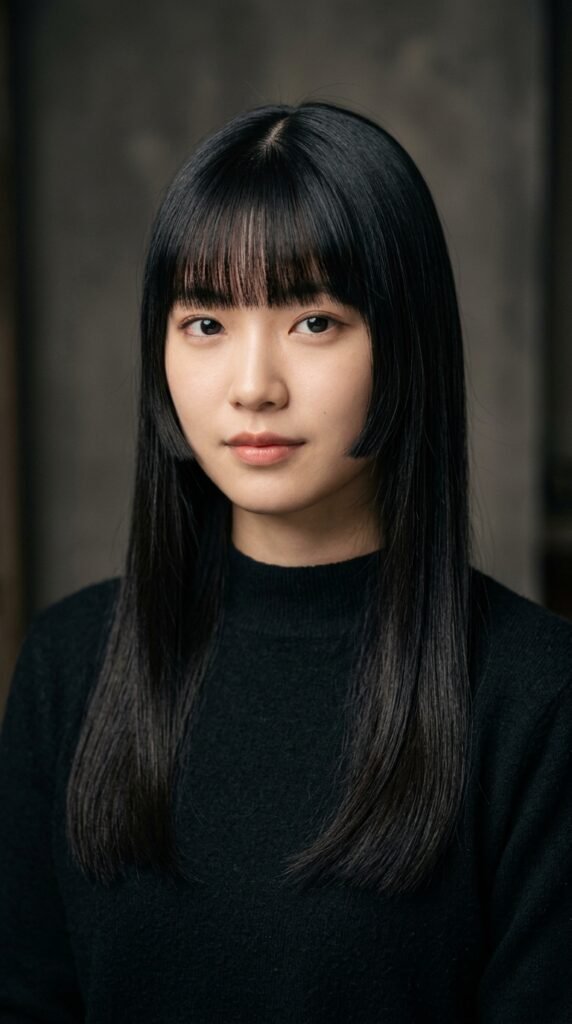
The hime cut is that Japanese style with blunt cheek-length side pieces and a straight back. It’s striking, and it works best on hair with a genuinely glassy finish.
For a modern version, ask for slightly softer edges on the side pieces so it doesn’t feel too rigid. Keep the back long and blunt for maximum shine.
- Blunt side pieces at cheek or jaw
- Long, straight back sections
- Flat-iron finish with heat protection
11. How to Ask Your Stylist for Polished Layers
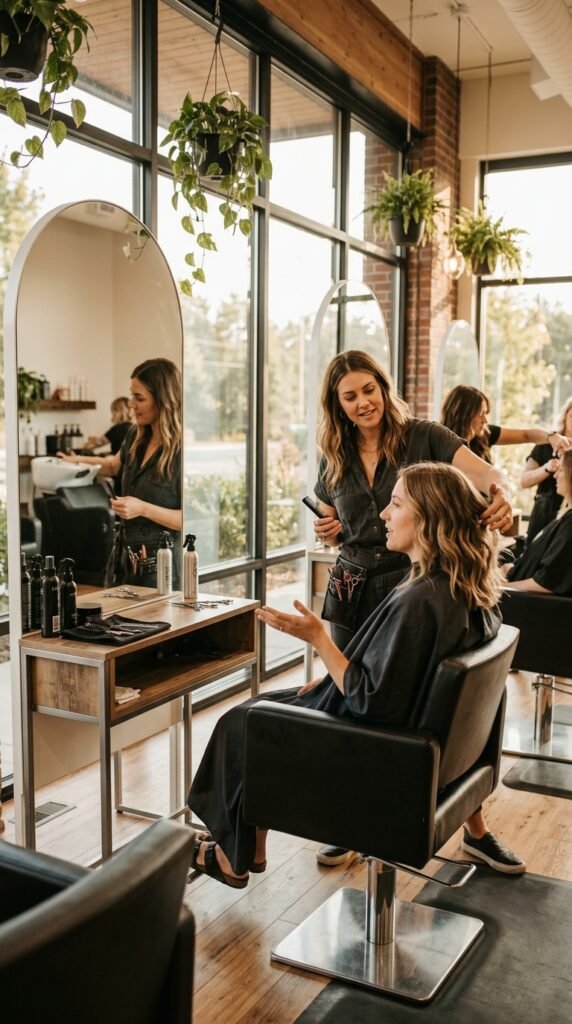
Vague requests get vague results. Instead of “just some layers,” bring photos and be specific about where you want them to start and how much weight you want removed.
Tell your stylist your routine too. If you air dry and never style, say that. A great cut should work with the effort you’ll actually put in.
- Bring three reference photos, not one
- Say where you want the shortest layer
- Explain how you dry and style your hair
- Ask how often you’ll need trims
12. Match Layer Depth to Your Hair Density
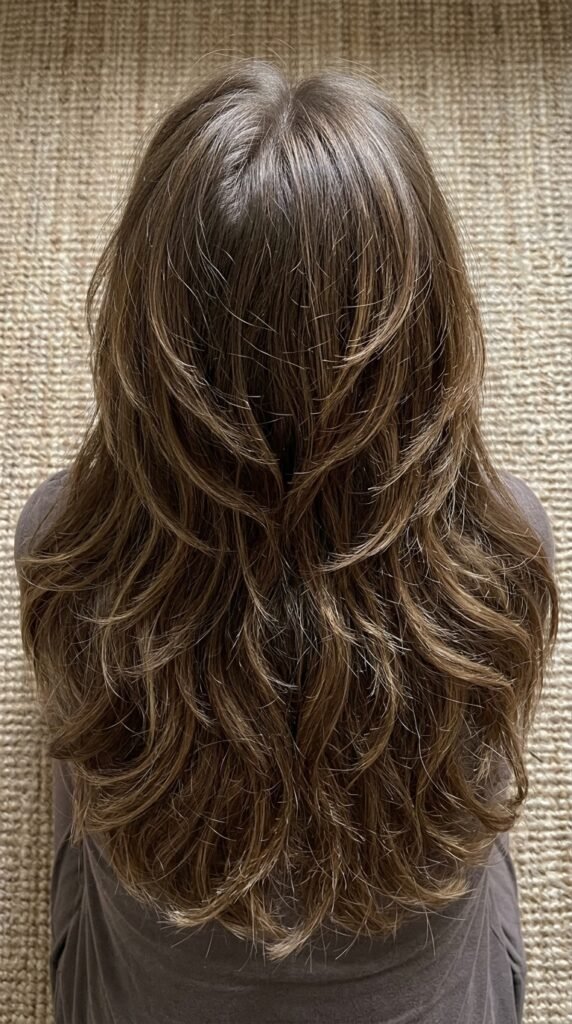
Layer depth is everything. Fine hair needs layers closer to the ends, so you don’t lose fullness. Thick hair can handle layers higher up, which removes weight and stops that heavy triangle shape.
Medium density hair is the lucky one. You can go either way depending on the look you want.
- Fine hair: layers at the last third
- Medium hair: layers from the jaw down
- Thick hair: layers from the cheekbone down
13. The Trim Schedule That Keeps Ends Reflective
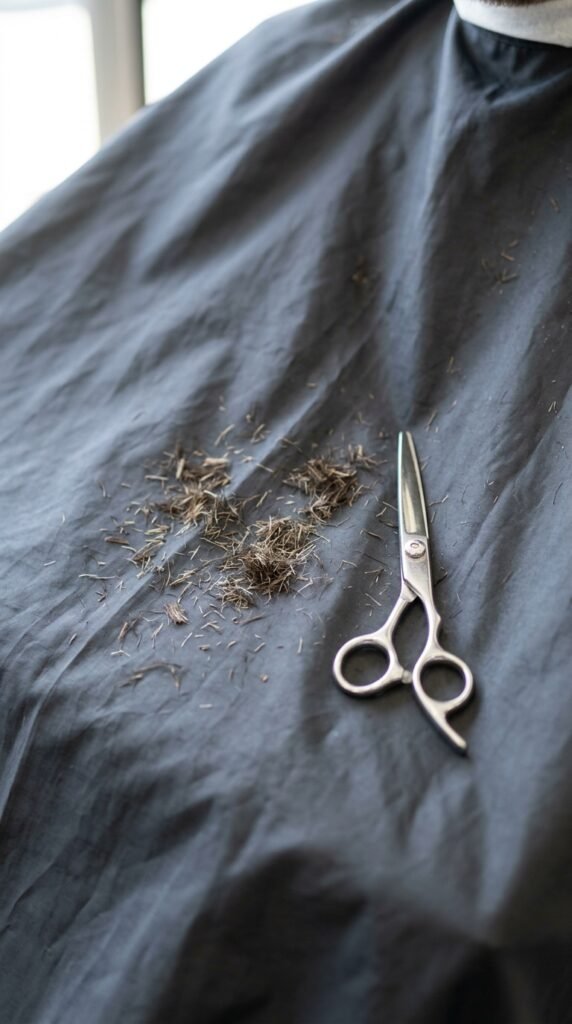
Shine starts at the ends. Split ends travel upward, and once they do, no gloss can hide the texture. A small trim every eight to ten weeks keeps everything looking fresh.
If you’re growing your hair out, ask for a dusting instead of a full trim. You keep the length and lose only the damage.
- Every 8 to 10 weeks for healthy hair
- Every 6 weeks if you heat style often
- Dusting for grow-out phases
14. Wash Day Routine for Mirror Shine
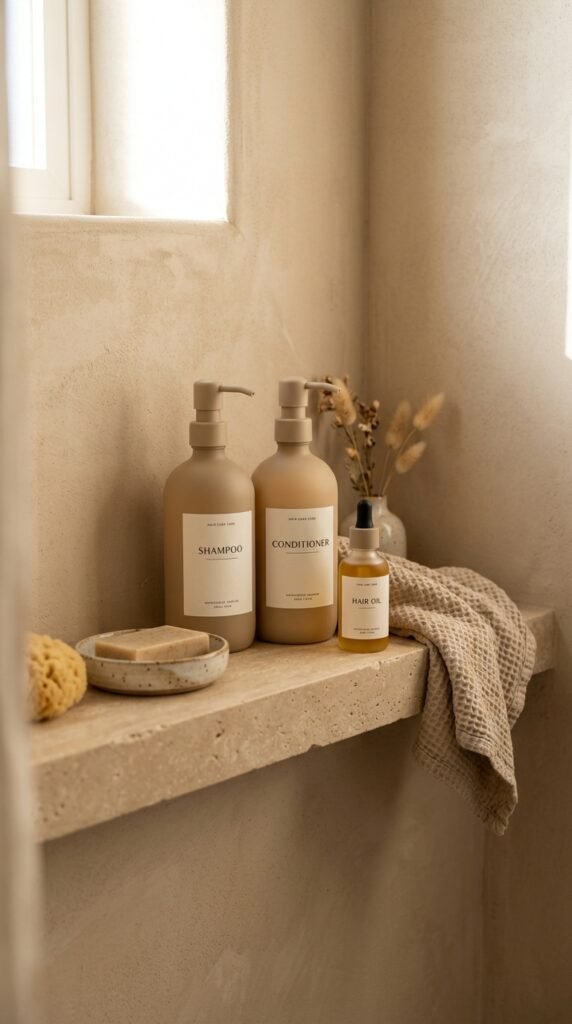
Shine is built on wash day. Start with a gentle shampoo on the scalp only, then condition from the mid-lengths down. Rinse with cool water to seal the cuticle.
Don’t skip the cold rinse. It’s free, it takes 20 seconds, and it makes a visible difference in how light hits your hair.
- Shampoo the scalp, not the ends
- Condition mid-lengths and ends
- Rinse cool for 20 seconds
- Apply leave-in on damp hair
15. Gloss Treatments: What They Actually Do
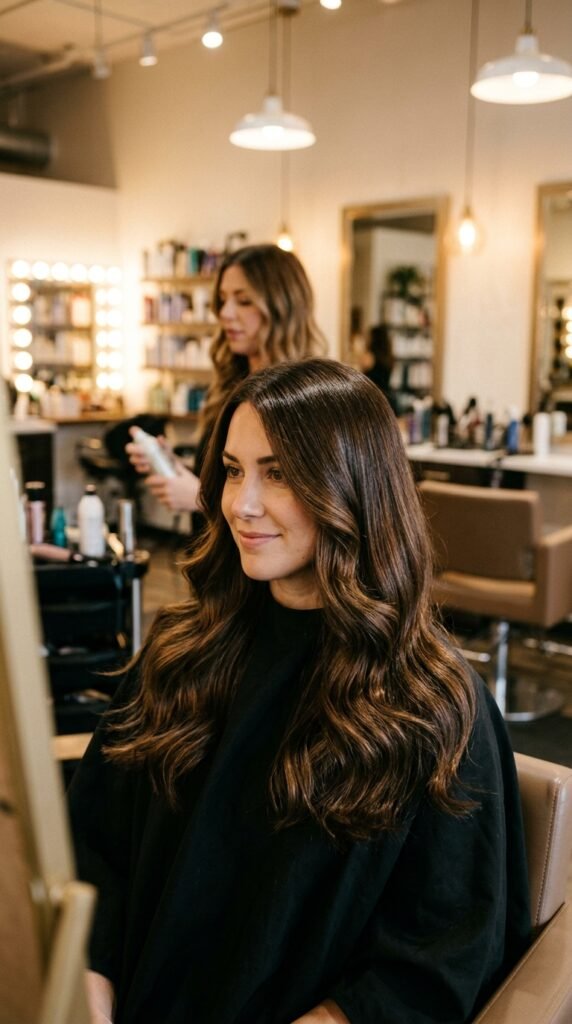
Gloss treatments are the fastest route to reflective hair. They coat the cuticle, smooth the surface, and add a subtle tone shift if you want one. Results last about four to six weeks.
You can get one in a salon or use an at-home gloss once a month. Neither replaces a trim, but both make healthy hair look even better.
- Salon gloss: 4 to 6 weeks of shine
- At-home gloss: monthly maintenance
- Best on already-trimmed ends
16. Heat Styling Without Cooking Your Shine
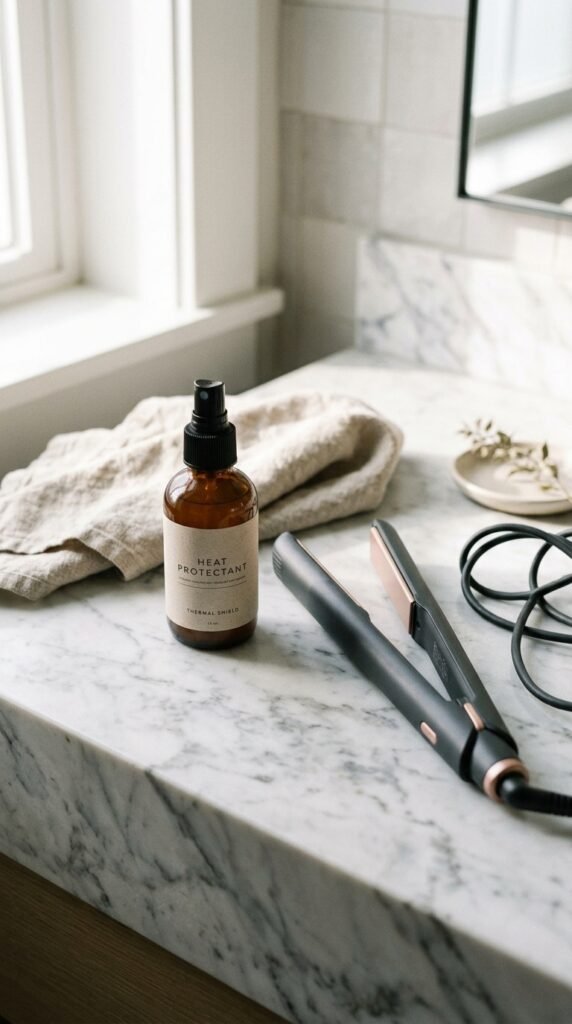
Heat is the fastest way to lose shine. It lifts the cuticle and creates that rough, straw-like texture that no serum can fix. Use the lowest setting that gets the job done.
And keep the iron moving. Holding heat in one spot for more than a couple seconds is what causes real damage.
- Always use a heat protectant
- Stay under 350°F when possible
- One pass per section, not five
- Let hair cool before brushing through
17. The Round Brush Blowout, Simplified
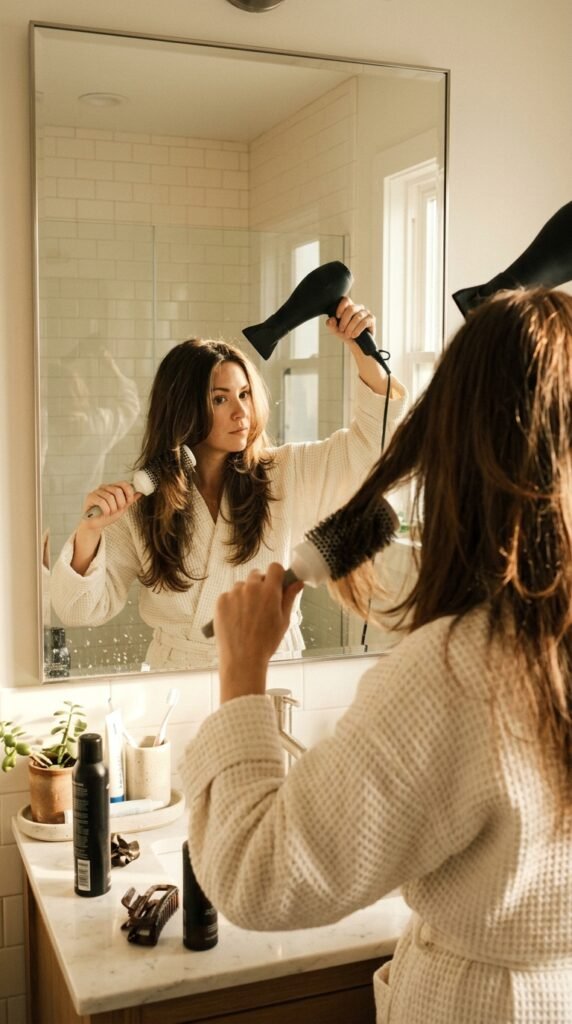
You don’t need a salon blowout for polished layers. Rough dry to about 80 percent, then section your hair and finish with a round brush and medium heat.
Point the nozzle down the hair shaft. That single direction smooths the cuticle and gives you that soft, reflective finish without any extra product.
- Rough dry to 80 percent
- Section into four parts
- Brush downward with the nozzle pointed down
- Cold shot to set the shape
18. Sleep Habits That Protect Long Layers
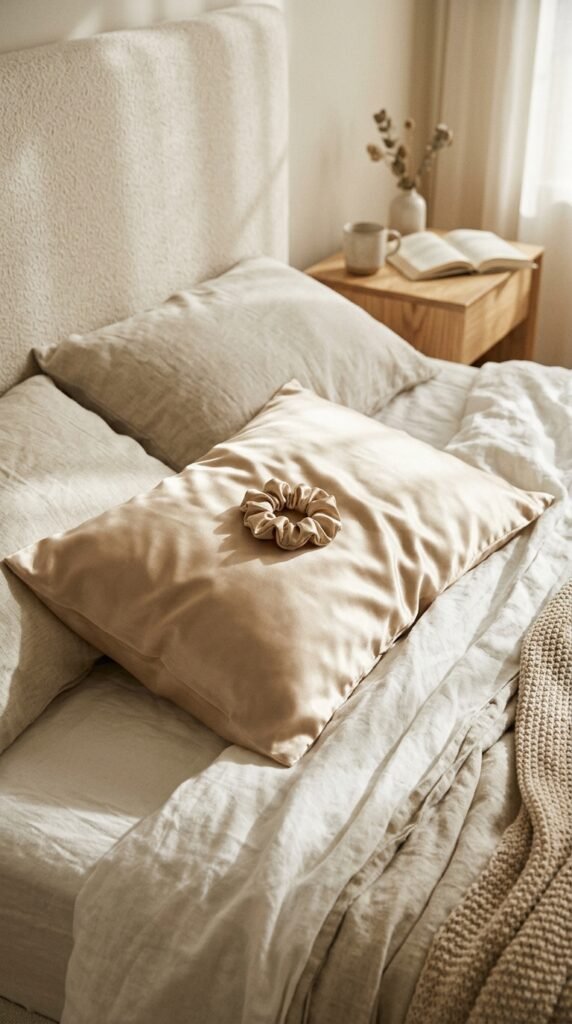
You spend a third of your life on a pillow, so it matters. Cotton pulls moisture and creates friction, which roughens the cuticle and dulls shine over time.
Silk or satin pillowcases are a small swap with a big payoff. A loose silk scrunchie at night keeps long layers from tangling without creasing.
- Switch to a silk pillowcase
- Sleep with hair in a loose high scrunchie
- Skip tight braids on damp hair
19. Products Worth Your Money (and What to Skip)
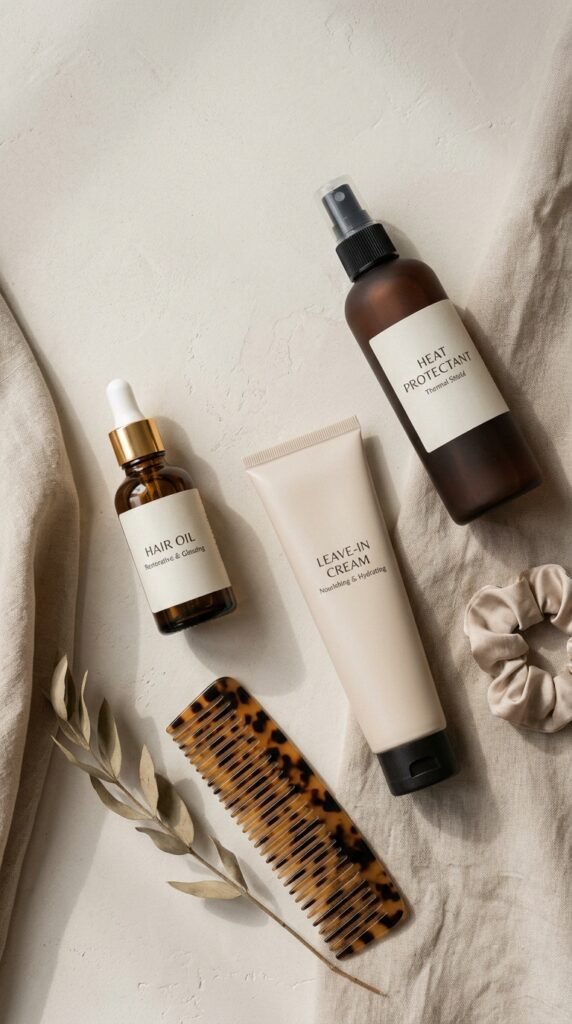
You need less than you think. A good shampoo, a conditioner that suits your hair type, a shine oil for ends, and a heat protectant cover almost everything.
Skip the seven-step routine. Layering too many products weighs down long layers and makes them look greasy instead of glossy.
- Worth it: clarifying shampoo once a month
- Worth it: light shine oil on ends only
- Skip: heavy serums on fine hair
- Skip: multiple oils at once
20. Long Layers for Wavy and Curly Hair

Curly hair needs layers cut dry, and it needs them blended. A stylist who understands curl pattern will cut each section individually so the layers sit correctly at every angle.
Skip thinning shears entirely. They create frizz and break up curl clumps, which is the last thing you want if shine is the goal.
- Cut dry, curl by curl
- No thinning shears, ever
- Layers start at the jaw or lower
21. Long Layers for Fine Hair

Fine hair needs fewer layers, not more. A light face-frame and a few long layers through the last few inches create movement without making hair look stringy.
Keep ends blunt and clean. Blunt ends hold shape in fine hair, and shape is what makes shine visible.
- Minimal, long layers only
- Keep blunt ends
- Use a lightweight leave-in
22. Long Layers for Thick Hair

Thick hair is the best candidate for higher layers. Cutting them at the cheekbone or jaw removes bulk, adds shape, and stops that heavy triangular look.
Have your stylist slide-cut the interior sections for softness. It keeps the volume you love without the block of weight.
- Layers starting at the cheekbone
- Slide-cut interior sections
- Texturize the ends lightly
23. Accessories That Show Off Polished Layers
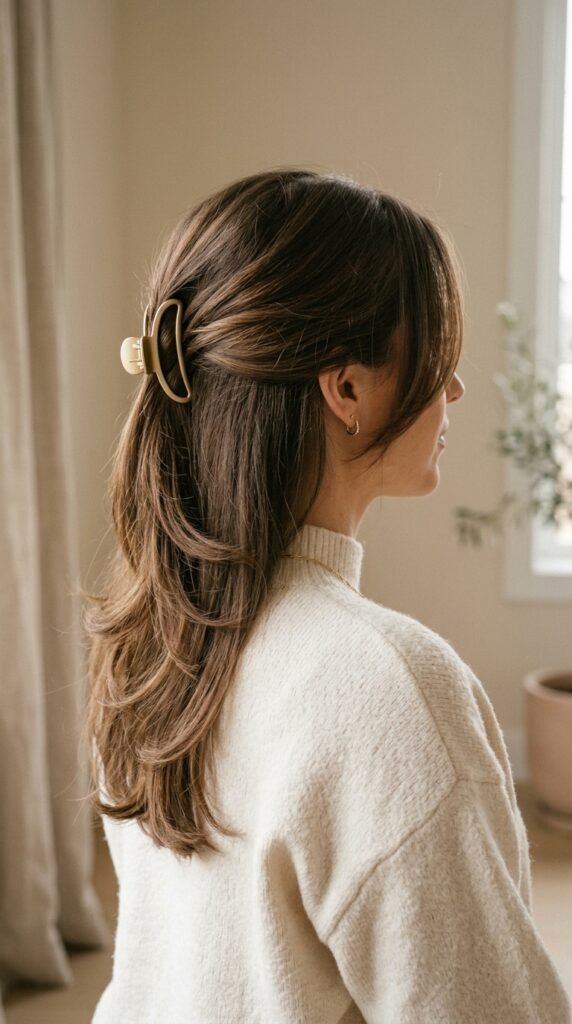
Good hair accessories highlight the cut instead of hiding it. A claw clip at the back shows off face-framing layers, and a simple gold barrette adds polish to a half-up style.
Keep it minimal. One accessory, not three. Old money hair energy comes from restraint, not decoration.
- Claw clip for a half-up look
- Silk scarf for a sleek pull-back
- Gold barrette on one side only
24. Five-Minute Polished Hairstyles
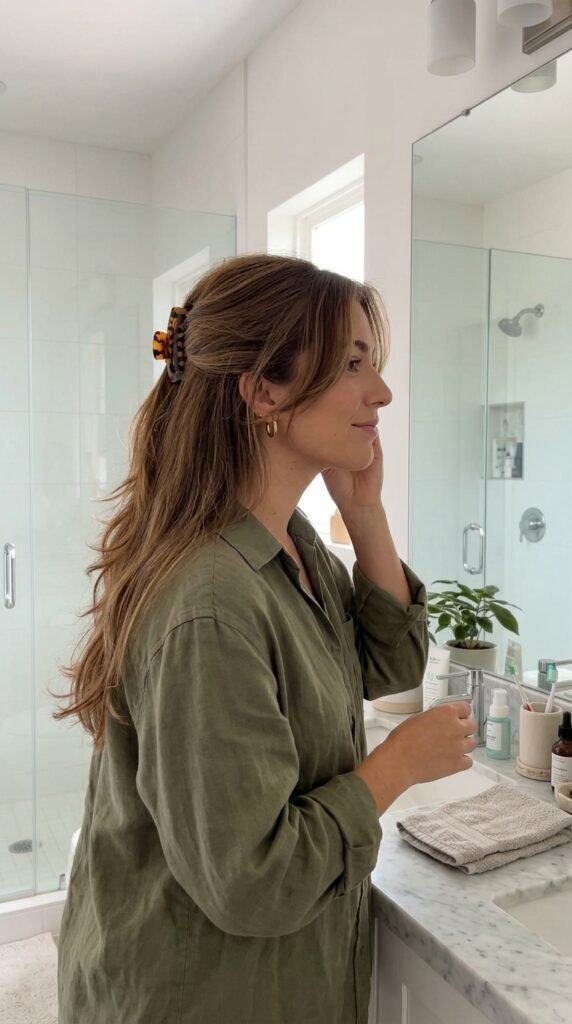
Some days you have five minutes. That’s fine. A low sleek bun with face-framing pieces out looks intentional and shows off your layers.
A half-up with a clip, or a loose side-part with a little oil on the ends, both work. The key is a clean finish, not a complicated one.
- Low bun with front pieces out
- Half-up claw clip with smooth top
- Side part plus shine oil on ends
25. Mistakes That Quietly Kill Shine
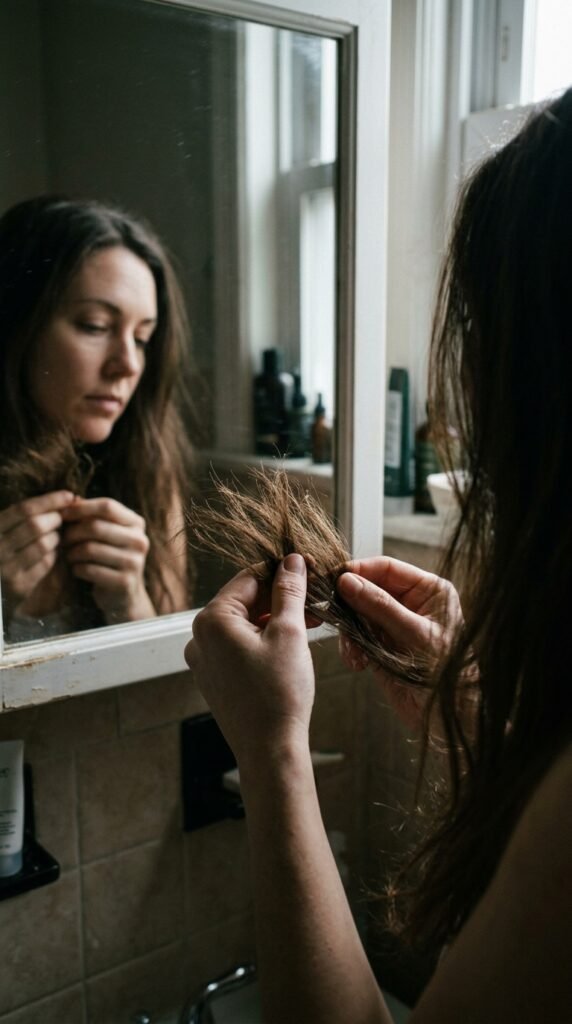
Most dullness comes from small habits, not one big mistake. Brushing wet hair aggressively, skipping trims, and over-washing all add up.
Also watch your water temperature. Scalding showers strip oils from the scalp and rough up the cuticle from the root down.
- Brushing wet hair with a fine-tooth comb
- Washing every single day
- Skipping heat protectant
- Rubbing hair with a rough towel
One Last Thing Before You Book That Appointment
Polished long layers aren’t complicated. Pick a shape that matches your density, keep your ends trimmed, and build a small routine you’ll actually repeat.
The shine follows. Healthy hair reflects light, and reflective hair is the whole look right now.
Now go screenshot three of these and send them to your stylist. Future you with the glossy hair will be very grateful.
Save this post to Pinterest so you have it ready at your next appointment. And tell me in the comments which look you’re trying first, I read every single one.