28 Butterfly Haircuts for Long Hair That Add Bounce and Movement
Every few years a haircut comes along that makes me want to book a salon chair immediately. Right now, that cut is the butterfly haircut.
Here is the simple version: it is long layers mixed with shorter face-framing pieces that flick outward like little wings. That combo gives you volume at the crown, movement at the ends, and a soft frame that flatters almost everyone.
The best part? It grows out beautifully, so you are not glued to the salon every six weeks like you would be with a sharp bob.
Below are 28 butterfly haircut ideas for long hair, from soft and polished to a little moody, plus the exact words to use when you sit down in the chair. Let’s find yours.
What Is a Butterfly Haircut, Really?
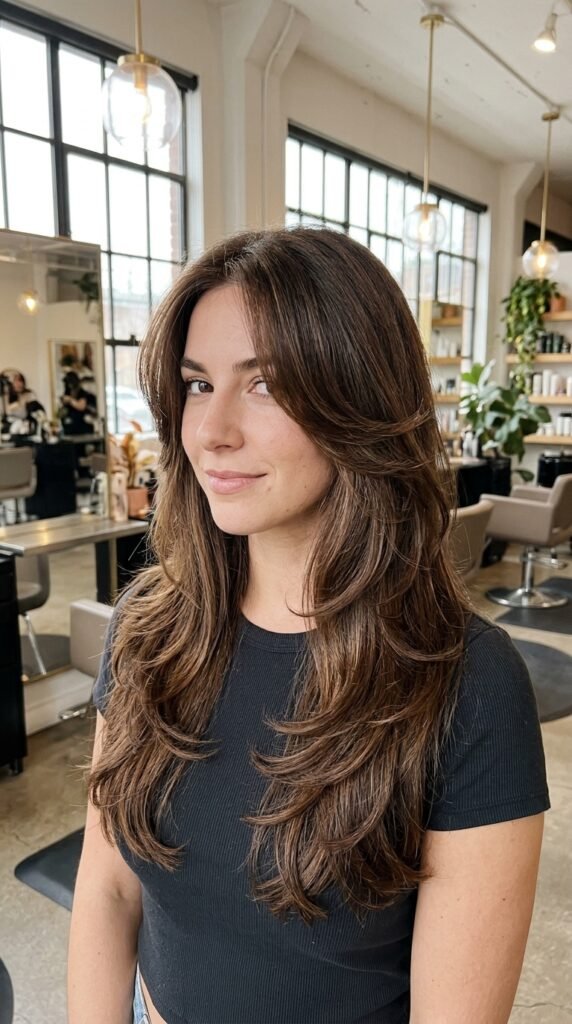
The butterfly haircut is long layers with a shorter, curved layer around the cheekbones and jaw. When the hair moves, those short pieces lift up and out like wings. That is where the name comes from.
It is not a shag and it is not a standard layered cut. The difference is the blend. The short pieces need to connect smoothly into the longer layers, or you end up with a weird shelf.
- Short face frames: cheekbone to jaw
- Mid layers: shoulder area for bounce
- Long ends: kept as heavy as possible
Ask for movement, not thinning. That one sentence saves so many bad haircuts.
Why It Works So Well on Long Hair

Long hair gets heavy. Gravity pulls it down and flat, which is why so many of us with waist-length hair feel like we are wearing a curtain.
Layers break that weight up. The butterfly cut takes it a step further by adding lift exactly where your face needs it.
It also plays well with texture. Straight hair gets swing, wavy hair gets definition, and curly girls get a rounder shape instead of a triangle.
- Adds volume without teasing
- Makes air-drying look intentional
- Frames the face with very little styling
Face-Framing Layers: The Secret Sauce
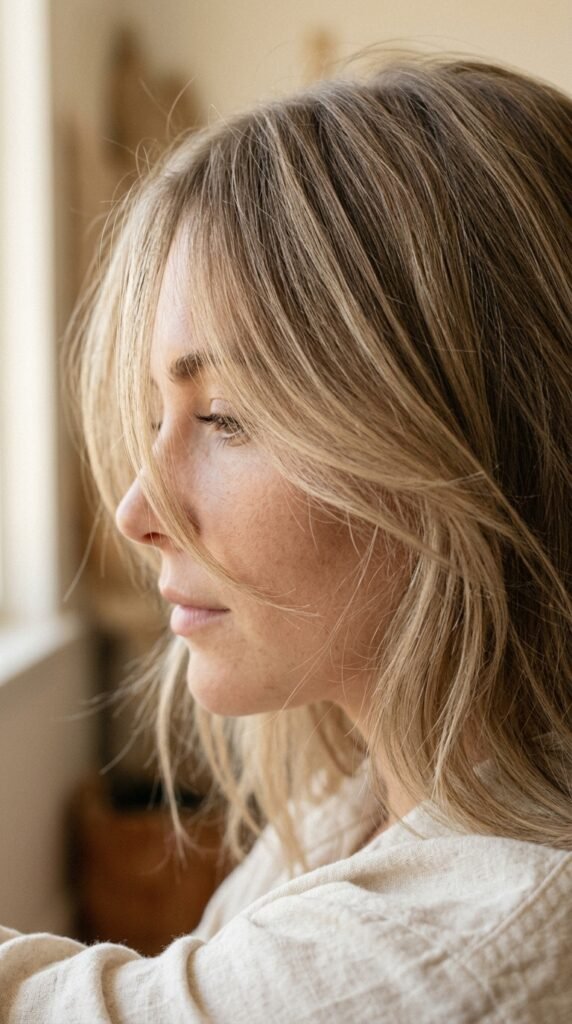
If you only remember one thing from this post, make it this: the face frames do the heavy lifting.
They should start around your cheekbone, angle down toward the jaw, and taper into the rest of your layers. Too blunt and you get a shelf. Too thin and they disappear the second you sweat.
- Show a photo with a clear cheekbone start point
- Ask for the frames to be point-cut, not chopped
- Confirm they blend into the longest layer
Bring two photos, not one. One for the frames, one for the length.
The 2026 Update: Softer, Choppier, More Movement
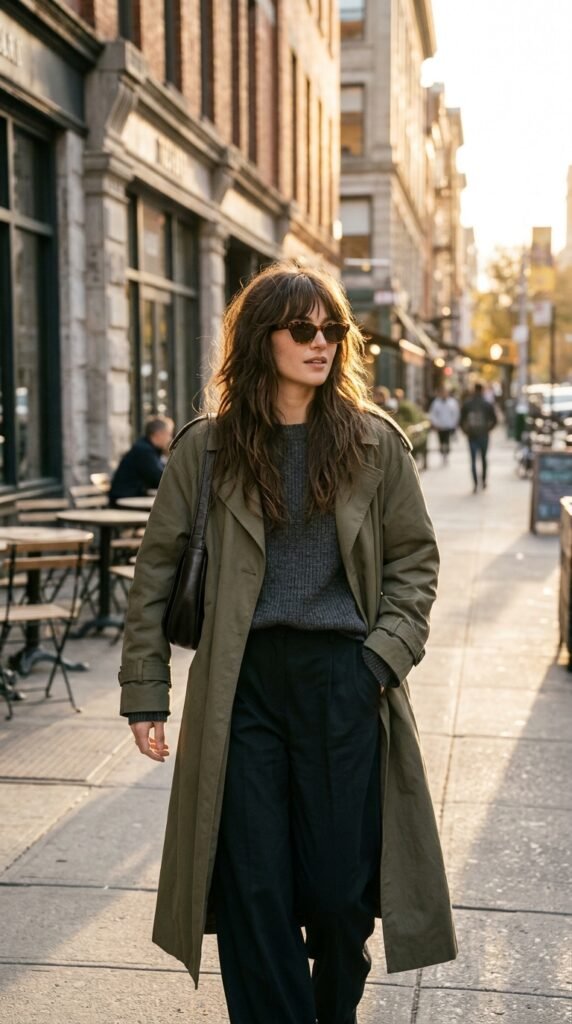
The 2026 hairstyles version of the butterfly is less perfect than the original. Think softer ends, a slightly messy blend, and less of that heavily styled blowout feel.
Stylists are leaning into point cutting and tiny texture snips so the cut looks lived in from day one. You should be able to wake up, run your fingers through it, and go.
- Less polished, more airy
- Layers closer together at the front
- Ends left a little thicker
If you loved the old money hair look but want it to feel younger, this is your bridge.
Butterfly Cut vs. Hime Cut: Know the Difference
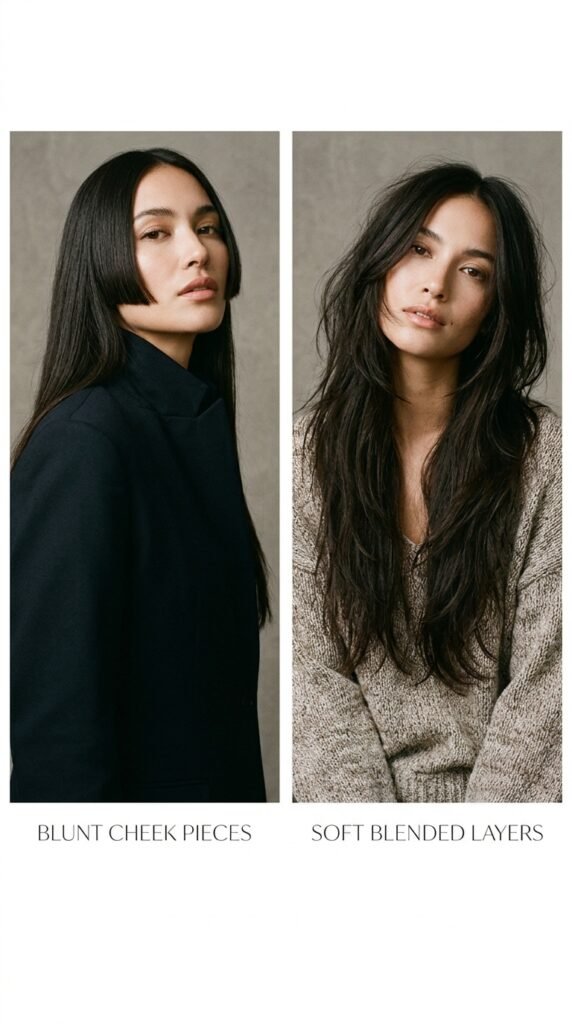
People mix these up constantly, so let’s clear it up.
The hime cut is blunt. Straight-across cheek and jaw pieces, sharp fringe, and a clear separation from the back length. It is dramatic and very precise.
The butterfly cut is the opposite. Everything blends. Nothing is blunt except maybe the ends.
- Hime cut: blunt, geometric, bold
- Butterfly cut: soft, blended, bouncy
- Butterfly-hime hybrid: blunt cheek pieces blended into layers
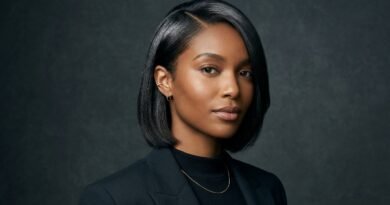
That hybrid is quietly trending and it looks incredible on straight black hair.
Ask for This at the Salon (Exact Words)
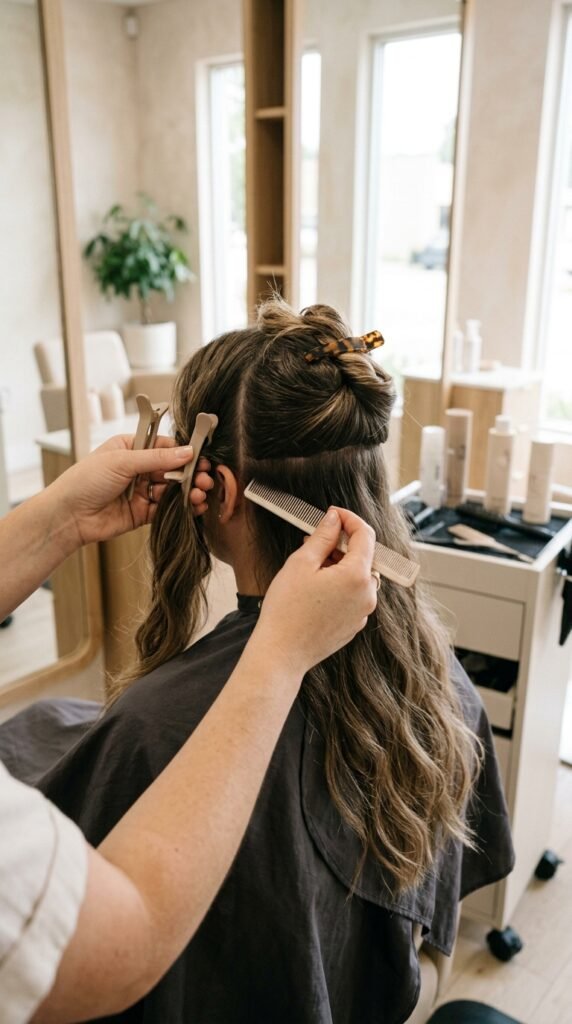
Here is your script. Read it out loud if you get nervous, because I definitely do.
- “I want long layers with face framing that starts at my cheekbone.”
- “Please blend the short pieces into the length so there is no shelf.”
- “Keep my ends thick. Point cut, don’t thin with shears.”
- “I want movement when I air dry, not a blowout shape.”
Then show your photos. Words plus pictures is the safest combo, and a good stylist will appreciate how clear you are.
The Classic Butterfly with Curtain Bangs

This is the version you have seen all over your feed, and for good reason. Curtain bangs plus butterfly layers is almost unfairly flattering.
The bangs sweep out and meet the face frames, so the whole front of your head has one smooth curve instead of three separate pieces doing their own thing.
- Best on medium to thick hair
- Ask for bangs to hit your cheekbone
- Keep them long enough to tuck
Style with a round brush for ten seconds a side and you are done.
Long Butterfly with Wispy Face Frames
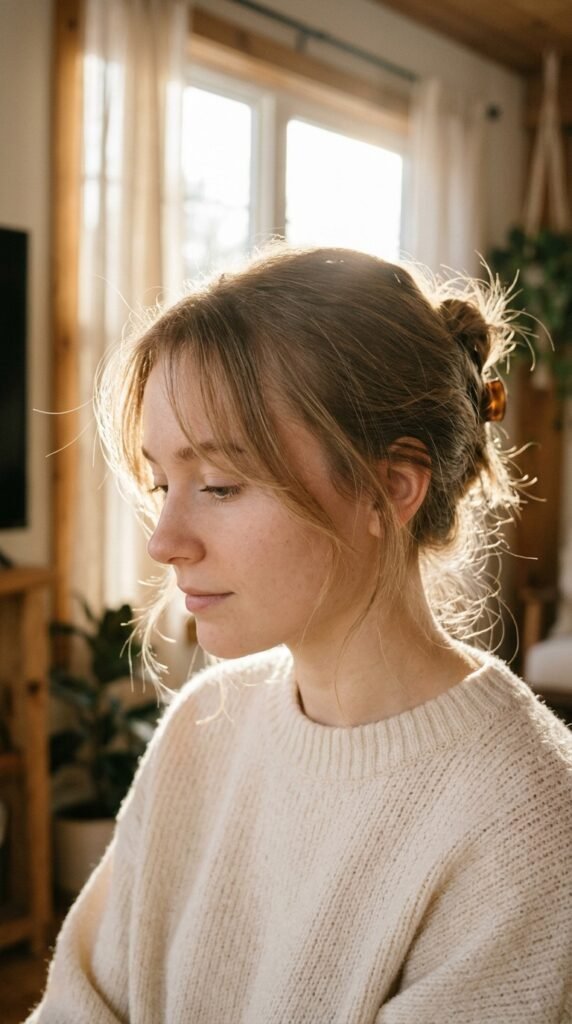
Fine hair girlies, this one is yours. Instead of thick chunky frames, you ask for delicate wispy pieces that barely graze the cheek.
They add the illusion of fullness without stealing density from the ends, which is the number one fear with fine hair and layers.
- Ask for fewer, thinner sections
- Keep the shortest piece at the jaw
- Skip heavy texturizing spray
A little salt spray at the roots does more than any amount of styling wax.
The Deep Side Part Butterfly
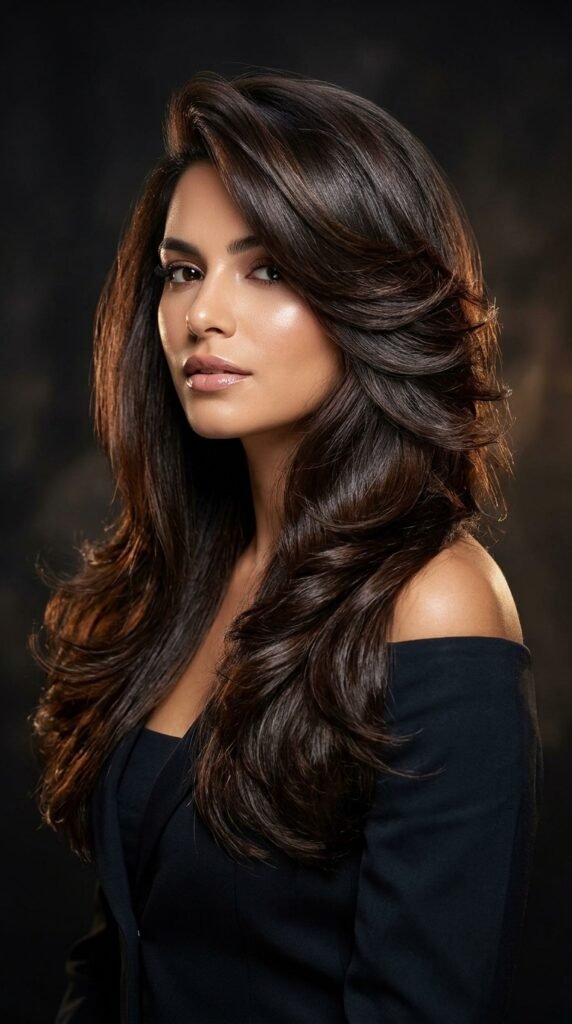
A deep side part instantly doubles the volume on one side, and butterfly layers amplify it further. It reads expensive without trying.
Swing your part over, rough dry, then flip your head upside down for ten seconds. That is genuinely the whole routine.
- Great for round and oval faces
- Adds instant asymmetry
- Looks best with a little bend at the ends
This is the easiest way to make a butterfly cut feel grown up instead of sweet.
Butterfly Layers on Waist-Length Hair

Super long hair can absolutely do the butterfly cut. You just need to protect your length.
The trick is keeping the longest layer almost untouched so you do not lose inches, and adding the movement only from the shoulders up. Your stylist can work entirely in the top section.
- Keep the bottom two inches off-limits
- Layer only from the shoulders up
- Trim dust ends every twelve weeks
You get swing and volume without losing the length you spent years growing.
The Butterfly Lob and the Asymmetrical Lob Twist
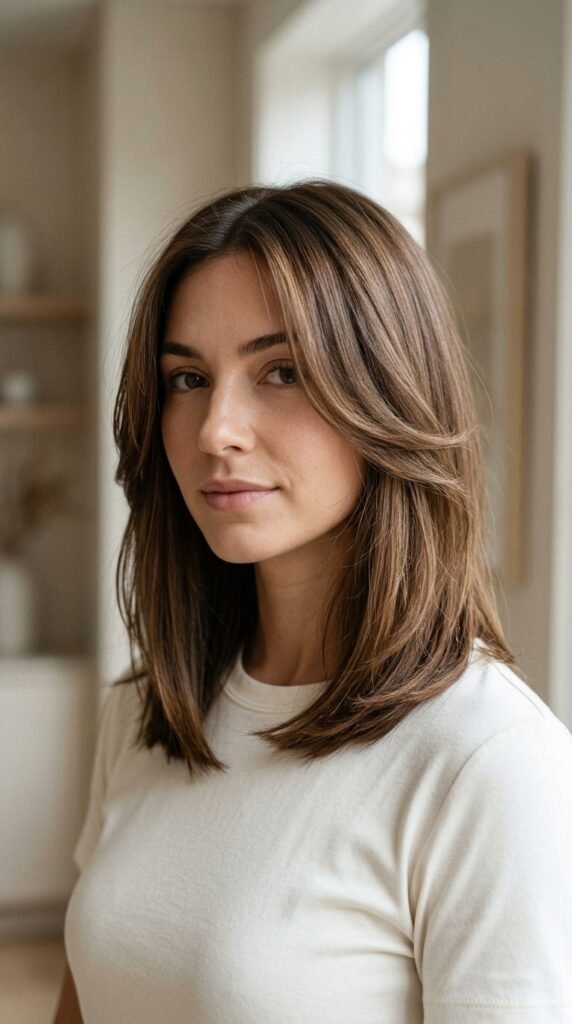
Not ready for full length? The butterfly lob is the move. It hits somewhere between your jaw and collarbone with layered movement through the ends.
Want something sharper? Ask for an asymmetrical lob with a butterfly blend. One side slightly longer, one side tucked, and soft layers on top so it still moves.
- Butterfly lob: soft, bouncy, everyday
- Asymmetrical lob: sleek, modern, a little edgy
- Both grow out gracefully
This is the cut I recommend most to anyone transitioning out of a bob.
Old Money Hair Meets Butterfly Layers
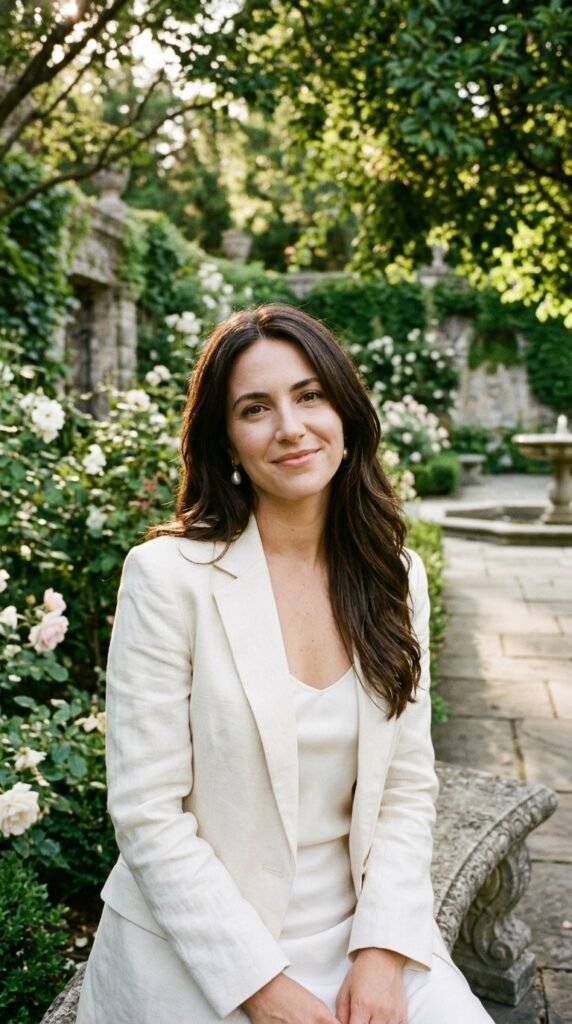
Old money hair is all about shine, soft bends, and nothing looking like you tried. Butterfly layers fit that brief perfectly because the volume looks natural.
The key is polish. Smooth roots, glossy mid-lengths, and a gentle bend at the ends instead of tight curls.
- Blow dry with a round brush, medium heat
- Finish with a shine serum on the ends only
- Keep the part center or slightly off center
Pair it with a neutral wardrobe and you basically look like you summer somewhere nice.
The Quiet Luxury Bob’s Longer Sister
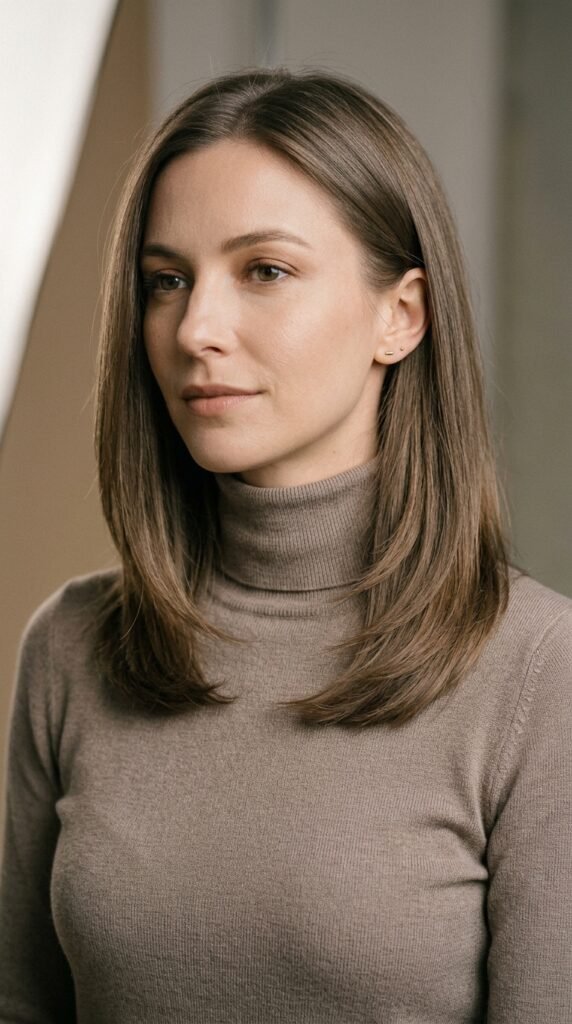
You have probably seen the quiet luxury bob everywhere. It is sleek, blunt-ish, and very tidy. The butterfly cut is its longer, bouncier sibling.
Same energy, more movement. If the quiet luxury bob feels too severe on your face, this is your softer option.
- Keep the perimeter clean and even
- Add layers only in the front half
- Stick to natural, dimensional color
Sleek, expensive, but you can still wear it messy on a Sunday.
Romantic Goth Hairstyles with Butterfly Layers
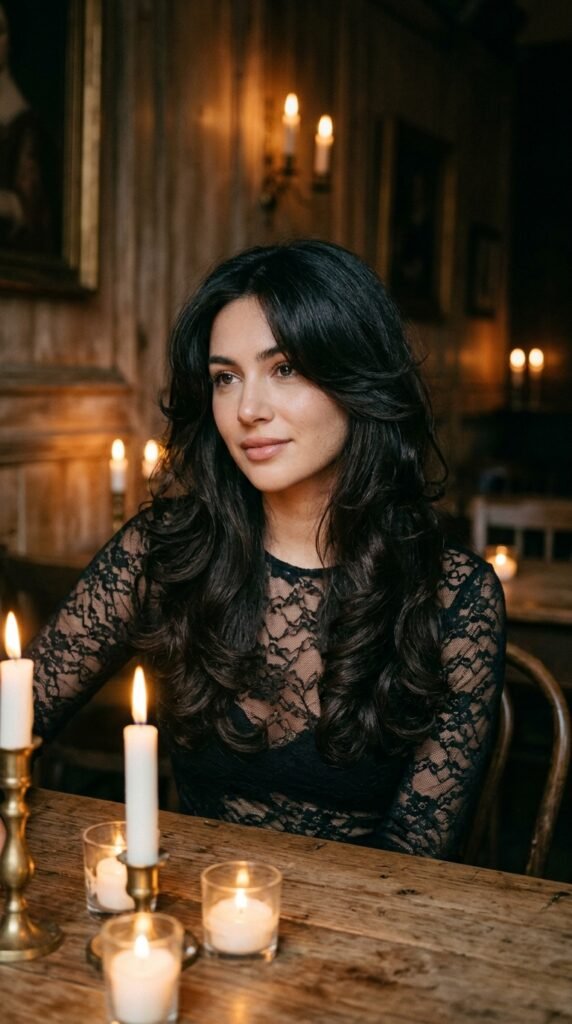
Romantic goth hairstyles live for texture and drama, and butterfly layers give you both without being costume-y.
Keep the color deep, add soft layers for movement, and let the cut do the work. Loose waves and a middle part make it feel Victorian in the best way.
- Deep espresso or soft black tones
- Loose brushed-out waves
- Face frames left long and soft
This is the cut I picture with a velvet dress and zero effort.
Glitchy Glam Hair: The Butterfly Edition
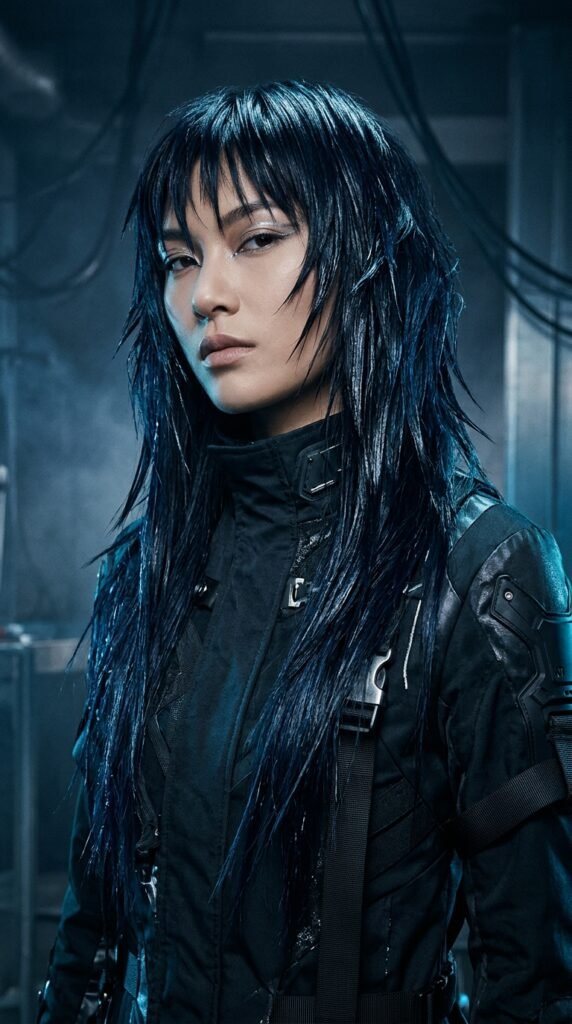
Glitchy glam hair is the trend of sharp, slightly imperfect, high-shine hair. Think reflective sheets of hair with unexpected texture breaks.
For long hair, ask for butterfly layers with a few sharper, more disconnected pieces near the front. Just a few. Too many and it turns into a mullet.
- High shine serum or gloss spray
- Straight, glassy finish
- One or two sharper face frames
It is the most editorial version of this cut, and it photographs beautifully.
The Vampire Haircut, Butterfly Remix

The vampire haircut is all about drama, dark color, and face frames that point toward the jaw. Sound familiar? It is basically the butterfly cut’s moodier cousin.
The difference is intention. The vampire cut is sharper and more angular, with a steeper angle from cheek to chin.
- Steeper, more angled face frames
- Deeper color, glossy finish
- Middle part with a slight lift
If you want to feel a little dangerous, ask for this angle instead of a soft curve.
The Hime Cut Butterfly Hybrid
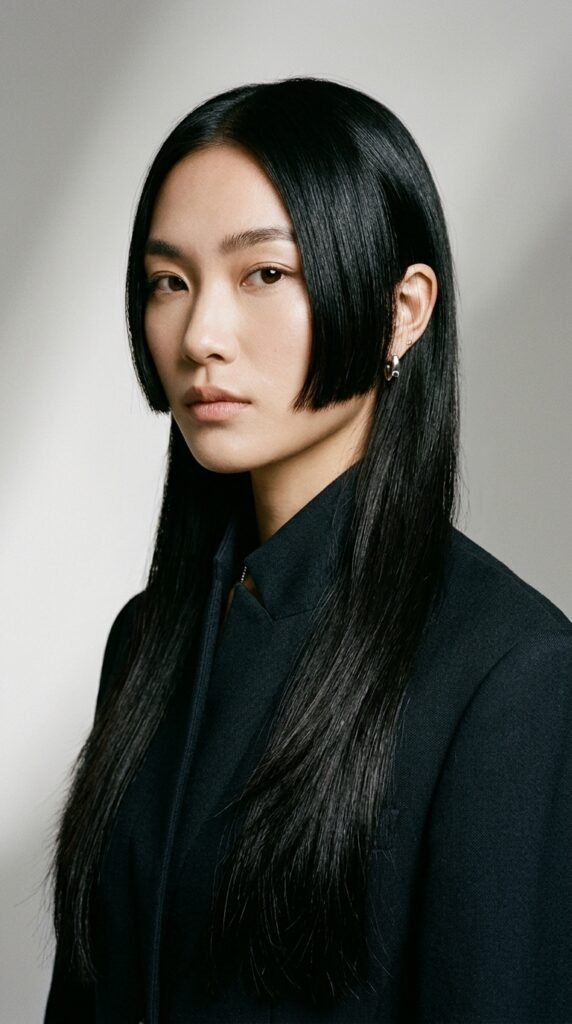
This hybrid is quietly one of my favorites. You keep the blunt hime cut cheek pieces, but instead of stopping there, they blend into butterfly layers.
You get the sharpness of the hime cut without the harsh “two haircuts at once” effect. It works best on straight, thick hair that holds a line.
- Blunt cheek pieces, thumb-width
- Blend from jaw down into layers
- Keep ends straight and heavy
Very anime, very chic, very worth trying.
Soft Curly Butterfly Cut

Curlies, you are not left out. A curly butterfly cut is all about roundness. The layers create a soft halo shape instead of the dreaded triangle.
Find a stylist who cuts curls dry. It changes everything, because they can see how your hair actually sits.
- Cut dry, curl by curl
- Layers placed where volume is needed
- Leave the bottom layer long and heavy
Then let your curls do the rest. No brushes, no drama.
Blown-Out Butterfly with a Round Brush
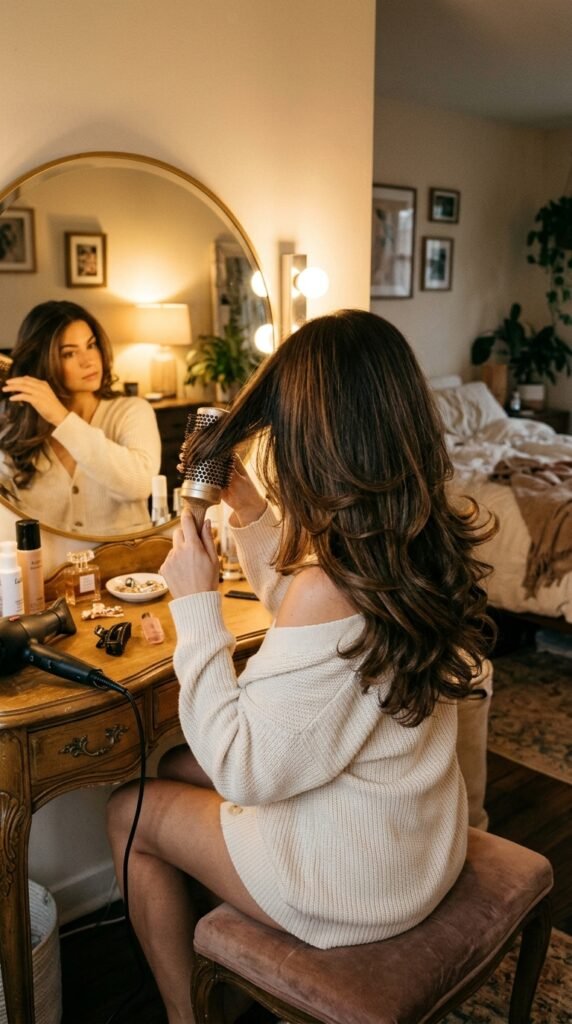
This is the full-glam version. Big, smooth, ends flipping out like you just walked out of a salon in 1994, in the best way.
Rough dry to eighty percent, then section your hair and round brush each piece outward at the ends for that signature flip.
- Prep with a heat protectant
- Brush each section away from your face
- Hold the ends a beat longer for the flick
Finish with a light hairspray from a distance so it stays soft.
The Grown-Out Butterfly with No Bangs
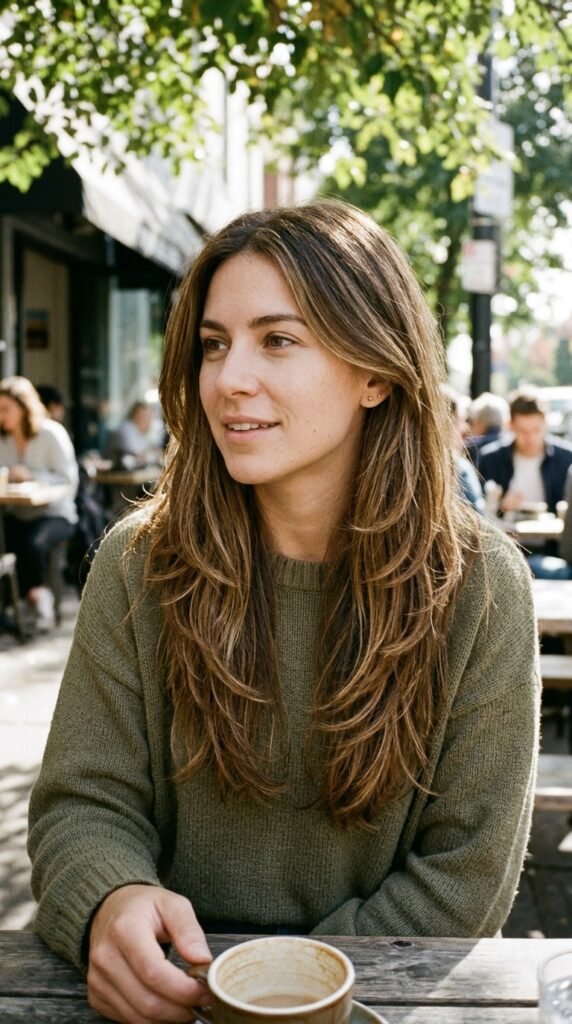
Not a bangs person? No problem. You can get all the butterfly movement with zero fringe.
Just ask for face frames that start at the cheekbone and sweep back, no pieces falling forward. It looks like a natural grown-out cut, which is exactly the point.
- No blunt bang line
- Frames swept back and blended
- Easy to pin up on hot days
This is the lowest maintenance version of the whole trend, and honestly the one I would pick.
Butterfly Cut with Hidden Volume
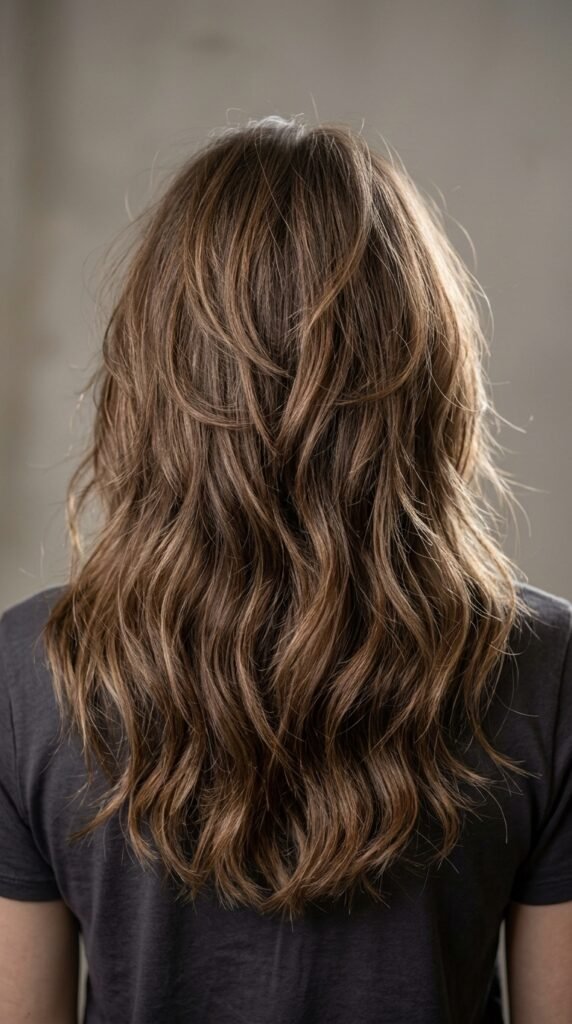
Some of us need help at the root. Hidden volume layers are cut underneath the top section so the crown sits higher without any teasing.
Tell your stylist you want internal layers near the crown that lift the top, blended lightly into the rest of the butterfly shape.
- Lift at the root, not bulk at the sides
- Great for flat, heavy hair
- Skip if your hair is very fine at the top
It is invisible on the outside and magic on the inside.
Five-Minute Styling Routine
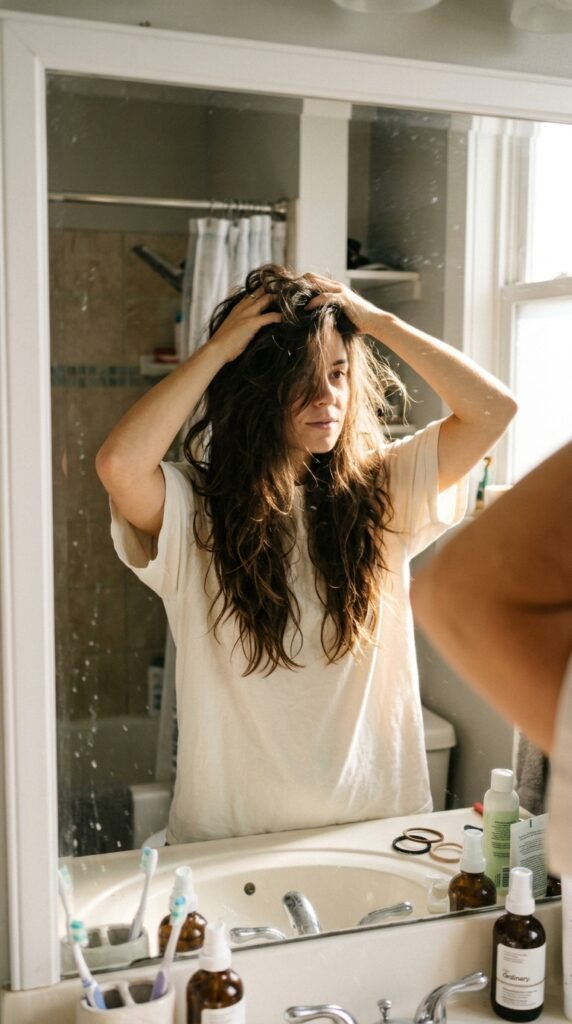
Here is my real, honest routine for a butterfly cut. It should not take longer than your coffee.
- Spray a little leave-in on damp ends
- Flip your head upside down and rough dry the roots
- Twist two front sections away from your face and let them air dry
- Add a tiny bit of texture cream to the ends
- Flip the part, shake, and go
That is it. The cut does the work, which is the entire point of getting layers.
Products That Actually Matter
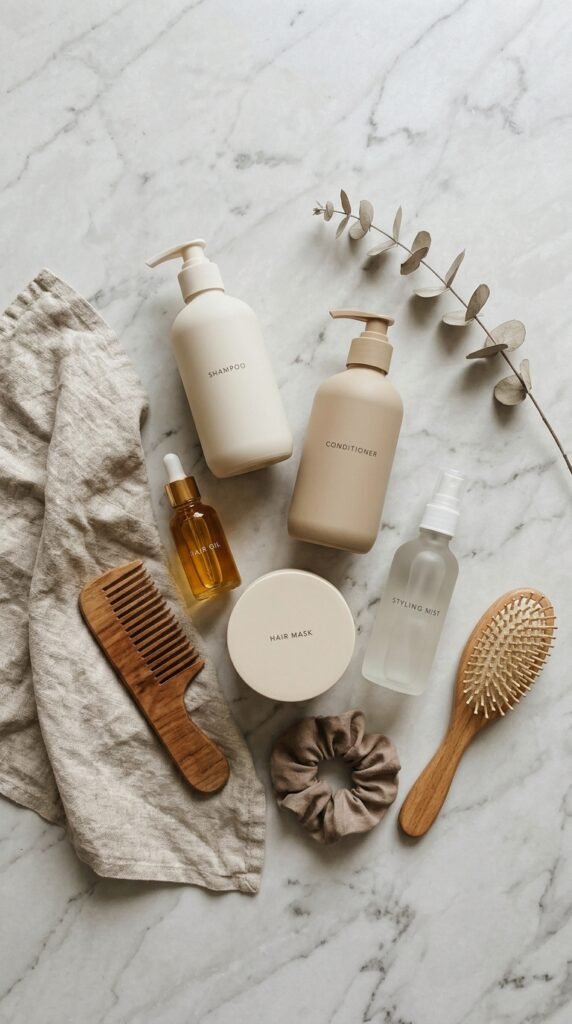
You do not need a shelf full of products. You need three good ones.
- Leave-in conditioner: keeps layered ends from looking dry
- Texture or sea salt spray: gives grip so layers hold shape
- Shine serum: a drop through the ends for polish
Skip heavy oils at the root and skip anything labeled “strong hold” unless you are going somewhere fancy. Soft hair moves better.
How to Keep Layers Healthy
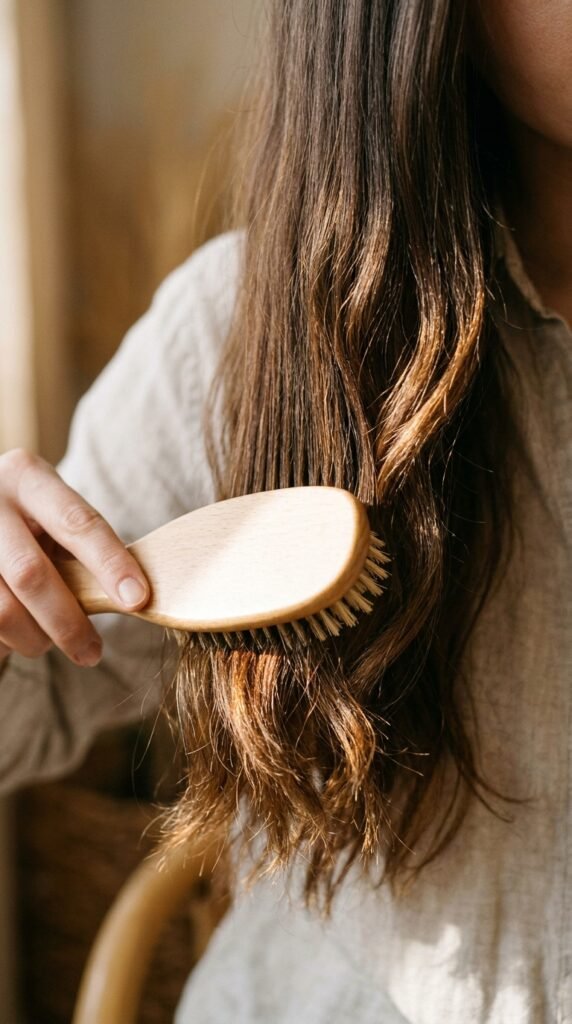
Layers mean more exposed ends, and exposed ends split faster. A little maintenance keeps the cut looking fresh.
- Trim every ten to twelve weeks
- Use a heat protectant every single time
- Sleep on a silk pillowcase if you can
- Wash the ends, not the whole head, on repeat days
Do these four things and your layers will stay soft instead of turning stringy after a month.
Common Mistakes to Avoid
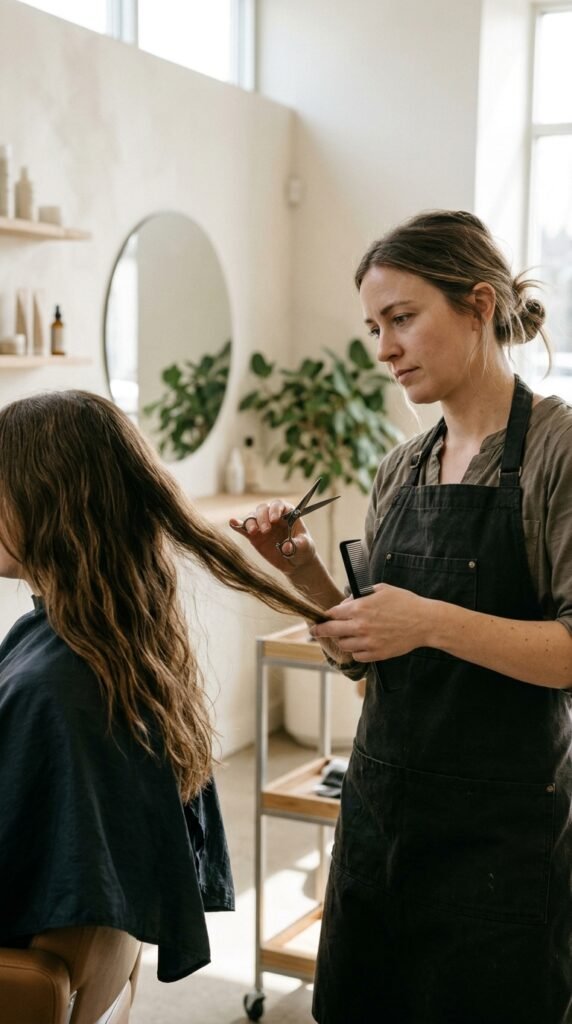
I have seen these go wrong enough times to warn you.
- Too many layers: your ends get thin and wispy
- Layers starting too high: hello, mullet territory
- Heavy thinning shears: the number one reason cuts look frizzy
- No photo: words alone leave too much room for interpretation
If your stylist starts reaching for thinning shears, gently ask them to point cut instead. It makes a huge difference.
Which Butterfly Cut Fits Your Face Shape?
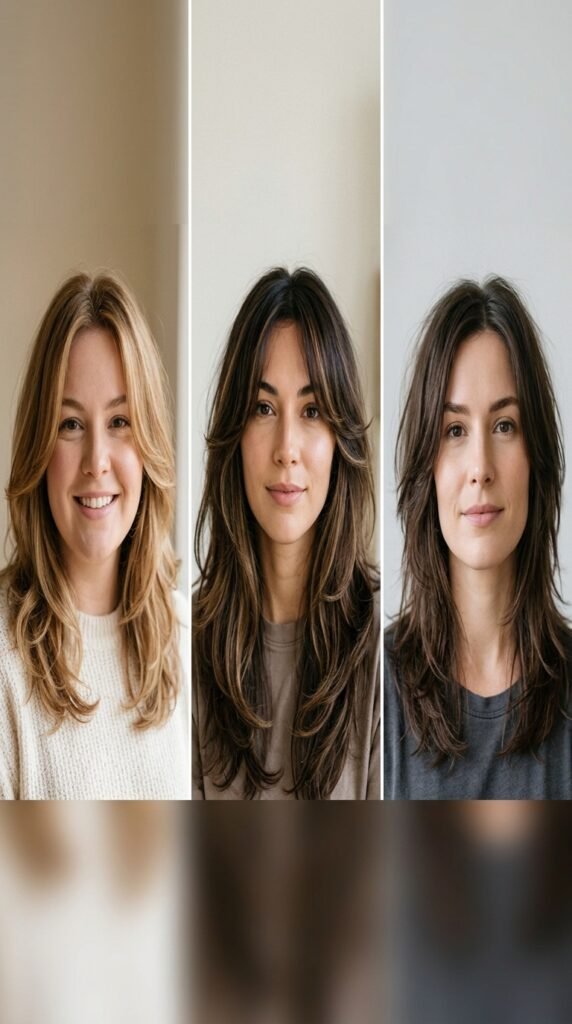
Quick guide, because this really does change the placement.
- Round: shorter face frames at the cheekbone to break up width
- Square: softer, longer frames starting below the jaw
- Oval: almost anything works, lucky you
- Heart: frames starting at the chin to balance the forehead
- Long: layers at the cheekbone to add width
Bring this list with you. It helps your stylist place the shortest layer exactly right.
Butterfly Cut Color Pairings
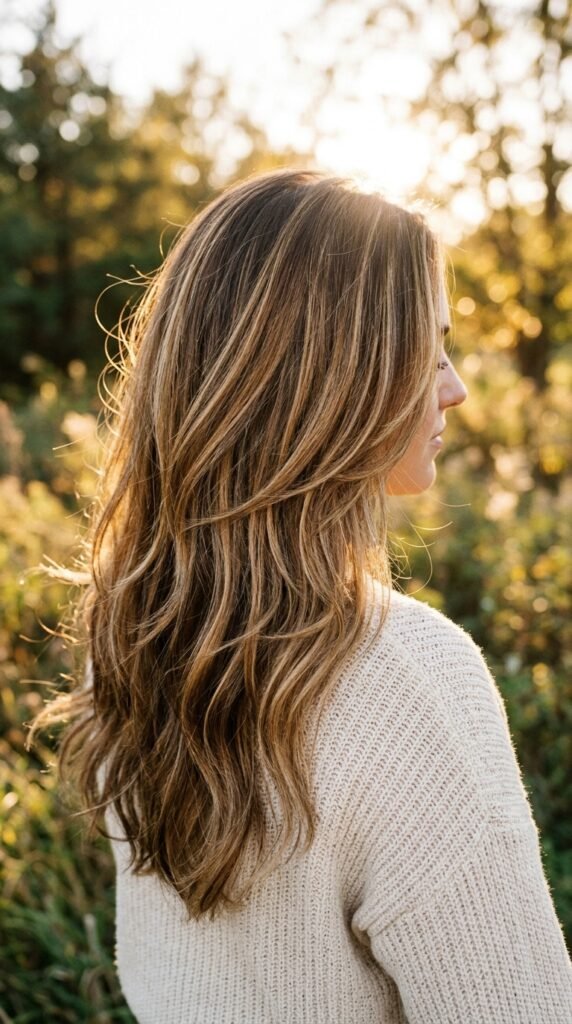
Layers show up better with dimension. If everything is one flat color, the cut can disappear.
- Soft balayage: highlights land right on the layer edges
- Money piece: two face frames a shade lighter
- Lowlights: instant depth on fine hair
You do not need a big change. Even half a shade of dimension makes the whole cut read better in photos.
Quick Butterfly Cut Questions, Answered

These are the questions I get most, so here are the fast answers.
- Does it work on thin hair? Yes, if you ask for fewer, softer layers.
- Can I air dry it? Yes, that is half its charm.
- How often do I need a trim? Every ten to twelve weeks.
- Will it look bad growing out? No, it is one of the best grow-out cuts out there.
Still unsure? Ask your stylist for a virtual consult first. Most offer one now, and it takes five minutes.
My Honest Take on the Butterfly Cut
I have tried a lot of cuts for this blog, and this is one of the few that works on almost everyone. It is forgiving, it grows out well, and it makes you look like you woke up like this.
Just be clear with your stylist, bring photos, and protect those ends. That is the whole secret.
If you try it, I want to know how it went. Drop a comment below with your hair type and which version you are eyeing, and I will happily help you pick.
Save this post to Pinterest so you have the photos and the salon script ready when you book your appointment. Your future hair will thank you.