28 Hairstyles for Thin Fine Wavy Hair That Boost Definition
Thin, fine, wavy hair has a reputation it honestly doesn’t deserve. Somewhere along the way, we all got told to avoid layers, avoid bangs, and stick to something blunt and safe. That advice is pretty outdated for 2026 hairstyles.
The truth? Your waves don’t need to be hidden. They need a shape to hold onto. The right cut keeps ends from going stringy, the right length stops the flatness, and the right styling gives you definition that actually lasts past noon.
So I rounded up 28 hairstyles for thin fine wavy hair that boost definition, from a quiet luxury bob to a softened wolf cut and everything in between. All realistic, all low-effort, all work with the hair you already have.
Grab a screenshot of your favorite and let’s find your next cut.
The 3 Rules Before You Book Anything
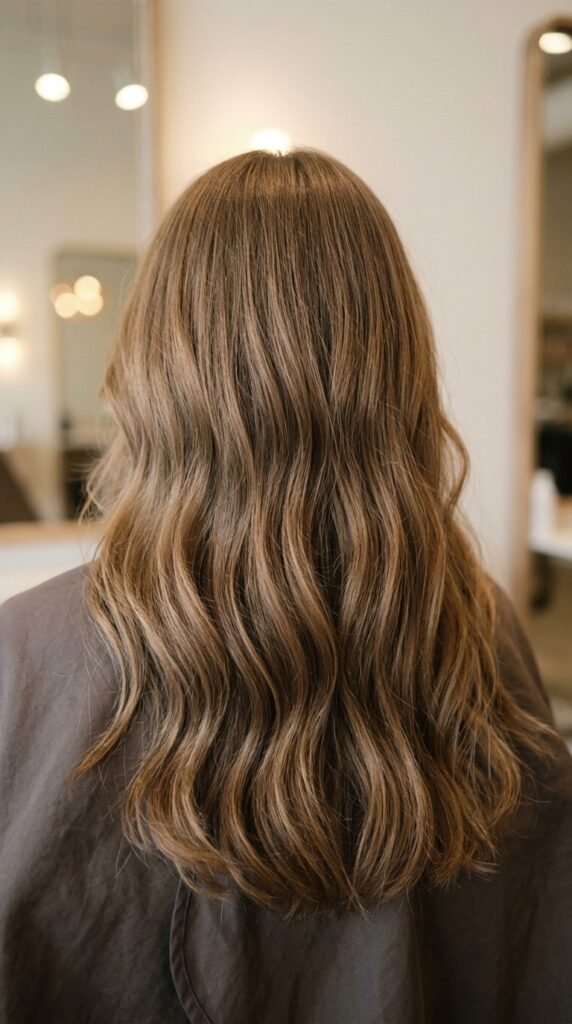
Before the cuts, here’s the short version of everything I’ve learned from years of trial and error and a few genuinely regrettable haircuts.
- Texture beats length. Fine waves need either soft layers or a clean blunt line. The vague middle ground is what goes stringy.
- Never over-thin. If someone reaches for thinning shears on fine hair, say something. It’s the fastest way to kill a wave.
- Ask for a dry check. Wavy hair shrinks up as it dries, so the shape should be verified dry, not just wet.
Keep those three in your back pocket and every style below will work harder for you.
1 and 2: The Quiet Luxury Bob and the Old Money Lob
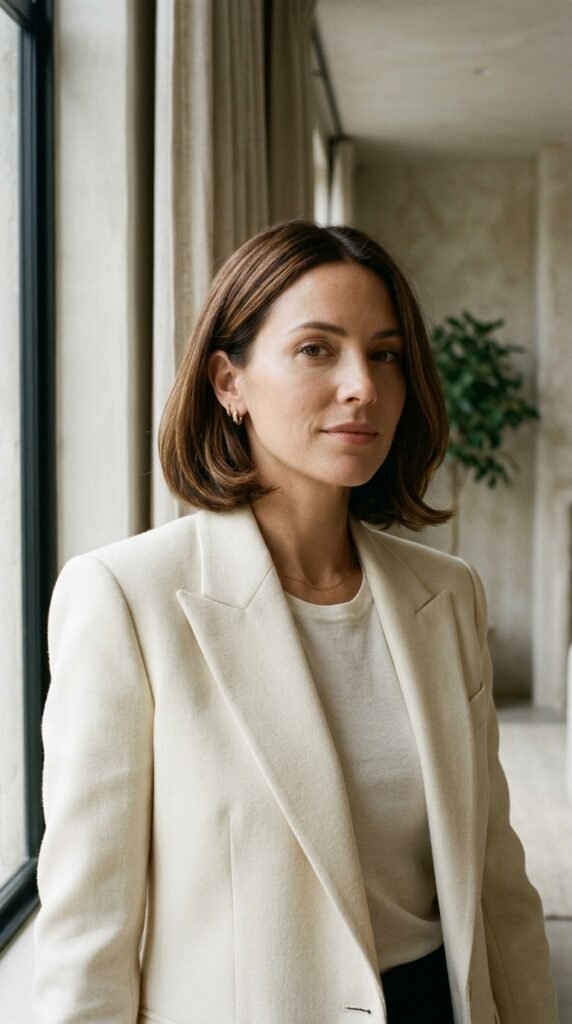
The quiet luxury bob is basically old money hair in one cut: a clean line, no obvious layers, and a soft bend that looks like you woke up expensive.
Ask for chin to jaw length with a very slight A-line in front. Keep ends blunt but not heavy, and skip the invisible layers here. Fine hair does best with one strong shape.
- Bend the ends under with a round brush or a 1.25-inch iron
- Part slightly off-center for root lift
- Finish with texture spray instead of hairspray
If you want more length, the old money lob is the same idea at collarbone. Same rules, more room to play.
3: The Asymmetrical Lob

The asymmetrical lob is one of my favorite picks for fine wavy hair because the uneven line creates visual thickness. Your eye reads the angle as volume, even when there isn’t much.
Ask for a lob that’s longer in front, around collarbone, and slightly shorter in back so the wave has room to move. Keep it mostly one length with only a couple of face-framing pieces.
- Air dry with a light mousse for lift
- Twist small sections around your finger while damp
- Break the cast with a drop of lightweight oil
This one also grows out gracefully, which is a big deal if you’re not a salon regular.
4: The Hime Cut, Softened for Fine Waves
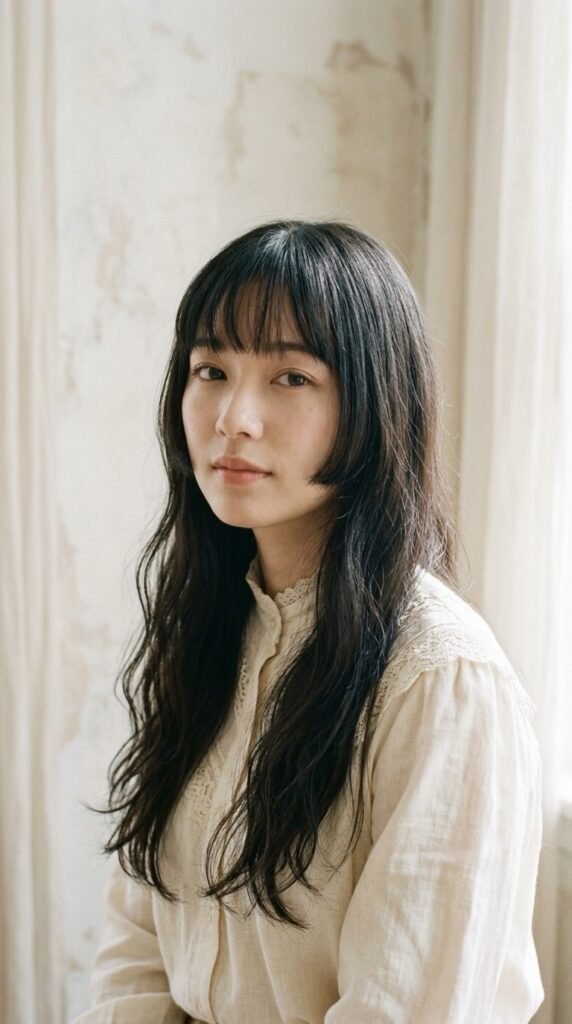
The hime cut sounds intimidating, but it’s honestly made for fine wavy hair. It’s blunt cheek or jaw-length side pieces with the rest left long, which frames the face and fakes density right where you need it.
The trick is to keep the side pieces soft, not razor sharp, so they blend with your natural wave instead of fighting it.
- Ask for blunt face pieces that sit at cheekbone or jaw
- Leave the back mostly one length
- Style the front with a small flat iron and a slight inward bend
It’s romantic, slightly editorial, and looks great with a middle part. Very 2026.
5 and 6: The Vampire Haircut and Romantic Goth Waves

The vampire haircut is having a moment, and it’s actually great for fine hair. It’s a layered cut with face-framing pieces, a bit shaggy, a little undone, and it creates texture without removing bulk.
Ask for soft layers that start around the cheekbone and keep the length. Then let it air dry with your natural wave.
- Romantic goth hairstyles work best on fine waves when they stay soft, not stiff
- Pair it with a deep side part and a little volume at the crown
- Use a texturizing sea salt mist on damp ends only
Skip heavy pomades. Fine hair plus product overload equals flat by lunch.
7: Glitchy Glam Hair

Glitchy glam hair is that slightly messy, slightly polished look where the wave is intentional but the edges are a little off. It’s the most forgiving trend for fine wavy hair because imperfection is the whole point.
Ask for a textured shag or a layered bob that lets pieces fall at different lengths. Then style it with a little grit.
- Mist a light texturizing spray on dry roots and mid-lengths
- Scrunch with your hands, not a brush
- Finish with a shine serum only on the ends
The clash between glossy and messy is what makes it work. Keep the roots lifted and the tips glossy.
8: The Butterfly Bob

The butterfly bob is a rounded, layered bob where the ends softly flip out. On fine waves, it’s a clever one: the layers create movement and the flip adds width exactly where fine hair needs it.
Ask for a jaw-to-chin length with soft internal layers and face-framing pieces that start at the cheek.
- Blow dry with a round brush, rolling the ends outward
- Keep the crown smooth for contrast
- Use a light hold spray so the flip survives the day
It’s playful, a little retro, and it makes thin hair look like it has more going on than it does. In the best way.
9: The French Bob With a Bend

The French bob sits right at the jaw or above, and it’s the easiest way to make fine hair look instantly thicker. Short hair plus a wave means the ends never get a chance to look thin and wispy.
Ask for a jaw-length bob, slightly longer in front, with almost no layering. Keep the ends clean and let the wave do the work.
- Air dry with a light mousse and a few finger twists
- Add a tiny bend with a flat iron on the front pieces
- Finish with dry shampoo at the roots for grip
This is old money hair’s shorter, cooler sister. Low effort, high payoff.
10: The Collarbone Lob With Face-Framing Pieces

Collarbone length is the sweet spot for fine wavy hair. It’s long enough to tie back, short enough to hold a wave, and it doesn’t drag the roots down the way waist-length hair can.
Ask for a lob that hits collarbone with two or three face-framing pieces starting at the cheekbone. Keep the rest mostly one length so it stays full.
- Part in the middle and tuck one side behind the ear
- Twist the front pieces away from your face while drying
- Use a lightweight cream, never a heavy leave-in
This one is my default recommendation when someone wants a change but not a big chop.
11: Curtain Bangs Plus Air-Dried Waves

Curtain bangs and fine wavy hair are a genuinely great pair. The bangs hide thinning at the front, and the soft sweep adds movement without the bulk that straight-across bangs need.
Ask for bangs that start around the brow and sweep outward, blending into the longest layers. They should be long enough to tuck, short enough to frame.
- Dry them first with a round brush, sweeping each side out
- Keep them slightly wet when you finish so they settle
- Avoid heavy pomade on the fringe
They also grow out nicely, which matters if you’re not at the salon every six weeks.
12: Wispy Bangs With a Soft Mid-Length Cut

Wispy bangs are the lighter, more wearable cousin of full fringe. They’re see-through at the ends, which means they don’t need thick hair to look intentional.
Ask for bangs that are tapered and piecey with a soft center part, plus a mid-length cut with a few long layers underneath.
- Trim them dry, always, so they don’t shrink up
- Point cut the ends for that soft look
- Use a tiny round brush and about ten seconds of heat
They’re romantic goth approved, very 2026, and they’re the cheapest way to look like you got a whole new haircut.
13: The Soft Wolf Cut

A full wolf cut can overwhelm fine hair, but a soft version is magic. You keep the shape and the movement while skipping the heavy choppiness that makes fine hair look sparse.
Ask for long layers starting around the jaw, with shorter pieces around the face and the length kept at the collarbone or below.
- Scrunch damp hair with a light mousse
- Let it air dry, then fluff the roots with your fingers
- Skip the diffuser attachment if you want a looser wave
This is one of the best 2026 hairstyles for anyone who wants texture but can’t handle a ton of styling time.
14: The Layered Midi Cut
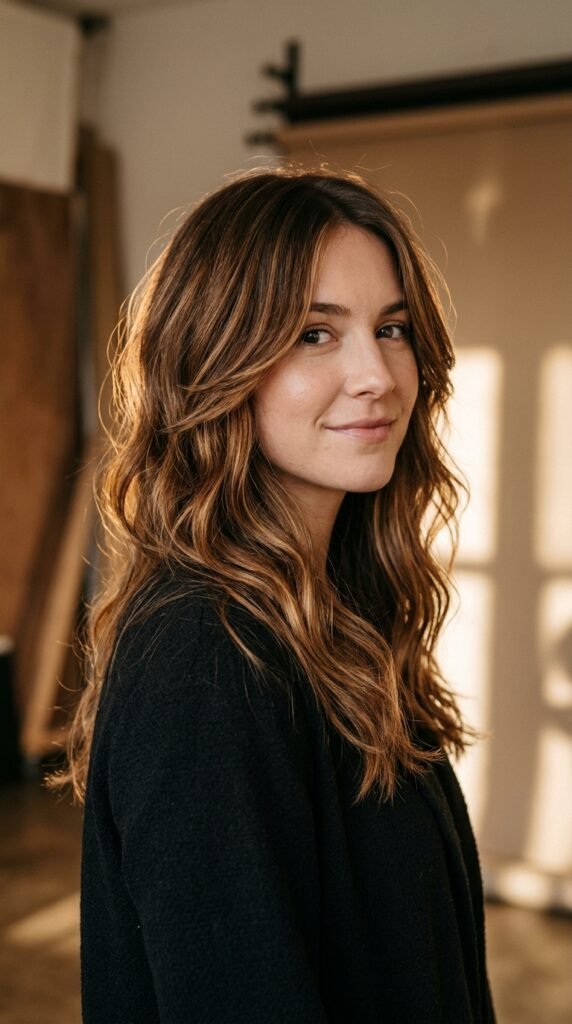
The midi cut sits between collarbone and chest, and it’s a smart length for fine waves because there’s enough hair to work with but not so much that it pulls flat at the root.
Ask for long layers that start around the collarbone and taper toward the ends. Keep the layers chunky rather than razor thin, so they read as volume.
- Flip your head over and diffuse for root lift
- Use a light curl cream on mid-lengths and ends
- Refresh day two with water and a few finger twists
It’s the most low-maintenance way to keep length while still having definition.
15: The Bixie

The bixie is exactly what it sounds like: a bob and a pixie had a baby. It’s my favorite cut for fine wavy hair that goes flat at the crown, because the shorter back keeps the roots standing up all day.
Ask for a slightly longer fringe, soft layers on top, and the back tapered just enough to keep the shape.
- Use a texturizing spray at the roots, not the ends
- Rough dry with your hands to build volume
- Twist the front pieces for a bit of a wave
It’s bold, it grows out well, and it looks amazing with a side part.
16: The Textured Pixie

A textured pixie is the bravest option on this list, and honestly one of the most flattering for thin hair. Short hair can’t look stringy, and no weight means the root volume stays put.
Ask for a longer, softer pixie with texture on top and a clean taper at the back. Keep enough length on top to show the wave.
- Use a matte paste on the top only
- Rough dry with your fingers, then pinch pieces into place
- Visit the salon every five weeks to keep the shape
It’s low effort, high impact, and it makes fine waves look intentional.
17 and 18: The Long Shag and the Invisible-Layer Cut

Two long-hair options that actually work on fine waves. The long shag has visible, textured layers that create movement all over. The invisible-layer cut looks like one length but is quietly structured underneath.
Go for the shag if you want texture and a bit of edge. Go for invisible layers if you want length that looks full and healthy, with zero styling drama.
- Shag: style with sea salt spray and scrunch
- Invisible layers: air dry with a light cream, brush through once
- Both: keep the very ends blunt, not thinned out
Either way, you get definition without losing length.
19 and 20: The Claw Clip Half-Up and the Cloud Bun
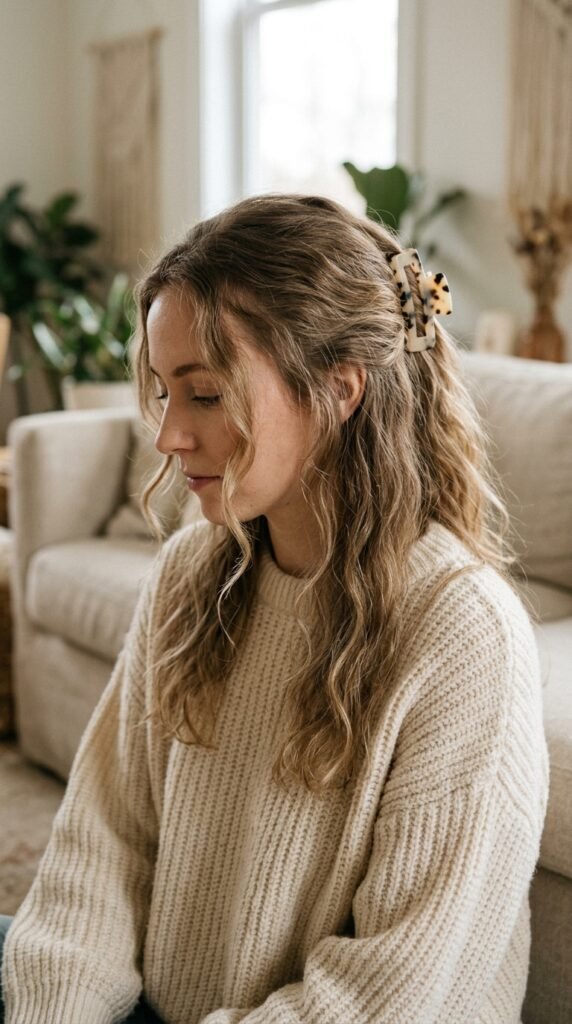
Fine wavy hair does updos really well because the wave gives the shape texture to grip. The claw clip half-up is my go-to: pull the top half back loosely, leave the front pieces out, and let the ends fall as they are.
The cloud bun is the same idea but all the way up. Twist everything into a loose bun on top of your head and pull out pieces around the face.
- Skip the brush, use your fingers for softness
- Spray the front pieces with texture spray for hold
- Leave a few strands down at the nape
Both are old money hair energy without the effort.
21: The Soft Braided Crown
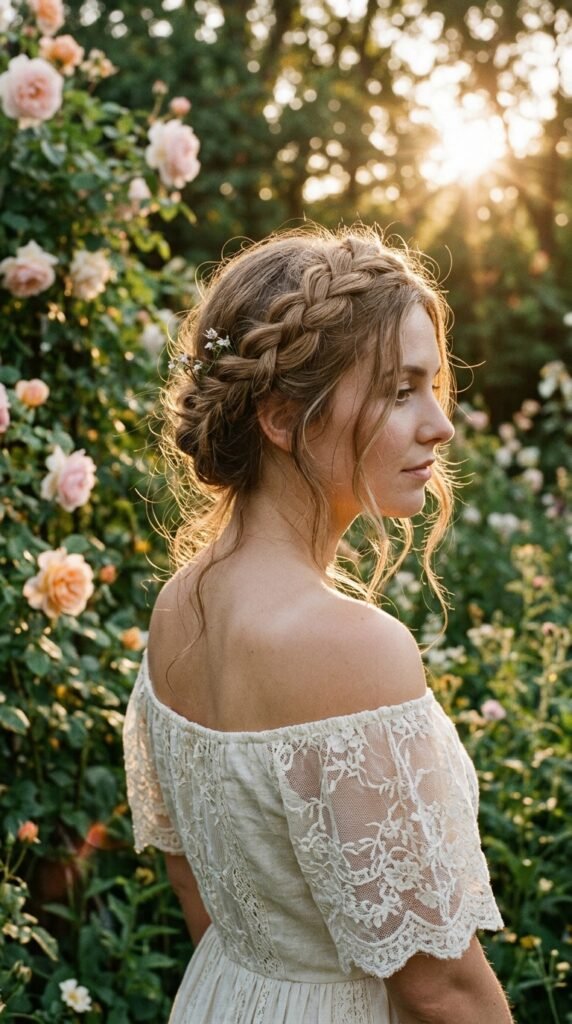
A braided crown is a romantic goth staple and a great trick for fine hair. Braiding first creates grip and volume, so your waves hold better even after you take it out.
Do two loose braids, one on each side, pin them across the top, and gently pull at the edges to make them look fuller.
- Braid on slightly damp hair for a cleaner finish
- Pull out a few face-framing wisps before you pin
- Mist lightly with a flexible hold spray
It doubles as a heat-free way to create waves for the next day.
22: The Sleek Low Bun With Face-Framing Waves
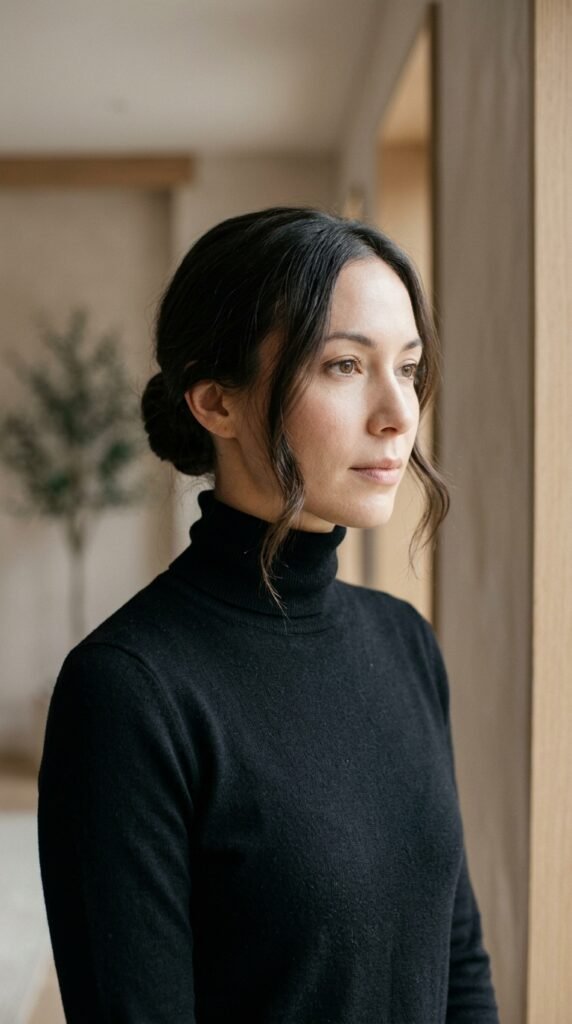
This is the quiet luxury bob of updos. The bun stays smooth and low, and all the texture lives in the two soft pieces framing your face.
Pull your hair into a low bun with a clean middle part, then leave out two-inch sections around the front. Curl those with a small iron and soften them with your fingers.
- Smooth the top with a light gel or a spritz of spray
- Keep the face pieces slightly imperfect for contrast
- Skip the tight pull, a little softness at the crown looks better
It’s the easiest way to look put together in ten minutes flat.
23: The Rounded Blunt Lob

Here’s a plot twist: sometimes the best cut for fine wavy hair has no layers at all. A blunt lob creates a solid line, and that solid line reads as thickness.
Ask for one length at the shoulder or just above, cut with a slight inward roundness so the ends don’t look flat.
- Blow dry with a round brush, curving the ends under
- Keep the crown smooth and glossy
- Use a light serum from mid-length to ends
Caveat: this works when hair is wavy. On straight fine hair, a blunt lob can look limp.
24 and 25: The Mermaid Cut and the 90s Blowout
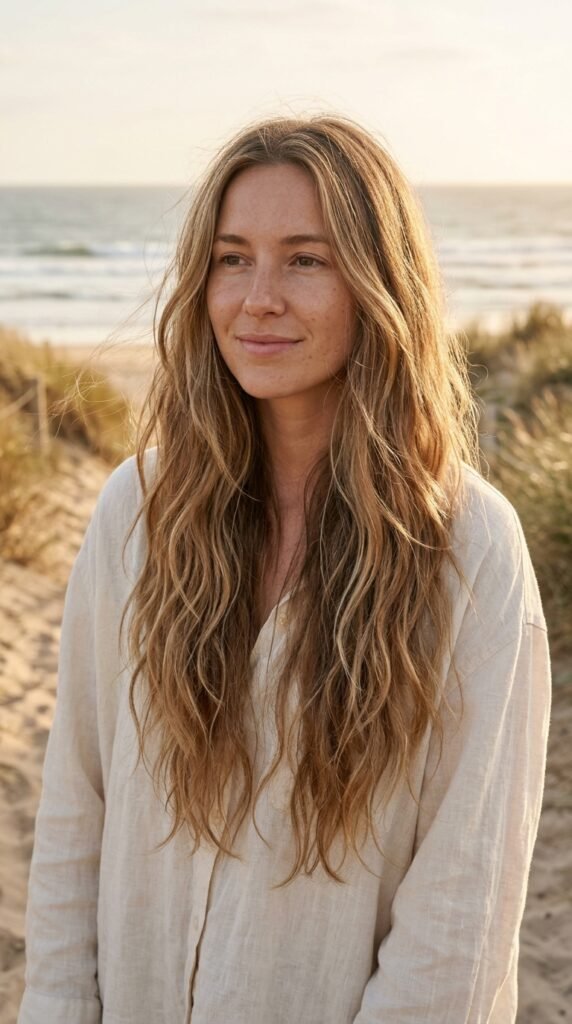
The mermaid cut is long hair with soft, flowing layers that create that gentle S shape. It’s the answer to long fine waves that go flat and shapeless at the bottom.
The 90s blowout is the same length with more root lift and a rounder shape, styled with a round brush for that bouncy, salon-fresh look.
- Mermaid: air dry with a light curl cream and twist sections
- Blowout: rough dry first, then round brush section by section
- Both: finish with a flexible hold spray at the roots
Pick mermaid for everyday. Pick the blowout for a night out.
26 and 27: Twist-Out Waves and Hollywood Side Part
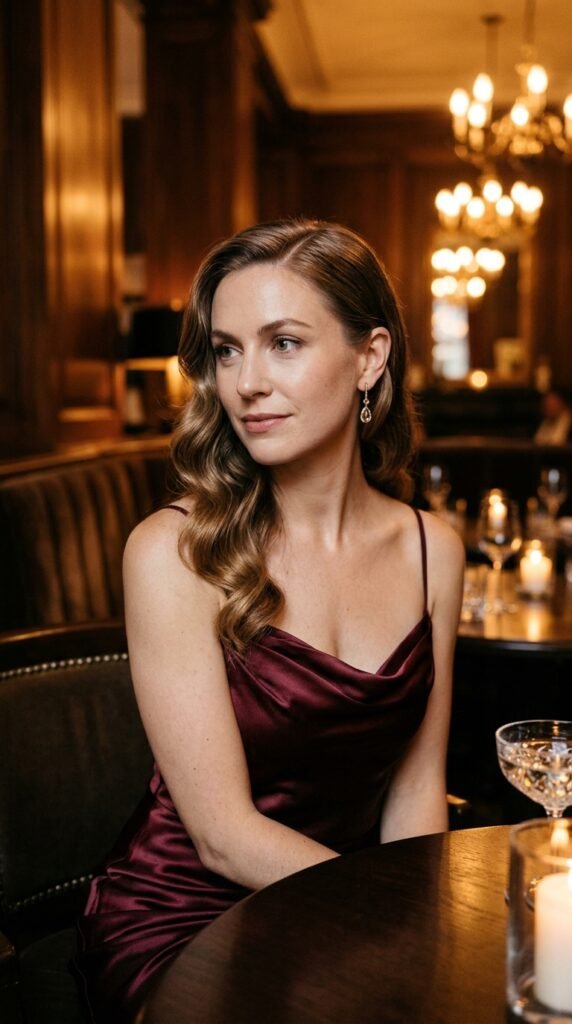
Twist-outs are the cheapest way to get definition on fine waves. On damp hair, twist small sections around your finger, let them set, then break them apart. Free texture, no heat.
The Hollywood side part takes that same wave and pushes it to evening. Deep side part, one side swept over, waves brushed into a smooth S shape.
- Twist-outs: use a light cream and leave for an hour
- Hollywood: brush the waves with a natural bristle brush
- Pin the swept side just above the ear for hold
One is lazy, one is fancy, both work on fine wavy hair.
28: The Micro Bob With a Soft Wave
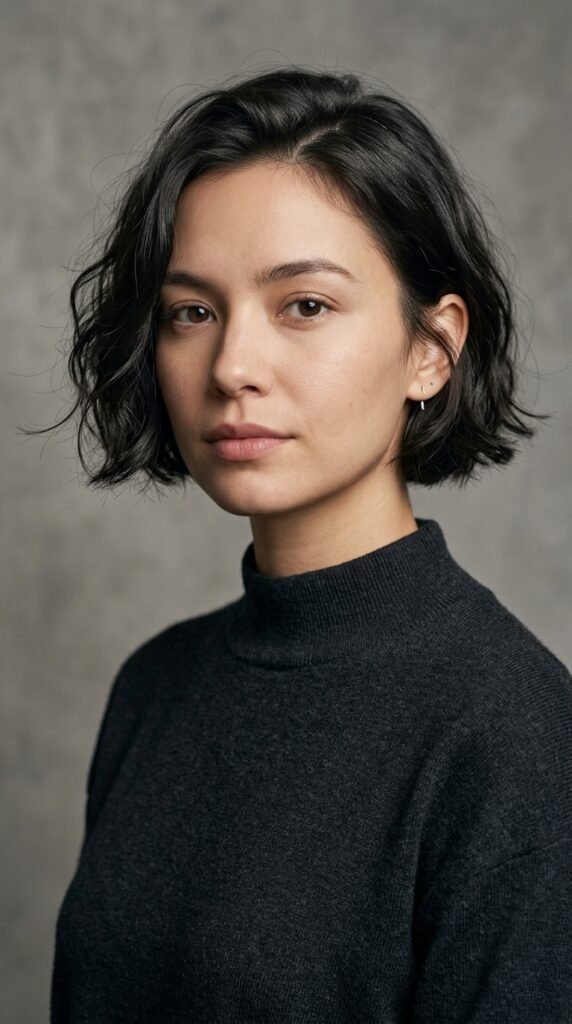
Last one, and it’s the boldest. A micro bob sits above the jaw and leaves zero room for thin ends to hide, which is exactly why it works.
Ask for a chin-length or above-chin bob with a slight A-line and just one or two soft face-framing layers.
- Air dry with a light mousse and finger twists
- Keep the front tucked behind the ear on one side
- Refresh in the morning with a damp hand and a scrunch
It’s sharp, it’s modern, and it makes fine waves look like a choice.
Styling Products That Won’t Weigh You Down
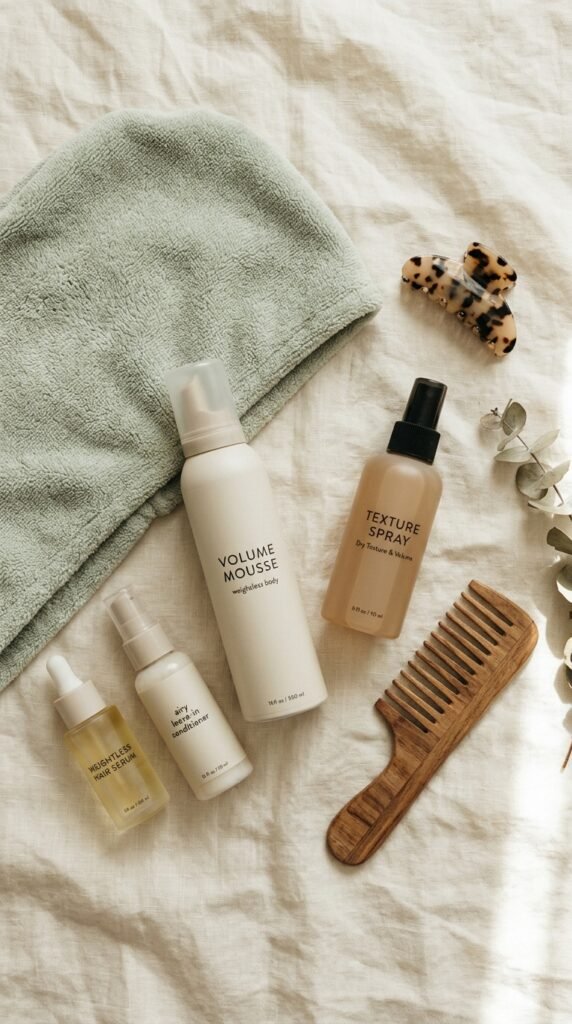
Fine wavy hair has a narrow window between “defined” and “greasy,” and product is usually where it goes wrong. The fix is choosing light formulas and applying them to damp hair, not dry.
- Lightweight mousse at the roots for volume
- Texture spray on dry mid-lengths for grit
- Microfiber towel instead of a regular one to reduce frizz
- Light curl cream on ends only
Skip heavy butters, coconut oil, and anything with a thick gel texture. If a product feels sticky on your fingers, it’ll feel heavy in your waves.
What to Tell Your Stylist
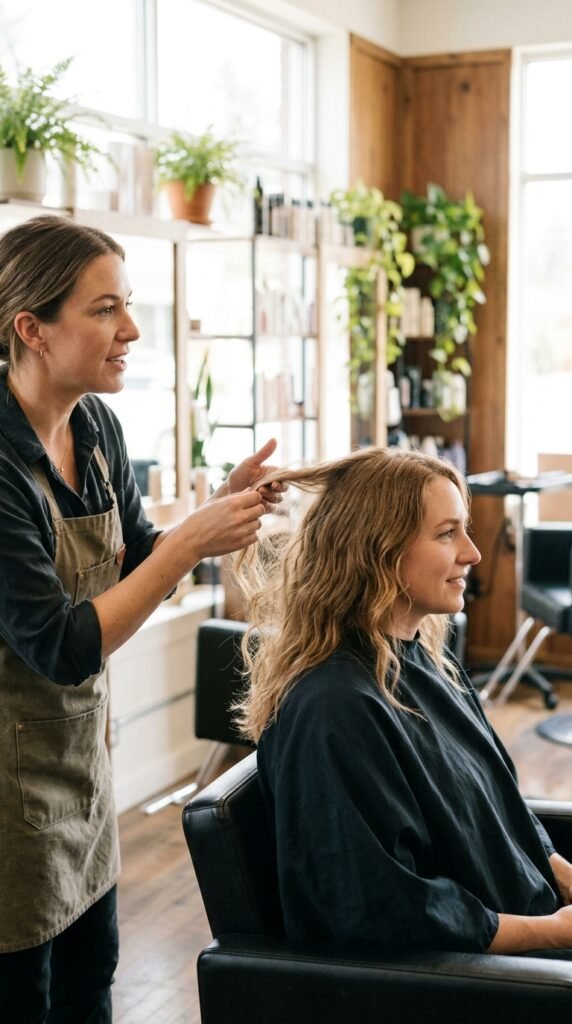
Most disappointing haircuts happen because of a mismatch between what you asked for and what the stylist heard. Bring two photos and be specific.
- Say “fine wavy hair” out loud, not just “wavy.”
- Ask for the shape to be checked dry before they finish.
- Say no to thinning shears, politely but clearly.
- Ask for long layers that start below the chin if you’re keeping length.
- Ask how much styling it will need every day.
If they don’t ask how you wear your hair, that’s your sign to keep looking.
Mistakes to Skip
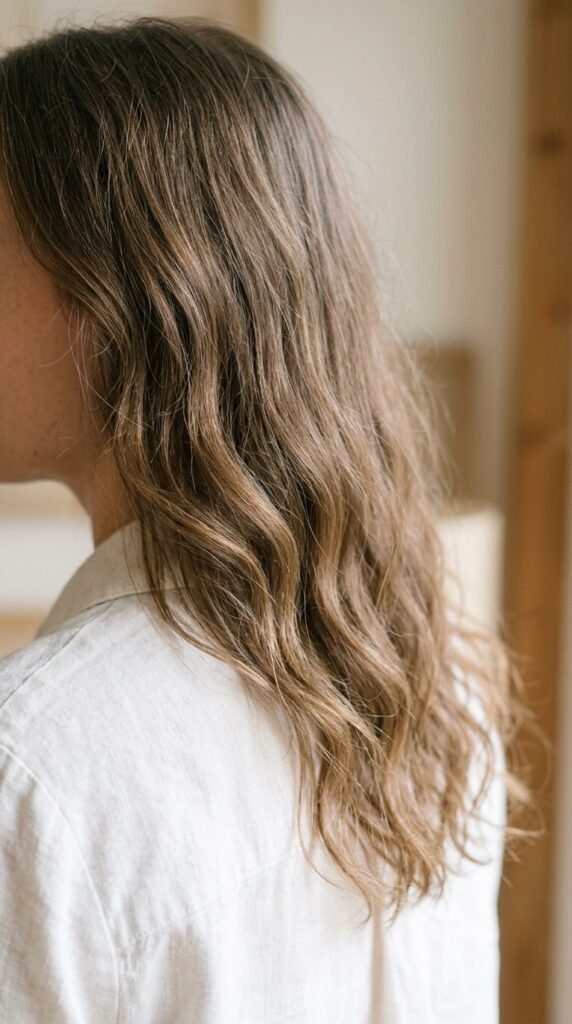
A few habits quietly flatten fine waves, and they’re easy to fix once you notice them.
- Brushing dry waves. It breaks the wave apart and creates frizz. Comb it wet or use your fingers.
- Applying product to dry hair. Mousse and cream need damp hair to distribute evenly.
- Rubbing with a towel. Blot or scrunch instead.
- Over-layering. Too many short layers makes fine hair look thinner, not fuller.
Pick one of these to change this week. Small tweaks make a bigger difference than a new product haul.
One Last Pep Talk
Fine wavy hair isn’t a problem to solve. It’s a texture with a really specific sweet spot, and once you find your cut, everything gets easier. Definition shows up when the shape is right, not when you try harder.
Start with one hairstyle from this list that feels doable, bring two photos to your appointment, and be honest with your stylist about how much time you’ll actually spend styling.
You don’t need thicker hair. You need the right shape for the hair you’ve got, and now you have 28 options.
Save this post to Pinterest so you have it ready at your next salon appointment (and send it to the friend who’s always asking what to do with her fine waves).
Which one are you trying first, the quiet luxury bob or the soft wolf cut? Tell me in the comments, and I’ll help you figure out exactly what to say to your stylist.