20 Hairstyles for Baseball Caps That Look Cute Without Flattening the Crown
Baseball caps are my lazy-day default, my bad-hair-day rescue, and honestly half of my personality from March through October. But there’s one problem nobody warns you about: cap hair. You take the hat off and your crown is flat, your roots are glued down, and your whole head looks like it gave up.
Good news. The fix is not a complicated routine. It is mostly about where you put your volume and how you place the cap.
Below are 22 hairstyles that look genuinely cute with a baseball cap and still leave you with a crown that has shape. Some take thirty seconds, some are for weddings and coffee dates. All of them are easy, and all of them count as very 2026 hairstyles.
Start With the Cap Trick That Saves Every Style
Before we get to the styles, here is the one move that matters most. Put the cap on from the back of your head, not down over your forehead. Slide it forward last. This keeps the front of your hair lifted instead of pressed flat.
- Spray dry shampoo at the front roots, then fluff with your fingers
- Slide the cap on from the back, forehead last
- Tilt the brim up slightly so a bit of hairline shows
- Keep the sides loose instead of tucked hard behind your ears
That is it. Once you do this, almost every style below works better.
1. Low Sleek Ponytail
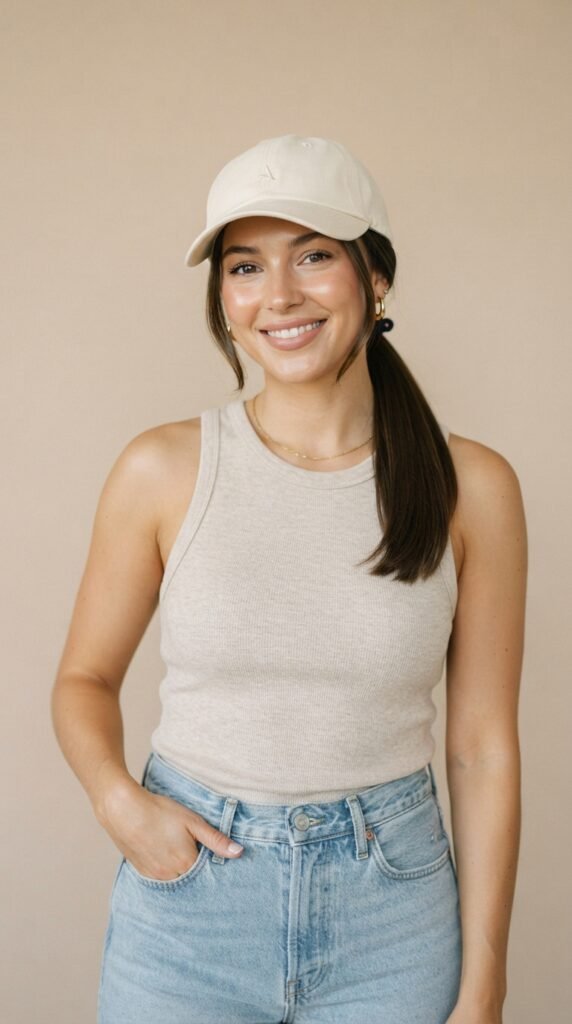
The low ponytail is the easiest cap hairstyle in the world, and it works because the volume lives at the front, not on top of your head.
- Part your hair where you normally do and leave two small pieces out at the front
- Gather everything into a low pony at the nape of your neck
- Wrap a small section of hair around the elastic to hide it
- Add the cap last, tilted slightly back
Because the ponytail sits low, the cap band never squishes a bump. Add a little texture spray at the front so your roots do not fall flat by noon. A satin scrunchie makes it feel a touch more dressed up.
2. Bubble Braid Ponytail
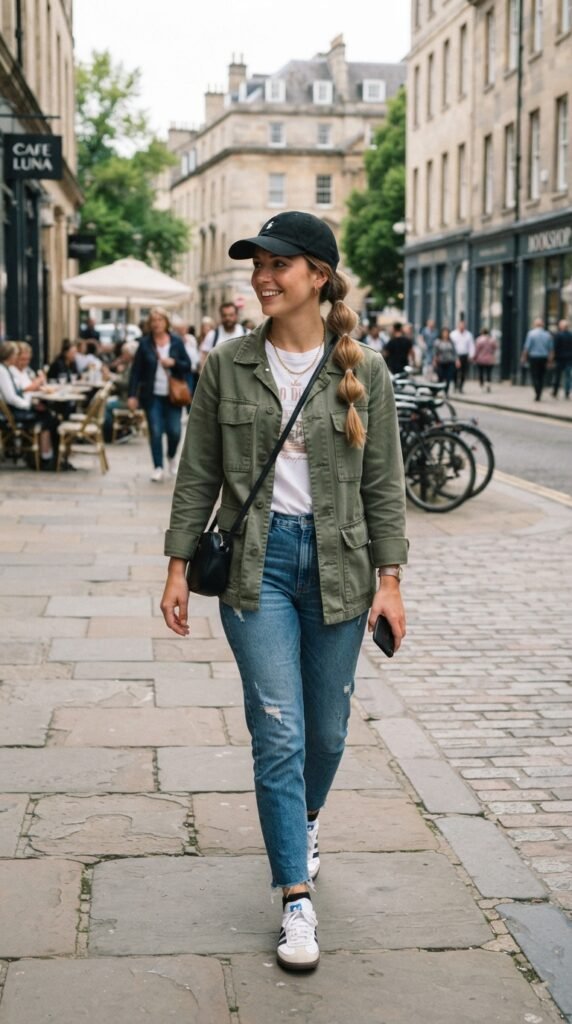
This one is my personal favorite for cap days, and it looks like you tried much harder than you did.
- Pull your hair into a low ponytail
- Add clear elastics every two inches down the tail
- Gently pull each section outward to make a bubble
- Cap on last, brim tilted up
Pulling each section is what makes it look full instead of skinny. If your hair is fine, spray texture spray on your hands first and scrunch before you bubble. It works on straight, wavy, and curly hair, and it hides the dent from the cap band.
3. High Ponytail With Curtain Bangs

High ponytails and caps are usually enemies, because the cap flattens the bump at the crown. Curtain bangs fix that completely.
- Leave your curtain bangs out and down
- Gather the rest into a high ponytail
- Keep the base of the pony slightly loose
- Cap on, brim up so the bangs fall free
Your bangs create the volume the cap would normally steal. If you do not have curtain bangs, fake them with two chin-length face-framing pieces and a little bend from a flat iron. This is one of those 2026 hairstyles that works for the gym and dinner.
4. The Quiet Luxury Bob

A quiet luxury bob is blunt, chin to collarbone length, and usually worn with a middle part. It looks incredible with a cap because the ends stay smooth and intentional.
- Tuck one side behind your ear and leave the other side out
- Add the cap, tilted slightly back
- Smooth the ends with a drop of serum
- Keep the roots lifted with dry shampoo
Do not tuck both sides or you lose the shape. One side tucked and one side out is the whole trick. Pair it with a plain cap in cream, black, or olive and you will look like you just left a very expensive coffee shop.
5. Asymmetrical Lob
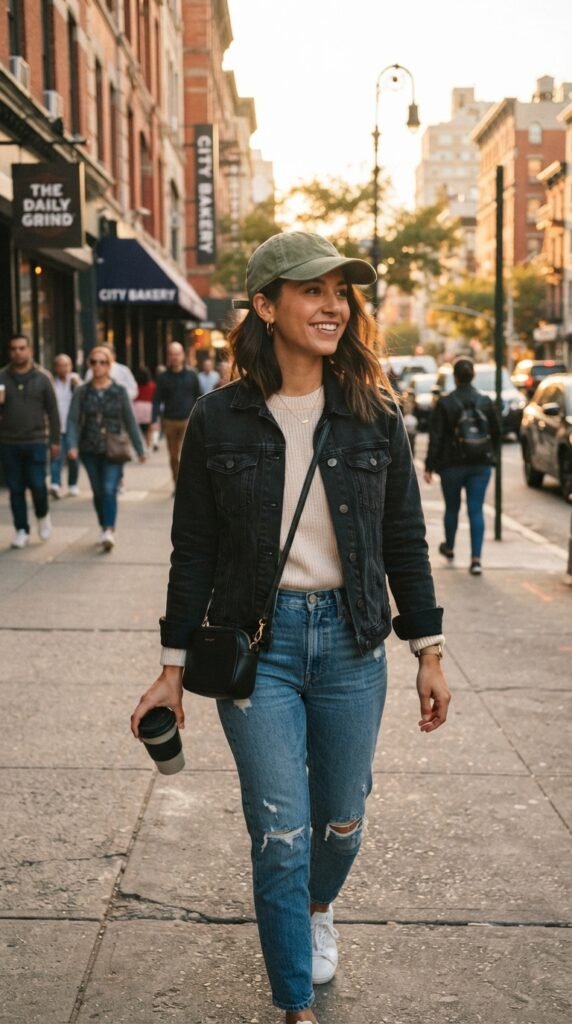
An asymmetrical lob is shorter on one side and longer on the other, and it is a cheat code for cap hair. The uneven ends create movement so nothing reads flat.
- Part deep on one side
- Tuck the shorter side behind your ear
- Let the longer side fall forward over your shoulder
- Cap on with the brim angled slightly
Angling the brim to one side balances the whole look. If you are growing out a bob, ask for an asymmetrical lob next time. You get length without losing the shape. Add a few loose waves at the ends for extra texture.
6. Hime Cut
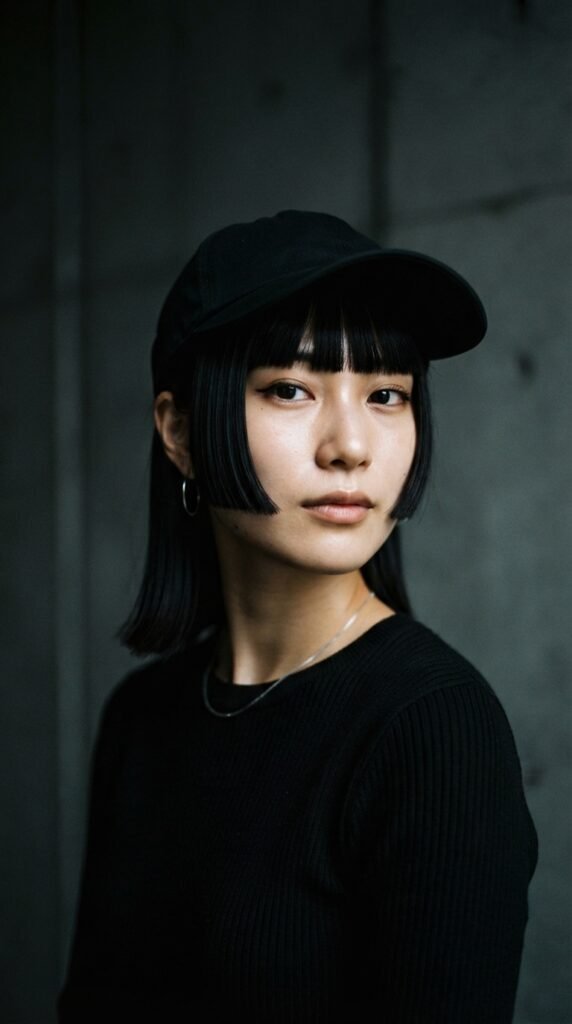
The hime cut is straight hair with blunt cheek-length side pieces and longer hair in the back. It is a bold look, and it works surprisingly well under a cap because those side pieces keep the front frame alive.
- Keep the side pieces out of the cap
- Pull the back hair low or leave it down
- Cap on, tilted back
- Straighten the side pieces so they stay sharp
The contrast between a casual cap and that precise cut is the whole point. It is soft, a little dramatic, and very editorial. If you want a lower-commitment version, clip-in side pieces work beautifully too.
7. Vampire Haircut

A vampire haircut is long, layered, and a little moody, usually with a middle part and face-framing layers. Under a cap it looks effortlessly cool, like you just rolled out of a very stylish nap.
- Middle part
- Two long face-framing layers left out
- Rest of the hair loose or in a low pony
- Cap on, brim low if you want mystery
Texturizing spray is your friend here. Vampire hair should look lived in, not freshly blown out. A little grit at the roots keeps the crown lifted and stops the cap from pressing everything down flat.
8. Romantic Goth Hairstyles
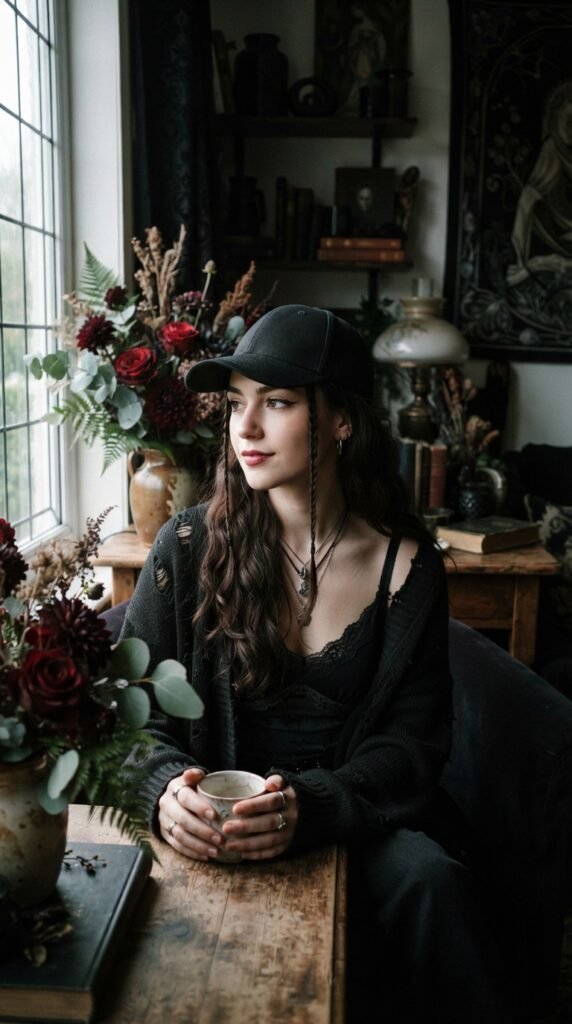
Romantic goth hairstyles are softer than classic goth: think loose waves, ribbon details, and rich dark texture. With a baseball cap, they feel casual in a cool way.
- Soft waves with a middle part
- Two thin braids framing the face
- Small black ribbon on the braid ends
- Cap on, brim up
Keep the braids loose and a little uneven. Perfect is not the goal. If you want more drama, add a tiny clip with a moon or a rose near your ear. It is one of my favorite romantic goth hairstyles for a cap because it looks intentional without being fussy.
9. Glitchy Glam Hair
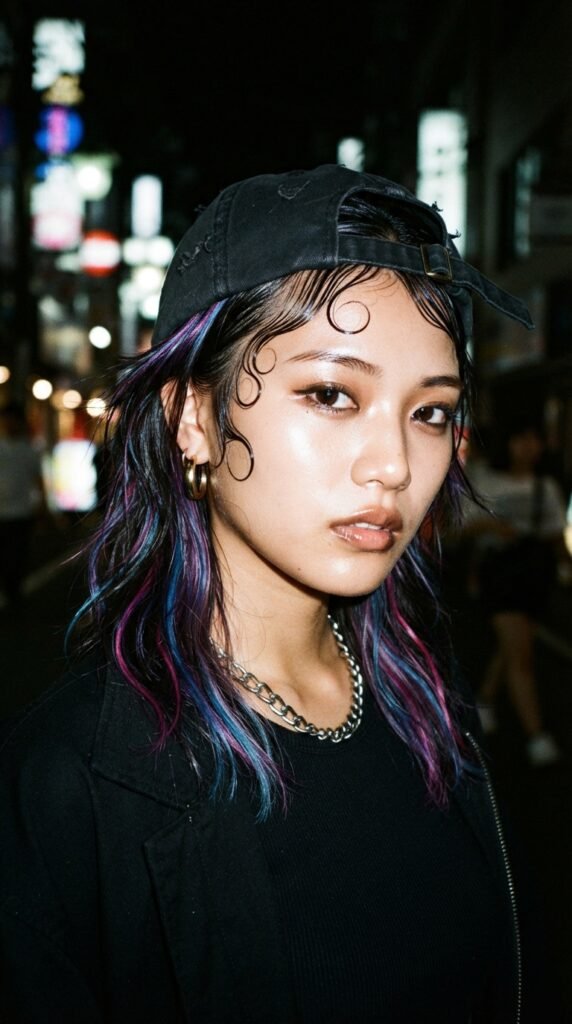
Glitchy glam hair is exactly what it sounds like: wet-look pieces, sharp baby hairs, and just enough chaos to look on purpose.
- Smooth the front with gel or wax
- Add a few slicked strands across the forehead
- Push the rest of your hair back into a low bun
- Cap on, brim tilted up
Hair tinsel, tiny gems, or a single silver clip push it further. Keep the back simple so the front stays the focus. This is one of the 2026 hairstyles that looks best in photos, so save it for a day you might end up in someone else’s camera roll.
10. Old Money Hair
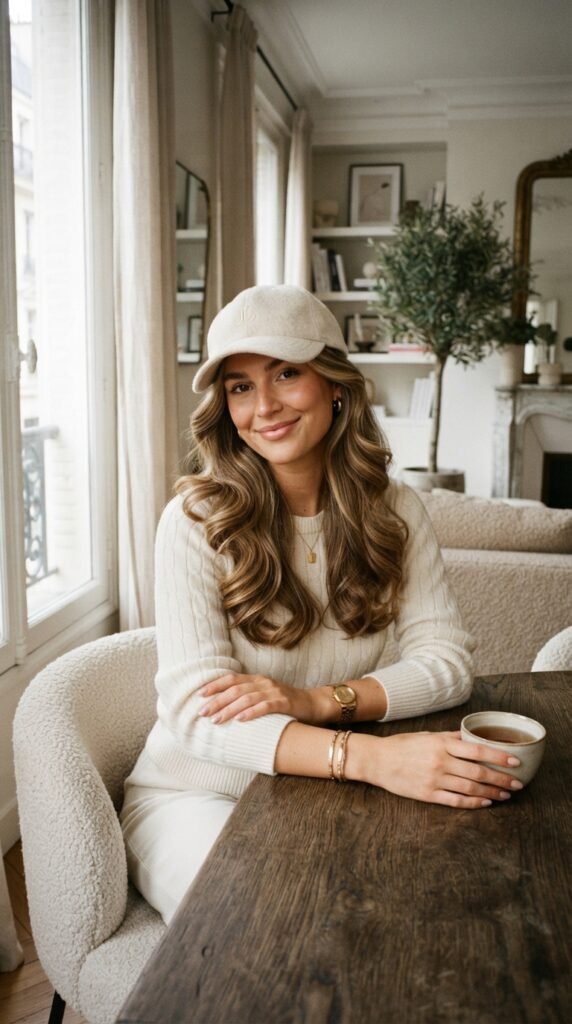
Old money hair is smooth, glossy, and expensive looking. Usually a soft blowout, a deep side part, and zero visible effort.
- Blow dry with a round brush if you have five minutes
- Deep side part
- Tuck the shorter side behind your ear
- Cap on, brim straight and level
You want the ends to curve softly, not curl. A little oil on the ends makes it look polished. Skip dry shampoo here and go for shine instead. A cream or beige cap keeps the whole thing clean, quiet, and very old money hair.
11. Two Loose Face-Framing Braids
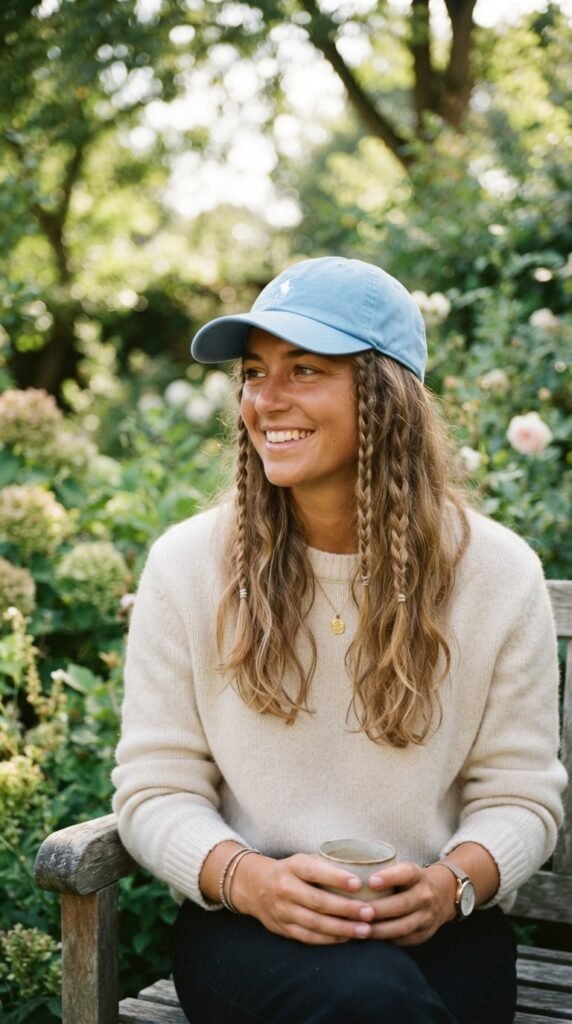
This is the sweetest way to wear a cap, and it genuinely takes about four minutes.
- Part your hair down the middle
- Take a small section at each temple
- Braid loosely down to the ends
- Leave them out and put the cap on from the back
Because the braids sit in front, the cap never touches them, which means zero flat spots. Pull each braid gently wider with your fingers for a softer look. This works on every hair length except a very short pixie.
12. Low Braided Pigtails

Low pigtail braids plus a cap equals instant main character energy. They are comfortable, they do not fight the hat, and they look great with a hoodie.
- Part down the middle
- Braid each side low, starting behind the ear
- Loosen each braid with your fingers
- Cap on, brim up
Use small clear elastics and slide a ribbon through if you want a softer, more romantic look. The trick is to braid low so the cap band does not sit on top of the braid. If they look too neat, tug a few pieces out around your face.
13. The Messy Bun Peek

A full messy bun usually does not fit under a cap. But a low messy bun with a little volume peeking out the back is perfect.
- Pull hair into a low, loose bun at the nape
- Do not pull it tight
- Let a few pieces fall around your face
- Cap on top, brim slightly back
The bun sits below the cap band, so nothing gets squished. Add dry shampoo at the roots before you start, then fluff with your fingers. If your bun feels too big, split it into two smaller twists and pin them down.
14. Half-Up With a Claw Clip

Claw clips are still everywhere in 2026, and they are the easiest way to keep volume in the crown while wearing a cap.
- Take the top half of your hair
- Twist it loosely upward
- Secure with a small or medium claw clip
- Cap on, sitting just behind the clip
Use a small clip so the cap sits level. The top half stays lifted, which means no flat crown when you take the hat off. This works beautifully with wavy hair and looks polished enough for lunch.
15. Space Buns
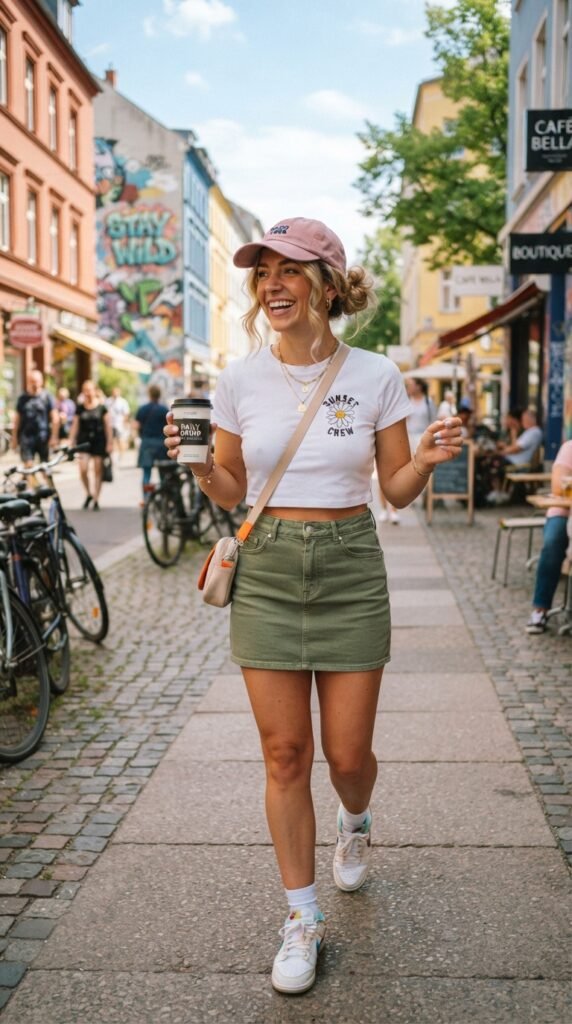
Space buns are fun, and they solve the flat crown problem completely because all the volume is up high and out of the way.
- Part down the middle
- Divide hair into two high sections
- Twist or braid each into a bun
- Pin loosely so they look soft
- Cap on, brim up
Keep the buns a little messy. Neat space buns plus a baseball cap can look a bit costumey, but soft ones look cool. Leave a few face-framing pieces out and do not pull them tight.
16. Crown Braid
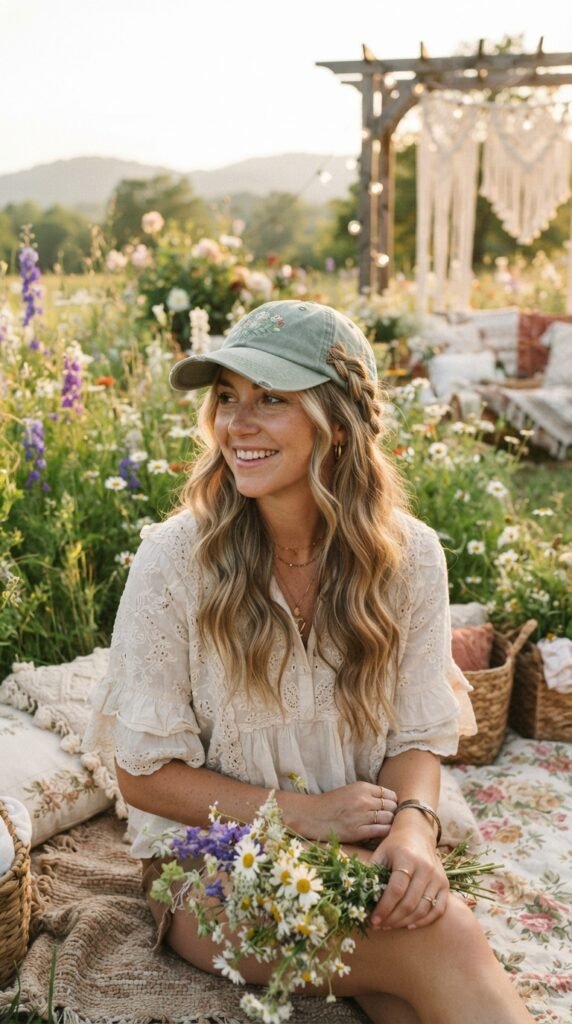
A crown braid wraps around your head like a halo. It keeps hair off your neck and looks intentional, even when it is a little imperfect.
- Part in the middle
- Braid each side loosely, starting near the ear
- Cross both braids over the top of your head
- Pin in place
Because the braid crosses the top of your head, place the cap carefully and tilt the brim up so the braid shows. It is a great style for second-day hair. Add a couple of small pins if the braids feel loose.
17. The Faux Bob Twist and Tuck
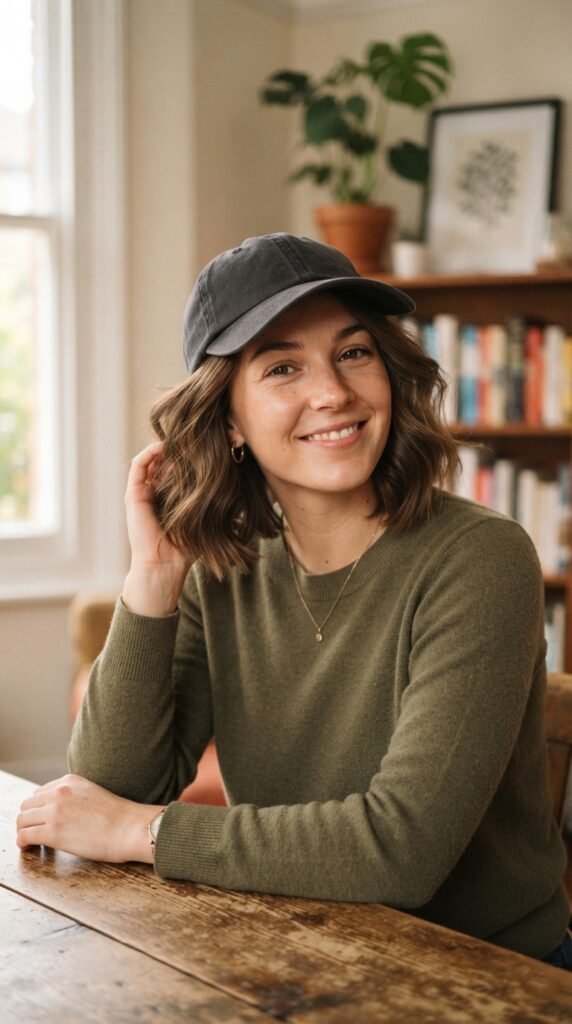
If you have long hair and want a short-hair moment, this is it. You get the look of a bob without cutting anything.
- Separate hair into two low sections
- Twist each section upward
- Tuck the ends under and pin at the nape
- Loosen the front for volume
- Cap on, brim up
It looks like a blunt bob from the front and keeps your hair protected at the back. Pin loosely so it does not pull. Great for a day when you want a fresh look with zero commitment.
18. Curly High Puff

For natural curls and coils, a high puff is the answer to cap hair. All the volume goes up and forward, so the cap never flattens anything.
- Pull hair into a high puff with a satin scrunchie
- Leave out curls around the front hairline
- Define those front curls with a little gel or cream
- Cap on from the back, tilted up
Use a satin-lined cap or a satin band underneath if you can. It reduces friction and keeps your curl pattern intact. If your puff is big, a slightly deeper cap crown gives you more room.
19. Short Pixie With a Cap
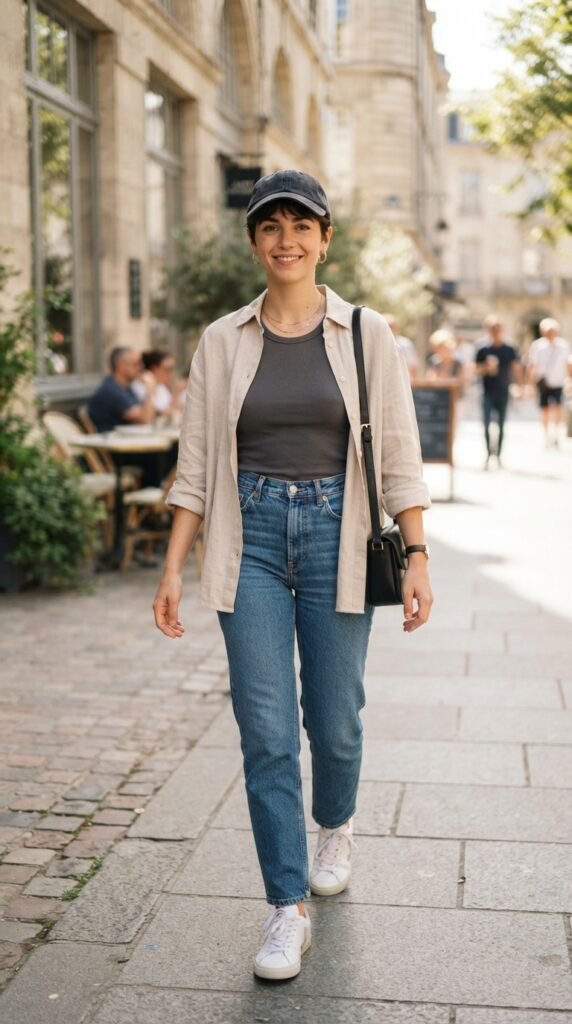
A pixie plus a cap is a classic, and it can look incredibly chic. The trick is keeping the front piece visible.
- Smooth the sides back with a little cream
- Leave the front fringe or piece out
- Cap on, sitting back on the head
- Fluff the front with your fingers
Do not pull the cap down over your forehead or you lose the shape completely. Push it back so a bit of hairline shows. A textured pixie works even better because the volume is built into the cut. Add a small earring and you are done.
20. Micro Claw Clips and Baby Hairs
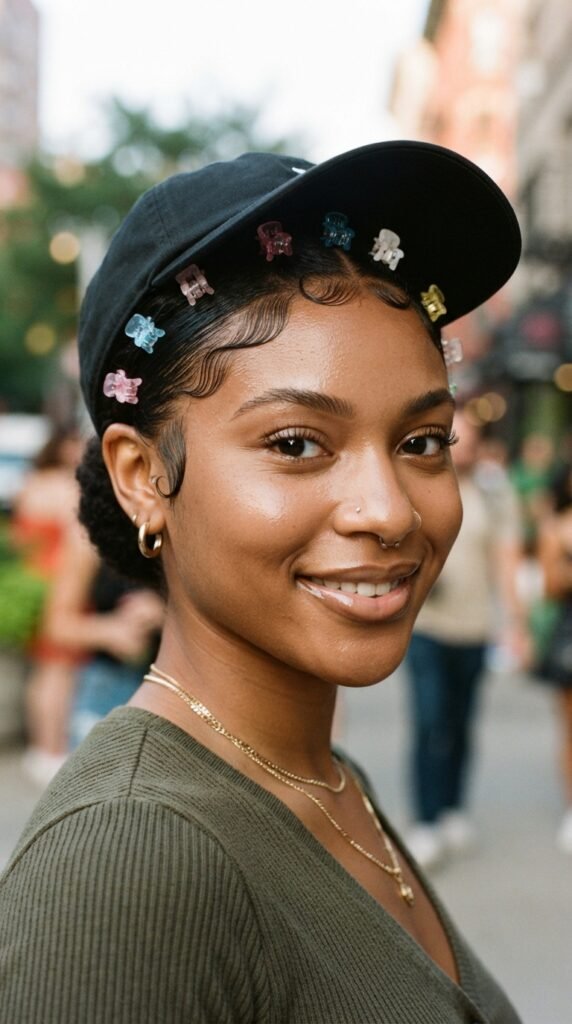
This is less of a full hairstyle and more of a finishing trick, but it saves so many cap days.
- Slick the front section back with gel
- Add two or three tiny claw clips along the sides
- Lay baby hairs with a soft brush
- Cap on, brim up
The little clips keep the sides from looking squished and add detail without much effort. Baby hairs frame your face so the cap does not swallow it. If you have fine hair, this is one of the easiest ways to fake a full, styled look in five minutes.
21. Loose Salt-Spray Waves
Beachy waves and baseball caps are a natural pair. The texture makes your hair look fuller, so the cap does not flatten anything.
- Spray salt spray on damp hair
- Scrunch and let it air dry
- Break up the waves with your fingers
- Cap on, brim straight or slightly up
Do not brush the waves out or you lose the body. Add a little dry shampoo at the roots for extra lift. This is one of the easiest 2026 hairstyles for weekends, and it actually gets better on day two.
Okay, friend. Here is what I want you to take away from all of this. Cap hair is not a hair problem, it is a placement problem. Volume goes in front, the cap goes on from the back, and the sides stay a little loose. That is 90 percent of it.
Pick two or three styles from this list that match your hair length and try them this week. Start with the low ponytail or the bubble braid if you want something you can do in the car. Then work up to the hime cut, the vampire haircut, or the glitchy glam look when you want to feel a little more main character.
And remember, the whole point is to feel good in the mirror before you walk out the door. A cap should make your life easier, not give you something else to fix.
Save this post to Pinterest so you can find it on your next rushed morning. Then tell me in the comments: which one are you trying first, and what is your go-to cap hairstyle right now? I read every single one.