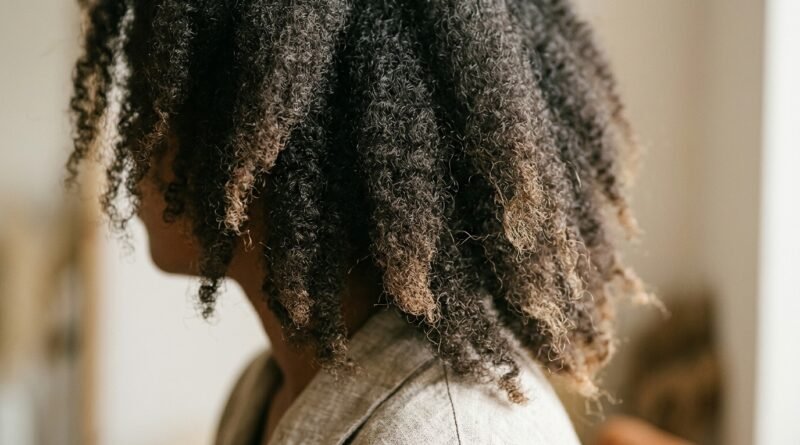
Protective Styling Methods Safeguarding Natural Hair Against Harsh Weather Elements
Hey friend, it’s Hailey. If your natural hair has ever felt like straw after one cold snap or one humid afternoon, you’re not alone. I’ve stood in the mirror more times than I can count, wondering why my ends looked so tired.
Here’s the good news. Protective styling is the simplest way to shield your hair from wind, cold, sun, and humidity without giving up your personality. You just need a few methods that actually fit your real life.
In this post, I’m sharing the protective styles my team and I keep coming back to, plus the small habits that make them work. Let’s get your hair through every season looking healthy and feeling like you.
Why Weather Is Harder on Natural Hair Than We Think
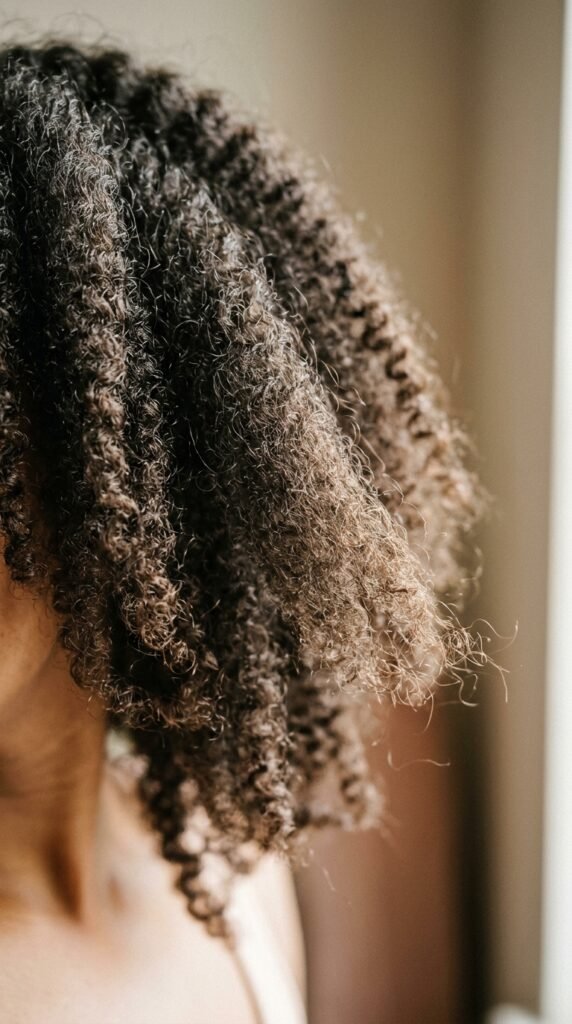
Harsh weather doesn’t just mess with your mood. It pulls moisture out of your strands, roughs up your cuticles, and leaves your ends splitting before you notice.
Cold air is dry air. Heat and humidity swell the hair shaft, then dry it out again. Wind tangles everything it touches. That combo is a lot for one head of hair to handle.
- Dry air steals moisture from your strands
- Wind causes friction and single-strand knots
- Sun and chlorine break down your protein structure
- Constant manipulation weakens your ends
Protective styling is basically giving your hair a break while it still looks good. That’s the whole idea.
Know Your Porosity Before You Protect

Before you pick a style, know how your hair behaves. Porosity tells you how well your hair takes in and holds moisture, and it changes everything.
Low porosity hair sits tight and resists water. High porosity hair drinks fast and loses it just as fast.
- Low porosity: use lightweight oils and warm water rinses
- Medium porosity: you’re lucky, most products work
- High porosity: layer cream then heavy butter or oil to seal
Get this right and every protective style below works twice as well for you.
Two-Strand Twists: The Everyday Hero

Twists are my number one recommendation for anyone new to protective styling. They’re gentle, they last a week or two, and they work on almost every hair length.
You’re basically tucking your ends away so they can’t rub against your clothes or the cold air.
- Start on freshly washed, deep conditioned hair
- Section into small squares so you don’t tug
- Apply a leave-in plus a sealing butter
- Twist from root to tip, no tight pulling at the scalp
Sleep in a satin bonnet and they’ll hold their shape for days. Easy win.
Flat Twists: The Underrated Workhorse
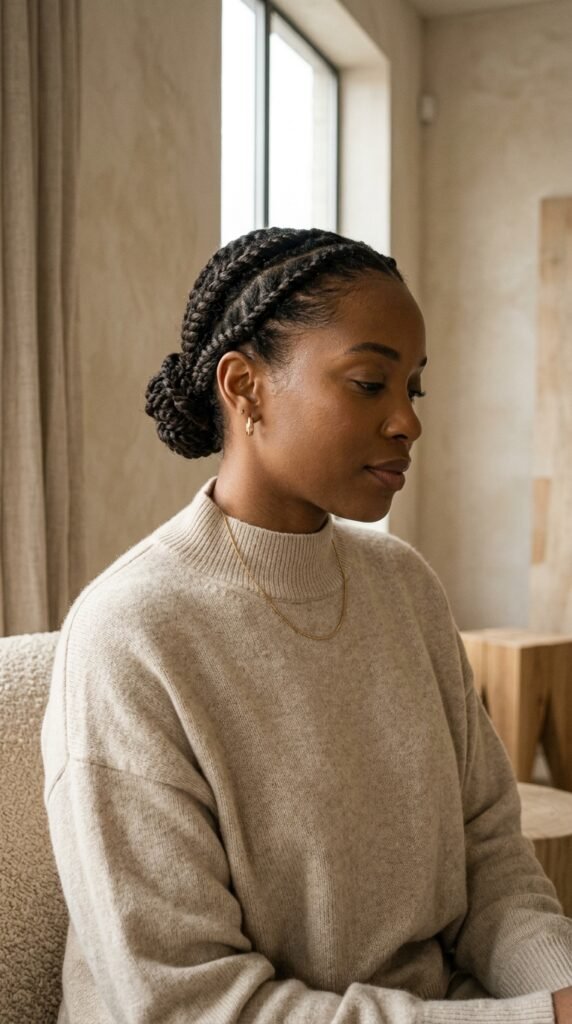
Flat twists are what I reach for when I want something that looks intentional but takes almost no effort. They lie close to your scalp, so hats and scarves sit right on top.
They also give you a beautiful twist-out when you take them down. Two styles in one is always a win in my book.
- Great under beanies and winter hats
- Perfect for week-long wear
- Protects your ends while looking polished
- Works beautifully with a sleek middle part
Add a little edge gel and you’re done in twenty minutes. No fuss, all payoff.
Knotless Box Braids for Long Stretches

Knotless braids are the gold standard when you need months of protection. Because they skip the knot at the root, there’s far less tension on your scalp.
That means fewer headaches, less breakage, and a style that actually lets your hair rest.
- Choose a length that matches your patience
- Ask for a loose, natural start at the root
- Keep them in for six to eight weeks, no longer
- Oil your scalp every few days
They’re also endlessly versatile. You can wear them up, down, half-up, or wrapped into a bun for a soft old money hair moment.
Cornrows: The Original Protective Style
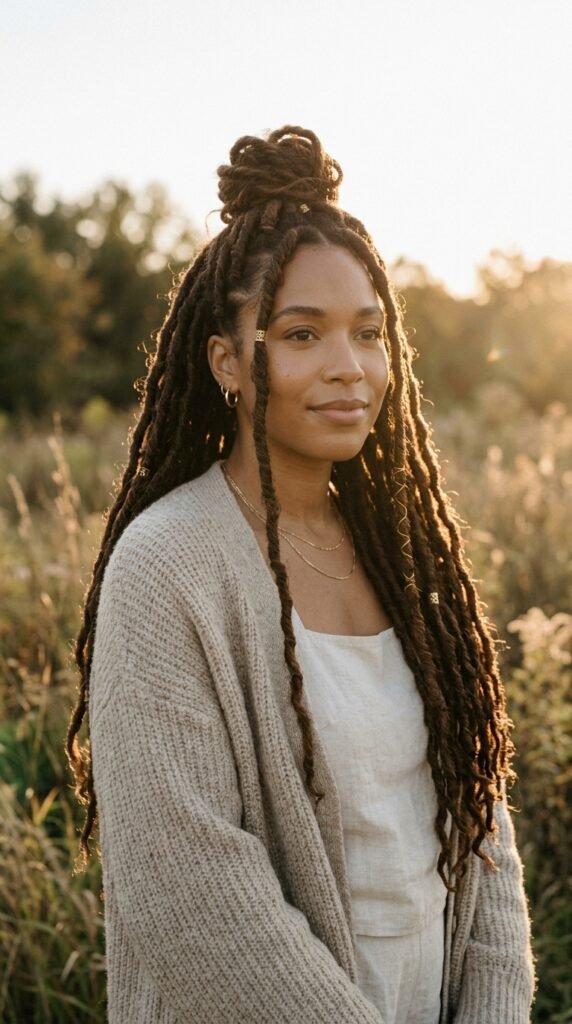
Cornrows have protected hair for generations, and there’s a reason they never left. They keep your strands flat, tucked, and completely covered.
They’re also the foundation for so many other styles. Braid-outs, wig prep, and sleek updos all start here.
- Ask for medium or large parts, not micro-thin
- Never let anyone braid so tight you can’t blink
- Moisturize underneath with a light oil
- Keep them in for two to four weeks
If your scalp stings, it’s too tight. Speak up. Healthy hair always beats a sharp part line.
Faux Locs Without the Commitment
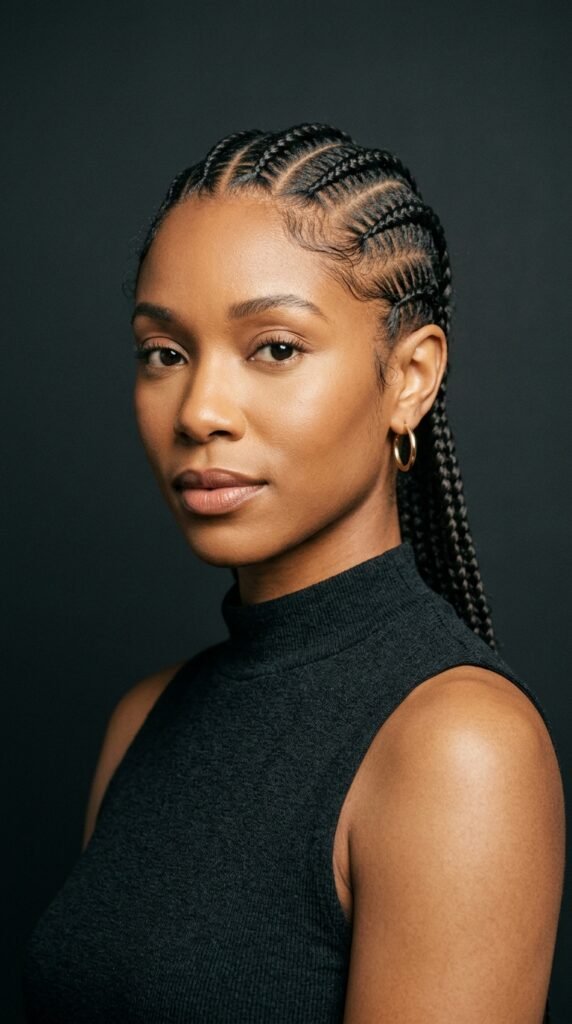
Faux locs give you that bold, textured look without the years of commitment. They’re a favorite for anyone easing into a loc journey or just wanting something different.
The key is weight. Heavy faux locs pull on your roots and cause damage fast.
- Go for lighter fibers or pre-made locs
- Keep the length at or below your bra strap
- Wrap them in a satin scarf at night
- Refresh your scalp with a watery leave-in
Done right, they’re one of the most protective styles out there for harsh weather.
Bantu Knots That Double as a Style
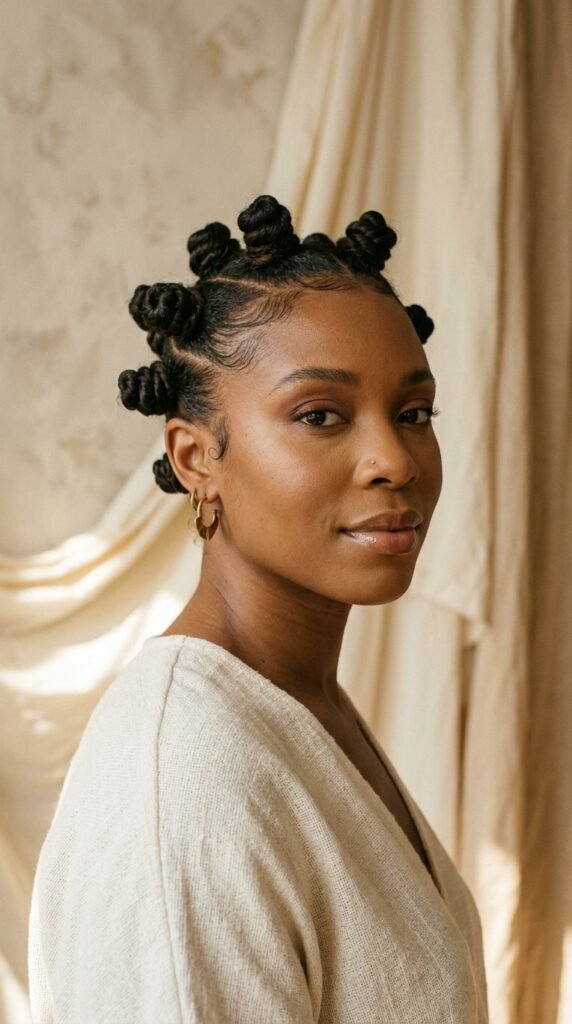
Bantu knots are the style that keeps giving. You wear them out, then take them down for soft, bouncy waves. That’s two looks from one night of work.
They’re especially great in humid weather because your ends stay coiled and tucked away.
- Work on damp, moisturized hair
- Twist each section around itself into a knot
- Secure with a soft band, not a tight elastic
- Let dry fully before you take them down
Add a little shine serum before unraveling and you’ll get a glossy, defined result every time.
The Quiet Luxury Bob Twist-Out

If you love the quiet luxury bob but want to protect your ends, this is your answer. You get the shape, the polish, and the healthy hair underneath.
Do flat twists or two-strand twists on damp hair, let them dry overnight, then unravel carefully.
- Unravel with oiled fingers to reduce frizz
- Fluff only at the roots, never the ends
- Set with a light hold spray
- Blunt the shape with small trims every few months
Pair it with a cashmere scarf and gold hoops and you’re basically a walking mood board.
Old Money Hair, Protected
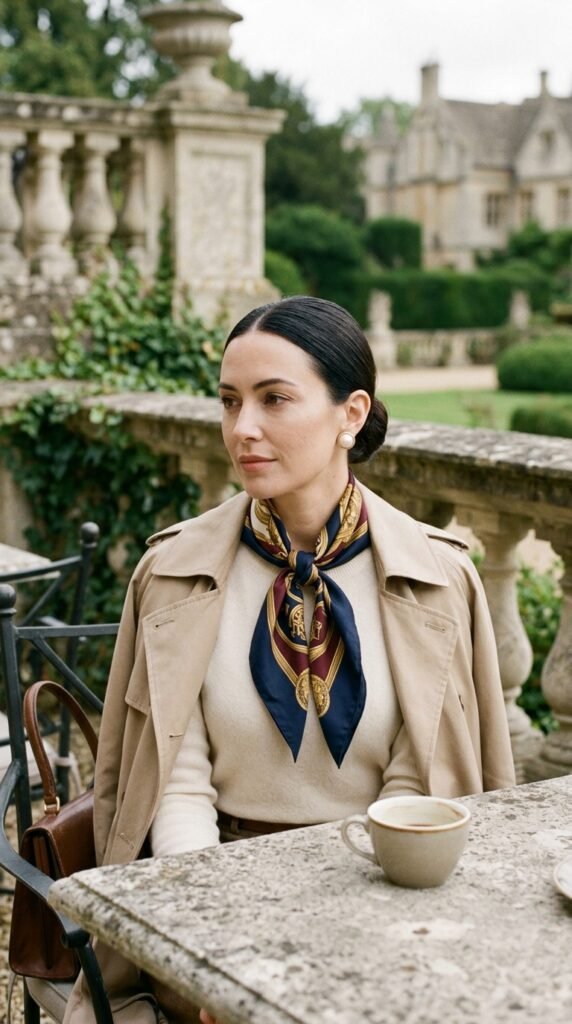
Old money hair is all about sleek, healthy, low-effort elegance. The secret is that most of it is protection in disguise.
A low bun, a silk scarf, a smooth ponytail. All of these keep your ends tucked and safe while looking effortlessly expensive.
- Slick back with a soft brush and light gel
- Wrap the length into a low bun
- Cover with a silk scarf when you head outside
- Skip heat styling as much as possible
Less damage literally looks richer. That’s the whole trick.
Romantic Goth Hairstyles for Cold Months

Romantic goth hairstyles are having such a moment, and they’re surprisingly protective. Think braided crowns, loose tendrils, and soft dark waves.
The braids keep your ends tucked while the tendrils frame your face and keep the look soft.
- Try a milkmaid braid with two flat twists
- Add a velvet ribbon for texture
- Leave a few tendrils out for softness
- Seal your ends with a light oil before styling
It’s moody, it’s pretty, and your hair is safe the whole time. That’s a win.
Glitchy Glam Hair That Still Protects

Glitchy glam hair is sleek, sharp, and a little futuristic. The good news is you can pull it off while protecting every strand.
Go for a tight, smooth low ponytail with your ends tucked and wrapped, then add metallic clips or a sculpted gel edge for that digital edge.
- Use a silk scrunchie, not a rubber band
- Wrap the ends around the base to hide them
- Keep tension comfortable, not tight
- Take it down every night
Edgy outside, protected underneath. Best of both worlds.
Hime Cut and Sleek Asian-Inspired Looks

The hime cut is one of the prettiest structured looks out there. Blunt side pieces, clean lines, and a sleek back section.
You can protect your natural hair by wearing it as a braided or twisted base and adding the hime shape on top with a wig or extensions.
- Keep your real ends tucked underneath
- Moisturize your scalp before installing
- Avoid heavy glue near your hairline
- Give your hair breathing days in between
Structured, elegant, and gentle on your real hair. That’s a smart combo.
The Vampire Haircut: Edgy and Smart

The vampire haircut is sharp, dramatic, and surprisingly easy to work with. Long layers with a defined edge and a little mystery.
If you have natural hair, get the shape cut into a wig or wear it as a twist-out with a vampy, layered silhouette.
- Ask for face-framing layers that flatter your shape
- Keep your real ends protected underneath
- Deep condition weekly if you heat style
- Trim every eight to ten weeks
It’s bold, it’s beautiful, and it doesn’t have to cost you your length.
Asymmetrical Lob for Transitioning Hair

The asymmetrical lob is one of my favorite cuts for anyone growing out their hair or transitioning. The uneven line makes every stage look intentional.
It’s also a great way to protect your ends while keeping a real shape.
- Choose a clear longer side and shorter side
- Wear it as a twist-out or braid-out for texture
- Protect at night with a satin bonnet
- Trim the ends regularly to keep the line crisp
It grows out beautifully and never looks awkward. That’s rare and worth celebrating.
2026 Hairstyles That Love Your Ends

Looking ahead, 2026 hairstyles lean toward low manipulation and healthy texture. That’s great news for natural hair.
Expect more sculpted buns, sleek scarves, soft braided crowns, and textured lobs. All of them are protective at heart.
- Soft braided crowns
- Sleek wrapped buns
- Textured asymmetrical lobs
- Scarf-wrapped updos
The trend is simple. Less heat, less tension, more intention. Your ends will thank you all year.
Satin-Lined Beanies, Scarves, and Hats

Your winter hat is either your hair’s best friend or its worst enemy. Cotton and wool rub against your strands and soak up moisture.
Satin-lined options let you stay warm without the damage. It’s a small upgrade with a huge payoff.
- Choose satin or silk lining over cotton
- Avoid rough wool directly on your hair
- Tuck your ends fully under the lining
- Rotate two or three hats so they stay clean
Buy one good beanie this season. Future you will be grateful.
Bonnets and Pillowcases Do Heavy Lifting

You spend a third of your life asleep. That’s a third of your life your hair could be breaking against a cotton pillowcase.
Satin keeps moisture in and friction out. It’s the cheapest protective habit you can build.
- Wear a bonnet or use a satin pillowcase
- Loose braids or twists underneath prevent tangles
- Never sleep on wet hair if you can help it
- Refresh your bonnet weekly
If you only change one thing after reading this, make it this one.
Deep Condition Before You Install
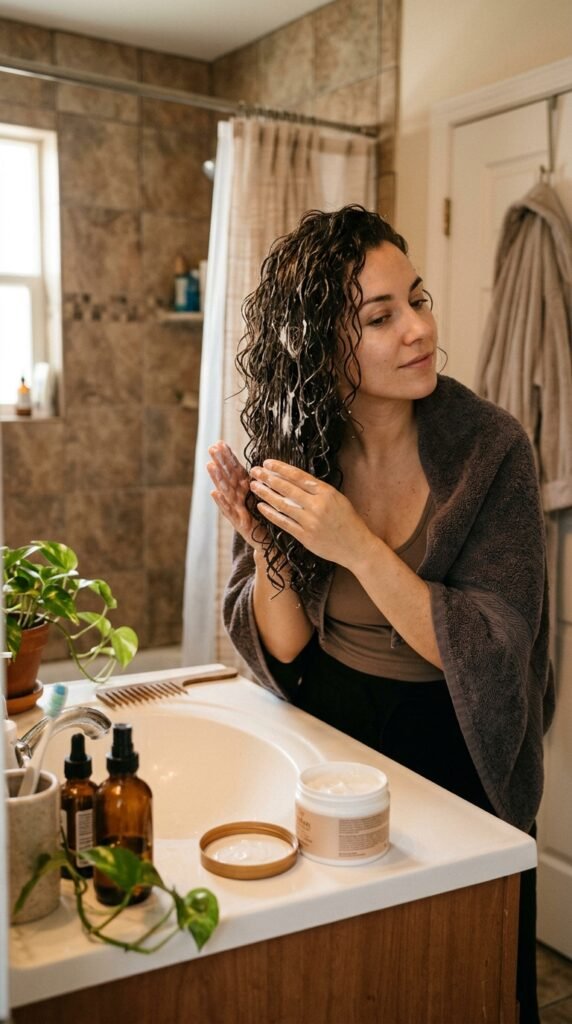
Never install a protective style on dry, thirsty hair. You’re basically locking in weakness for weeks.
Deep condition first, then install. Your hair should go into the style strong and hydrated.
- Cleanse with a gentle sulfate-free shampoo
- Apply deep conditioner in sections
- Use heat or a plastic cap for twenty minutes
- Rinse, then apply leave-in on damp hair
This one step makes every style below last longer and come down healthier.
Moisturize and Seal the Right Way
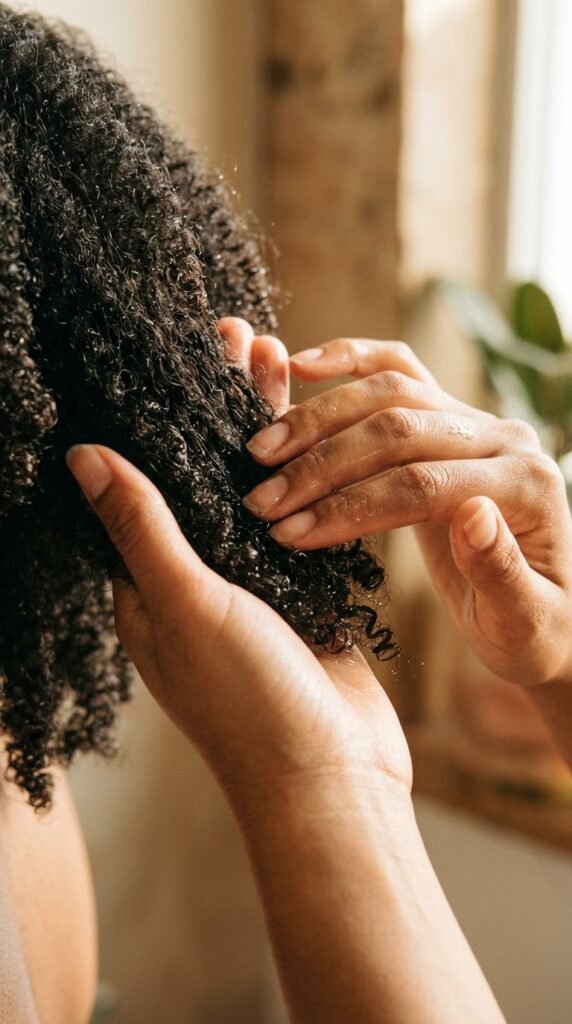
Moisture is water. Sealing is oil. You need both, in that order, or you’re just greasing dry hair.
This is the step most people skip, and it’s the reason their styles feel crispy by week two.
- Water or leave-in first
- Cream second for high porosity hair
- Oil or butter last to lock it in
- Focus on your ends, not just your roots
Do this twice a week under your style and you’ll notice the difference at takedown.
Keep Your Scalp Clean and Calm

A healthy style needs a healthy scalp. Buildup and itch mean something’s off, and you shouldn’t just push through it.
You can absolutely wash your scalp while styled. It just takes a gentler approach.
- Use a nozzle bottle to reach your scalp
- Dilute shampoo with water
- Massage with fingertips, not nails
- Dry thoroughly so nothing mildews
If you see flakes or feel throbbing, take the style down. Your scalp is talking to you.
Humidity-Proofing Your Leave-Out

Humidity is the enemy of a good blowout. But you can protect your leave-out without caking on product.
The trick is proper hydration. Hair that’s already moisturized has less room to grab moisture from the air.
- Layer leave-in, then a light gel for hold
- Avoid glycerin-heavy products on humid days
- Keep your leave-out small
- Sleep with a satin scarf over just that section
Small changes, big difference. No more frizzy surprise at noon.
Sun, Salt, and Chlorine Protection

Summer is just as rough as winter, only sneakier. Sun dries your strands, salt water roughens them, and chlorine strips everything.
The fix is simple. Keep your hair covered or coated before you get in the water.
- Rinse hair with fresh water before swimming
- Apply a leave-in or oil as a barrier
- Wear a swim cap or braids
- Rinse and deep condition right after
You can enjoy the beach and keep your hair. You don’t have to pick one.
Takedown Day Rules

Takedown is where most damage happens. After weeks of being good, people rush and rip through tangles.
Slow down. Give yourself a whole evening if you need it.
- Spray sections with water and conditioner
- Use a wide-tooth comb from the ends up
- Never rip through knots, work them out
- Detangle fully before washing
Then do a protein treatment if your hair feels mushy, or a deep condition if it feels brittle.
How Long Is Too Long to Keep a Style
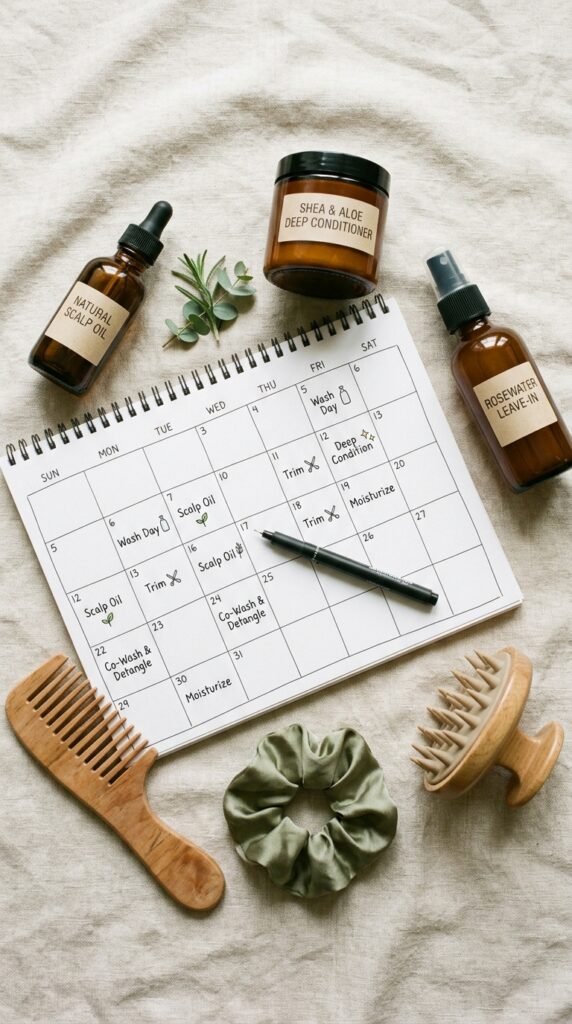
Every protective style has a shelf life. Past that point, it stops protecting and starts damaging.
Locs and braids loosen at the root, which means tension and matting. That’s when the trouble starts.
- Twists: one to two weeks
- Cornrows: two to four weeks
- Box braids: six to eight weeks
- Wigs and scarves: take them off daily
If your new growth is matting or your scalp itches constantly, it’s time. Don’t push it.
Quick Reset Styles for In-Between Days

Sometimes you just need a day or two before wash day. These quick resets protect your ends and take five minutes.
They’re perfect for that awkward stretch between styles.
- A low bun with tucked ends
- A scarf-wrapped updo
- Two flat twists into a faux bang
- A single braid down the back
Add a little oil to your ends, wrap it up, and you’re out the door looking put together.
A Few Last Words From Me
Protective styling isn’t about hiding your hair. It’s about giving it room to grow, rest, and come back stronger every season.
You don’t need every method on this list. Pick two or three that fit your routine, learn them well, and let them work for you.
Weather will always do its thing. Your job is just to give your hair a soft place to land while it does.
Save this post to Pinterest so you can find it the next time the weather turns on you. And tell me in the comments, which protective style is your go-to right now? I read every single one.