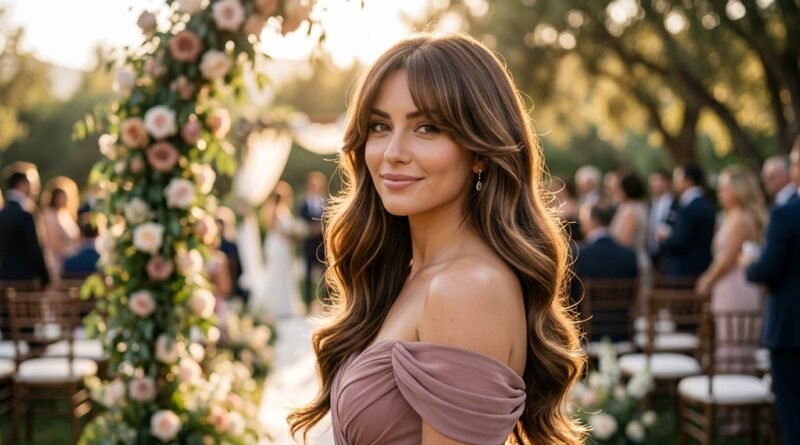
27 Stunning Mermaid Waves Tutorials For Long Luxurious Hair Locks
If you have long hair, you already know the deal. It’s heavy, it’s beautiful, and it does whatever it wants most days. Mermaid waves change that. They’re soft, glossy, effortless-looking bends that make long locks look expensive without a salon visit.
I rounded up 27 mermaid wave tutorials you can actually do at home. Some take five minutes. Some happen while you sleep. All of them work on real hair, not just hair models with a whole team behind them.
We’ll cover heat tools, no-heat methods, fine hair, thick hair, and how to pair waves with the biggest 2026 hairstyles, from old money hair to a quiet luxury bob to a vampire haircut.
Grab a hair tie and keep reading. Your best hair day is about ten minutes away.
What Are Mermaid Waves, Really?
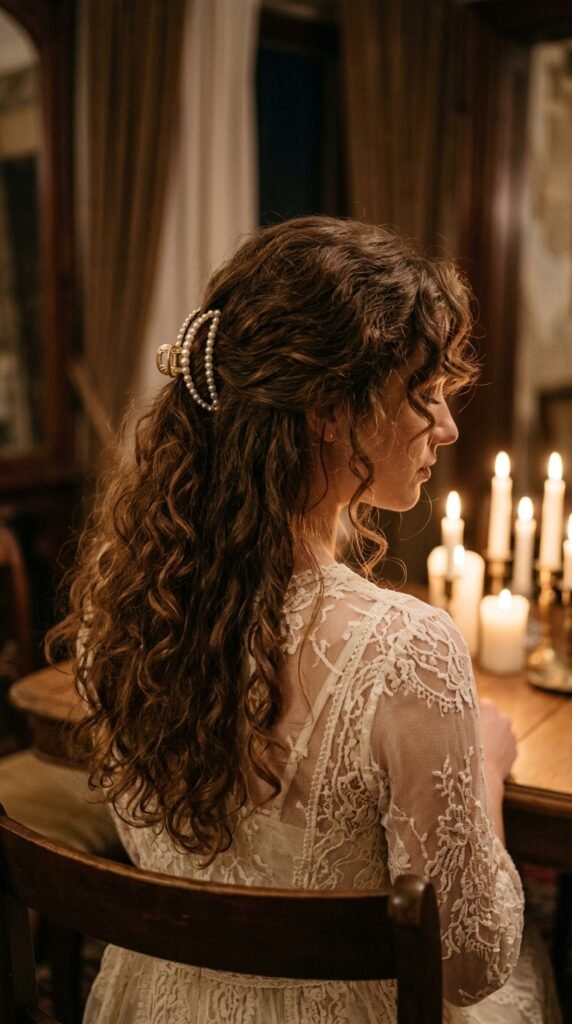
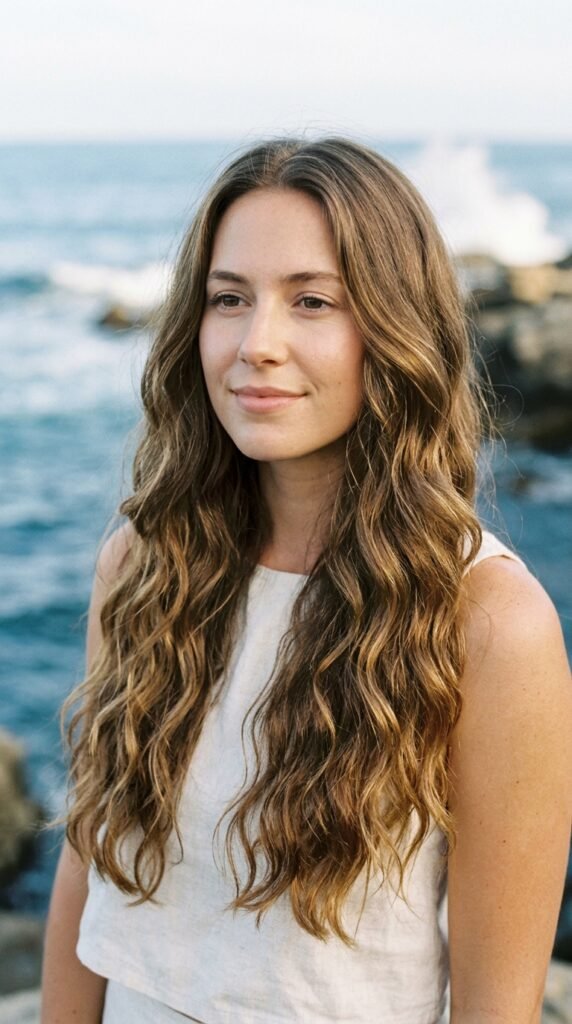
Mermaid waves sit right between beachy waves and full curls. They’re loose, shiny, and slightly stretched, like your hair spent the day near the ocean and came home looking expensive.
They are not the same as:
- Beachy waves — more matte, more messy
- Hollywood curls — tighter, more structured
- Crimped hair — sharper, more zigzag
The magic is in the shape. Waves start around your collarbone, not at the root, so long hair keeps volume up top and movement down below. That’s why they flatter long, luxurious locks so well.
Prep Your Long Hair in 5 Minutes
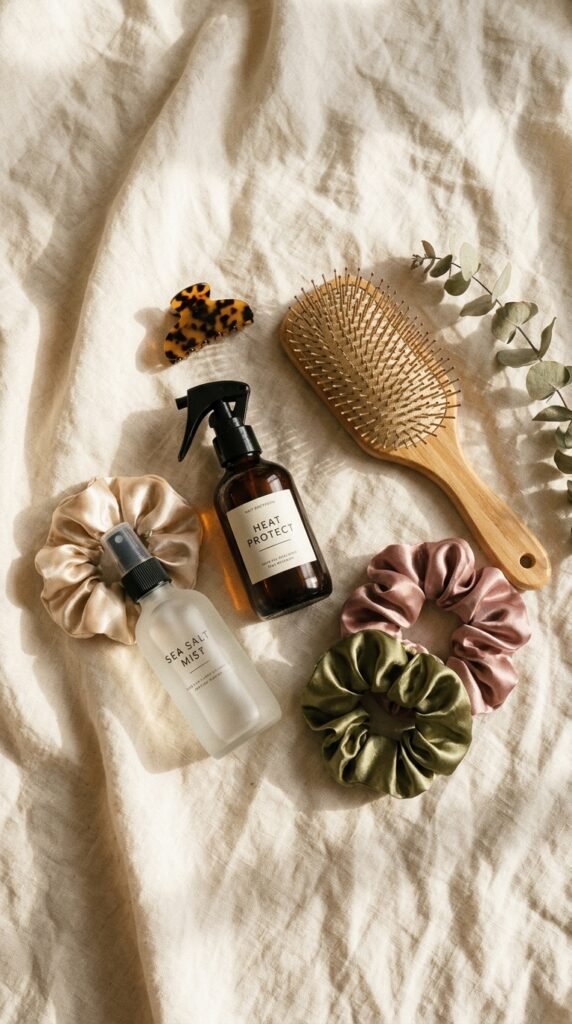
Good waves start before the iron ever touches your hair. Skip this step and you’ll get flat roots and frizzy ends.
- Brush everything out with a wide-tooth comb, starting at the ends.
- Mist on a heat protectant if you’re using tools, or a light leave-in if you’re not.
- Make sure hair is fully dry, or barely damp for no-heat sets.
- Section into four clips so you’re never fighting your own hair.
That’s it. Two minutes of prep saves you twenty minutes of fixing later. Your waves will hold longer and look shinier, I promise.
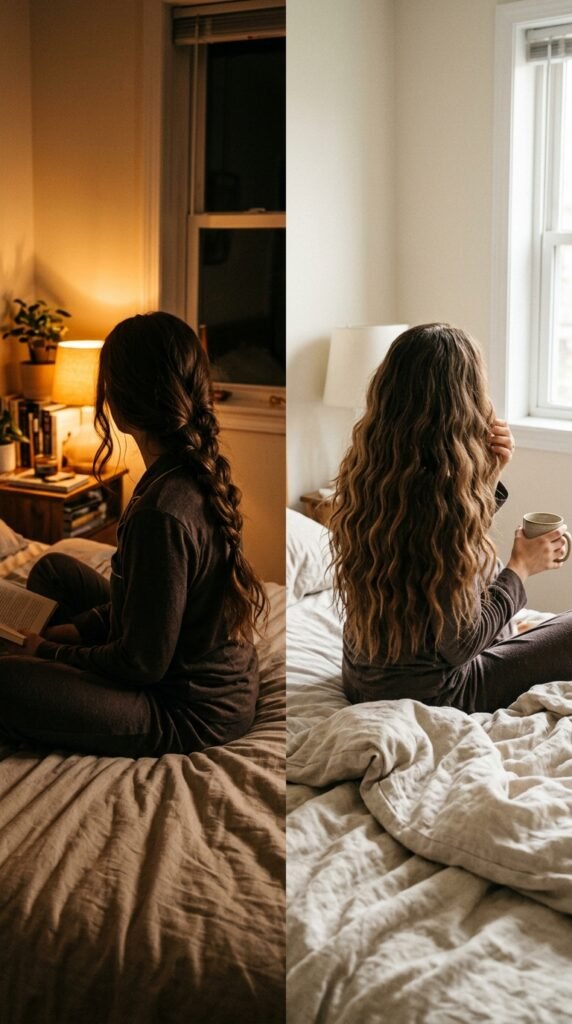
Tutorials 1 and 2: Braid and Sleep + Overnight Bantu Knots
These are the two laziest options, and honestly two of the best. Both work while you sleep.
Tutorial 1: Braid and Sleep
- Spritz damp hair with a light leave-in.
- Split hair into two sections and braid loosely. Tighter braids mean smaller waves.
- Sleep on a silk pillowcase, then unravel with your fingers in the morning.
Tutorial 2: Bantu Knots
- Twist small sections and coil each one into a knot.
- Secure with a soft tie and leave overnight.
Both give that soft, undone bend long hair loves.
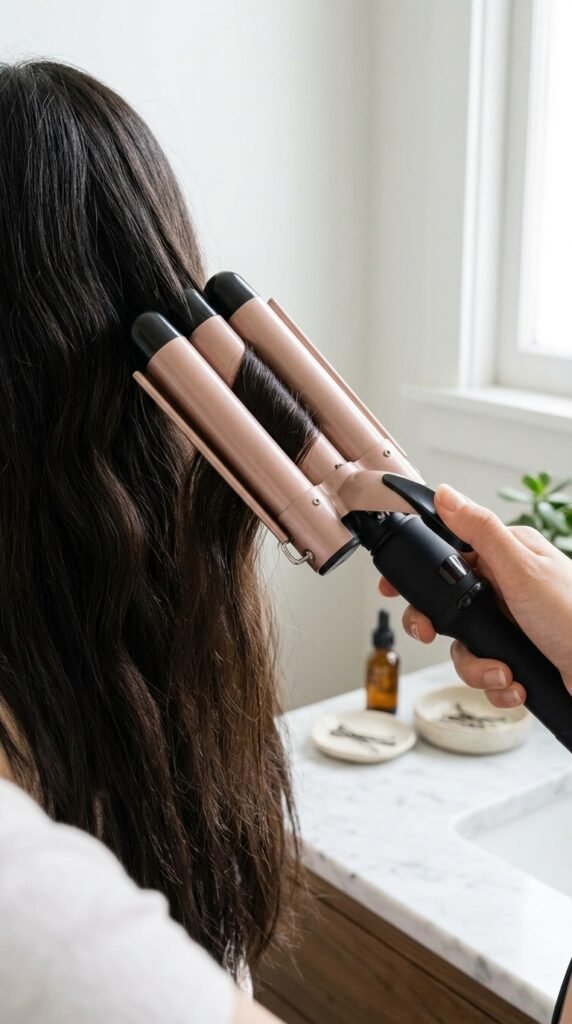
Tutorials 3 and 4: Three-Barrel Waver + Flat Iron Waves
These are my two go-to heat methods for fast, even waves on long hair.
Tutorial 3: Three-Barrel Waver
- Section hair into thin, even layers.
- Clamp near the mid-length, hold three seconds, release.
- Move down the strand, overlapping slightly so it looks seamless.
Tutorial 4: Flat Iron Waves
- Clamp the iron, then twist it 180 degrees as you glide down.
- Alternate direction each section for a natural look.
- Brush through with your fingers once cool.
You get smooth, glossy waves without a single curl.
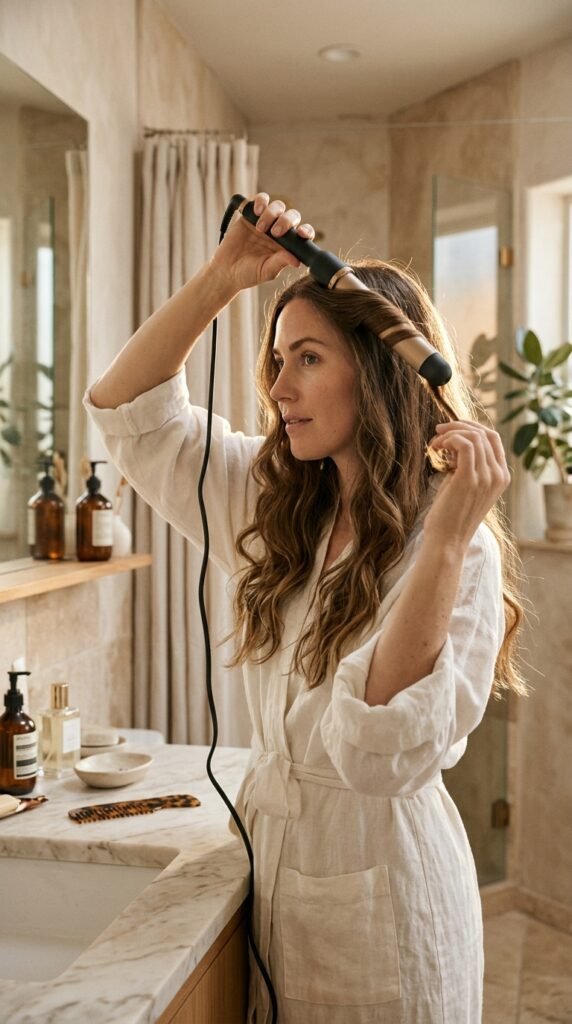
Tutorials 5 and 6: Curling Wand Wrap-Around + Round Brush Blowout
If you want that salon bounce, these two are worth learning.
Tutorial 5: Curling Wand Wrap-Around
- Use a 1.25-inch barrel and leave the ends out.
- Wrap hair away from your face, holding five seconds.
- Let each curl cool completely before touching it.
Tutorial 6: Round Brush Blowout
- Rough dry hair to 80 percent.
- Work in sections with a round brush, pulling tension down and outward.
- Finish with cool air to set the shape.
Pair this with an asymmetrical lob or long layers and it looks unreal.
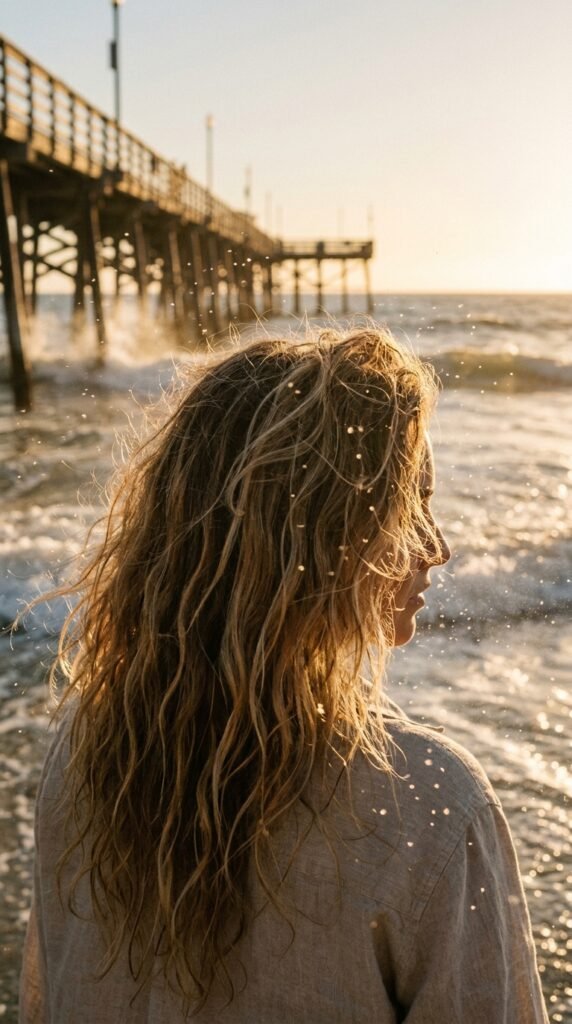
Tutorial 7: Sea Salt Spray and Diffuser Waves
This is the easiest mermaid texture for a lazy Sunday. No hot tools at all.
- Mist damp hair with sea salt spray, focusing on mid-lengths and ends.
- Scrunch upward with your hands to build the bend.
- Diffuse on low heat, cupping sections in the bowl.
- Finish with a drop of hair oil to kill any crunch.
The trick is restraint. Too much salt spray makes long hair feel dry and straw-like, so start light and add more only where you need it. Great for humid days and beach trips where you want that effortless, wind-tossed look.
Tutorial 8: Twist and Pin Waves
This one is old-school and it works every time. Zero heat, zero cost.
- Start with slightly damp hair and a light mousse.
- Twist two-inch sections away from your face, all the way to the root.
- Coil each twist flat against your head and pin it.
- Wait one to two hours, or sleep in it.
- Unpin and shake out with your fingers.
The result is soft, romantic movement with a little volume at the root. It’s one of the prettiest looks for romantic goth hairstyles too, especially on dark hair with a bit of shine spray at the end.
Tutorial 9: Rope Braid Waves
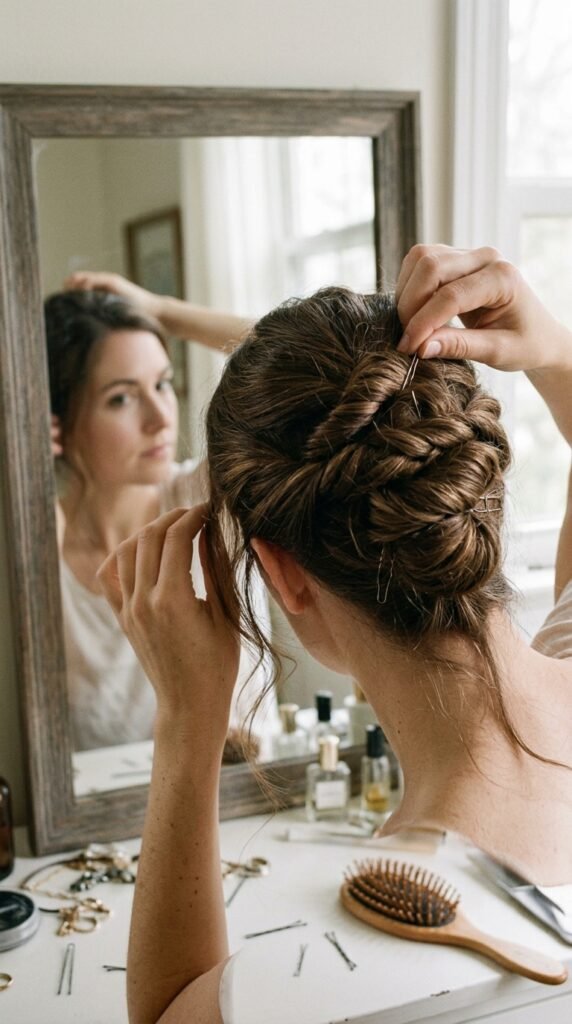
Rope braids give a more defined, spiral-like wave than a regular braid. Perfect if you want mermaid texture with a little more polish.
- Split hair into two sections.
- Twist each section in the same direction, then wrap them around each other in the opposite direction.
- Secure the ends with a soft elastic.
- Leave for a few hours or overnight.
- Undo gently and separate with a wide-tooth comb.
For extra hold, mist a little flexible hairspray before you braid. This method plays really well with long, layered cuts.
Tutorial 10: Sock Curls With No Heat
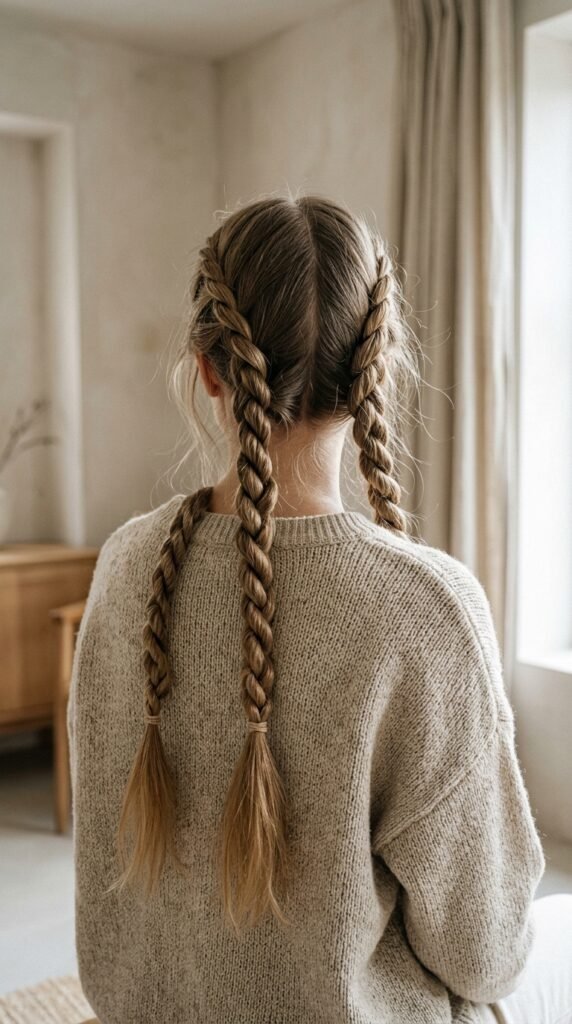
Yes, the sock method is still a thing, and it’s still amazing for long hair. It’s gentle, cheap, and completely heat-free.
- Roll clean socks into donuts.
- Wrap damp sections of hair around each sock, rolling toward your scalp.
- Secure the ends so nothing slips.
- Sleep on it, then unwind slowly in the morning.
You’ll get soft, bouncy waves with a little more volume than braids give you. It’s a great option for anyone trying to cut back on hot tools in 2026 without giving up pretty hair.
Tutorial 11: High Bun Set

This is the five-minute version for people who are already running late.
- Mist hair lightly with water and a little leave-in.
- Twist everything up into a high bun.
- Wrap a silk scarf around it to stop frizz.
- Leave for 30 to 60 minutes while you get ready.
- Let it down and finger-comb.
You get loose, soft bends around the face and a bit of root lift. Not a full curl, but a very natural, very wearable wave. It’s my favorite trick when I want to look like I tried without actually trying.
Tutorial 12: Hot Roller Set
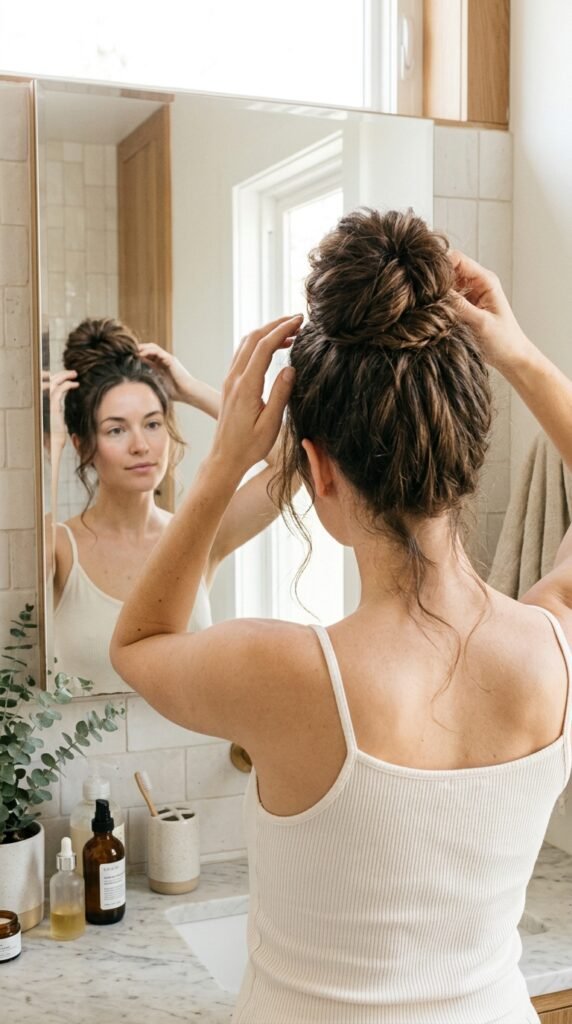
Hot rollers give long hair that bouncy, old money hair look in under twenty minutes. They’re easier than a curling iron once you get the rhythm.
- Use large rollers for loose waves, medium for more bounce.
- Roll sections upward and away from the face.
- Let them sit ten to fifteen minutes.
- Remove, then brush through with a paddle brush.
Brushing is the key step. It turns separate curls into one smooth, flowing wave. Finish with a light shine spray and you’re done.
Tutorial 13: Old Money Ribbon Waves
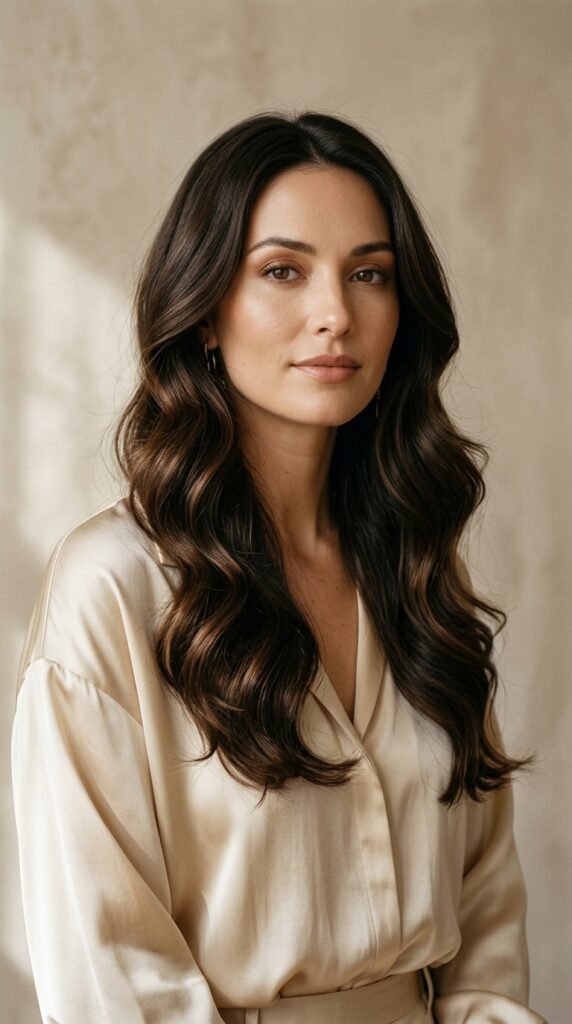
Ribbon waves are the refined cousin of mermaid waves. Think smooth, glossy, slightly structured bends that look like a country club lunch, in the best way.
- Blow dry hair smooth with a round brush.
- Use a large barrel iron, curling only the mid-lengths and ends.
- Brush out immediately while the hair is still warm.
- Set with a light hold spray and a drop of oil.
This is the backbone of old money hair. It’s simple, timeless, and never looks like you tried too hard, which is kind of the whole point.
Tutorial 14: Quiet Luxury Bob, Waved Softly

Not everyone with long hair stays long. If you’re flirting with a chop, this is how to wave it.
- Ask for a blunt or softly layered bob that hits just above the collarbone.
- Use a one-inch wand and curl only the ends.
- Brush through so the wave looks like a natural bend.
- Tuck one side behind your ear for that polished finish.
The quiet luxury bob works because the shape does the heavy lifting. Waves just soften it. Low effort, very high impact, and it grows out beautifully if you change your mind.
Tutorial 15: Hime Cut Meets Mermaid Waves
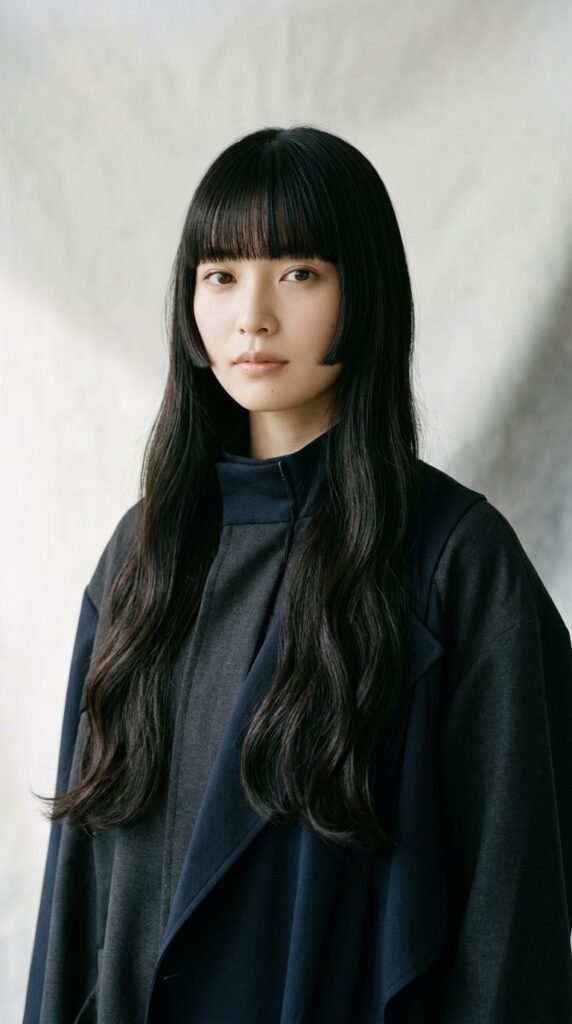
The hime cut is that Japanese style with blunt side pieces framing the face and long hair in back. It looks beautiful straight, but soften the length with waves and it becomes something else entirely.
- Keep the side pieces straight and sleek.
- Wave only from the jawline down.
- Use a flat iron for the face-framing pieces.
- Finish with a light oil for shine.
The contrast between sharp and soft is what makes it work. It’s one of the most striking 2026 hairstyles for long hair, and it photographs like a dream.
Tutorial 16: Romantic Goth Mermaid Waves
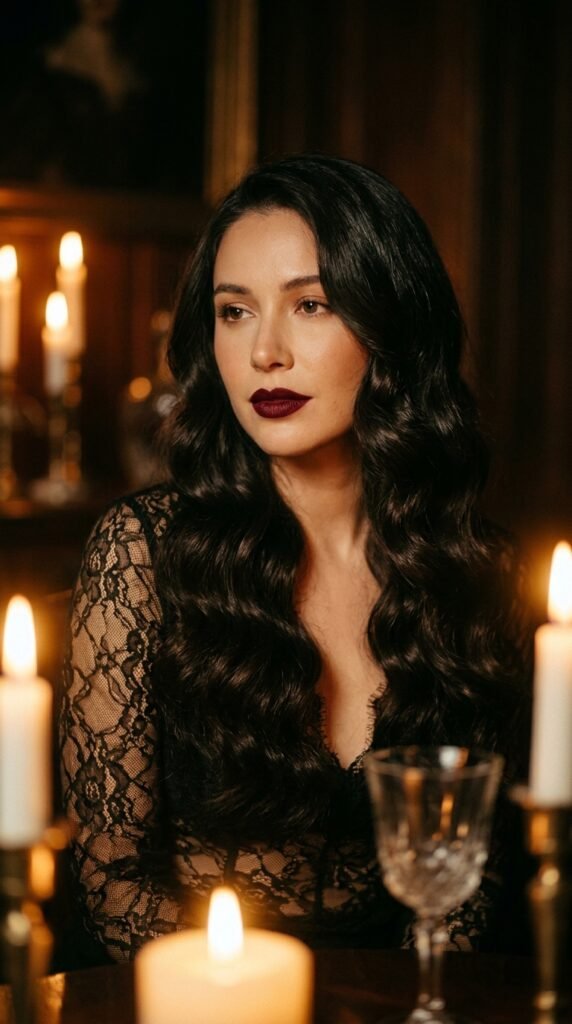
Romantic goth hairstyles and mermaid waves are a perfect match. Soft, dark, and a little dramatic.
- Start with smooth, well-conditioned hair.
- Use a medium barrel iron, alternating directions.
- Brush out for a brushed, flowing finish.
- Add shine spray for that glass-like reflection.
- Pin one side back with a small velvet clip.
The trick is keeping it soft rather than spiky or harsh. You want waves that move, not hair that looks frozen. Deep tones and glossy texture do all the work here.
Tutorial 17: Glitchy Glam Mermaid Texture
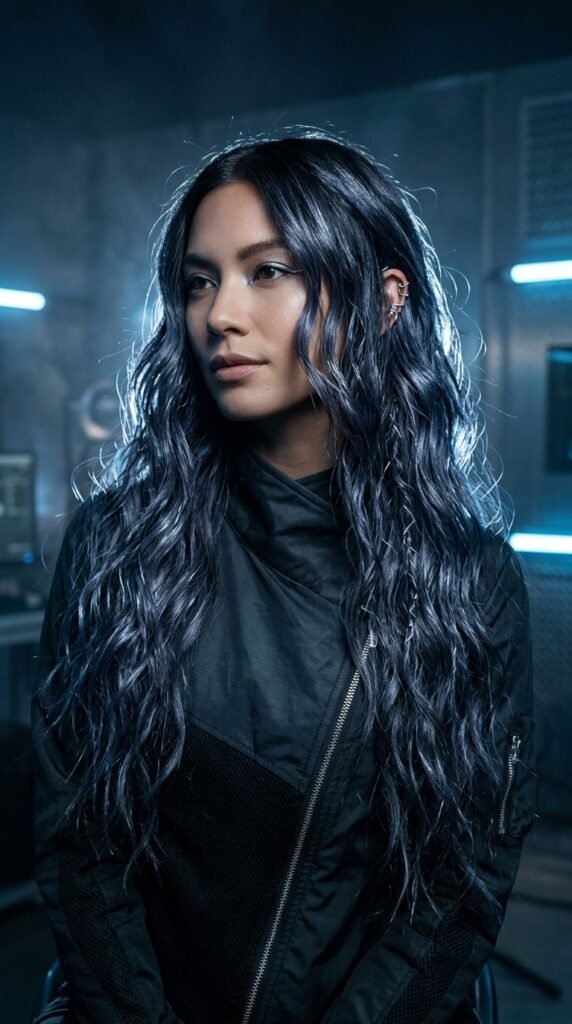
Glitchy glam hair is having a moment. It’s glossy and polished, but with intentionally imperfect, slightly uneven texture.
- Wave hair in alternating directions, and don’t match your sections.
- Break up the waves with a wide-tooth comb, not a brush.
- Add a glossy serum to the mid-lengths.
- Leave one or two sections almost straight for contrast.
The point is a little tension between sleek and undone. It looks effortless and slightly futuristic at the same time. Great for a night out when you want something different from the usual curls.
Tutorial 18: Vampire Haircut With Soft Waves

The vampire haircut is all about face-framing layers and a slightly darker, sharper silhouette. Waves keep it from feeling severe.
- Ask your stylist for long face-framing layers that start at the cheekbone.
- Keep the length in back mostly one length.
- Wave from the collarbone down with a large barrel iron.
- Leave the face-framing pieces almost straight.
That mix of sharp and soft is the whole point. It reads dramatic without being costume-y, and it works on fine and thick hair alike.
Tutorial 19: Asymmetrical Lob With Mermaid Ends
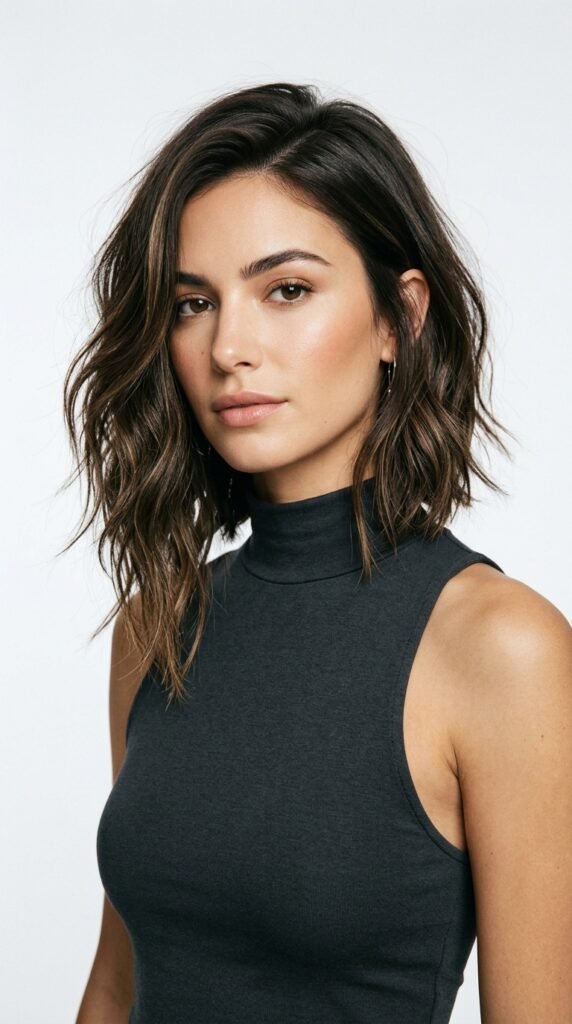
An asymmetrical lob is a smart middle step if you want a change without losing all your length.
- Keep one side noticeably longer than the other.
- Wave only the bottom third of the hair.
- Keep the top smooth for contrast.
- Add a slight bend forward around the face.
Because the cut is already interesting, the waves can stay simple. This is a great option if you’re growing out a bob and want a style that looks intentional at every stage.
Tutorials 20 and 21: Fine Hair + Thick Hair Waves
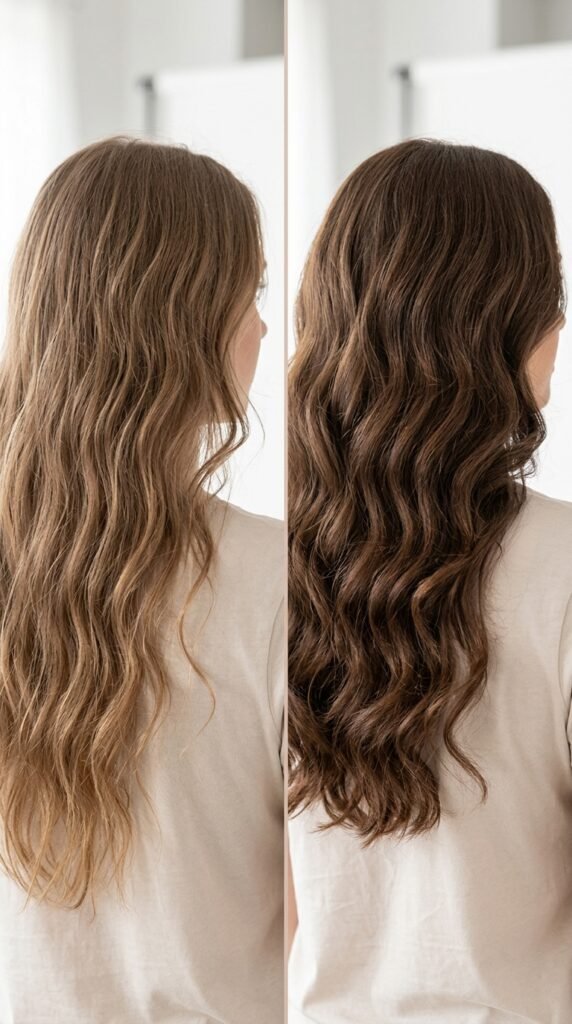
Wave technique changes a lot depending on your hair density.
For fine hair
- Start with mousse on damp roots for grip.
- Use a smaller barrel and tighter sections.
- Set with cool air and avoid heavy oils.
For thick, heavy hair
- Work in more sections than you think you need.
- Use a large barrel and hold each piece longer.
- Finish with a light hairspray, not a heavy one.
Fine hair needs hold. Thick hair needs patience. Same wave, different game plan.
Tutorial 22: Mermaid Waves With Extensions
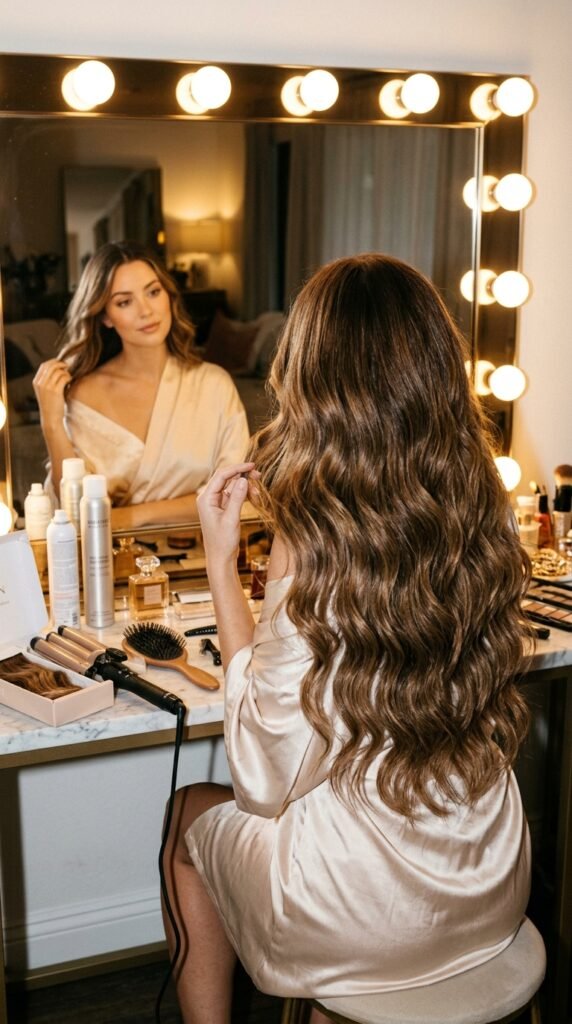
Extensions are the fast track to that long, luxurious look. Blending is everything.
- Curl your natural hair first, then the extensions.
- Use the same barrel size and direction on both.
- Clip in starting at the middle of your head, working down.
- Blend the top layer over the wefts, then brush through gently.
- Curl any face-framing pieces last so they look natural.
Match the wave pattern exactly and no one will know. It’s the quickest way to fake a lot of hair on a big night out.
Tutorial 23: Half-Up Mermaid Twist
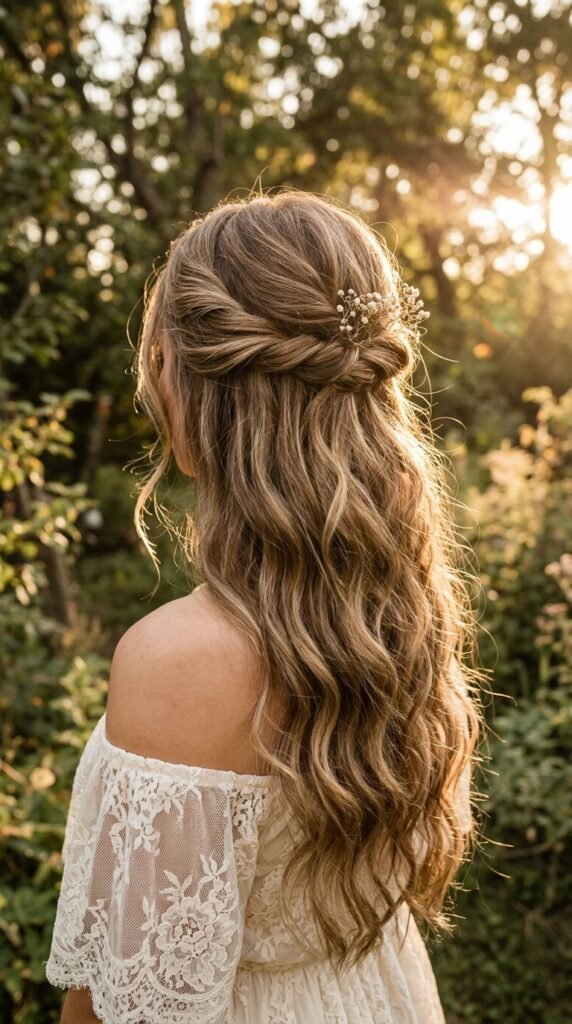
This is the easiest way to make mermaid waves look dressed up.
- Wave your hair as usual.
- Take a section from each side of your face.
- Twist them loosely toward the back of your head.
- Pin in place and gently pull the twist apart for volume.
- Leave a few soft pieces out around the face.
It keeps hair off your face without losing any of the length, and it hides a slightly flat crown. Perfect for dinners, dates, and days when your roots aren’t cooperating.
Tutorials 24 and 25: Curtain Bangs + Wedding Guest Waves
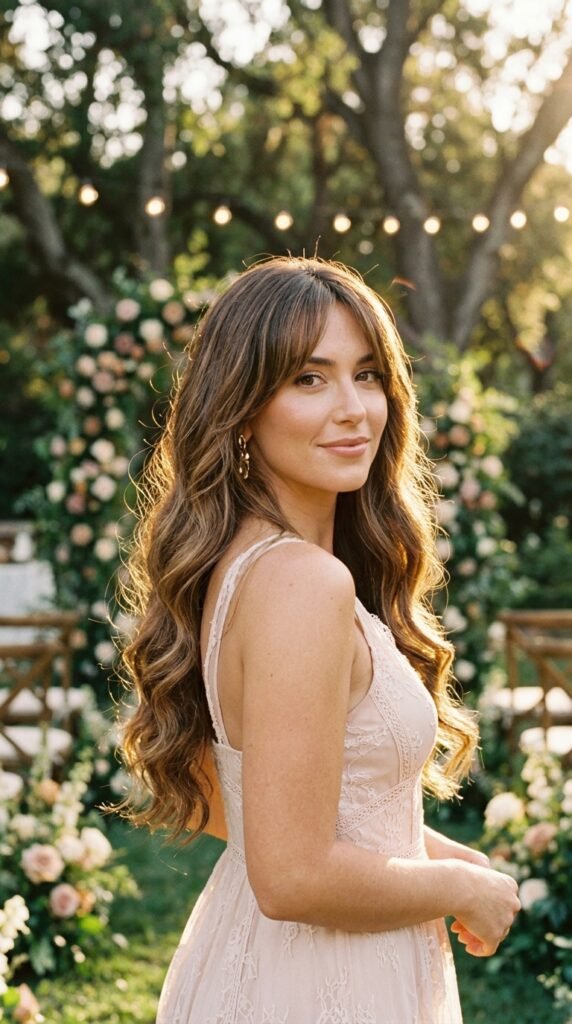
These two are for when you want to look genuinely put together.
Tutorial 24: Curtain Bangs With Waves
- Blow the bangs outward with a round brush.
- Set them on a velcro roller while you do the rest.
- Remove, then nudge them into place with your fingers.
Tutorial 25: Wedding Guest Waves
- Curl everything, then brush out completely.
- Pin one side back with a small gold clip.
- Set with flexible hold spray.
Elegant, easy, and never upstages the bride.
Tutorials 26 and 27: Vacation Waves + the 5-Minute Refresh
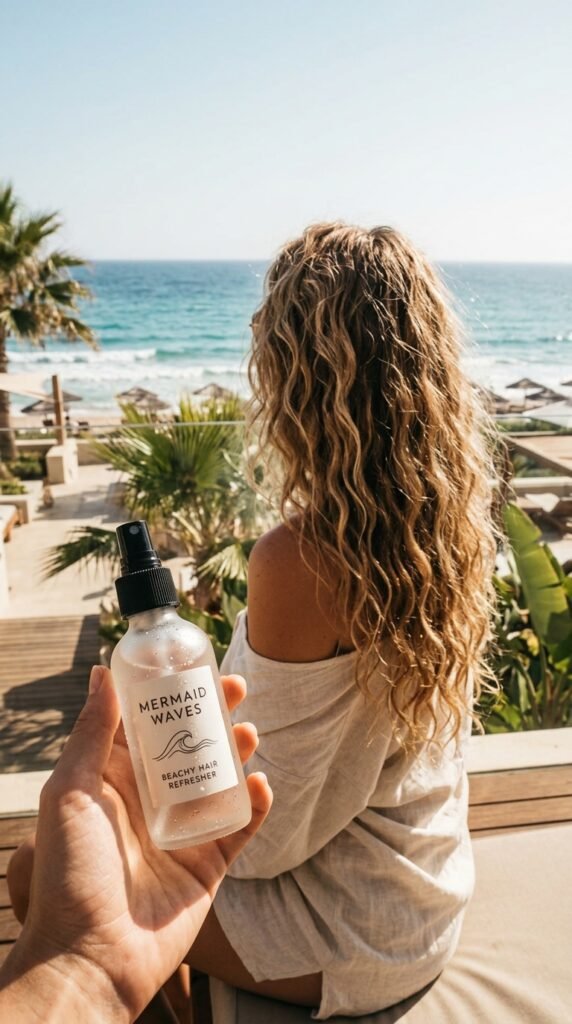
Two more to round out the list, and these are the practical ones.
Tutorial 26: Vacation Waves
- Spray salt mist on damp hair before the beach.
- Let it air dry in a loose braid.
- Shake out and add oil at night.
Tutorial 27: The 5-Minute Refresh
- Mist second-day waves with water and a little leave-in.
- Re-curl only the front pieces.
- Scrunch and go.
Day two hair should be easier than day one, not harder.
How to Make Waves Last All Day
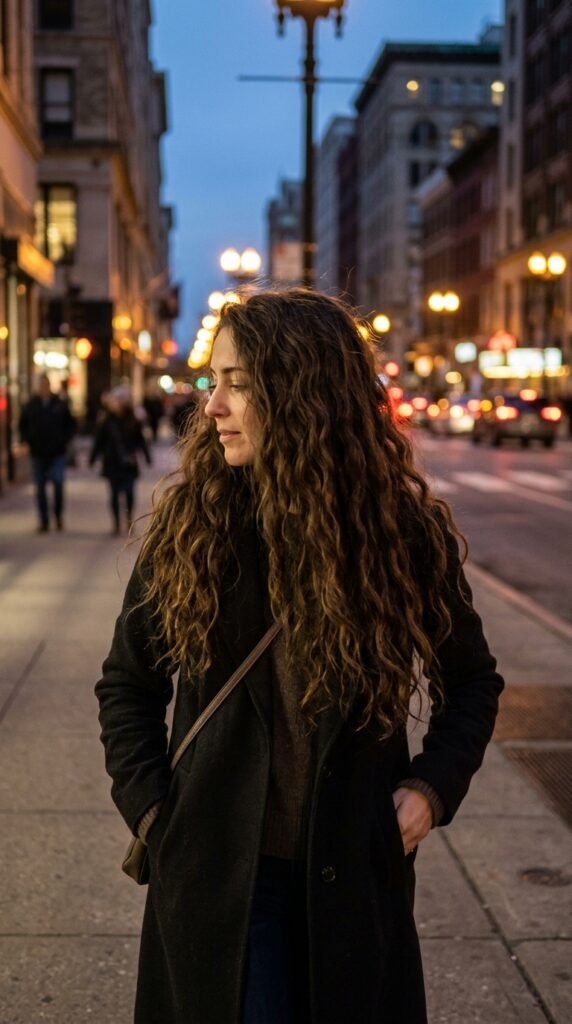
There’s nothing worse than beautiful waves that fall flat by noon. A few habits change everything.
- Always let hair cool completely before you touch it. Warm hair doesn’t hold.
- Use the right products. Mousse for grip, light spray for hold, oil only on the ends.
- Don’t over-brush. Finger-comb or use a wide-tooth comb.
- Sleep on silk to cut friction and frizz.
Long hair is heavy, so it pulls its own waves out. A little extra hold up top goes a long way toward keeping the shape all day.
Products Worth Buying in 2026
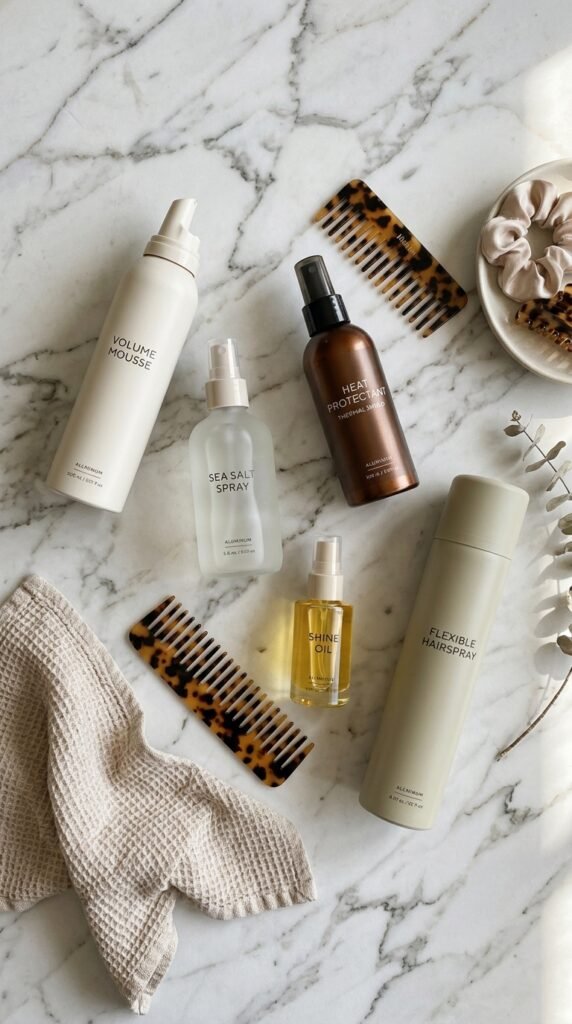
You don’t need twenty products. You need five good ones.
- Lightweight mousse — gives fine hair something to hold onto
- Sea salt spray — for air-dried, beachy texture
- Heat protectant — non-negotiable with any hot tool
- Shine oil or serum — for ends only, never roots
- Flexible hold hairspray — locks the shape without the crunch
Buy these once and most of the 27 tutorials above become a ten-minute job. That’s the whole goal here: less time styling, more time actually enjoying your hair.
One Last Thing Before You Go
Mermaid waves aren’t about perfection. They’re about movement, shine, and hair that looks like it had a good day. Pick two or three tutorials from this list, practice them on a random Tuesday, and you’ll have them memorized by spring.
Start with a no-heat method if your hair needs a break. Move to the waver or flat iron when you want more polish. And don’t stress if it’s not identical to the photo. Real hair has texture and personality, and that’s what makes it look good.
You’ve got this. Now go make your long hair do the thing.
Save this post to Pinterest so you can find your favorite tutorial the next time you’re getting ready. And tell me in the comments: which one are you trying first, the braid-and-sleep or the three-barrel waver? I read every single one.