27 Polished Long Haircut Layers Emphasizing Healthy Reflective Hair Shine
Hey friend. I have a confession. I spent years growing my hair long and then wondering why it looked flat, dull, and tired on the ends. The length was there. The polish was not.
Everything changed when I finally understood long layers. Not the choppy, thinning layers of the past. I mean soft, intentional layers that move with you and catch the light.
So today I am sharing the polished long haircuts that put healthy, reflective shine front and center. Think 2026 hairstyles, old money hair, and that quiet luxury finish you keep seeing everywhere.
Grab a coffee. This is quick, practical, and screenshot friendly for your next salon visit.
Why Layered Long Hair Wins in 2026
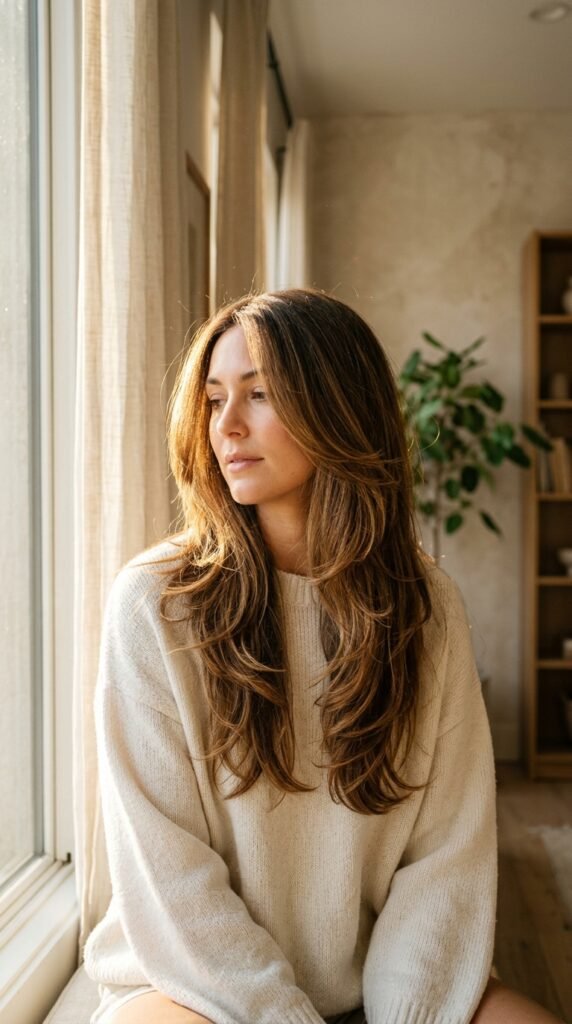
Long hair without layers is basically a curtain. Pretty, but heavy. One length sits flat, hides your natural movement, and makes the ends look older than they are.
Layers fix that in a single appointment. Your stylist removes weight, adds shape, and suddenly light hits different parts of your hair at different angles. That is where shine actually comes from.
Here is what people are asking for this year:
- Face-framing pieces around the jaw
- Invisible layers through the back
- Ends that still feel thick and full
Soft, simple, expensive looking. That is the whole goal.
The Shine Rule Nobody Talks About
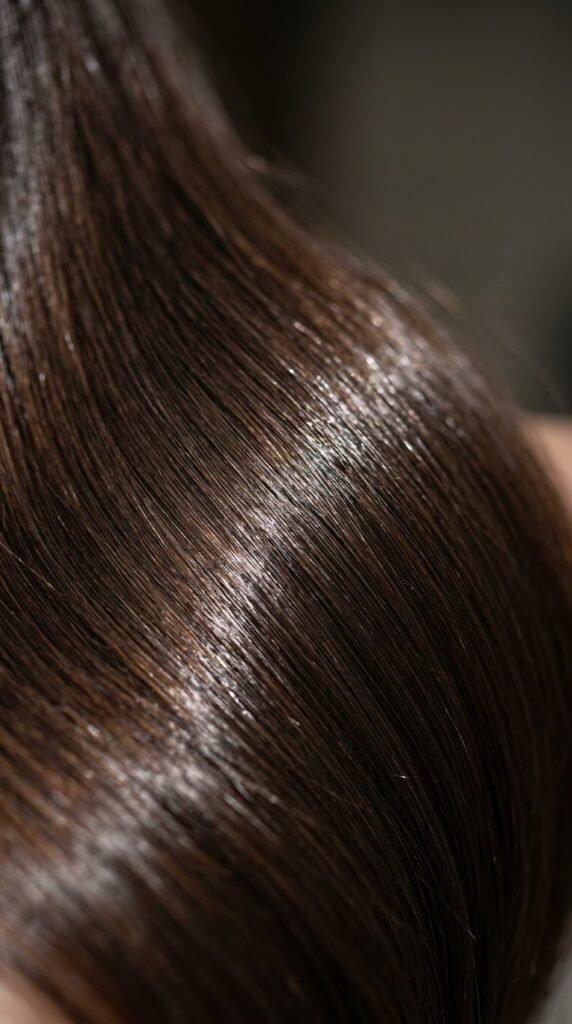
Layers only look expensive on healthy hair. Dull hair with a great cut still looks dull. I wish someone had told me that years ago.
Shine comes from a smooth cuticle. When the outer layer of your strand lays flat, light bounces off like a mirror. When it is rough or lifted, light scatters and you get that dusty, tired finish.
So before you book anything, handle these three things:
- Trim every 10 to 12 weeks
- Use a bond-building mask once a week
- Stop ripping a brush through wet hair
Do that for a month and your layers will look completely different.
Old Money Hair Starts With the Cut
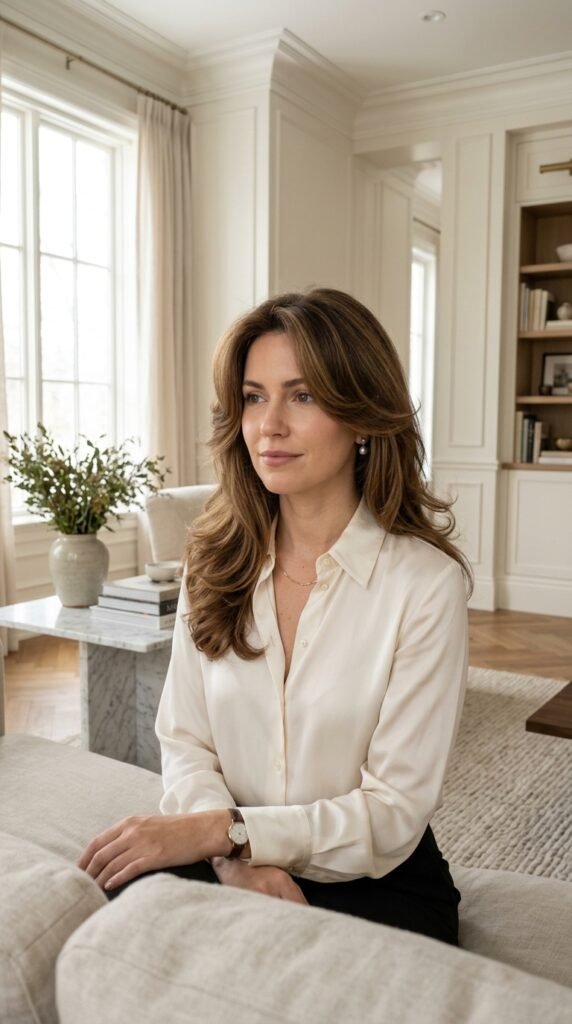
Old money hair is not really a trend. It is a look of quiet maintenance. Soft bends, healthy ends, and zero visible effort.
The cut behind it is simple. Long layers, light face framing, and some weight left at the bottom. Nothing sharp. Nothing choppy. Just blends you cannot quite spot.
Ask your stylist for:
- Long layers starting below the chin
- Soft point cutting on the ends
- No short, heavy pieces around the face
Then style with a round brush and one drop of oil. That is the whole routine.
Your Quiet Luxury Bob Grows Into This

Loved the quiet luxury bob? Good news. It grows into the prettiest long layered cut, as long as you handle the grow-out with a plan.
The secret is keeping the back shaped while the front catches up. Ask for a soft asymmetrical lob first, then let those front pieces become your face-framing layers later.
A timeline that actually works:
- Months 1 to 2: soft lob trims
- Months 3 to 4: add long layers
- Month 6: full long layered shape
Slow and steady really does win here.
The Asymmetrical Lob Is the Smartest In-Between
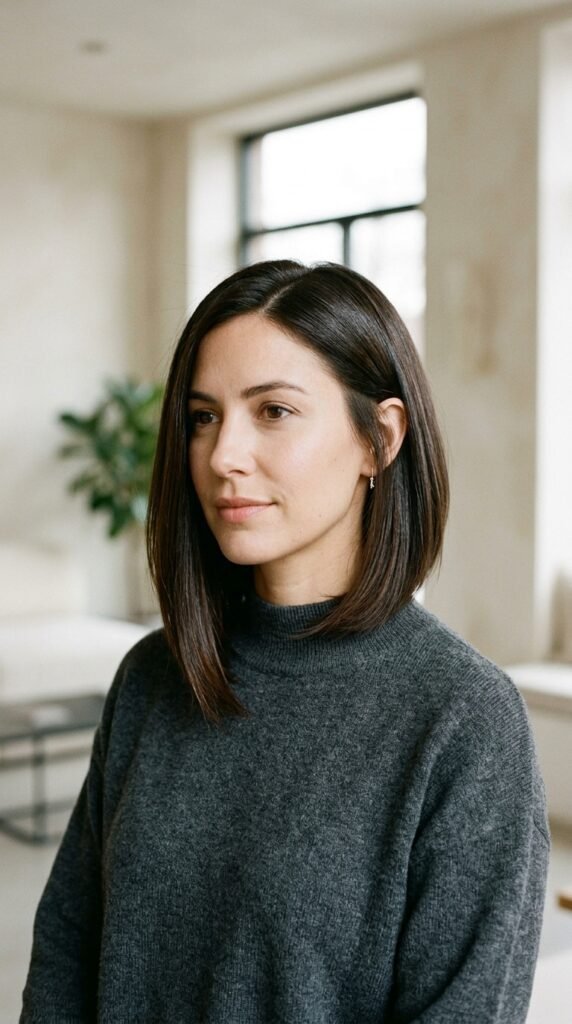
An asymmetrical lob sits right at the collarbone, slightly longer on one side. It is the best move if you want polish without losing much length.
It also gives your layers a head start. One side frames the face, the other sweeps longer, so your hair already has built-in movement.
Style it two ways:
- Middle part and sleek for a sharp, modern feel
- Deep side part with loose waves for softness
It is also the easiest way to test shorter hair before you commit.
Hime Cut: Sharp Lines, Soft Shine
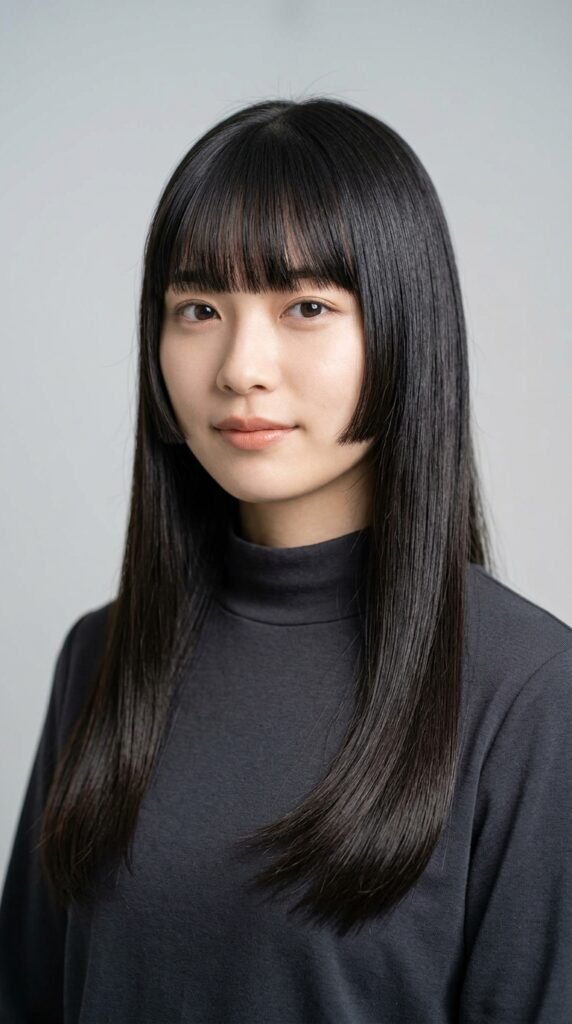
The hime cut is the Japanese style with blunt side pieces and long hair in the back. It sounds bold, and it is, but it looks incredibly polished on shiny hair.
It works best on straight or mostly straight hair. Those blunt lines show every bit of gloss, so healthy texture matters more here than almost anywhere else.
If full hime feels like a lot, soften it:
- Ask for cheekbone-length blunt pieces
- Blend them into long layers in the back
- Keep the ends blunt, not thinned
It is dramatic and elegant at the same time.
The Vampire Haircut, Softened

The vampire haircut is long, dark, glossy, and a little moody. Sharp face framing, ends that taper slightly into a V, and a shine that looks almost wet.
Layers here are subtle on purpose. You want structure, not choppiness. The goal is a smooth sweep from the crown all the way down to the tips.
Ask for:
- Long layers with a soft V shape at the bottom
- Blunt face-framing pieces at the jaw
- Minimal thinning anywhere
Pair it with a gloss treatment and you are basically done.
Romantic Goth Hairstyles With Long Layers
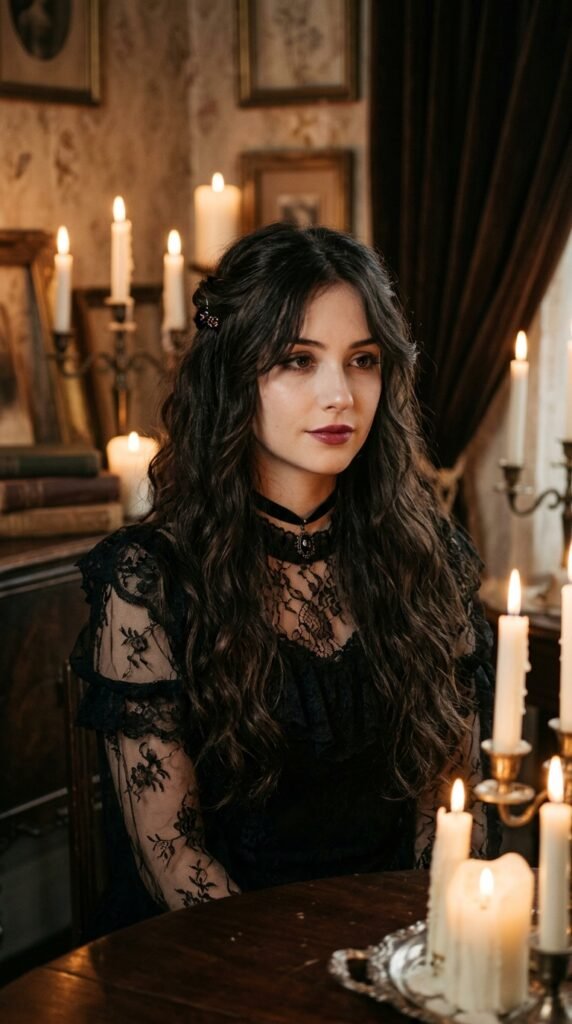
Romantic goth hairstyles lean soft instead of spiky. Think deep color, gentle waves, and long layers that move like fabric.
The layers should be long and fluid. Nothing short or aggressive. You want hair that looks like it belongs in an old painting.
Details that make it work:
- A soft U-shaped hem instead of straight across
- Small face-framing pieces at the cheek
- A gloss or glaze for that glassy finish
Moody, romantic, and honestly so wearable day to day.
Glitchy Glam Hair You Can Actually Wear

Glitchy glam hair is that slightly off-kilter, sharp-edged look you see on runways. It feels a little imperfect on purpose. Cool, but scary to ask for.
The wearable version is easy. You keep the shine and the sleek finish, then add one or two unexpected details.
Try this:
- Long layers through the back
- One disconnected piece near the cheek
- A sleek middle part with a glossy finish
It reads as intentional instead of messy. That is the whole trick.
Face-Framing Layers for Every Face Shape
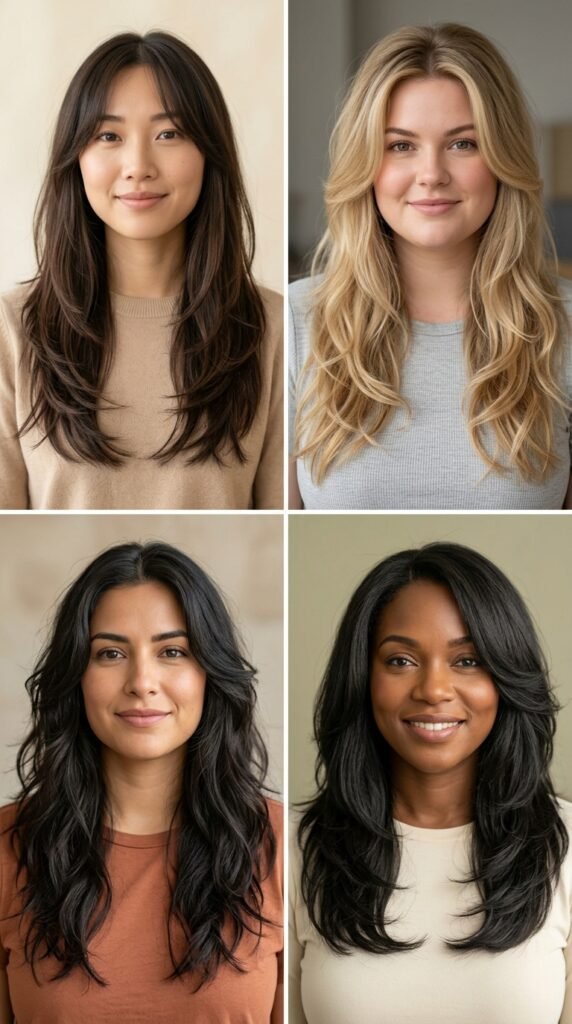
Face-framing layers are the difference between “nice hair” and “wait, what did you do?” Here is a quick guide.
- Round: longer pieces starting below the chin to elongate
- Square: soft, curved pieces around the jawline
- Heart: cheekbone layers with a little lift
- Oval: almost anything works, just keep it soft
- Long: shorter face-framing pieces for width
Bring photos. Always bring photos. “Face framing” means something different to every stylist, so show them two looks you love and one you do not.
How to Ask Your Stylist for Invisible Layers
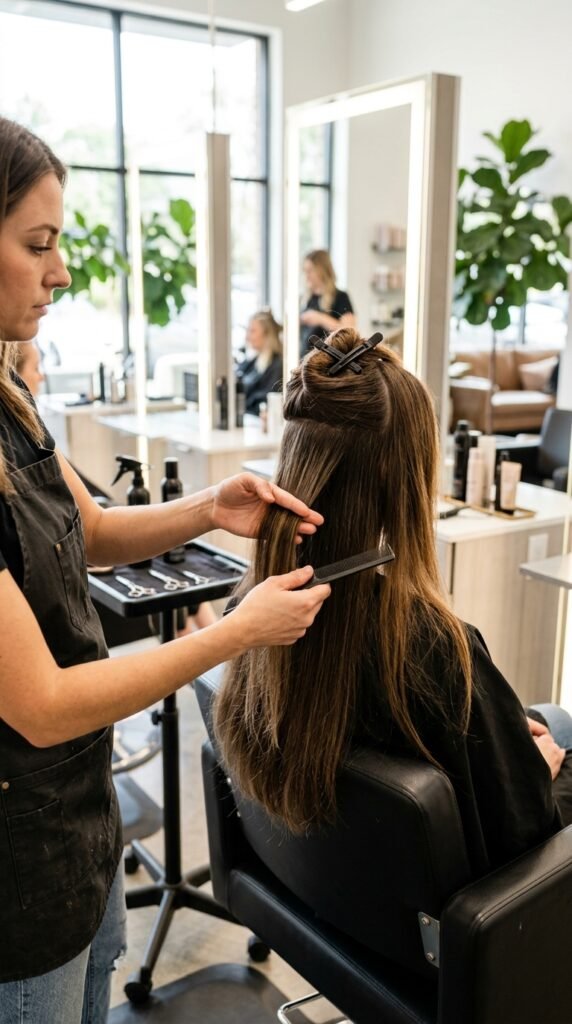
Invisible layers add movement without visible steps. They are the quiet luxury version of layers, and they are easy to get if you explain yourself well.
Say this at your appointment:
- “I want to keep my length and my thickness at the ends.”
- “Please add long layers that blend, nothing choppy.”
- “Show me the shape dry before you finish.”
Also mention how you style at home. If you air dry, say so. If you blow dry daily, say so. The cut should match your real routine, not a salon fantasy.
The Butterfly Layer Comeback
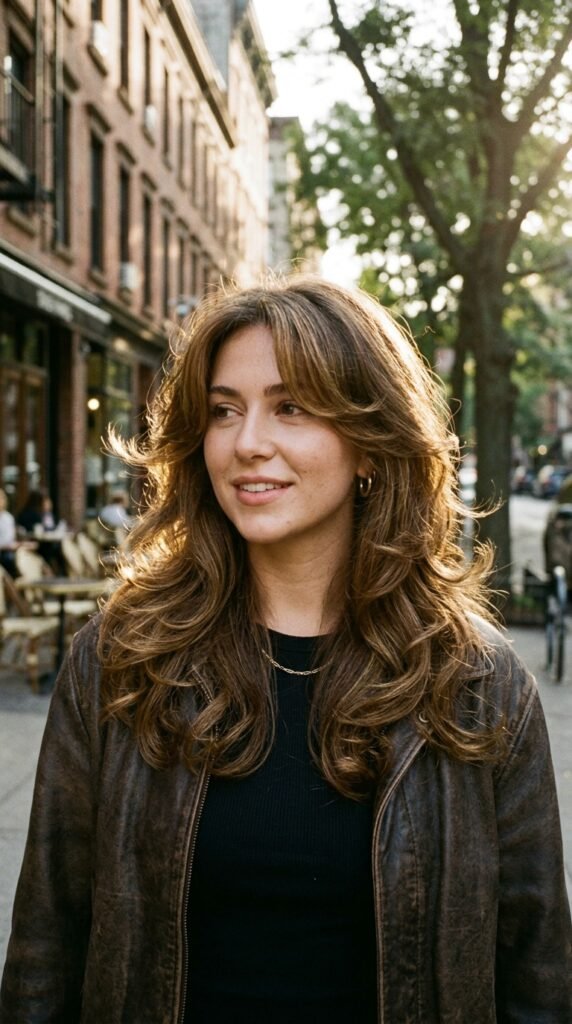
Butterfly layers are back, but softer than the 90s version. Think supermodel blowout, not crunchy round brush energy.
The shape is shorter layers on top, longer layers underneath, with lots of rounded volume around the crown. It gives that flippy, bouncy movement.
Ask for it this way:
- Face-framing pieces at cheek level
- Long layers through the mid-lengths
- Keep the bottom full and thick
It looks best with a big round brush and a little volume spray.
Long Layers for Fine Hair
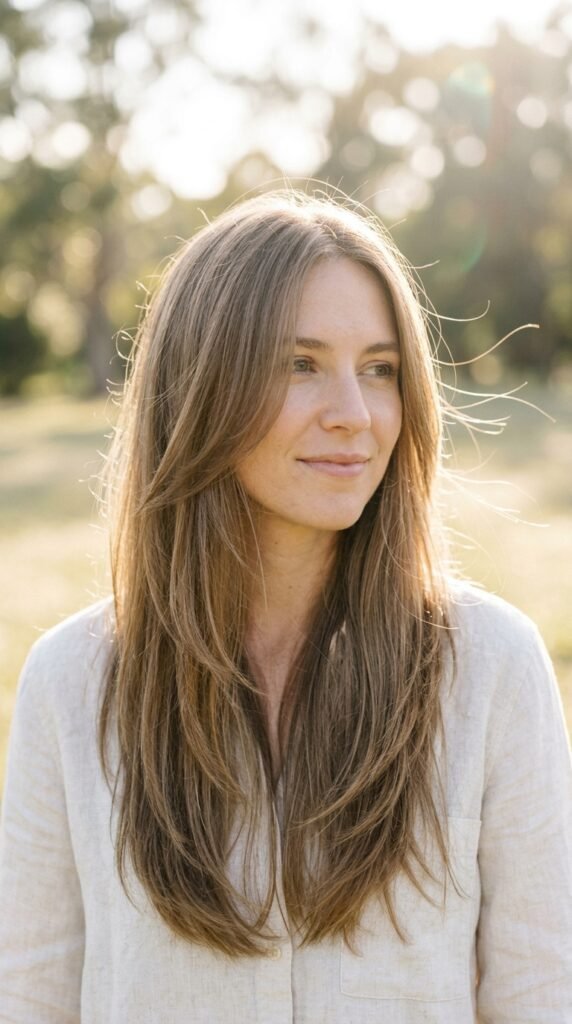
Fine hair needs layers, but not too many. Over-layering is exactly how fine hair ends up looking stringy and thin at the bottom.
Keep it simple. One or two long layers through the bottom half of your hair is usually enough to create movement without losing density.
Rules for fine hair:
- Keep layers long, below the collarbone
- Skip heavy razor thinning
- Use a light leave-in, never a heavy cream
Also, a trim is your best friend. Fine hair shows split ends faster than any other texture.
Long Layers for Thick Hair
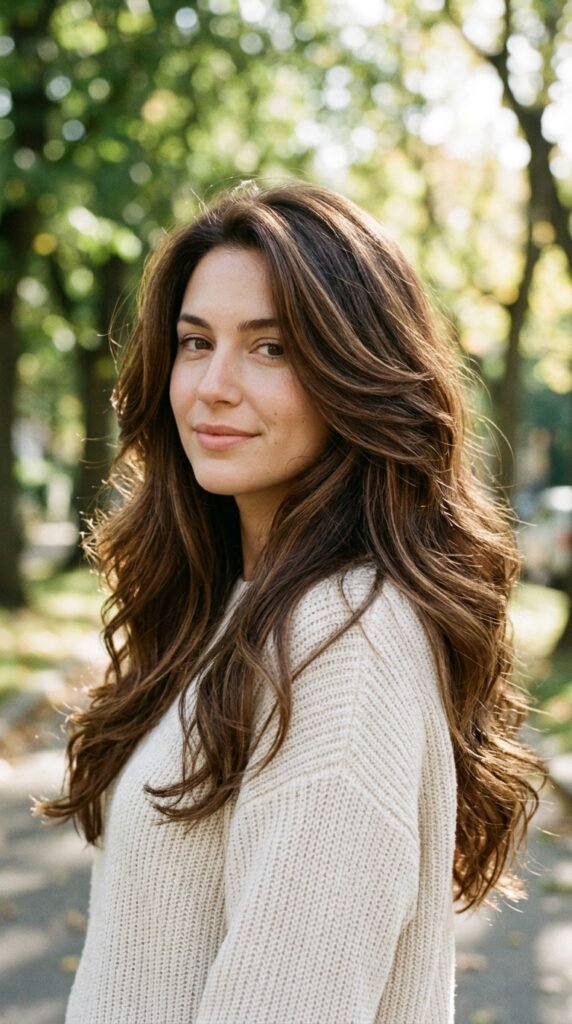
Thick hair and layers are a match made in heaven. Without layers, thick hair turns into a triangle. With them, it moves the way it should.
You can handle more layering than fine hair, so this is your chance to get real shape and bounce.
Ask for:
- Layers starting around the collarbone
- Texturizing on the ends, not the roots
- A soft U hem so it does not look boxy
Go easy on thinning shears though. Too much and thick hair turns frizzy fast.
Long Layers for Curly and Wavy Hair

Curly hair should never be cut like straight hair. Layers in curls need to follow the curl pattern, not fight it.
Find a stylist who cuts curls dry. They can see exactly where each curl lands, which means the shape looks right without styling tricks.
What to ask for:
- Layers that follow your curl pattern
- A rounded shape, not a stacked one
- Ends left full so curls do not frizz
And please, no brushing dry curls. That is the fastest way to lose the shine you just paid for.
Curtain Bangs Plus Long Layers

Curtain bangs and long layers are basically the dream team. The bangs frame the face and the layers keep all that length from looking heavy.
The key is blending. Your curtain bangs should flow into your face-framing layers, not sit on top of them like a separate piece.
Ask for:
- Bangs starting at the cheekbone
- A soft center part, not a hard line
- Layers that connect to the bangs
They also grow out beautifully, which is a huge bonus.
Should You Keep Blunt Ends?
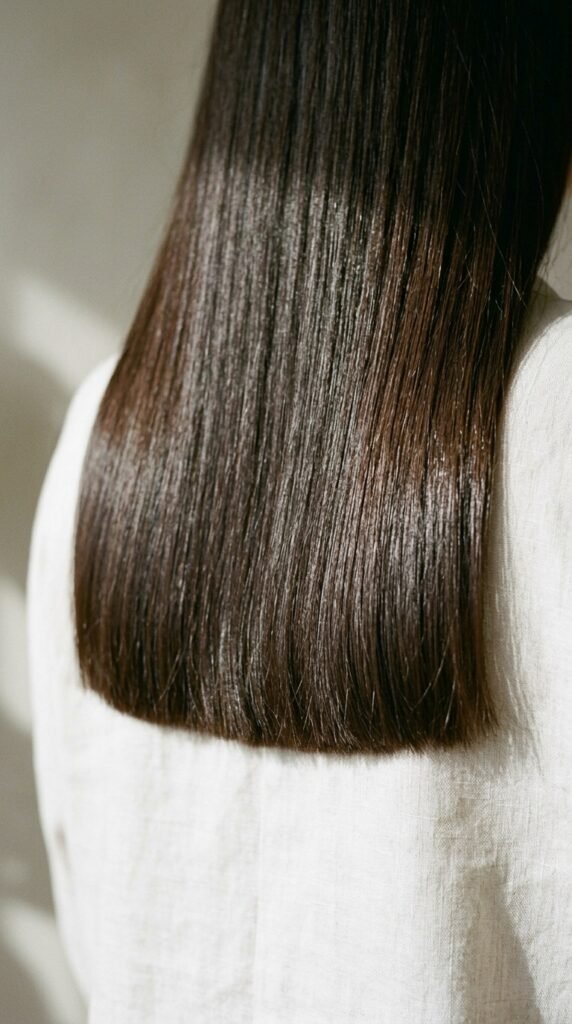
Blunt ends are having a moment, and they pair surprisingly well with long layers. The contrast makes both look better.
Blunt ends mean fuller-looking hair and less breakage, because there are no thin, tapered tips to split. Layers on top add the movement.
When to go blunt:
- Your ends look thin or see-through
- You want your hair to look thicker instantly
- You like a clean, modern line
Just keep them trimmed. Blunt ends only look amazing when they are even.
Trim Schedule for Shiny Ends
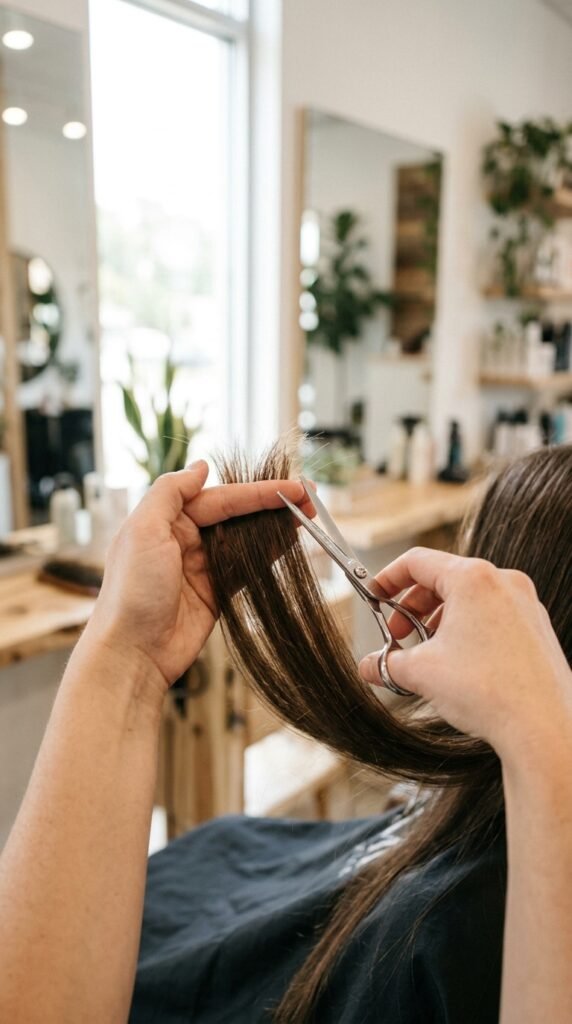
You cannot have reflective hair with split ends. It is just not possible. Split ends scatter light and make everything look fuzzy.
Here is a simple schedule to follow:
- Every 10 to 12 weeks for healthy hair
- Every 8 weeks if you heat style often
- Every 6 weeks if you are growing out damage
Ask for a dusting if you do not want to lose length. A dusting takes off just the very tips and keeps your shape.
It is the cheapest shine treatment there is.
How to Wash Hair for Maximum Shine
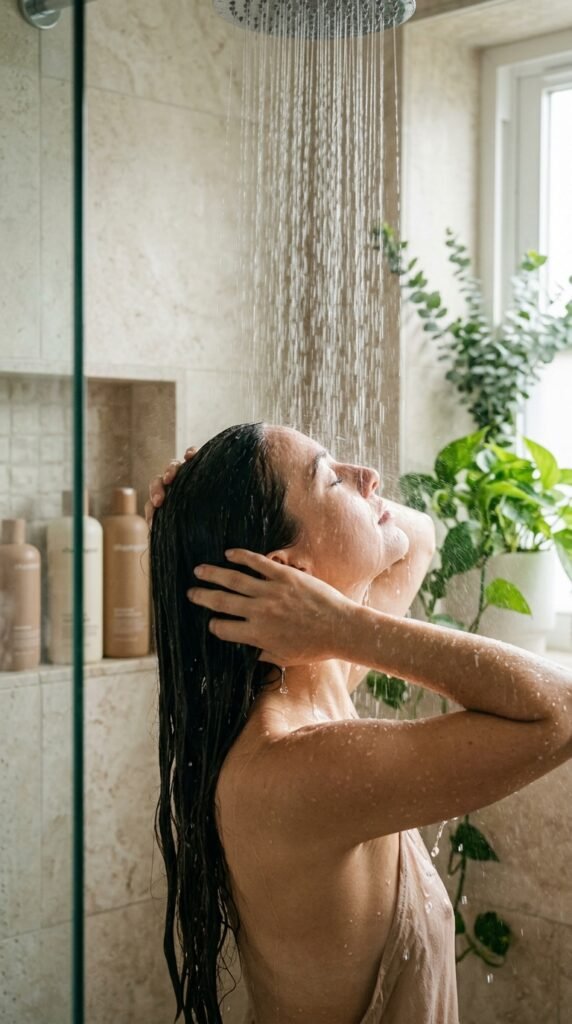
Most people lose shine in the shower, not in the styling chair. Small changes here make a big difference.
Here is what actually works:
- Rinse with warm water, finish with cool
- Shampoo your scalp, not your ends
- Condition from mid-length to ends
- Rinse longer than you think you need to
Also, stop washing every single day. Two or three times a week is plenty for most hair types, and your natural oils are the best gloss you own.
Heat Styling Without Losing the Gloss
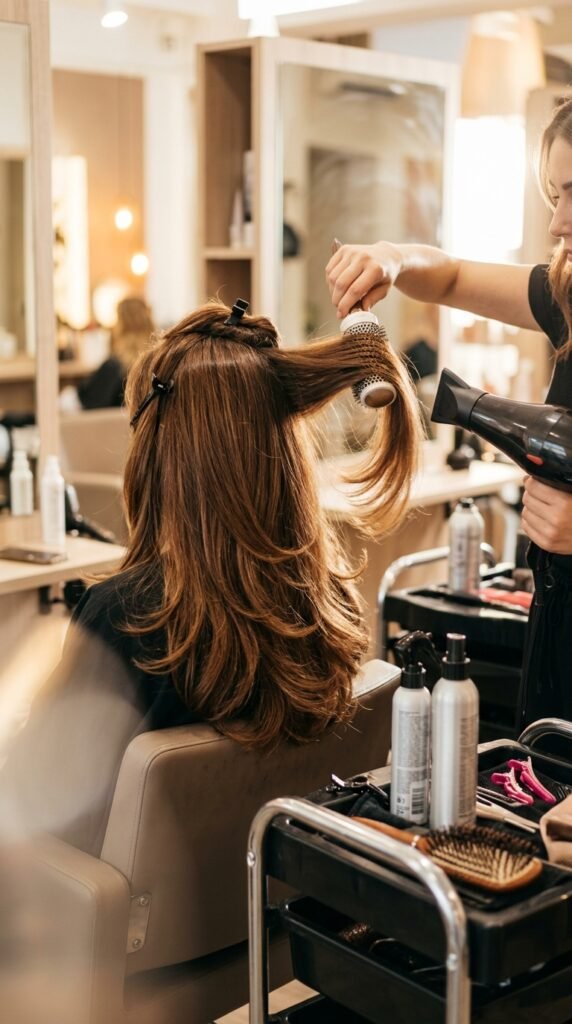
Heat is not the enemy. Unprotected heat is. You can style your layers daily and still keep them shiny if you follow a few rules.
Keep it simple:
- Always use a heat protectant
- Keep the dryer on medium, not high
- Point the nozzle down to smooth the cuticle
- Finish every section with a cool shot
That cool shot is the secret. It seals the cuticle and locks in the shine you just built. Ten seconds, and it changes everything.
Gloss Treatments and Glazes Explained
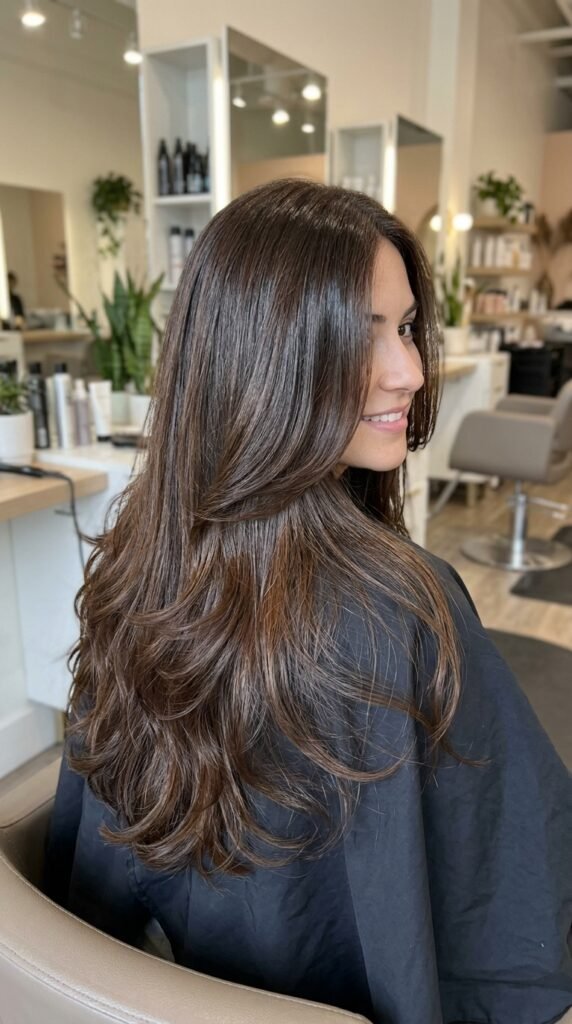
A gloss or glaze is the fastest way to fake healthy hair. It is a semi-permanent treatment that coats the strand and fills in rough spots.
You get mirror shine, richer color, and smoother texture. It lasts about four to six weeks, and honestly, it is worth every penny before a big event.
Two options:
- Salon gloss: deeper, lasts longer
- At-home glaze: cheaper, do it monthly
Neither one repairs damage. They just make your hair look like it did.
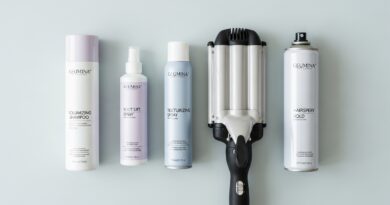
Products That Make Layers Look Expensive
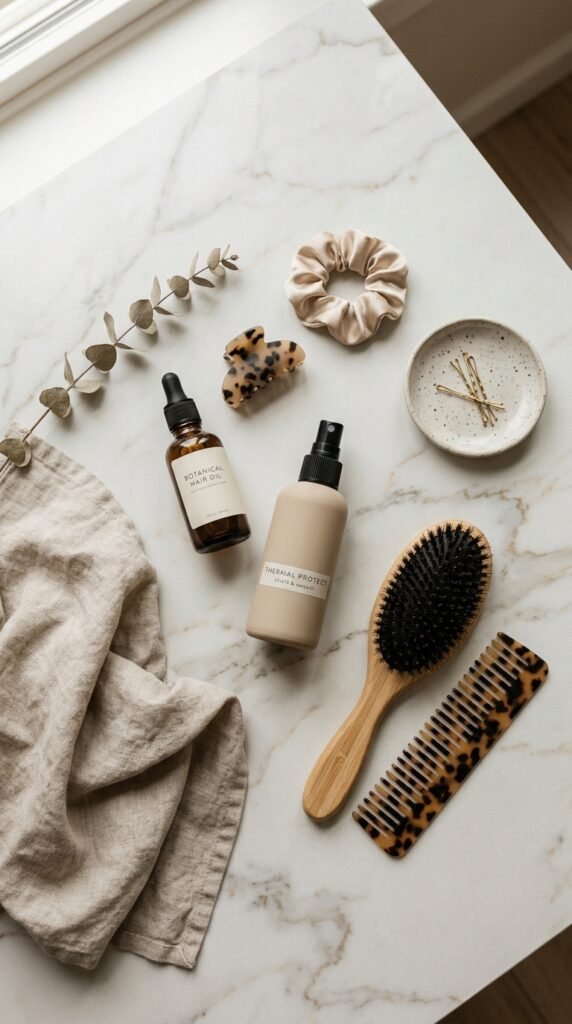
You do not need twelve products. You need the right four, and you need to use less of them than you think.
My short list:
- Lightweight hair oil for the ends
- Heat protectant spray
- Volumizing mousse for the roots
- A shine serum for finishing
Apply oil only from mid-length down. Roots plus oil equals flat, greasy layers, which is the opposite of what we want.
Sleep Habits That Protect Your Shine

You spend a third of your life asleep, and your hair rubs against a pillow that whole time. That is a lot of friction for fragile ends.
Switch to silk or satin, and it holds moisture in instead of pulling it out. Your cuticle stays smooth while you sleep.
Small habits that help:
- Sleep on a silk or satin pillowcase
- Loosely braid or twist long hair
- Use a soft scrunchie, never a tight elastic
- Let your hair dry fully before bed
These sound tiny, but over a few months they change how your ends look.
Your Ten-Minute Morning Routine
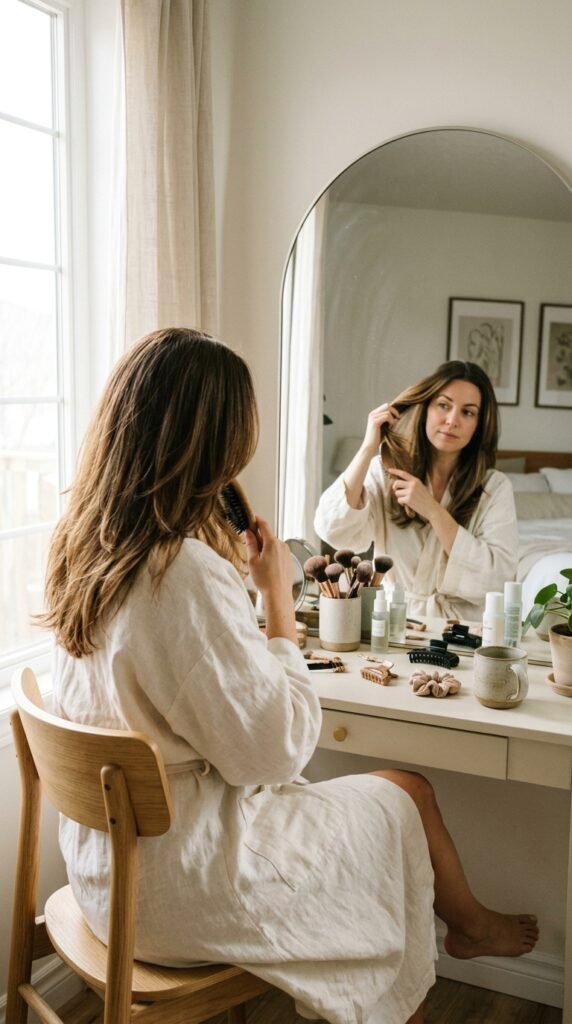
Polished layers should not take an hour. Here is my realistic routine on a workday, start to finish.
- Spray in heat protectant and a little leave-in
- Blow dry the roots for 2 minutes, head upside down
- Rough dry the rest with the nozzle pointing down
- Wrap front pieces around a round brush for 30 seconds each
- Finish with one drop of oil on the ends
That is it. Ten minutes, honest. The layers do the rest of the work for you.
Styling Ideas That Show Off Your Layers
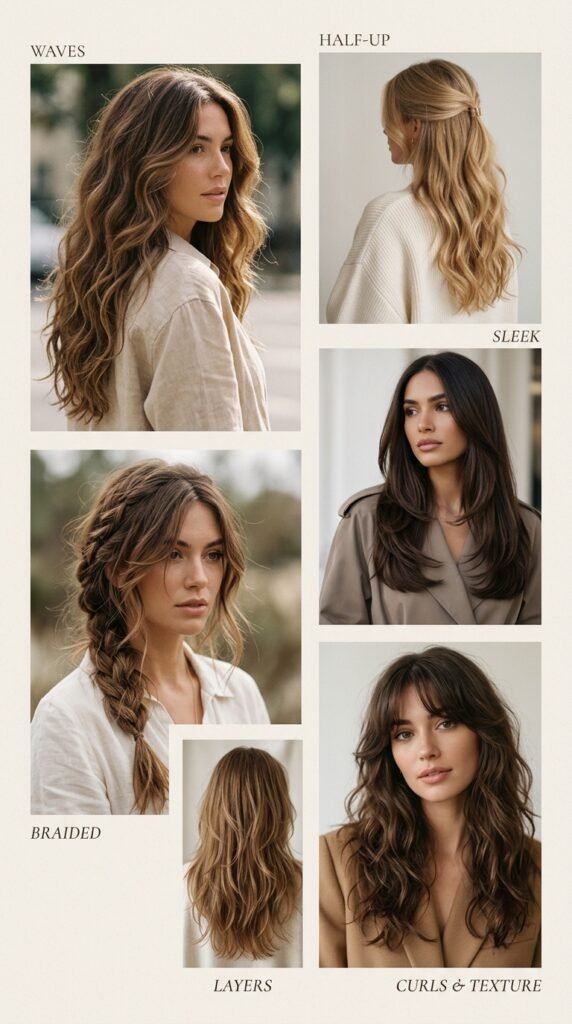
Once you have good layers, you have options. Here are my go-to looks when I want something a little different.
- Half-up with a claw clip and loose front pieces
- Soft waves with a middle part
- Sleek low ponytail with face-framing pieces left out
- Loose side braid, pulled apart for thickness
- High pony with a wrapped section hiding the band
Every one of these shows off your layers while keeping things easy. That is the whole point of a good cut.
Mistakes That Kill Shine in Long Hair
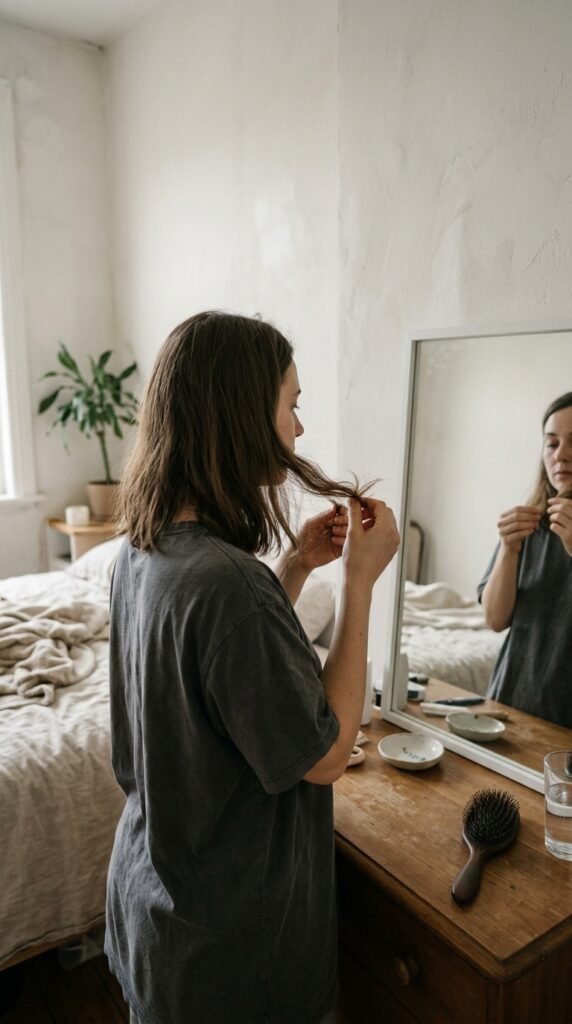
I made all of these mistakes, so please learn from me instead.
- Over-layering until the ends look thin
- Skipping trims to keep length
- Using heavy products on fine hair
- Brushing wet hair from the roots down
- Ignoring the back of your head entirely
Any one of these can dull a beautiful cut. Fix them and your layers will finally look the way you imagined them.
A Warm Little Wrap-Up
You do not need a dramatic transformation. You need healthy ends, a cut that fits your real routine, and a little consistency.
Pick one or two ideas from this list, bring your photos to your stylist, and give it a couple of months. That is genuinely all it takes.
Save this post to Pinterest so it is ready at your next appointment. And tell me, which one are you trying first? Drop a comment below. I read every single one.