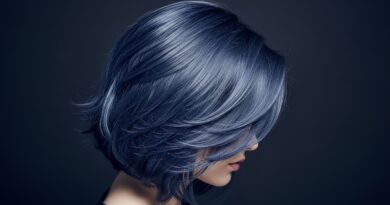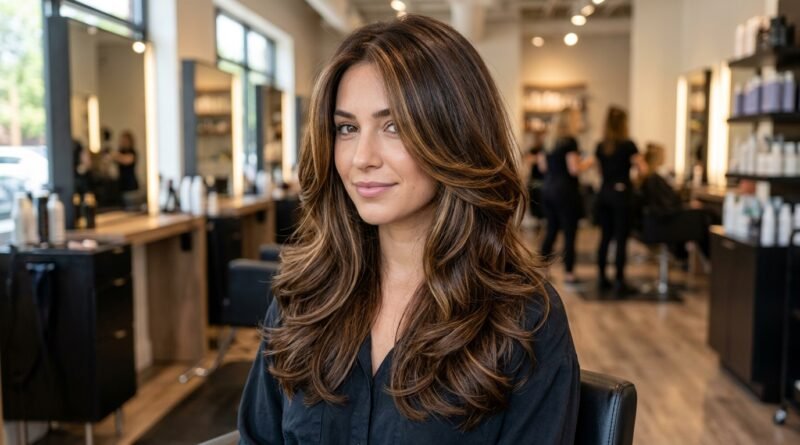
27 Polished Long Haircut Layers Emphasizing Healthy Reflective Hair Shine
I have been getting the same DM for weeks now: “How do I make my long hair look expensive without a ton of styling?” And honestly, I get it. Long hair is supposed to feel easy, but when layers are cut wrong, it turns stringy, frizzy, or just flat. The fix is almost never more products. It is the cut.
Polished long layers are the quiet hero of 2026 hairstyles. Cut well, they catch light, move with you, and make healthy shine look like a personality trait. Cut badly, they eat volume and hide shine.
Below are 27 real, workable ideas plus the shine routine that keeps them looking salon-fresh. Skim the ones that match your hair type and save the rest for your next appointment.
You will walk into the salon knowing exactly what to ask for, and walk out with hair that reflects light like glass.
1. Why Polished Long Layers Rule 2026 Hairstyles
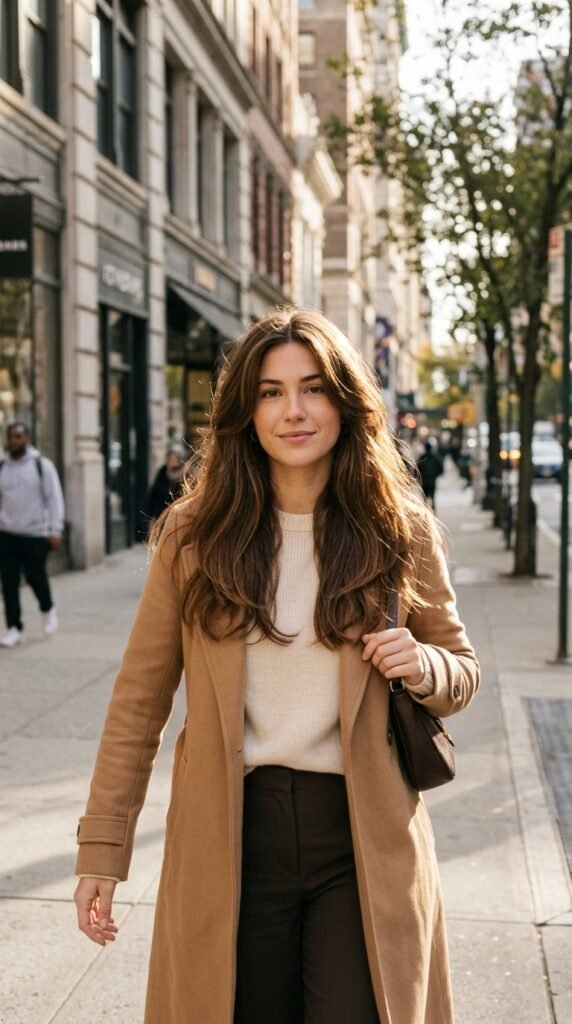
Layers used to mean choppy and chaotic. Now they mean polished, controlled, and shiny. The 2026 hairstyles mood is calm, healthy, and lived-in, and long layers fit that perfectly.
Here is what a polished cut actually does:
- Removes heavy weight so hair moves instead of hanging flat
- Blends ends so shine travels down the strand
- Frames the face without a harsh line
- Makes air-drying look intentional
It is less about trend and more about looking like you have your life together. Even on a Monday.
2. The Reflection Rule: Shine Starts With the Cut
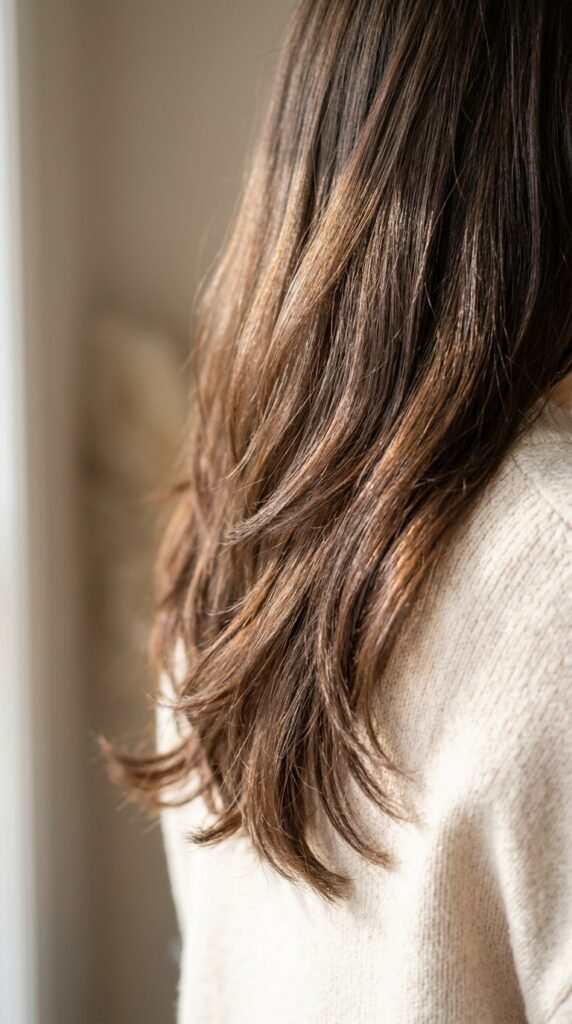
Shine is basically light bouncing off a smooth surface. Rough ends scatter that light, which is why damaged hair looks dull no matter how much oil you use.
So before you buy another serum, look at your ends. If they are see-through or split, no product will fix the reflection.
- Ask for a dusting trim every 8 to 10 weeks
- Request point cutting on the ends, not blunt chops
- Keep the top layers long enough to lie smooth
A polished cut is the first step in any shine routine. Everything else is just support.
3. Face-Framing Layers That Look Expensive
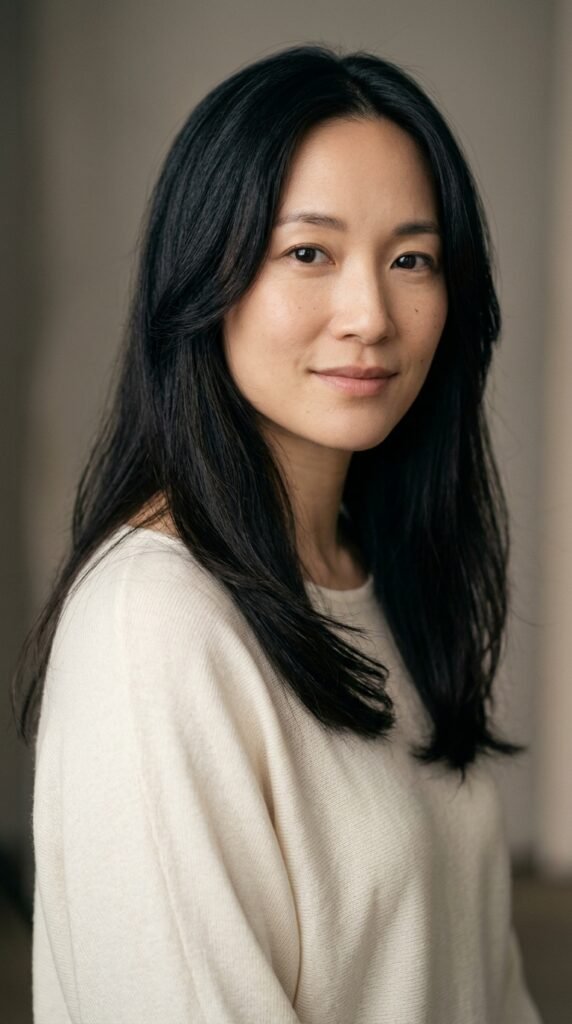
Face-framing layers are the ones people notice, even if they cannot name them. They soften your features and give long hair a finished look.
Ask for pieces that start around your cheekbone or jaw, depending on where you want the focus.
- Cheekbone start: opens up the face
- Jaw start: softens a strong chin
- Chin-length blend: slims rounder faces
Keep the shortest piece no shorter than your chin, and ask for a soft blend rather than a hard step. That blend is what reads as old money hair rather than a DIY cut.
4. Old Money Hair With Long Soft Layers
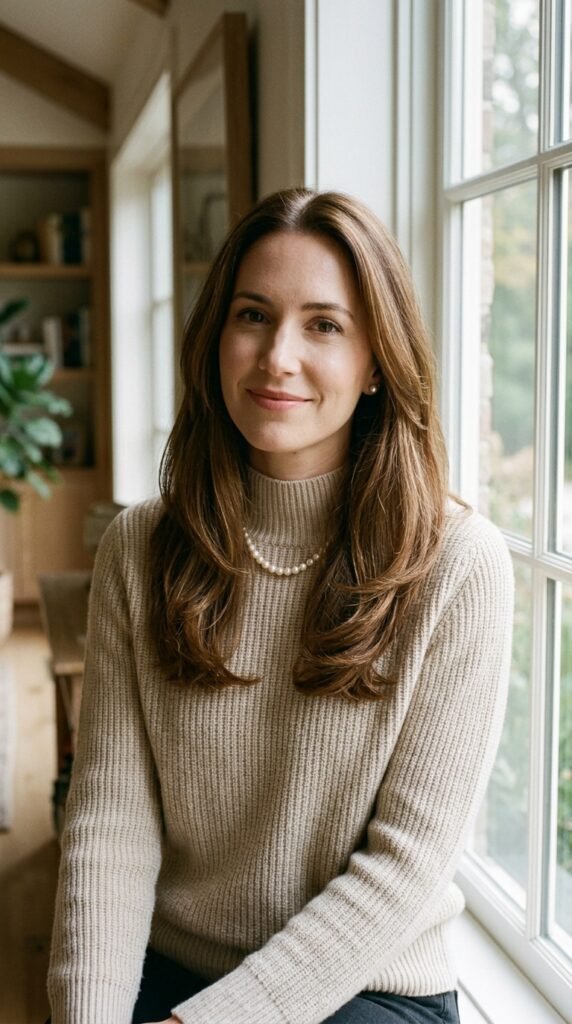
Old money hair is not a specific cut. It is a feeling: healthy, low-effort, softly shiny, and never over-styled. Long soft layers are how you get it.
The trick is restraint. You want movement you can see but not layers you can count.
- Request long, invisible layers
- Keep the ends full, not thinned out
- Skip heavy texturizing near the crown
Pair it with a middle part or gentle side sweep and a glossy blowout once or twice a week. The rest of the week, air dry and add a light oil to the ends. That is the whole formula.
5. Quiet Luxury Bob Energy in Long Hair Form
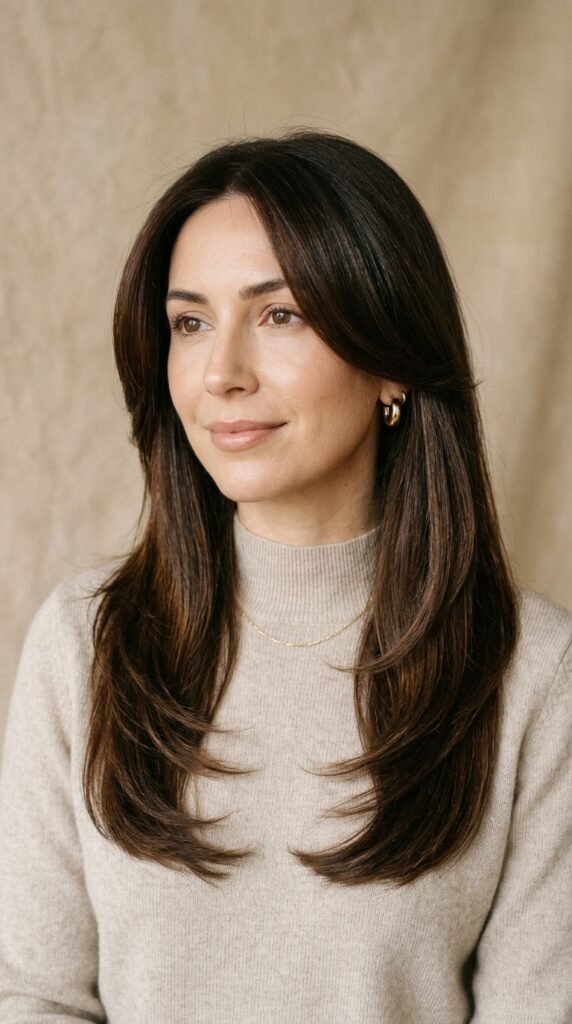
The quiet luxury bob is still everywhere, but not everyone wants to cut. The good news: you can borrow the feel without losing length.
Ask for a long cut with a shorter internal layer around the jaw that creates a bob illusion from the front, while the back keeps its length.
- Front pieces land at jaw or collarbone
- Back stays long and full
- Blend the transition carefully
This is one of my favorite 2026 hairstyles because it gives you options. Tuck the front back and it reads sleek. Leave it out and it looks like a soft bob.
6. Soft Curtain Layers for Everyday Wear

Curtain layers are the everyday version of a blowout. Two soft panels frame the face and fall slightly away from it, so nothing looks fussy.
Ask your stylist for layers that start at the cheekbone and blend down, with the shortest piece a little longer than a standard curtain bang.
- Works on straight, wavy, and loose curls
- Grows out gracefully between trims
- Looks intentional even when air-dried
Style it by rough drying, then using a round brush just on the front two sections. The rest can stay natural. That contrast is what makes it feel expensive and not overdone.
7. The Asymmetrical Lob Layer Upgrade
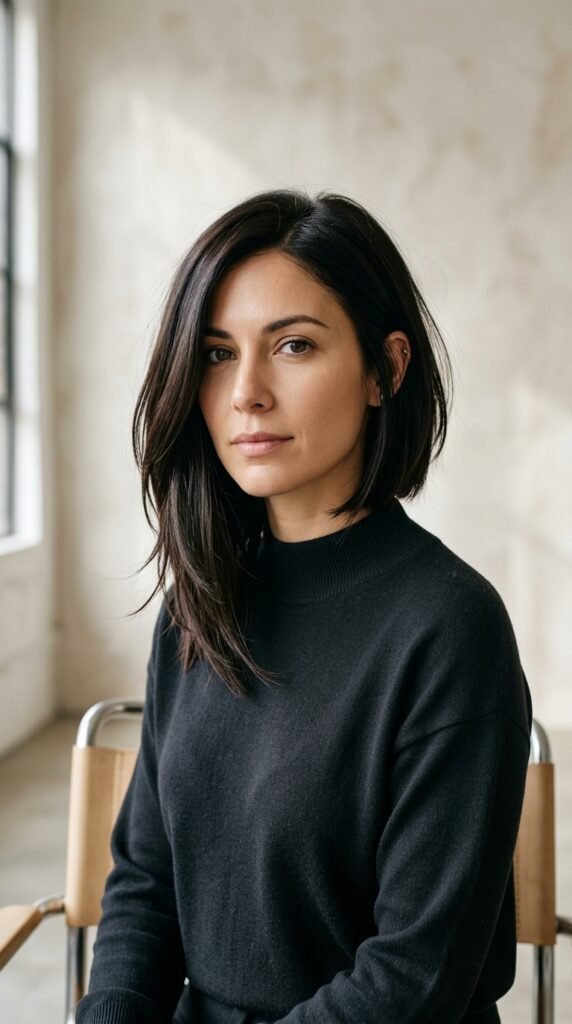
The asymmetrical lob is a great middle ground if your long hair feels heavy but you are not ready for a real cut. Slightly uneven ends add movement and hide damage in one section.
Ask for a lob that sits just above the shoulder on one side and slightly longer on the other, with long layers blended through.
- Keep the difference subtle, one to two inches
- Add soft layers, not choppy ones
- Finish with a shine serum on damp ends
It photographs beautifully and grows out without that awkward in-between stage.
8. Romantic Goth Hairstyles With Glossy Long Layers

Romantic goth hairstyles are having a moment, and they work best on healthy, reflective hair. Think soft waves, deep color, and layers that move.
The goal is moody but polished, not flat and matte. Shine is what separates romantic from costume.
- Long layers for movement
- Glossy finish over a slightly deeper color
- Soft bend rather than tight curls
Stay away from heavy matte texture sprays, which kill reflection. A light oil on damp ends and a single pass with a large iron is all you need.
9. Glitchy Glam Hair: Edgy Layers, Glass Shine

Glitchy glam hair is the more modern, sharper cousin of the polished look. It is sleek, a little futuristic, and very shiny.
The cut is clean long layers with crisp face framing. The finish is glass-like gloss from root to tip.
- Use a shine spray on dry hair
- Keep layers long and smooth
- Skip voluminous texture near the roots
This is the look for anyone who wants polish with a tiny bit of edge. It also photographs incredibly well under artificial light, which matters for anyone posting their hair.
10. The Vampire Haircut With Long Layers

The vampire haircut is exactly what it sounds like: dramatic, sleek, a little gothic, and built around layered length that frames the face sharply.
It typically means long hair with a deep side part, one shorter face-framing section, and smooth blended layers through the back.
- Deep side part for drama
- One face-framing piece at cheek or jaw
- Long, glossy layers through the back
Wear it sleek for the full effect. A few drops of shine oil and a flat iron pass on the front piece is genuinely all this look needs.
11. Hime Cut Layers for a Sleek Statement
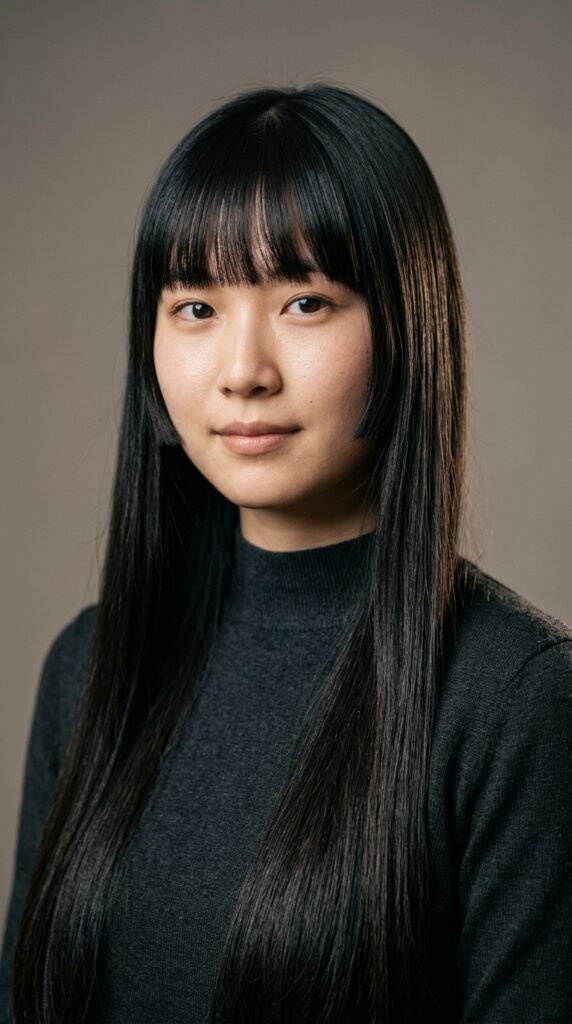
The hime cut is one of those looks that feels instantly striking. It pairs blunt cheek-length side pieces with long, straight hair in the back.
If your hair is long and straight, this is a gorgeous alternative to standard layers. If it is wavy, it can still work but needs more daily smoothing.
- Blunt side pieces at cheek level
- Straight, full back length
- High-shine finish, no frizz
Keep the side pieces sharp with regular trims. Blunt lines only look good when the ends are healthy.
12. Ask for Invisible Layers at the Salon
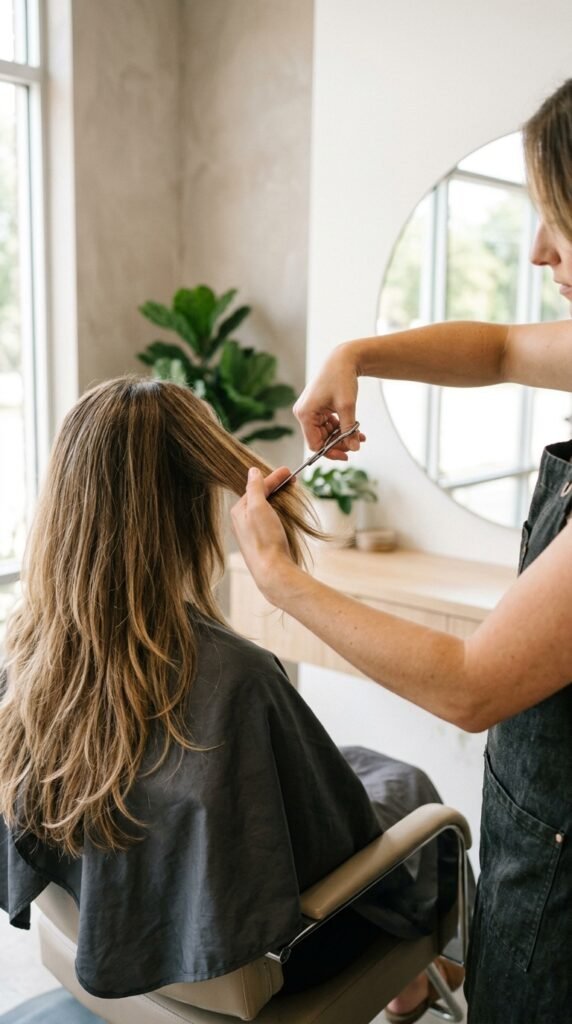
Invisible layers are the safest request for long hair. They remove weight and add movement without creating visible steps or thinning your ends.
Say this to your stylist: “I want long layers that blend so softly they are almost invisible. Keep my ends full.”
- Great for fine and medium hair
- Grows out beautifully
- Keeps shine at the ends
Pair it with a trim and you will walk out looking like your hair has been well cared for, even if you barely touch it during the week.
13. Collarbone-to-Chest Layers That Always Work

Collarbone-to-chest length is the sweet spot. Long enough to feel feminine, short enough to stay healthy and easy to manage.
Ask for layers that start around the jaw and blend softly down, with the longest layer sitting just past the collarbone.
- Low maintenance between cuts
- Holds a bend without heat damage
- Shows shine clearly on straight hair
This length is forgiving if you are growing out a shorter cut, and it looks polished with very little effort.
14. Chest-to-Waist Layers Without Thin Ends
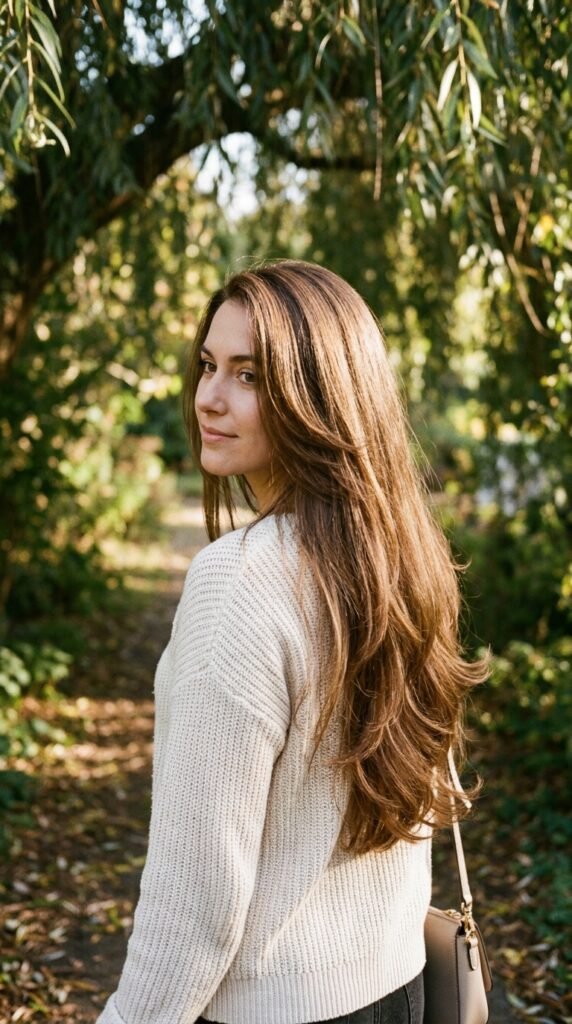
Very long hair needs careful layering. The wrong cut thins your ends and makes length look scraggly instead of luxurious.
Ask for layers that start below the chin and blend slowly, keeping the ends as full as possible.
- Request only two or three visible layer points
- Avoid razors and heavy texturizing
- Trim every 8 weeks to keep ends solid
If your ends are already thin, cut back an inch or two before layering. Length with shine beats length with stringy tips every single time.
15. Layering Fine Hair Without Losing Volume
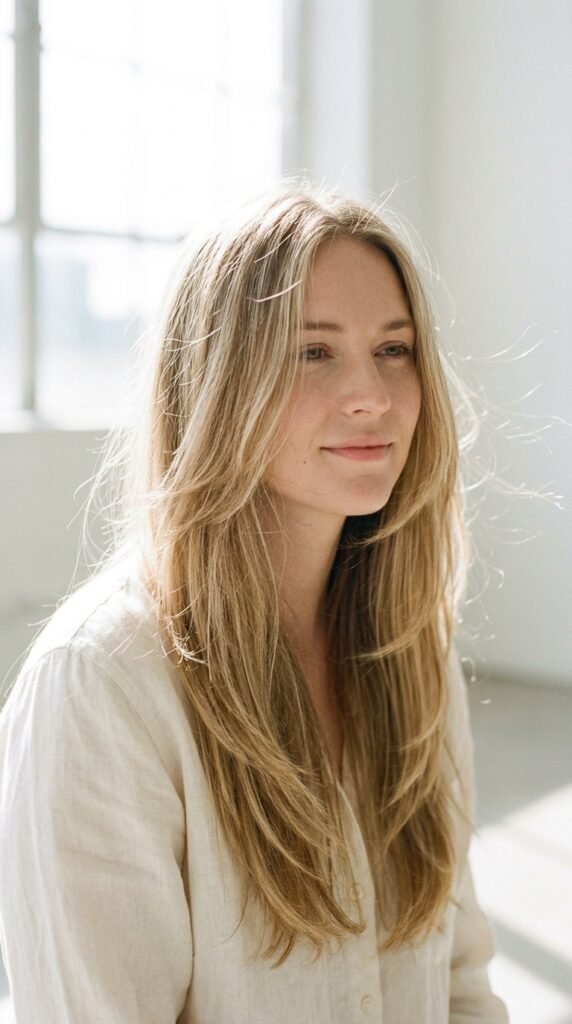
Fine hair is tricky. Too many layers and it goes limp. Too few and it hangs flat and looks thinner than it is.
Go for long, minimal layers, and keep the shortest piece below the chin.
- Skip short layers near the crown
- Ask for a blunt perimeter with soft interior layers
- Use a lightweight shine mist, never a heavy oil
Fewer layers with a cleaner finish will always look fuller and shinier than a heavily layered cut on fine hair. Restraint is your friend here.
16. Layering Thick Hair Without the Pyramid Effect
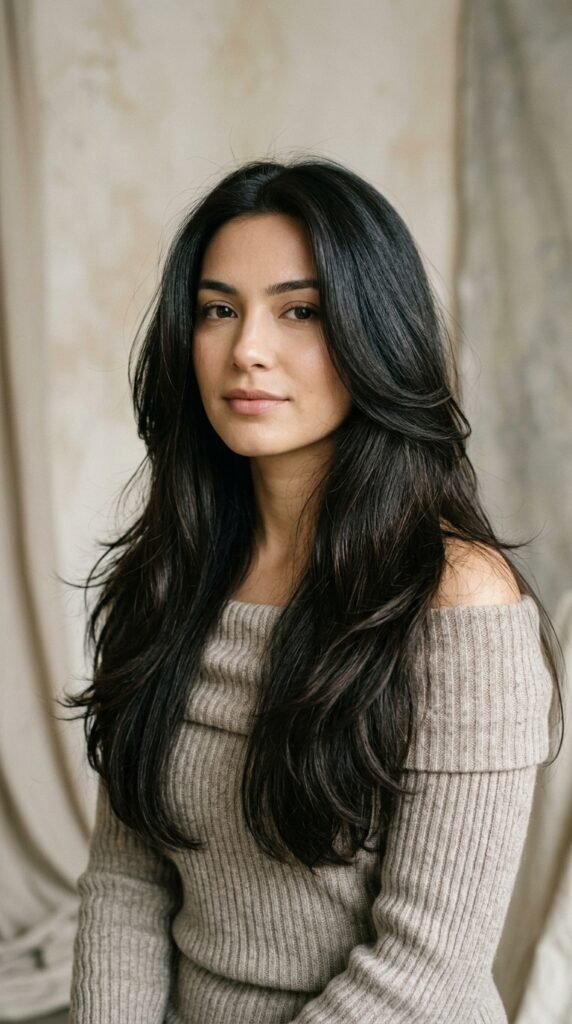
Thick hair has the opposite problem. Without layering, it grows outward and creates that triangle shape at the bottom.
You need internal layers to remove bulk without thinning the surface of your hair.
- Ask for internal layers starting mid-length
- Keep a soft, blended perimeter
- Avoid a blunt cut on very thick hair
Also ask your stylist to remove weight from the inside rather than the top. That keeps your surface smooth and shiny while letting the shape fall close to your body.
17. Curly Long Layers That Still Show Shine

Curls need layers cut dry so your stylist can see how each curl falls. Cutting wet tends to shorten curls unevenly.
Ask for layers that follow your curl pattern and keep a rounded shape rather than a sharp step.
- Cut dry whenever possible
- Keep the shortest layer at shoulder or below
- Ask for a shape, not just “some layers”
For shine, use a leave-in on soaking wet hair, then a light glaze on day two or three. Reflection on curls comes from definition, not product buildup.
18. Wavy Layers for Air-Dried Shine

If your hair has a natural bend, layered long hair is the easiest polished look you can own. The layers give your waves somewhere to go.
Ask for long layers with a soft U-shape in the back so nothing looks blocky.
- Layers starting at the collarbone
- Soft ends, not blunt
- Lightweight gel and a shine serum
Air dry whenever you can and finish with a single drop of oil on the ends. That is genuinely it. The cut does most of the work for you.
19. Blunt Ends vs. Soft Ends: What to Choose
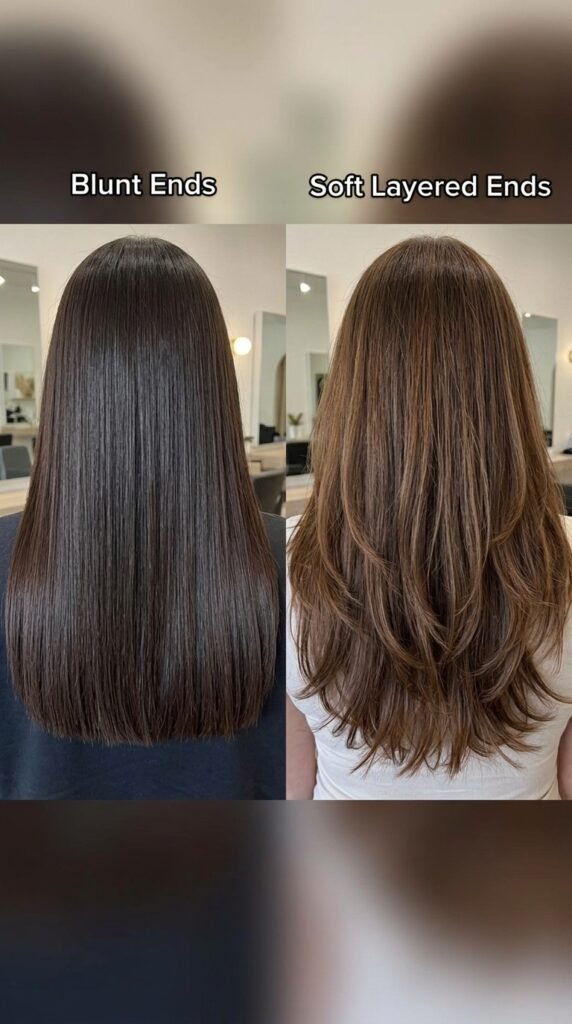
This one decision changes everything about how your hair looks and behaves.
- Blunt ends: maximum thickness, strongest shine, best for fine hair
- Soft ends: more movement, easier waves, ideal for thick hair
If you want that glass-like reflective finish, a slightly blunter perimeter helps a lot. If you want swing and softness, go softer. You can also do both: blunt perimeter, soft interior layers.
20. The Shine Routine: Prep Before Blow Dry
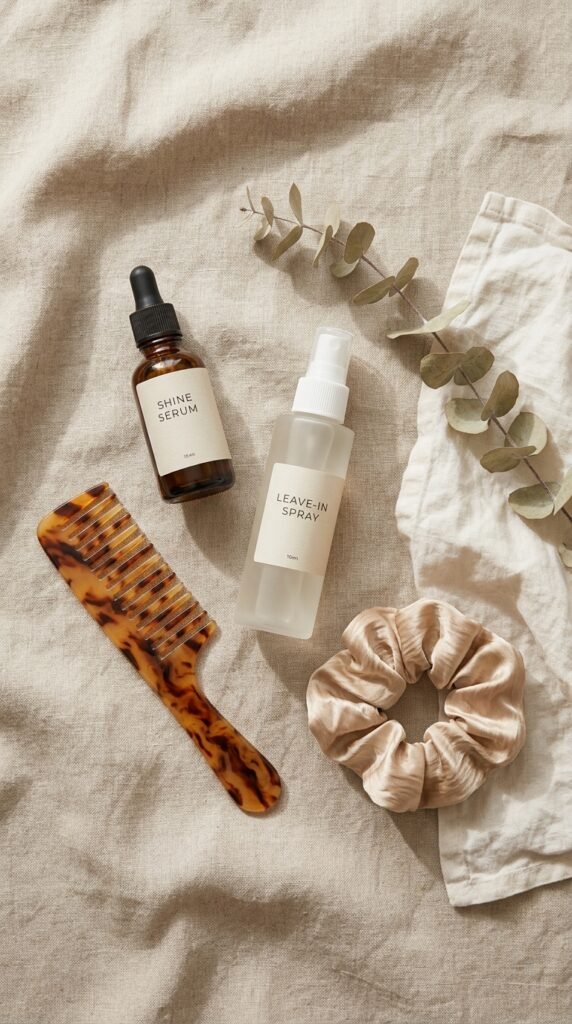
Most shine is created before you pick up a dryer. Here is my go-to order.
- Rinse with cool water to seal the cuticle
- Apply leave-in to damp, not soaking, hair
- Add a heat protectant
- Comb through with a wide-tooth comb
- Blow dry downward to smooth the cuticle
That last step is the one people skip. Drying downward, nozzle pointed at the ends, is what makes layers reflect light instead of frizzing.
21. Heat Styling Without Losing the Gloss
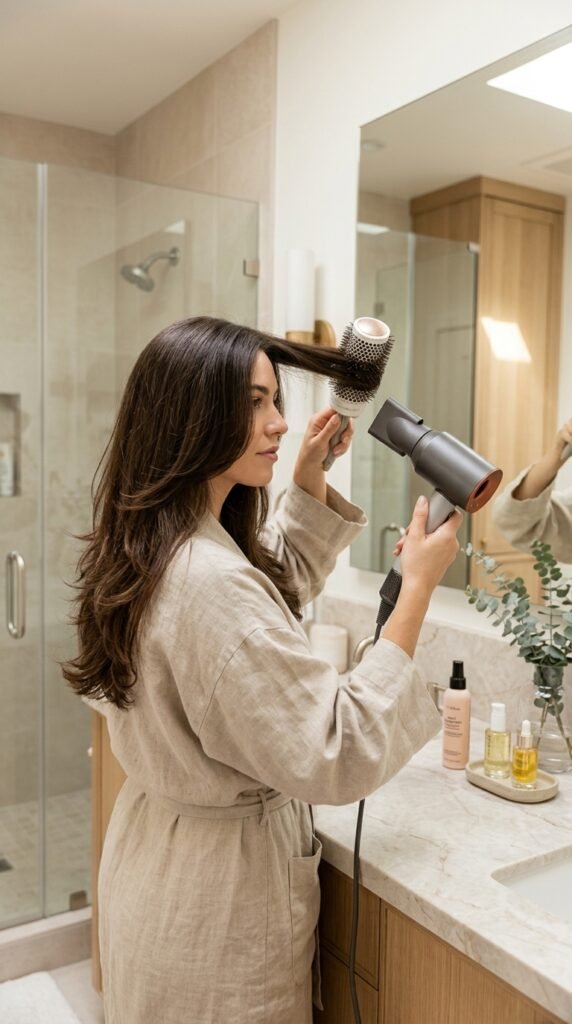
You can heat style and still stay shiny. It comes down to temperature and technique.
- Keep flat irons under 350 degrees
- Never iron wet or damp hair
- Use one pass, not five
- Finish with a cool shot to close the cuticle
Also clean your tools. Product buildup on an iron transfers straight back onto your hair and dulls the finish. A quick wipe every week makes a bigger difference than most people realize.
22. Overnight Habits That Protect Your Layers
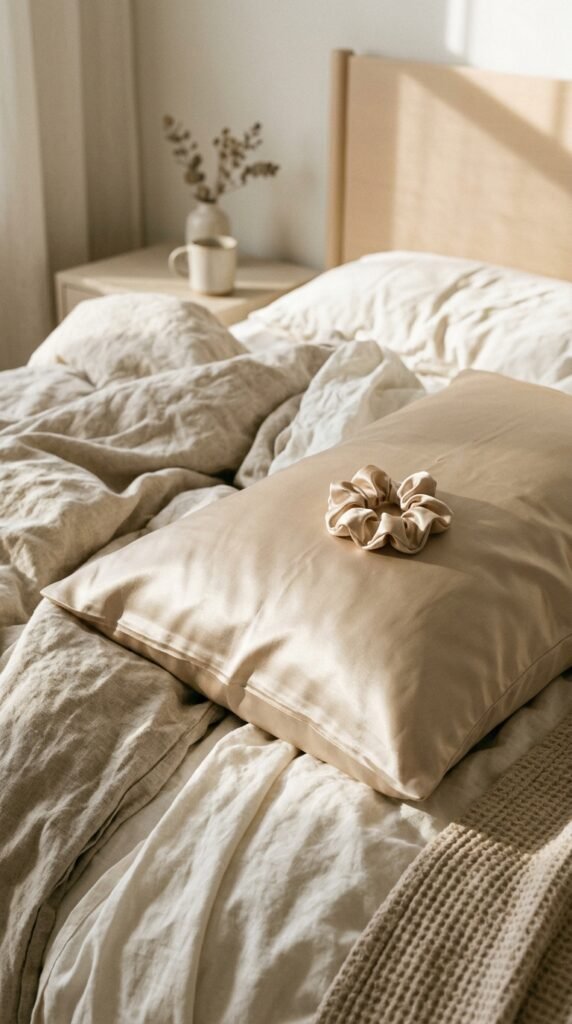
You lose shine while you sleep. Cotton pillowcases grab and rough up the cuticle, especially on layered ends.
- Switch to a silk or satin pillowcase
- Use a loose silk scrunchie or a claw clip
- Skip tight top knots
A loose braid works well for layered long hair. It keeps ends contained without creasing the front. If you wake up with a dent, a few seconds of cool air from the dryer smooths it out.
23. The Glossy Finish: Serums, Oils, and Mists
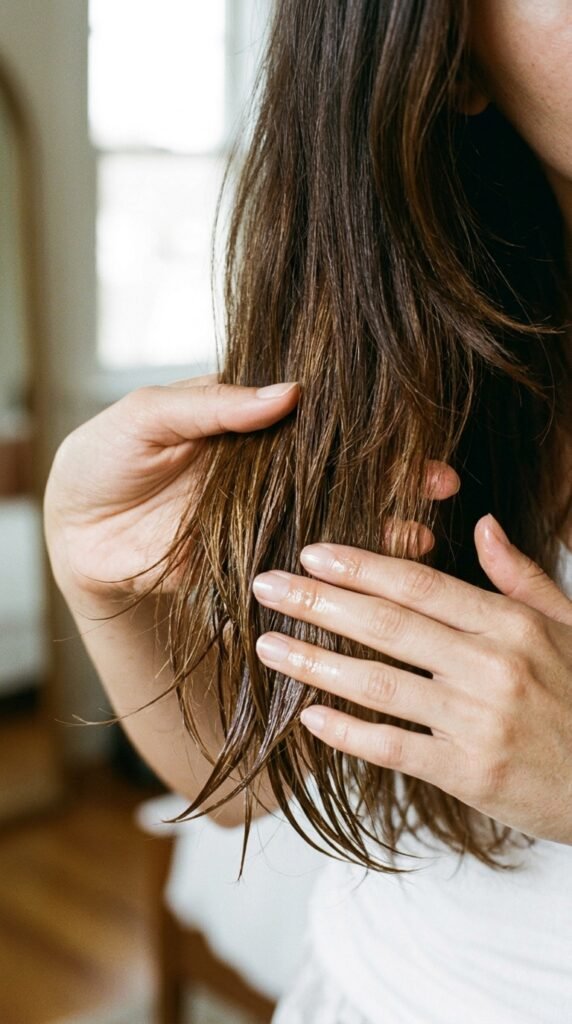
Finishing products are where polish happens, but more is never better.
- Serum: on damp ends before drying
- Oil: one drop on dry ends only
- Shine mist: light spray over the finished style
Keep all of it below the ears. Product near the roots flattens volume and looks greasy by noon. And if you have fine hair, choose a mist over an oil every time.
24. Trim Schedule for Polished Layered Ends
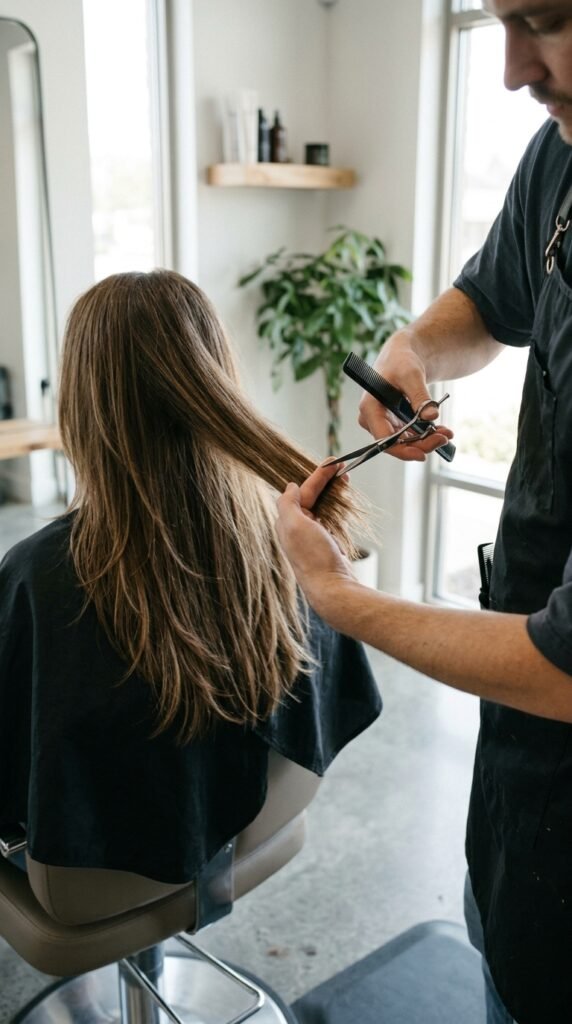
Layers only look polished when the ends are healthy. Skipping trims is the fastest way to lose that reflective finish.
- Every 8 weeks if you heat style often
- Every 10 to 12 weeks for healthy hair
- Ask for a dusting, not a chop
Tell your stylist you are growing your length but want the ends kept solid. Most will happily take a tiny amount off and reshape the layers so everything stays blended and shiny.
25. Color That Makes Layers Look Lit
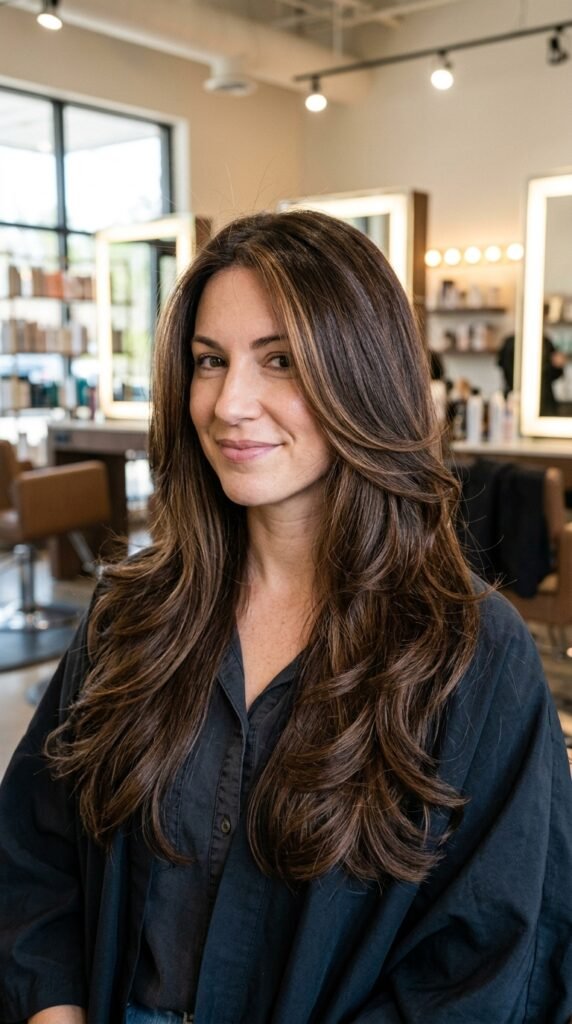
Color and layers work together. Layers create surfaces, and color gives those surfaces something to reflect.
- Face-framing highlights brighten the front layers
- Gloss treatments add instant reflection
- Darker roots with soft ends look expensive
Ask for a gloss with your next cut. It takes minutes and makes layered hair look noticeably shinier and more dimensional without changing your color much at all.
26. A 5-Minute Polished Styling Routine
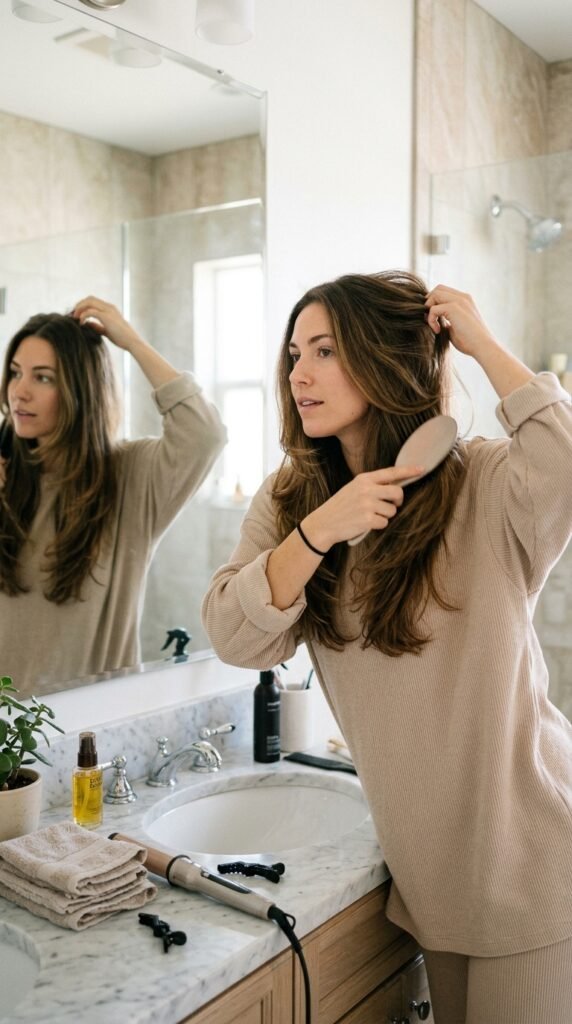
Some mornings you have five minutes. That is enough.
- Mist damp ends with leave-in
- Blow dry the front two sections with a round brush
- Let the rest air dry while you get ready
- Add one drop of oil to the ends
- Finish with a light shine mist
The front sections do the heavy lifting. Nobody can tell the back was air-dried when your face-framing layers are smooth and glossy.
27. How to Talk to Your Stylist About Layers

Bring photos, but also bring words. The more specific you are, the better the result.
- “Long invisible layers, ends kept full”
- “Face framing starting at my cheekbone”
- “I want shine, so please do not thin my ends”
And be honest about your routine. If you never blow dry, say so. A great stylist will cut for the life you actually live, not the one you wish you had.
28. Common Layering Mistakes to Skip
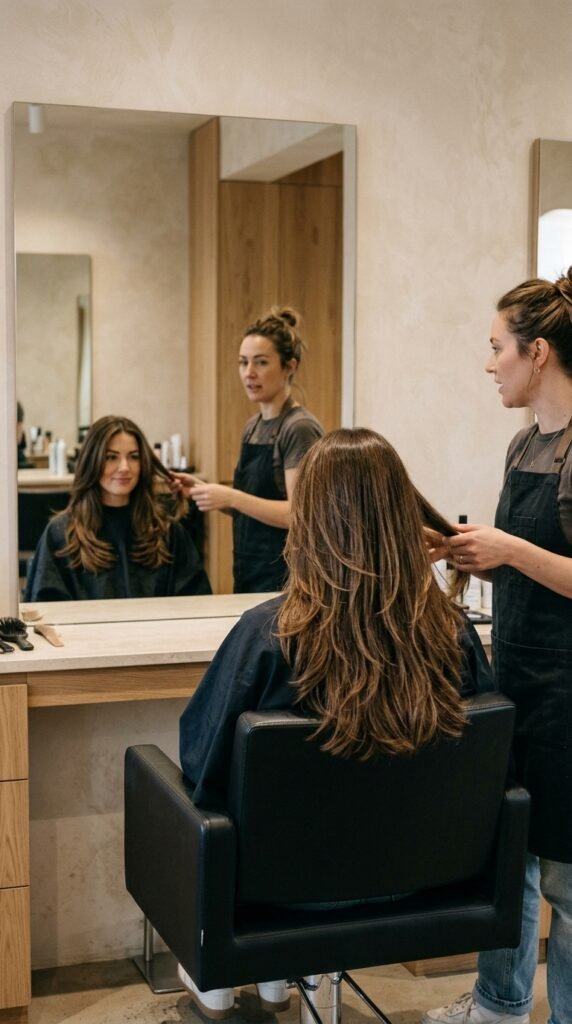
I have made most of these myself, so learn from my mistakes.
- Too many layers on fine hair
- Short layers that stick out at the crown
- Razor cutting on already fragile ends
- Layering over split ends instead of trimming first
Every one of these kills shine. If your goal is reflective, healthy-looking hair, keep the cut simple and let the condition do the talking.
A Final Word From Me to You
Polished long layers are not about chasing every trend. They are about a cut that works with your hair type, plus a small routine you will actually keep up with.
Pick one or two ideas from this list. Book the trim. Switch the pillowcase. That is how healthy, reflective hair happens, one small habit at a time.
And remember, shine is just health catching the light. You have got this.
Save this post to Pinterest so you have it ready for your next salon appointment. And tell me in the comments: are you team soft layers or blunt ends? I genuinely want to know.