How to Get retro curl Hair That Looks Effortless (But Isn’t)
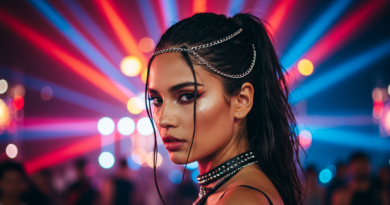
You know the look. It’s the kind of hair that seems to have been kissed by a gentle breeze and a bit of vintage magic. Think old-Hollywood starlets like Lauren Bacall, modern icons like Blake Lively on the red carpet, or that impossibly cool girl at the coffee shop whose hair looks both perfectly styled and completely untouched. This is the allure of retro curls: voluminous, soft, and timelessly chic.
But here’s the secret they don’t tell you: that “I just woke up like this” vibe is almost always a carefully crafted illusion. The true art of the retro curl lies in the meticulous preparation and technique that creates a final result which is anything but stiff or overdone.
Fear not, achieving this coveted style is within your reach. This isn’t about tight, uniform spirals; it’s about soft, touchable waves and bombshell volume. Let’s dive into the art of creating retro curls that look beautifully, wonderfully effortless.

What Exactly Are “Retro Curls”?
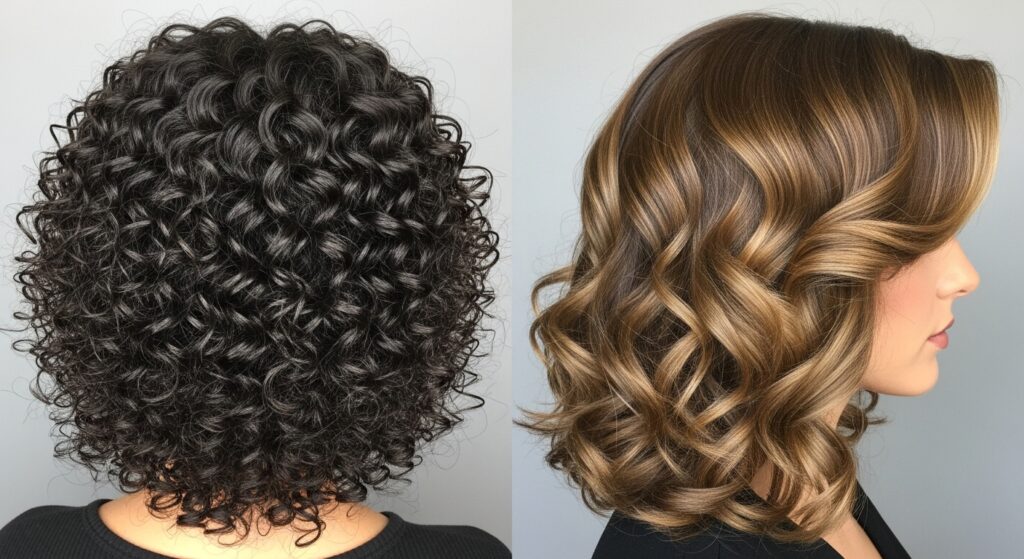
Before we pick up a styling tool, it’s crucial to understand what we’re aiming for. Retro curls are a world away from the sleek, polished curls you might see on a modern runway. They draw inspiration from specific eras, primarily the 1930s through the 1960s.
The key characteristics are:
Volume, Volume, Volume: This is non-negotiable. Retro curls are built on a foundation of lift at the roots and body throughout the lengths.
Soft, Undone Texture: The curls aren’t perfect ringlets. They’re a mix of S-shaped waves and looser curls, with a slightly broken-up, lived-in texture.
Face-Framing Movement: Curls are never helmet-like. They’re designed to move, with pieces strategically placed to frame the face and soften the features.
A Touch of “Lived-In” Charm: The goal is to make it look like the curls have settled naturally after a day of wear, not like they were just set. A little frizz or a slightly fallen curl is part of the charm.
The Foundation: Prepping Your Hair for Vintage Volume
Attempting retro curls on day-old, product-heavy hair is a recipe for flat, lifeless results. The prep work is what separates a good hair day from a legendary one.
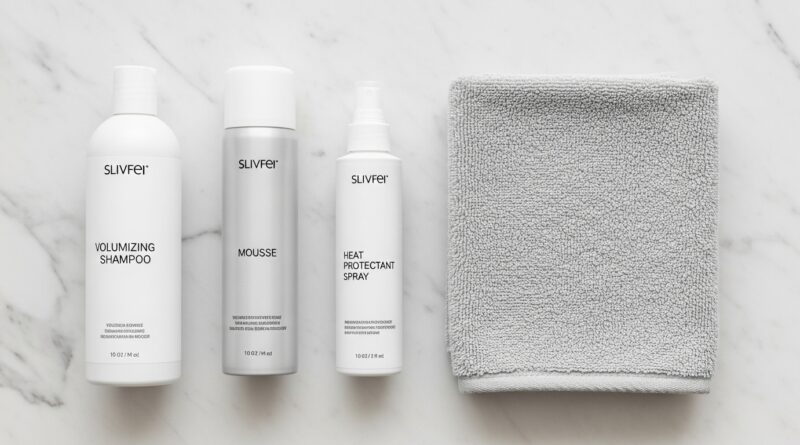
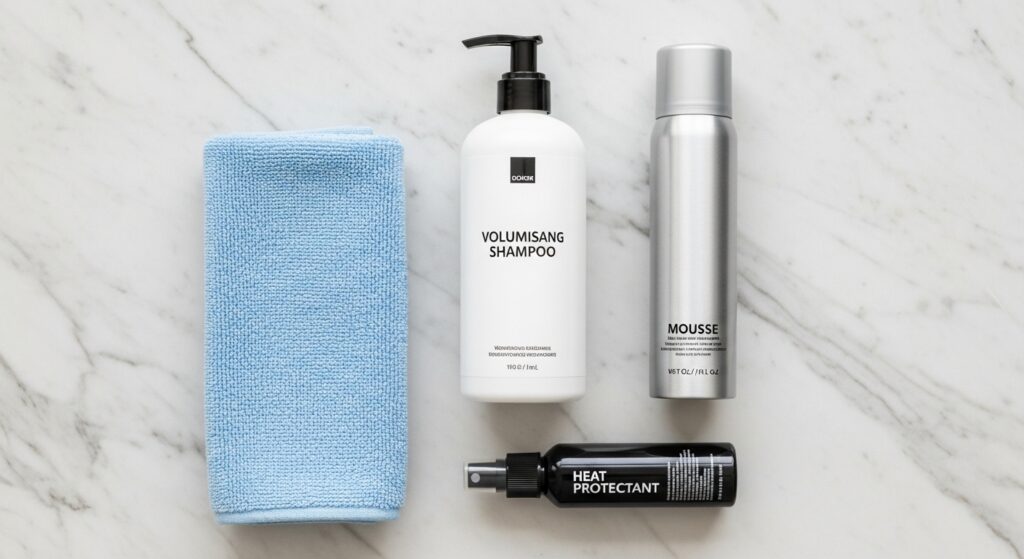
Start with a Clean Slate: Begin with a clarifying shampoo once a week to remove any stubborn buildup that can weigh hair down. For your regular wash, use a volumizing shampoo and conditioner. A pro tip: apply conditioner only from the mid-lengths to the ends, avoiding the roots to preserve that all-important lift.
Towel-Dry with Care: Roughly rubbing your hair with a towel can cause frizz and breakage. Instead, gently squeeze out excess water with a microfiber towel or an old cotton t-shirt. Your hair should be damp, not dripping wet, before you apply any products.
Product Cocktail for Hold and Grip: This is your secret weapon. Apply a volumizing mousse or root-lifting spray at the crown and a heat protectant spray throughout your hair. The mousse creates a base of support, while the heat protectant is non-negotiable for safeguarding your hair from styling tool damage. For fine hair, a light-hold texturizing spray can also add crucial grip.
The Tools of the Trade: It’s Not Just the Iron
While the curling iron is the star, the supporting cast is just as important.
The Curling Iron: A 1.25-inch barrel is the gold standard for achieving a versatile retro curl. It’s large enough to create soft waves but small enough to build impressive volume. A wand (an iron without a clamp) often gives a more seamless, relaxed curl. If you have shorter hair or want tighter curls, a 1-inch barrel will work well.
Clips are Your Best Friend: You will need a sectioning clip (or several) to manage your hair, and, most importantly, duckbill clips or pin-curl clips to secure the curls to your head as they cool. This step is critical for setting the shape and maximizing longevity.
Brushes for the Final Touch: Have a wide-tooth comb and a boar bristle brush or a soft-bristle brush on hand. These are for gently brushing out the curls later, not for detangling before styling.

The Step-by-Step Technique: Crafting the Perfect Curl
This is where the magic happens. Patience is key—rushing will result in a less polished (and not in the good way) look.
Step 1: The Perfect Part. Start with a deep side part for an authentic vintage feel, or a clean center part for a more modern take. The part dramatically influences the final shape of your style.
Step 2: Section Like a Pro. Divide your hair into four main sections: bottom left, bottom right, top left, and top right. Clip the top sections out of the way. Working with small, horizontal subsections (about 1-2 inches wide) is the secret to uniform heat application and volume.
Step 3: The Wrapping Motion. This is the most important technique. For a natural look, alternate the direction of your curls. Wrap one section away from your face, the next toward your face. When you open the style up, this creates a beautiful, undulating wave pattern instead of a uniform, “just left the salon” curl.
Step 4: Hold and Cool. As soon as you release a curl from the iron, don’t let it fall. Immediately coil it up and secure it flat against your scalp with a duckbill clip. Allow every single curl to cool completely while clipped. This sets the shape and is the single biggest factor in long-lasting curls.
Step 5: Work Your Way Up. Complete all the curls in the bottom sections before moving to the top. For the crown area, take vertical sections and curl them straight back away from your face to build maximum height.

The Art of the “Undone”: Finishing Touches That Make All the Difference
Now for the part that transforms a head of perfect curls into a head of perfect retro curls. Do not skip this!
Step 1: The Cool Down. Once all your curls are set and pinned, leave them alone for at least 15-20 minutes. Let them cool down completely. You can even blast them with the cool shot button on your hairdryer to speed up the process.
Step 2: The Grand Release. Carefully remove all the clips. You will likely look like a glamorous, albeit slightly strange, alien. This is normal and a sign you’re on the right track.
Step 3: The Gentle Break-Up. Here is where you introduce the “effortless” element. Starting at the ends, gently run your fingers through your curls to separate them. Never rake your fingers from the roots—this will create a frizzy mess.
Step 4: The Brush-Out. Take your soft-bristle brush and very lightly brush over the surface of the curls. One or two passes is all you need. This marries the curls together into a soft, wave-like formation and removes any harsh lines.
Step 5: Final Flouring. Flip your head upside down and give your roots a gentle shake. Flip back up. Use a light-hold hairspray from a distance to set the style without making it crunchy. For extra texture and that “lived-in” feel, a light mist of texturizing spray or even a tiny bit of hair oil scrunched into the ends can work wonders.

Pro Tips and Troubleshooting for Flawless Curls
If your curls fall flat: Your hair may be too heavy or too healthy (a good problem to have!). Use a stronger-hold mousse, ensure your hair is not too moist before styling, and make absolutely certain each curl is completely cool before unpinning.
If your curls look too tight or “poodle-like”: You’re likely using a barrel that’s too small, or your sections are too thin. Use a larger barrel, take thicker sections, and don’t be afraid to brush them out more vigorously.
For second-day hair: This is when retro curls often look their best! Sleep with your hair in a loose pineapple ponytail on top of your head. The next day, refresh with a mixture of water and a drop of conditioner in a spray bottle, scrunching the curls back to life. A bit of dry shampoo at the roots will bring back the volume.
Embrace the Process, Love the Results
Mastering the art of the effortless retro curl is a journey. Your first attempt might not be perfect, but with practice, the technique will become second nature. It’s a style that celebrates volume, softness, and a touch of nostalgic glamour. It’s about looking put-together without looking like you tried too hard.
So, block out some time, put on a good playlist, and embrace the process. The result—a head of gorgeous, head-turning curls that look like they simply happened—is worth every minute of the effort.