How to Perfect natural updo Hair Without a Trip to the Salon
There’s something undeniably chic about a perfectly imperfect updo. It’s the hairstyle that whispers, “I woke up like this,” while simultaneously looking polished enough for a special occasion. But for many of us, the thought of creating one ourselves often leads to a tangled mess of bobby pins, frustrated sighs, and the inevitable conclusion: “I need to just go to the salon.”
What if we told you that the secret to a beautiful, natural-looking updo isn’t a cosmetology degree or even a second pair of hands? It’s about understanding a few key techniques and embracing a little bit of strategic messiness. This guide is your passport to bypassing the salon chair and mastering the art of the at-home updo. Get ready to save time, money, and discover the joy of creating gorgeous hairstyles all by yourself.
Why the “Effortless” Updo is a Game-Changer
Before we dive into the how, let’s talk about the why. A natural updo is more than just a hairstyle; it’s a versatile tool in your beauty arsenal. It’s perfect for second or third-day hair when the oils are providing just the right amount of texture and hold. It can take you from a demanding day at the office to a romantic dinner without missing a beat. It keeps you cool and comfortable while still looking put-together. Most importantly, mastering this skill empowers you to create a look of understated elegance on your own terms, anytime you want.

The Essential Toolkit for At-Home Updo Success
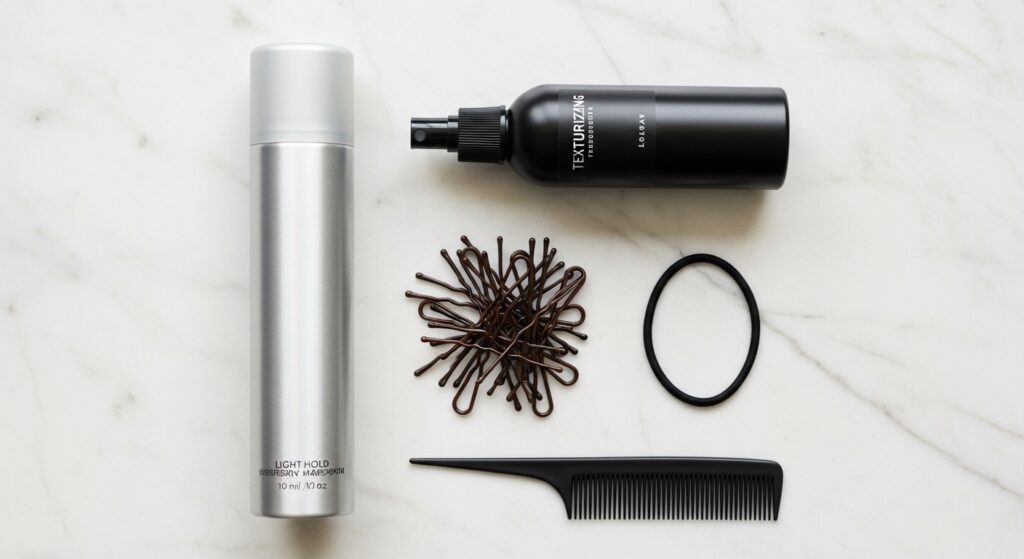
You don’t need a salon’s worth of products, but having the right few items will make all the difference. Ditch the flimsy, dollar-store pins and invest in a few quality basics.
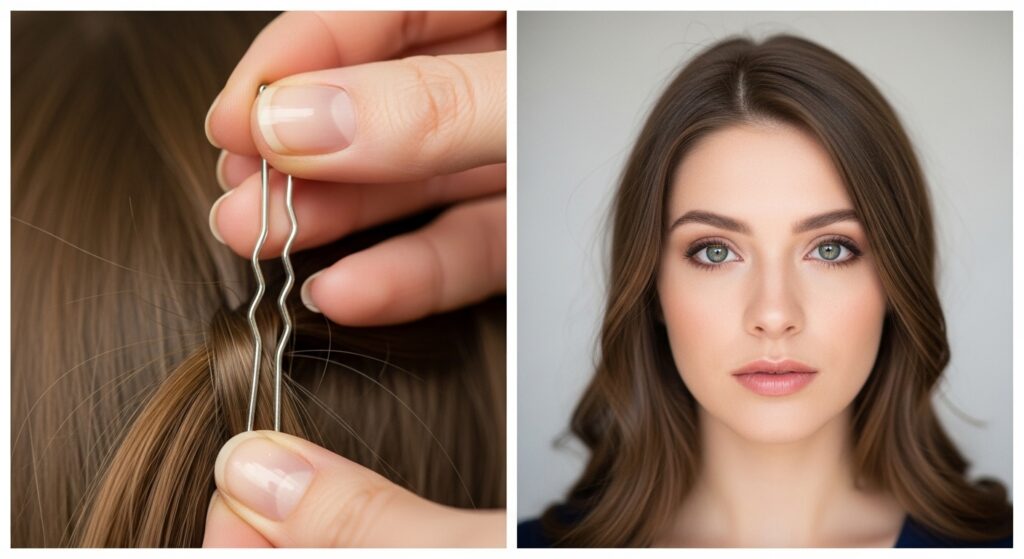
Bobby Pins: Not all bobby pins are created equal. Look for pins that have a little grip or texture to them—this prevents them from sliding out of your hair. The standard 2-inch pins are your workhorse. Pro Tip: Always match the pin color to your hair, or go a shade darker. Light pins on dark hair are a dead giveaway.
Hair Elastics: A seamless, snag-free elastic is non-negotiable. Avoid thick, bulky bands or ones with metal clasps that can tear your hair. You want a thin, strong band that can be hidden or easily disguised.
Texturizing Spray or Dry Shampoo: This is the secret weapon. Texturizing spray adds grit, volume, and hold, making your hair easier to manipulate and less slippery. If your hair is freshly washed and too clean, it will be harder to style. A spritz of dry shampoo at the roots adds volume and grip instantly.
A Fine-Tooth Comb and a Tail Comb: The fine-tooth comb is for general smoothing, while the tail comb is perfect for creating clean parts, lifting sections, and tucking away stray hairs with precision.
Light-Hold Hairspray or Hair Mist: You want something that offers hold without creating a crispy, helmet-head effect. A flexible hold hairspray or a light mist is ideal for locking in the style while maintaining movement.
The Foundation: Prepping Your Hair for the Perfect Hold
The biggest mistake people make is trying to create an updo on hair that is too clean and silky. The goal is to create texture and grip. If your hair is freshly washed, work in a volumizing mousse at the roots before blow-drying, or use a texturizing spray on dry hair. For curly or coily hair, ensuring your hair is well-moisturized but not greasy is key. A little leave-in conditioner can define curls and make them easier to gather and pin.
Start with Day-Old Hair: The natural oils from your scalp are your best friend. They provide the perfect amount of “grip” for an updo that holds.
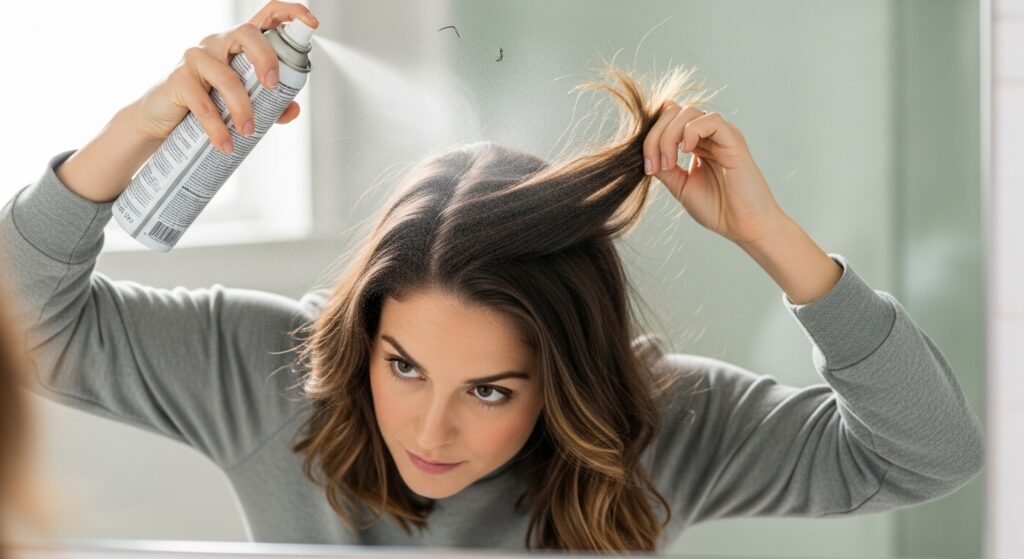
Create Light Volume: Before you start pinning, flip your head upside down and give the roots a light spray with texturizing spray. Gently massage your scalp to create a bit of lift. This volume at the crown will prevent your updo from looking flat and saggy.
Embrace Texture: Don’t brush your hair into a slick, perfect ponytail as a base (unless that’s the specific look you’re going for). Instead, use your fingers to gather your hair. This immediately creates a softer, more organic foundation.
Step-by-Step: The Modern, Messy Low Bun
This is the quintessential natural updo. It looks complicated but is deceptively simple once you get the hang of it.
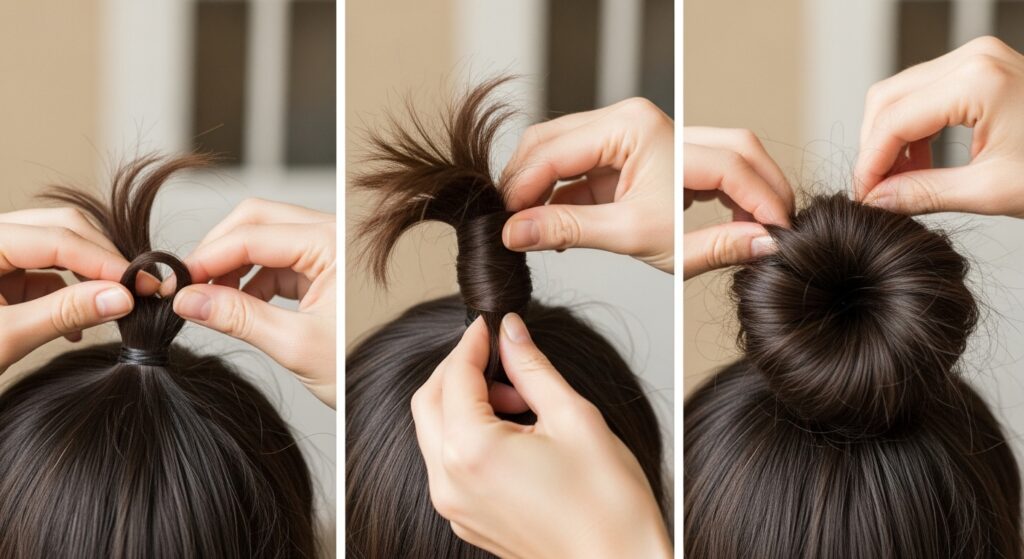
Step 1: The Gather. Bend over and gather all your hair at the nape of your neck as if you’re making a low ponytail. Don’t pull it all the way through the elastic on the last loop. Instead, stop when your hair is folded in half, creating a loop. This is your base.
Step 2: The Twist and Pin. You will now have a loop of hair and a tail. Take the tail and gently twist it loosely. Then, wrap this twisted tail around the base of the loop (the hair elastic). Don’t pull it tight; keep it soft and loose.
Step 3: The Secure. As you wrap, use bobby pins to secure the tail underneath the bun. Slide the pins in horizontally, facing upwards, so they catch the base of the bun and your scalp hair. Use more pins than you think you need—about 4-5 should do it. The key is to place them strategically to bear the weight.
Step 4: The Pull and Fluff. This is the most important step for that “natural” look. Gently pull at the sides of the bun to loosen it and create a fuller, softer shape. Then, pull out a few small pieces of hair around your face and at the nape of your neck to frame your face and soften the hairline.
Step 5: The Final Set. Hold your light-hold hairspray about 10 inches away and give a light mist all over, focusing on the flyaways you want to tame without making the style look stiff.
Beyond the Basic Bun: A Simple Twisted Updo
Ready to level up? This twisted style looks intricate but follows a simple, repetitive pattern.
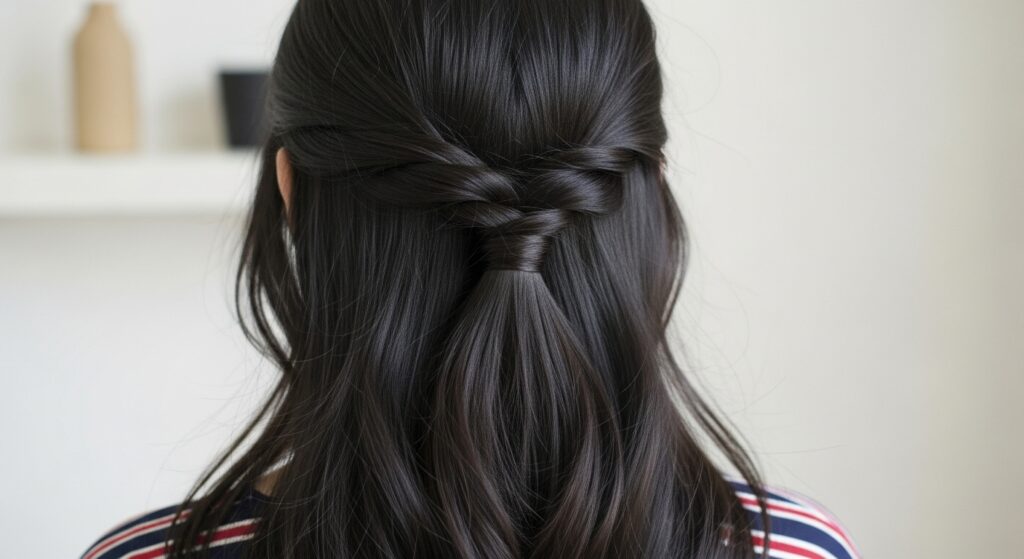
Step 1: Create Two Sections. Part your hair down the middle, from your forehead to the nape of your neck, creating two equal sections.
Step 2: The Twist. On the right side, take a one-inch section from the front of your hairline and begin a simple rope twist (twist the two strands around each other) all the way down to the ends. Do not pull it tight. Hold it against your head near the part. Repeat on the left side with a matching section.
Step 3: The Cross and Pin. Take the twisted right section and cross it over to the left side, just above the nape of your neck. Secure it with a bobby pin placed horizontally. Take the twisted left section and cross it over to the right side, laying it over the first twist. Secure it with a bobby pin.
Step 4: Gather and Finish. Gather the remaining loose hair, along with the ends of your twists, into a low ponytail. You can then twist this ponytail into a small, messy bun or a simple twist, securing it with pins. Gently tug on the twisted sections on top of your head to loosen them and create a beautiful, textured effect.
Pro Tips and Troubleshooting for a Flawless Finish
Even with the steps, sometimes you need a little insider knowledge to perfect the look.
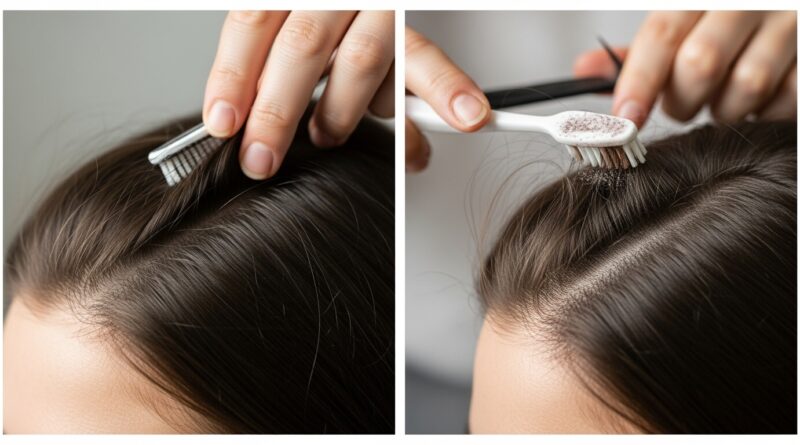
Bobby Pins Won’t Stay? Always insert them with the wavy side down. This side has more grip against your scalp. For heavy hair, criss-cross two pins to form an “X” for a much stronger hold.
Updo Looks Too Flat? Before you pin the final style, gently backcomb the hair at the crown with a fine-tooth comb. Just a few teasing strokes will create instant volume that lasts all day.
Too Many Flyaways? Instead of spraying with hairspray and patting them down (which can create a sticky, clumpy look), spray a light-hold spray onto a toothbrush or a clean spoolie brush and gently brush the flyaways into place. This gives you precise control.
The “Invisible” Elastic Trick: If your hair elastic is showing, take a tiny section of hair from underneath your bun, wrap it around the elastic to conceal it, and tuck the end into the center of the bun, securing it with a discreet bobby pin.
Embrace Your Unique Style
The true beauty of mastering the at-home updo is the freedom it gives you. There is no single “perfect” version. Your version of the messy bun might be a little tighter, your twisted updo a little looser. The goal is not to replicate a salon look exactly, but to create a style that looks and feels authentically you. The little imperfections—the wispy pieces, the slight asymmetry—are what make it look natural and effortless.
So, the next time you’re running late, have a special event, or simply want to get your hair off your neck, resist the urge to call the salon. Reach for your bobby pins and texturizing spray instead. With a little practice and the guidance in this post, you’ll be able to create beautiful, natural updos that look like they were done by a pro—because they were, by you.