Twist and Pin: 5 Easy Updos for Wet Hair
We’ve all been there. You hop out of the shower, glance at the clock, and realize you have approximately ten minutes to transform your dripping wet mop into something resembling a human hairstyle. The siren song of the hairdryer is strong, but so is the desire to be kind to your strands and save a little time. What if you could skip the heat and the fuss and still end up with a gorgeous, intentional-looking ‘do?
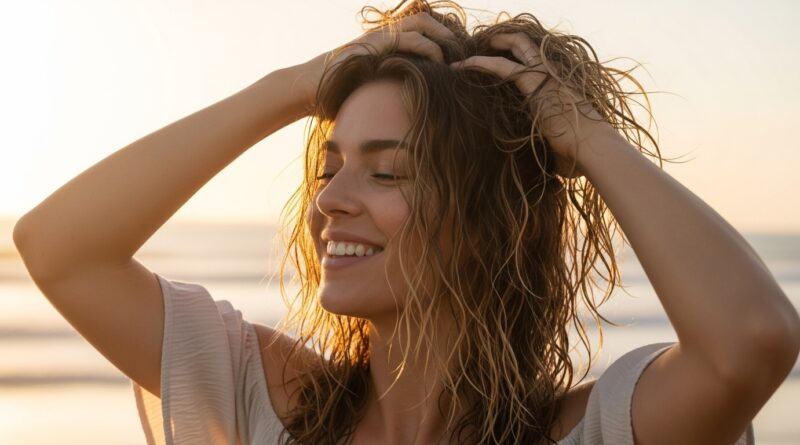
Enter the magical world of wet hair updos. Far from being a cop-out, styling your hair while it’s wet is a secret weapon for achieving effortless texture, beautiful waves, and a hairstyle that lasts all day (and often looks even better the next morning). It’s a gentle, heat-free method that minimizes damage and maximizes your time. Ready to twist, pin, and go? Let’s dive into five easy updos that will revolutionize your hair routine.
Why Style Wet Hair? The Benefits Beyond Convenience
Before we get our hands twisted, let’s talk about why this technique is so brilliant. Styling wet hair isn’t just about speed; it’s a strategic approach to hair health and texture.
Lock in Shape and Texture: Hair is most malleable when it’s wet. By setting it in a twist, braid, or bun while damp, you are essentially training it to hold that shape as it dries, resulting in long-lasting waves and volume that can be hard to achieve on dry hair without a lot of product and heat.
Minimize Frizz and Flyaways: As your hair dries naturally in its styled position, the cuticle remains smooth, leading to a sleeker, more polished finish with significantly less frizz compared to air-drying it loose.
A Gateway to Second-Day Hair Bliss: The ultimate goal? You sleep on these styles (or take them down at the end of the day) and wake up to the most beautiful, soft, heat-free waves imaginable. It’s a two-for-one hairstyle deal you can’t beat.
Gentle on Your Strands: By eliminating the blow-dryer, flat iron, and curling wand, you’re giving your hair a much-needed break from thermal stress, reducing breakage and split ends over time.

Your Wet Hair Styling Toolkit
You don’t need a vanity full of products to make these styles work, but a few key players will elevate your results from “meh” to magnificent.
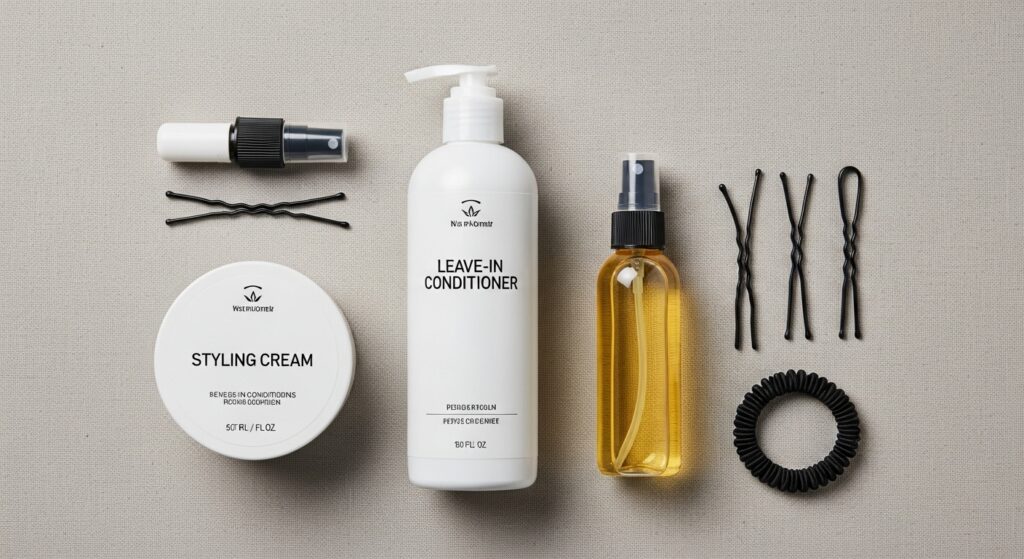
Leave-In Conditioner or Detangling Spray: This is non-negotiable. It provides slip for easy styling, prevents breakage, and adds a dose of hydration. Apply it generously from mid-lengths to ends.
A Lightweight Styling Cream or Mousse: Look for products that enhance texture and provide a light hold without crunch or stickiness. These will help define your waves and control frizz.
Hair Oil or Serum: A single pump of a light oil, applied to the very ends of your wet hair, will seal in moisture and add a beautiful shine once your hair is dry.
The Hardware: You’ll need a tail comb for clean parts, a spray bottle with water to dampen any sections that have dried, a bunch of spin pins or bobby pins that match your hair color, and some sturdy, but gentle, hair elastics.
1. The Classic Rope Twist Bun
This is the perfect starting point for anyone new to wet styling. It’s elegant, surprisingly secure, and creates the most beautiful, uniform waves when let down.
Step-by-Step:
Start with thoroughly detangled, product-treated wet hair. Part your hair as desired. Take two equal sections of hair at the front, one on each side of your part. Twist each section away from your face. Now, take these two twisted sections and twist them together around each other, forming a single, thicker “rope.” Continue this rope twist all the way down the length of your hair. Wrap the twisted rope around its base to form a bun. Don’t pull it too tight; a slightly looser wrap will create softer waves. Secure the bun with spin pins or criss-crossed bobby pins, tucking the end under. Allow to air dry completely.
Pro Tip: For a more textured, bohemian look, gently pull apart the sections of the bun once it’s dry to create more volume.
2. The Boho Twisted Crown
This ethereal style is perfect for a summer day, a festival, or just when you want to feel like a hair goddess. It keeps hair completely off your face and neck while creating stunning, romantic waves.
Step-by-Step:
Create a deep side part. On the larger side of the part, take a front section of hair about two inches wide. Divide it into two strands. Begin twisting them loosely over each other, but as you twist, gently add in small pieces of hair from the top of your head, similar to a Dutch braid but with only two strands. Continue this twisted, face-framing effect all the way back to your ear, then continue the simple two-strand twist down the length of the section and secure the end with a small, clear elastic. Repeat the process on the other side. Now, take the first twisted section and drape it across the crown of your head, pinning it discreetly behind your opposite ear. Take the second section and drape it over the first, covering any pins and creating a crown effect. Pin it securely.
Pro Tip: Loosen the twists along the crown once they’re pinned for a softer, less perfect, more bohemian feel.

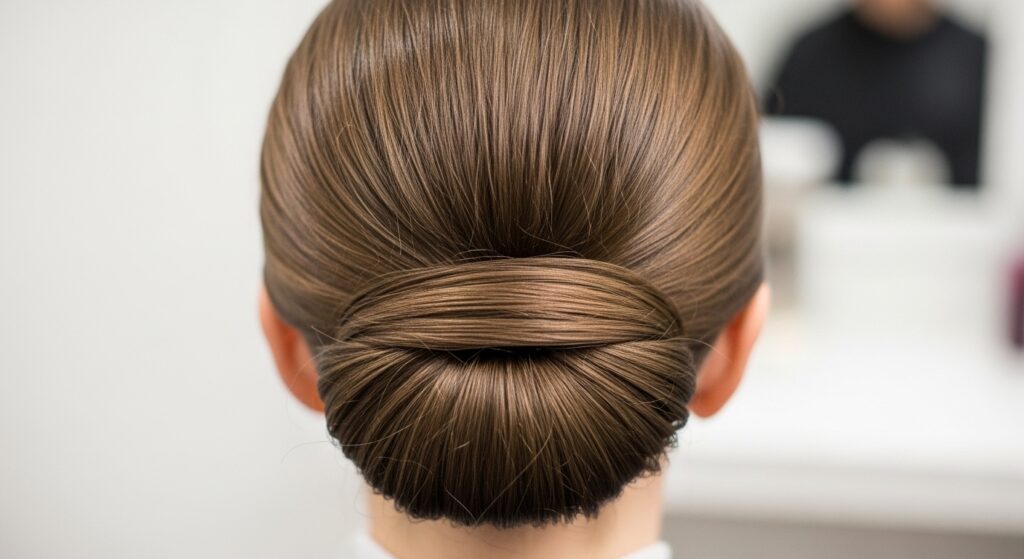
3. The Effortless Gibson Tuck
This vintage-inspired updo is deceptively simple and looks incredibly chic. It’s a fantastic way to add volume at the crown while keeping your hair neatly tucked away.
Step-by-Step:
Brush your wet hair straight back into a low, loose ponytail, but do not pull the hair all the way through the elastic on the final loop. You should have a loop of hair. Split this loop open horizontally to create a “pocket.” Gently tuck the loose ends of your ponytail up and into this pocket, fanning them out to fill the space. Use your fingers to gently pull at the sides of the loop to widen it and create more volume. Secure the tucked ends and the sides of the loop with a few bobby pins hidden underneath the style. The result should look like a soft, rolled bun.
Pro Tip: For a more textured Gibson tuck, gently pull the bun apart once it’s dry to create a messier, more modern look.
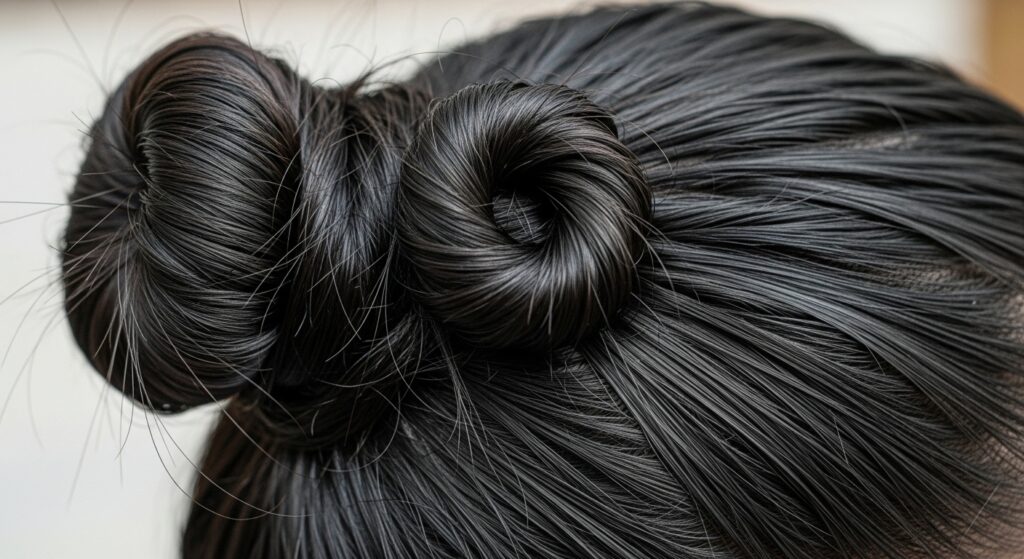
4. The Double-Knot Bun
This style is as simple as it sounds but delivers a major fashion-forward impact. It’s incredibly secure, making it ideal for fine or slippery hair that often resists updos.
Step-by-Step:
Pull your wet hair into a high ponytail and secure it with an elastic. Split the ponytail into two equal sections. Tie these two sections into a single, loose knot, just like you’re tying the first part of a shoelace. Tie them into a second knot, pulling it snug this time. You will now have a short, knotted section with two ends sticking out. Wrap these ends around the base of the knot in opposite directions. Tuck the ends under the bun and secure everything firmly with bobby pins. The result is a chic, geometric bun that looks far more complicated than it is.
Pro Tip: Spritz a little texturizing spray on your wet hair before starting to give fine hair extra grip for the knots.
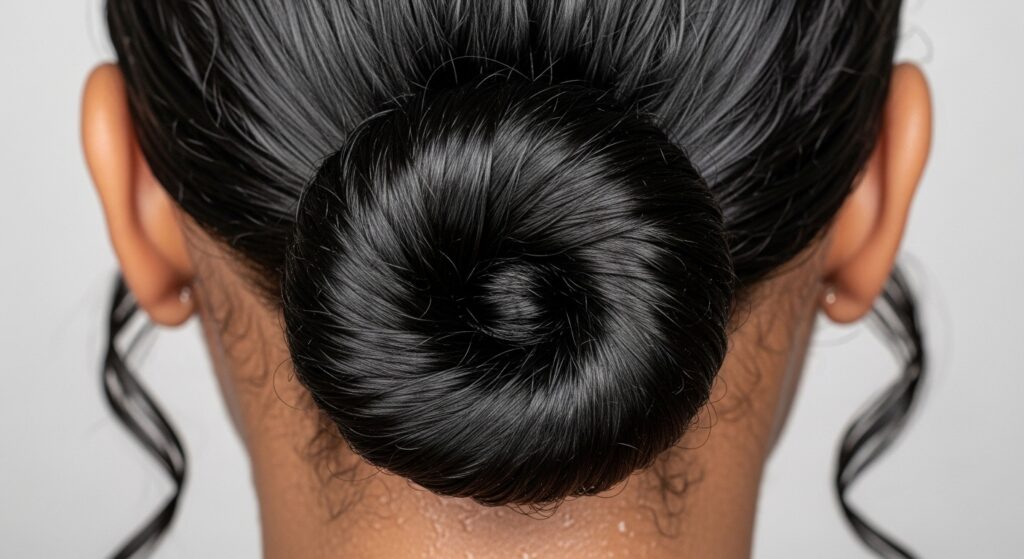
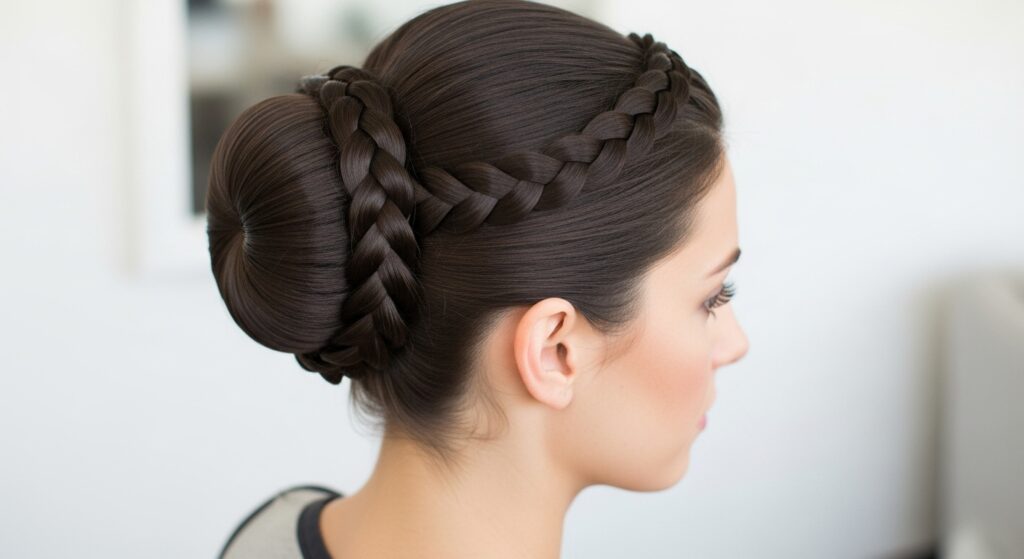
5. The Braided Ballerina Bun
For the ultimate in elegant, secure styling, this classic is unbeatable. The braid provides a beautiful textural element and ensures that not a single hair falls out of place.
Step-by-Step:
Brush your wet hair into a high ponytail—it can be centered or slightly off to the side for a softer look. Braid the ponytail into a standard three-strand braid, all the way to the end, and secure it with a small elastic. Now, wrap the braid around the base of the ponytail to form a bun. As you wrap, try to keep the braid flat against your head. Once it’s fully wrapped, use the end of the braid to cover the elastic at the base. Secure the entire bun by weaving bobby pins through the braid and into the hair at the base, or use spin pins for a seamless hold.
Pro Tip: Gently pull apart the loops of the braid once the hair is dry to create a fuller, more voluminous “braid-hawk” bun.
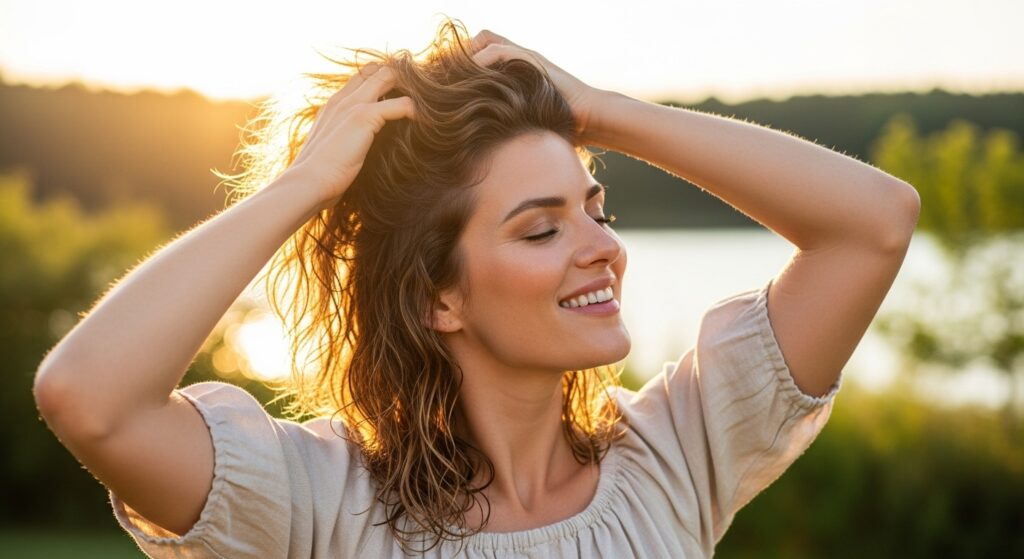
Unlocking Your Waves: The Big Reveal
The most exciting part of this entire process is the grand reveal. Once your hair is completely and utterly dry—this is crucial, as taking it down while damp can lead to frizz—it’s time to take it down.
Gently remove all the pins and elastics. Use your fingers to slowly and carefully unravel the twists or braids. Avoid brushing it out immediately! Instead, flip your head over and gently shake out the roots to add volume. Then, flip back and use your fingers to comb through the waves. If you encounter any tangles, a wide-tooth comb is your best friend. Finally, mist your hands with a light hair oil and scrunch the waves gently to break up any cast from styling products and add shine.
You’ll be left with a head of soft, touchable, heat-free waves that have incredible hold and movement. This is your perfect second-day hair, ready to be worn down with pride or styled into another easy updo.
Embrace the Ease of Wet Hair Styling
Styling your hair wet is more than a time-saving trick; it’s a philosophy of working with your hair’s natural texture instead of fighting against it with heat. These five twist and pin updos prove that you don’t need a lot of time or tools to look put-together. They are gentle, effective, and deliver stunning, versatile results. So the next time you’re facing a time crunch or simply want to give your hair a break, remember this: the best tool you have is a little water, a few pins, and your own two hands. Now go forth and twist!