Master 18 Four-Strand Braids Demystified Step by Step
Okay, let’s be real. Four-strand braids look like something only a fairy-tale princess or a professional hairstylist can pull off. I used to think that, too. I’d see those gorgeous, intricate patterns and immediately feel my fingers get clumsy just thinking about it.
But what if I told you they’re actually easier than they look? And that mastering them unlocks a whole new world of hairstyles, from old money hair elegance to romantic goth hairstyles with serious drama?
That’s why I’m breaking down 18 different four-strand braids right here. No confusing jargon, just simple, step-by-step guides. Whether you’re prepping for a wedding or just want to level up your everyday look, you’ll find your next favorite style.
Consider this your ultimate, no-fuss guide. Let’s finally demystify these beautiful braids together and add some serious skill to your routine.
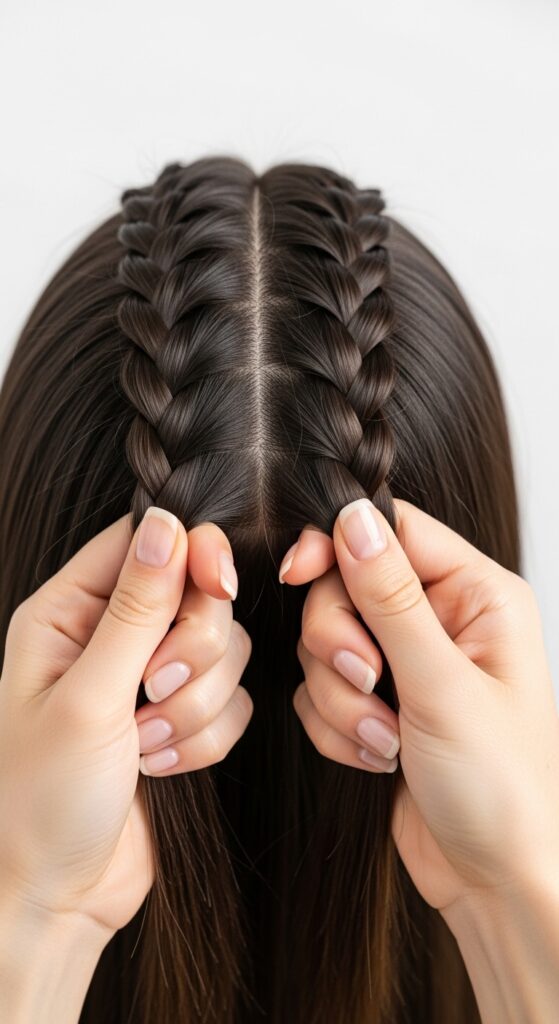
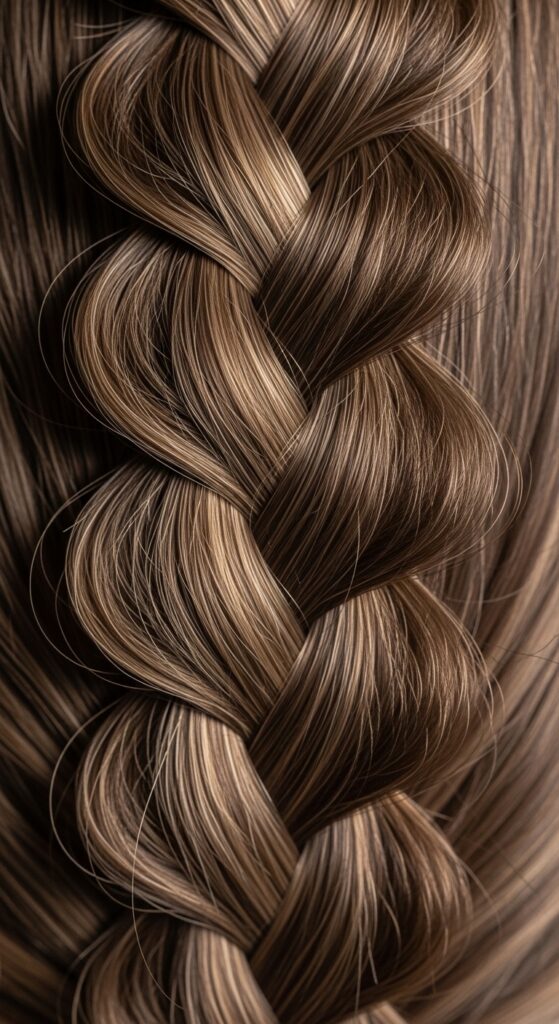
1. The Classic Four-Strand Flat Braid
This is your foundation. Think of it as the big sister to a regular three-strand braid, but with an extra strand for more detail and texture. It lies flat against your head, perfect for a polished look.
Start with four equal sections of hair. The key is the sequence: outer left over, outer right over. Hold two middle strands steady.
- Take the far left strand and cross it over the strand immediately to its right.
- Now, take the far right strand and cross it over the strand immediately to its left.
- Repeat this “left over, right over” pattern, always moving the outer strands toward the center.
- Keep tension even and continue to the ends.
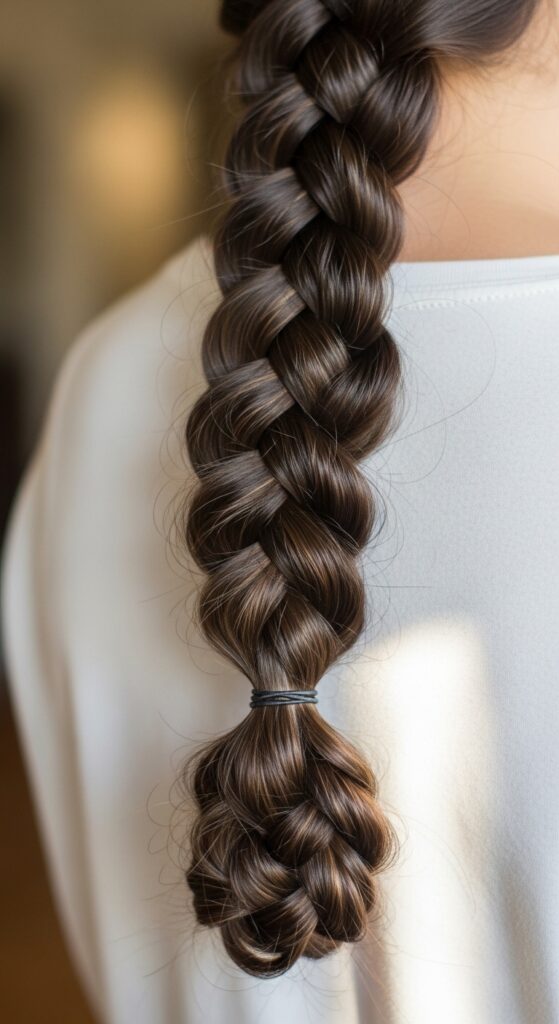
2. The Four-Strand Rope Braid (Twisted Version)
This braid looks like two elegant ropes spiraling together. It’s less about weaving and more about twisting, which can feel easier for beginners. The result is a round, 3D braid full of volume.
Divide your hair into four sections. Before you start crossing, you’ll twist pairs of strands. This creates that signature rope effect.
- Separate your four sections into two pairs: left pair and right pair.
- Twist the two left strands clockwise around each other once.
- Then, twist the two right strands counter-clockwise once.
- Now, cross the twisted left pair over the twisted right pair. Repeat from the beginning.
3. The Underhand Four-Strand Braid
Also called a Dutch braid, this technique creates a braid that sits on top of your hair, like a raised crown. It’s incredible for adding volume and works beautifully into 2026 hairstyles that play with structure.
The motion is similar to the classic flat braid, but you go *under* instead of over. This is what lifts the braid up and off your scalp for that standout look.
- Start with four sections at your crown.
- Take the far left strand and pass it *under* the strand to its right.
- Then, take the far right strand and pass it *under* the strand to its left.
- Continue this “left under, right under” pattern, adding hair from your scalp as you go for a true Dutch effect.
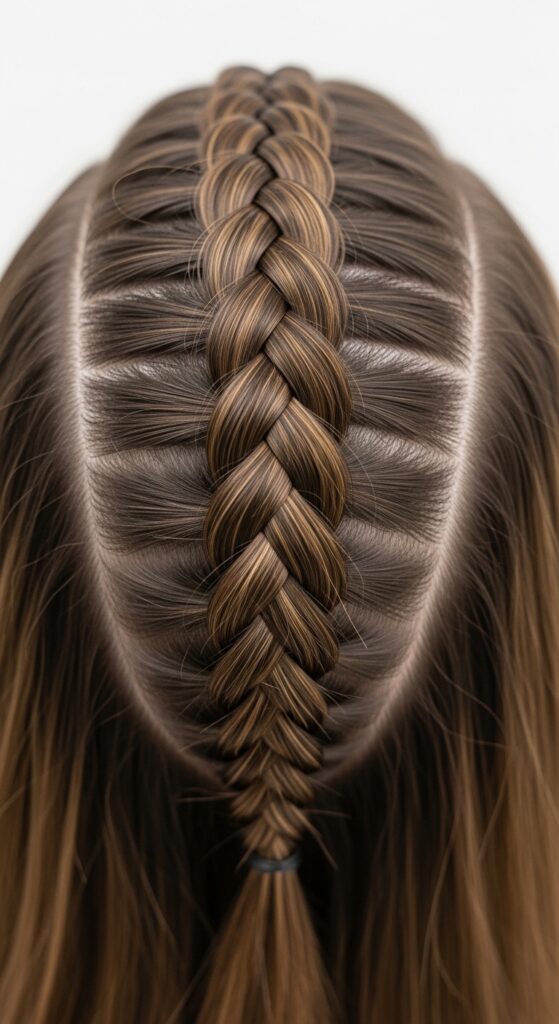
4. The Fishtail Four-Strand Hybrid
Love a fishtail’s intricate look but want it thicker and faster? This hybrid combines techniques. You get the detailed, herringbone pattern of a fishtail but with the fullness and speed of a four-strand set-up.
It’s easier than a traditional fishtail because you’re working with larger sections. The pattern creates a stunning, woven effect that’s perfect for a bohemian vibe.
- Divide hair into four main sections.
- Take a small piece from the outer edge of section two, cross it over into section one.
- Take a small piece from the outer edge of section three, cross it over into section four.
- Now, perform one cycle of the classic “left over, right over” flat braid with the four (now adjusted) main sections. Repeat.
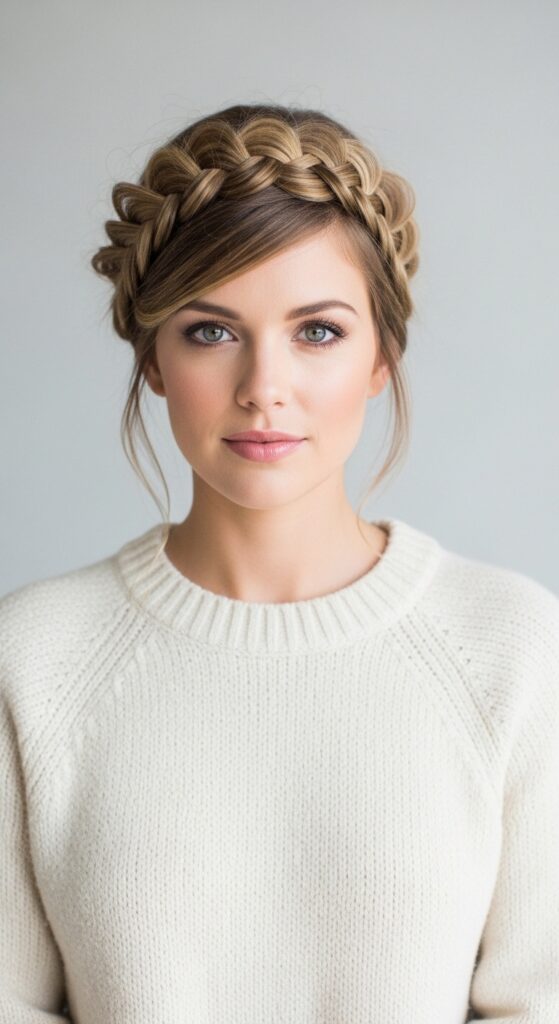
5. The Side-Swept Four-Strand Crown
This is your go-to for instant quiet luxury bob energy. It’s elegant, understated, and looks incredibly complex (though now you’ll know it’s not!). It works on all hair lengths, especially lobs.
Start your braid at one temple and braid along your hairline, incorporating hair as you go. Feed the braid around the back of your head and tuck the end under, securing with pins.
The four-strand detail makes this crown braid look exceptionally refined and detailed, far beyond a simple three-strand version. It’s the ultimate old money hair accessory.
6. The Pull-Through Pony Four-Strand
This cheat is genius! It gives the *illusion* of a complex four-strand braid in minutes. It’s perfect for thick hair that’s heavy, or for days when you want impact without the effort.
You’ll create a ponytail, then section it into four parts. Using a method similar to a pull-through bun, you’ll build the braid without actually braiding. It’s all about strategic looping.
- Make a high ponytail and secure with an elastic.
- Split the tail into four equal sections.
- Take section 1, split it in two, and pull sections 2 and 3 through the split.
- Move to section 4, split it, and pull the new sections 2 and 3 through. Continue down.

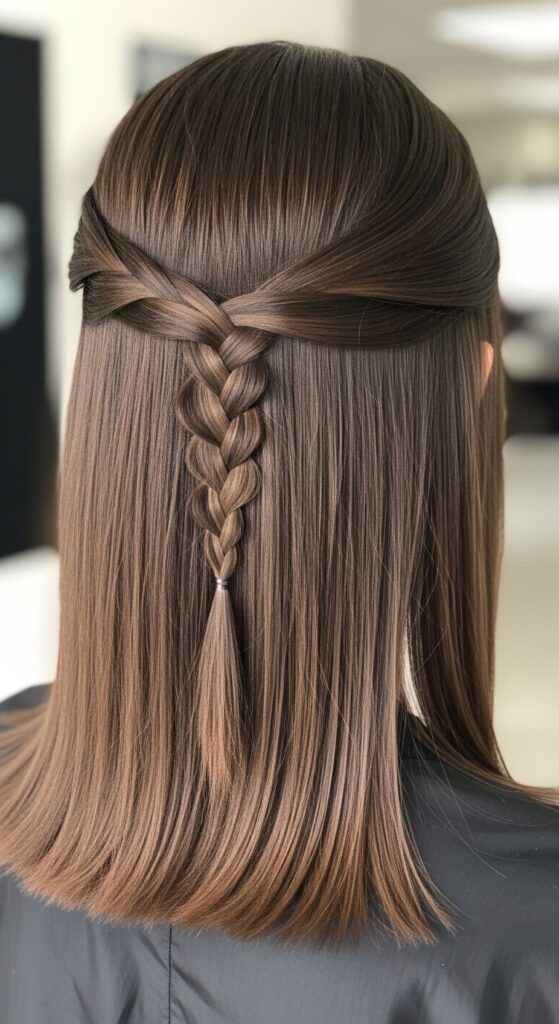
7. The Waterfall Four-Strand Braid
A regular waterfall braid is dreamy. A four-strand version is pure romance. Pieces of hair cascade down like a waterfall, while the braid itself has more intricate detail. Ideal for romantic goth hairstyles or a festival look.
The technique involves dropping the bottom strand in each sequence and picking up a new piece of hair from the top. The extra strand makes the “falling” water effect fuller and more pronounced.
Practice this on a three-strand first if you’re new to the waterfall concept. The four-strand follows the same principle, just with an extra strand to manage for a richer result.
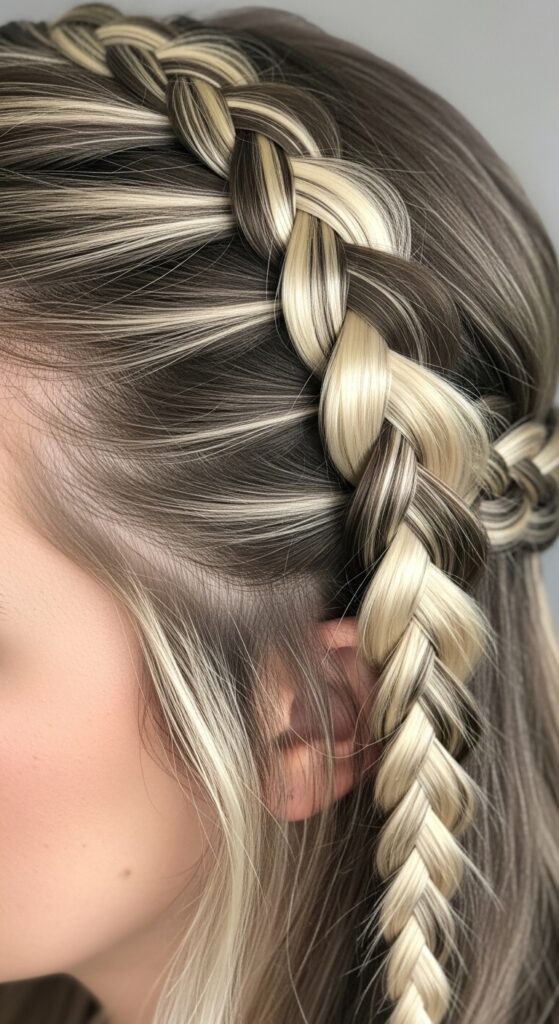
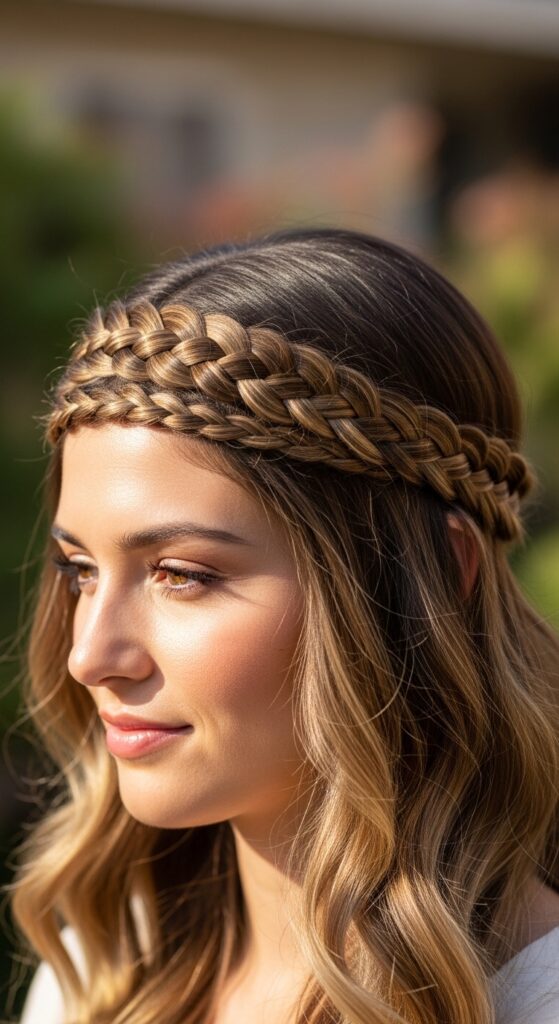
8. The Four-Strand Headband Braid
Need to keep hair off your face in the chicest way possible? Enter the headband braid. This uses the four-strand technique to create a substantial, beautiful headband that lies flat and secure.
Start with a small section above one ear. Braid across your forehead, incorporating hair only from the top (your hairline) as you go. This builds the headband shape.
Once you reach the other ear, you can continue into a regular braid or twist it into a bun. It’s a practical style that feels special, perfect for growing out bangs or an asymmetrical lob.
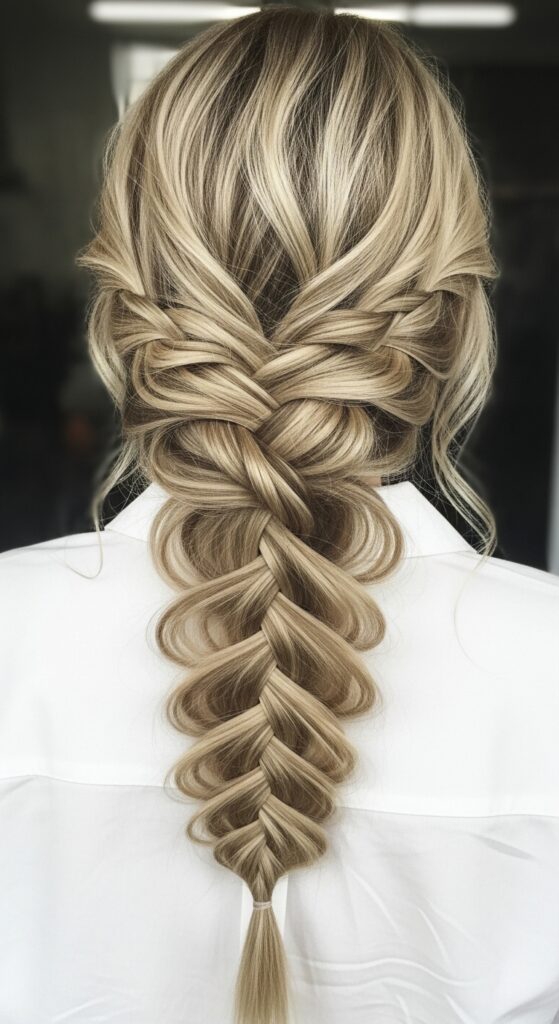
9. The Mermaid Four-Strand Braid
Big, textured, and impossibly romantic. The mermaid braid is all about volume and softness. You intentionally keep the tension loose and gently pull on the loops (“pancaking”) after braiding.
Start with a low side part and braid a four-strand along one side, keeping it loose. Once secured, go back and gently tug on the outer loops of the braid to widen it.
This style pairs perfectly with beach waves. It’s less polished and more ethereal, making it a gorgeous choice for a date night or a summer wedding.
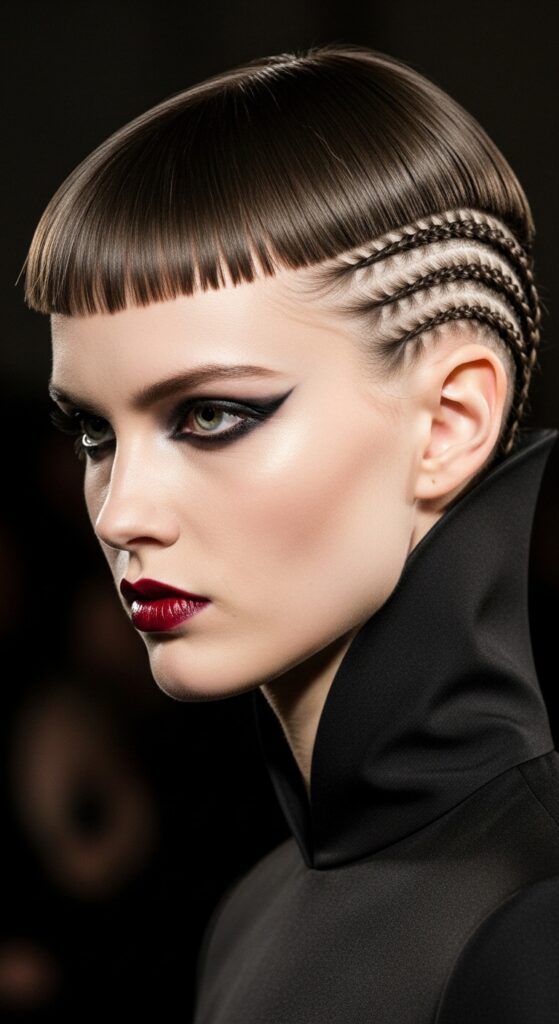
10. The Vampire Haircut Accent Braid
The sharp vampire haircut (think sharp bangs and layers) gets an extra edge with a stark, precise braid. A thin, tight four-strand braid woven into the front layers adds a structured, intentional detail.
This isn’t a soft, romantic braid. It’s a statement. Isolate a front section, braid it tightly with the four-strand method, and let it lay against your cheek or blend into the rest of your hair.
It complements the graphic nature of the cut perfectly. It’s a key element for glitchy glam hair looks, where polished meets disheveled in a cool way.
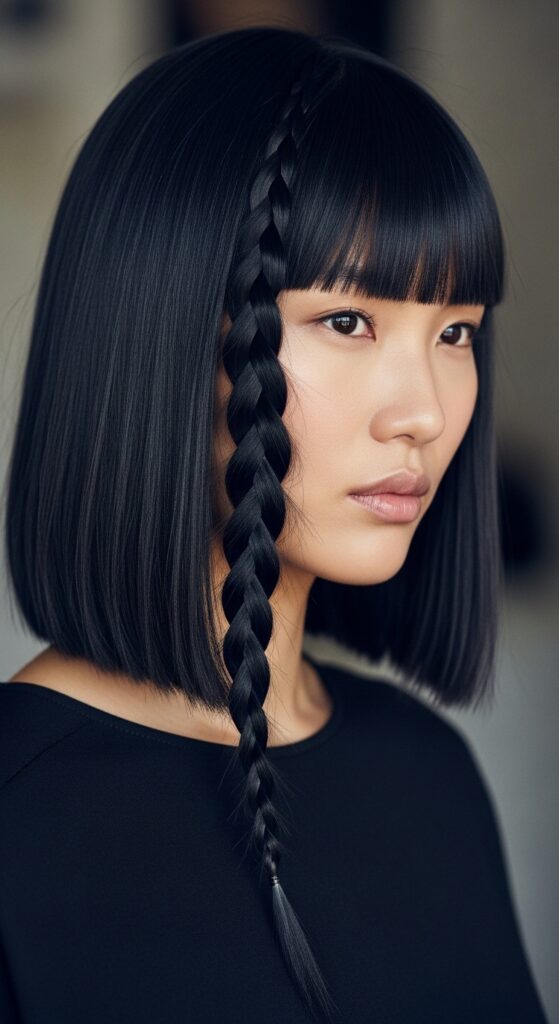
11. The Hime Cut Side Braid
The hime cut, with its distinctive straight-across front locks, begs for beautiful styling. A side-parted four-strand braid that incorporates one of those front sections is stunning.
It elegantly pulls the distinctive hime lock back while showcasing it. Start the braid at your temple, using that front piece as your first strand, and braid along the side of your head.
This keeps hair manageable while honoring the unique structure of the cut. It’s a beautiful way to blend traditional inspiration with modern braiding technique.
12. The Asymmetrical Lob Braided Detail
An asymmetrical lob has so much personality. Highlight it by adding a small four-strand braid to the longer side. It draws attention to the cut’s unique line.
Take a section from the longer side, near the back. Braid it using the four-strand method and secure it at the ends. Let it lay flat against the shorter back layers.
This tiny detail makes a chic haircut look professionally styled. It’s a subtle nod to the 2026 hairstyles trend of intentional, artful details.
13. The Glitchy Glam Hair Braided Bun
Glitchy glam hair is about perfect imperfection. A slightly messy four-strand braid wrapped into a bun fits the aesthetic perfectly. Pieces stick out, the braid is a bit uneven, and it’s cool.
Create a four-strand braid (practice the classic or underhand version). Don’t worry about flyaways. Coil the braid into a bun at your nape or crown, securing with pins.
Gently pull out a few loops and let shorter pieces escape. The complexity of the four-strand pattern contrasts beautifully with the deliberate messiness.

14. The Double Four-Strand Pigtails
Pigtails get a major upgrade. This style is playful yet sophisticated, especially if you keep the braids neat and tight. It channels a cool, modern vibe rather than a childish one.
Part your hair down the middle. Create two identical four-strand braids on each side. You can do them as classic flat braids or underhand for more volume.
This is a surprisingly chic way to wear your hair up. It keeps everything off your face and shows off your skill. Add ribbons for a touch of old money hair prep.

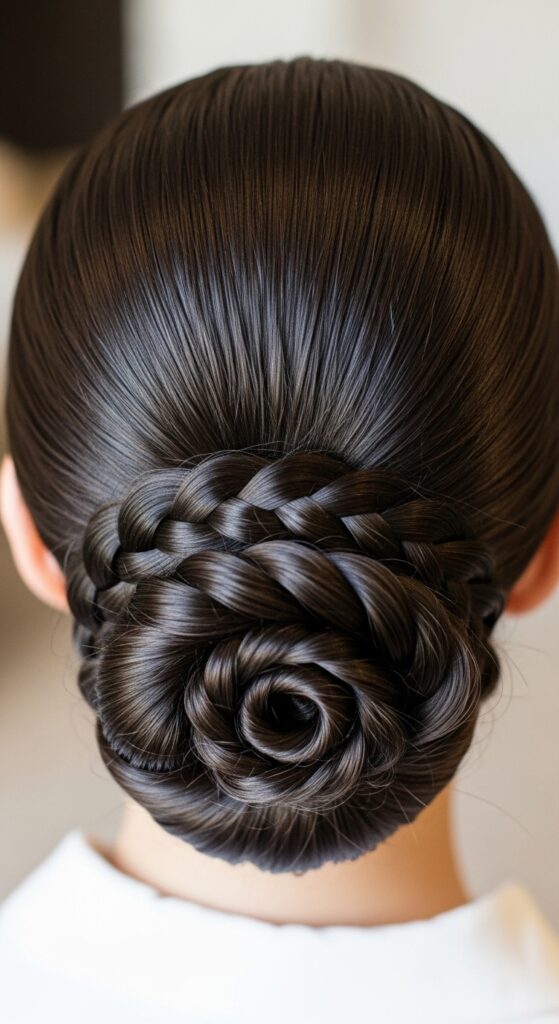
15. The Four-Strand Braid into a Low Chignon
For the ultimate in polished, quiet luxury bob elegance, braid your hair into a four-strand and then pin it into a low chignon. The braid becomes the textural base of the bun.
Braid all of your hair into a single four-strand braid at the nape of your neck. Twist the braid into a simple, tight coil and pin it flat against your head.
This look is incredibly secure and lasts all day. It’s perfect for the office, a gallery opening, or any event where you want to look effortlessly put-together.
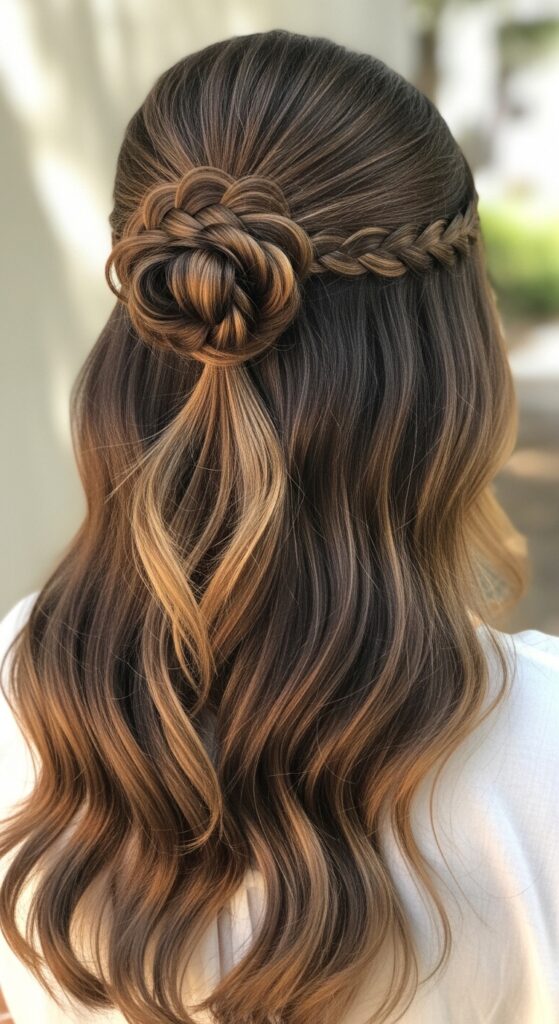
16. The Half-Up Four-Strand Braided Topknot
This is my lazy-day favorite that still looks like I tried. It lifts your face and adds interest. Take the top half of your hair, create a short four-strand braid, and twist it into a mini bun or topknot.
Let the rest of your hair flow freely. The small, detailed braid in the bun makes the whole style look intentional and chic, even if the bottom hair is in messy waves.
It’s a fantastic way to practice the braiding technique on a smaller section of hair before attempting a full-head style.
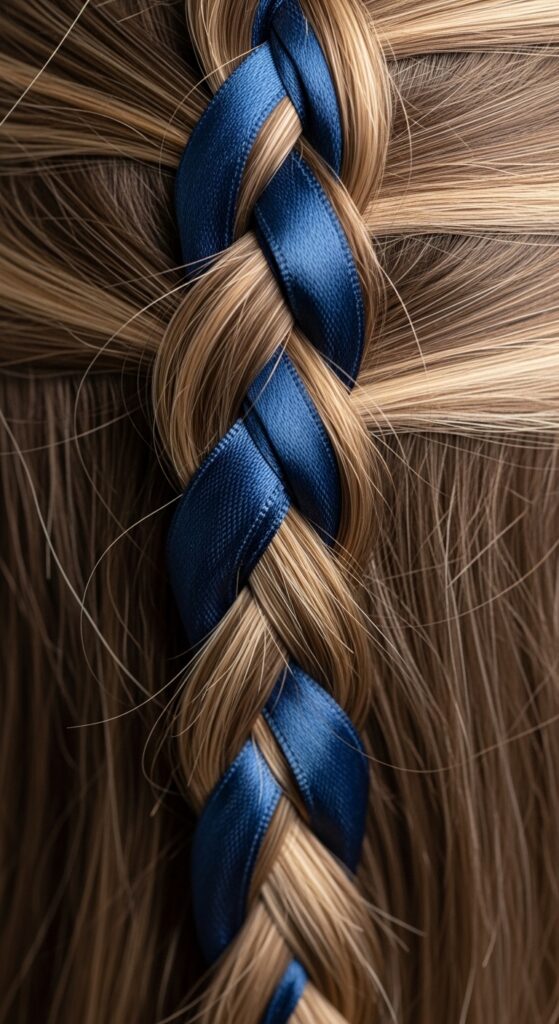
17. The Four-Strand Braid with Ribbon Weave
Incorporate a thin ribbon for a beautiful, vintage-inspired touch. The ribbon becomes one of your four strands. This adds a pop of color and makes the braiding pattern even clearer to see.
Choose a satin ribbon. Tie it to a section of hair at the crown so you have four equal sections, one being the ribbon. Braid as usual, treating the ribbon just like hair.
This is stunning for special occasions. It feels very romantic goth hairstyles with a black ribbon, or sweet and classic with a pastel one.
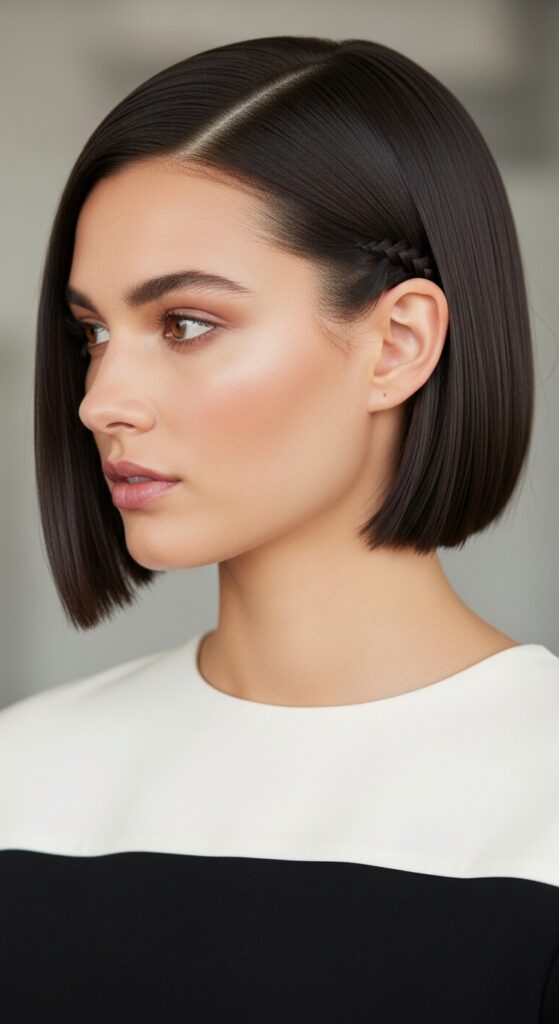
18. The Tucked Four-Strand Braid for Short Hair
Think you can’t do this on a bob or shorter lob? You can! Create a four-strand braid along one side or the back, but make it small. Once braided, tuck the end under and pin it invisibly.
This creates a gorgeous textural element that’s hidden in plain sight. It’s a secret detail for you (and anyone who looks closely) that makes a simple short cut look masterfully styled.
It works beautifully with textured waves and is a brilliant solution for growing-out phases where you need to keep hair off your face.
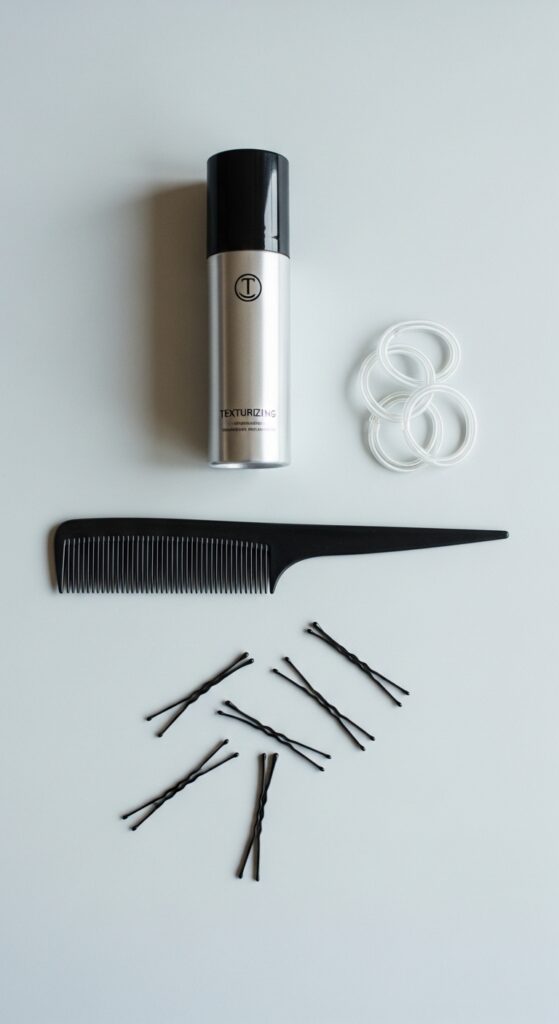
Essential Tools You’ll Actually Need
You don’t need a salon full of products. Just a few basics make the process smoother. Good tools help with grip and control, especially when you’re learning a new pattern.
- A fine-tooth comb for clean sections.
- Light-hold hairspray or texturizing spray for grip.
- Small, clear elastic bands to secure ends.
- Bobby pins that match your hair color for tucking ends.
That’s really it! A spray bottle with water can help manage flyaways, but don’t overcomplicate it. Your fingers are your best tool.
Pro Tips for Keeping Tension Even
The biggest challenge is keeping all four strands equally tight. If one is loose, the whole braid looks sloppy. This gets easier with practice, but a few mental tricks help.
Think of your hands as anchors. Your pinky and ring fingers hold the outer strands steady, while your thumb and index finger do the active crossing.
After each crossover, gently tug all four sections away from each other before the next move. This resets the tension and keeps everything uniform down the length of the