Romance 22 Heart Loop Pull-Throughs Sweet for Romantic Gestures
Okay, let’s be real. Sometimes you want a hairstyle that feels special. Not just for a date night, but for those little moments where you want to feel effortlessly, romantically you. Something sweet, a bit nostalgic, and honestly, not that hard to do.
That’s exactly why I fell for the Heart Loop Pull-Through. It sounds fancy, but it’s one of those charming, tactile styles you can master in minutes. It’s the perfect blend of playful and polished.
Think of it as your secret weapon for adding a touch of soft, romantic flair to any look, from a quiet luxury bob to longer, flowing layers. I’m going to walk you through everything, from the basic how-to to making it work for your unique hair type and vibe. Let’s get into it.
What Is a Heart Loop Pull-Through?
At its core, it’s a beautiful, dimensional braiding technique. Instead of a standard three-strand braid, you create loops (the “hearts”) and pull sections of hair through them. The result is a delicate, woven pattern that lays flat against your head.
It looks intricate, like something from a fairytale, but the process is surprisingly straightforward once you get the rhythm. It’s all about creating and connecting those loops.
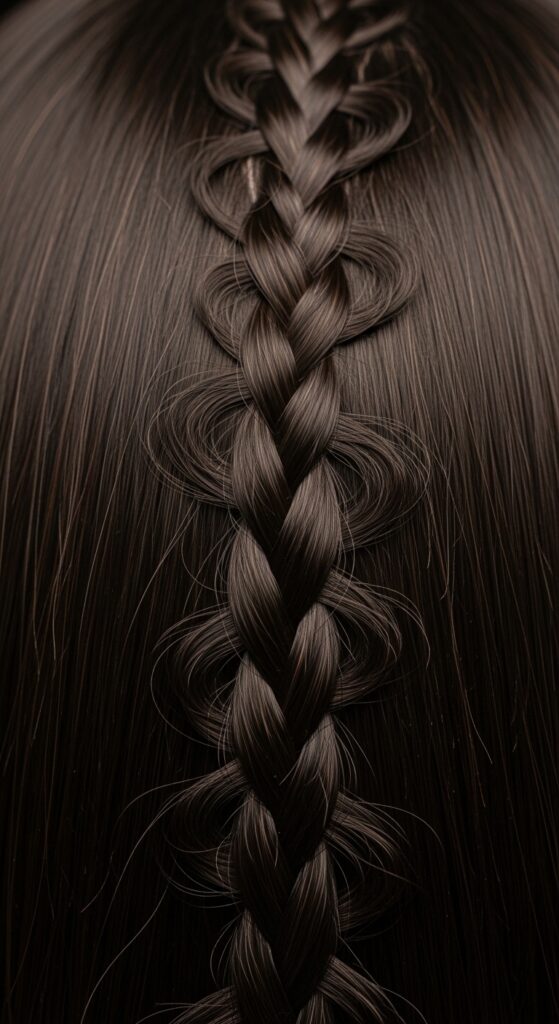
The Absolute Easiest Way to Start
Begin with brushed, tangle-free hair. A little texturizing spray can help grip if your hair is very silky. Part your hair where you’d like the style to sit—side or middle.
Take a small section at the front, near your part. Split it into two equal strands. This is your starting point. The magic happens with just these two pieces to build from.
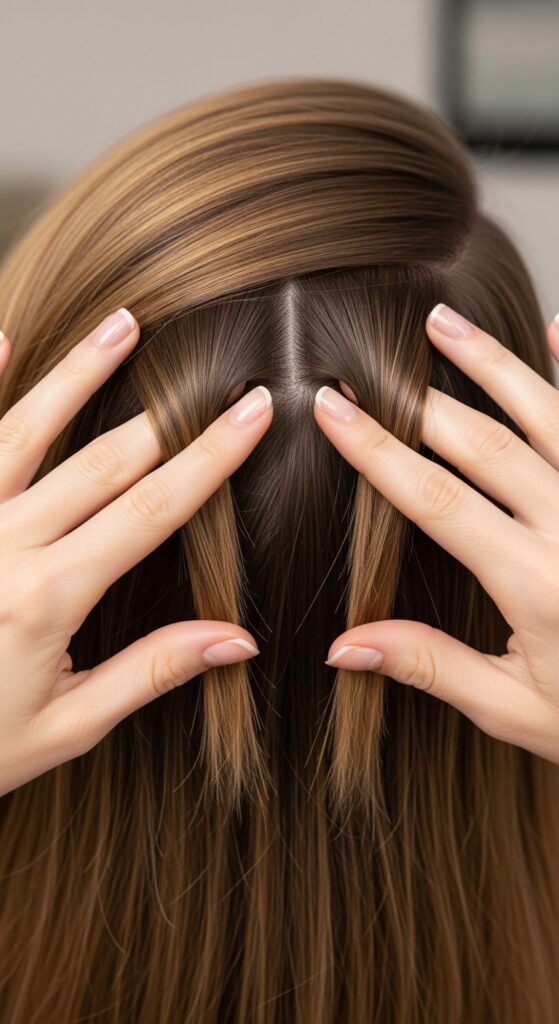
Step 1: Forming Your First Heart
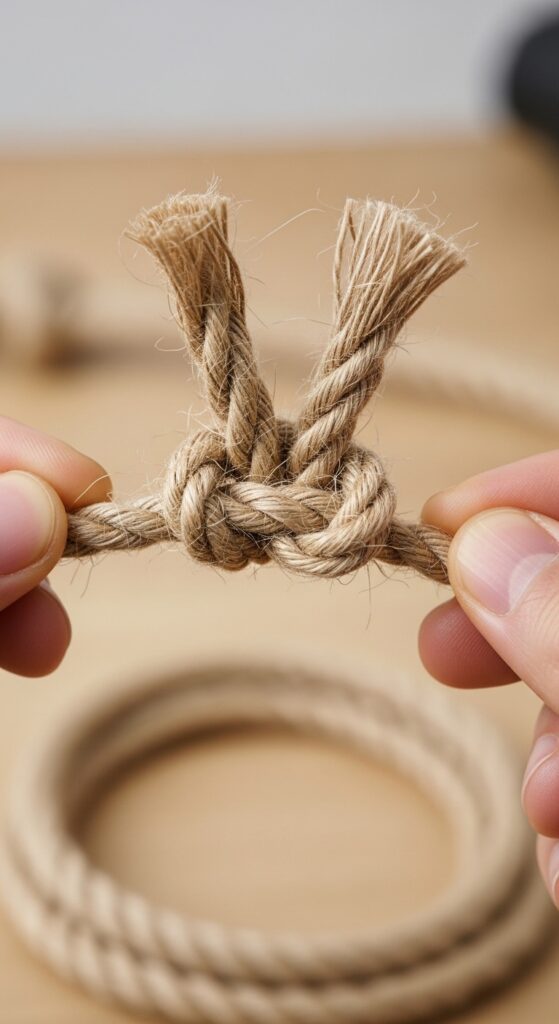
- Take the front strand (the one closest to your face) and loop it over your finger to form a teardrop or “heart” shape.
- Hold that loop in place with your thumb. Now you have a loop and a loose tail end.
This loop is the foundation. Keep it a manageable size—not too tight, not too loose. Practice making this shape a few times before moving on.
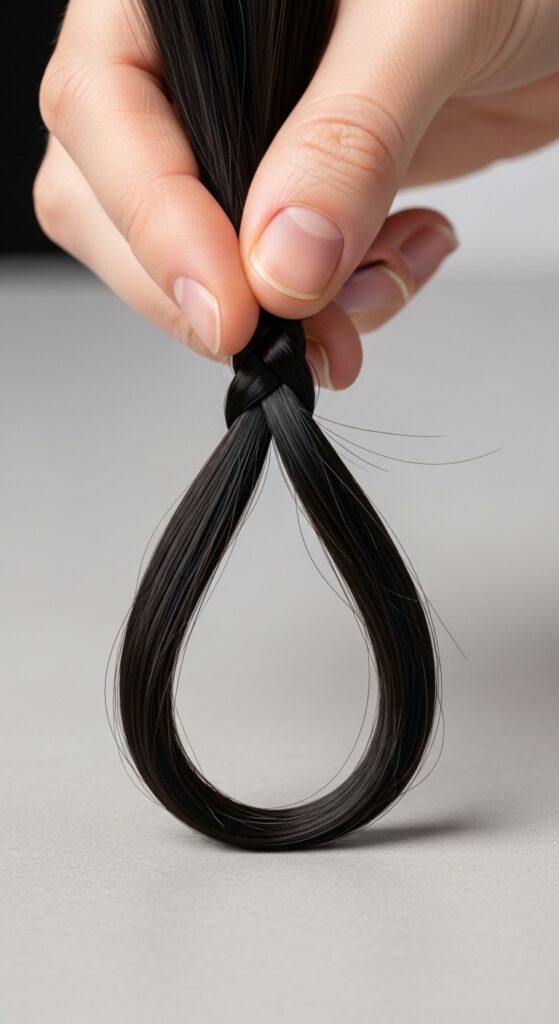
Step 2: The Crucial Pull-Through Move
Here’s the key. With your other hand, take the second strand (the back strand) and pull it through the heart loop you just made. Pull it all the way through, but gently, so you don’t collapse the loop.
As you pull it through, tighten the base of the first loop slightly against your scalp. This secures the weave and starts the pattern.
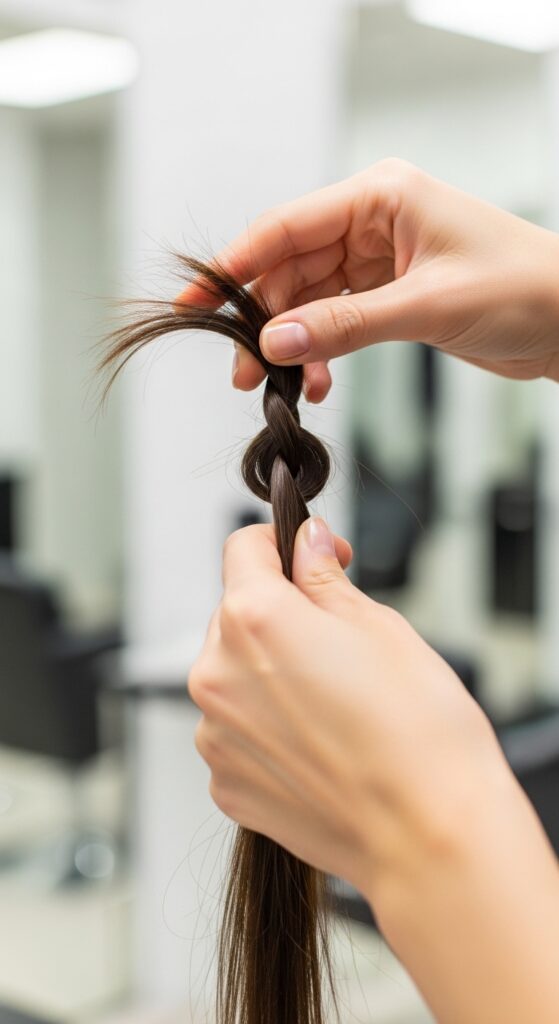
Step 3: Creating the Second Heart
Now, the strand you just pulled through becomes your new working piece. Loop this strand over your finger to form a second heart, just like the first.
Again, hold this new loop in place. You’ll feel the pattern starting to build and lock together. It’s a satisfying, rhythmic process.
Step 4: Adding Hair for a Fuller Look
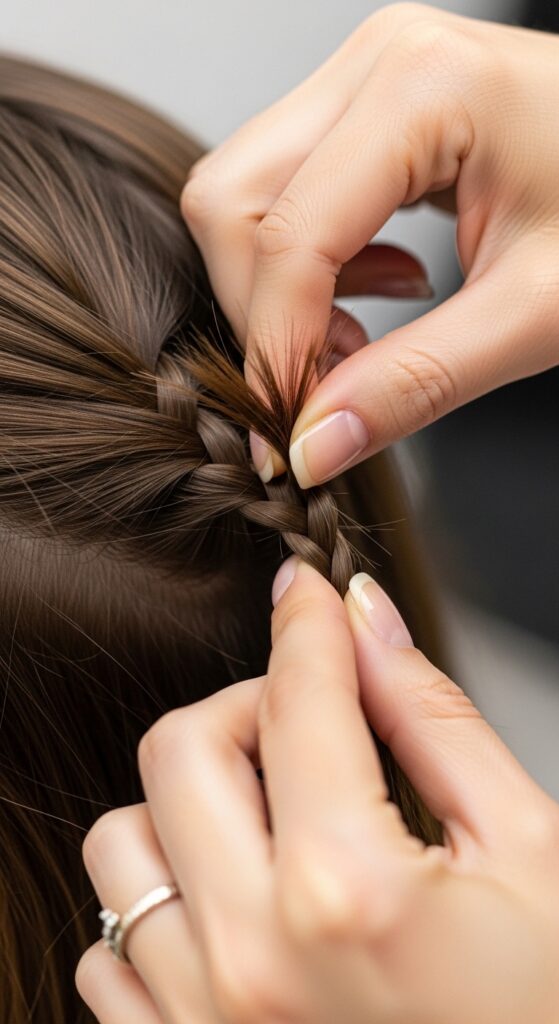
To make the style bigger and more impactful, you add hair as you go. Before you pull a strand through a loop, gather a small section of loose hair from below and combine it with that strand.
Then, pull this now-thicker section through the loop. This is how the braid expands and incorporates more of your hair, creating that beautiful, gradual look.
Keeping Your Tension Consistent
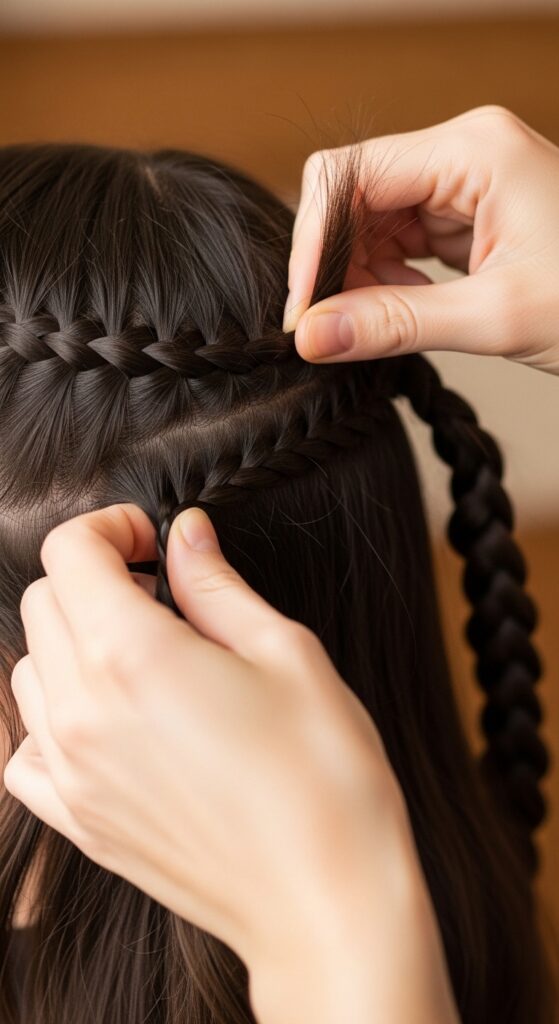
Consistent, gentle tension is everything. Pull each section firmly enough to lie flat against your head, but not so tight it gives you a headache or distorts the loops.
If a loop gets messy, don’t panic. Just loosen the last pull-through slightly and adjust the shape with your fingers. It’s very forgiving.
How to Secure the End Beautifully
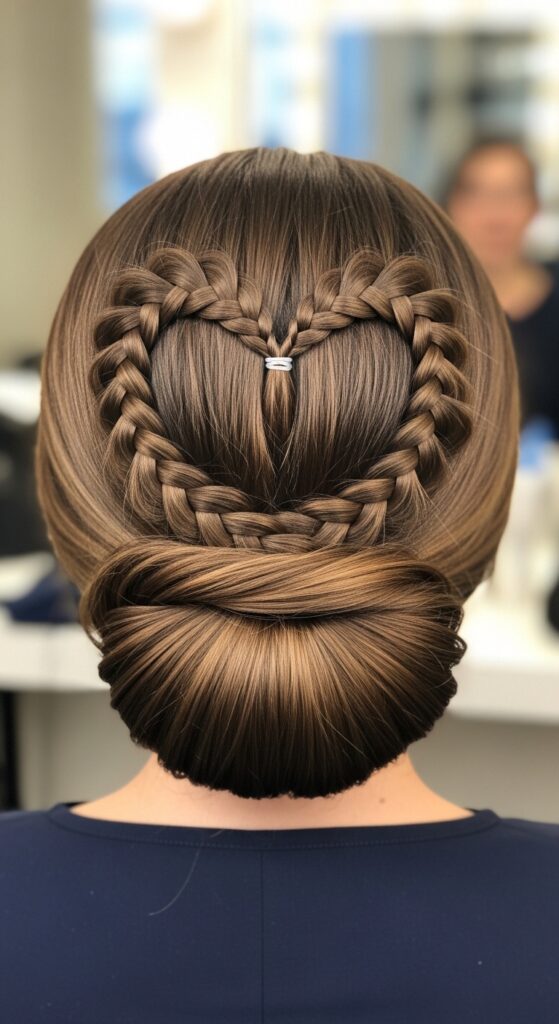
When you reach the end of the hair you want to incorporate, you can finish with a small regular braid or a simple twist. Secure it with a clear elastic.
For the final touch, gently tug on the edges of the heart loops to make them slightly fuller and more pronounced. This adds that perfect, romantic volume.
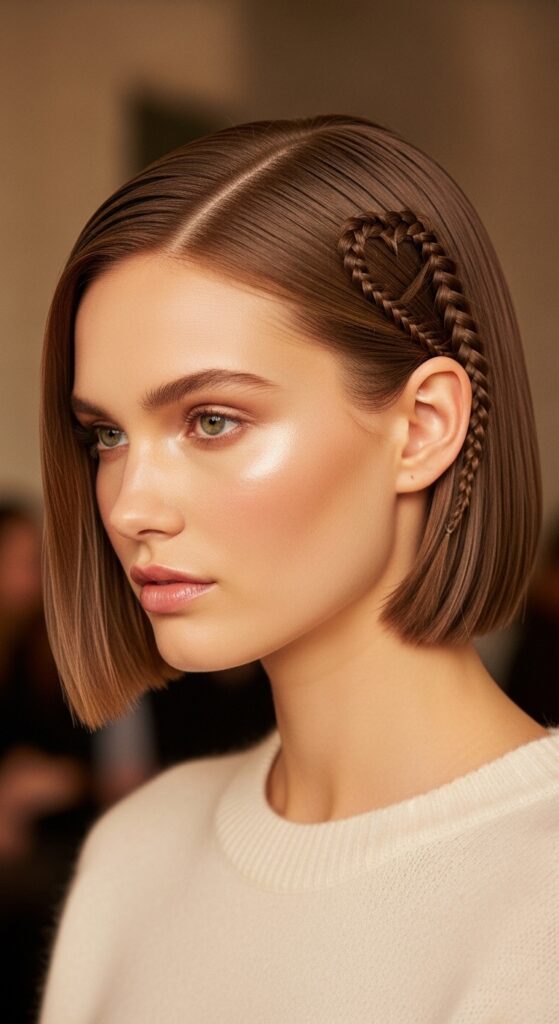
Adapting It for Shorter Hair (Like a Bob!)
Yes, you can do this on a bob or an asymmetrical lob! The technique is the same, but your pathway will be shorter. Start higher on the head, maybe just above the ear.
You might only get 3-4 full heart loops before you run out of length. That’s okay! It becomes a stunning, subtle accent. This is a gorgeous way to elevate a quiet luxury bob.
Making it Work for Fine or Slippery Hair
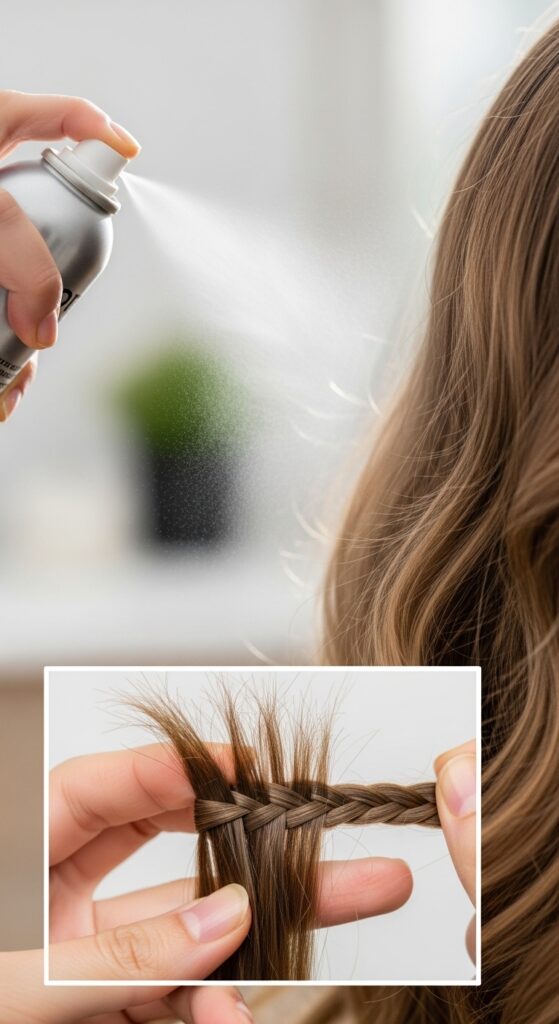
Texture is your best friend. Use a light texturizing spray or a dry shampoo at your roots before starting. Braiding on day-two hair is always easier.
You can also try this on slightly damp hair with a bit of mousse, let it dry in the style, and then gently shake it out for incredible hold. Smaller sections also help with grip.
The Perfect Romantic Half-Up Style
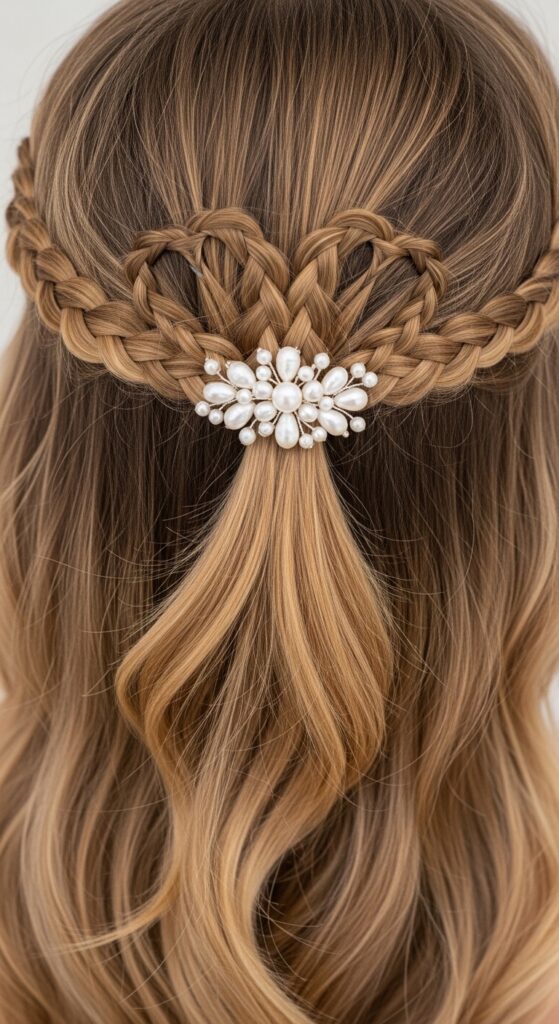
This is my favorite way to wear it. Create a heart loop pull-through on one side, from temple to about the middle of your ear. Secure it back.
Repeat on the other side, then join the two ends together at the back of your crown with a pretty clip. Instant, ethereal romance.
A Full Head Crown for Maximum Impact
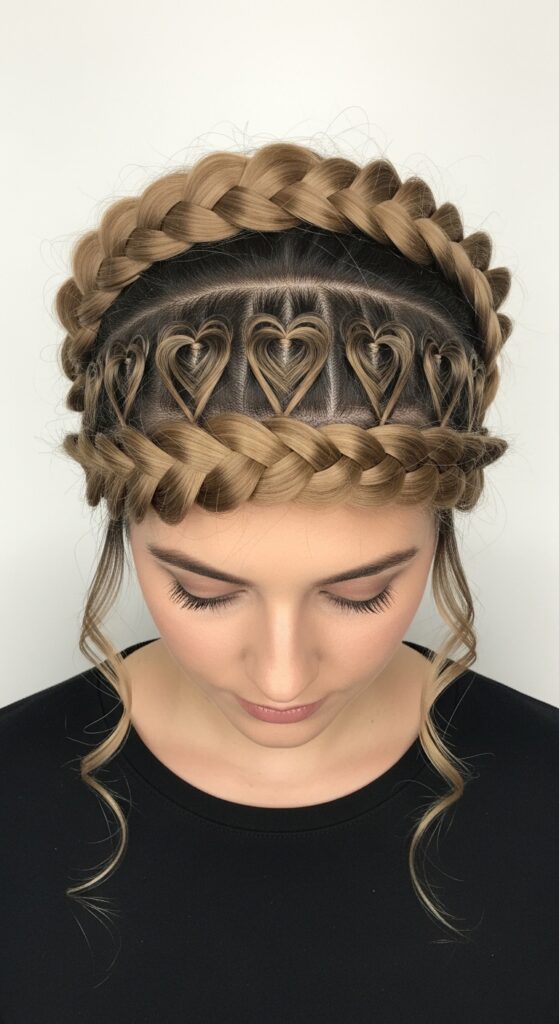
For a true fairytale feel, start at one temple and braid all the way around your head to the other side, adding hair as you go. It creates a beautiful, woven crown.
Tuck the end under the starting point and pin it securely. This style pairs amazingly with soft, face-framing layers or even a hime cut.
Pairing it with 2026 Hair Texture Trends
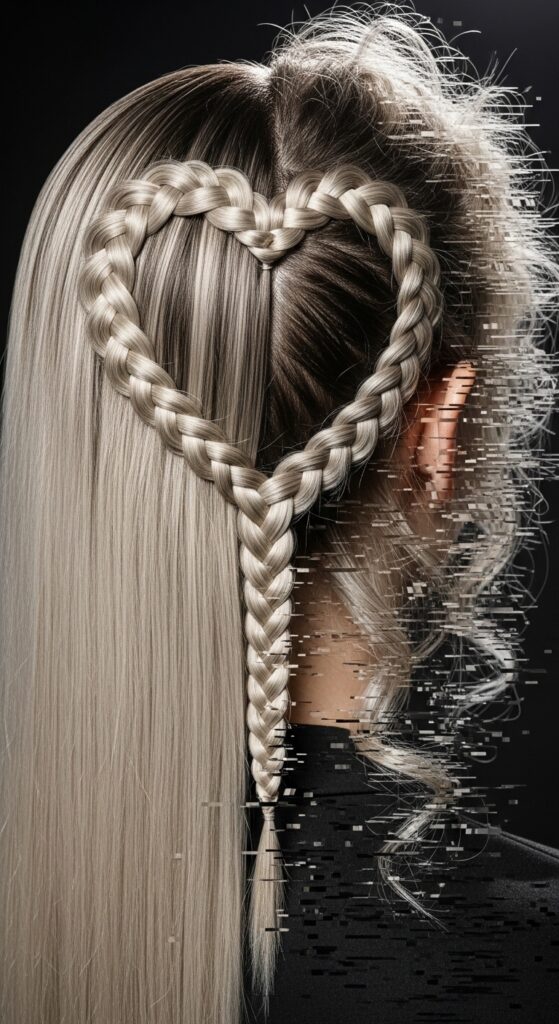
This style shines with modern texture. Think glitchy glam hair—smooth, sleek loops paired with one intentionally messy, wavy section. The contrast is stunning.
It also looks incredible on perfectly sleek, old money hair for a touch of unexpected sweetness, or with romantic goth hairstyles for a delicate contrast.
Adding Ribbons for a Special Touch
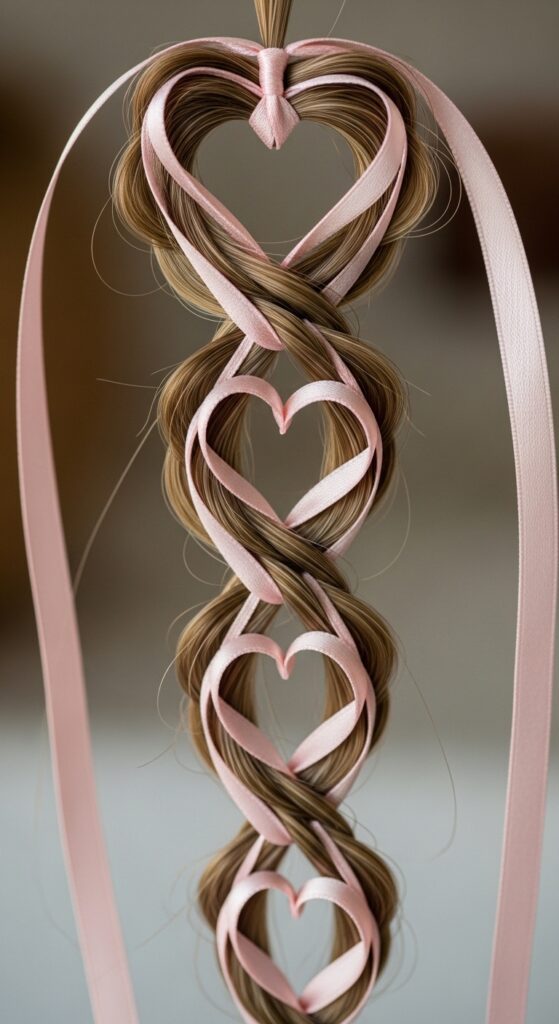
Take your romance level to the max. Start with a long, thin ribbon placed under your first two sections. Treat it as a third strand, weaving it into each loop.
As you pull sections through, the ribbon gets woven in, creating a beautiful pop of color. A satin ribbon is perfect for this.
Creating a “Vampire Hearthrob” Vibe
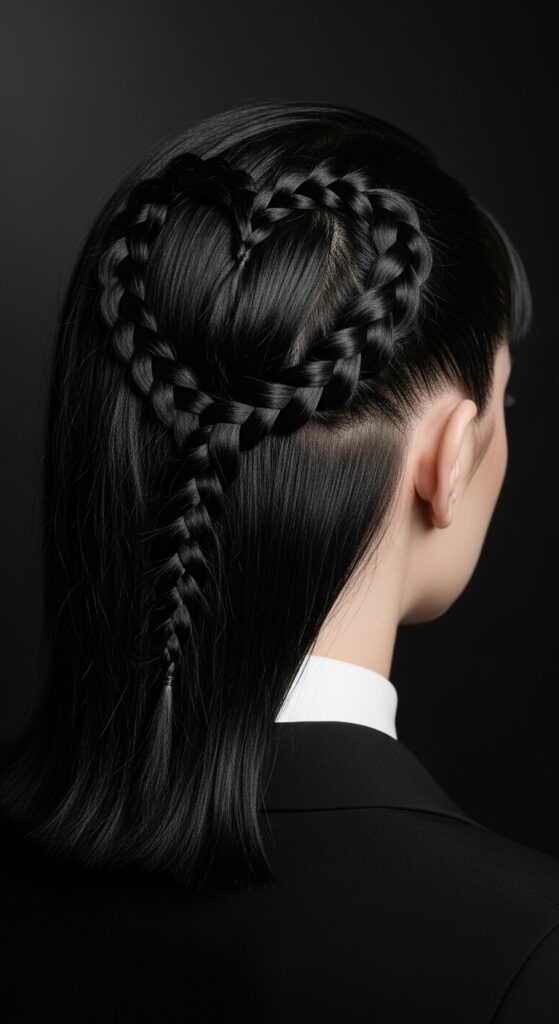
For a romantic goth or vampire haircut twist, try this. Do a deep side part, and create a dark, sleek heart loop braid. Keep it tight and precise.
Pair it with the rest of your hair down, straight, and sharp. It’s soft but with a definite edge—perfect for that dark academia or romantic goth aesthetic.
Day-to-Night Transformation in 2 Minutes
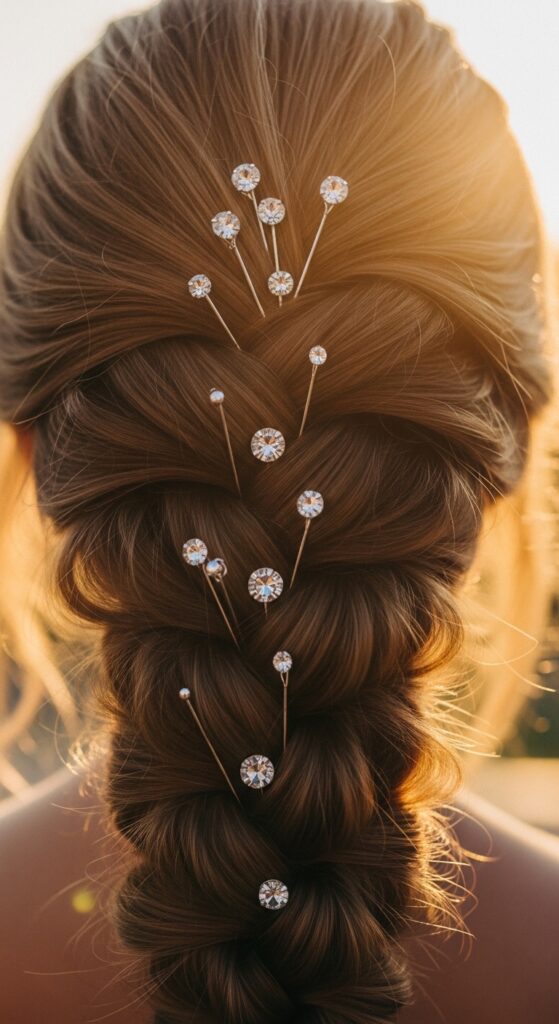
Wore it casually all day? Elevate it for night instantly. Gently pull apart the loops to make them fuller. Add a few sparkling pins or a dramatic clip near the base.
Spritz a shine spray over the whole style. The change is subtle but powerful, taking you from day casual to evening romantic.
Solving Common Problems: The Loop Collapses
If your loops keep falling apart, your tension might be too loose on the pull-through step. Ensure you’re pulling the strand snugly against the base of the loop.
Also, check your section size. If the strands are too thick, the loops can’t hold their shape. Go a bit smaller for more definition.
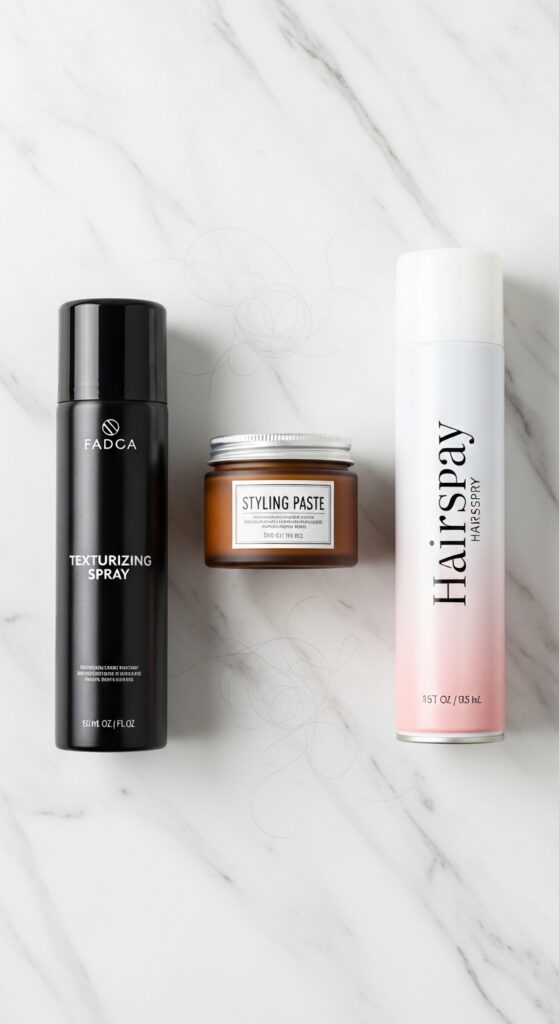
My Favorite Products to Lock it In
- Texture Spray: Adds grit and hold without crunch.
- Fine-Tip Styling Paste: Perfect for smoothing flyaways along the part and braid edges.
- Strong-Hold, Light Hairspray: A final mist to keep everything in place all day or night.
Less is more. Start with a little product, you can always add more.
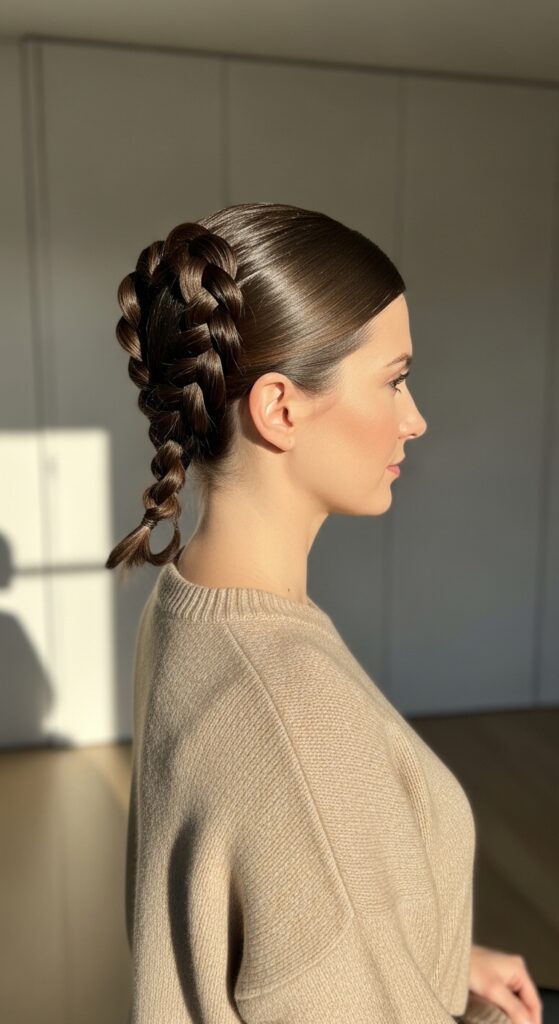
Inspired by Old Money Hair & Quiet Luxury
This style fits the quiet luxury hair trend perfectly. It’s intricate without being loud, well-executed, and subtly elegant. It speaks of care, not chaos.
Imagine it with a clean, neutral outfit—the hair is the understated statement piece. It’s the antithesis of over-done, which is what old money hair is all about.
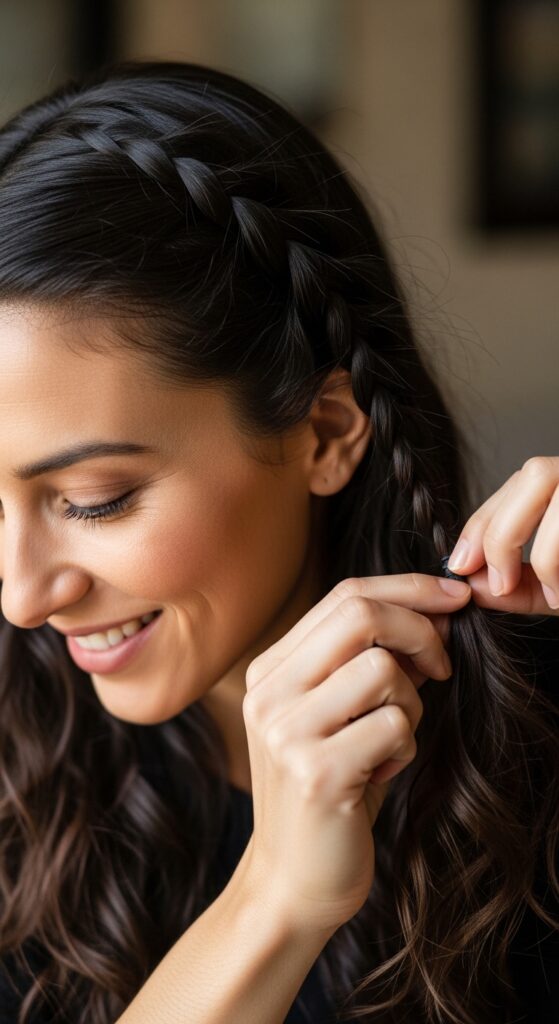
Why This Style Feels So Personal
There’s something about a style you do with your own hands that feels special. The tactile process of looping and pulling is almost meditative.
It feels like a gift to yourself. And when someone notices, it’s a lovely, personal detail to share—a small piece of crafted romance in your everyday look.
Your Turn to Give It a Go
Don’t aim for perfection on the first try. Sit down in front of your mirror when you have 15 minutes to play, not when you’re rushing out the door.
Follow the steps slowly. Muscle memory is real. By the third try, your fingers will know exactly what to do. I promise, the learning curve is worth it.
So there you have it—your complete guide to adding a little handcrafted romance to your hair routine. It’s more than just a braid; it’s a small moment for yourself, a tiny detail that can change your whole vibe.
Whether you’re dressing up a quiet luxury bob or adding a soft touch to your personal take on 2026 hairstyles, this technique is a keeper. It’s the kind of style that grows with you as you practice.
I’d love to see what you create! Did you try it on your lob? Add a ribbon? Tag me in your pictures! And if you want to keep this tutorial handy for your next romantic day or night out, save this post to Pinterest so you can always find it. Happy braiding!


