Master Claw Clip Updo Perfectly in Minutes at Home
Okay, let’s be real. We’ve all seen those gorgeous, effortless claw clip updos on our feeds and thought, “I could never make mine look that good.” It always ends up lopsided, or pieces fall out, or it just feels… messy. I was right there with you.
But after what felt like a hundred attempts (and a few broken clips), I finally cracked the code. The secret isn’t just the clip—it’s the prep and a few simple tricks.
This isn’t about a stiff, perfect bun. It’s about that perfectly imperfect, lived-in look that works for the office, a date, or just feeling put-together while running errands. And the best part? You can master it in minutes, right at home. Let me show you how.
Why the Claw Clip is Your New Best Friend
Before we dive into the how, let’s talk about the why. A good claw clip updo is the ultimate in quiet luxury hair. It looks expensive and intentional, but it’s incredibly easy and gentle on your strands.
Unlike tight elastics, a wide-tooth clip distributes weight evenly. This means no headaches and less breakage. It’s a tool that says you know what you’re doing, even if you just rolled out of bed.
The Non-Negotiable: Start with Texture
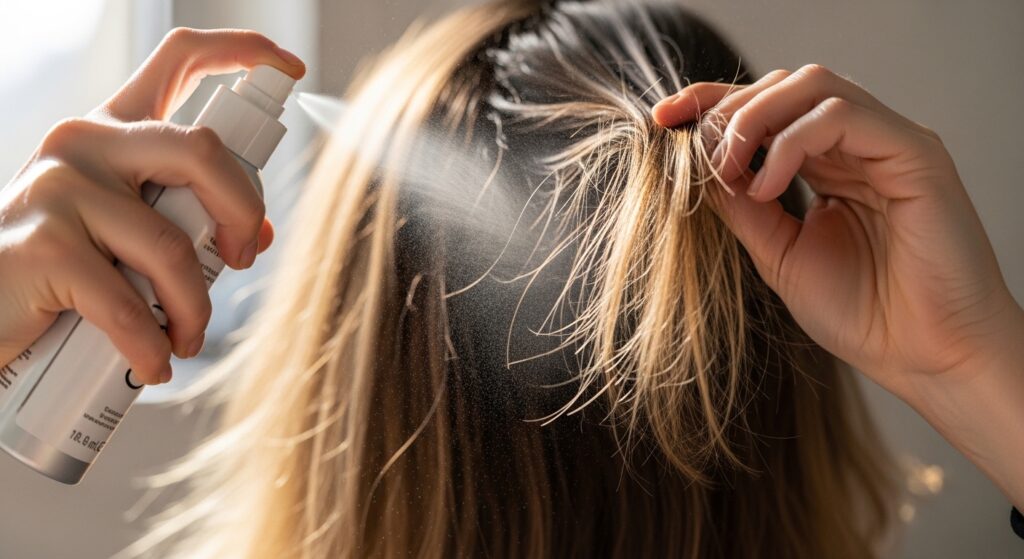
Silky, freshly washed hair is the enemy of a good updo. It will slip right out of the clip. The absolute key is to start with some grit. I do my updos on second or even third-day hair.
If your hair is clean, you need to create that texture. A light texturizing spray or a dry shampoo at the roots works wonders. It gives the clip something to hold onto and adds that cool, lived-in volume.
Gather Your Tools (You Don’t Need Much)
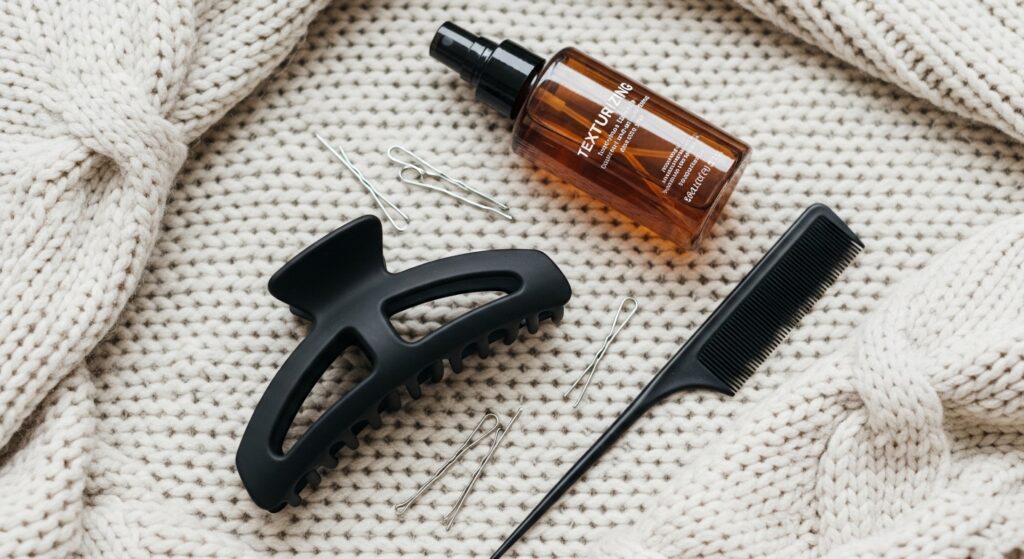
You really only need three things to succeed. First, a quality claw clip. Go bigger than you think you need. For medium to thick hair, a large or extra-large clip is a must.
- A large, sturdy claw clip
- A fine-tooth comb or tail comb for clean sections
- A couple of bobby pins for securing stray pieces
That’s it! With these, you’re ready to create everything from an old money hair look to something more relaxed.
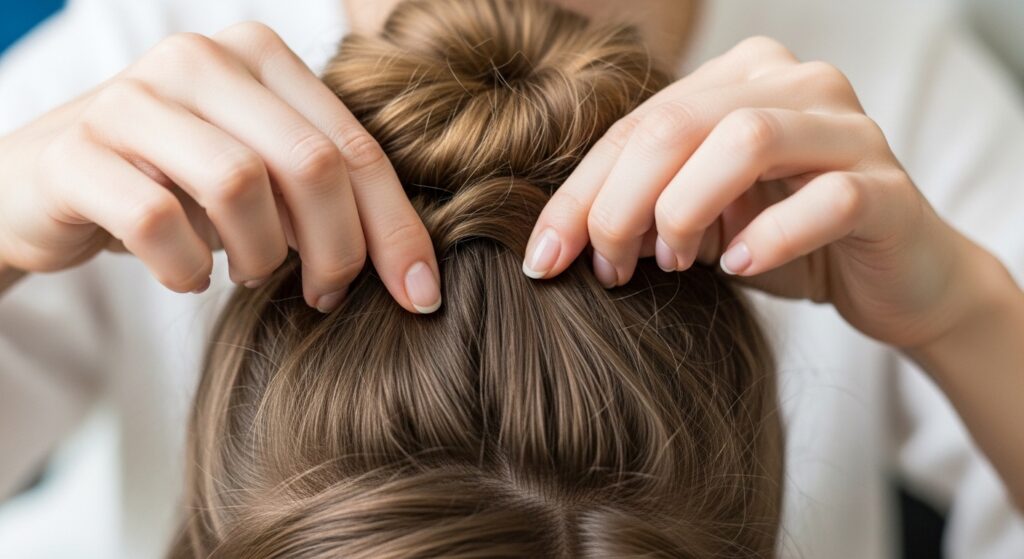
The Foundational Teasing Trick
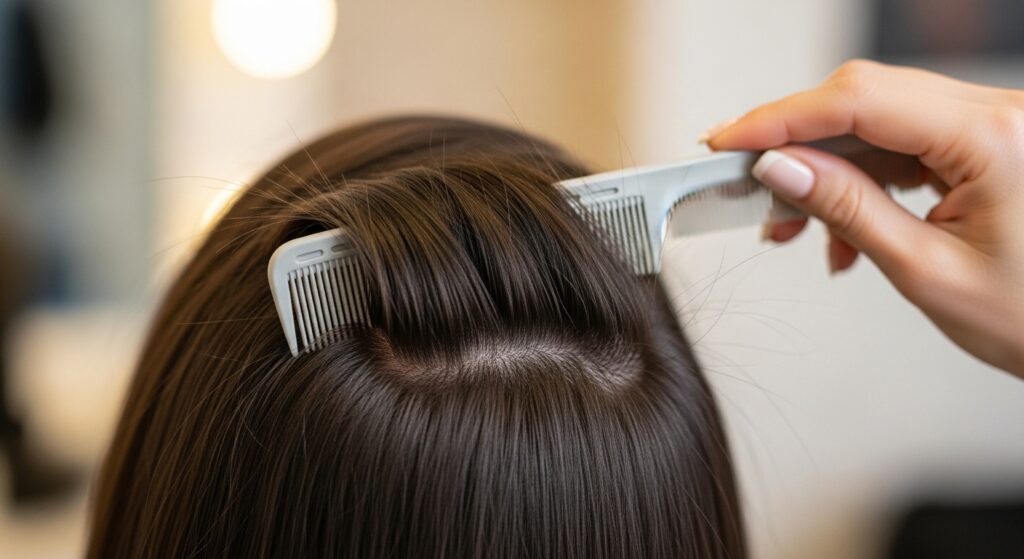
For height and hold that lasts all day, a little teasing at the crown is your secret weapon. Don’t worry, I’m not talking 1980s big hair. We want subtle lift.
Take a small section at the top of your head. Hold it straight up and gently backcomb at the roots with a comb. Then smooth the top layer over it. This tiny bit of volume makes the entire style look more polished and prevents flatness.
Step 1: Create a Low, Loose Ponytail

Don’t just grab and clip. Start by gathering your hair as if you’re making a low ponytail at the nape of your neck. Keep it soft and loose. Don’t pull every strand tightly back.
Leave a few face-framing pieces out if you like. This isn’t a slicked-back look. Think of it as organizing your hair before you twist it up. The placement of this ponytail determines where your bun will sit.
Step 2: The Magic Twist & Fold
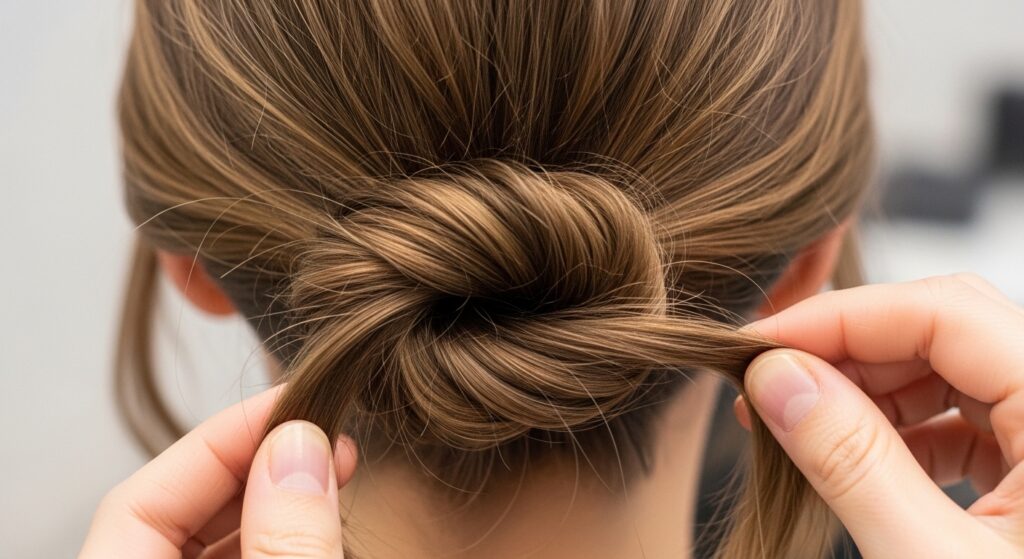
Here’s the core move. Take your loose ponytail and give it one or two gentle twists. This creates a little more tension and structure. Then, instead of wrapping it around, fold the twisted length upward.
Fold it up toward the crown of your head. You’re creating a soft, folded bundle of hair. The ends will likely be tucked underneath. This fold is what gives you that full, chic bun shape instead of a skinny twist.
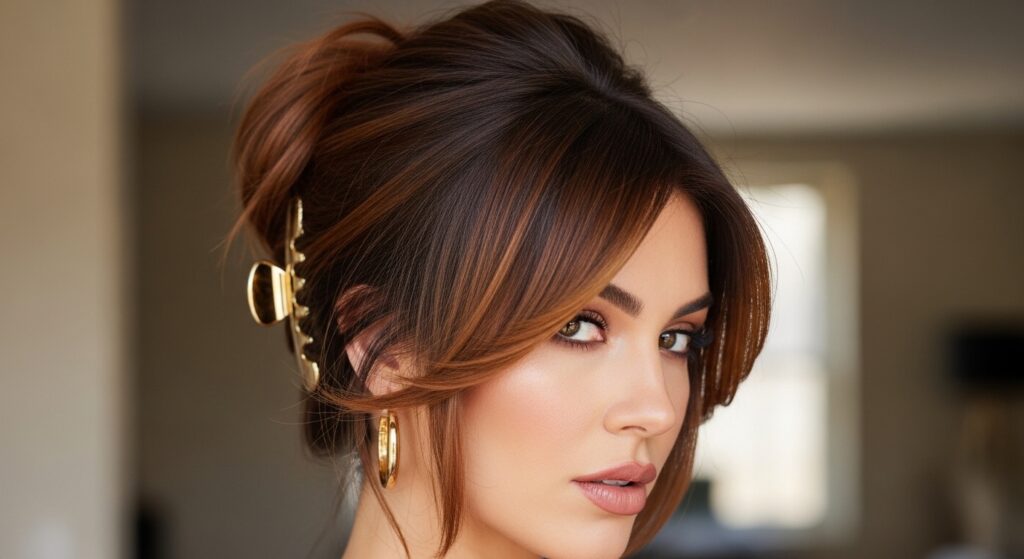
Step 3: Securing with the Claw Clip
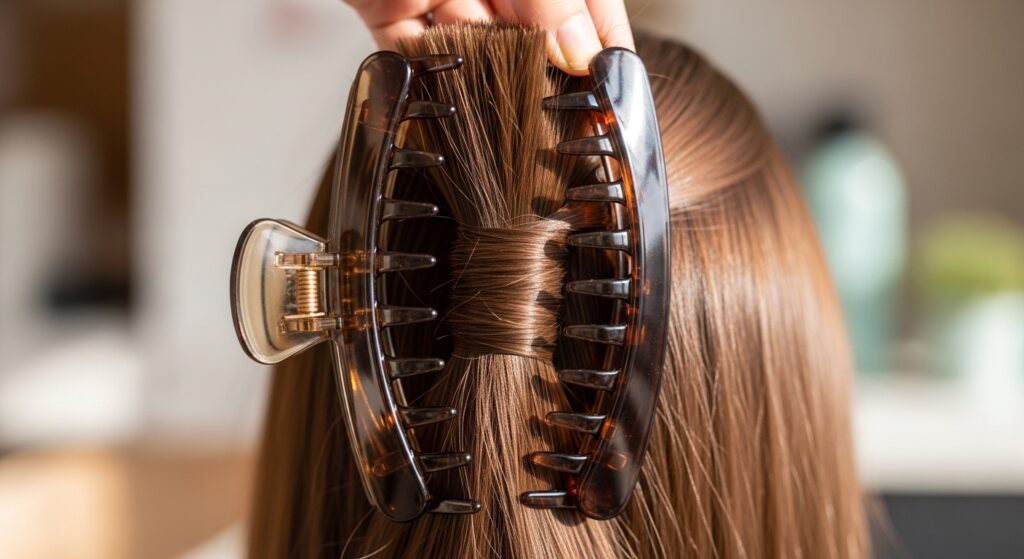
Hold your folded hair in place with one hand. With the other, open the claw clip. Position it vertically over the center of your hair bundle. You want the clip’s teeth to go perpendicular to the floor.
Push the bottom jaw of the clip firmly against your scalp, under the bun. Then snap the top jaw over the bulk of the hair. The goal is to anchor it at the base. Listen for a solid click.
Adjusting for the Perfect “Undone” Finish
Once clipped, don’t just walk away! This is the most important step. Gently pull at the sides of the bun to loosen it. Tug on a few face-framing pieces.
You want it to look a little effortless, not tight and severe. The adjustment phase is where you personalize it. A little messiness is what makes it look expensive and modern.
Fix the Slip-Out with a Bobby Pin Hack
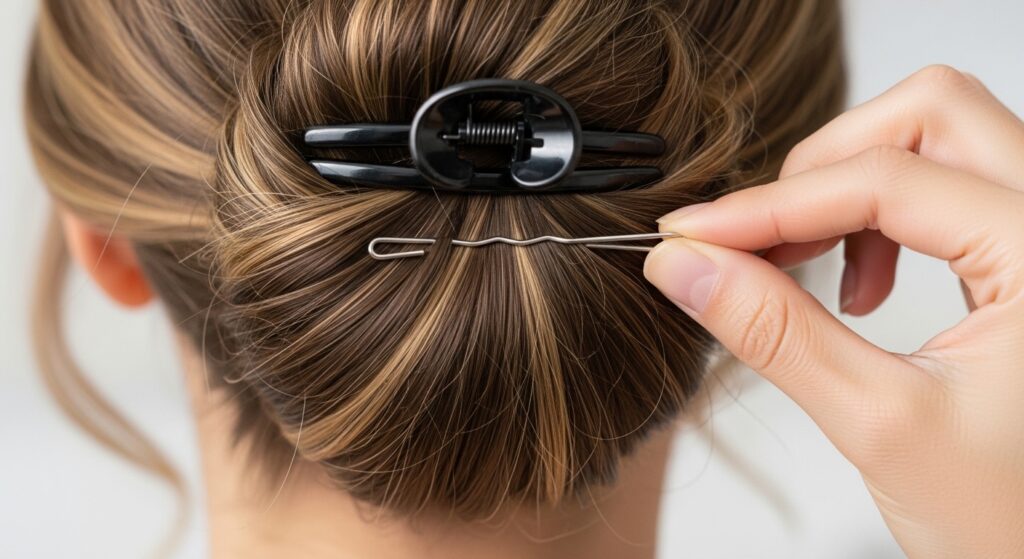
If a section, especially the underside, keeps slipping, here’s a pro hack. Before you place the clip, slide a bobby pin horizontally at the base of your ponytail, pointing upward.
Then do your twist and fold over that pin. The clip will secure over it. That bobby pin acts as a hidden anchor, grabbing those slippery hairs the clip might miss. It’s a total game-changer.
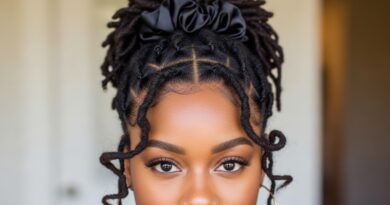
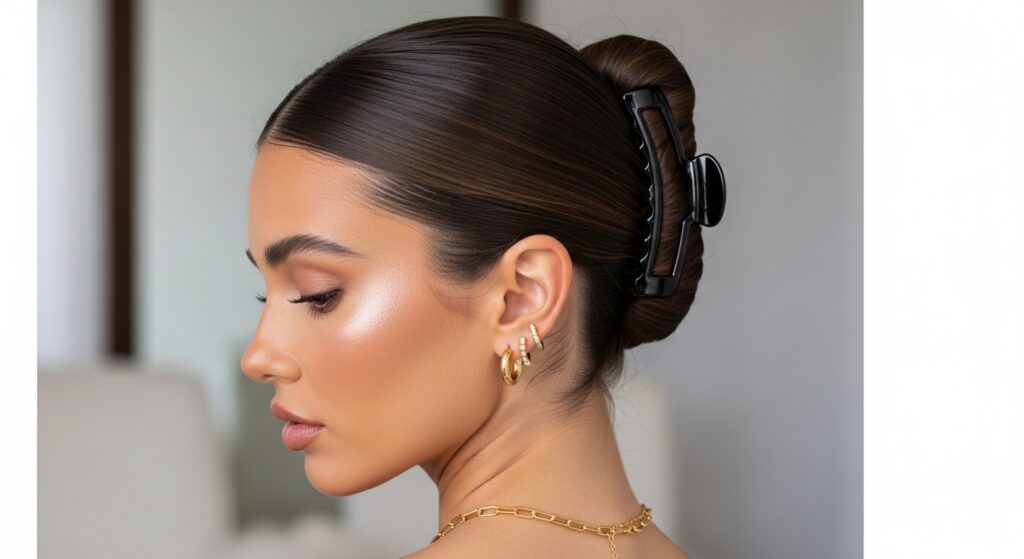
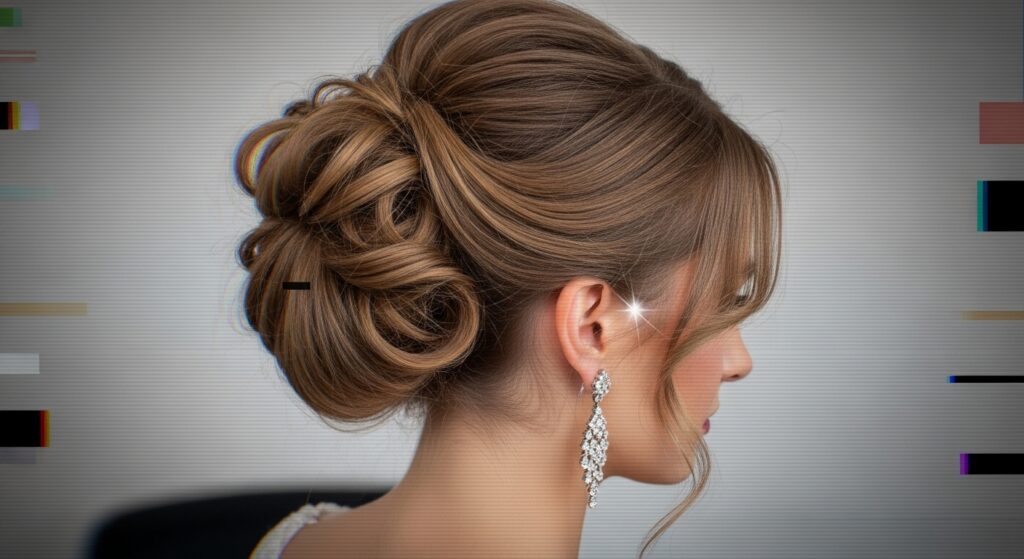
Voluminous Crown for That “Old Money” Vibe

For that coveted old money hair aesthetic, volume at the crown is everything. After you’ve teased at the roots, when you gather your initial ponytail, don’t pull it tightly downward.
Instead, gather it slightly higher, almost at the back of your crown. When you fold and clip, the hair will naturally push upward, creating that elegant, lifted silhouette that looks inherited, not styled.
The Sleek, Wet-Look Alternative
Contrast is key in 2026 hairstyles. The opposite of the undone look is a super sleek, wet-look updo. Apply a strong-hold gel or pomade to damp or dry hair and comb it back smoothly.
Follow the same twist and fold steps. The result is a powerful, modern look that feels editorial. It’s a stunning way to elevate a simple black dress or a crisp white shirt.
Half-Up, Half-Down with a Mini Clip
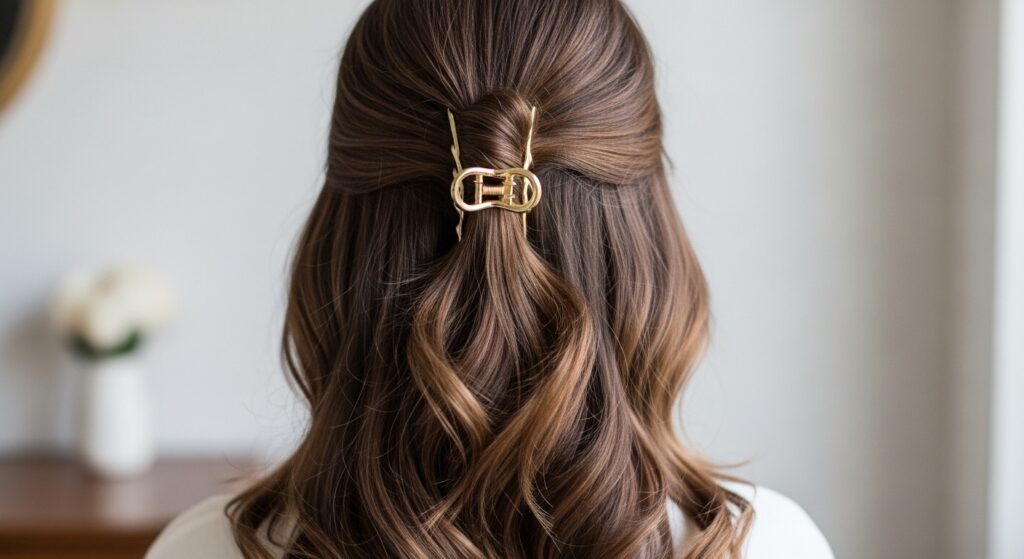
Don’t forget the half-up option! It’s perfect for shorter hair like an asymmetrical lob or when you want to show off your length. Simply take the top section of your hair, twist it gently back.
Fold it once and secure it with a mini or medium claw clip at the back of your crown. Let the rest of your hair flow down. It’s a two-second style that looks incredibly thoughtful.
Adapting for Shorter Lengths (Lobs & Bobs)
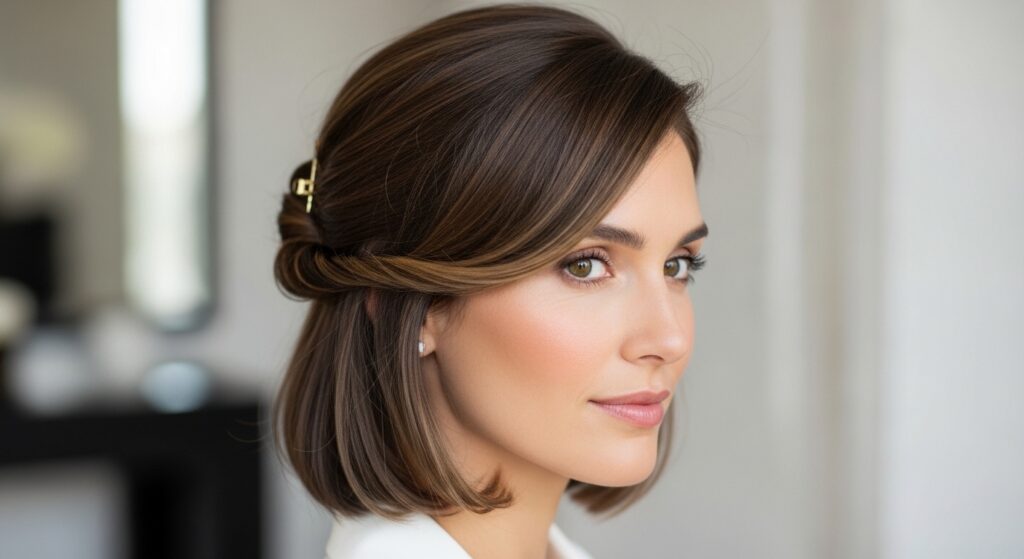
If you have a bob or lob, you can still do this! Focus on securing the underlayer. Gather the lower section at your nape, twist and clip it. Then, take the next layer above it and pin it over the first clip.
It creates a cool, layered effect. Or, simply use a small clip to secure one side back for an asymmetrical look. Short hair updos are all about playing with pieces.
Adding Ribbons for a Romantic Touch
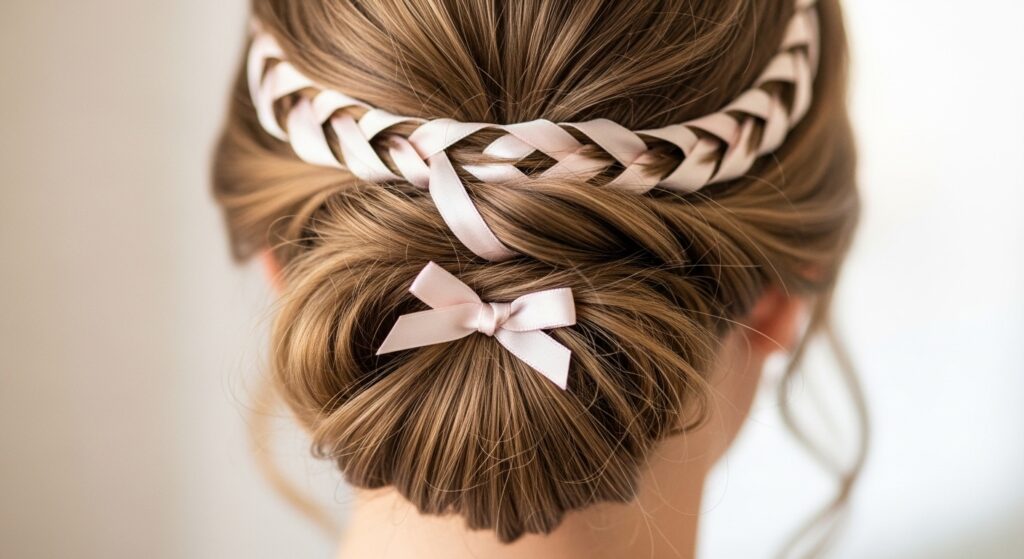
For a romantic, cottagecore or romantic goth hairstyles twist, incorporate a ribbon. Take a silk ribbon and tie it around the base of your initial ponytail before you twist and fold.
Let the ends hang long. As you fold your hair up, the ribbon gets woven in. Tie the ends into a small bow or let them drape. It’s a tiny detail that makes a huge impact.
The “Glitchy Glam” Textured Version
Glitchy glam hair is all about controlled chaos. After securing your updo, be intentional about pulling out strands. Not just wispy ones, but a few chunky, textured pieces.
Use a little wax or pomade on your fingers to define these stray pieces. The contrast between the neat bun and the rebellious strands creates that cool, “glitchy” effect that’s so trendy.
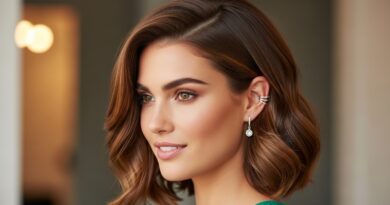
Face-Framing Layers Like a Hime Cut
If you have a hime cut or strong face-framing layers, use them! Let those dramatic front pieces stay completely out. Style them with a curling iron for a soft bend or keep them blunt and straight.
They will beautifully frame your face and contrast the pulled-back updo. It makes the style look custom and high-fashion, drawing all the attention to your best features.
Accessorize Around the Clip
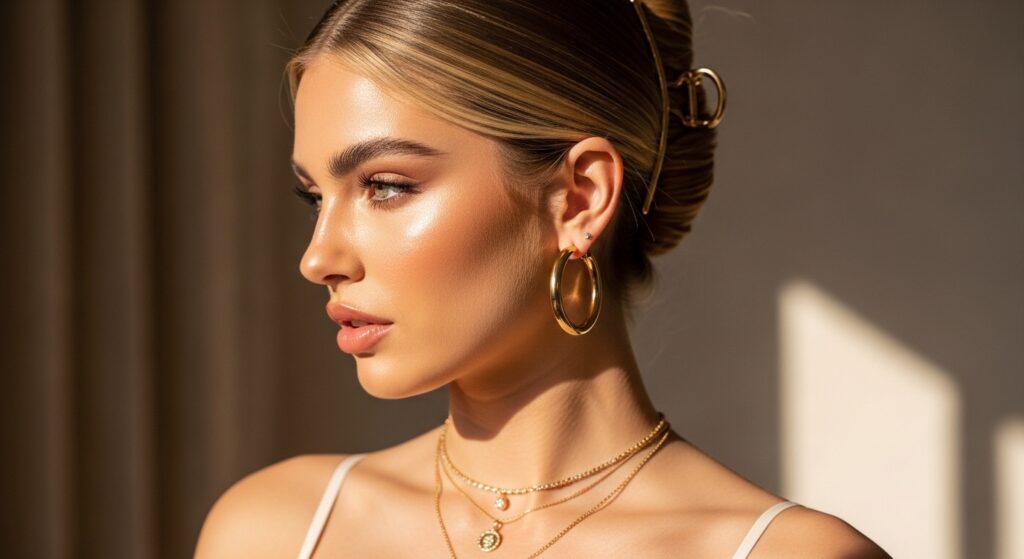
Your clip is the star, but don’t forget the supporting cast. Statement earrings shine when your hair is up. Hoops or dramatic drops look fantastic.
Also, consider necklines. This style beautifully shows off your neck and collarbones. Pair it with a slip dress, a boatneck top, or a blazer. Let the elegance of the updo be part of your outfit.
Day-to-Night Transformation in Seconds
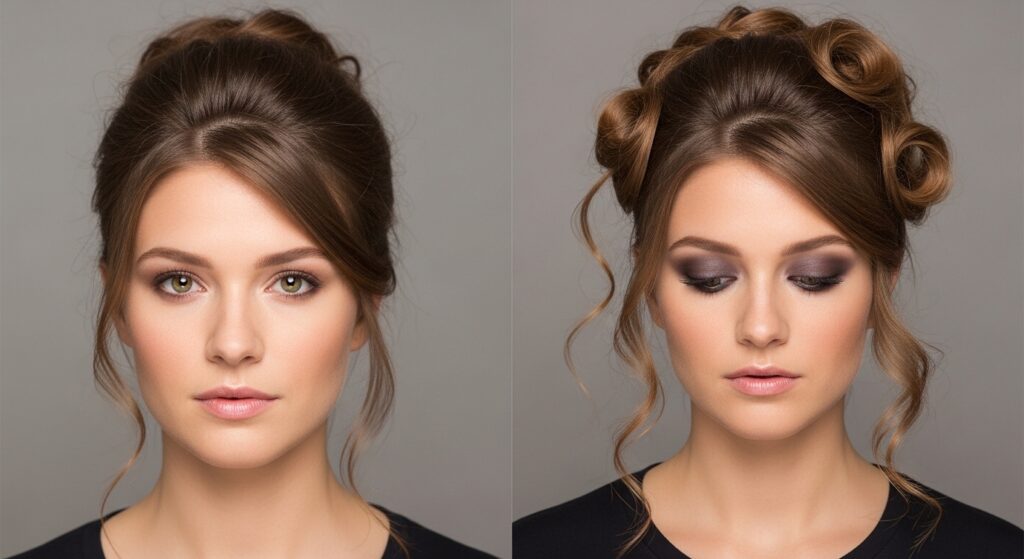
This is the best part. Your daytime updo can become your night-out look in one minute. Simply take the clip out. Shake your hair loose. Re-twist and fold it, but this time, leave more pieces out.
Pull out a few curated curls or waves. Add a dramatic lipstick or swap your studs for statement earrings. It feels like a whole new style with zero effort.
Combining with “Vampire Haircut” Fringes
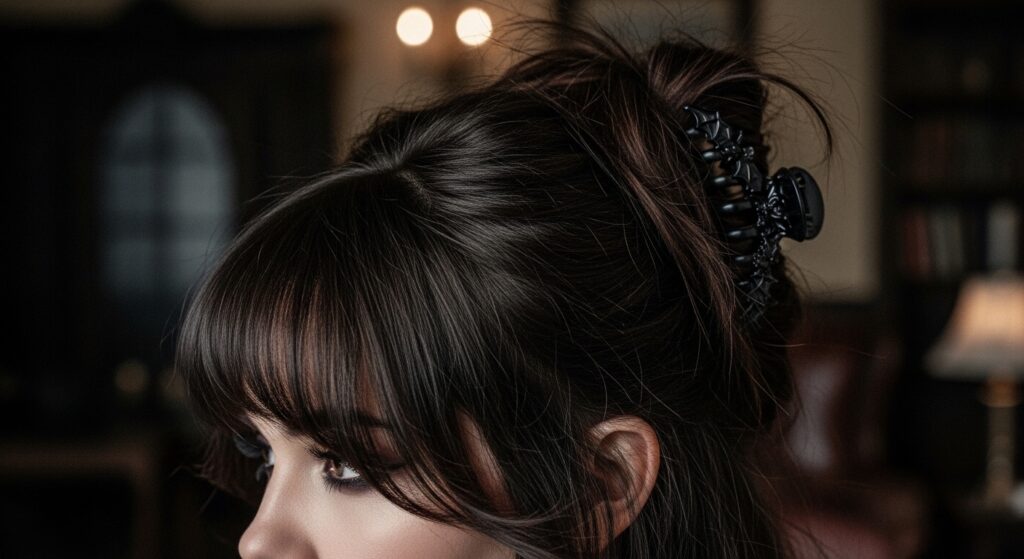
The vampire haircut is all about shaggy layers and a moody vibe. A claw clip updo is its perfect partner. It keeps the hair off the face but lets all those incredible layers and bangs do their thing.
Just gather the back loosely, letting the fringe and side layers fall freely. The clip contains the bulk without fighting the cut’s natural texture. It’s effortlessly cool.
Making It Last All Day & Night
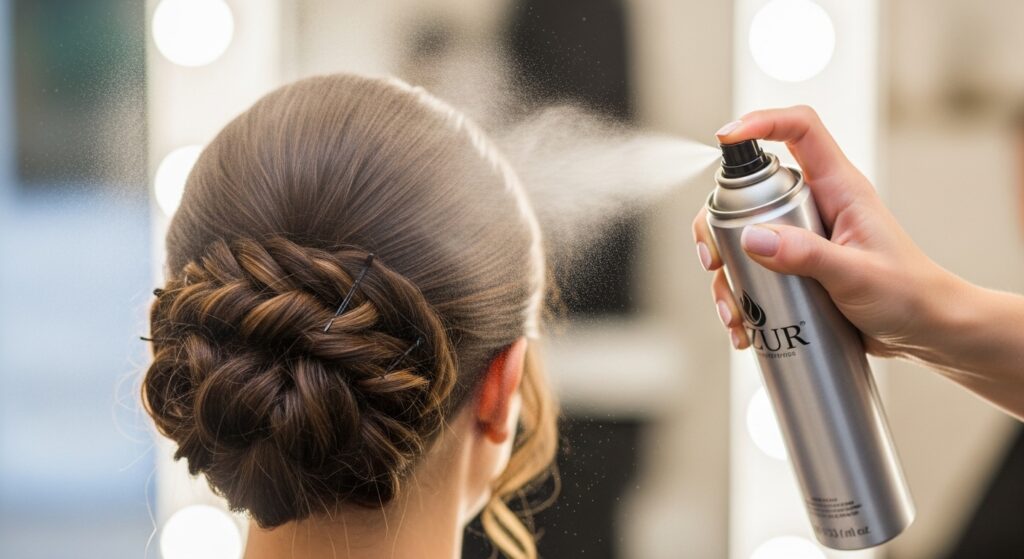
For all-day hold, a final light spray is key. But don’t douse it! Hold a flexible-hold hairspray about a foot away and give it one light mist. This sets the style without making it crunchy.
Carry a spare mini clip or a few bobby pins in your bag for quick fixes. Usually, just re-clipping it once in the bathroom is all you need to refresh the hold.
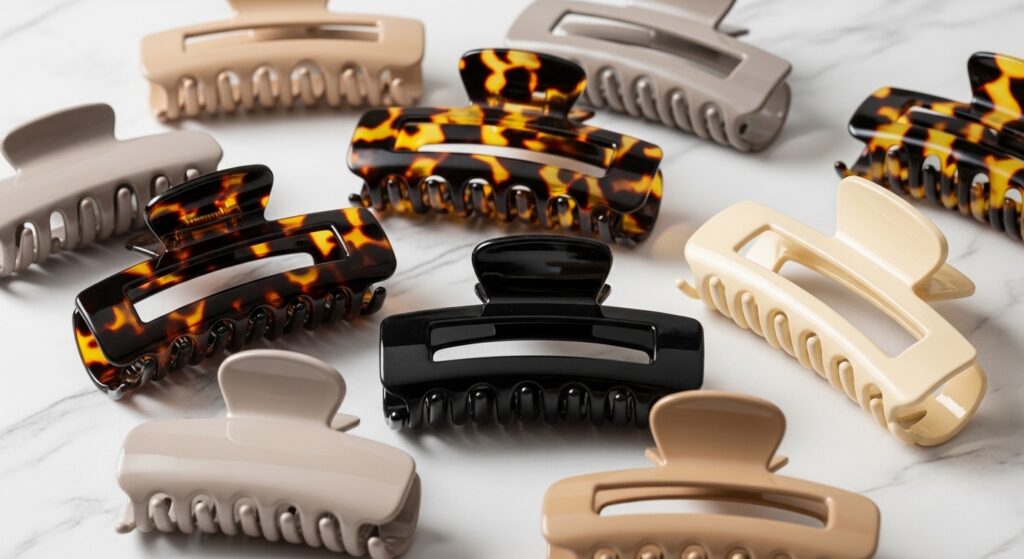
My Favorite Claw Clip Brands
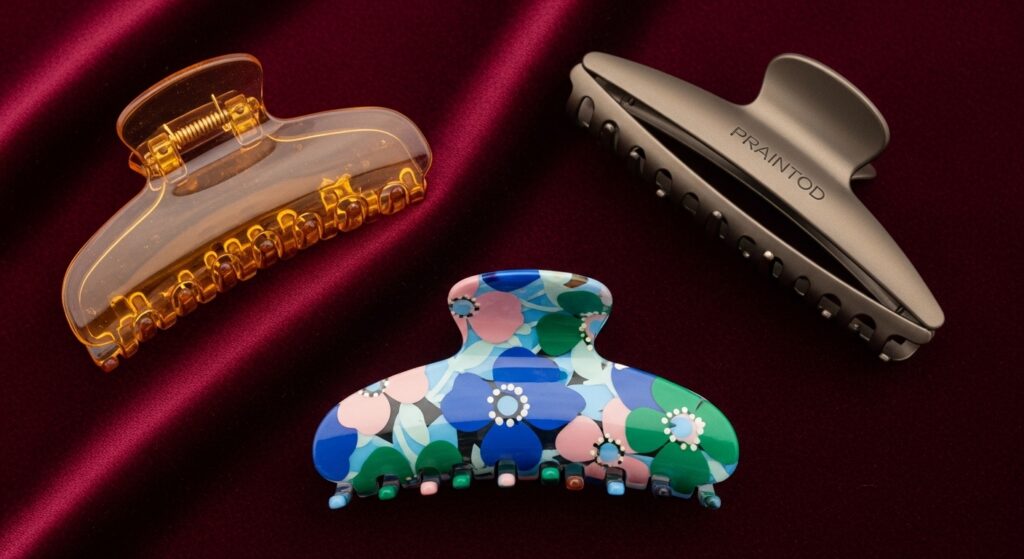
Not all clips are created equal. A good one has strong spring tension and teeth that grip without snagging. I avoid plastic ones that feel brittle—they always break.
My go-tos are from brands like Kitsch, Slip, and Goody’s higher-end lines. Look for ones with a matte finish or tortoiseshell pattern—they look more expensive and hold better.
Your Hair Type & The Right Clip Size
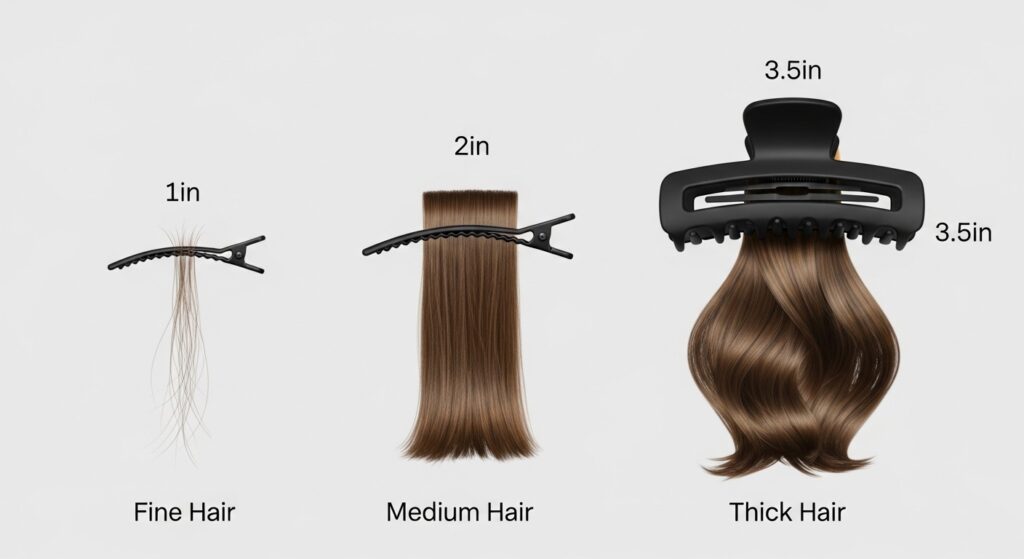
Match your clip to your hair thickness. Fine hair can use a medium clip, but it might need that bobby pin anchor. Medium to thick hair needs a large or extra-large clip.
If your clip constantly feels like it’s bursting open or slipping, it’s too small. The right size will feel secure but not like it’s pulling or straining. When in doubt, size up.
Common Mistakes & How to Fix Them
The main mistake is placing the clip horizontally. Always go vertical for the best hold. Another is not creating texture first—slippery hair will fail.
Also, avoid pulling the hair too tight before clipping. It should feel comfortable. If your bun looks flat, you didn’t pull the sides out enough after clipping. Loosen it up!
And there you have it! The complete, no-stress guide to looking like you have a personal hairstylist, when really, you just have a great clip and five minutes. The beauty of this style is in its imperfection, so don’t aim for flawless.
Play with it. Try it on second-day hair, or after the gym, or when you’re just lounging at home. The more you do it, the more it becomes second nature—your ultimate quick, chic, and kind-to-your-hair style.
Save this post to Pinterest so you always have the steps handy! And tell me in the comments—what’s your biggest claw clip struggle, or what victory are you celebrating? I read every one.