Crochet 25 Invisible Part Methods Hiding Tracks Completely Naturally
Hey friend. Let’s talk about the one thing that can make or break a crochet hairstyle: the part. You know what I mean. You’ve seen the flawless installs online, the ones where the braids just… disappear. And then you’ve seen the tracks. We’ve all been there, trying to style around that one section that just won’t cooperate.
I used to think achieving that completely natural, scalp-like part was just magic. Or photoshop. But after years of trial, error, and talking to my amazing stylist, I’ve learned it’s all about technique. It’s the secret sauce that takes a protective style from “cute” to “is that your real hair?!”
This isn’t about one method. It’s about having a toolbox. Because your hair type, the look you’re going for, and your lifestyle all matter. So, I’m sharing 25 different ways to hide those tracks so well, they’ll be your little secret. Let’s get into it.
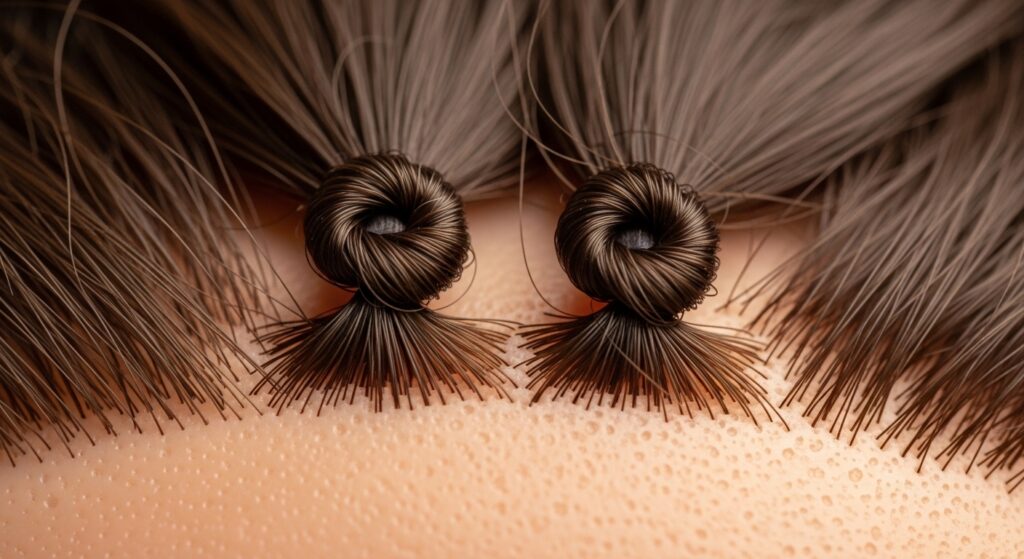
1. The Classic Invisible Part Method
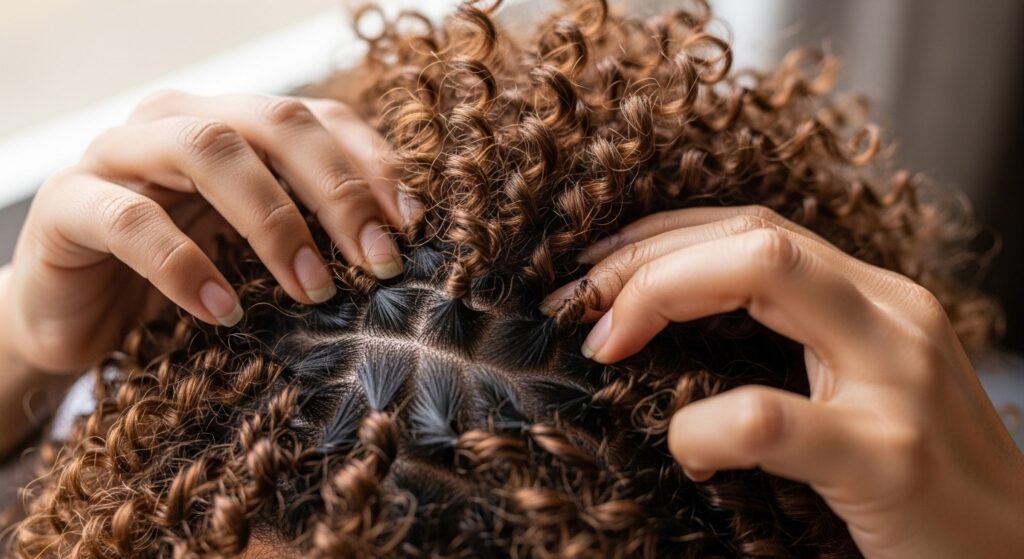
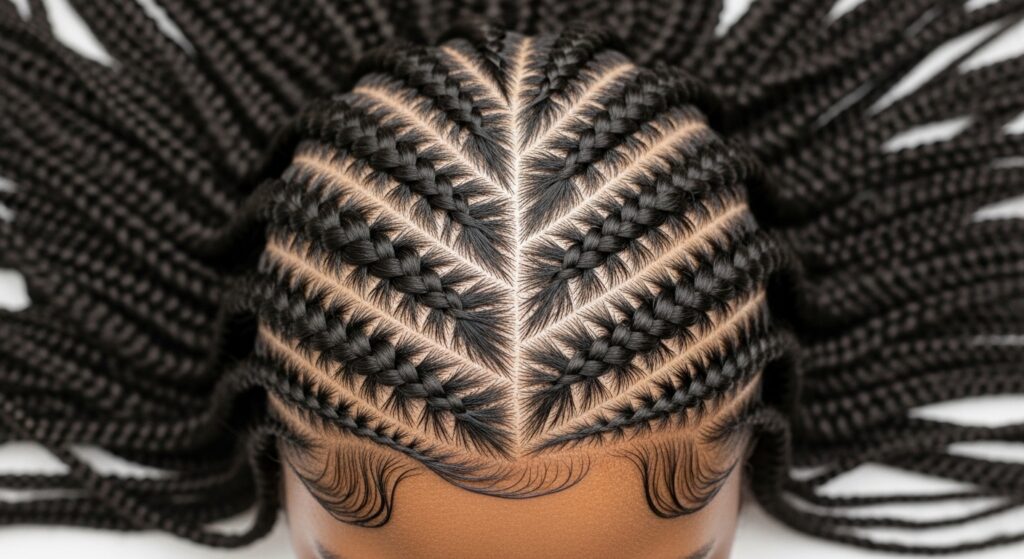
This is the foundation. It starts with cornrowing your natural hair flat against your scalp. The key is creating a clean, precise part in your cornrow pattern where you want the final part to be.
You then crochet the hair directly into that part line. The goal is to have the hair strands emerge so closely together that they mimic the look of hair growing from your scalp. It works best for middle or side parts.
- Cornrow your hair, leaving a clear part line.
- Use a small crochet needle for precision.
- Attach hair directly into the part, knotting tightly at the root.
2. The “Halo Part” for Volume
This method is perfect if you love big, voluminous styles but hate seeing tracks at the crown. Instead of a defined part, you create a “halo” effect. You install the hair in a circular pattern around the head, focusing the density around the perimeter.
The hair in the center is installed sparsely or left as your natural hair. When you shake out the curls or waves, they fall over this center area, creating a natural, track-free volume. It’s a dream for 2026 hairstyles leaning into big, romantic shapes.
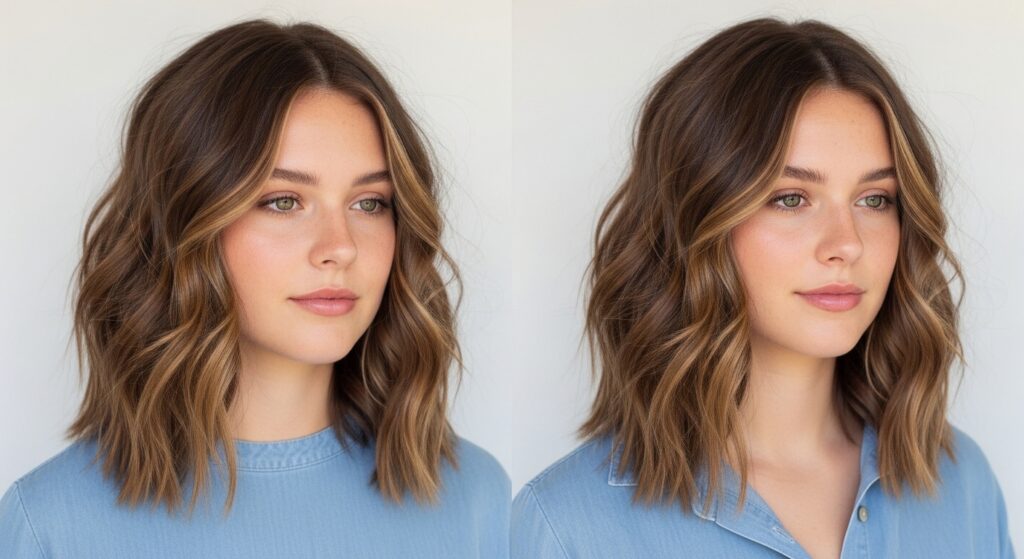
3. The Side-Swept Disguise
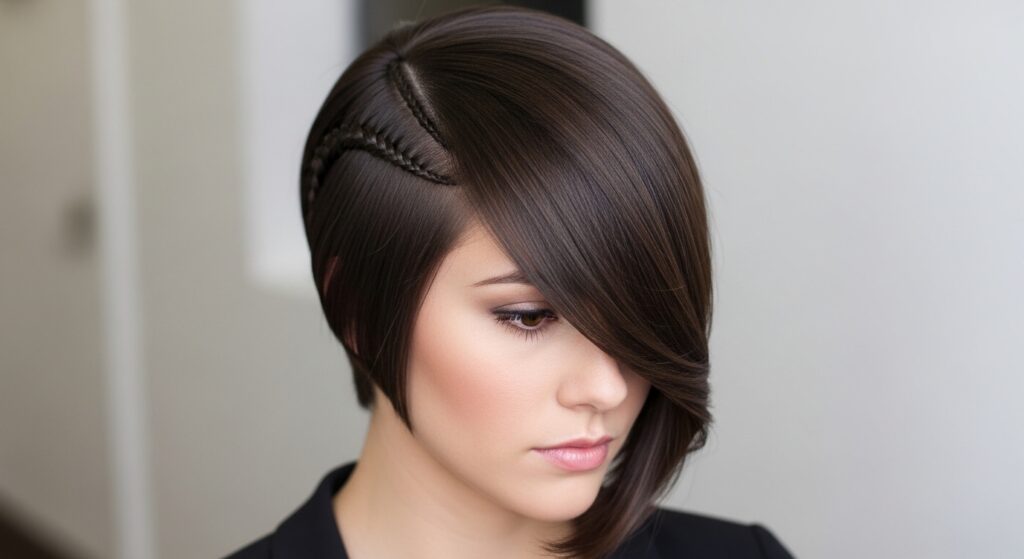
Sometimes the simplest tricks are the best. For a quiet luxury bob or an asymmetrical lob, a deep side part is your best friend. Install your hair as usual, but create a strong, deep side part.
Style the bulk of the hair to sweep over the opposite side of your head. The weight and direction of the hair will cover the tracks at the root naturally. Use a little holding spray at the roots to keep the sweep in place all day.
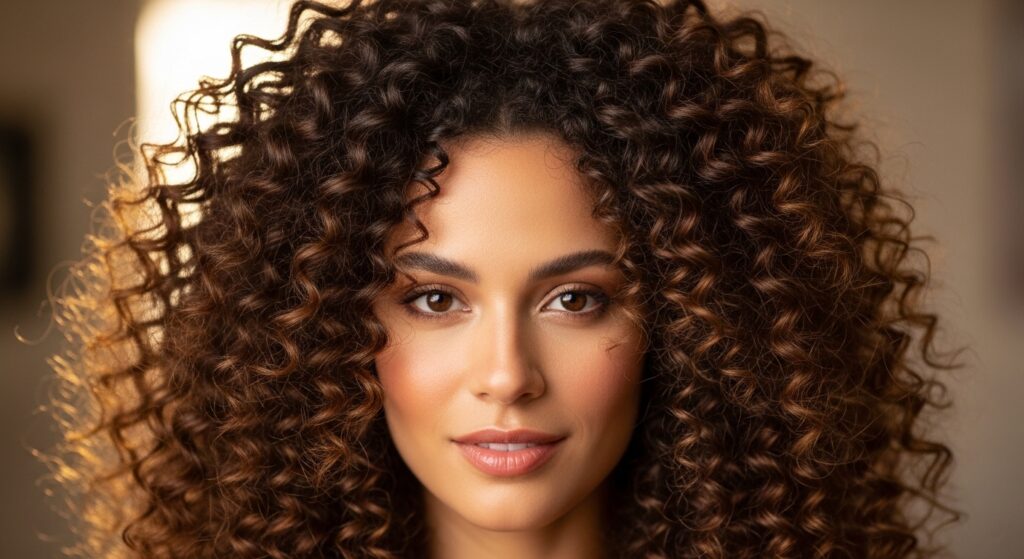
4. The Freestyle & Fluff Technique
This is less about installation and more about styling. After installing your curls or coils, don’t be afraid to really get in there. Use your fingers to gently pull and separate the hair at the roots.
This “fluffing” creates deliberate volume and breaks up any straight, track-revealing lines. The goal is a perfectly imperfect, lived-in look where the texture does all the hiding for you. It’s essential for curly and kinky textures.
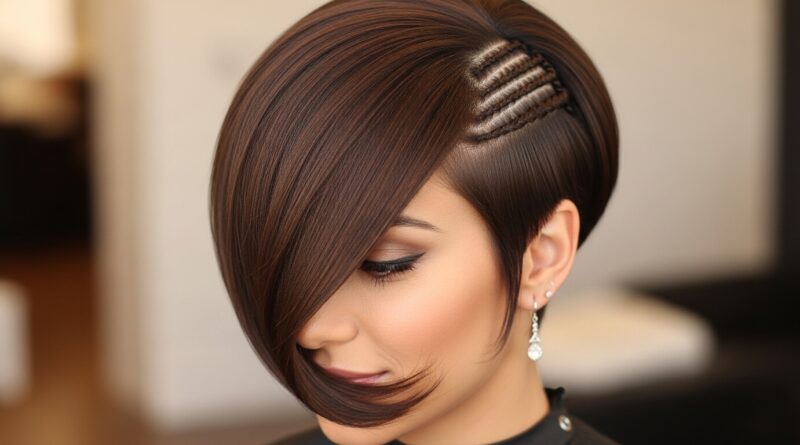
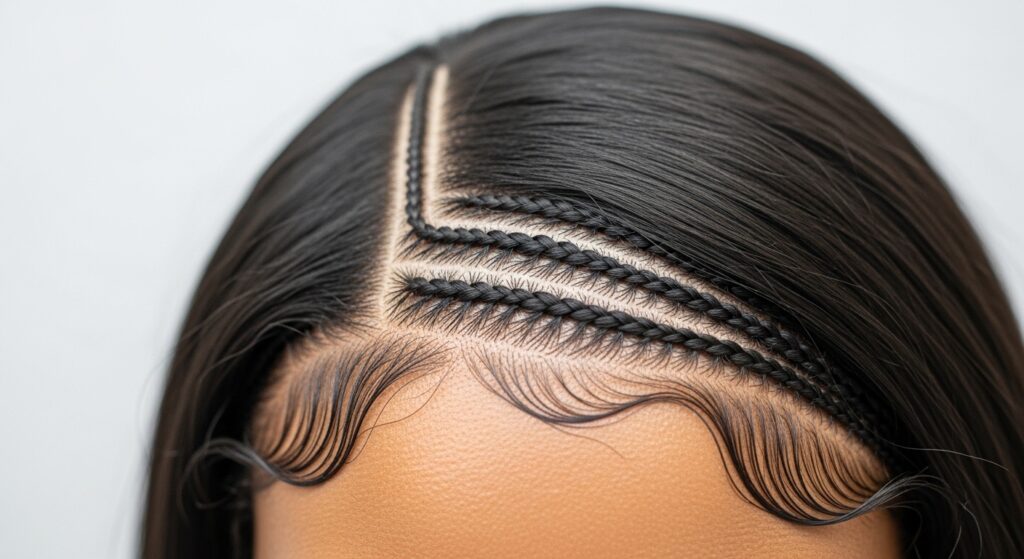
5. Using the “V” Parting Method
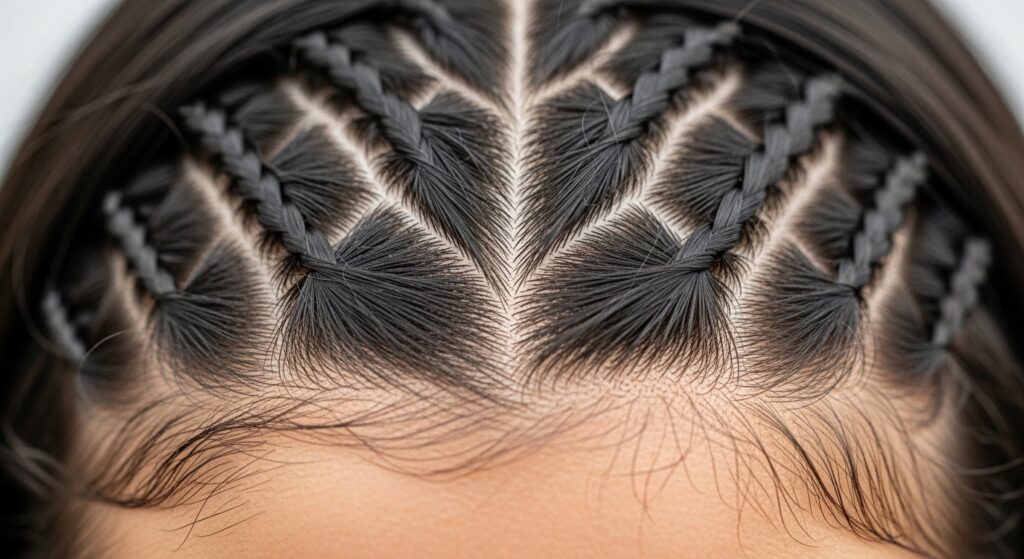
Instead of crocheting hair in a straight line, create tiny, triangular “V” shaped parts with your crochet needle. You attach the hair at the point of the V. This creates a more irregular, natural-looking hairline and part.
When the hair lays down, it fans out from that small point, covering more of the braid underneath. It takes a little more time, but the payoff in realism is huge, especially around the hairline.
- Use the hook to lift a small triangle of cornrow.
- Attach the hair loop to the point of the triangle.
- Repeat in a staggered pattern.
6. The Braid-Out Blend Trick
If you leave out some of your natural hair at the part, this is a game-changer. Before installing, braid or twist your leave-out hair. After installation, take down the braids to create a braid-out pattern.
The texture of your braid-out will blend almost perfectly with the texture of most crochet braid-out hair. This creates a flawless transition that makes it impossible to tell where your hair ends and the added hair begins.
7. Strategic Accessory Placement
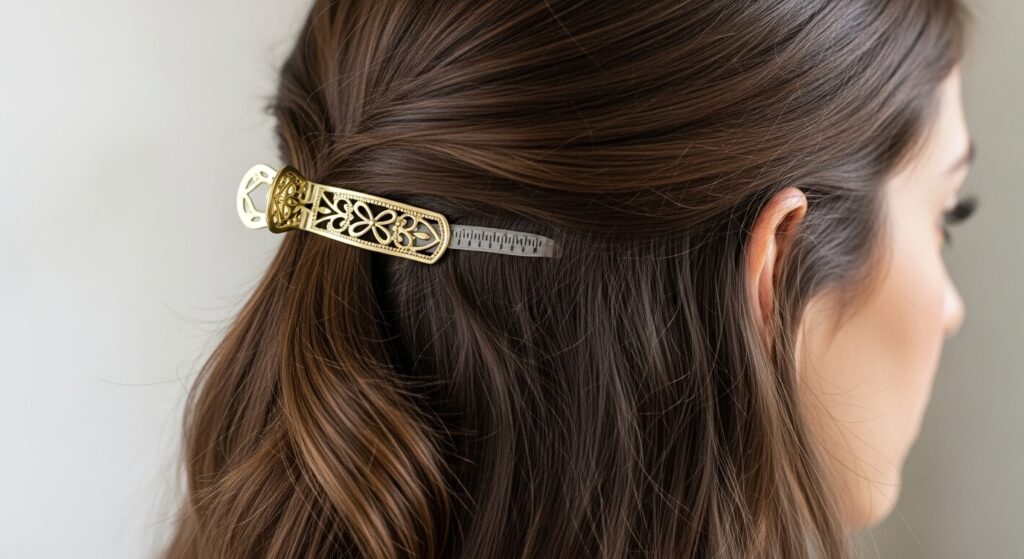
Accessories are functional magic. A beautiful clip, a sleek barrette, or even a delicate headband can be placed right at the root of your part. It draws the eye and stops anyone from looking closer at the base.
This is a perfect trick for old money hair aesthetics or when you need a quick fix on a busy day. Choose an accessory that complements your look, from minimalist to romantic goth hairstyles.
8. The Double-Knot Security
For extra density at the part line, use the double-knot method. Instead of one loop of hair per stitch, you add two. You can either use two strands in one knot or place two separate knots extremely close together.
This creates a thicker, more lush appearance right at the root, which helps block the view of the cornrow underneath. It’s great for straight or wavy styles where you want a dense, full part.
9. Mastering the Deep Wave Part
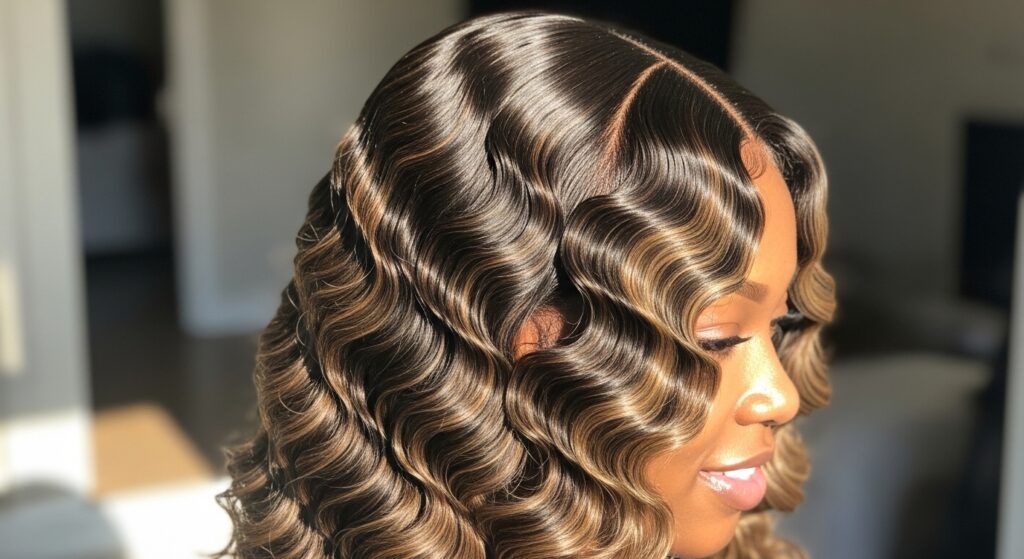
Deep wave hair has a built-in advantage. The strong S-pattern creates lots of volume and movement. When installing, follow the natural flow of the wave. Often, the hair will want to fall in a certain direction, creating its own part.
Encourage this by styling with your fingers, not a comb. Let the waves clump and fall naturally. This creates an organic, non-linear part that looks incredibly real and is perfect for a glamorous, full look.
10. The “Baby Hair” Illusion
Never underestimate the power of baby hairs. Using gel and a soft brush, style your natural baby hairs or thin strands from the crochet hair along your part and hairline.
This softens the entire look and creates a realistic, graduated hairline. It frames your face and strategically covers the most vulnerable areas where tracks might peek through. It works with every style, from a vampire haircut to a simple ponytail.
11. The Curly Fro-Hawk Part
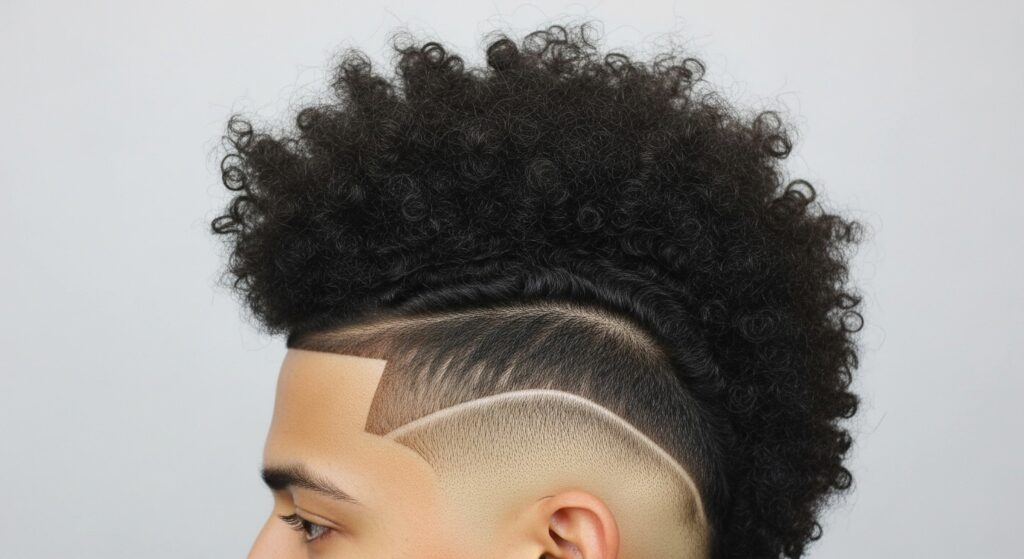
For a bold, glitchy glam hair statement, try a curly fro-hawk. The hair is installed densely down the center of the head, with shorter or tapered sides. The volume of the curls in the center is the main event.
You can create a clean part at the base, but the height and texture of the curls will make it virtually invisible. This style is all about embracing dramatic shape to disguise technique.
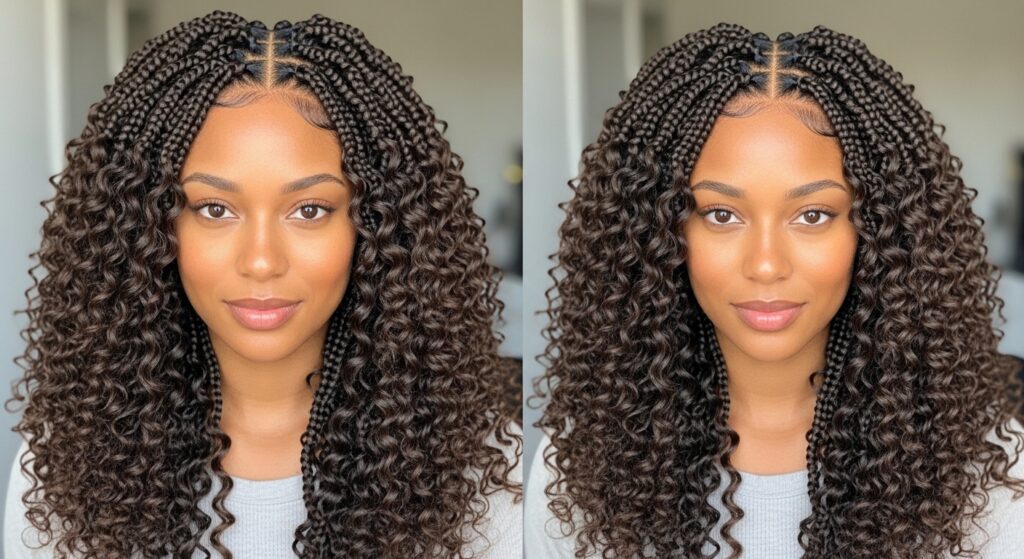
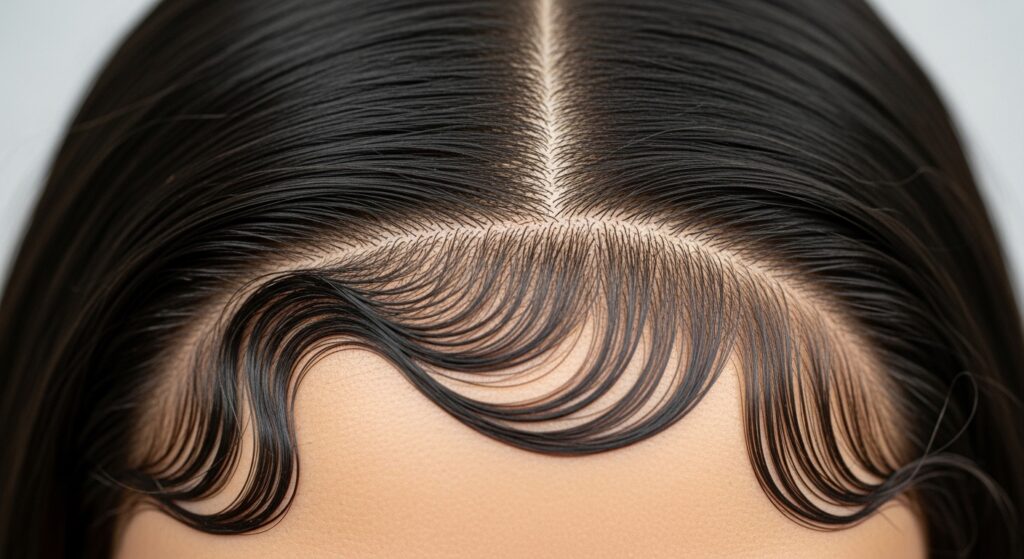
12. The Invisible Middle Part for Straight Hair
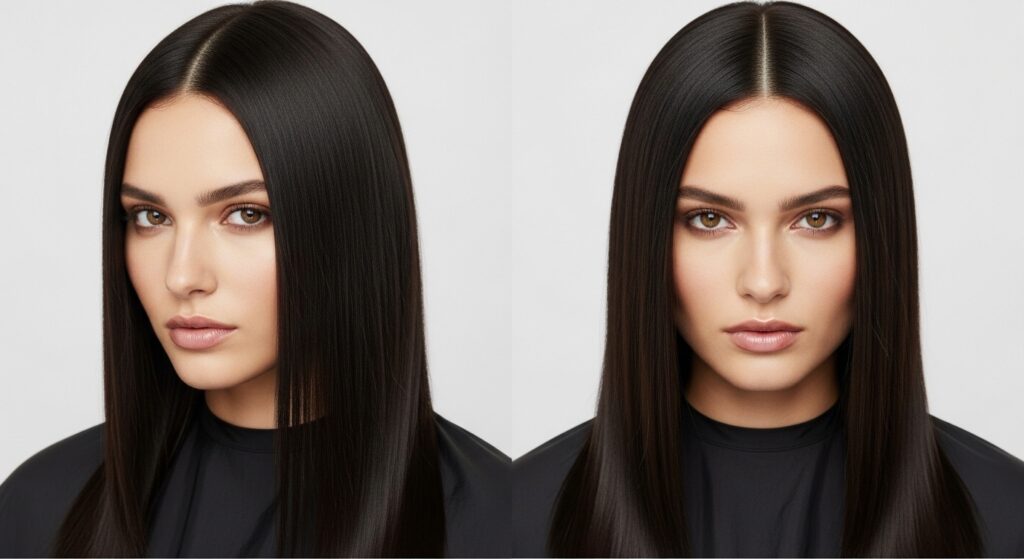
Straight hair shows everything, so this requires precision. Cornrows must be perfectly flat. Use a rat-tail comb to create a razor-sharp part line. When crocheting, use straight hair with a slight natural luster, not overly shiny.
After installation, use a light edge control or gel on a toothbrush to lay down the hairs directly along the part. The key is minimal product and maximum neatness for that sleek, quiet luxury finish.
13. The Zig-Zag Parting Pattern
A zig-zag part isn’t just cute; it’s strategic. The irregular line makes it much harder for the eye to follow the cornrow underneath. It adds instant interest and a touch of playful energy to your style.
Create the zig-zag in your cornrow base, then follow it exactly when crocheting. This method is fantastic for adding a unique twist to classic styles and is a great way to play with 2026 hairstyles trends early.
14. The Ponytail Base Concealer
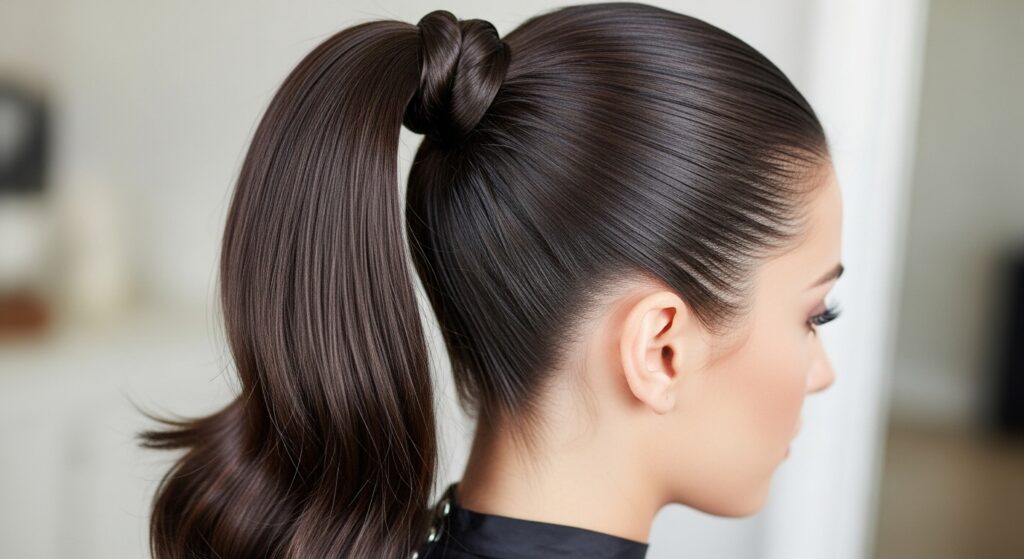
Planning a ponytail? Install the hair as you normally would. When you gather it into a ponytail, leave out a small section of hair near the nape of your neck. Use this section to wrap around the base of the ponytail.
Secure it with a bobby pin underneath. This wrap covers the elastic and the point where all the hair converges, giving you a flawless, salon-smooth finish.
15. The Twist-Out Texture Match
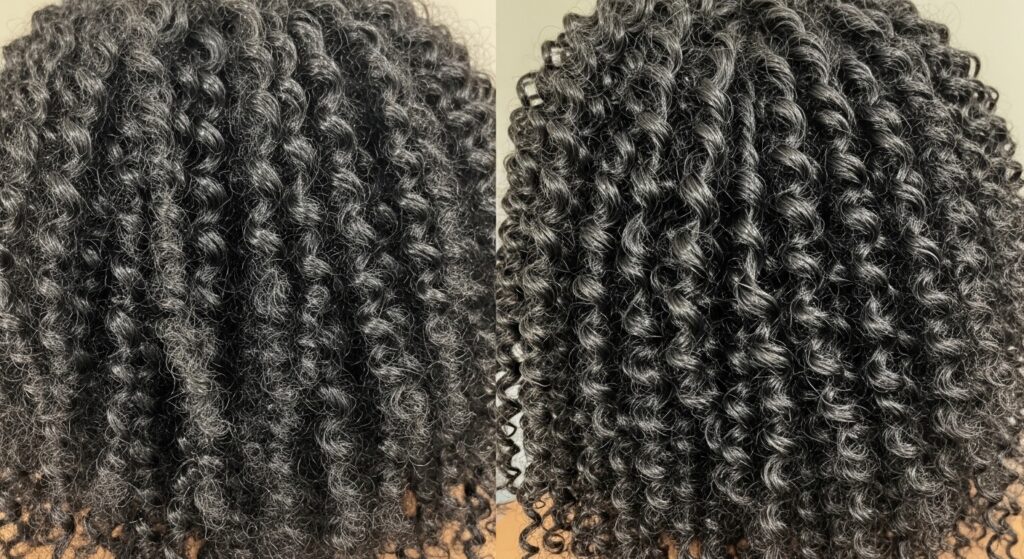
Similar to the braid-out, this relies on texture harmony. If you’re using crochet hair meant for a twist-out, do a twist-out on your natural leave-out hair. The springy, defined coils will match perfectly.
The blended texture at the part looks so authentic because it *is* authentic texture mixing. This is the ultimate goal for a truly undetectable protective style.
16. The “Hime Cut” Bangs Advantage
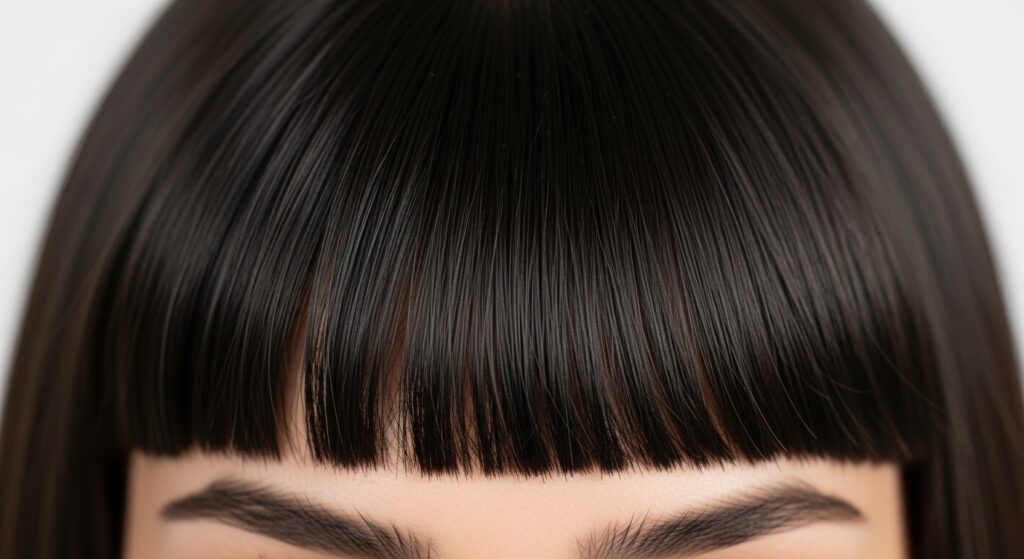
The hime cut, with its distinctive straight-across bangs, is a secret weapon. By installing hair to create these full, blunt bangs, you cover the entire front hairline and the top part of your head.
The focus becomes the dramatic bang and the length, while the installation base remains completely hidden behind a curtain of hair. It’s a stylish and very effective cover-up.
17. The Low-Density Installation
Sometimes, less is more. Overloading a style with too much hair can create bulk at the roots that actually highlights tracks. Opt for a low-density installation, especially with straighter textures.
This allows the hair to lie flatter and move more naturally. A little scalp show is realistic and can actually make your style look more like natural hair, achieving that effortless old money hair vibe.
18. The Water Wave Side Part
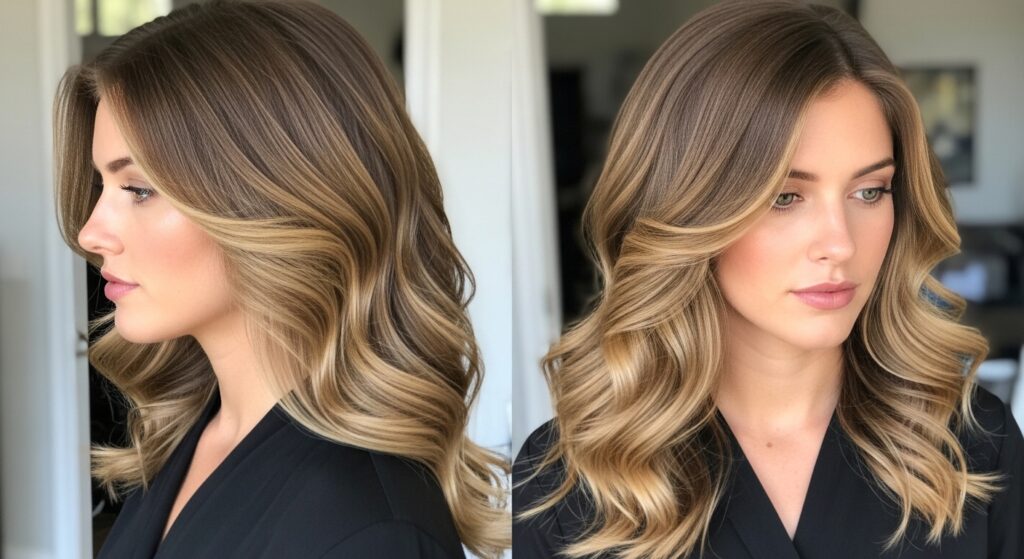
Water wave hair is incredibly forgiving. Its loose, rolling pattern creates natural separation and volume. Install with a deep side part, and let the waves from the heavier side cascade over your shoulder.
The wave pattern will naturally camouflage the braids underneath, and the direction of the hair does the rest of the work. It’s an easy, low-maintenance route to a flawless look.
19. The Updo & Bun Savior
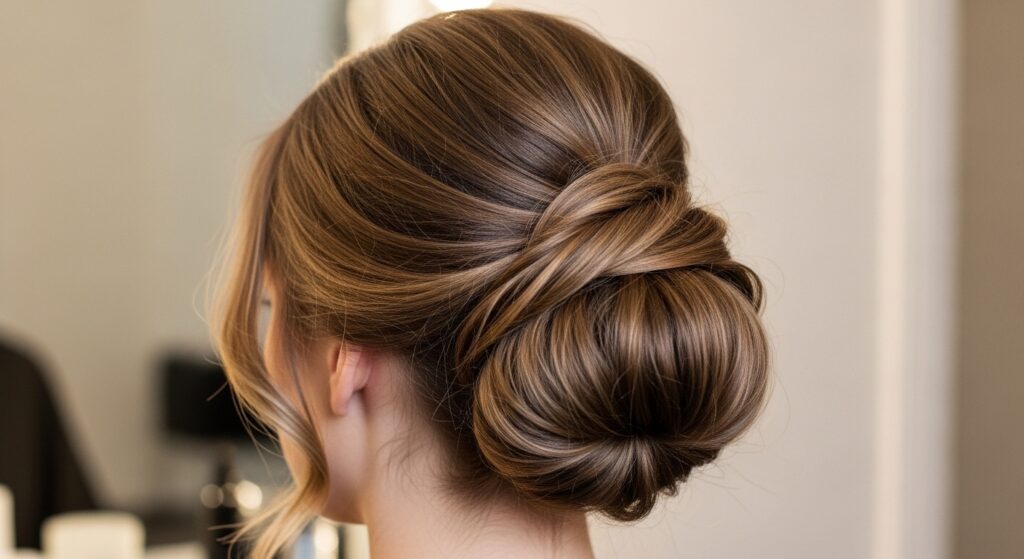
Updos are perfect for day 5 or 6 of a style. Pull your hair into a chic bun, but don’t make it too tight or slick. Leave out some face-framing pieces and gently pull on the edges of the bun to create soft volume.
This volume around the base of the bun covers any signs of installation. It’s a polished, quick fix that makes your style look brand new again.
20. The Final Touch: Dry Shampoo & Powder
This is my final pro tip. If you have slight gaps or your cornrow color peeks through, use a tinted dry shampoo or eyeshadow powder that matches your scalp. Apply it directly along the part with a small, dense brush.
This instantly blends everything together, creating the illusion of a continuous scalp. It’s the ultimate magic trick for last-minute touch-ups before an event.
Whew! That was a lot, but I promise, having these methods in your back pocket changes the game. It’s not about being perfect; it’s about knowing which trick to use for the look you want to rock today.
The best part? You get to experiment and find what makes you feel most confident. Maybe it’s the flawless finish of the V-part method for your sleek bob, or the carefree disguise of the halo part for your big curls.
Remember, great style is about the details. Mastering your part is that detail. Now you have all the tools. Go ahead and install with confidence, and wear your beautiful style knowing your secret is perfectly safe.
Save this post to Pinterest so you always have this guide handy for your next install! And tell me in the comments—which method are you most excited to try first? Is there a tricky style you need help with? Hailey & Team are here for you!