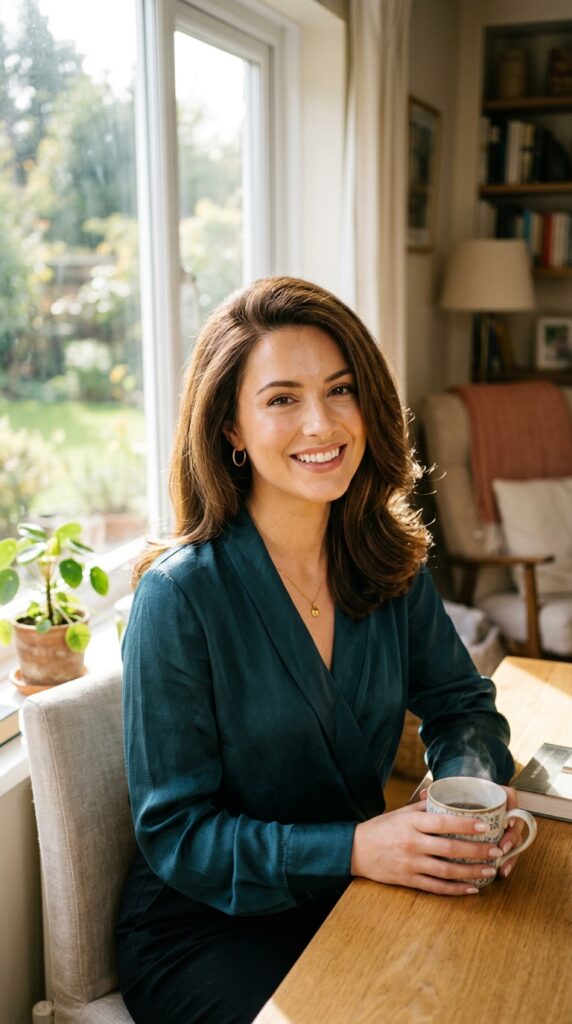
Achieve 14 Bouncy Blowouts Mimicking Salon Results Using Diffusers
You know that feeling when you walk out of the salon with a perfect, bouncy blowout and think, “I wish I could do this at home”? I’ve been there so many times. But here’s the secret: your diffuser is the ultimate tool for getting that voluminous, salon-quality look without the price tag or the appointment stress. Believe me, I tested this on my own fine hair, and the results were legit. In this post, we’ll break down 14 gorgeous, bouncy blowout styles you can mimic with your diffuser—think soft waves, old-money shine, and even edgy glitchy glam vibes. Ready to become your own stylist? Let’s get started.
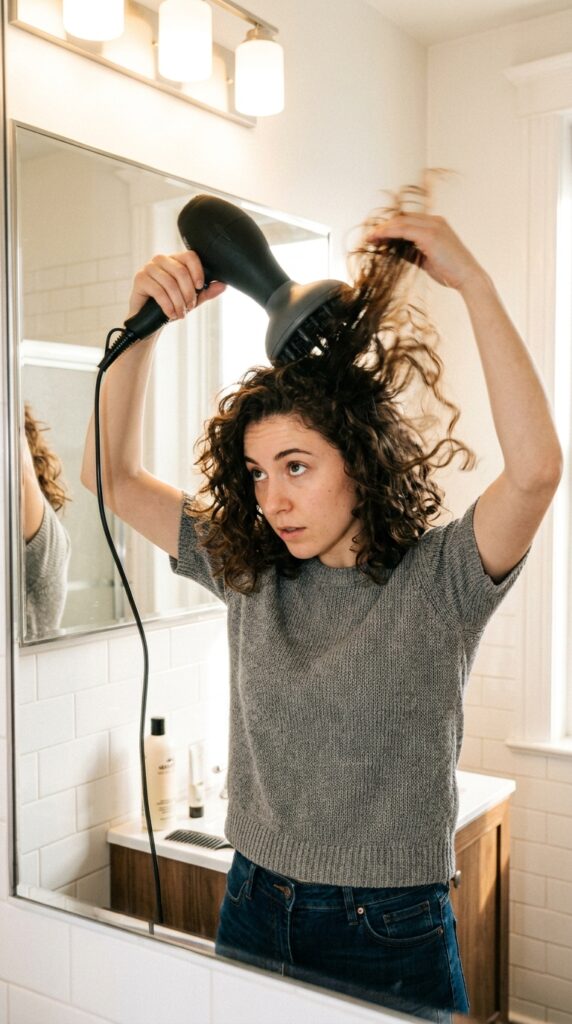
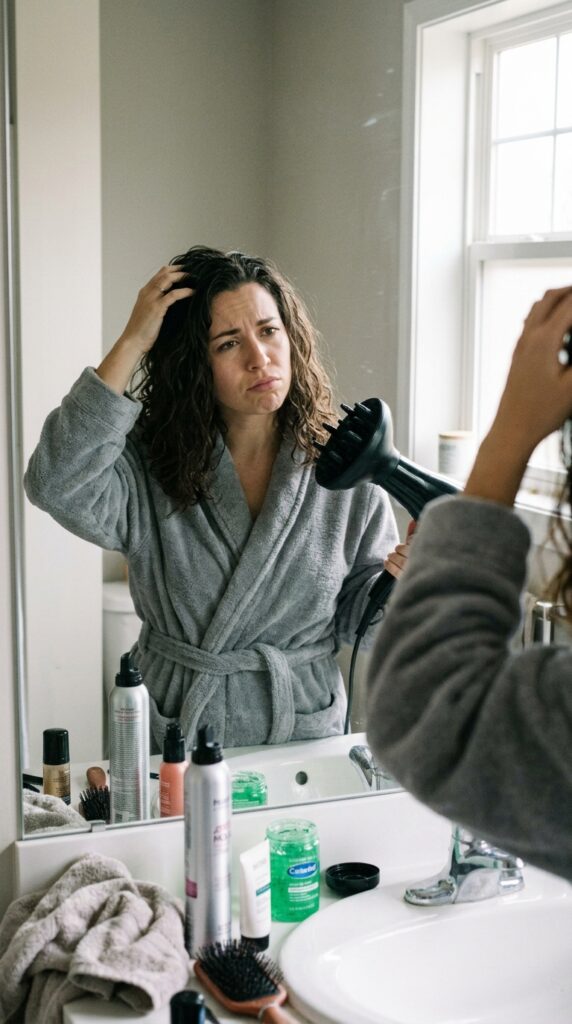
Why Your Diffuser Is the Real MVP
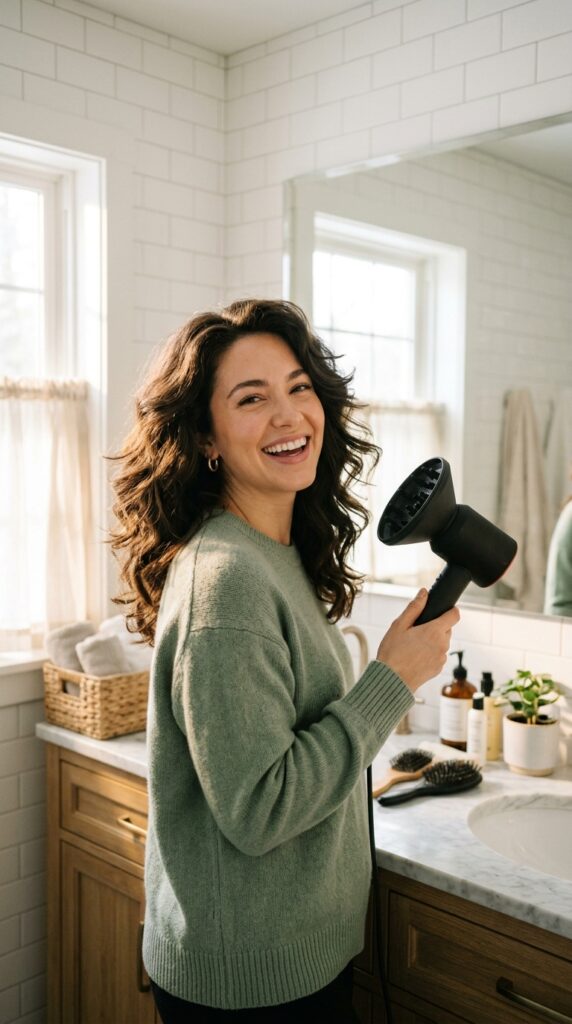
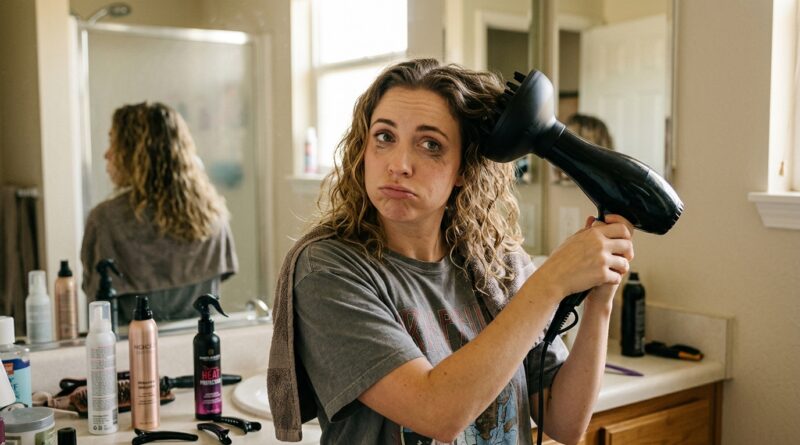
I used to think diffusers were just for curly hair. Nope. A diffuser spreads the heat gently, which means less frizz and more defined volume. It’s like giving your hair a cozy hug instead of a harsh blast. Plus, it works for straight, wavy, and textured hair alike. You really can get salon results without the salon price tag.
- Gives you lift at the roots.
- Reduces heat damage.
- Creates that “I just got a blowout” bounce.
Prep Your Hair Like a Pro
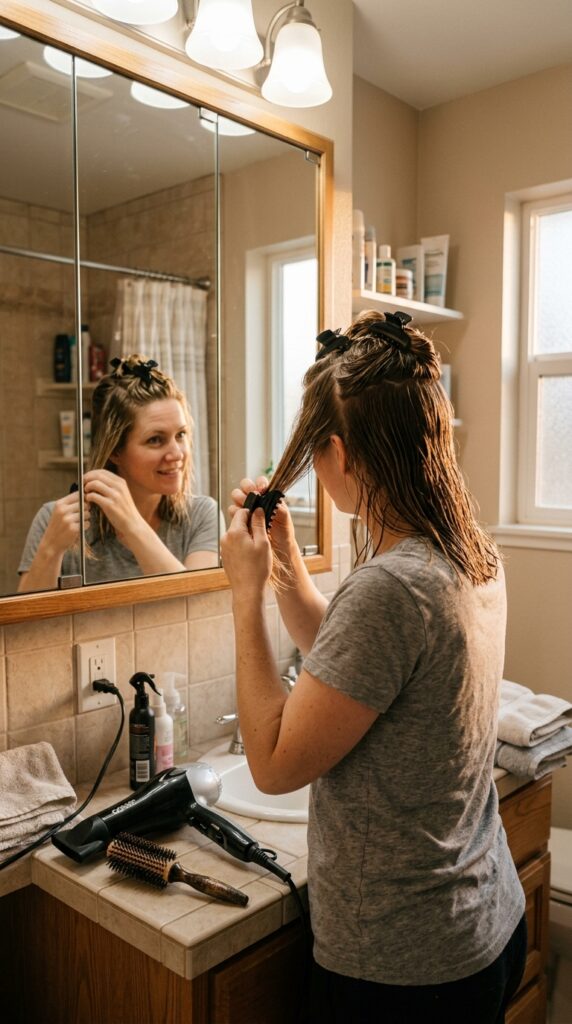
Trust me, skipping prep is the biggest mistake. Start with a heat protectant spray and a lightweight mousse. I love using a volumizing mousse on damp hair—it gives that old money hair lift without weighing things down. Then, rough-dry your hair to 80% dry before you even touch the diffuser. This step alone saves time and adds major bounce.
- Apply mousse from roots to ends.
- Use a wide-tooth comb to detangle.
- Blot excess water with a microfiber towel.
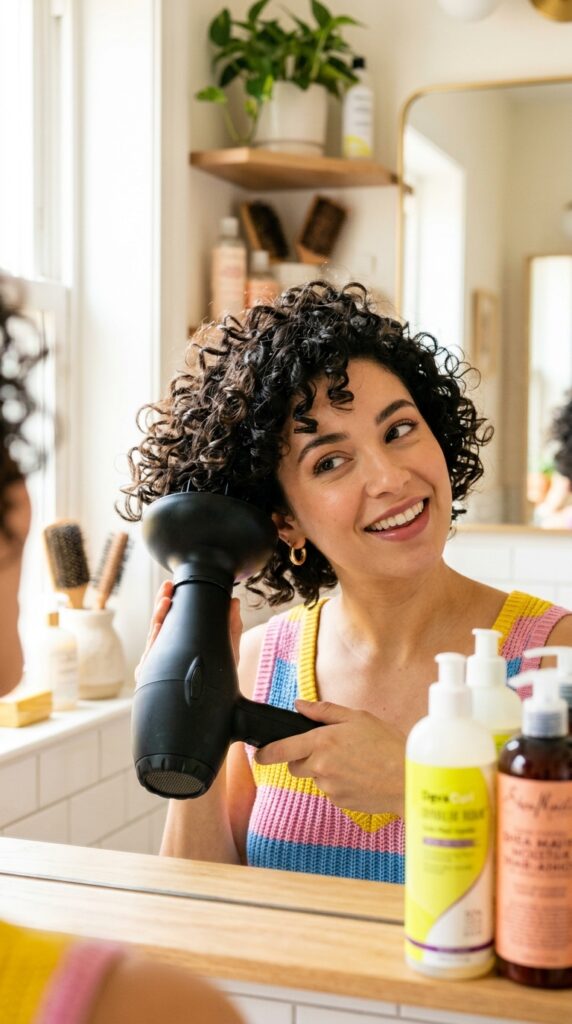
The Classic Salon Bounce
Now for the classic. This is the blowout everyone wants—smooth, bouncy, and full. Start by flipping your head upside down and diffusing your roots. Then, use the diffuser to cup sections of your ends, lifting them upward as you dry. This motion creates that round, salon-style bounce. Don’t rush it; let each section cool for a few seconds before moving on.
- Flip head upside down for root lift.
- Cup ends with diffuser, lifting up.
- Cool each section for 5 seconds.
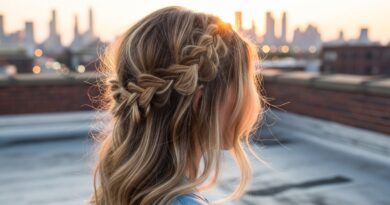
2026 Hairstyles: The Old Money Wave
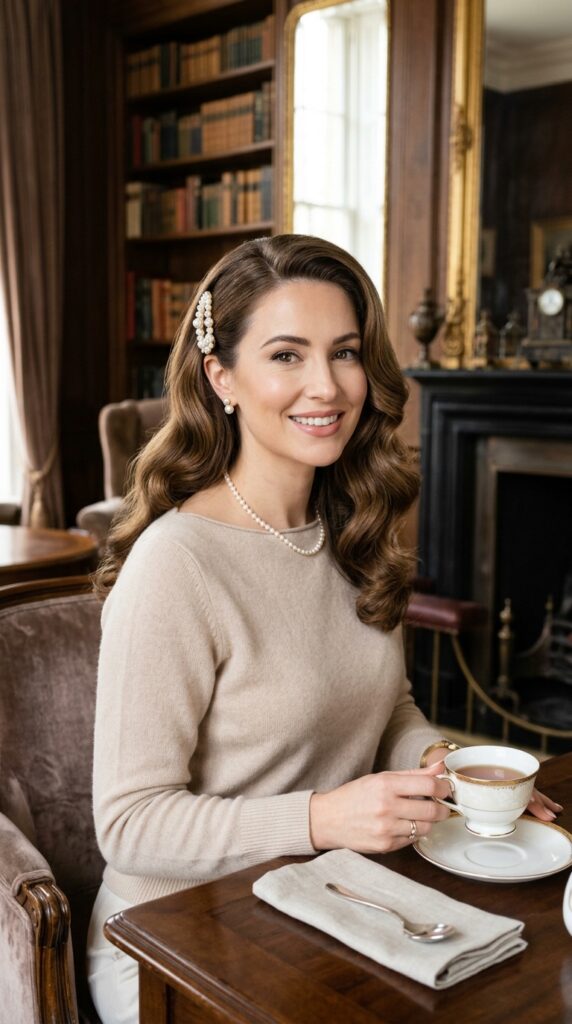
For 2026, old money hair is all about understated elegance. To get this look, use a diffuser on low heat and low speed. Twist small sections of your hair as you dry them, creating soft, defined waves. The key is to keep the texture very uniform—no messy waves here. Finish with a light hairspray for that quiet luxury vibe that stays all day.
- Twist 1-inch sections before diffusing.
- Use low heat for a smoother finish.
- Spray with flexible hold hairspray.
Romantic Goth Hairstyles: Dark & Voluminous
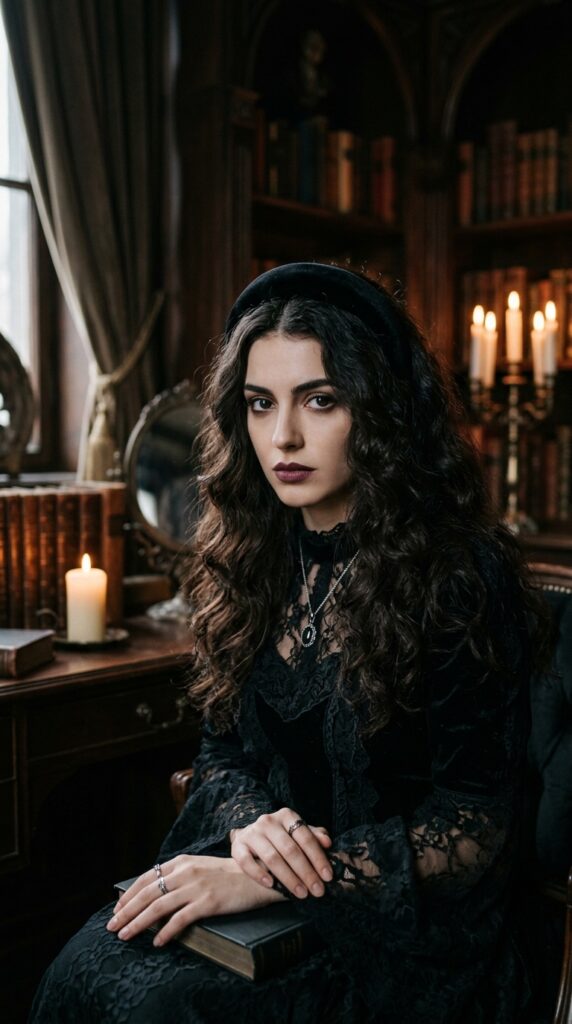
Romantic goth is huge right now, and it’s perfect for winter. Think dark hair with lots of volume and a slightly undone texture. Diffuse your hair upside down first to get that big, almost Victorian shape. Then, use the diffuser on random sections to create waves that are a little messy but still intentional. Add a deep side part for drama.
- Get maximum root volume first.
- Create random, loose waves.
- Use a deep side part for drama.
The Quiet Luxury Bob
The quiet luxury bob is all about looking expensive without trying too hard. With a diffuser, you can dry a bob quickly while keeping it sleek and bouncy. Focus on diffusing the roots at the crown first, then dry the ends downward. Use your fingers to separate the hair as you go—no brushing needed. It’s the low-effort, high-reward look.
- Diffuse roots at crown first.
- Dry ends downward for a sleek finish.
- Use fingers instead of a brush.
Vampire Haircut: Edge Meets Bounce
Vampire haircuts—those razor-sharp layers with lots of texture—are made for diffusers. This cut needs volume to look its best. Diffuse your hair in small sections, lifting the layers upward so they don’t fall flat. A volumizing powder at the roots helps these layers really pop. The result is a dramatic, bouncy shape that feels fresh and bold.
- Section hair into small pieces.
- Lift layers upward while diffusing.
- Apply volumizing powder to roots.
Glitchy Glam Hair: Textured & Bold

Glitchy glam is all about intentional texture and unexpected angles. For this look, use the diffuser on high heat (but not too close) to create slightly uneven, chunky waves. Then, add a shine spray to create that glitchy, high-contrast look. The bounce comes from the random, almost electronic feeling of the texture. It’s bold, and it works.
- Use high heat for chunky texture.
- Direct waves in different directions.
- Add shine spray for contrast.
Asymmetrical Lob: Bounce on One Side

An asymmetrical lob is all about showing off that longer side. To style it with a diffuser, dry the longer side first, using the diffuser to push the hair backward and upward. For the shorter side, dry it downward to keep it sleek. The contrast between the bouncy longer side and the cleaner shorter side creates the perfect shape. Easy and so flattering.
- Focus on the longer side first.
- Push hair backward for volume.
- Keep the shorter side sleek.
Hime Cut: Princess Volume

The hime cut is back, and diffusers are perfect for it. You want the bangs to stay straight but the lower layers to have serious bounce. Diffuse only the bottom layers, using small rounds of heat. For the bangs, just point the diffuser at them from a distance to avoid frizz. This gives you that princess-like volume where it counts.
- Diffuse only the bottom layers.
- Use a wide nozzle for bangs.
- Keep bangs smooth and flat.
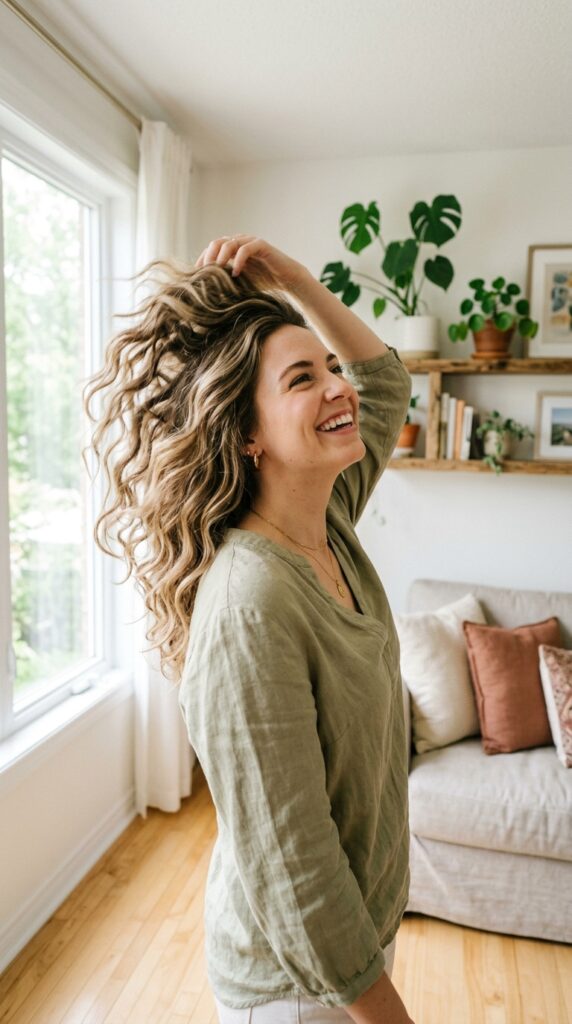
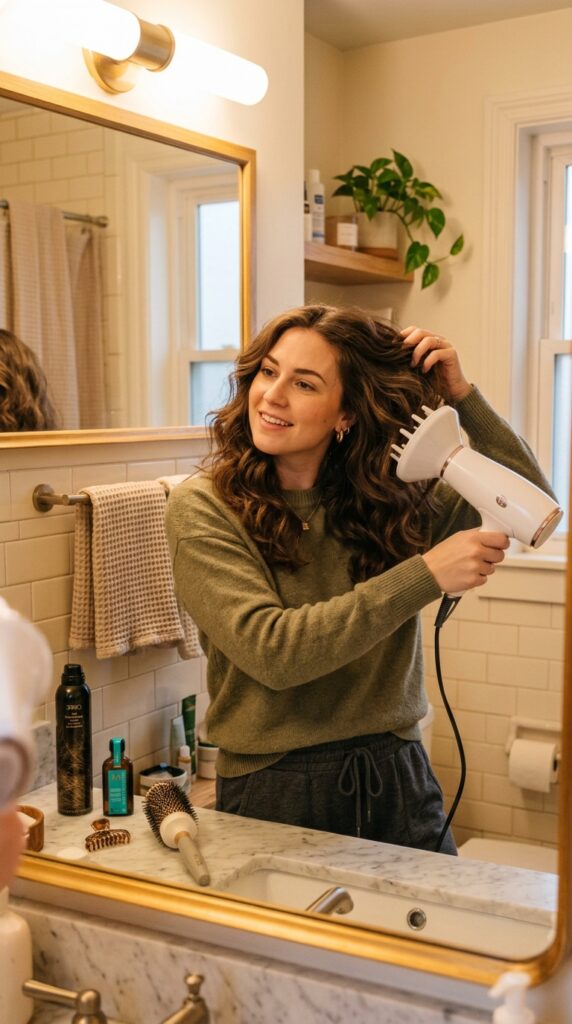
Everyday Bouncy Waves for Fine Hair
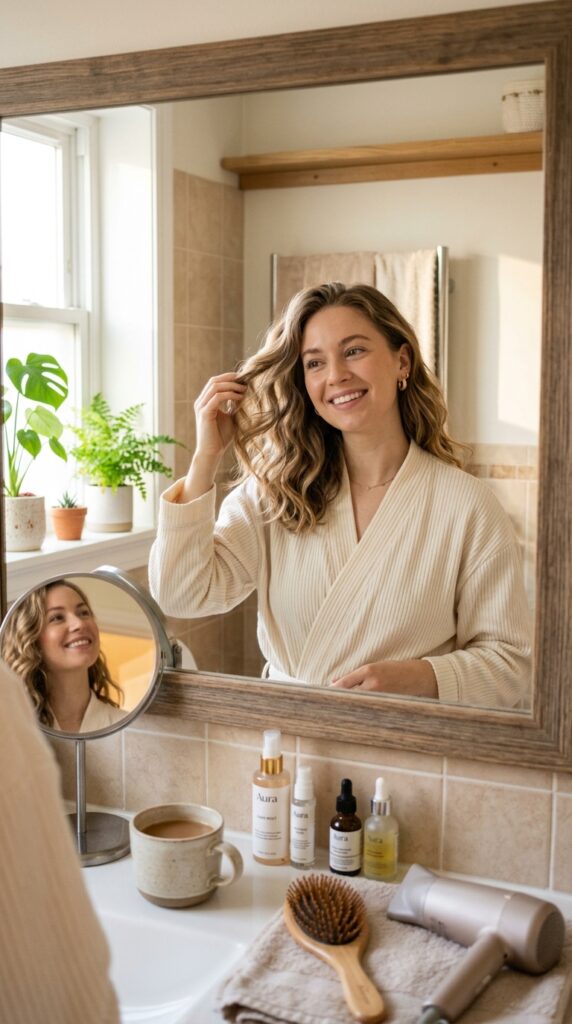
Fine hair needs extra love, and a diffuser is the answer. I find that drying fine hair upside down first gives the most lift. Then, use the diffuser to scrunch small sections upward. The trick is to not touch the hair until it’s completely cool—this locks in volume. A texturizing spray at the end keeps the bounce from falling flat.
- Dry upside down for root lift.
- Scrunch sections upward.
- Let hair cool completely before touching.
Thick Hair No-Frizz Blowout
Thick hair can get frizzy with diffusers, but here’s the secret: use low heat and a leave-in conditioner first. Section your hair into four parts and dry each one separately, starting from the bottom. The diffuser’s gentle air flow smooths the cuticles while the low heat prevents puffiness. You’ll get a shiny, bouncy finish that lasts two days.
- Apply leave-in conditioner first.
- Section hair into four parts.
- Use low heat and smooth air flow.
Quick 10-Minute Morning Bounce
When you’re in a hurry, focus on the front sections. Flip your hair over and diffuse the crown for 3 minutes—that’s where the bounce matters most. Then, just dry the front pieces with the diffuser, cupping them upward. Skip the back if needed. You’ll look like you spent an hour, but it’s only ten minutes. Total lifesaver for busy mornings.
- Focus on crown for 3 minutes.
- Dry front sections upward.
- Skip the back if short on time.
Volume Hack: The Root Lift Trick
This is my favorite trick. After your hair is 90% dry, take the diffuser and place it directly against your roots (near the crown). Pulse the heat for 10 seconds, then let it cool for 10 seconds. This “heat and cool” method creates incredible lift without teasing or backcombing. It’s the secret behind all those bouncy 2026 hairstyles.
- Place diffuser flush against roots.
- Pulse heat for 10 seconds.
- Cool for 10 seconds before moving.
The Cool Down Step You Always Skip
I know, you’re impatient. But letting your hair cool down completely after diffusing is non-negotiable for bounce. The hair shape sets as it cools, so if you touch it while warm, you break the volume. I like to finish with a cool shot from the diffuser button, then let my hair sit for 5 minutes. It makes every style last longer.
- Use the cool shot button to finish.
- Let hair sit for 5 minutes after drying.
- Avoid touching warm hair.
Products That Actually Help
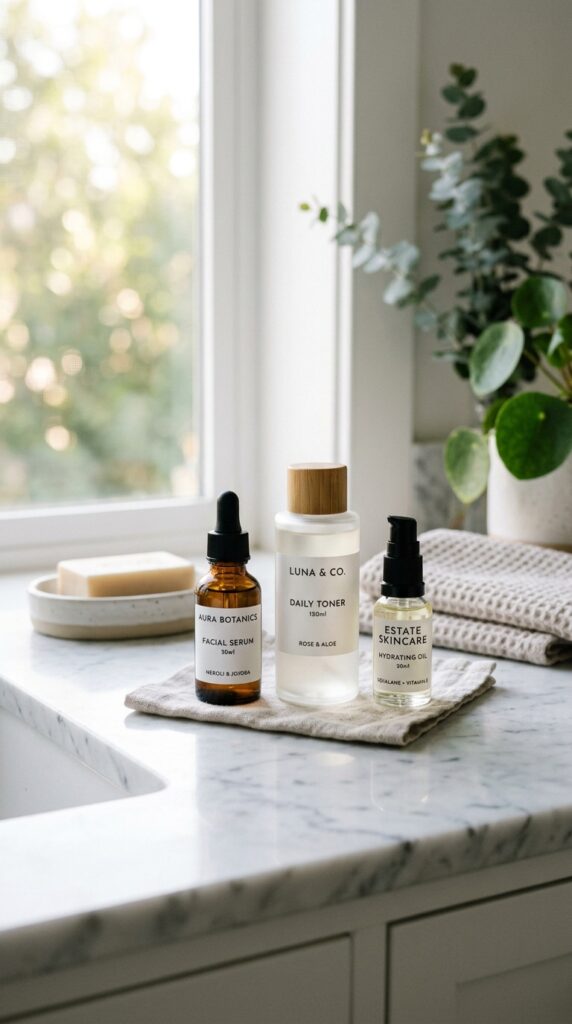
You don’t need ten products. My go-to is a heat protectant spray, a lightweight mousse, and a finishing hairspray. For bouncy styles, avoid heavy oils or creams—they can weigh your hair down. A dry shampoo at the roots before diffusing can also give extra lift if your hair feels clean. Keep it simple and let the diffuser do the work.
- Heat protectant + mousse + hairspray.
- Avoid heavy oils for bouncy styles.
- Dry shampoo at roots for extra lift.
Diffuser Tips for Short Hair
Short hair loves a diffuser because it adds that “just stepped out” volume. For a bob or pixie, keep the diffuser moving constantly to avoid a flat spot. Flip your head to the side while drying to all the hair to fall naturally. A texturizing paste on the ends helps define the bounce without stiffness. Short hair can be just as bouncy.
- Keep diffuser moving to avoid flat spots.
- Flip head to the side while drying.
- Use texturizing paste on ends.
Long Hair: More Bounce Per Ounce
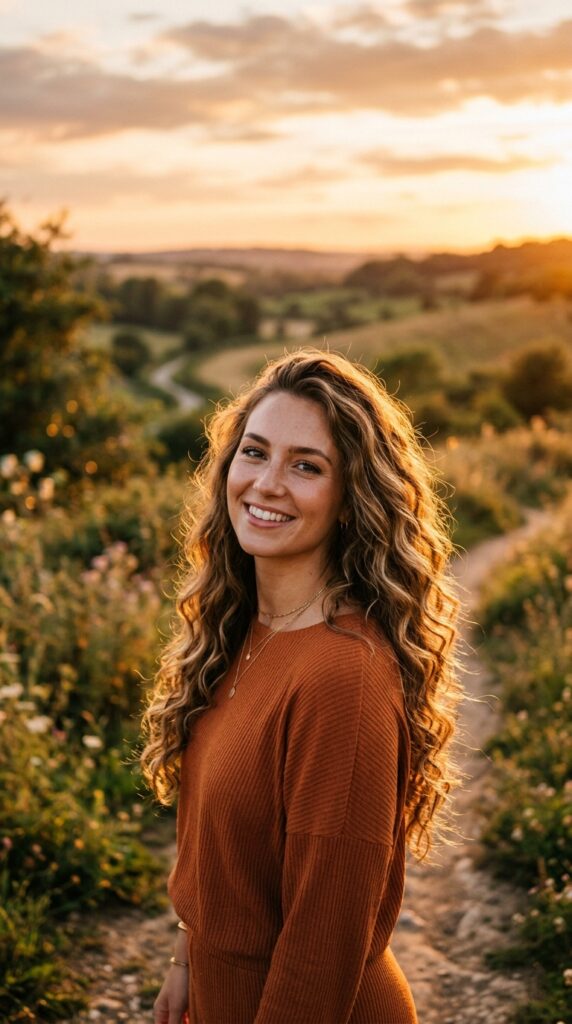
For long hair, work in sections to get even bounce. Start at the nape of your neck and move up. Use the diffuser to cup each section and hold it for 15 seconds before releasing. This creates a curled shape without a curling iron. Finish with a spritz of salt spray for texture that lasts all day long. Trust me, your long hair will thank you.
- Work from nape upward in sections.
- Cup each section for 15 seconds.
- Finish with salt spray for texture.
How to Refresh a Blowout Day 2
Day two hair doesn’t have to be sad. Mist your hair slightly with water or a dry shampoo and use the diffuser on low heat to bring back the bounce. Focus on the roots first, then lightly cup the ends. This takes 5 minutes and makes your blowout look fresh again. You can stretch your salon-style hair for 3 days this way.
- Mist with water or dry shampoo.
- Use low heat on roots first.
- Lightly cup ends to revive shape.
Common Mistakes That Kill Bounce
I’ve made every mistake. The top three: drying hair too wet, using high heat, and touching hair too much while drying. Always wait until hair is 80% dry before diffusing. Keep the heat on medium, and let the hair cool before you run your fingers through it. These fixes alone will make your blowout bouncier than ever. Simple changes, big results.
- Don’t diffuse soaking wet hair.
- Avoid high heat settings.
- Let hair cool before touching.
Your New Blowout Routine
So here’s the plan: Prep your hair, rough-dry it, then section and diffuse with a focus on root lift and cool-down. Whether you’re going for old money elegance or a vampire haircut edge, your diffuser can do it all. It really is the tool that gives you that professional, bouncy finish at home. And honestly? You deserve to feel like you just left the salon.
I hope you feel ready to grab your diffuser and try a few of these looks. Start with the classic bouncy wave—it’s the easiest and will build your confidence. Then experiment with romantic goth or glitchy glam for fun. The more you practice, the faster and better you’ll get. Your hair will look amazing, and you’ll save so much money.
Save this post to Pinterest so you can come back to it next time you wash your hair. And tell me in the comments—which bouncy blowout style are you most excited to try? I can’t wait to hear what you create.