Victory 12 Pin-Curl Waves Nostalgic for Vintage Photoshoot Vibes
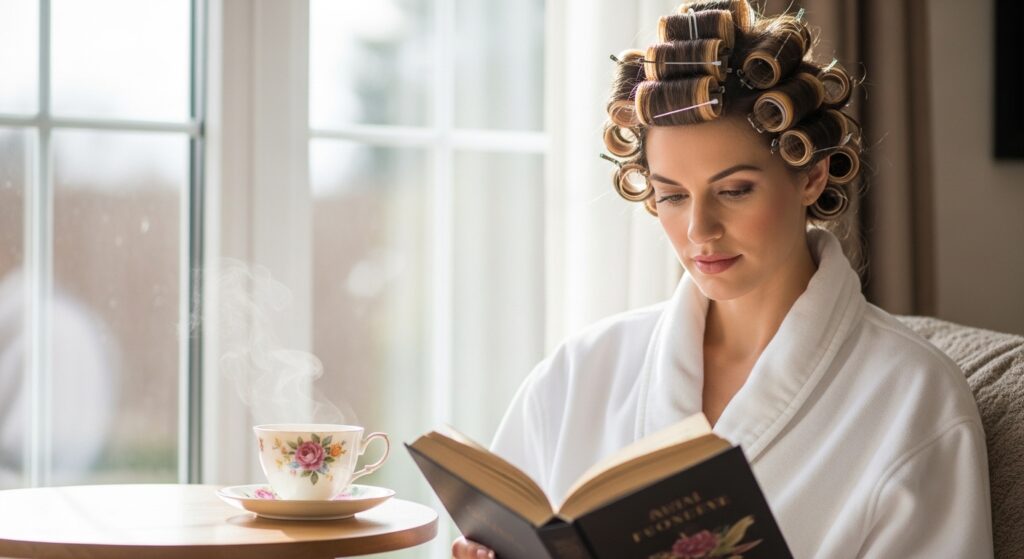
Okay, let’s be real. Sometimes you scroll through Pinterest and see those stunning vintage photoshoots—the soft, sculpted waves, the timeless glamour—and you just want to *live* in that vibe for a day. I totally get it. That feeling is exactly why I fell for the Victory 12 pin-curl set.
It sounds fancy, but I promise it’s one of the most practical vintage techniques out there. It’s the secret behind those perfect, red-carpet-ready waves that look expensive and effortless. Think of it as the original “old money hair” trick.
This post is your quick-start guide. We’re skipping the history lecture and getting right to the “how.” I’ll walk you through the simple steps, the products you actually need, and how to make this nostalgic style feel fresh for right now. Let’s bring those vintage photoshoot vibes to your next bathroom selfie session.
What Are Victory 12 Pin-Curl Waves?
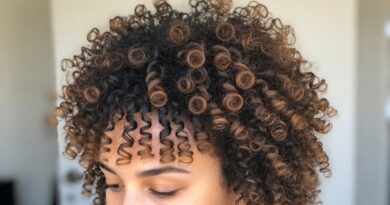
Simply put, it’s a specific pattern for setting pin curls. The “Victory 12” refers to the twelve key curls placed around the head to create a flawless wave pattern. It was huge in the 1940s and 50s for creating those soft, uniform waves without a single heat tool.
This isn’t just a random curl set. It’s a calculated method that gives you control over the wave’s direction and size. The result is hair that looks polished, romantic, and has that “I woke up like this” glamour. It’s the ultimate in quiet luxury hair, achieved with just your hands, some clips, and a little patience.
Why This Vintage Style is Making a Comeback
In a world of glitchy glam hair and edgy vampire haircuts, the return of soft waves is a beautiful contrast. It’s about intentional, artful beauty. This style connects us to a hands-on, crafty approach to getting ready that feels personal and special.
It also fits perfectly with the 2026 hairstyles trend forecast that values texture, customization, and timelessness over fast-fashion hair. There’s a reason this look never truly disappears—it’s eternally chic, flattering on almost everyone, and photographs like an absolute dream.
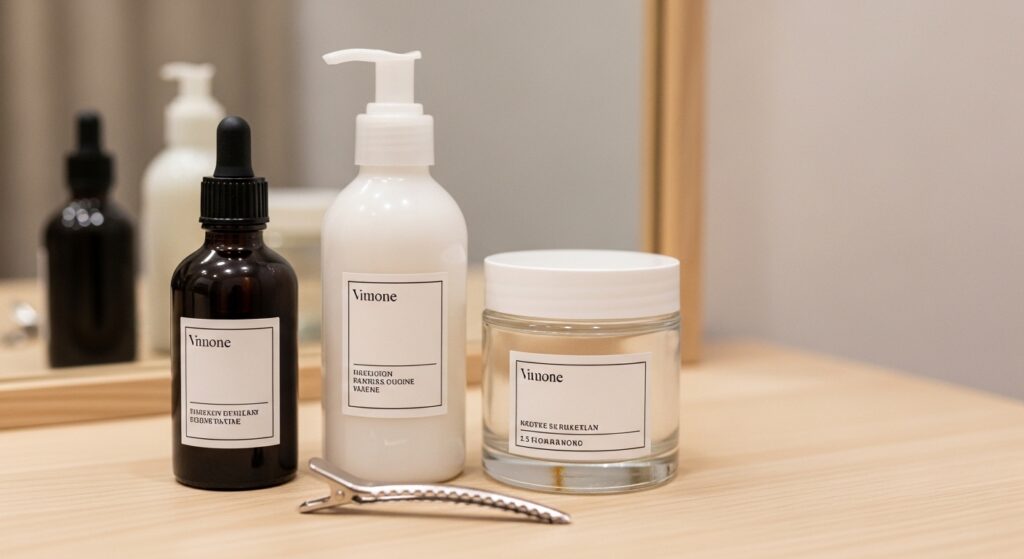
Tools You Absolutely Need (And Don’t Need)
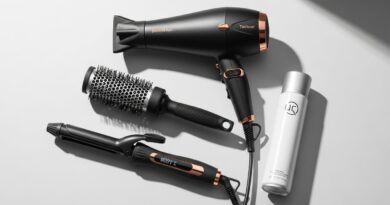
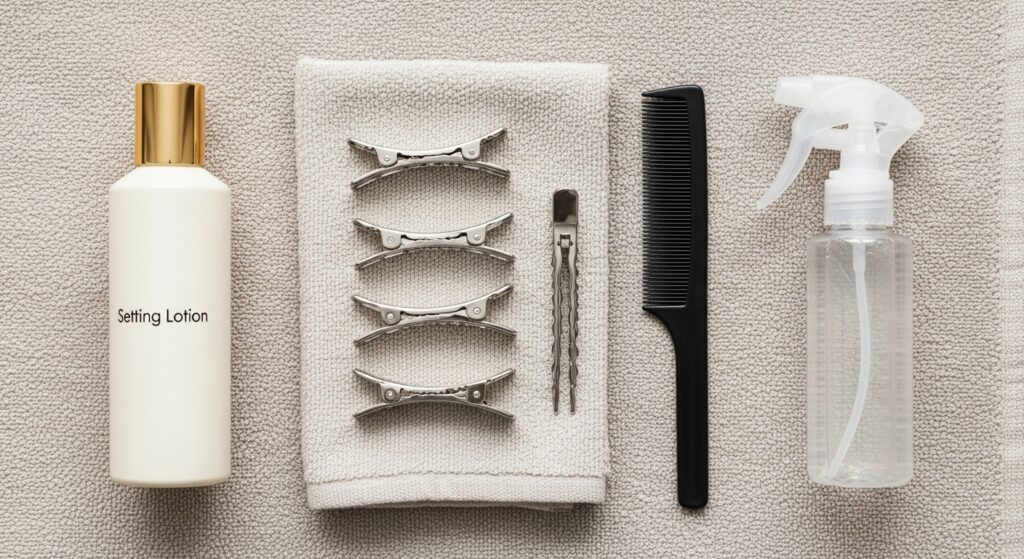
You don’t need a salon worth of gear. The basics are simple:
- Setting Lotion or Mousse: A light-hold formula is key. You want definition, not crunch.
- Hair Clips or Pin Curl Clips: Double-prong clips are my go-to. Bobby pins work in a pinch.
- Fine-Tooth Comb: For clean, precise sections.
- A Spray Bottle with Water: For dampening hair if it dries out while you work.
What you don’t need: hot tools, a million products, or professional training. This is beginner-friendly craft project hair.
The Perfect Hair Prep Before You Start
Preparation is everything. Start with clean, towel-dried hair. I mean damp, not dripping wet. Gently work your setting lotion or mousse through from mid-lengths to ends. Avoid the roots to keep volume.
Comb it through thoroughly to ensure every strand is coated. This gives the hair memory and helps the set last for days. If your hair is very slippery or very dry, this step is non-negotiable. It creates the foundation for those perfect, defined waves.

Sectioning Your Hair: The First Big Step
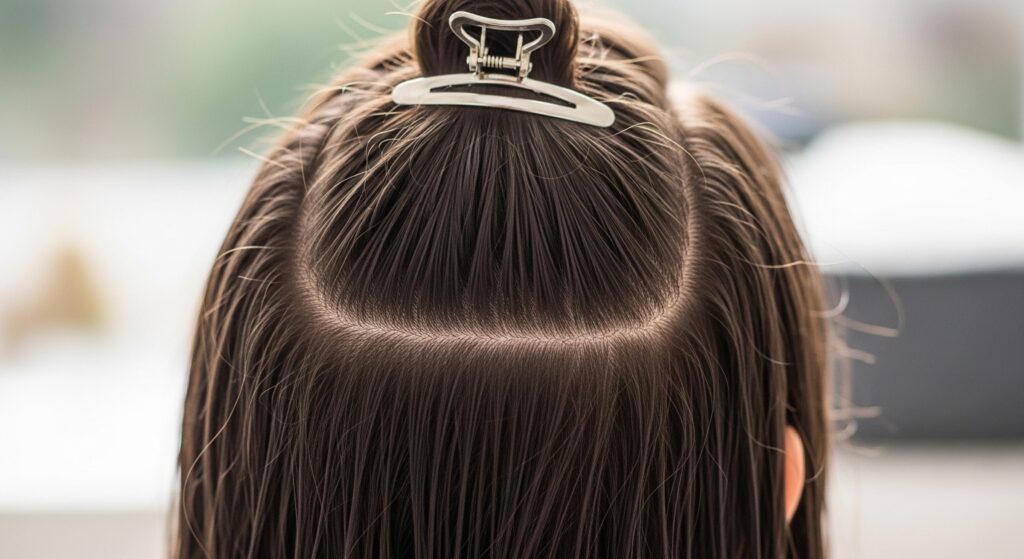
Part your hair as you normally wear it. Then, using the end of your comb, create a horseshoe-shaped section from temple to temple across the crown. Clip the top section up and out of the way.
You’ll work on the lower back section first. This is the base of the style. Keeping your sections neat and even is the secret to uniform waves. Don’t rush this part. Clean sections mean an easier process and a prettier result.
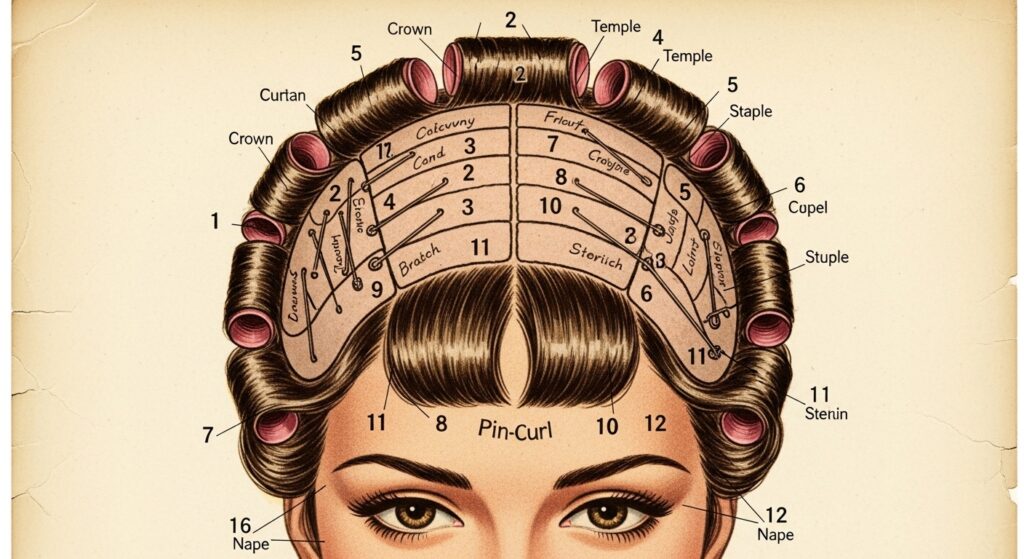
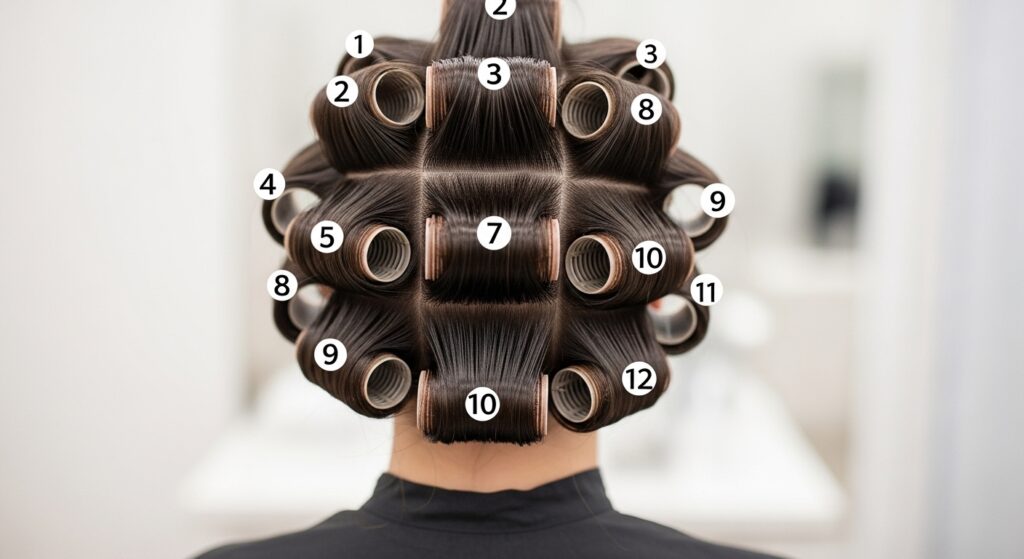
Mapping Out Your 12 Victory Curls
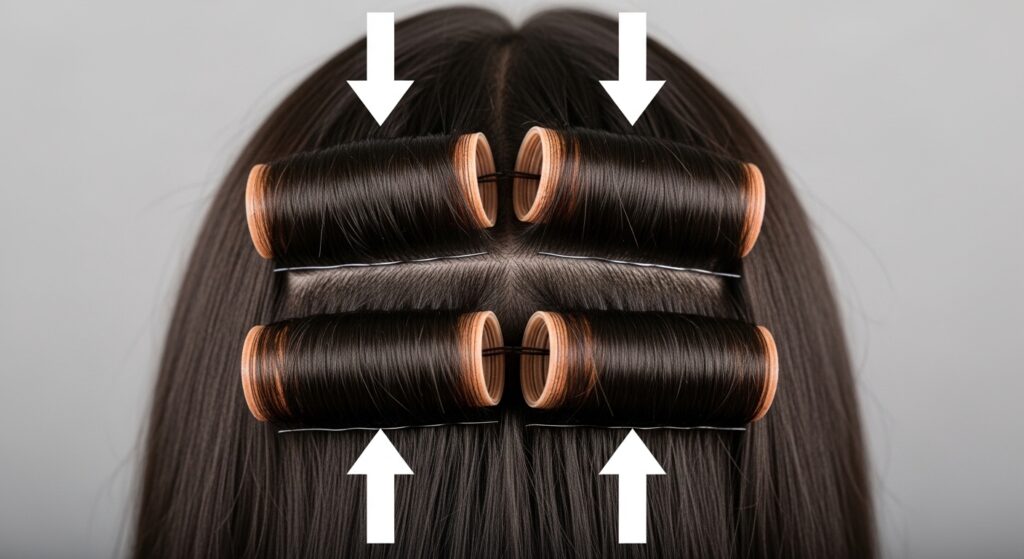
Here’s where the magic number comes in. In the lower back section, you’ll create four pin curls in a row. Then, in the middle section (sides and crown), you’ll place six more—three on each side. Finally, the top front section gets the last two curls near your hairline.
Think of it as placing dots on a map before connecting them. This specific placement ensures the waves cascade perfectly around your head, framing your face beautifully. I’ll guide you through each one next.
Curl 1 & 2: The Lower Back Foundation
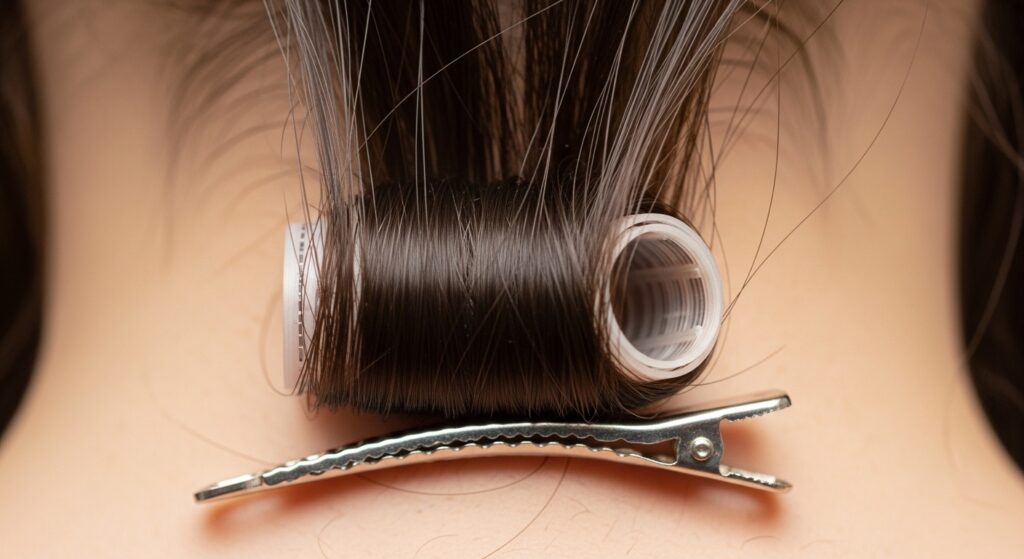
Divide the lower back hair into two horizontal rows. Take a horizontal section at your nape for Curl 1. Comb it smooth. This curl sets the direction for the entire back. You’ll roll it upward toward the crown.
Secure it flat against your head with a clip. Directly above it, take another section for Curl 2 and roll it upward the same way. These two are the anchors. Keep your tension even—not too tight, not too loose.
Curl 3 & 4: Building the Back Waves
Move up to the next row. For Curl 3, take a section directly above and slightly overlapping Curl 1. Roll this one downward toward your neck. This alternating direction (up, then down) is what creates the “S” shape wave.
Curl 4 goes directly above Curl 2, rolling downward. You should now see four clips in a neat grid on the back of your head. This up-down pattern is the core rhythm of the entire set.
Curl 5, 6, & 7: The Right Side Cascade
Let down the right side of your middle section. Starting near the back, take a vertical section for Curl 5. Roll it forward toward your face. Secure it. For Curl 6, take the next section forward, rolling it backward.
Curl 7, near your temple, rolls forward again. This forward-backward rhythm on the sides creates waves that beautifully frame your cheek and jawline. Keep sections vertical and about the width of two fingers.
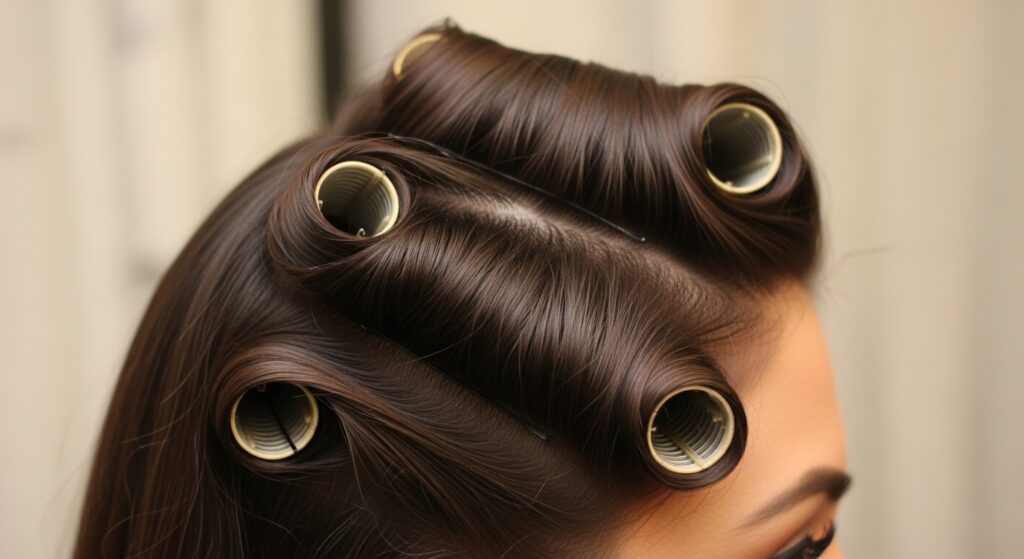
Curl 8, 9, & 10: Mirroring on the Left Side
Repeat the exact same process on the left side. Curl 8 (back) rolls forward, Curl 9 (middle) rolls backward, and Curl 10 (temple) rolls forward. Consistency is key here.
Mirroring the directions ensures your waves are symmetrical. You should start to see the “set” taking shape now. It might look a little funny with all the clips, but trust the process!
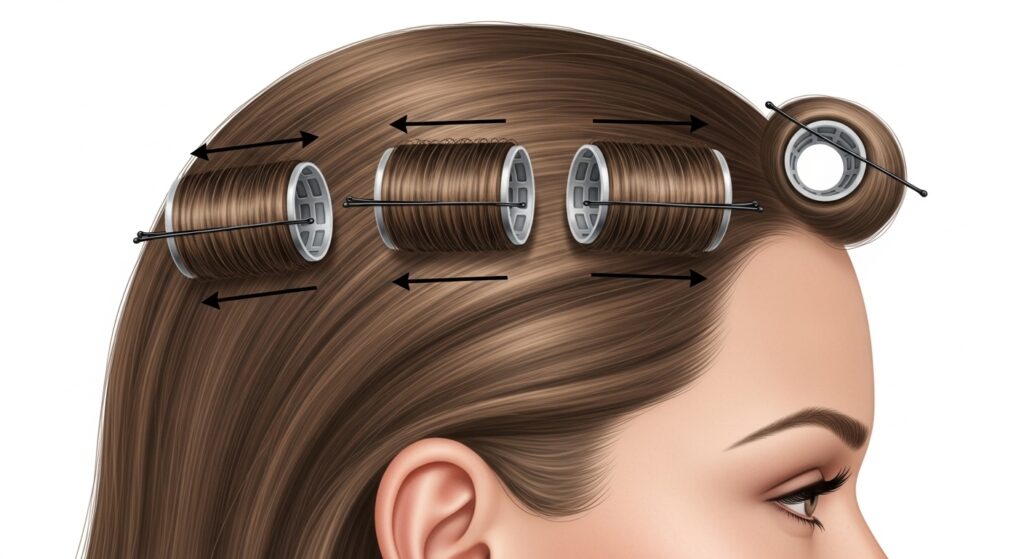
Curl 11 & 12: The Finishing Front Pieces
Finally, let down the top front section. This is often your “bang” area. For Curl 11, take a section on your right, rolling it away from your face, toward the back of your head. Do the same for Curl 12 on the left.
These front curls create soft volume at the roots and a graceful wave off the forehead. They’re the final touch that makes the style feel complete and integrated from every angle.
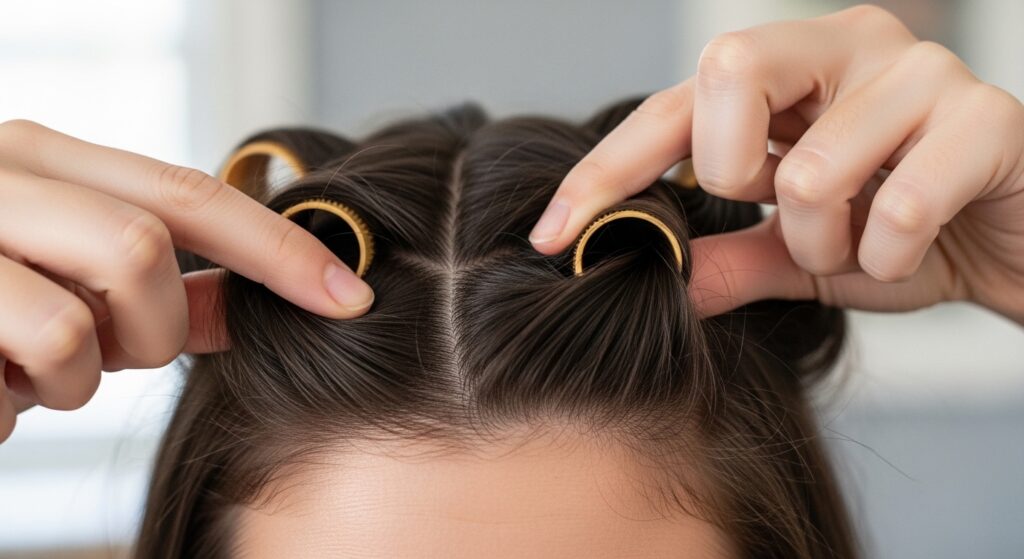
How to Properly Roll a Pin Curl
- Hold the Section: Hold the end of your hair section between your index and middle finger.
- Start Rolling: Roll the hair smoothly and evenly around your fingers, moving toward your scalp.
- Slide and Secure: Once rolled, gently slide the curl off your fingers, press it flat to your head, and immediately secure it with a clip in a cross pattern over the curl.
The goal is a smooth, flat coil. No loops should be sticking up. A neat roll means a smooth wave, not a frizzy one.
The All-Important Drying Process
Patience is your best friend here. You must let your hair dry 100% while in the pins. Air drying is the most gentle and gives the softest result. If you’re in a rush, you can use a hooded dryer or a diffuser on cool/low heat.
Never, ever take the pins out while your hair is even slightly damp. The set will fall flat and get frizzy. This is the step that makes the style last for days, so let it bake!
Unveiling Your Waves: The Right Way
Once bone dry, find a mirror and take a deep breath. Gently remove each clip, starting from the bottom back. Don’t shake your hair out yet! Once all clips are out, you’ll have a head of very distinct, springy curls.
This is the “crimp” stage. Don’t panic. Use your fingers to gently separate the curls, working from the ends upward. Avoid brushing at this point—you’ll break the wave pattern and create frizz.

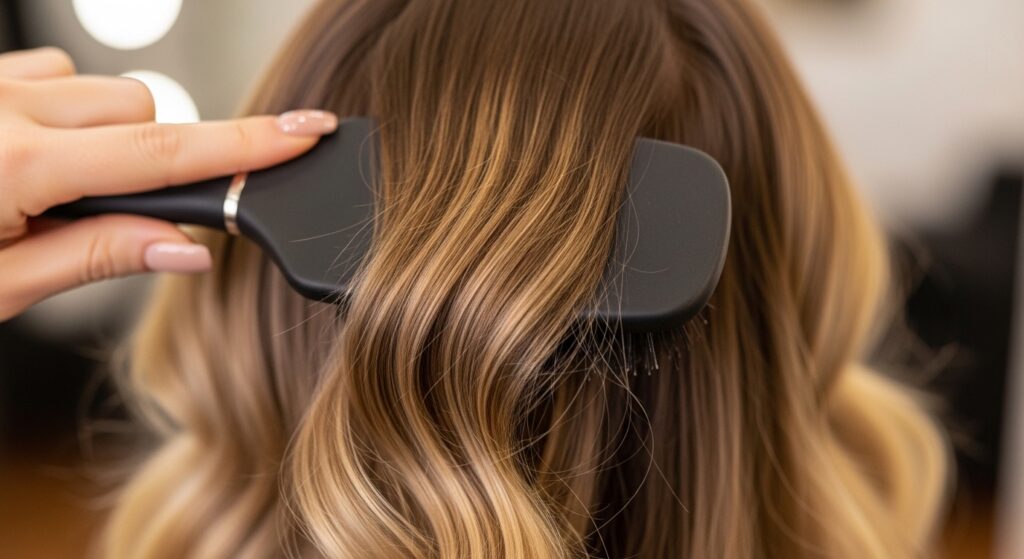
Brushing and Shaping the Final Look
After finger-separating, take a soft-bristle brush (a boar bristle is perfect). Lightly brush the surface of the hair in the direction of the wave pattern. This marries the curls together into seamless, glossy waves.
Brush from the underside too, to integrate all the layers. Use the brush to guide the waves into place around your face. You’ll see the vintage magic appear right before your eyes.
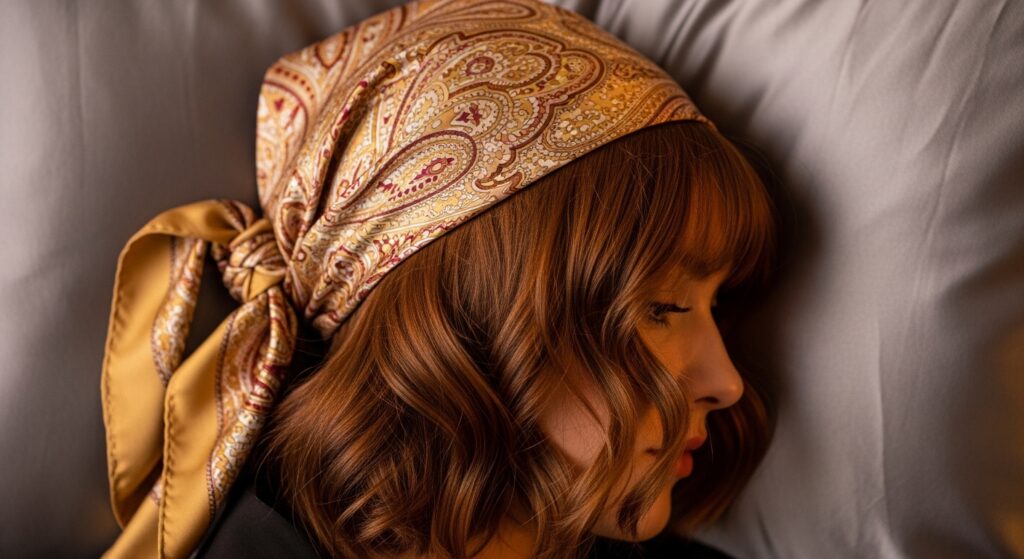
Making It Last: Day 2 and Beyond
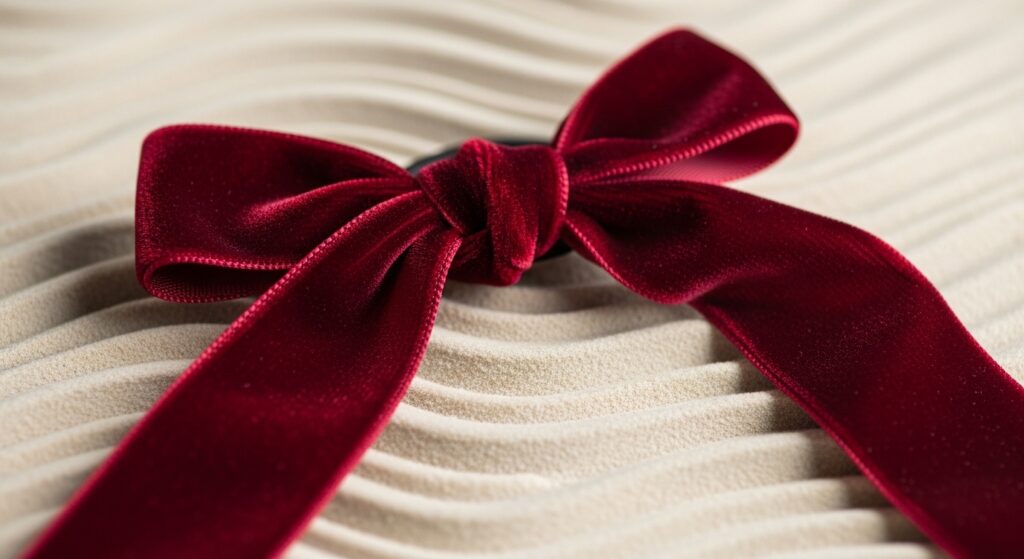
Sleep on a satin pillowcase or wrap your hair in a satin scarf. In the morning, your waves will be softer but still beautifully defined. To refresh, lightly mist with water or a texturizing spray and re-pin any flat sections.
You can also gather your hair into a loose “pineapple” on top of your head while you sleep. The beauty of this set is its longevity. With care, you can get three days of gorgeous, evolving waves from one set.
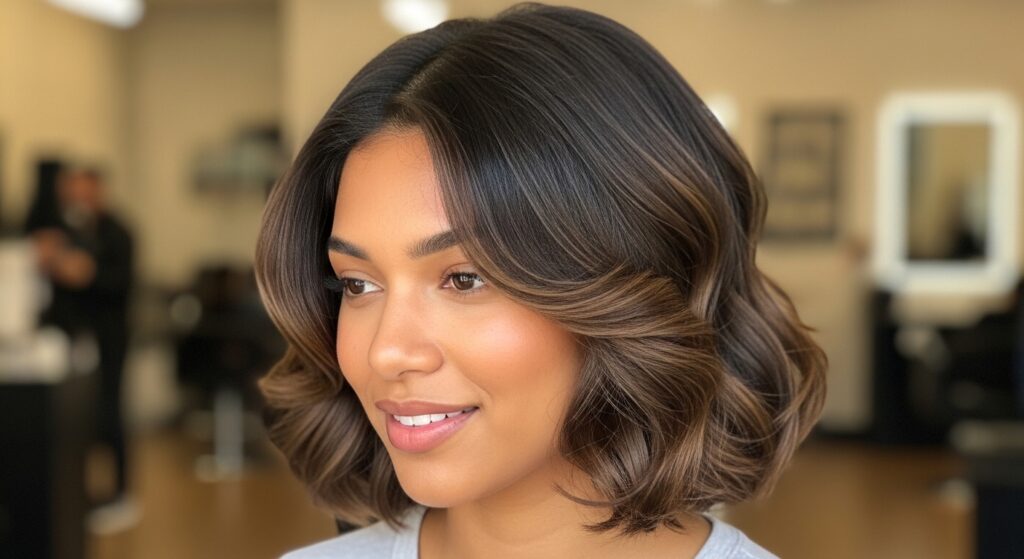
Adapting the Set for Short Hair & Bobs
This works beautifully on shorter hair! If you have a quiet luxury bob or an asymmetrical lob, use smaller sections. The 12-curl map still applies, but your curls will be tighter.
When you brush out, you’ll get a gorgeous, textured wave with incredible volume and shape. It’s a fantastic way to add vintage drama to a modern short cut without any heat damage.
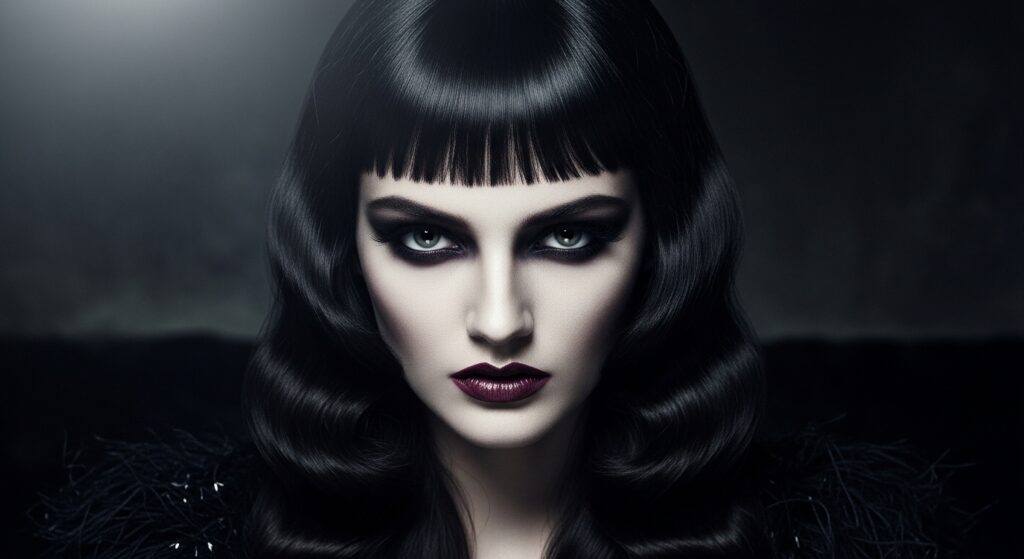
Pairing with Modern Cuts: The Vampire & Hime
Imagine this wave set on a dramatic vampire haircut with heavy bangs—pure romantic goth hairstyles inspiration. Or, pair it with a hime cut for a fascinating mix of structured Japanese tradition and 1940s Hollywood.
The contrast between sharp, graphic cuts and soft, romantic waves is stunning. It shows how versatile this vintage technique is. It’s all about playing with texture and eras.
My Favorite Products for the Softest Hold
- For Fine Hair: Lotta Body Setting Lotion (diluted). It gives hold without weight.
- For Thick/Curly Hair: Design Essentials Almond & Avarta Setting Lotion. Tames and defines.
- Universal Favorite: A light-hold mousse like Sebastian Whipped Creme. Easy to use, never crunchy.
Remember, the goal is memory, not stiffness. You want your hair to move. Always do a test strand if you’re trying a new product.
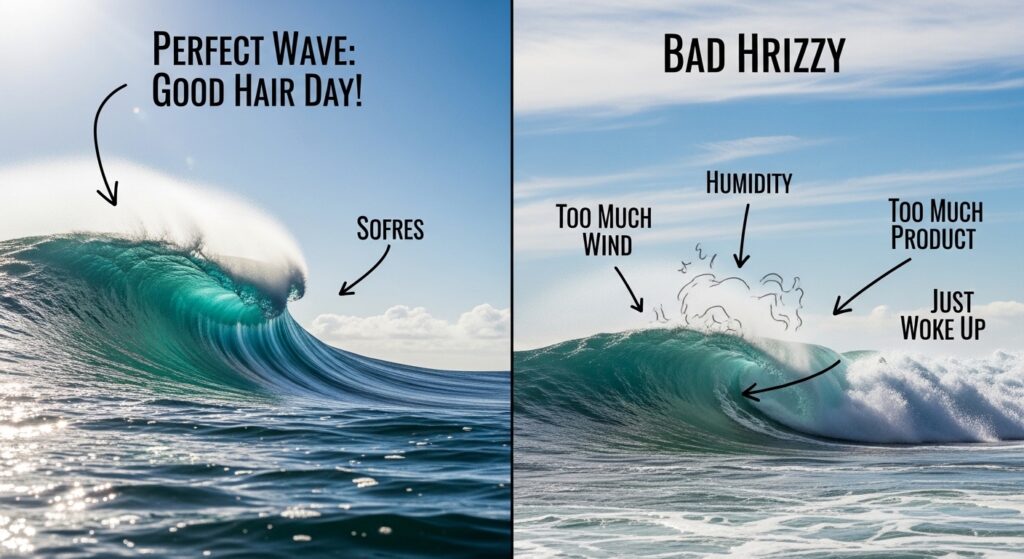
Troubleshooting Common Pin Curl Problems
Frizzy Unraveling? Your sections were too thick or not combed smooth. Or your hair wasn’t damp enough when set.
No Wave Pattern? You likely brushed too aggressively or took the pins out while damp.
Flat Roots? You might have applied product too close to the scalp. Next time, focus from mid-shaft down.
Don’t get discouraged. Every head of hair is different. It might take one or two tries to find your perfect rhythm.
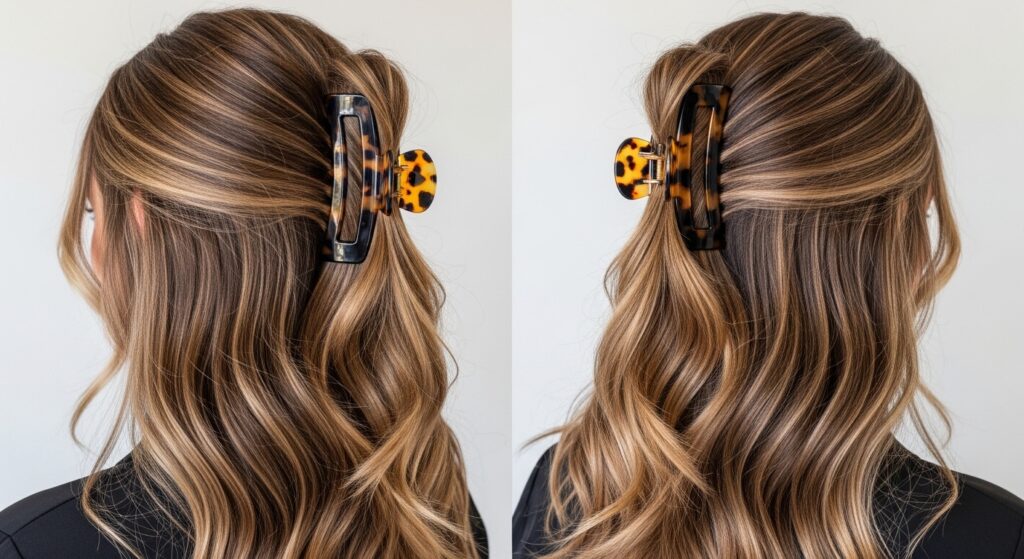
From Vintage to 2026: Styling it Your Way
This isn’t just for a strict vintage look. Once brushed out, pull half up with a claw clip for a modern take. Or, add a few face-framing pieces from your glitchy glam hair playbook—a few tiny braids or colored streaks.
It’s your canvas. The Victory 12 set gives you that impeccable, high-quality wave base. How you accessorize and play with it is where your personal style shines through. It’s the ultimate blend of timeless and trendy.
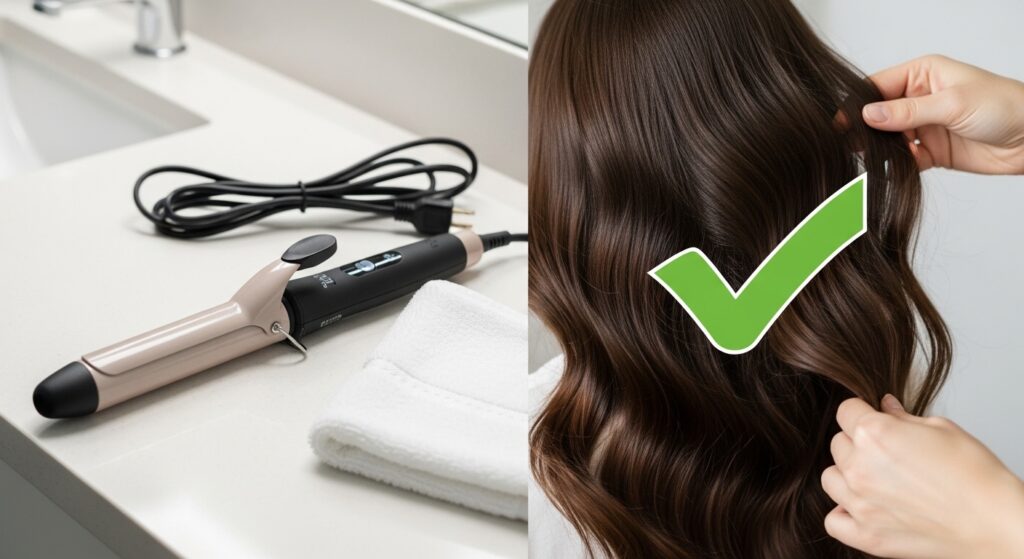
Why This Technique Beats a Curling Iron
Heat styling gives a one-day curl. This set gives you multi-day, touchable, heatless waves that get better with time. It’s healthier for your hair, creates a more authentic wave pattern, and honestly, it’s more satisfying.
There’s a magic in creating something beautiful with just your hands. It’s a form of self-care. The ritual of setting your hair, the anticipation, and the final reveal—it’s an experience a curling iron can never match.
Your Quick-Cheatsheet for Busy Mornings
- Set at Night: Do the set on damp hair before bed. Sleep on it (satin pillowcase!). Unveil in the AM.
- Partial Set: Just do the front 6 curls for face-framing waves if you’re short on time.
- Refresh, Don’t Redo: Mist, re-pin a few key curls, let dry while you have coffee, brush out.
You don’t always need the full 12. Adapt it to your life. Even a few strategic pin curls can elevate your look instantly.
So there you have it—your passport to vintage glamour, no time machine required. The Victory 12 set is more than a hairstyle; it’s a little act of creativity that makes an ordinary day feel special. It connects you to a lineage of beauty that’s both artful and incredibly practical.
The best part? Once you get