Minutes 15 No-Heat Diffuser Attachments Volumizing Air-Dried Curls
Okay, let’s be real. How many of us have bought a fancy diffuser, used it twice, and then left it in the back of a drawer forever? I know I have. The whole point of air-drying is to be easy, but sometimes our curls and waves need a little more love than just plopping and praying.
That’s where these genius 15-minute, no-heat diffuser attachments come in. They’re changing the air-dry game completely. If you’re dreaming of big, bouncy, defined curls without the frizz and without turning on a blow dryer, you’re in the right place.
This is the ultimate lazy-girl (or busy-girl!) hack for incredible volume. It’s perfect for enhancing your natural texture, whether you’re rocking an asymmetrical lob or long mermaid waves. I tested the top methods so you don’t have to. Get ready to fall in love with your air-dried hair all over again.
Why Your Current Air-Dry Routine Is Falling Flat
You’re doing everything “right”—using a good conditioner, scrunching in product, maybe even plopping. But your hair still dries flat at the roots, stringy, or just loses all definition by hour three. Sound familiar?
The problem is gravity and moisture. As your hair air-dries, the weight of the water pulls your curls down, stretching them out from the root. A traditional diffuser helps, but the heat can cause frizz and damage over time. We need a solution that fights gravity without the heat.
The Secret: No-Heat Diffuser Attachments Explained
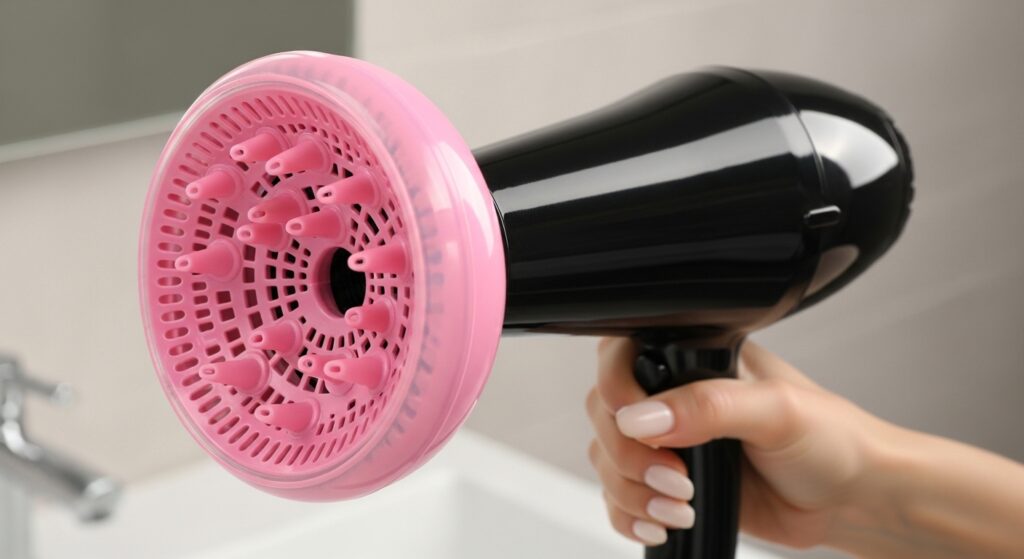
These are not your typical diffusers. They are lightweight, often silicone or plastic, attachments that fit onto the end of your blow dryer. But here’s the kicker: you never turn the dryer on.
You use the attachment on damp hair, with the dryer off, to gently lift your roots and cradle your curl clumps. By suspending your hair in the bowl of the diffuser as it dries, you completely counteract gravity. It’s pure, simple, genius physics for your hair.
What You’ll Need to Get Started
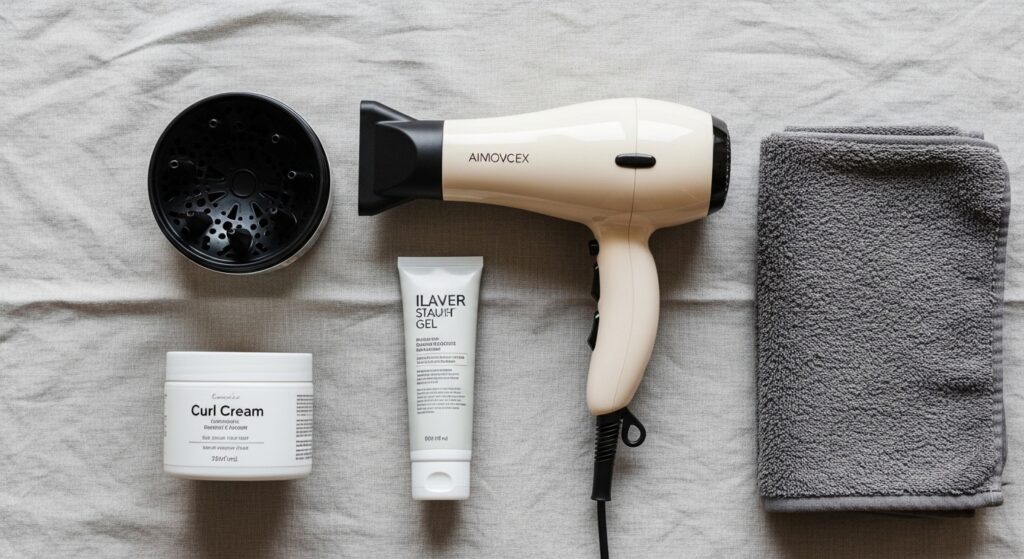
Gathering your tools is step one. You don’t need much, but having the right products makes all the difference for hold and definition.
- A blow dryer with a removable nozzle (most have this).
- A universal, no-heat diffuser attachment (I’ll link my favorites below).
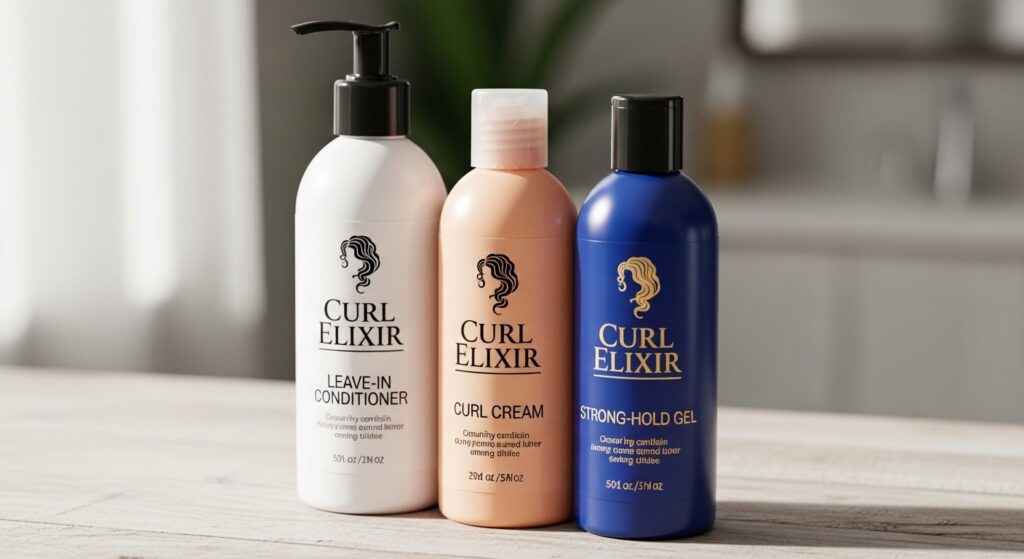
- Your go-to leave-in conditioner or curl cream.
- A strong-hold gel or mousse for definition.
- A microfiber towel or old cotton t-shirt.
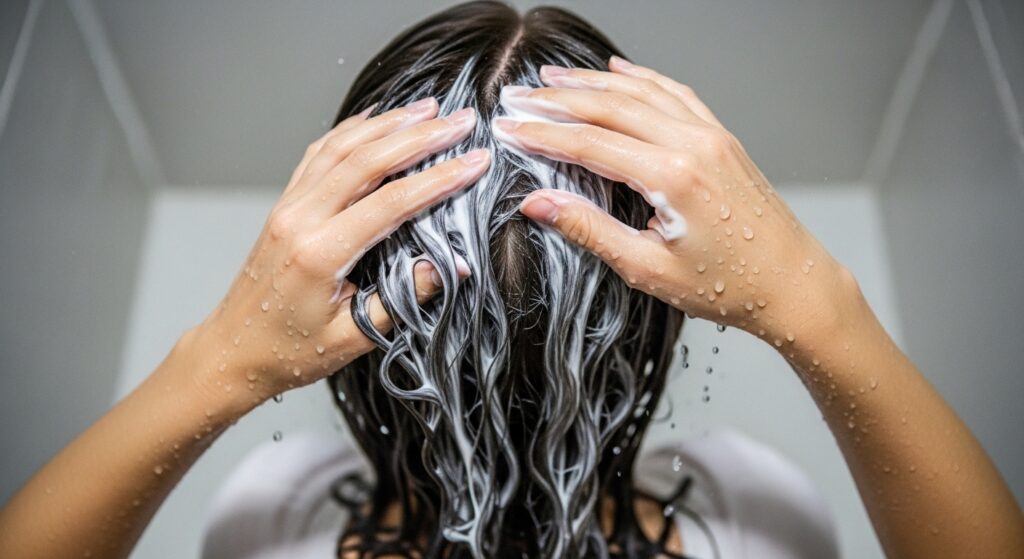
Step 1: Perfect Your Wash Day Prep
Everything starts in the shower. Use a hydrating shampoo and conditioner suited for your curl type. While your hair is sopping wet, detangle gently with a wide-tooth comb or your fingers.
This is when you’ll apply your first product. I like to rake a leave-in conditioner through my hair to ensure every strand is coated. The key is to do this while your hair is still dripping. Water is your best friend for clumping.
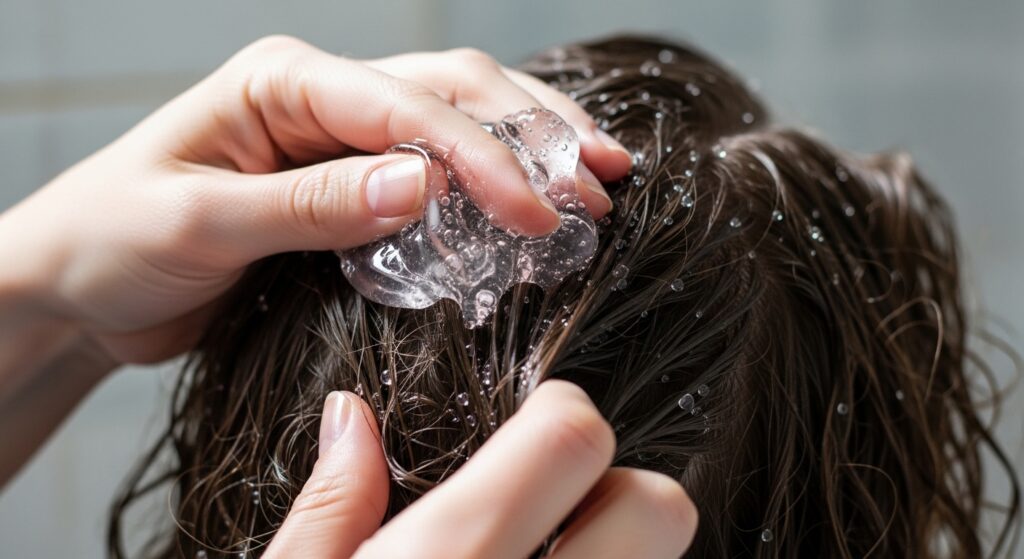
Step 2: The Crucial Product Application
Now, with your hair still very wet, it’s time for your styler. This is what will lock in the shape. I prefer a strong-hold gel for this method because it really sets the curls as they dry suspended.
Scrunch a generous amount of gel into your hair. You should hear a squishing sound. Don’t be shy! You can scrunch out any crunch later. The goal is to create solid, well-defined curl clumps.
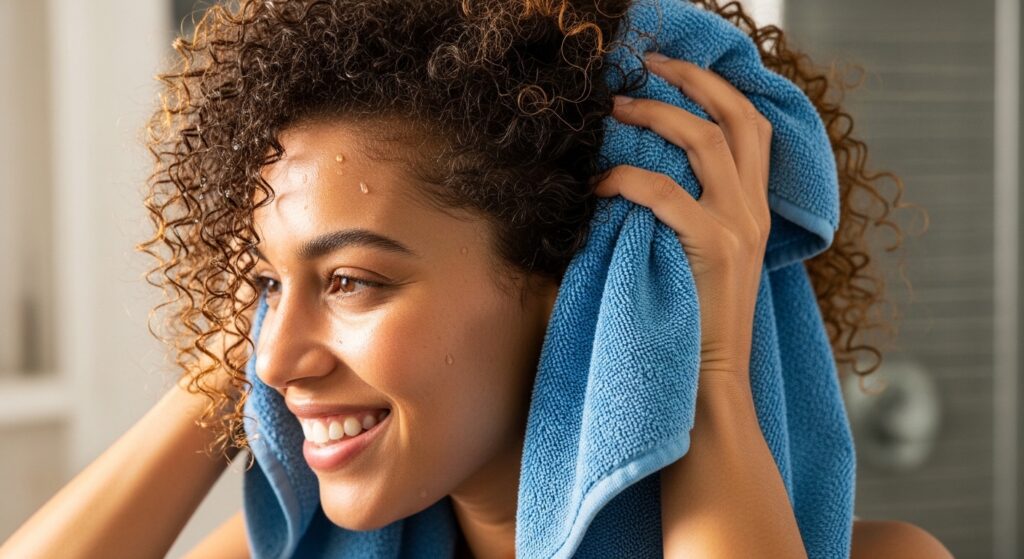
Step 3: Microfiber Towel Dry (The Right Way)
No rough drying! Gently cup your curls with a microfiber towel or cotton t-shirt and scrunch upward to remove excess water. You want your hair to be damp, not dripping, but still very saturated.
If you see your curl clumps starting to separate or get stringy, stop drying and add a bit more water with a spray bottle. We want those clumps intact and happy before we bring in the diffuser.
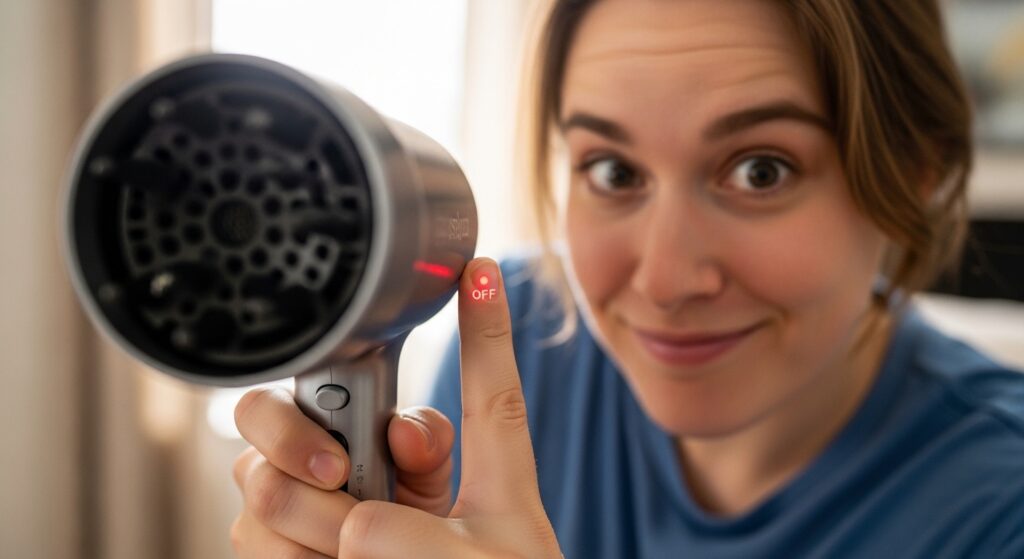
Step 4: Attach Your Diffuser & Leave It OFF
This feels silly but trust the process. Pop the universal diffuser attachment onto your blow dryer. Make sure it’s secure. Check that the dryer is off and unplugged if you need to.
The dryer is just a handle now. Its only job is to hold the diffuser bowl for you. This is the core of the no-heat technique. We are using the tool’s shape, not its function.
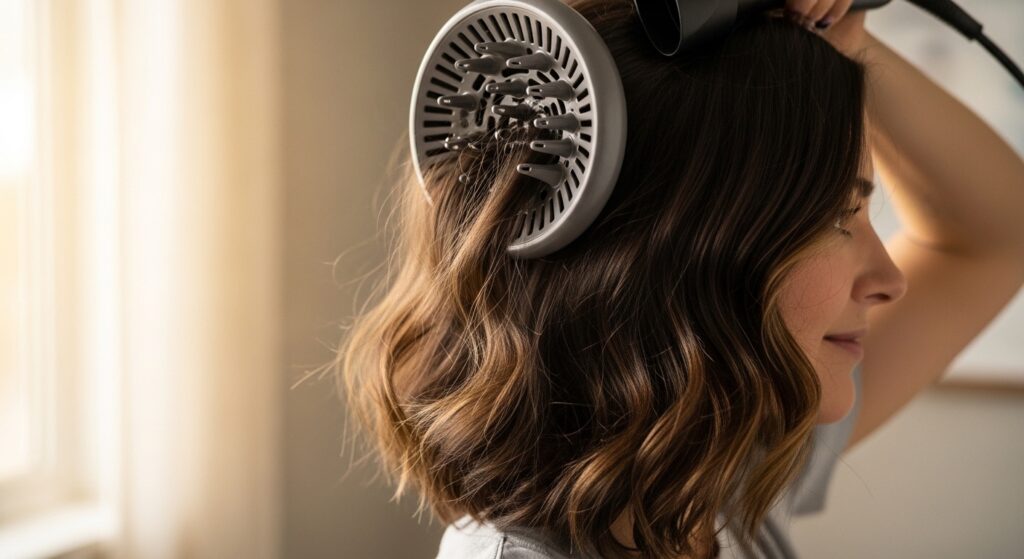
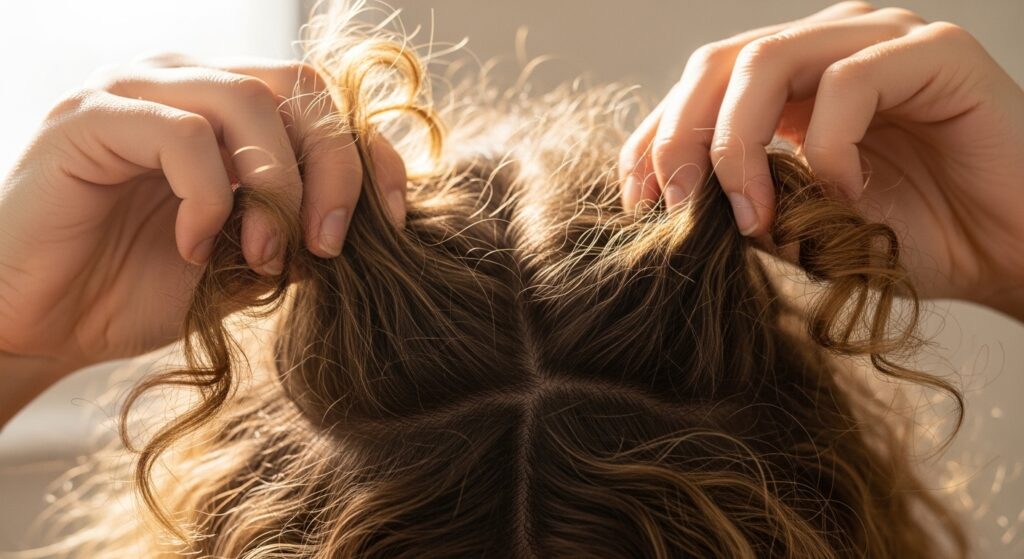
Step 5: The Root-Lift Technique
Start at the front. Gently place a section of your damp hair into the bowl of the diffuser. Slowly bring the diffuser up to your scalp, letting your roots rest in the bowl.
Hold it there for a minute or two. You’re not moving it. You’re just letting that section of hair sit, roots lifted, in the cradle. This is what builds that incredible, lasting volume from the root.
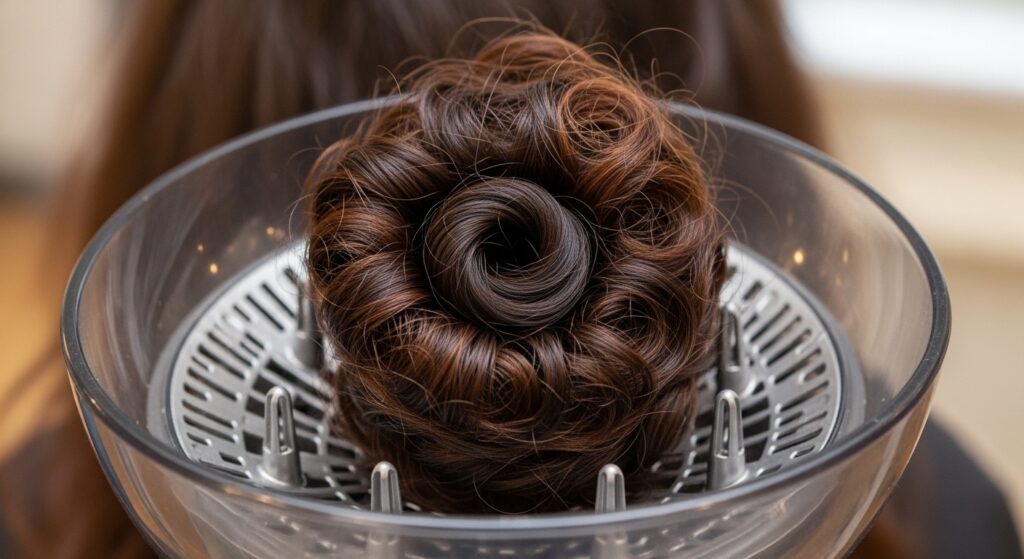
Step 6: Cradling Your Curl Clumps
Move to the sides and back. For each section, gather a curl clump and place it gently into the diffuser bowl. Bring it up to your head so the curl is supported along its length.
Think of it as giving each curl group a little hammock to dry in. This prevents the curl from being pulled straight by its own weight. Hold each section for a few minutes before moving on.
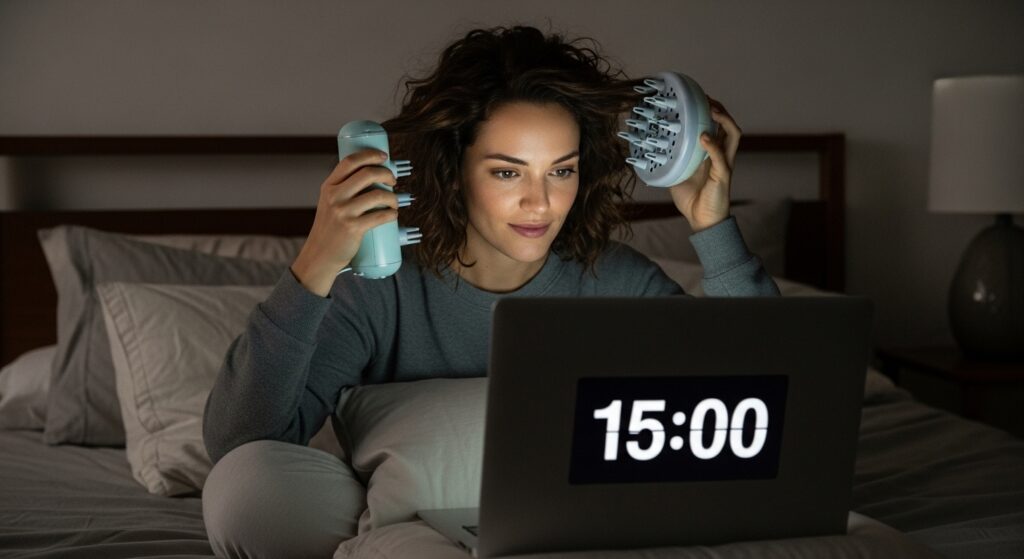
Step 7: The 15-Minute Total Process
You don’t need to do your whole head at once. Work in 4-5 big sections. Spend about 3-4 minutes per section, just holding the diffuser in place. Set a timer on your phone for 15 minutes total.
Use this time to watch a YouTube video, listen to a podcast, or plan your day. It’s active, but it’s not hard work. The results are worth every single minute of this hands-on time.
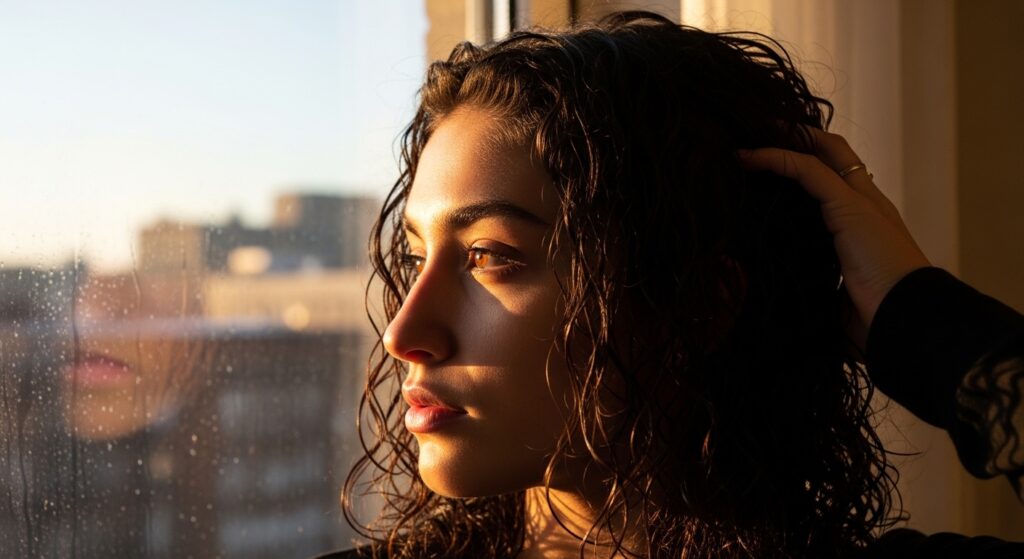
Step 8: The Final Air-Dry & Patience
After your 15 minutes are up, your roots will be lifted and your curls will be partially set. Now, you simply let the rest dry naturally. Avoid touching it!
Walk away, go make coffee, get dressed. Let the air do the final 30-60% of the work. This is when the gel cast will fully form, locking in that beautiful shape you just created.
Step 9: Scrunch Out The Crunch
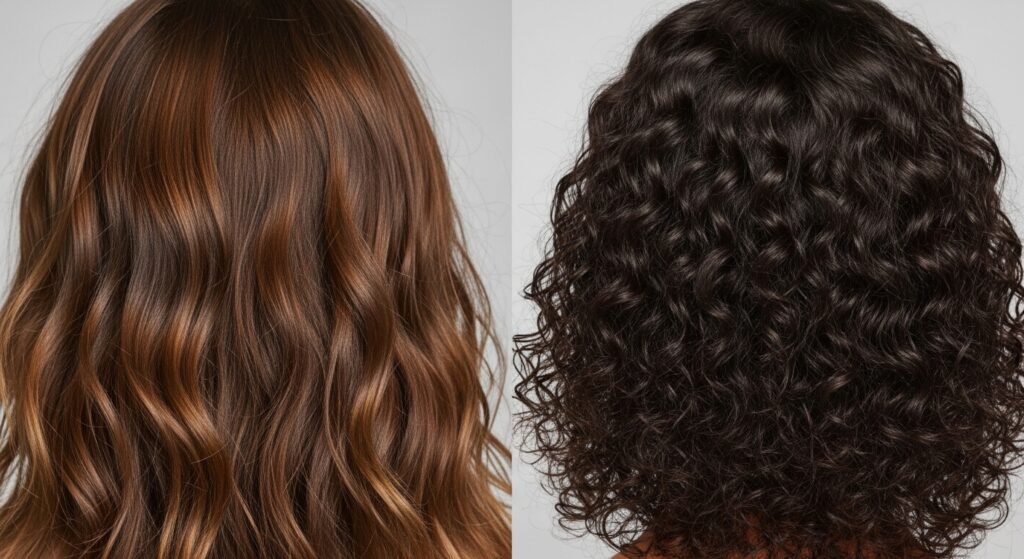
Once your hair is 100% completely dry, it will likely have a hard, crunchy feel from the gel. This is exactly what you want! This “cast” protected the curl pattern.
Take a tiny amount of hair oil or serum on your palms. Gently scrunch your curls upwards until the crunch is gone. What’s left is soft, bouncy, incredibly voluminous hair with zero frizz.
Why This Beats Traditional Diffusing
Traditional diffusing uses heat and constant motion, which can disturb curl clumps and cause frizz. The no-heat method is completely gentle. There’s no blast of air to disrupt the formation.
It also prevents the “over-drying” that can happen with heat, which leaves hair looking dull. This method gives you all the volume and definition of diffusing, with the shine and health of air-drying.

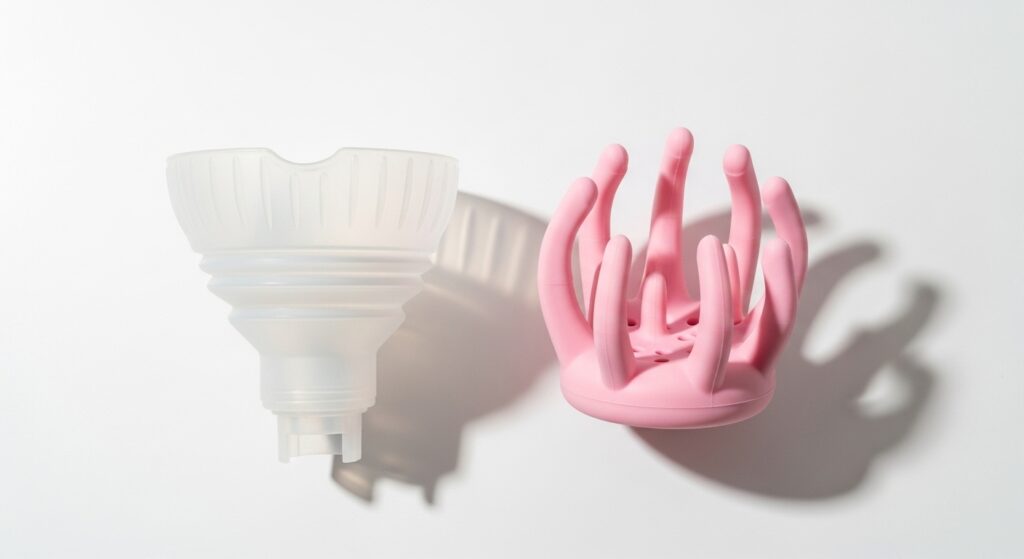
My Top Diffuser Attachment Picks
Not all attachments are created equal. You want one with a deep, wide bowl to hold lots of hair. Look for silicone options—they’re gentle and flexible.
My absolute favorite is the Universal Silicone Diffuser. It fits almost any dryer and its deep cups are perfect for this technique. The Black Orchid style diffuser is another great option for longer hair.
Best Products for No-Heat Definition
The right gel is non-negotiable. You need a strong hold that still scrunches out soft. My holy-grail combo is a lightweight curl cream followed by a hard-hold gel.
- Curl Cream: Not Your Mother’s Curl Talk.
- Strong Hold Gel: Aussie Instant Freeze or Kinky-Curly Curling Custard.
- For Fine Hair: Use a volumizing mousse instead of a heavy cream.
Adapting This for 2026 Hairstyles
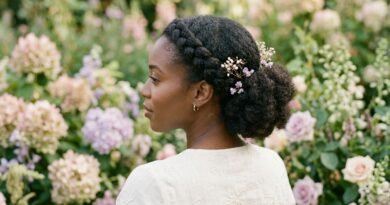
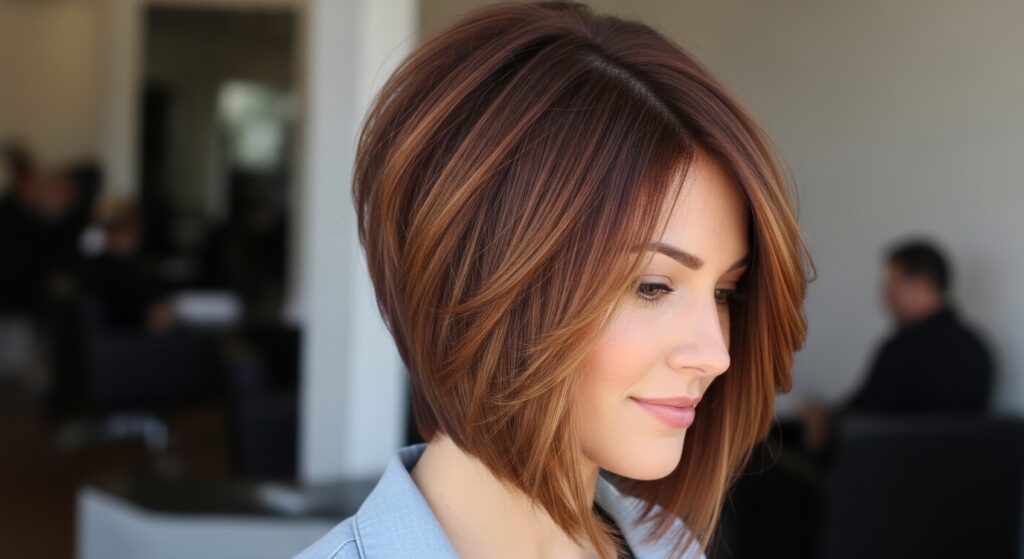
This technique isn’t just for long curls. It’s perfect for all the trending cuts. For an asymmetrical lob or quiet luxury bob, focus the root lift at the crown and on the longer side.
It adds the piece-y, lived-in volume that makes those styles look expensive and effortless. It’s the secret to that “I woke up like this” texture that’s huge for 2026 hairstyles.
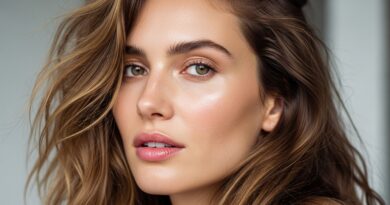
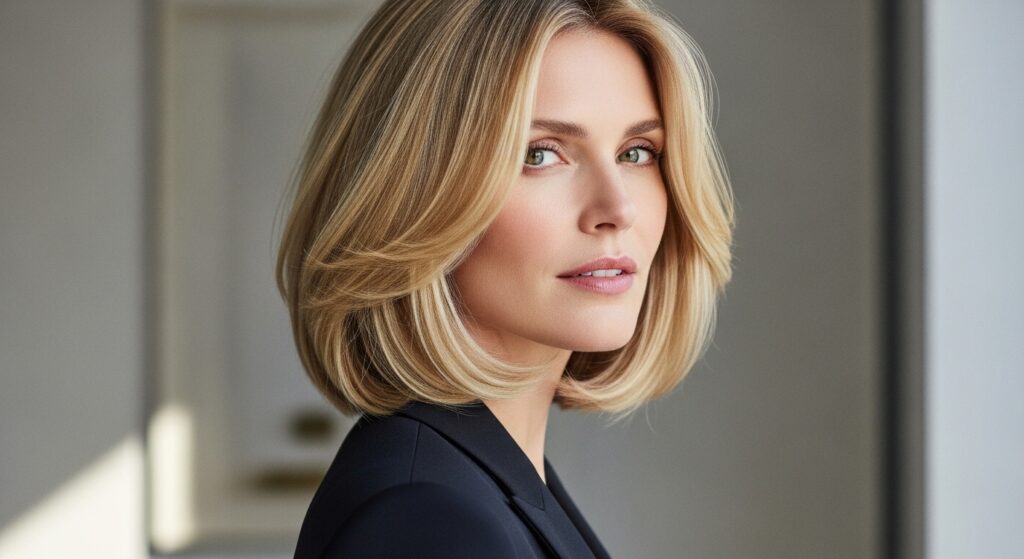
Creating Old Money Hair Volume
Old money hair is all about supreme health, subtle highlights, and impeccable, natural-looking volume. It’s never flat. This no-heat method is the key.
It gives that “born with perfect hair” lift without any teasing or damage. Pair it with a quiet luxury bob with face-framing layers, and you have the ultimate elegant, low-maintenance look.
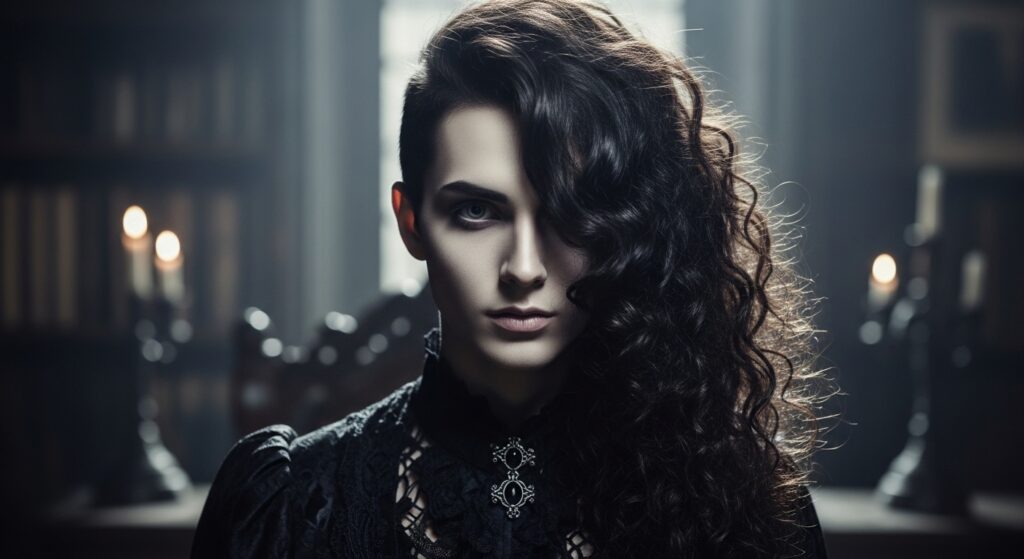
Adding Drama for Romantic Goth & Vampire Styles
Want volume with a dark romantic vibe? This technique is a dream for romantic goth hairstyles and the vampire haircut. Deep, voluminous curls and waves feel dramatic and timeless.
After scrunching out the crunch, use a texturizing spray on the roots for a slightly undone, misty look. It’s perfect for creating that poetic, dramatic volume.
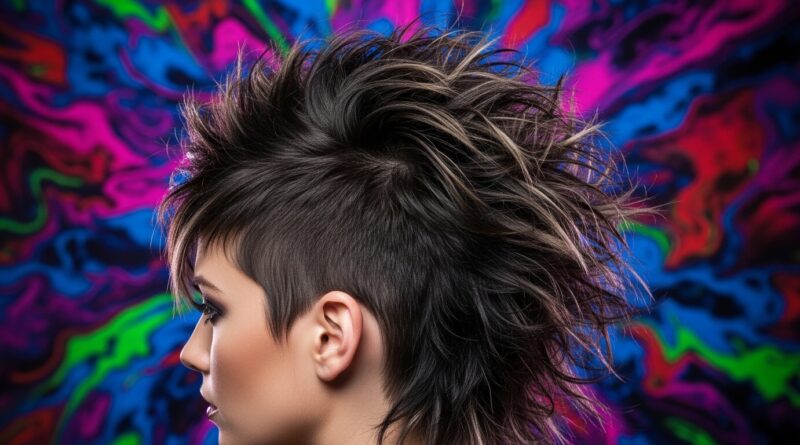
Experimenting with Glitchy Glam & Hime Cuts
For the more avant-garde, think glitchy glam hair. Use this method, but before it fully dries, gently pull apart a few select curl clumps for intentional, piece-y “glitches.”
If you have a hime cut, use the diffuser to add volume and curve to the blunt front pieces and the long back sections separately, creating that striking geometric shape with body.

Troubleshooting Common Problems
If your hair is still flat: You didn’t hold the roots long enough. Try 4-5 minutes per root section. Also, make sure your hair is damp, not too dry, when you start.
If your curls are stringy: Your hair wasn’t wet enough during product application. Next time, apply stylers to sopping wet hair and don’t over-towel dry before diffusing.

How to Make the Volume Last for Days
Day-two hair is easy with this method. Sleep on a satin pillowcase or in a loose satin bonnet. In the morning, use a mixture of water and a drop of leave-in conditioner in a spray bottle to refresh.
Lightly scrunch. For root refresh, flip your head over and gently shake your roots at the scalp. The volume will bounce back beautifully without needing to fully wet your hair.
Your Quick-Start Cheat Sheet
- Wash, condition, detangle on sopping wet hair.
- Apply leave-in and a strong-hold gel to dripping hair.
- Scrunch gently with a microfiber towel to damp.
- Attach diffuser to OFF blow dryer.
- Lift roots and cradle curls section by section for 15 min total.
- Air-dry completely without touching.
- Scrunch out the crunch with oil.

You’ve Got This!
I know trying a new routine can feel like a lot. But this one is genuinely simple once you do it once or twice. It’s a small investment of 15 minutes for hair that looks like you spent an hour styling.
It gives you back the confidence in your natural texture. No more hiding your air-dried hair in a bun or braid. You can wear it down and feel amazing, every single day.
So, that’s my not-so-secret weapon for the best hair days. It took a bit of trial and error to perfect the timing and product mix, but now it’s as routine as brushing my teeth. And the compliments? They never get old.
This method proves that great hair doesn’t require high heat or complicated tools. Sometimes, it just requires working with what you’ve got in a smarter way. I hope this gives you the same freedom and volume it’s given me.
Save this post to Pinterest to keep this guide handy for your next wash day! And I’d love to know—what’s your biggest air-dry struggle? Tell me in the comments below!