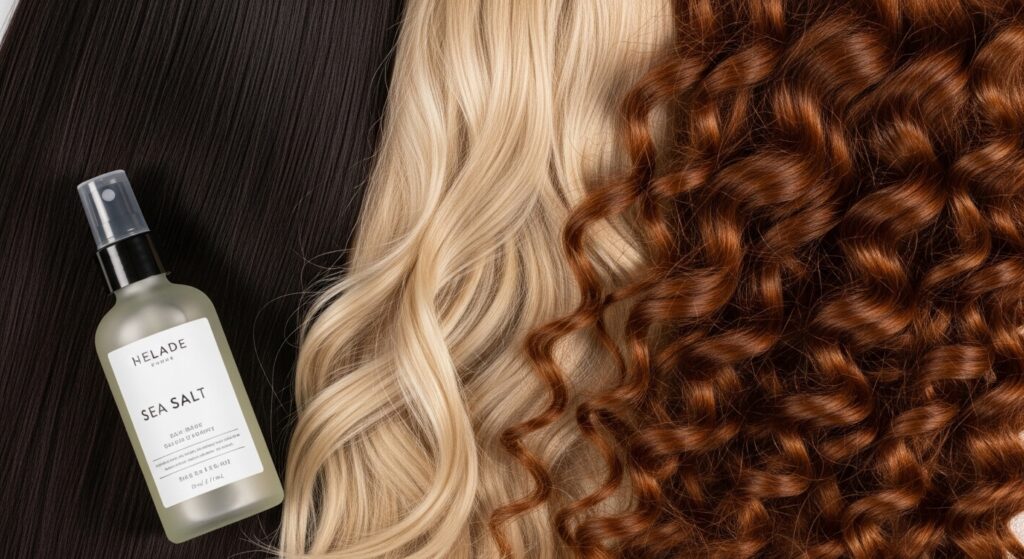
Hacks 30 Bedhead Waves Tousled Perfectly with Sea Salt Sprays
Okay, let’s be real. We’ve all seen those perfect, “I just woke up like this” waves on our feeds and felt a tiny pang of jealousy. That effortless, lived-in texture seems impossible to achieve without a professional stylist on speed dial. But what if I told you the secret weapon is probably already in your bathroom, or at least easy to grab at the drugstore?
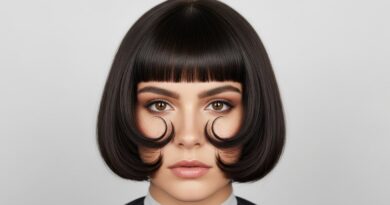
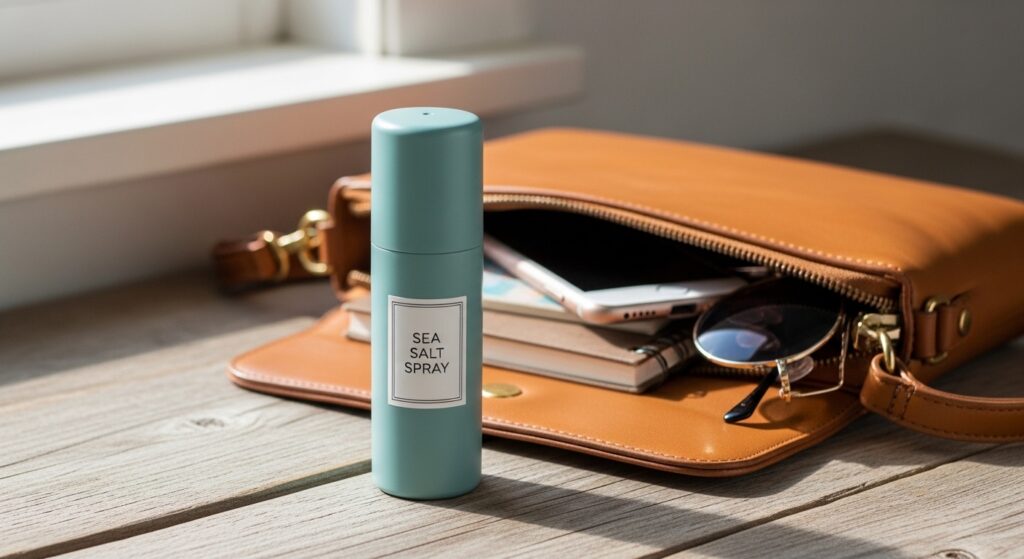
I’m talking about sea salt spray. It’s the ultimate hack for getting those 30 bedhead waves we all crave—tousled, perfectly imperfect, and full of movement. It’s the foundation for so many of the looks we love, from old money hair to romantic goth hairstyles.
This post is your no-nonsense guide. We’re ditching the confusion and getting straight to the practical steps and pro tips. I’ll walk you through exactly how to use sea salt spray, from damp hair to final fluff, to get that dream texture every single time.
Think of this as your best friend’s cheat sheet. Let’s turn that morning frizz into your signature, cool-girl wave.
1. Start With the Right Hair Type & Cut
Sea salt spray works on almost everyone, but your starting point matters. If your hair is pin-straight and fine, you’ll need a stronger hold spray and a different technique than someone with natural waves. The right cut is also a game-changer.
Layers are your best friend for creating movement. Think of an asymmetrical lob or a shaggy vampire haircut—these styles are literally designed for this texture. A blunt cut can still work, but it might need more strategic styling.
2. The Golden Rule: Apply to Damp Hair
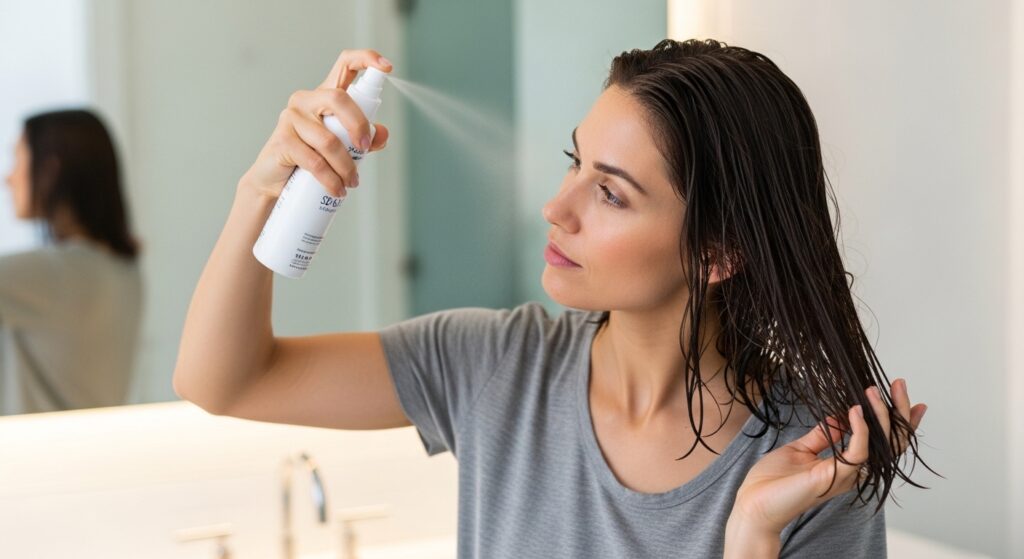
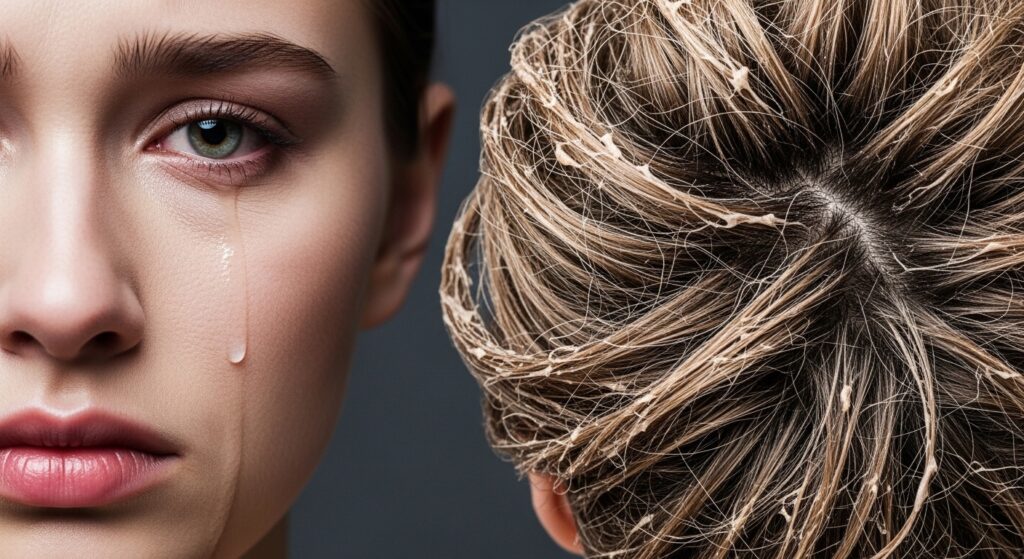
This is the most important step. Never, ever spray it on dry hair as your first step—it will just make it crunchy and feel dirty. Your hair should be about 70-80% dry. Gently towel-dry your hair first to remove excess water.
Hair that’s too wet will dilute the product. Hair that’s bone dry won’t allow the texture to set properly. Damp hair is the perfect canvas for the salt to work its magic and create natural-looking waves as it dries.
3. Section Your Hair for Even Coverage
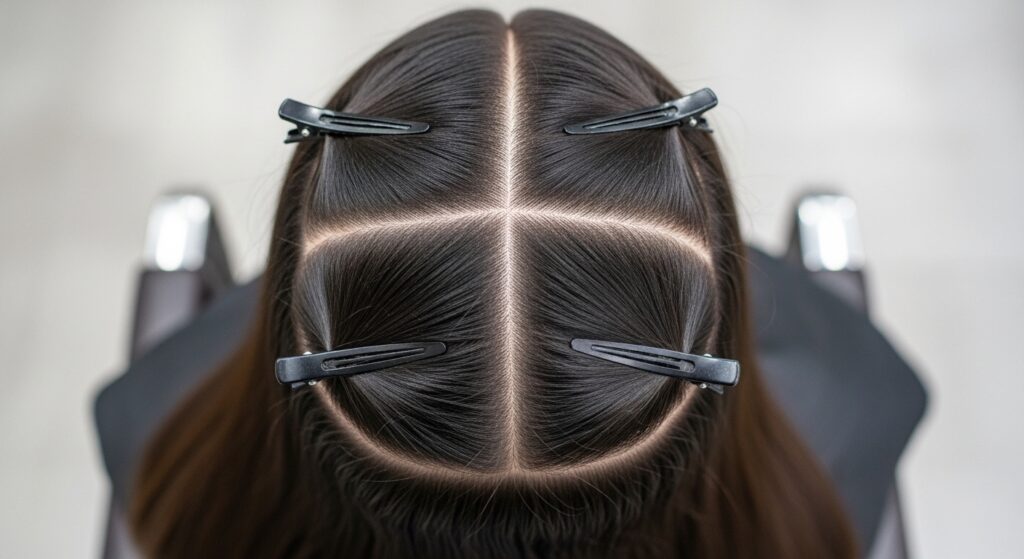
To avoid missing spots and getting a patchy result, section your hair. This doesn’t need to be salon-perfect. Just create a part down the middle and clip the top half up. Start by applying spray to the underneath layers.
This ensures every strand gets coated. Focus on the mid-lengths and ends, as the roots can get weighed down easily. Once the bottom layer is done, let down the top section and repeat the process for full, even texture.
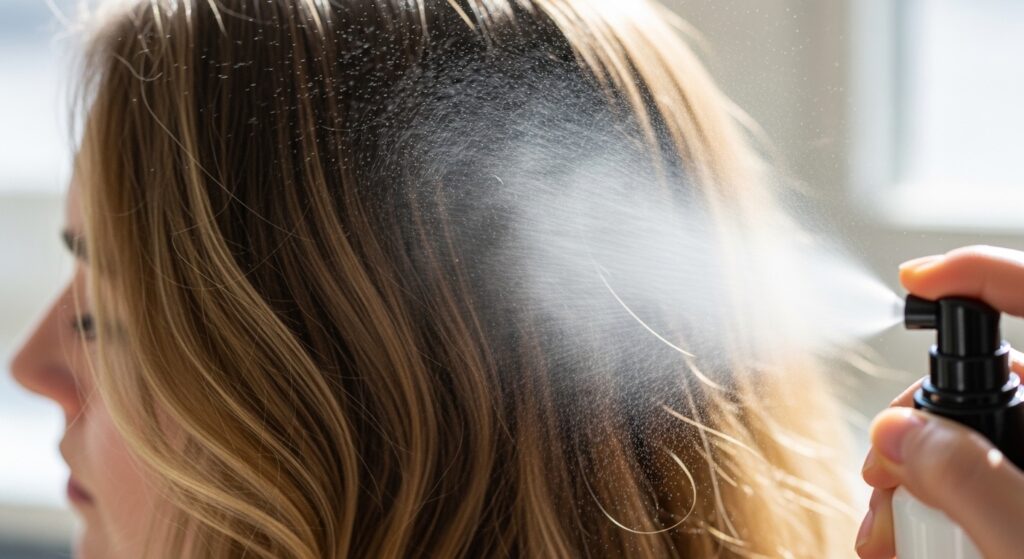
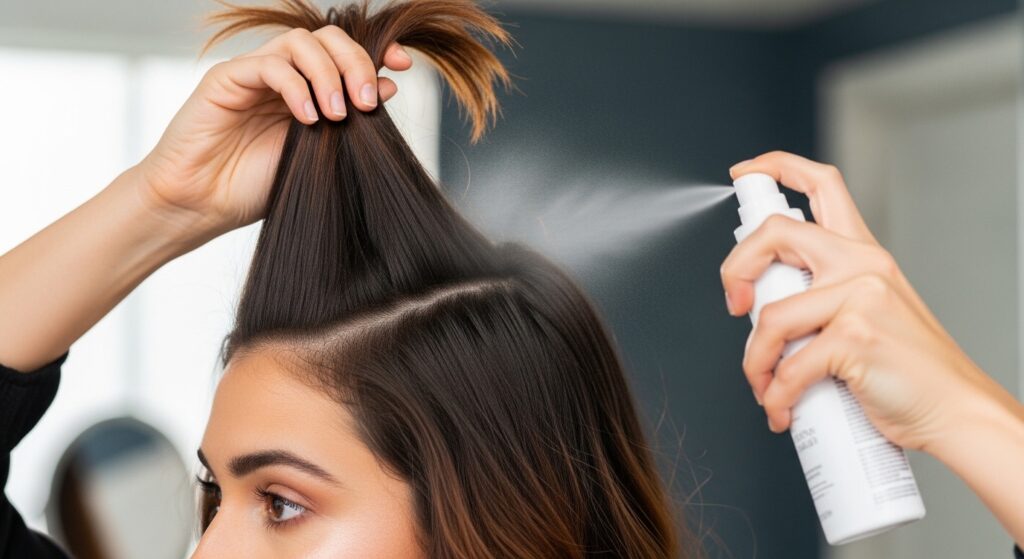
4. The Spraying Technique: Distance Matters
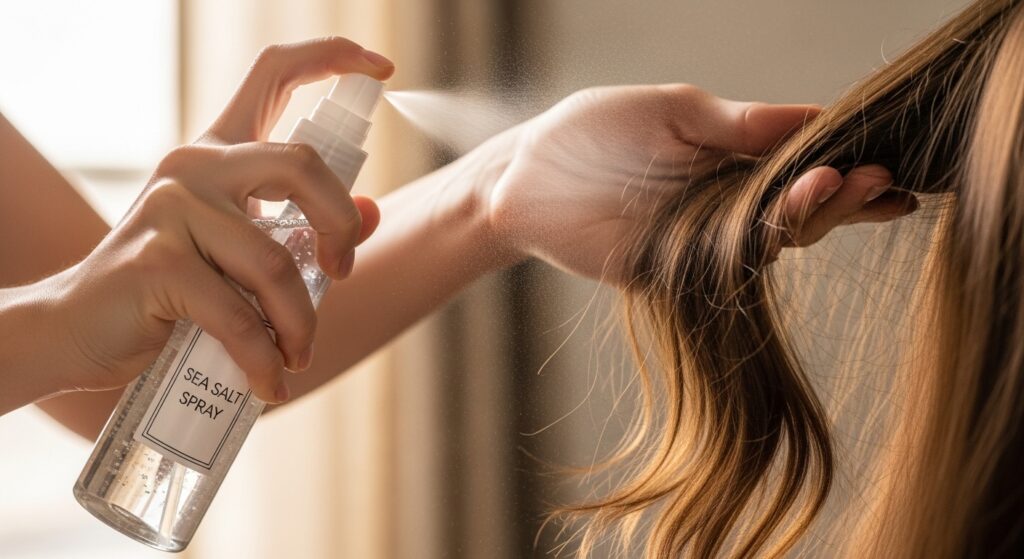
Don’t hold the bottle right against your head. You want a light, misty application, not a concentrated soak. Hold the bottle about 8-10 inches away from each section. Give it 2-3 good spritzes per section.
Imagine you’re misting a plant—you want a fine, even distribution. This prevents product buildup in one spot, which leads to crunchiness. A light mist from a distance is the key to that soft, touchable finish.
5. Scrunch, Don’t Rub

After you’ve sprayed a section, immediately scrunch the hair with your hands. This is what activates the wave pattern. Flip your head upside down and gently cup sections of hair, squeezing them upwards towards your scalp.
Do not rub your hair between your palms. Scrunching encourages the natural wave, while rubbing can cause frizz and break up the pattern we’re trying to create. Keep scrunching until you’ve worked through all sections.
6. For Straight Hair: Create a Fake Wave Pattern
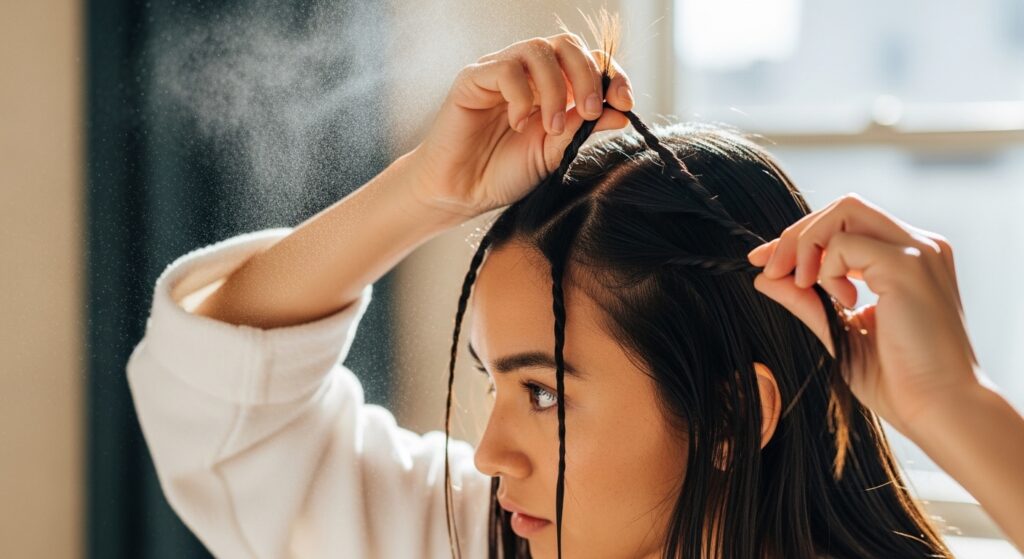
If your hair is very straight, you need to give it a wave pattern to follow. After spraying and scrunching, try twisting small sections of hair around your finger. You can also braid damp, sprayed hair into a few loose braids and let it dry.
Once your hair is completely dry, gently unravel the twists or braids. Use your fingers to break them up—never a brush! This gives the salt something to hold, creating softer, more defined waves instead of just texture.
7. For Curly/Wavy Hair: Enhance What You Have
You lucky ducks already have the pattern! Sea salt spray will enhance your natural curls and waves, giving them more grit and separation. Apply to damp hair as usual, scrunch well, and then try “plopping” with a cotton t-shirt to dry.
You can also use a diffuser on a low heat setting to dry your hair while scrunching. This boosts volume and definition. The salt will help reduce frizz and give your curls a cool, piece-y look that’s perfect for 2026 hairstyles.
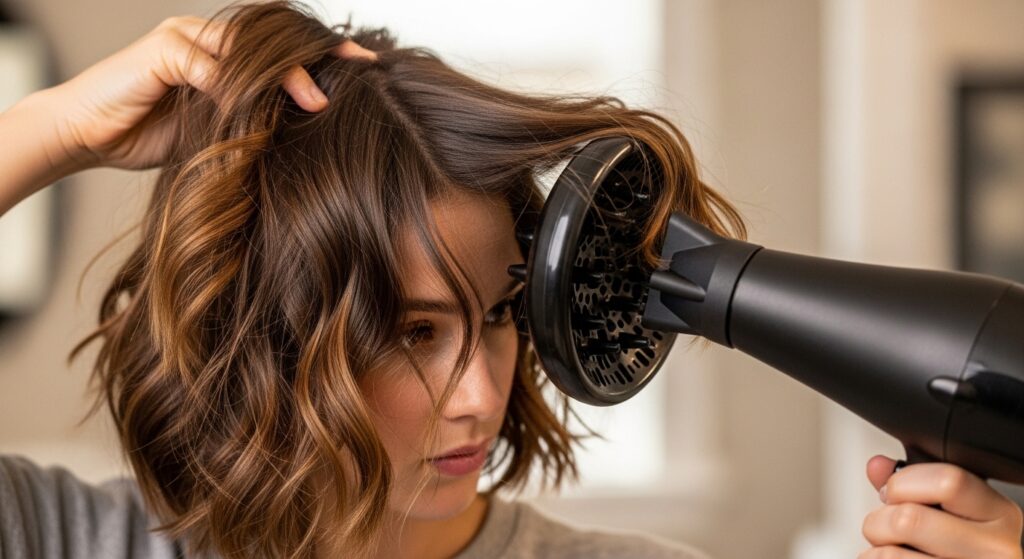
8. Air Dry vs. Diffuse: Your Choice
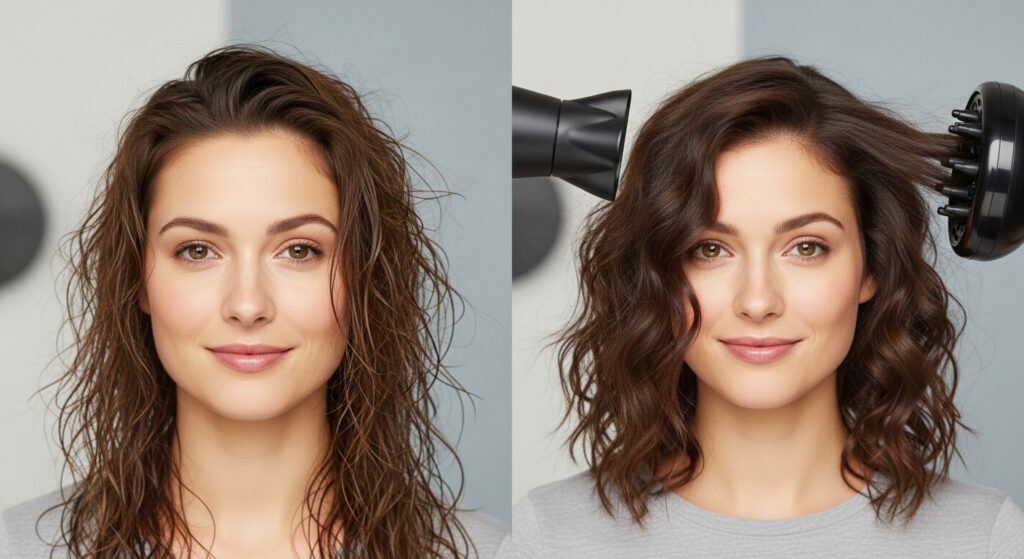
You can absolutely let your hair air dry for the most natural result. This takes longer but often creates a softer wave. If you’re short on time or want more volume, use a blow dryer with a diffuser attachment.
With a diffuser, keep the heat low and don’t break up the curls as you dry. Cup sections of hair in the diffuser and hold it in place without moving it around too much. This sets the waves without causing frizz.
9. The “Second Day” Hack on Fresh Hair
The best bedhead waves often happen on day two or three hair. To recreate this on freshly washed hair, spray your roots with a little water or a texturizing spray first to take away the “fresh” slip. Then apply your sea salt spray.
This little trick mimics the natural oils and texture of second-day hair, helping the waves form more easily and look less “done.” It’s a total game-changer for getting that authentic, lived-in vibe.
10. Avoid Brushing After It Dries
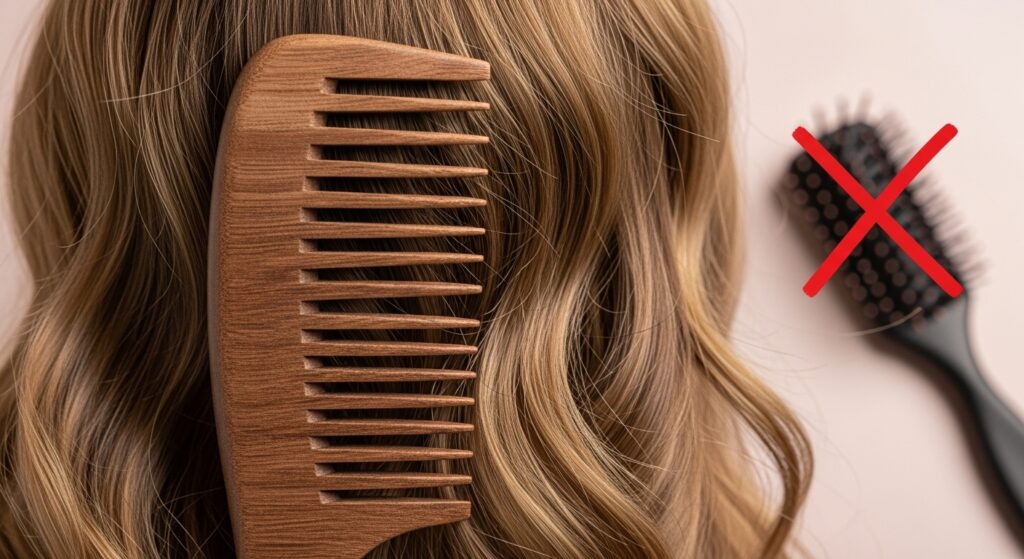
Once your sea salt spray waves are set and dry, put the brush down! Brushing will turn your beautiful waves into a poofy, frizzy mess. If you need to detangle, do it in the shower with conditioner when your hair is wet.
For smoothing or shaping dry hair, use only your fingers or a wide-tooth comb very gently. Finger-combing is the best way to rearrange your style without destroying the texture you worked so hard to create.
11. Add a Heat Protectant If Using Tools
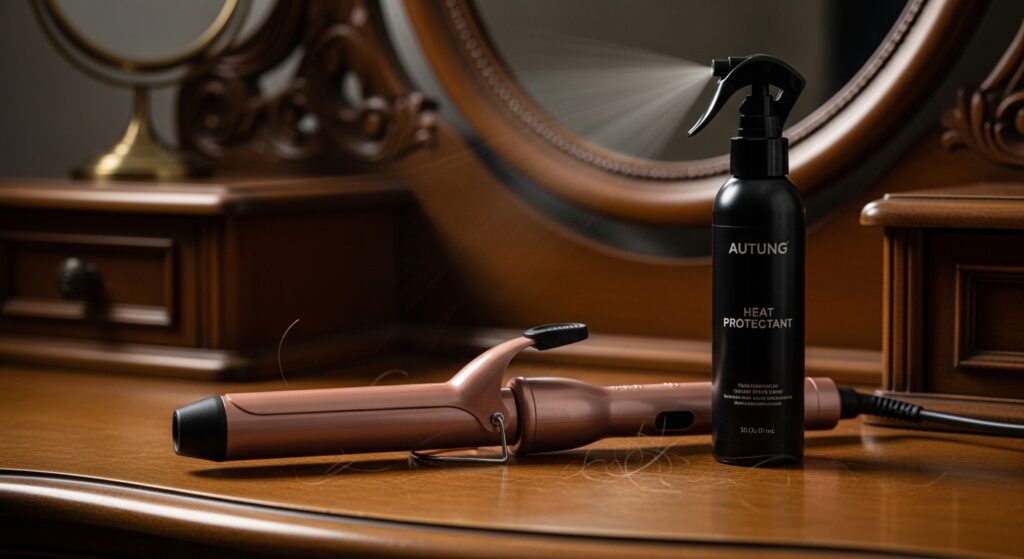
Sometimes you need a little help from a curling iron or wand to perfect a few pieces. Always, always use a heat protectant spray first, even on hair with sea salt spray in it. The salt can be drying, and heat can amplify that damage.
Apply a light mist of heat protectant, then use a barrel iron to curl random sections away from your face. Remember, we want imperfect waves, so don’t curl every piece or make them too uniform.
12. The “Pineappling” Overnight Trick

To preserve your waves for the next day, don’t sleep with your hair down. Try “pineappling.” Loosely gather all your hair at the very top of your head and secure it with a soft scrunchie or silk hair tie.
This prevents you from crushing the waves as you sleep. In the morning, just take it down, flip your head over, shake it out, and refresh with a tiny bit of spray on your hands. Your waves will still be intact.
13. Mix With a Leave-In Conditioner
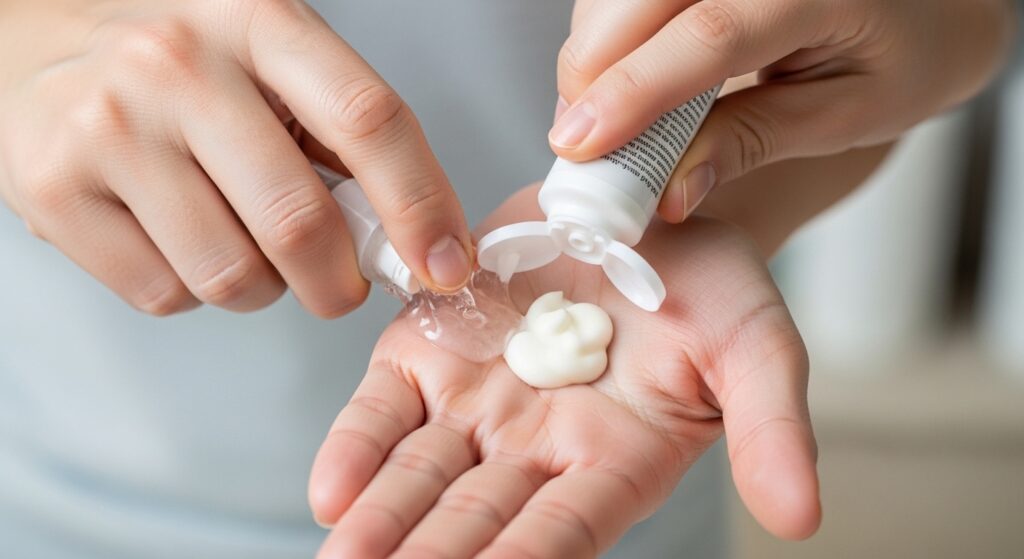
If your hair is dry or damaged, pure sea salt spray can sometimes feel too harsh. The fix? Mix it! In your palm, combine one part leave-in conditioner or a light hair oil with two parts sea salt spray.
Rub your hands together and then scrunch it into your damp hair. This gives you the texture and hold of the salt spray, but with added moisture and softness to prevent brittleness. It’s the perfect balance.
14. Target Volume at the Roots
For that true bedhead volume, you need to focus on the roots. After applying spray all over, lift sections at the crown and give the roots a light spritz from underneath. You can also use a tiny bit of texturizing powder here.
While your hair is still damp, try flipping your head upside down and scrunching at the roots as well. This, combined with the root spray, will give you major lift that lasts all day.
15. Create a Piece-Y, “Glitchy” Finish
Want that edgy, glitchy glam hair look? Once your hair is completely dry, take a tiny drop of hair wax or pommel on your fingertips. Rub it just on the very ends of random, face-framing pieces.
Gently twist these pieces between your fingers to separate them from the rest of your hair. This creates intentional, piece-y strands that look artistic and cool, like your texture has a intentional “glitch.”
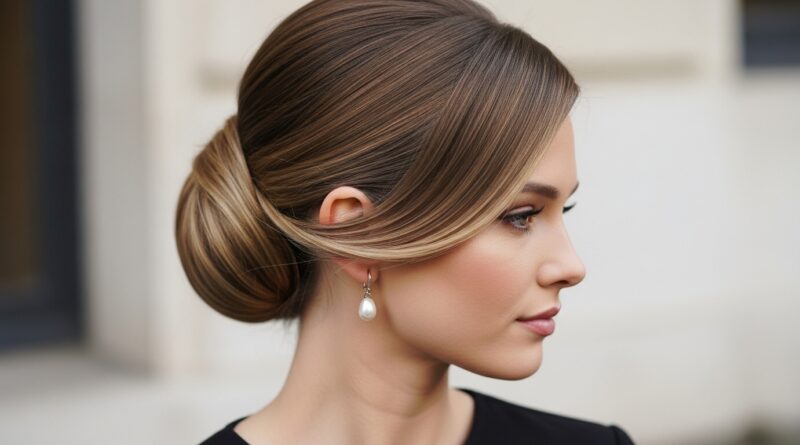
16. Adapt the Look for a “Quiet Luxury” Vibe

Bedhead waves don’t have to be messy. For a quiet luxury bob or lob, use less spray. Apply only to the ends and style your hair into a sleek, low ponytail or bun.
Leave out a few face-framing pieces. Spray and twist just those pieces for a soft, controlled wave. This gives a polished but relaxed feel—like you’re effortlessly elegant without even trying.
17. Try It on Short Hair & Micro Bangs
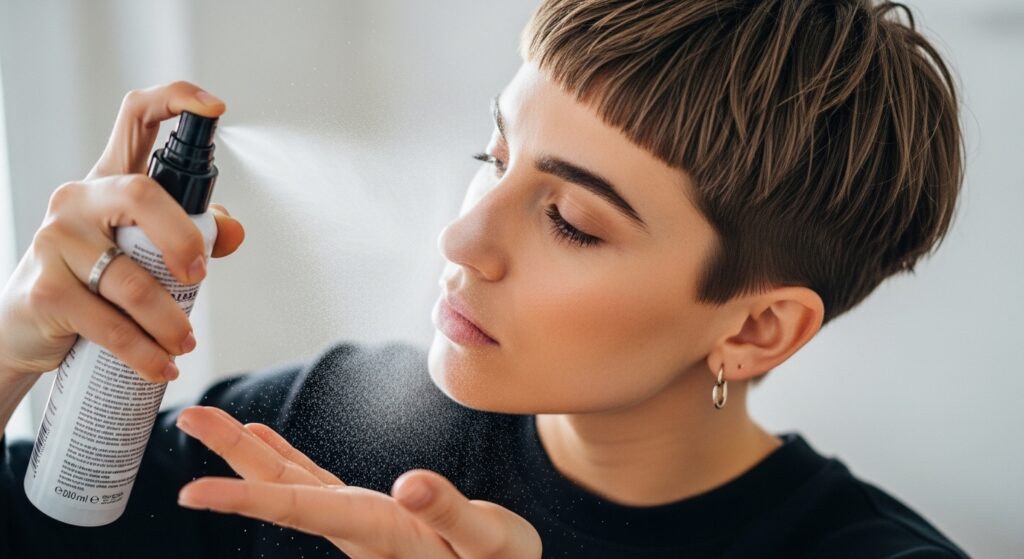
Short hair lovers, this is for you! Sea salt spray is amazing for adding piece-y texture to pixies, crops, and bangs. Spray it directly onto your fingertips, then rub them through your dry hair to style.
It’s perfect for pushing hime cut-style bangs to the side or adding grit to a choppy short cut. It gives separation and hold without the stiffness of a gel or wax, keeping that touchable, soft feel.
18. The Refresh Spray for Day 3 & Beyond
Your waves are looking flat on day three? Make a refresh spray. Fill a small misting bottle with mostly water, a tiny bit of leave-in conditioner, and a spritz of your sea salt spray. Shake it well.
Lightly mist your hair all over, focusing on the mid-lengths. Then scrunch with your hands again. The water will reactivate the product already in your hair, and the added mix will bring your waves back to life without buildup.
19. Avoid These Common Mistakes
A few quick don’ts to save your style: Don’t overapply. Start with less—you can always add more. Don’t forget to scrunch right after spraying. Don’t use it on dry hair as a base. Don’t brush it out.
Also, avoid using heavy oils or creams before the spray, as they can block the texturizing effect. The goal is effortless texture, not a stiff, product-heavy helmet. When in doubt, use a lighter hand.
20. My Top 3 Affordable Sea Salt Spray Picks
You don’t need to spend a fortune. Here are my go-to affordable sprays that actually work:
- Not Your Mother’s Beach Babe Texturizing Spray: Great hold, smells amazing, and doesn’t get crunchy.
- Herbal Essences Set Me Up Spray: A super lightweight option that adds texture without any stickiness.
- Sun Bum Sea Spray: Has a bit of UV protection and gives a true, beachy texture with medium hold.
So there you have it—your complete roadmap to ditching the flat iron and embracing the perfect, tousled wave. It’s all about working with your natural texture, not against it. With a good sea salt spray and these simple hacks, you can get that “I woke up cool” hair any day of the week.
Remember, the goal is imperfection. The more you play with it, the better you’ll get at finding your own signature wave. Whether you’re channeling romantic goth hairstyles or sleek old money hair, this texture is your foundation.
Save this post to Pinterest so you always have these steps handy! And I’d love to know—what’s your biggest hair texture struggle? Drop a comment below and let’s chat all things waves!