Buns 13 Architectural High Knots Sculpted for Runway Edge
Okay, let’s be real. We’ve all seen those insane, sculptural runway buns and thought, “That’s art, but I could never.” I’m here to tell you that you totally can. Those high knots aren’t just for models and red carpets anymore.
They’ve trickled down into what I’m calling the “architectural” trend—think less messy mom bun, more intentional masterpiece. It’s about structure, a little drama, and a lot of confidence.
And the best part? They’re surprisingly wearable. I’ve broken down 13 of the coolest looks, from barely-there chic to full-on romantic goth. You’ll find a step-by-step guide for each, using stuff you already have at home. Let’s get sculpting.
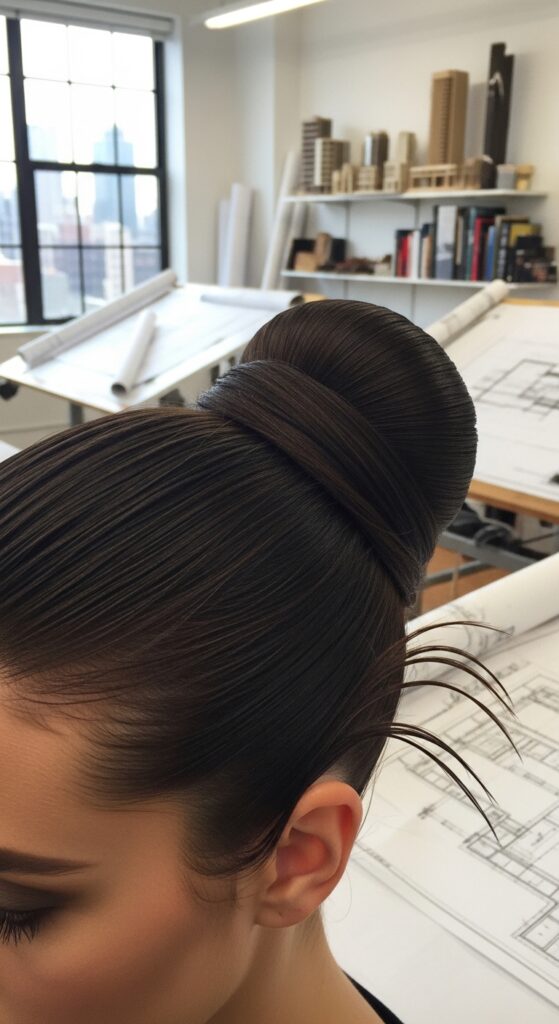
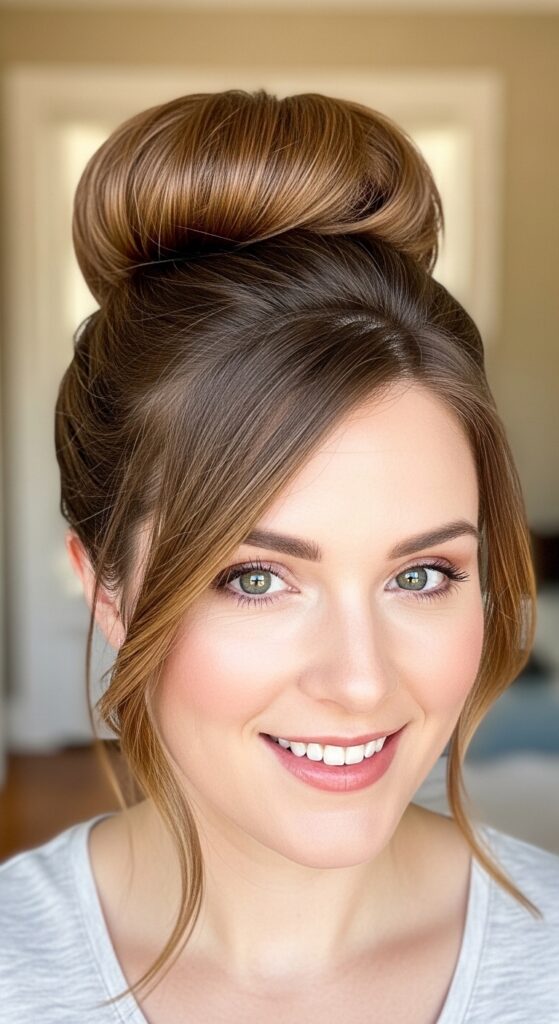
1. The Modern Ballerina Knot
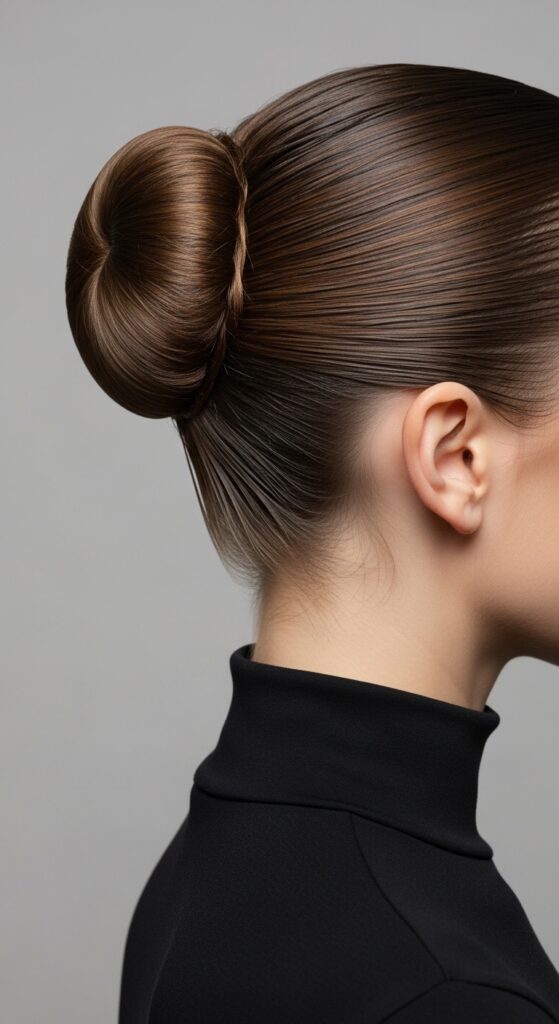
This is your entry-level architectural bun. It takes the classic ballerina style and makes it feel modern and sleek, not stiff or dated. The key is a perfectly smooth ponytail base and wrapping the hair in one clean, tight coil.
It pairs beautifully with quiet luxury aesthetics and looks incredible with simple, elegant earrings. It’s the ultimate “I look polished without trying” hairstyle.
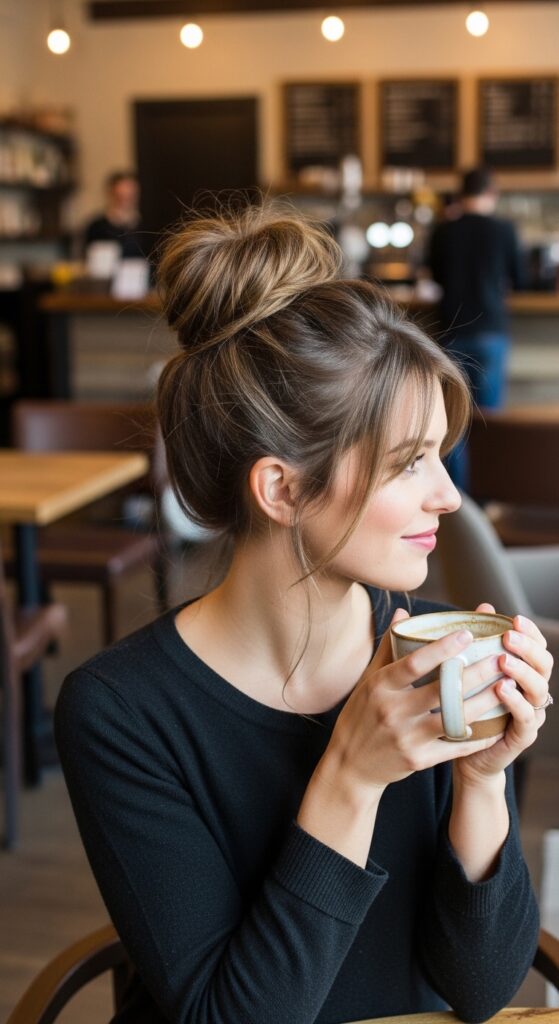
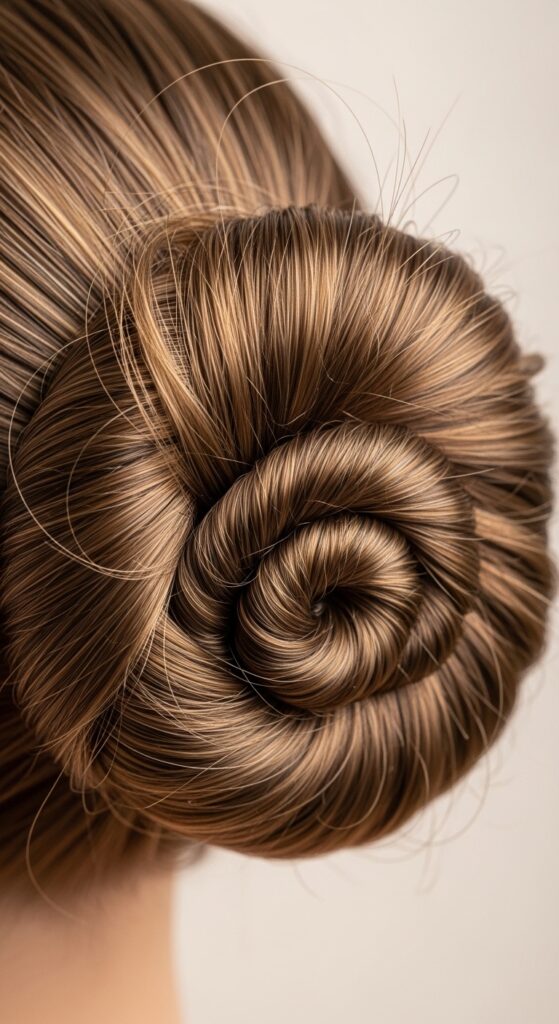
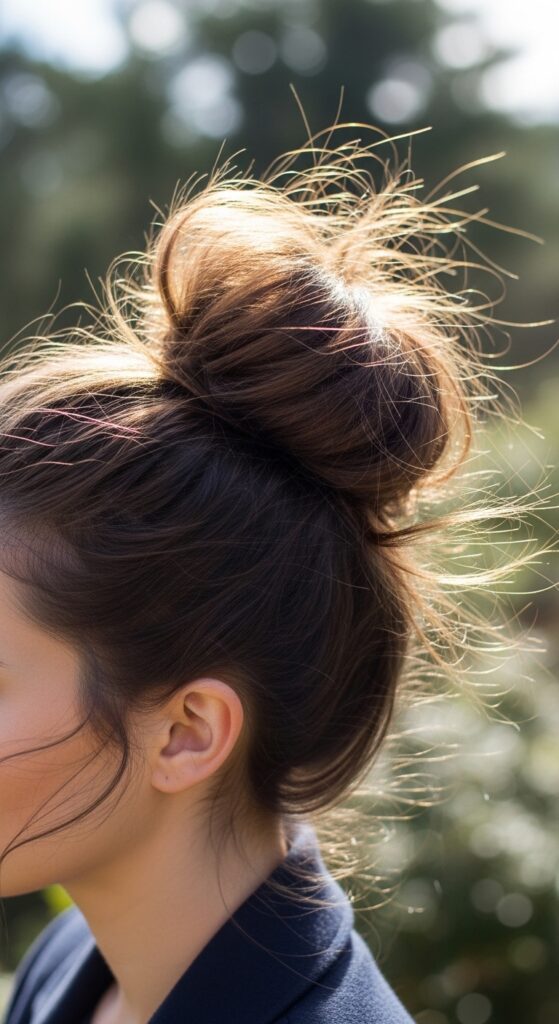
2. The Textured Donut Bun
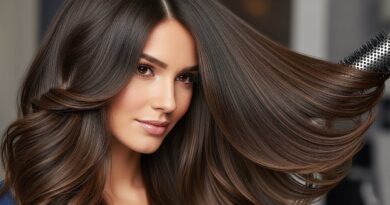
For those of us without waist-length hair, the donut bun form is a lifesaver. But instead of making it super round and perfect, we’re going for texture. Tease the hair at the crown before you gather it, and pull out a few face-framing pieces.
Wrap your hair around the form loosely, and use bobby pins to secure any pieces that want to stick out—embrace that imperfect, lived-in vibe. It adds volume and a touch of cool-girl effortlessness.
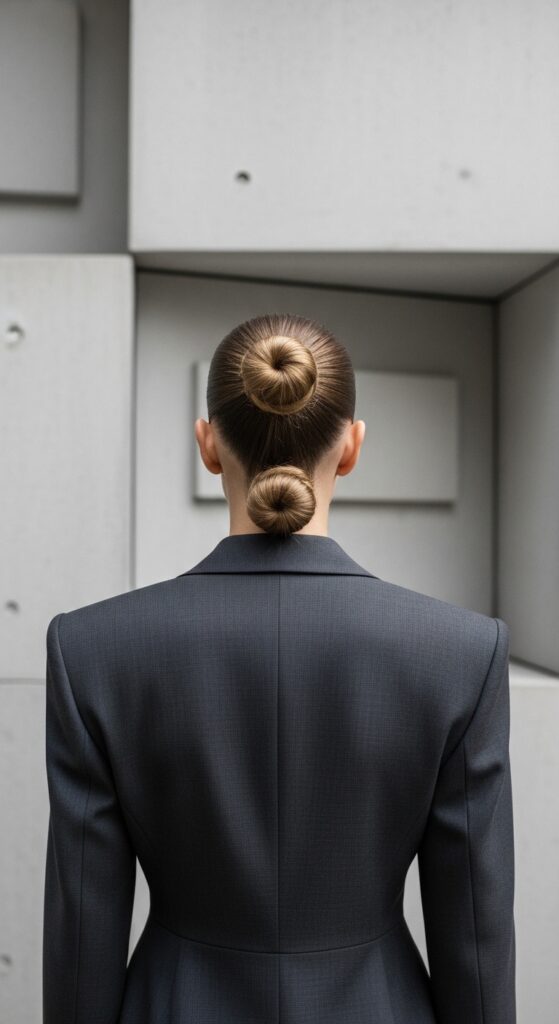
3. The Double-Knot Statement
Why have one knot when you can have two? This look is pure runway edge. It involves creating two distinct buns stacked vertically, close together at the back of the head. It works best on medium to long hair.
Keep the sections neat and the buns compact. This style is a fantastic way to channel that glitchy glam hair energy—futuristic and a little broken, in the best way.
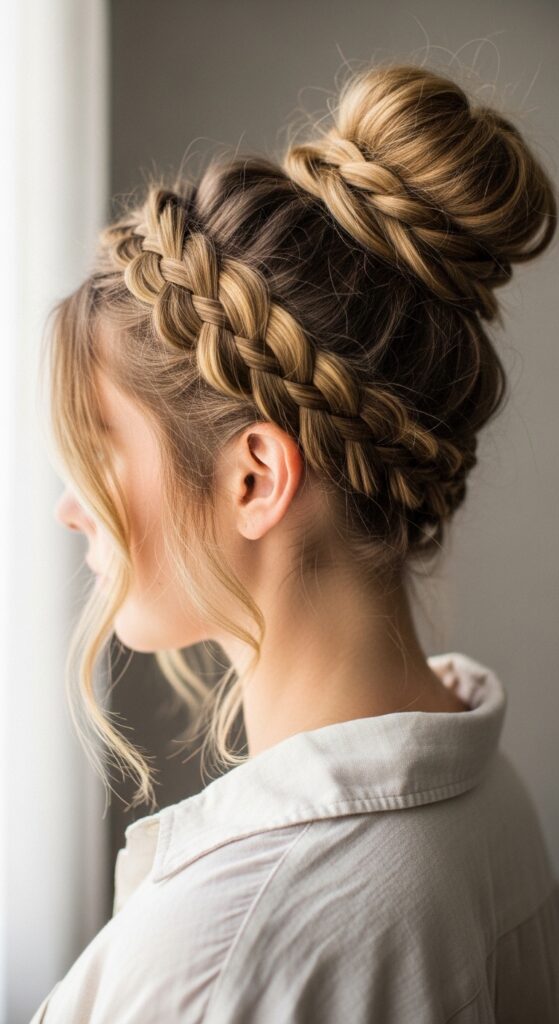
4. The Braided Crown Base
This starts with a Dutch braid along your hairline, from one temple to the other. It acts as a stunning, built-in headband and gives your bun an anchored, intricate feel. Don’t worry about it being perfect; a slightly loose braid is more romantic.
Gather the rest of your hair into a high ponytail and twist it into your bun of choice. This adds a beautiful, bohemian twist to the architectural trend and is a gorgeous 2026 hairstyles preview.
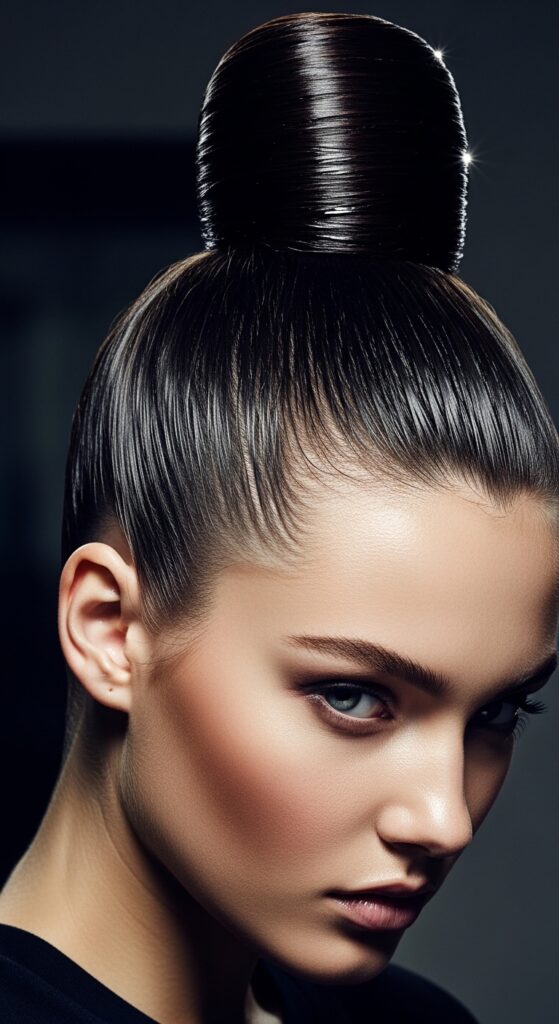
5. The Slicked-Back Wet Look
Maximalist sleekness is the goal here. Use a strong-hold gel or pomade to slick every single hair back from your face into a super tight, high ponytail. Then, wrap the tail into a tight, flat knot or bun.
The finish should look almost wet. This style is powerful, dramatic, and shows off your facial structure beautifully. It’s a sharp contrast to softer old money hair trends, making a bold statement.
6. The Twisted Rope Bun
Instead of a simple ponytail base, create two sections and twist them around each other all the way up the length of your hair. Then, coil that twisted “rope” into a bun at your crown.
This technique gives the bun incredible texture and grip, so it holds all day. It looks intricate but is just a simple twist repeated. It’s a practical trick that delivers a high-fashion result.
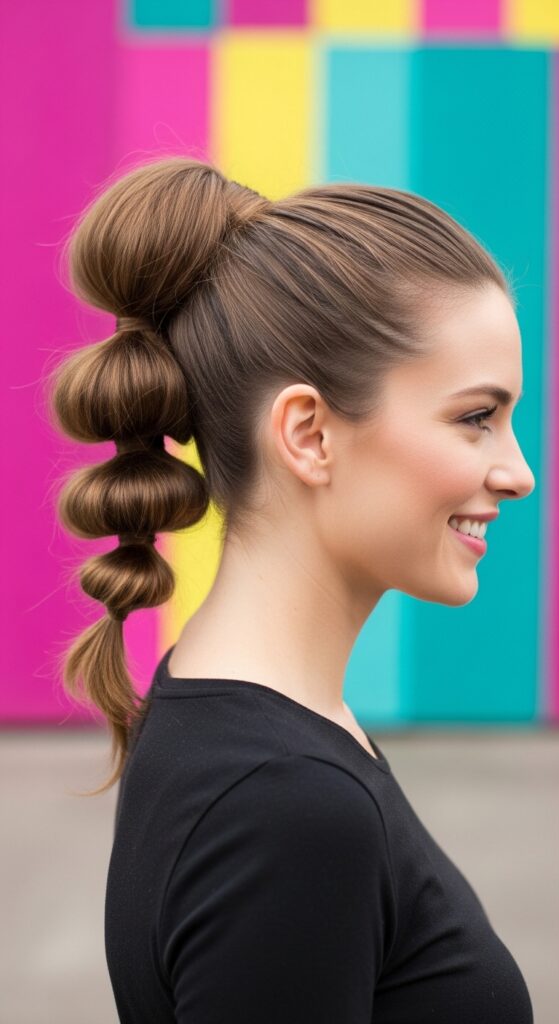
7. The Bubble Bun Hybrid
This playful take combines the bubble ponytail with a bun. Create a high ponytail and put in 3-4 hair ties down its length to make the “bubbles.” Then, take the last section and tuck it under to form a small, messy bun.
Gently pull on each bubble to enlarge it for that exaggerated, almost cartoonish volume. It’s fun, youthful, and adds a quirky architectural shape to your silhouette.
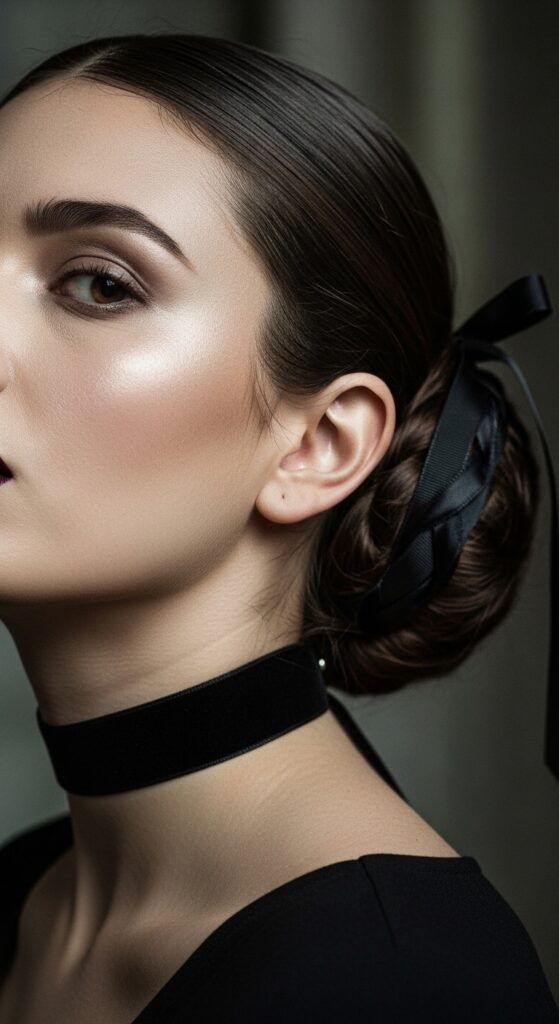
8. The Goth Romantic Twist
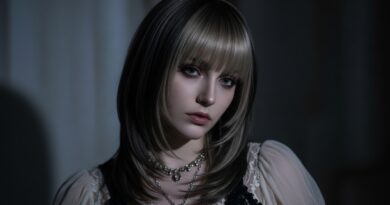
Infuse your bun with some romantic goth hairstyles drama. Start with deep side-parted, volumized hair. Create a low, loose bun at the nape of your neck, but leave plenty of texture and wispy pieces.
Weave in a black satin ribbon or a delicate chain as you wrap the bun. The vibe is elegant, mysterious, and straight out of a modern vampire romance—perfect if you love the vampire haircut aesthetic but need an updo.
9. The Asymmetrical Sculptural Knot
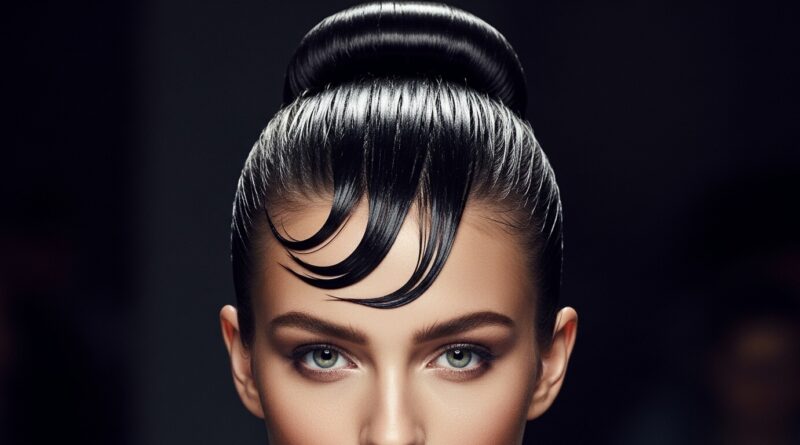
Placement is everything. Instead of the center of your head, position your bun high up but slightly to one side. Pull the hair tighter on the opposite side for a sleek, asymmetrical sweep across your forehead.
This creates an incredible, off-balance line that feels very modern and artistic. It complements an asymmetrical lob beautifully if you’re growing one out and need a stylish updo option.
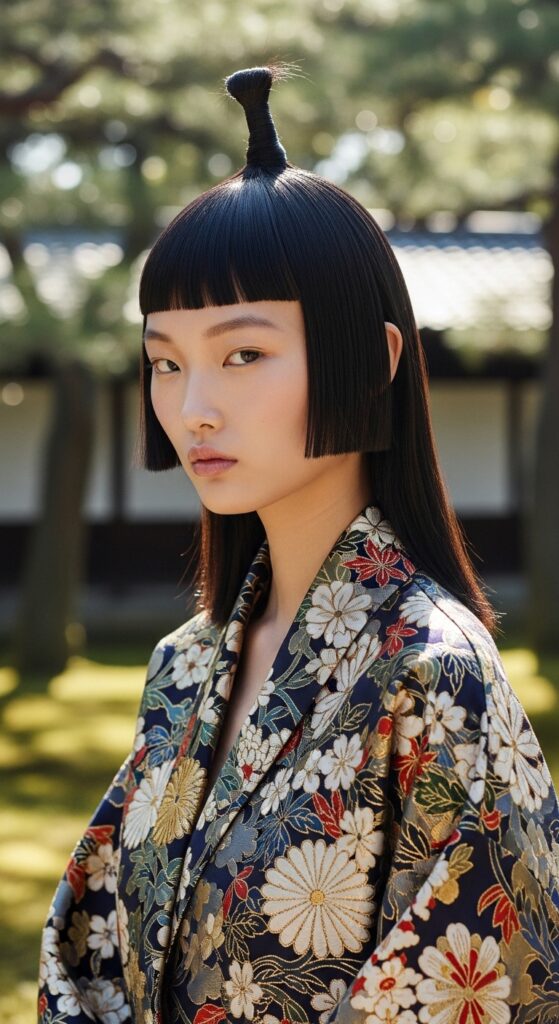
10. The Hime Cut-Inspired Top Knot
If you have or are inspired by the iconic hime cut, this is for you. Gather only the top section of your hair (like the princess sections of the hime) into a small, precise knot on top of your head.
Leave the rest of your hair down. This creates a beautiful, regal silhouette and keeps hair off your face while showcasing a dramatic cut. It’s a focused, statement-making bun.
11. The Deconstructed “Undone” Bun
This looks like you just threw your hair up, but better. The secret is pinning it in stages. Make a messy twist, pin it loosely, then pull and pin specific sections to create interesting shapes and gaps.
Use a texturizing spray first. The goal is artful chaos—pieces should stick out intentionally. It’s the anti-perfect bun and works with almost any hair texture.
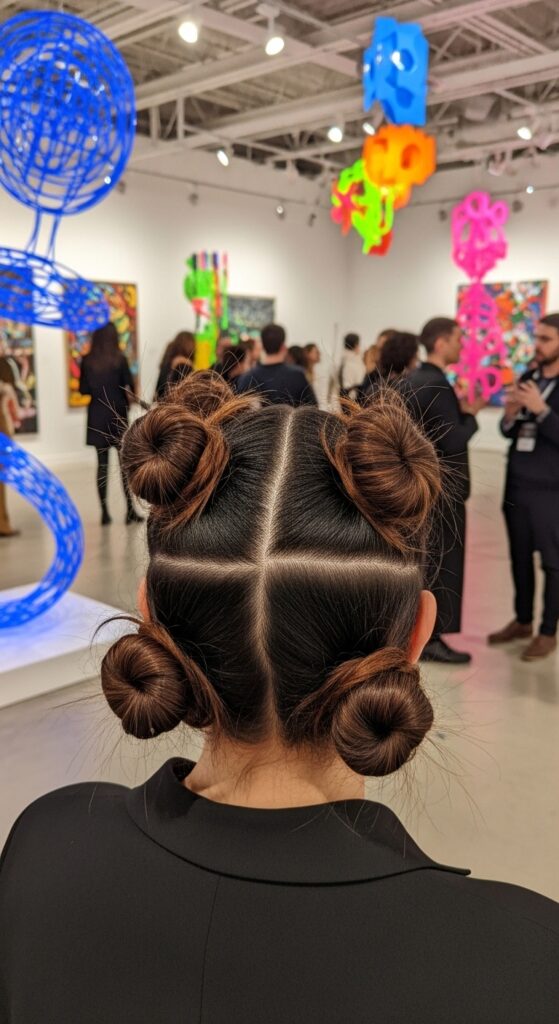
12. The Mini Buns Constellation
Think multiple small buns scattered across your head like a constellation. Create 3-5 small, tight knots in random placements. They don’t all have to be the same size or tightness.
This is a seriously cool, avant-garde look for a festival or a night out. It embodies the playful side of 2026 hairstyles and is a great way to deal with second-or third-day hair.
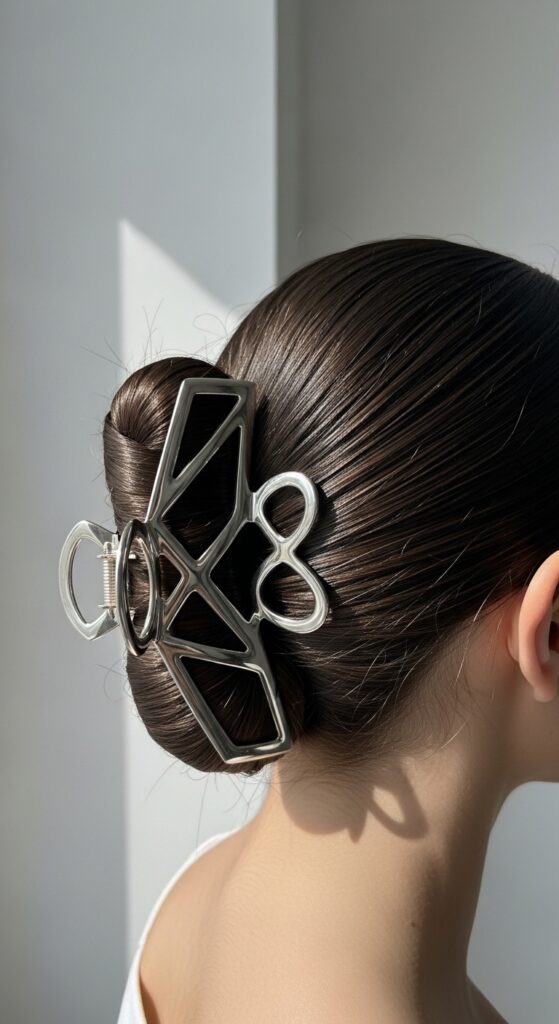
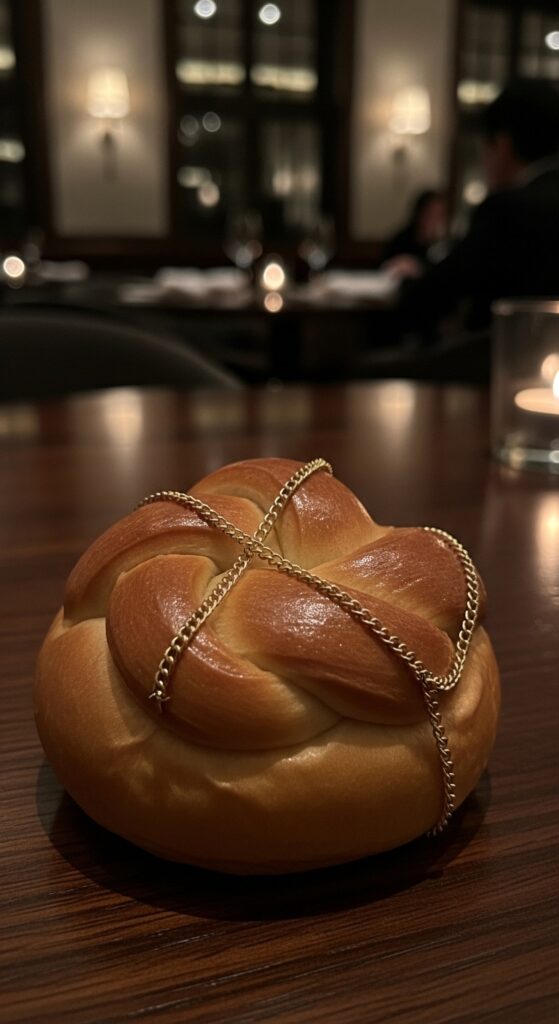
13. The Accessorized Statement
Sometimes, the architecture comes from what you add. Take a simple, clean bun and elevate it with a bold accessory. Think a large, claw-style clip nestled at the base, a sculptural hair cuff on the ponytail before you wrap it, or even artful pins placed in a pattern.
This is the easiest way to tap into the trend. Let the accessory do the sculpting for you, turning a basic style into a glitchy glam hair moment.
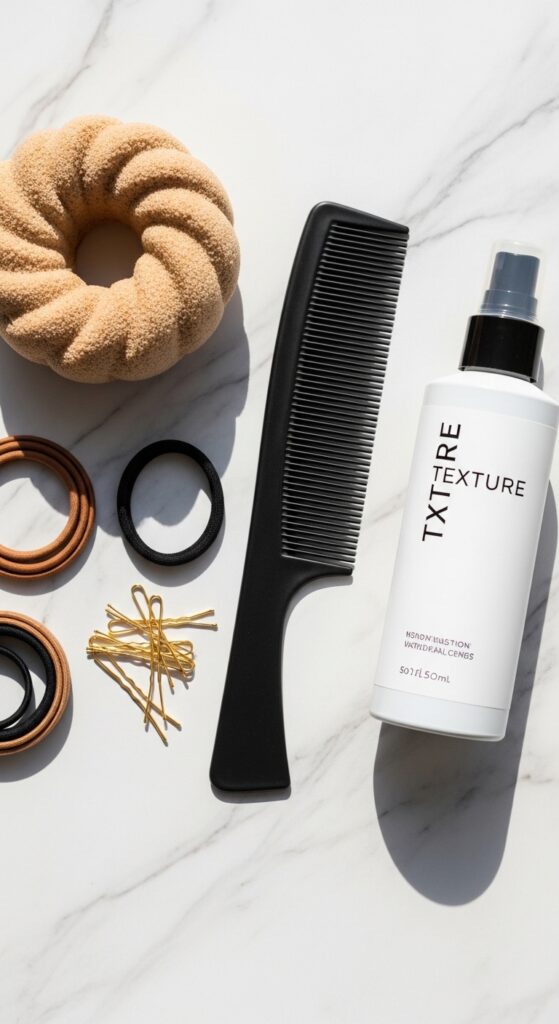
Essential Tools You’ll Actually Use
You don’t need a pro kit. Here’s what really matters for these styles: a fine-tooth comb for sleekness, strong-hold hair elastics (the clear ones are great), a texture spray for grip, and bobby pins in your hair color.
A donut bun form is a great cheap helper for volume. For the wet look, a strong gel is key. That’s it! With these basics, you can create every single bun in this guide.
How to Prep Your Hair for Sculpting
Day-old hair is your best friend. If it’s too clean, it will be slippery. If it feels flat, spray a volumizing or texturizing spray at the roots and massage it in. For flyaways, a tiny bit of pomade on your fingertips can smooth them down.
If your hair is very fine or silky, a light-hold mousse before you start can give it the grip it needs to hold an architectural shape without feeling crunchy.

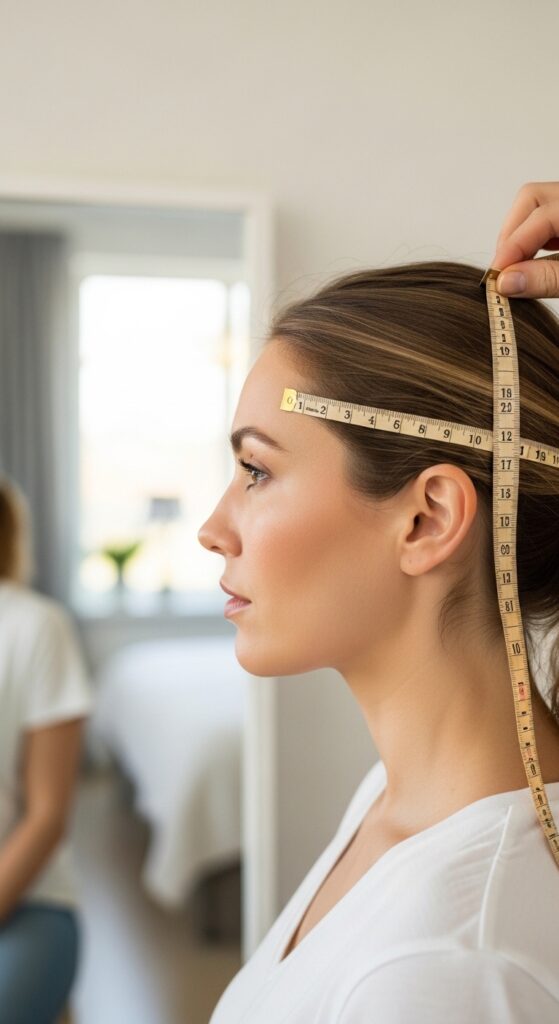
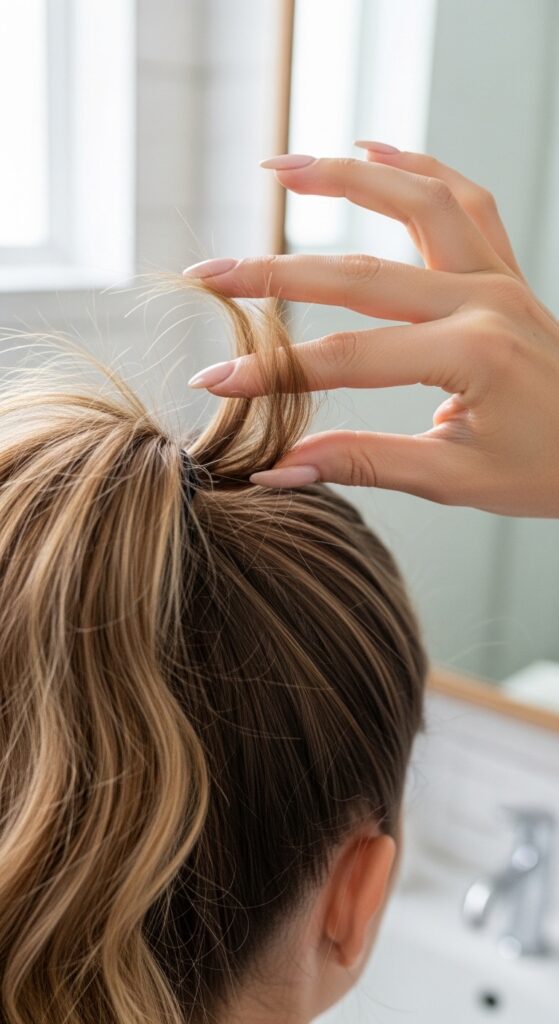
Mastering the Perfect Ponytail Base
For a high bun, the ponytail placement is crucial. Use a tail comb to draw a line from the outer corner of your eye to the crown of your head—that’s your sweet spot. Brush all hair smoothly back to that point.
Secure with a tight elastic. For extra sleekness, wrap a small piece of hair around the elastic and pin it underneath. This base makes your bun look intentional and polished from every angle.
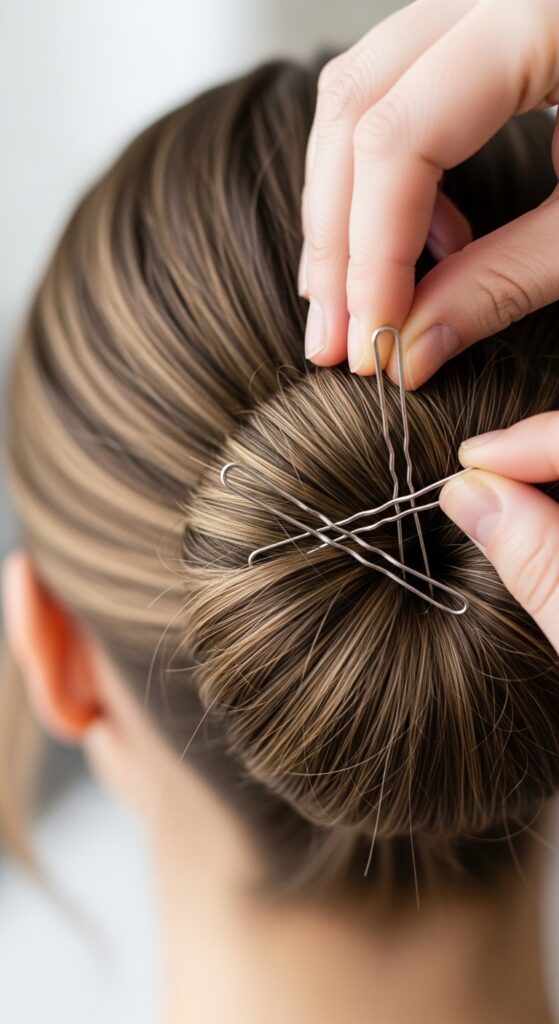
Securing It All Day (No Slip!)
The secret to all-day hold is criss-cross pinning. Always insert bobby pins with the wavy side down, facing your scalp. Cross two pins over each other in an “X” for maximum security.
For heavy buns, try hair pins (or “U-pins”)—they hold more hair. And a final, light mist of a flexible-hold hairspray all over will lock everything in without making it stiff.
Adapting for Fine or Short Hair
Don’t have tons of length or thickness? Use texture to your advantage. Tease the hair at the crown before gathering it. A bun form is essential to create the illusion of a bigger bun.
You can also focus on smaller, tighter sculptural knots, like the mini buns or a single, precise knot. Sometimes, less hair makes a sharper, more architectural statement anyway.
Taking It From Day to Night
Your daytime sleek bun can become evening drama in seconds. Add metallic cuffs to the tail before wrapping. Weave in a strand of pearls or a delicate chain. Spritz a glitter hair spray for subtle sparkle.
Or, quickly deconstruct it by gently pulling at the edges for a messier, more romantic volume. A bold lip color instantly elevates any architectural bun for night.
What to Do With Your Baby Hairs
Embrace them! For a sleek look, use a tiny toothbrush and a bit of gel to smooth them down into soft waves or edges. For a more relaxed vibe, let them fly free for a soft frame.
You can also use a pomade to shape them into tiny curls or swoops. They’re a natural, beautiful way to soften the hard lines of a sculptural style and make it feel like you.
Common Mistakes & How to Fix Them
Too tight and giving a headache? Loosen the ponytail base slightly by pulling gently at the sides of your head. Bun too lopsided? Use a mirror to check placement from all angles before final pinning.
Pins showing? Make sure you’re sinking them deep into the bun and using the right color. Hair too slippery? Texture spray is your fix. Remember, practice makes progress!
My Favorite Products Right Now
I keep it simple. For texture: Living Proof Dry Volume Blast. For hold: Ouai Hair Spray (strong but flexible). For sleekness: Kenra Classic Shine Spray.
For a wet look: Aveda Confixor Gel. And my holy-grail pins are these matte-finish bobby pins that actually blend in. You don’t need a cabinet full, just a few trusty heroes.
Your Next Step: Pick One & Try It
Don’t feel overwhelmed. Scroll back and pick the one that made you think, “I could maybe do that.” Start there. The Modern Ballerina Knot or the Textured Donut Bun are fantastic first projects.
Grab your tools, stand in front of a mirror, and give yourself permission to play. The first try might not be perfect, but you’ll learn so much. That’s how you build hair confidence.
So there you have it—13 ways to bring a little runway architecture into your everyday. The real magic of these styles isn’t just in the look, it’s in the feeling. There’s a certain confidence that comes with wearing your hair as intentional art.
It doesn’t have to be complicated. Start with one twist, one perfectly placed pin, or one great accessory. Before you know it, you’ll be turning heads with your own sculpted masterpiece.
I’d love to see your creations! Which bun are you trying first? Did you put your own spin on it? Tell me everything in the comments below.
Save this post to Pinterest to keep all these step-by-step guides right where you can find them for your next hair inspiration day. Pin your favorite look and tag me—I’m always looking for new ideas from you!