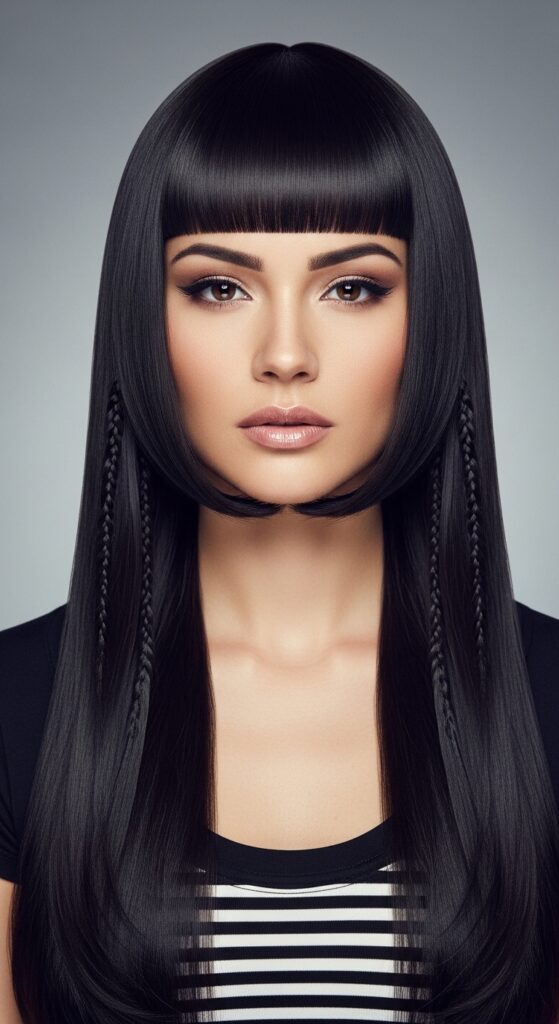
Layer 19 Teased Temple Sections Volumizing Sides Without Overdoing
Okay, let’s talk about a hair problem I know we all have. You want that gorgeous, full volume at the sides, but the second you start teasing, it can go from “effortless” to “messy 80s flashback” in two seconds flat. I’ve been there. It feels like you have to choose between flat hair or big hair, with no perfect middle ground.
That’s why I’m obsessed with this one specific technique. It’s my secret weapon for getting that “I woke up like this” fullness without any of the drama. I’m calling it the Layer 19 Tease, and it’s all about strategic placement.
This isn’t about backcombing your whole head. It’s a targeted approach that lifts your roots exactly where you need it. It works for everything from an old money hair look to an asymmetrical lob. It’s the detail that makes a style feel expensive and intentional.
So, if you’re ready for volume that looks chic, not chaotic, you’re in the right place. Let’s break it down into the simplest steps ever.
What Is The “Layer 19” Tease Exactly?
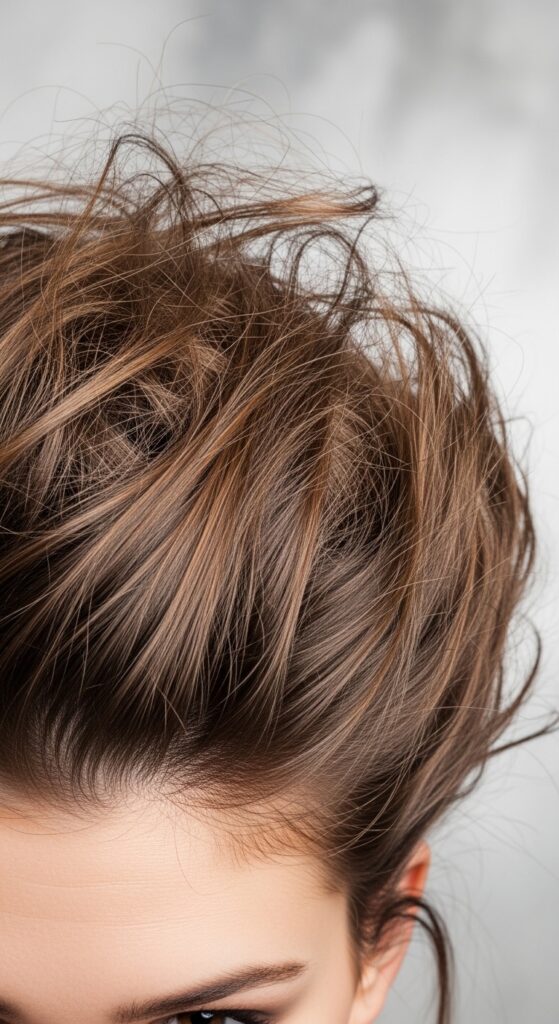
Don’t let the fancy name fool you. “Layer 19” is just my cute way of saying we’re focusing on one very specific, higher layer of hair around your temples. Think of your hair in vertical sections from your face back.
We’re not touching the top canopy layer everyone sees first. And we’re not touching the bottom layers at all. We’re going just underneath, to that hidden layer that acts as perfect support.
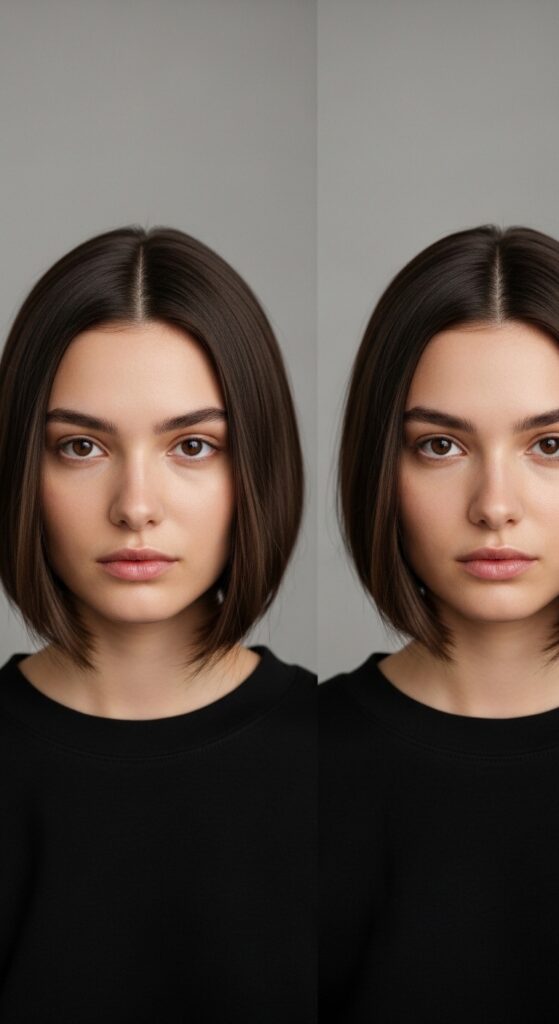
Teasing this one section gives you a gentle lift from within. It creates a soft, natural-looking fullness that pushes your surface hair out slightly, making your whole style look thicker and more lived-in.
Why Teasing Just The Temples Is A Game-Changer
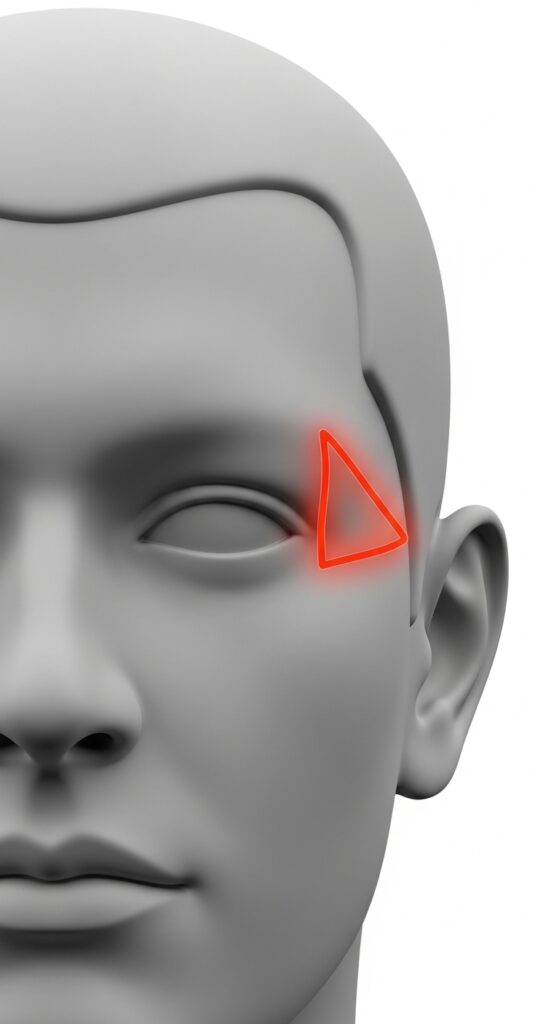
Focusing on the temple sections solves so many problems. First, it avoids that dreaded “triangle head” shape you get from teasing the crown too much. It gives width and balance to your face in the most flattering way.
Second, because it’s hidden, the tease stays put longer. Your top layer of hair smooths over it, locking it in place. The result is volume that lasts all day but never looks messy or overdone.
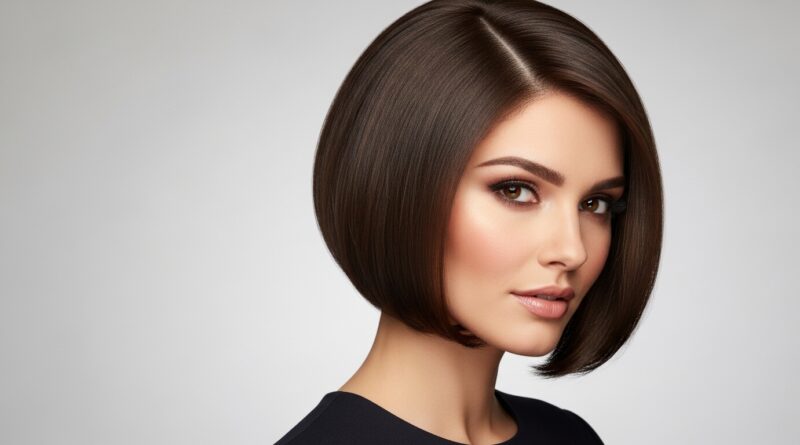
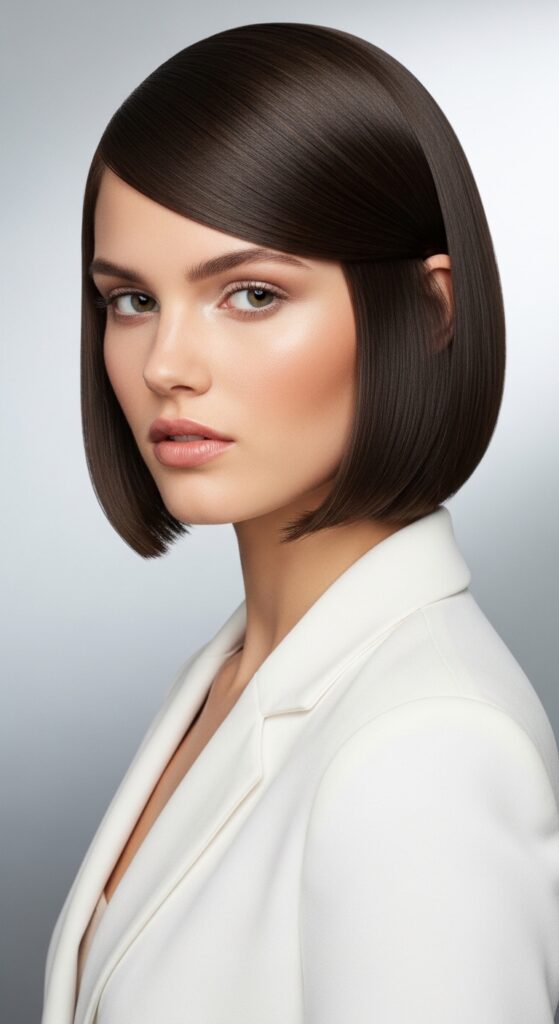
It’s the ultimate trick for that quiet luxury bob vibe—hair that looks incredibly healthy and thick, as if you were just born with it. It’s subtle magic.
Tools You Absolutely Need (And One You Don’t)
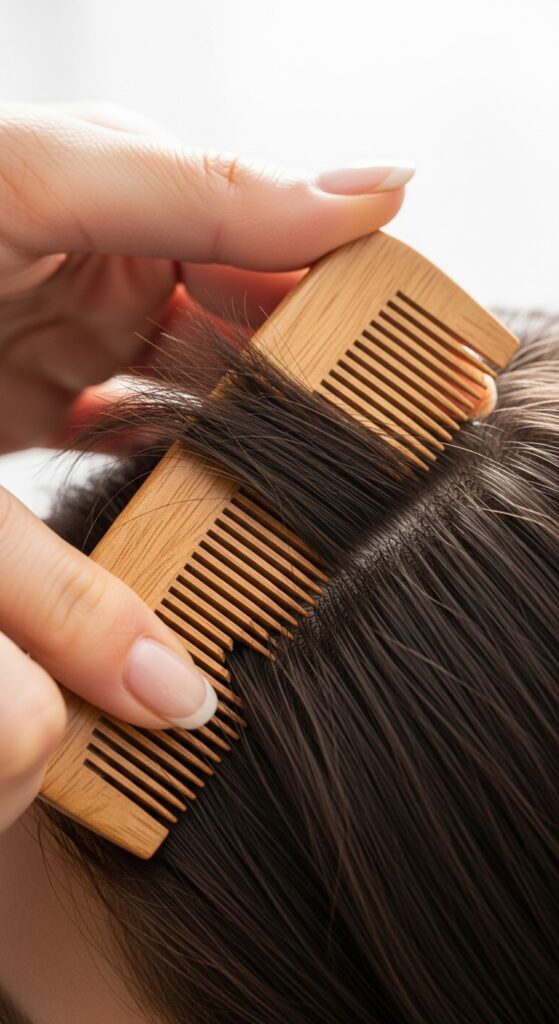
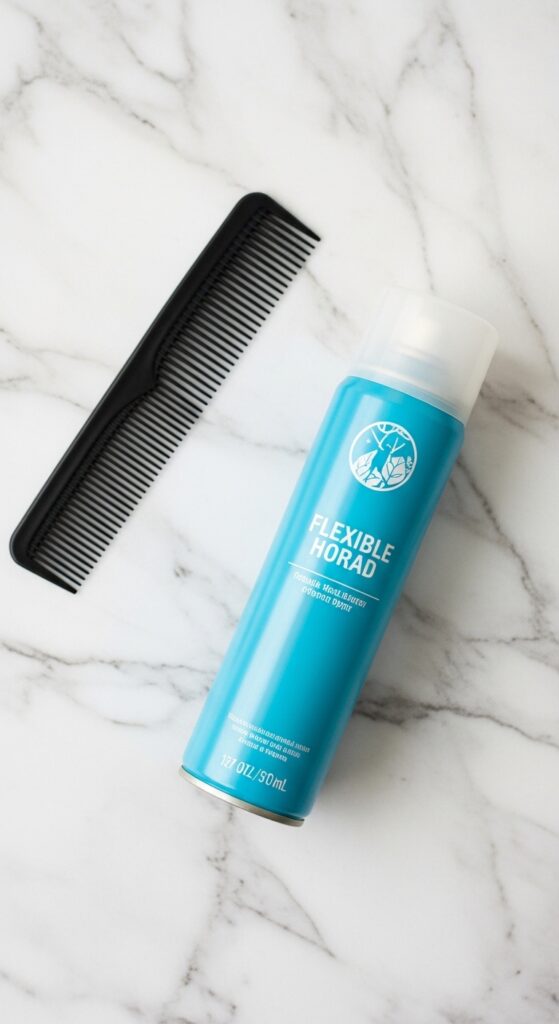
You only need two things for this. A fine-tooth comb is non-negotiable. The finer teeth give you more control and create a better, tighter base for volume. A wide-tooth comb won’t work the same.
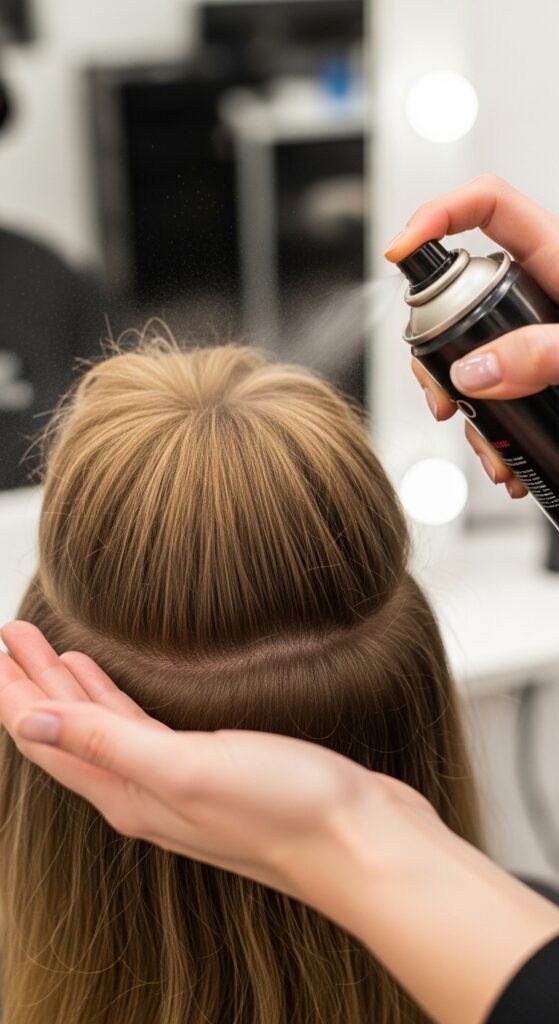
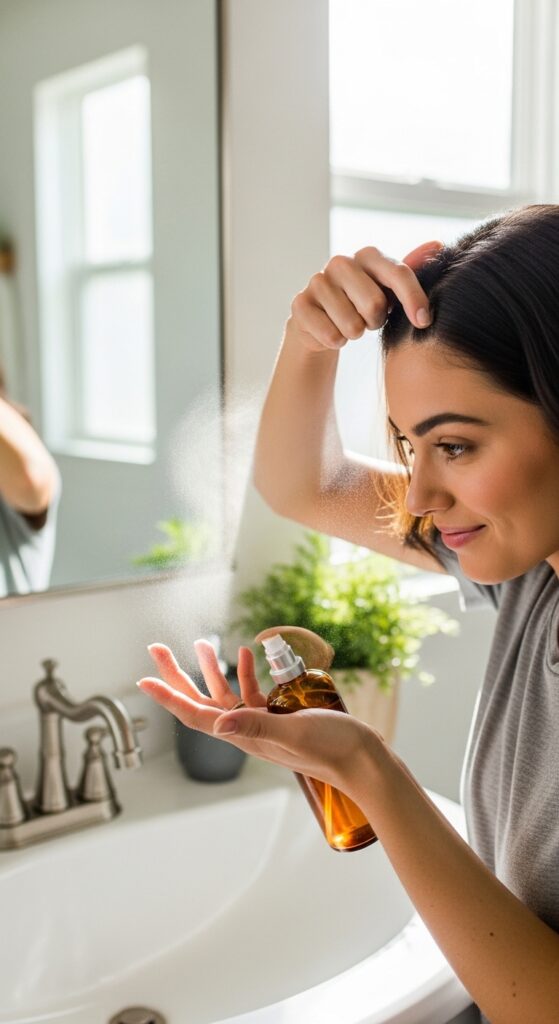
The second is a lightweight, flexible-hold hairspray. We’re not building a helmet. We want movement. Spray a little on the comb’s teeth before you tease for extra grip.
What you DON’T need? A ton of backcombing. We’re doing tiny, precise teases. Throw out the idea of aggressively raking the comb downward. That’s how you get tangles and damage.
Step 1: Find Your Perfect Temple Section
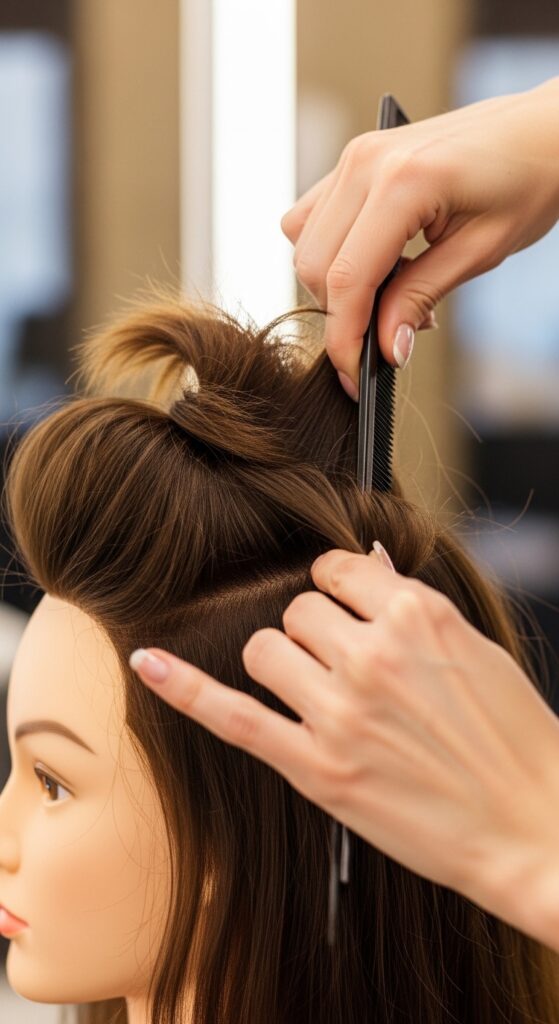
Start with day-old hair or use a dry texturizing spray. Clean hair is often too slippery. Use the end of your comb to draw a straight part from the top of your arch down to your ear.
This isolates the front section. Now, take a horizontal parting about an inch above your ear. Clip the top part of that front section out of the way.
You should be left with a small, triangular section of hair at your temple. This is your “Layer 19.” It’s the secret support beam for your whole side volume. Do this on both sides.
Step 2: The Gentle Backcomb Technique
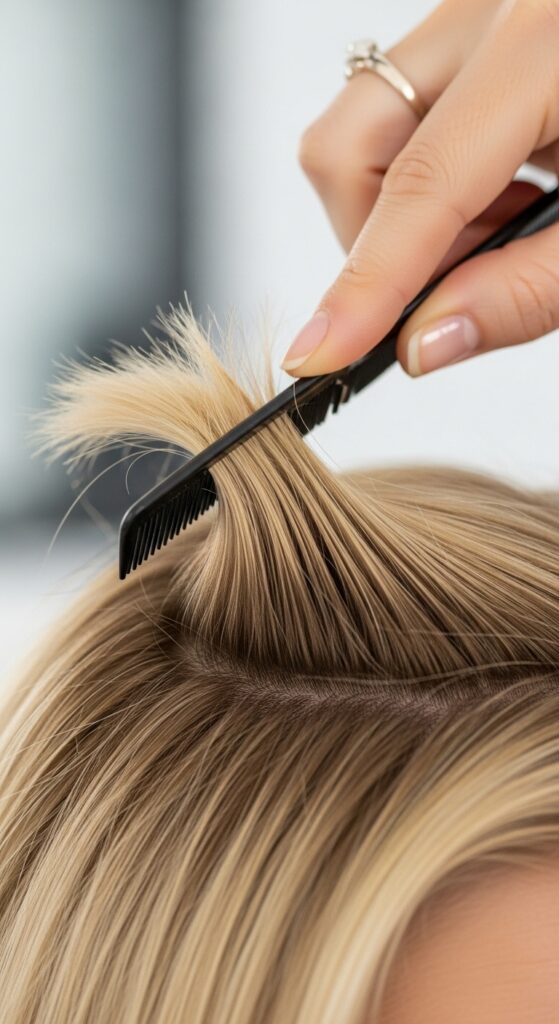
Hold your temple section straight out from your head. Take your fine-tooth comb and place it about halfway down the length of the hair section.
Now, gently push the comb *up* toward your roots in tiny, short strokes. You only need to do this 2-3 times. You’re not trying to reach your scalp with the comb.
You’re just creating a little knot of texture midway. This is what gives the lift. Less is more here. You should see a slight bump at the roots already.
Step 3: Lock It In With Hairspray
Before you let the section go, lightly mist the teased area at the roots with your flexible-hold spray. Hold the can about 6 inches away. You’re just setting the base, not soaking it.
While the hairspray is still slightly damp, gently press the teased base between your fingers to smooth any extreme spikes. Don’t brush it out!
Then, let the hair section fall naturally. You’ll see it now stands away from your head just a bit, creating instant width and fullness that looks completely natural.
Step 4: Smooth The Top Layer Over
This is the key to the “without overdoing it” part. Unclip the top layer of hair you had sectioned off. Gently smooth it over the teased underlayer.
Use your fingers or a brush to lightly blend the top hair over the volume. Don’t press it completely flat. You want to just conceal the teasing while keeping the lift.
The top layer will now have a beautiful, rounded shape. It looks polished and smooth, but with incredible body underneath that you can’t see directly.
How To Make It Last All Day Long
To set your work, do a final light mist of hairspray all over your sides. Hold the can at arm’s length and spray in a sweeping motion. This creates a light net of hold.
If you feel volume dropping later, don’t re-tease! Just flip your head upside down, give your roots a quick massage, and flip back. That’s usually enough to revive it.
Carry a travel-size hairspray for touch-ups. A one-second spritz on your fingertips, rubbed at the roots from underneath, can work wonders without a comb.

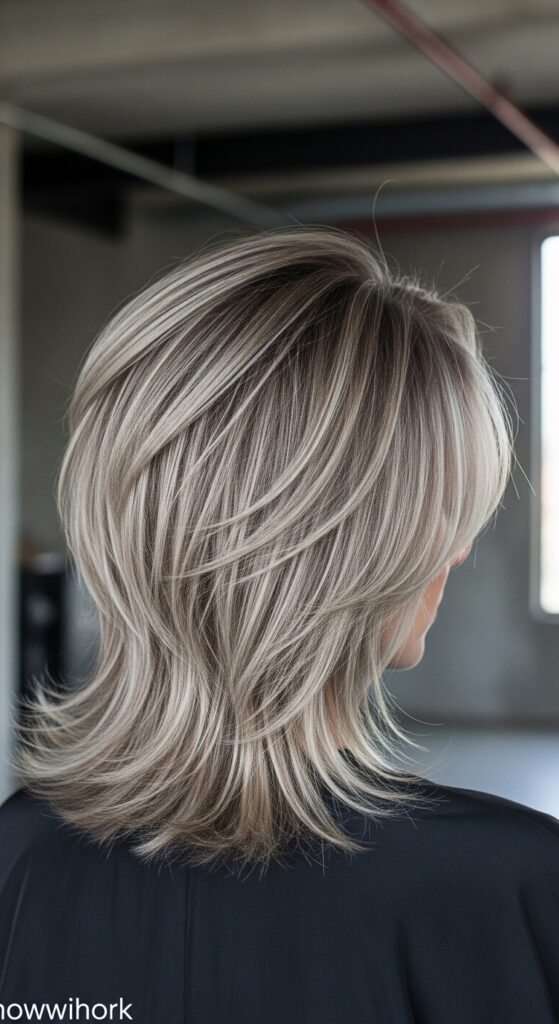
Adapting This For A Voluminous Bob
This technique is a dream for bobs and lobs, which can often fall flat. For a blunt quiet luxury bob, focus the tease right where your jawline ends. This prevents the “helmet” effect.
For an asymmetrical lob, you might tease a bit more on the heavier, longer side to balance the dramatic cut. It gives the style weight and movement in the right place.
The goal is to create an oval shape around your head. The temple tease gives width at the top, preventing the bob from looking narrow or pinched at the sides.
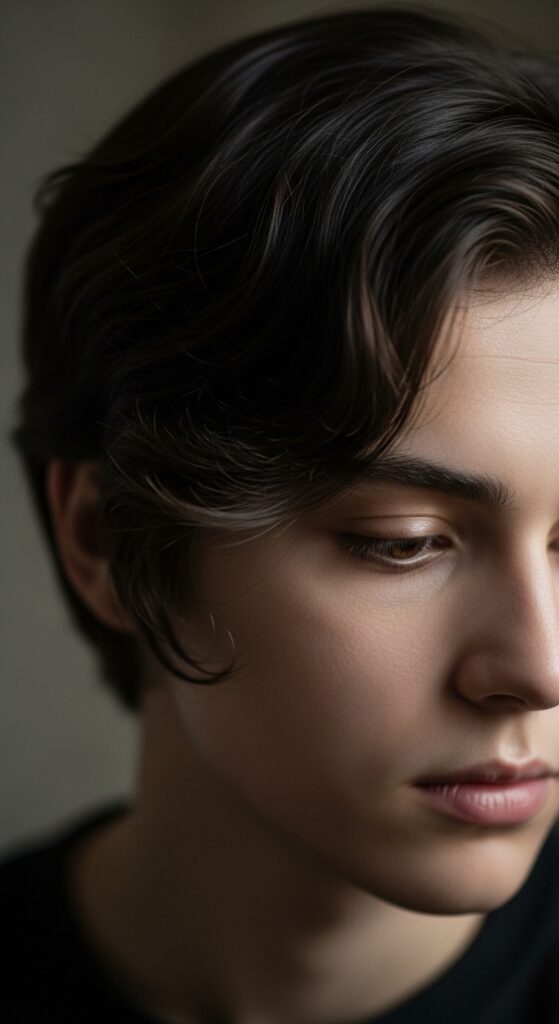
Creating “Old Money Hair” Volume
The old money hair aesthetic is all about impeccable, natural-looking thickness. It’s not big hair; it’s *full* hair. The Layer 19 tease is perfect for this.
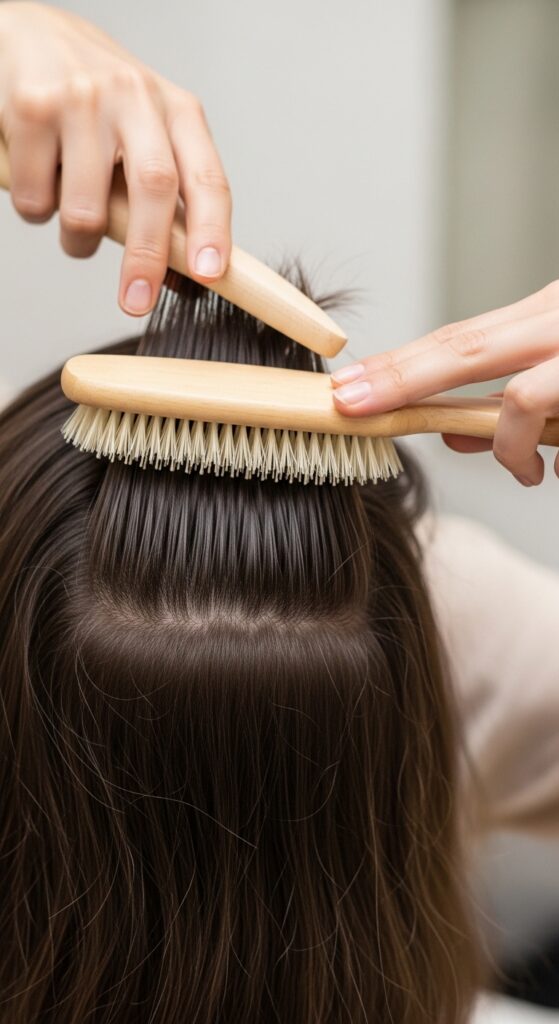
After teasing, use a boar bristle brush to give the top layer a super glossy, smooth finish. The contrast between the polished surface and the hidden volume is the whole look.
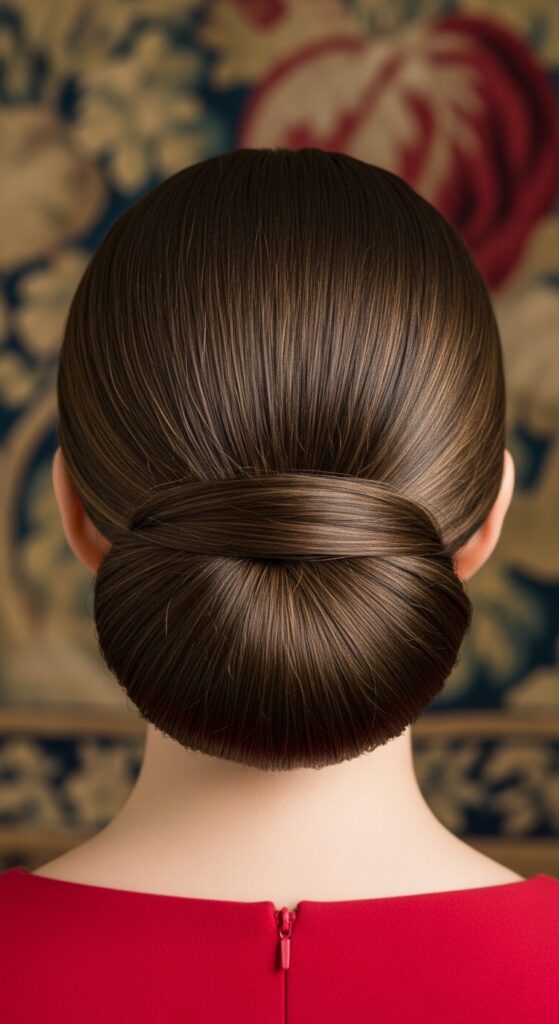
Pair it with a low, loose chignon or a simple half-up style. The volume at the sides makes these styles look expensive and effortless, never tight or sparse.
Adding A Romantic Goth Twist
Love romantic goth hairstyles? This volume is your best friend. That soft, Victorian-inspired fullness at the sides is key. After teasing, pull a few face-framing pieces loose.
You can even gently twist these front pieces back and pin them loosely for a “broken” romantic look. The temple volume ensures the style has body and doesn’t fall flat against your head.
It provides the perfect base for dramatic accessories like velvet ribbons or ornate clips. The hair has the body to support them.
Building Base For Glitchy Glam Texture
Glitchy glam hair is about controlled chaos. The Layer 19 tease gives you the foundational volume. Once you have that lift, you can add texture on top.
Use a texturizing paste on your fingertips to pinch and separate small pieces *above* your teased base. This creates that cool, piece-y, “glitched” effect without deflating the root volume.
Think of the tease as your base layer, your canvas. Then, the paste and pinching are your artistic details on top of that stable structure.
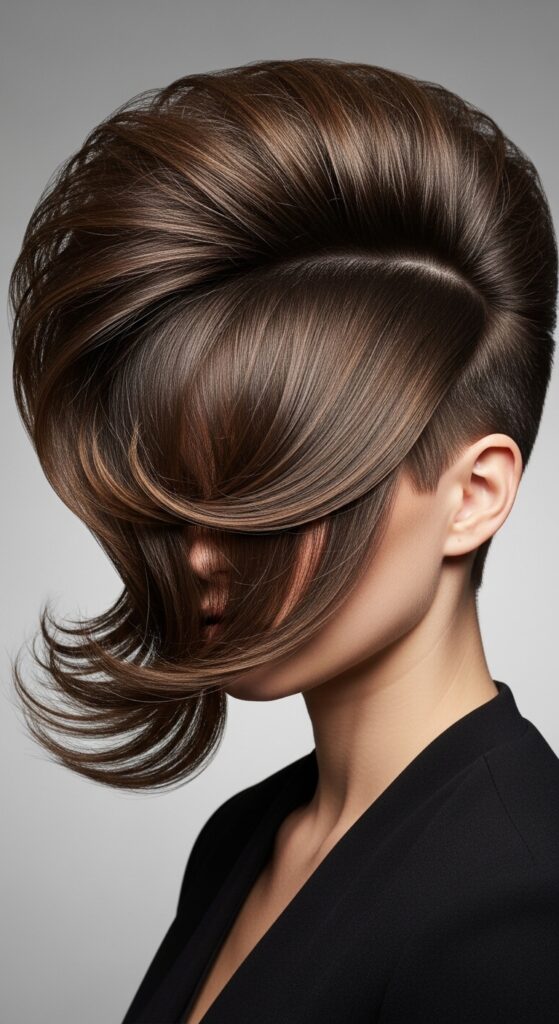
Styling With A Deep Side Part
A deep side part changes the game. You’ll want to adjust your teasing focus. On the side with more hair (the side you’re parting *to*), tease a slightly larger section.
On the side with less hair (where the part starts), do a very small, precise tease right at the temple to prevent it from looking deflated. This balances the dramatic part.
This creates amazing red-carpet volume. It’s a major look for 2026 hairstyles we’re already seeing—strong, clean, but with major body.
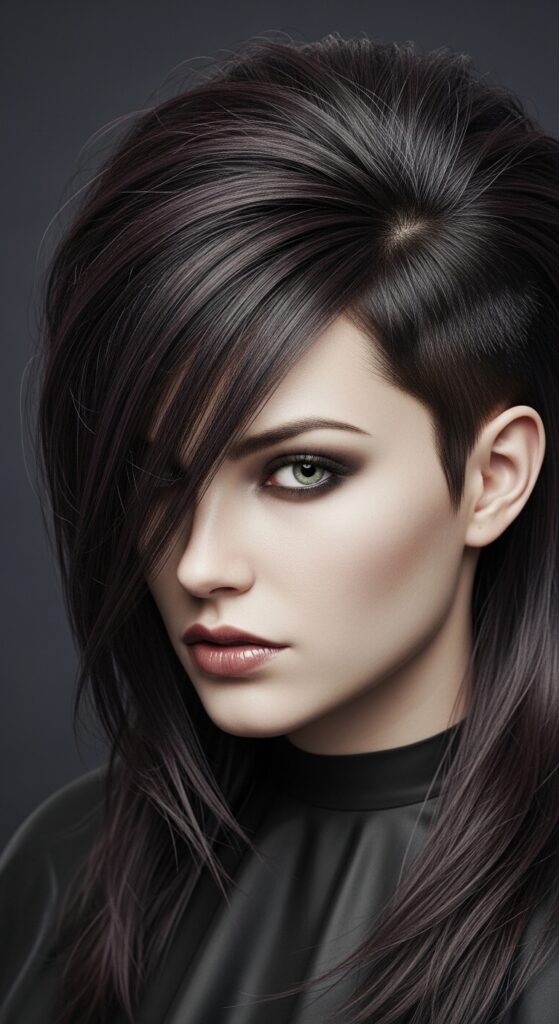
Mastering The Vampire Haircut Volume
The vampire haircut is all about sharp, heavy layers and volume. The temple tease is essential to stop the shorter front layers from just lying flat against your cheek.
Tease that temple section well, then use a flat iron to add a slight bend *away* from your face in the shorter layers. The volume from the tease helps propel that bend outward.
It creates that iconic, framed, and slightly dramatic shape. The volume looks intentional and powerful, not fluffy or soft.
Adapting For The Hime Cut Style
The hime cut has very distinct, straight-across front sections. To keep these “princess” strands from looking heavy or limp, temple volume is crucial.
Tease right at the roots where those blunt front pieces begin. This lifts them slightly, giving them air and movement, while keeping their sharp line.
It makes the style look modern and less costumey. The blunt cut sits away from the face beautifully, framed by that invisible lift.
What To Avoid: Common Teasing Mistakes
- Teasing the very top layer: This is what becomes visibly messy. Always tease the layer underneath.
- Using a dirty comb: Product buildup can snag and break hair. Keep your tools clean.
- Teasing all the way to the ends: Only tease the first 1-2 inches from the root. Teasing the mid-lengths causes tangles.
- Forgetting to smooth it over: Leaving the teased section exposed is the definition of “overdoing it.” Always cover it.
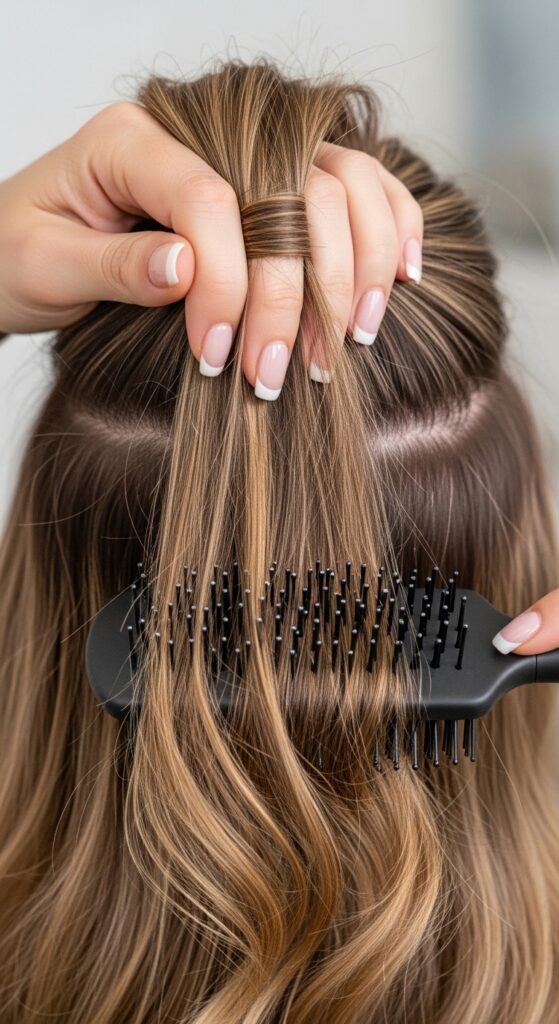
How To Brush It Out At Night Gently
Never just yank a brush through teased hair. First, apply a detangling spray or a light oil to the mid-lengths and ends. Let it sit for a minute.
Start brushing from the very *ends* of your hair, working upward in small sections slowly. Once you get to the teased root, hold the hair above the tease to avoid pulling your scalp.
Be patient. A wide-tooth comb is great for this final detangling. Follow with a nourishing hair mask if you do this style often.
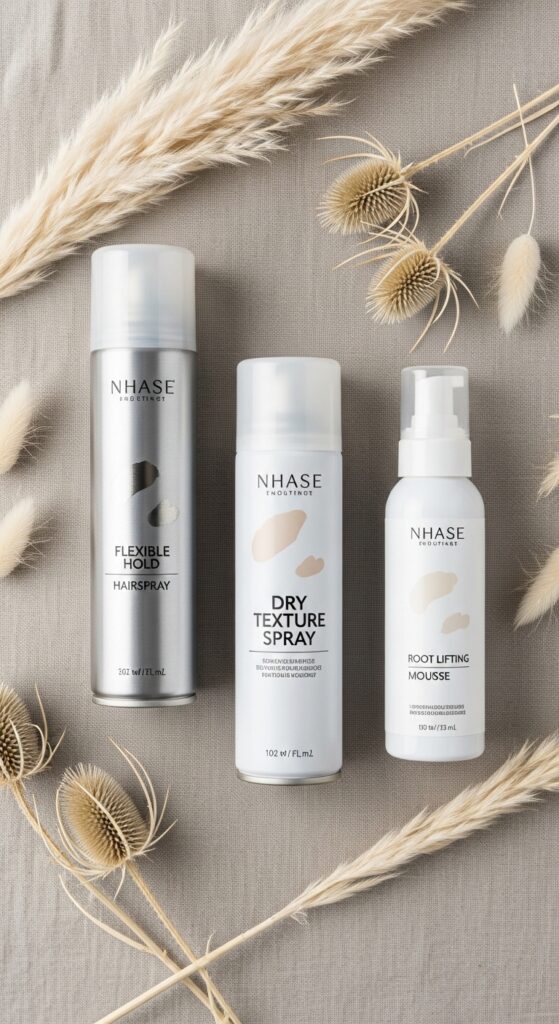
Best Products For Buildable, Flexible Hold
You want products that add grip without crunch. Dry texture sprays are amazing for pre-teasing prep. They add grit and hold.
For hairspray, look for words like “flexible,” “movable,” or “invisible” on the can. These set the style without making it stiff.
A light-hold mousse applied to roots on damp hair can also give you a head start. It blow-dries in extra body before you even tease.
Answering Your Biggest Volume Questions
“Will this damage my hair?” Done gently and correctly, and brushed out carefully, minimal damage occurs. It’s far less damaging than daily heat styling.
“Does it work on fine hair?” Yes! It’s actually better for fine hair than overall backcombing. It concentrates the support where you need it most.
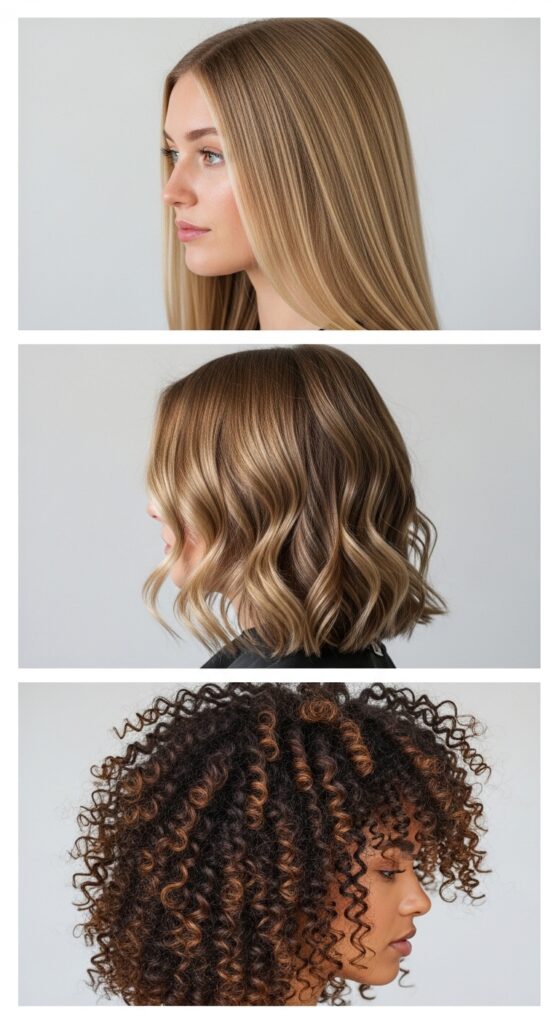
“What about curly hair?” Curly girls can adapt! Tease a small section when dry, then lightly spritz with water and re-scrunch. It sets the volume within your curl pattern.
Quick Refresh For Day 2 & 3 Hair
Your tease might fall a bit after sleeping. No problem! Spritz a mix of dry shampoo and water (50/50 in a small spray bottle) at the roots where you teased.
Use your fingers to lift the roots and massage the spray in. The dry shampoo adds texture and lift, the water helps reshape it without making it greasy.
Then, just re-smooth the top layer. You’ll get a second day of volume that might even look better than the first—more lived-in and natural.
Final Pro-Tips From My Stylist Friends
- For extra oomph, tease two thin horizontal sections on top of each other in the temple zone.
- Always tease in the direction opposite to how your hair falls. This creates maximum resistance and lift.
- If your hair is very silky, use a volumizing powder at the roots before teasing for insane grip.
- Blow-dry your hair upside down as a base. Cool air at the roots while flipped sets them in a lifted position.
Your New Go-To Hair Routine
So, here’s your new 5-minute routine. Blow-dry for base volume. Section out your temple triangles. Gentle tease, spray, and smooth. Final light mist of hairspray.
That’s it. It becomes second nature. This technique will change how you approach every hairstyle, from the simplest ponytail to the most elaborate updo.
You now have the tool to create balanced, beautiful volume that looks expensive and effortless every single day. No more flat sides, ever again.
And that’s the whole magic trick! It seems so simple when you break it down, right? The best beauty tricks always are. It’s not about doing more; it’s about doing the right thing in the right place.
I promise, once you try this “Layer 19” method, you’ll never go back to blindly backcombing your whole crown. That targeted lift is everything. It’s the secret behind so many of those 2026 hairstyles you’re starting to love—that perfect, intelligent volume.
I’d love