Wave 30 Step-by-Step Mermaid Lengths Wavy for Siren Allure
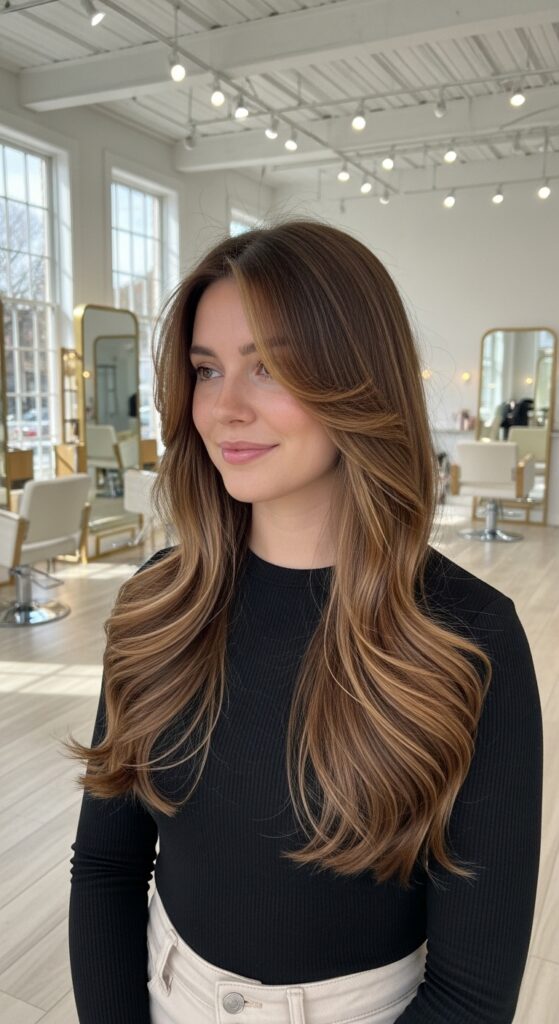
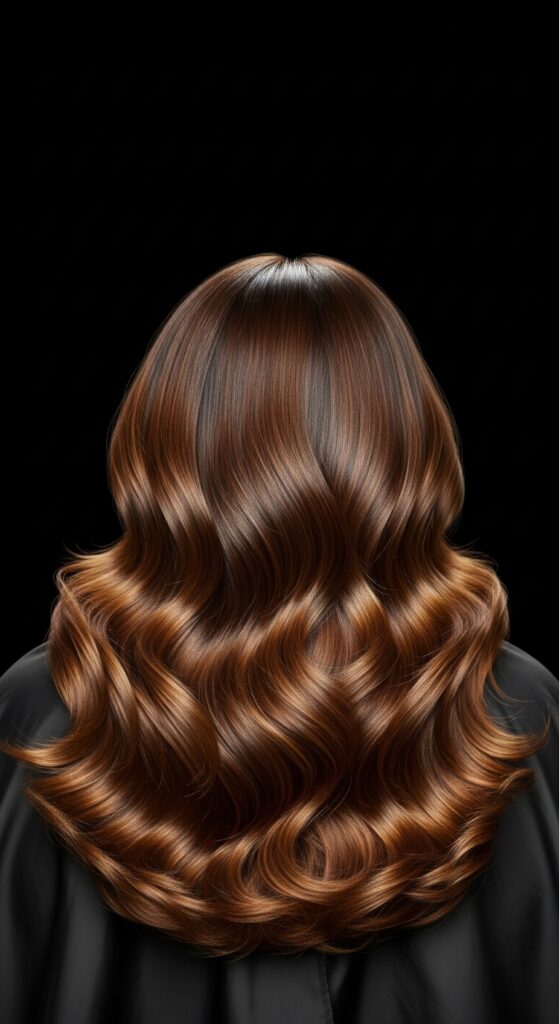
Okay, let’s be real. We’ve all seen those perfect, sun-kissed, mermaid-length waves on Pinterest and felt a serious pang of hair envy. It’s that effortless, “I woke up like this” siren allure that feels both magical and impossibly out of reach. You know the look—long, flowing, with that perfect balance of texture and shine.
But what if I told you that iconic wave isn’t just for mythical sea creatures or celebrities with a glam squad on standby? It’s totally achievable at home, and I’m not talking about a complicated, hour-long routine.
I’ve broken down the entire process into 30 simple, manageable steps. This is my exact method for getting those romantic, head-turning waves that work for a date night, a beach day, or just feeling like your most confident self. No magic required, just a few key products and techniques. Let’s dive in and get that mermaid hair.
1. The Dream Starts With The Right Cut
You can’t create perfect waves on a haircut that’s fighting you. For true mermaid lengths, you need movement. Ask your stylist for long layers.
This removes weight without sacrificing length, allowing your hair to bend and swing. It’s the foundation for every great wavy look, from old money hair to more dramatic styles.
2. Shampoo Strategy Is Everything
Skip the heavy, moisturizing shampoos for this style. You need volume and lift from the very start. Look for a clarifying or volumizing formula.
Focus the lather on your scalp to lift the roots. Let the suds run through the ends as you rinse. This prevents your roots from getting weighed down before we even begin.

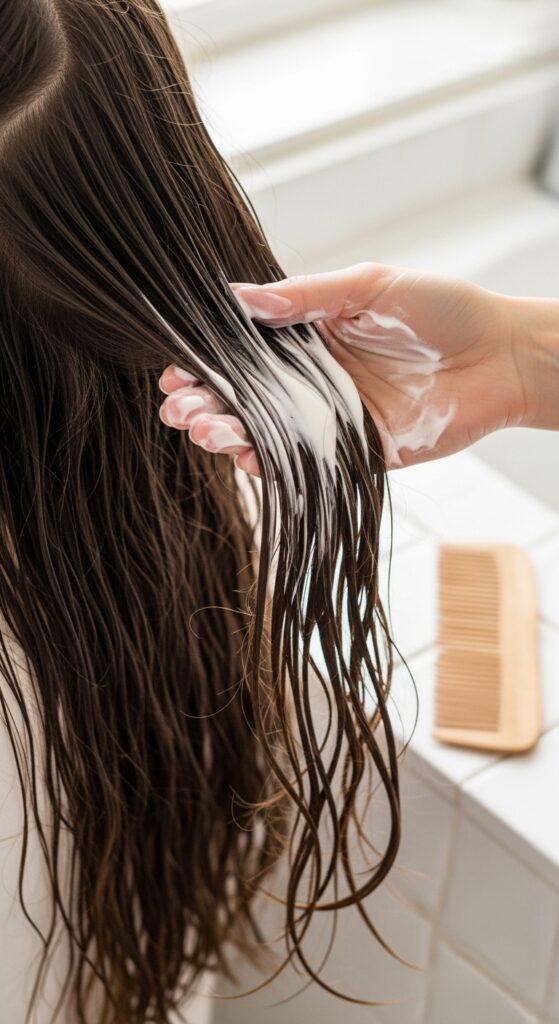
3. Condition With Serious Precision
This is the step where most people go wrong. Apply conditioner only from your mid-lengths to the very ends of your hair. Avoid the roots completely.
Use a wide-tooth comb to distribute the product evenly and detangle. Let it sit for a few minutes while you do other shower things, then rinse thoroughly with cool water to seal the cuticle.
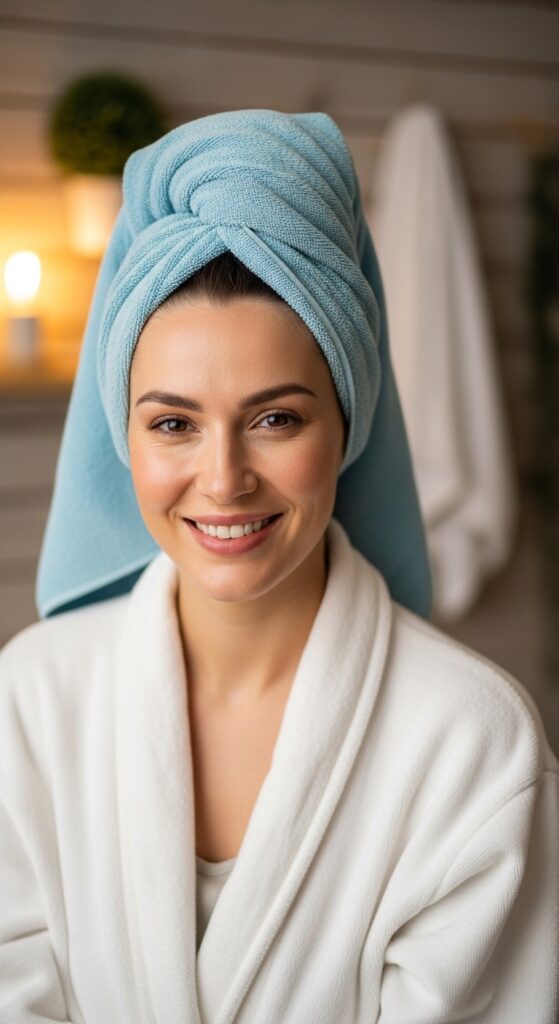
4. The Microfiber Towel Twist
Out of the shower, resist the urge to rub your hair dry with a regular towel. That causes frizz and breakage. Instead, gently squeeze out excess water.
Then, wrap your hair in a microfiber towel or an old, soft cotton t-shirt. This soaks up moisture without roughing up the hair cuticle. Leave it wrapped up while you do your skincare.
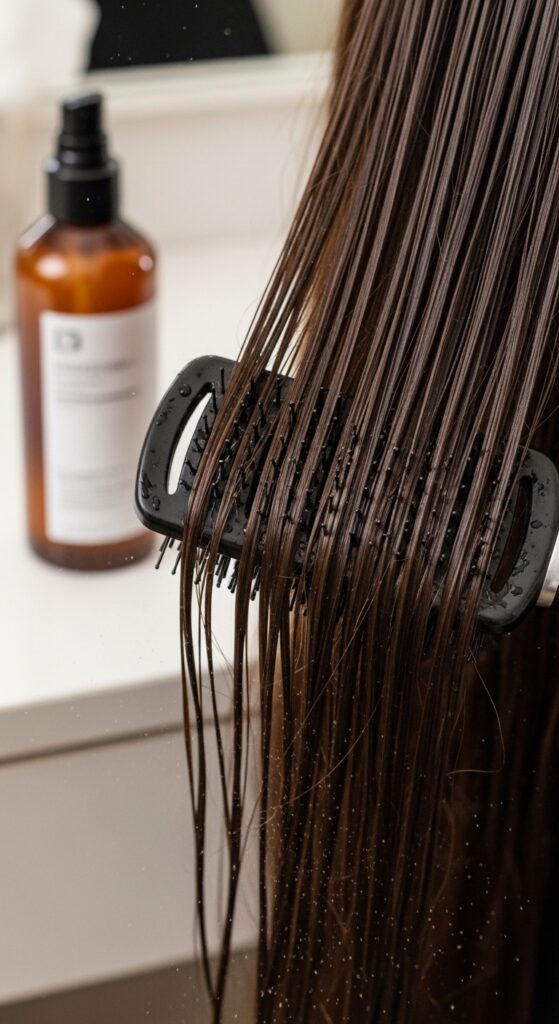
5. Detangle With Care & Product
After 10-15 minutes, take your hair down. It should be damp, not dripping. Spritz a leave-in conditioner or a detangling spray from mid-lengths to ends.
Using a wide-tooth comb or a wet brush, gently work from the ends up to the roots. Be patient. The goal is smooth, knot-free hair that’s ready for styling products.
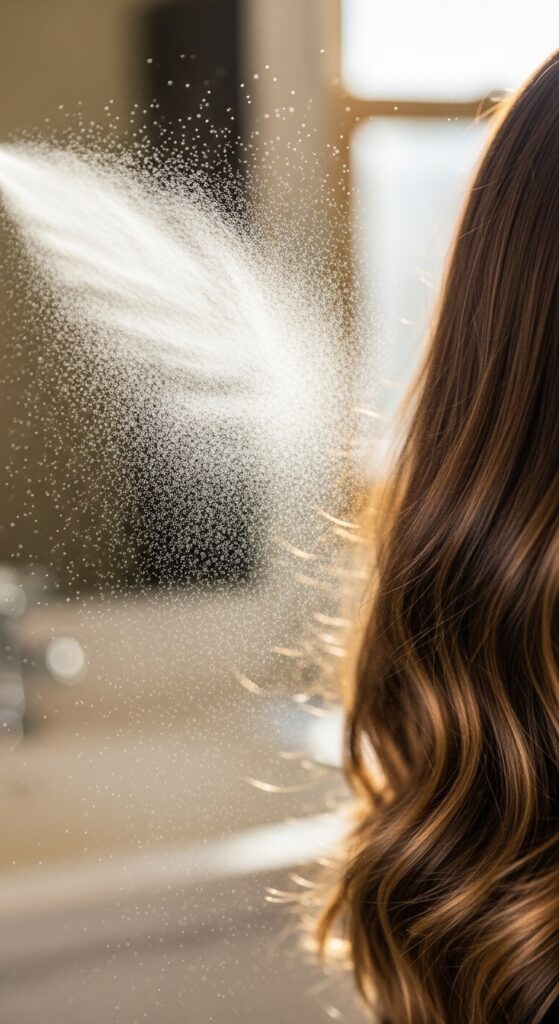
6. Apply A Heat Protectant, Always
This is non-negotiable. Before any hot tools touch your hair, you need a barrier. Choose a lightweight heat protectant spray or cream.
Apply it evenly through your damp hair, focusing on the mid-lengths and ends, which are the most vulnerable. This step keeps your hair healthy and adds shine.
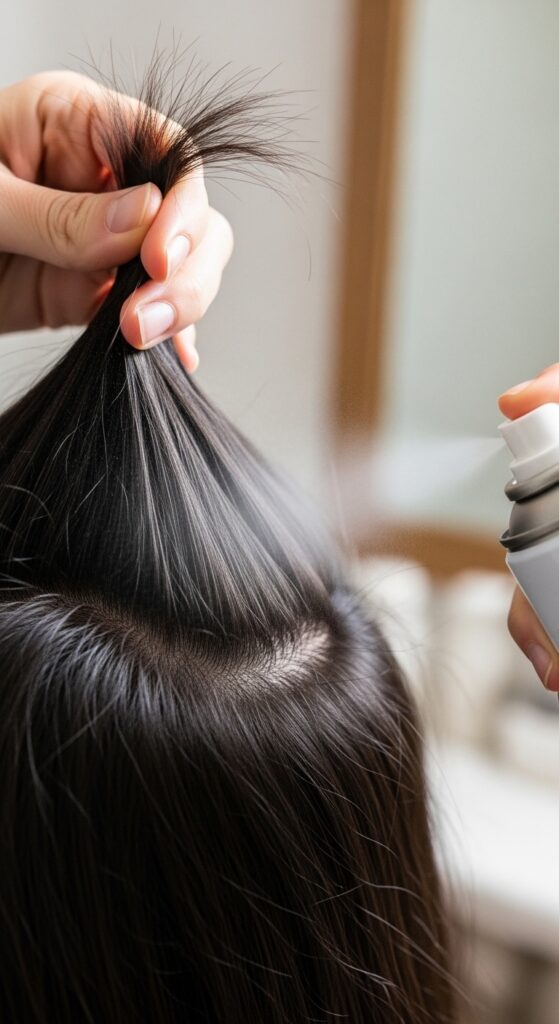
7. The Root Lift Secret
For waves that last all day, you need volume at the roots. While your hair is still damp, lift sections at the crown and spray a light volumizing spray or mousse at the roots.
You can also gently tease the roots at the crown with your fingers or a comb before drying. This little trick makes all the difference for that luxurious feel.
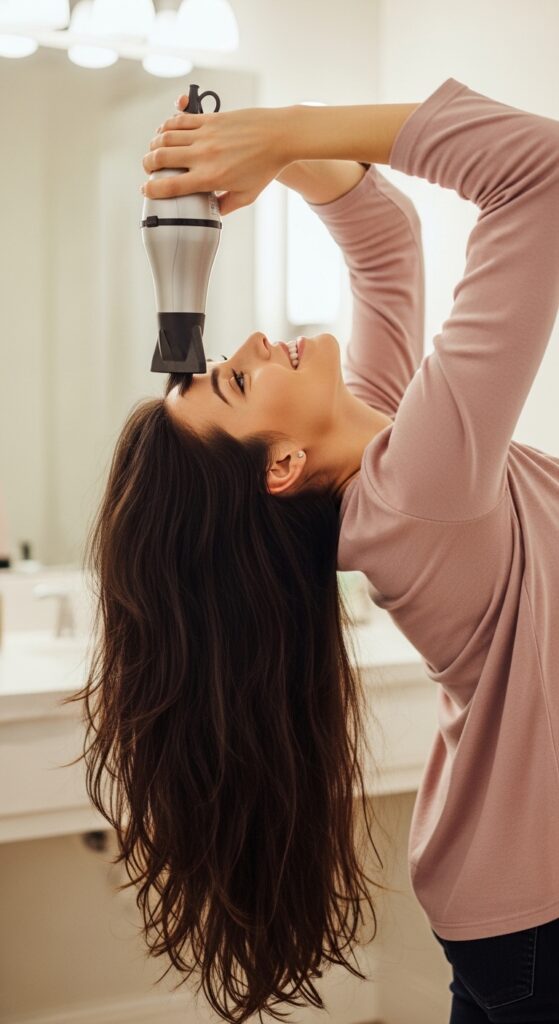
8. Blow-Dry The Roots First
Start with your blow dryer on a medium-high heat and high speed. Flip your head upside down and dry your roots about 80% of the way.
This sets the volume you just created. Use a round brush to lift the roots at the front and sides as you dry them. Don’t worry about the ends yet.
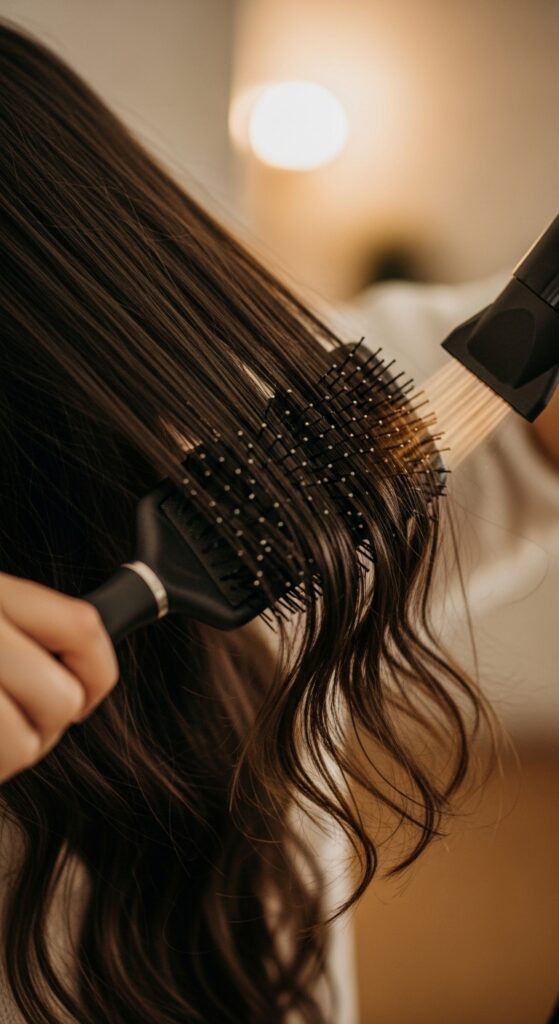
9. Rough Dry The Lengths
Once your roots are dry, switch your dryer to a medium heat setting. Use your fingers or a paddle brush to roughly dry the rest of your hair until it’s about 90% dry.
The goal here is to get most of the moisture out without creating a super-sleek, straight base. You want it just dry enough for the curling iron to work efficiently.
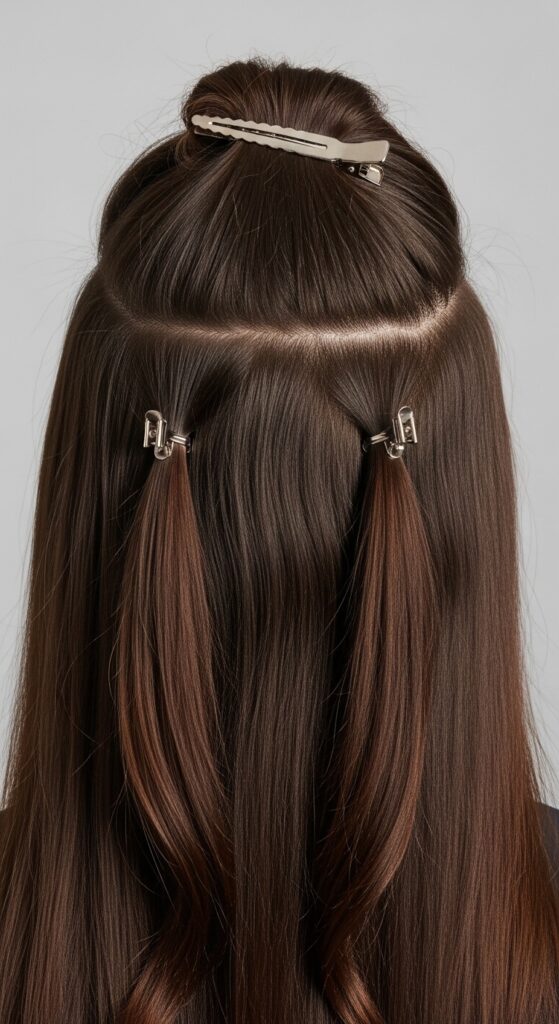
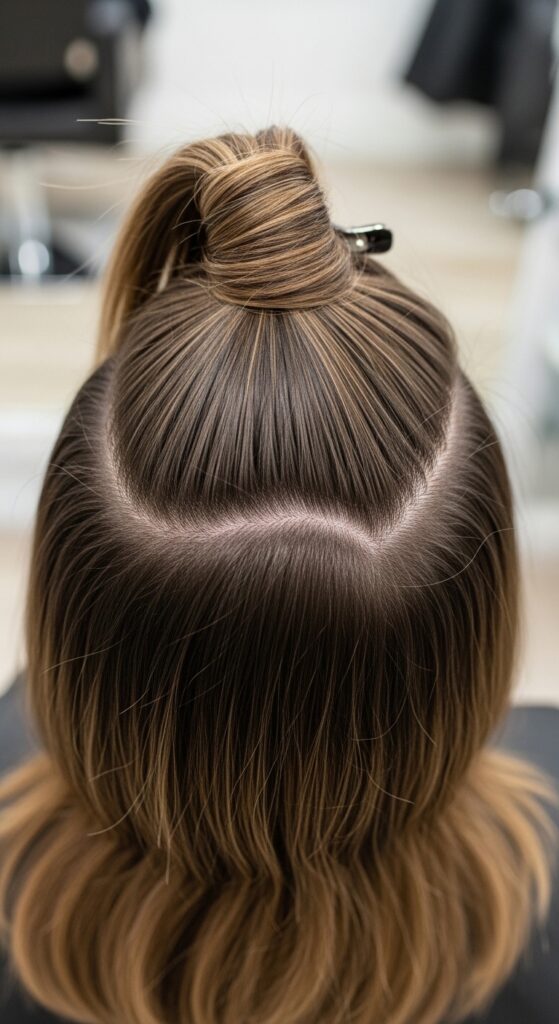
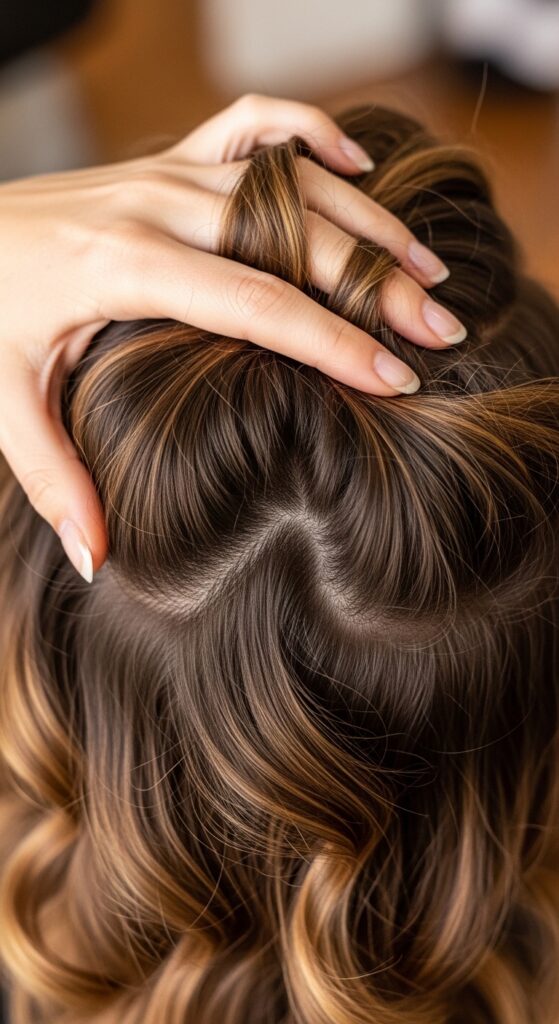
10. Section Your Hair Like A Pro
Divide your hair into four main sections to keep things manageable. Clip the top half up and out of the way. Then, split the bottom half into two sections (left and right).
This ensures you don’t miss any layers and that every piece gets the attention it needs for uniform waves. Unclip only the section you’re working on.
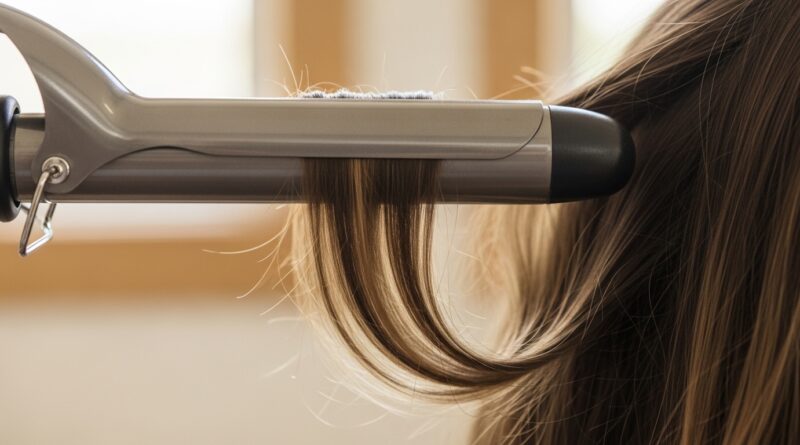
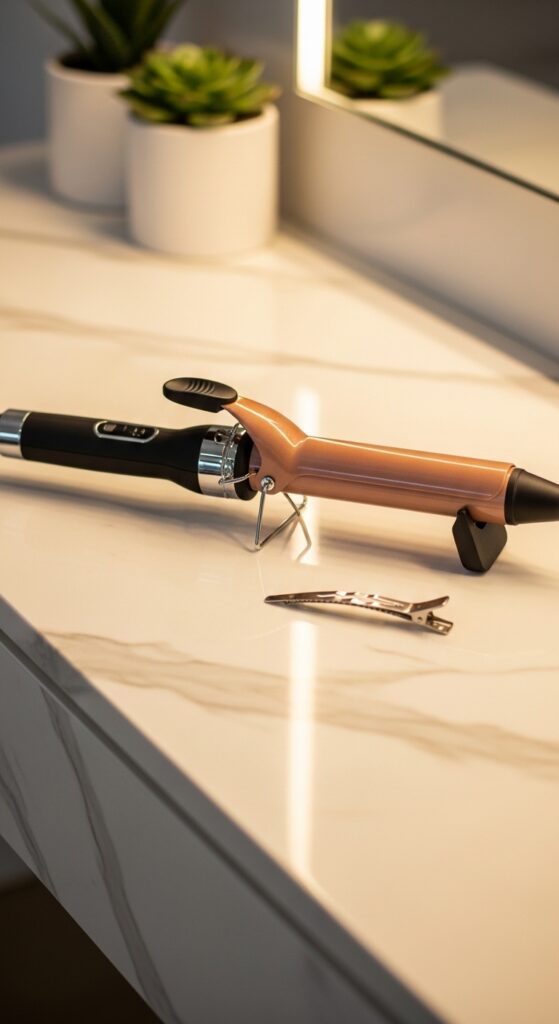
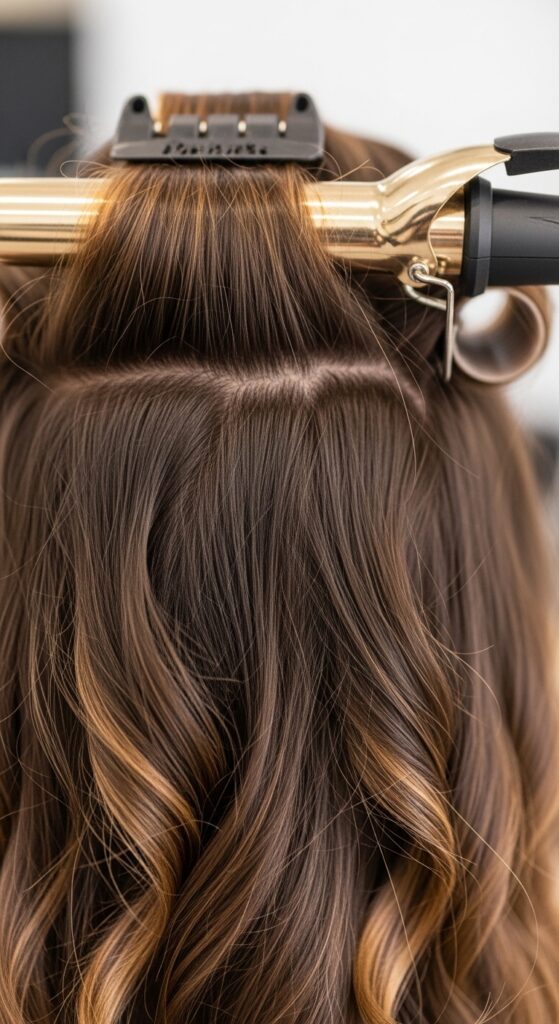
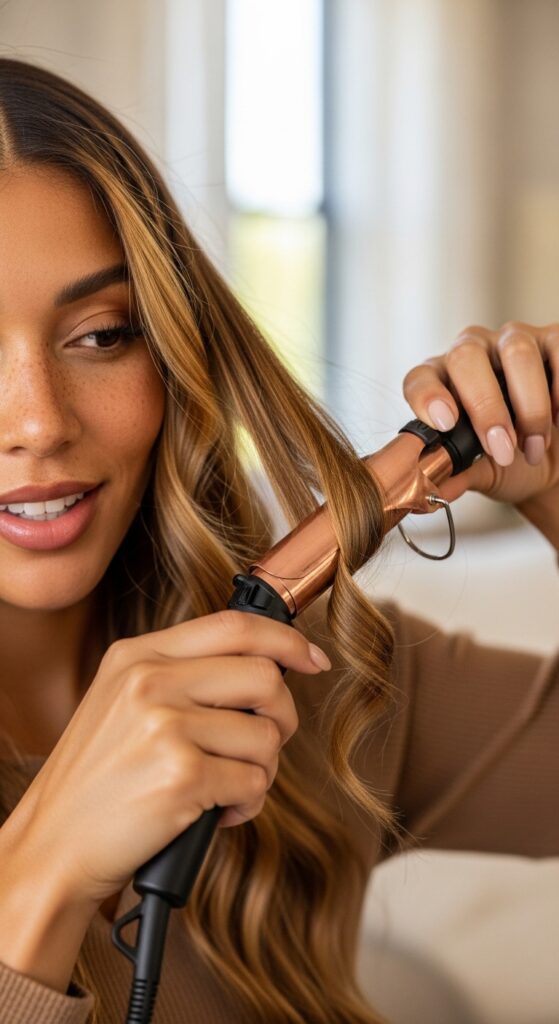
11. Choosing Your Curling Iron Barrel
For true mermaid waves, you need a large barrel. A 1.25-inch to 1.5-inch iron is perfect. It creates a soft, loose bend, not a tight curl.
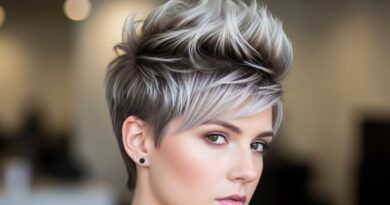
If you want a more modern take, like an asymmetrical lob, you’d use a smaller barrel. But for today’s long, flowing waves, go big.
12. Temperature Check For Health
Fine or color-treated hair should use a lower heat (around 300-350°F). Thicker, coarser hair can handle higher heat (up to 380°F).
Always start on a lower setting—you can always increase the heat if needed. The goal is to style, not fry. Healthy hair has the best movement.

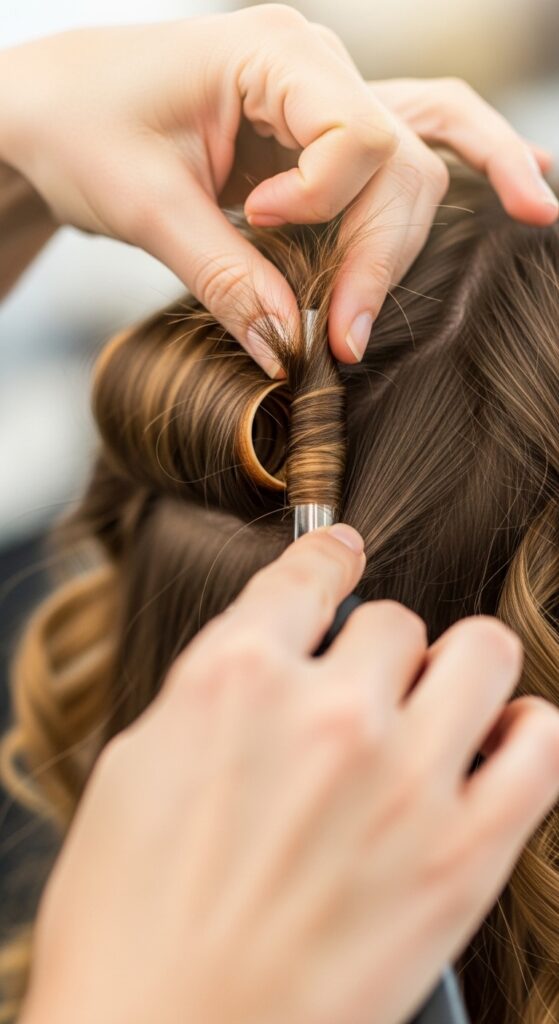
13. The First Bottom Section
Start with the bottom left section. Take a horizontal subsection about one inch wide. Make sure it’s smooth and tangle-free before you curl.
This first section sets the pattern. Go slowly and get the clamp-and-wrap motion right. We’re building the waves from the bottom up.
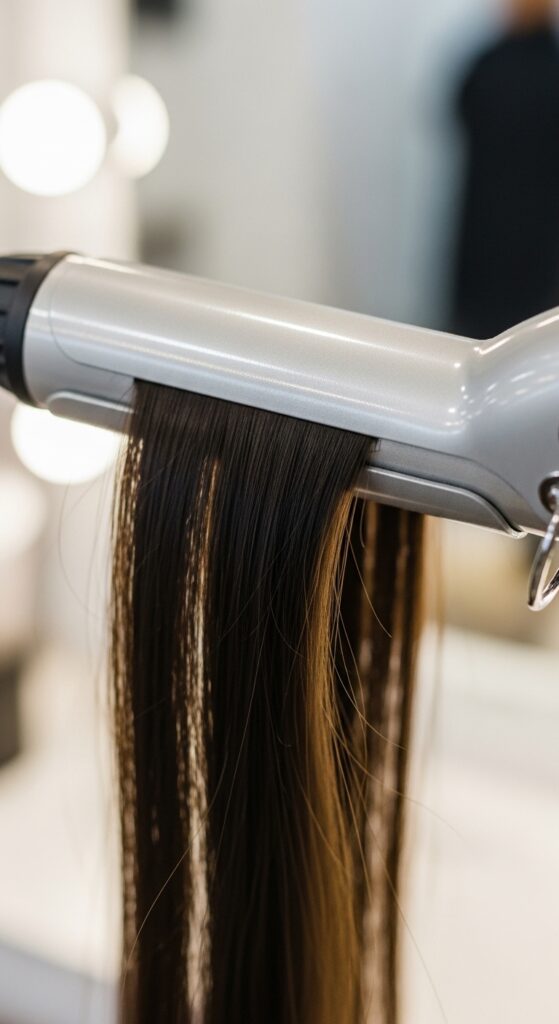
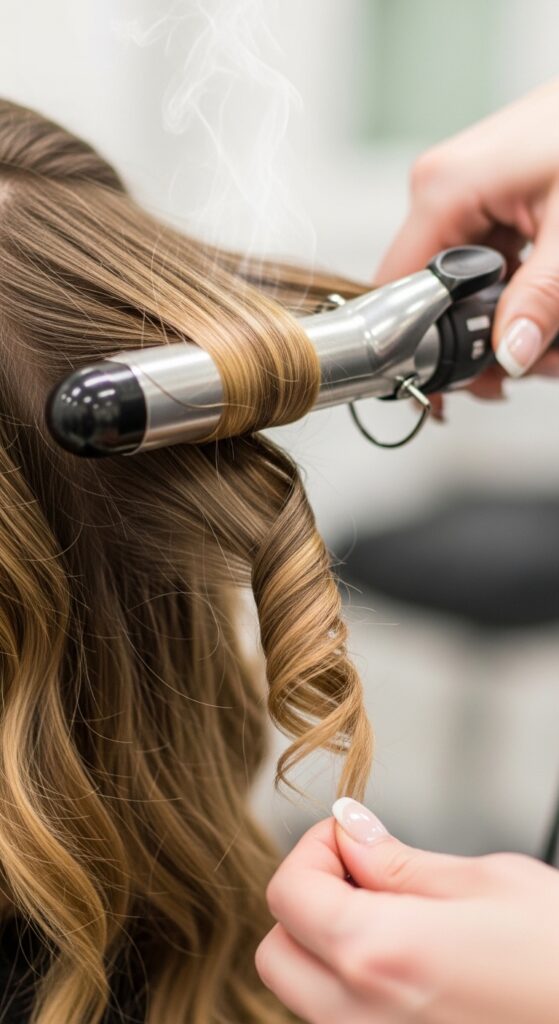
14. The Clamp, Wrap, and Hold Method
Open the clamp and place the end of your hair subsection into it. Close the clamp and slowly wrap the hair around the barrel, away from your face.
Hold it for 8-10 seconds—no longer! Over-holding creates unnatural, tight curls. We’re going for soft, lived-in waves.
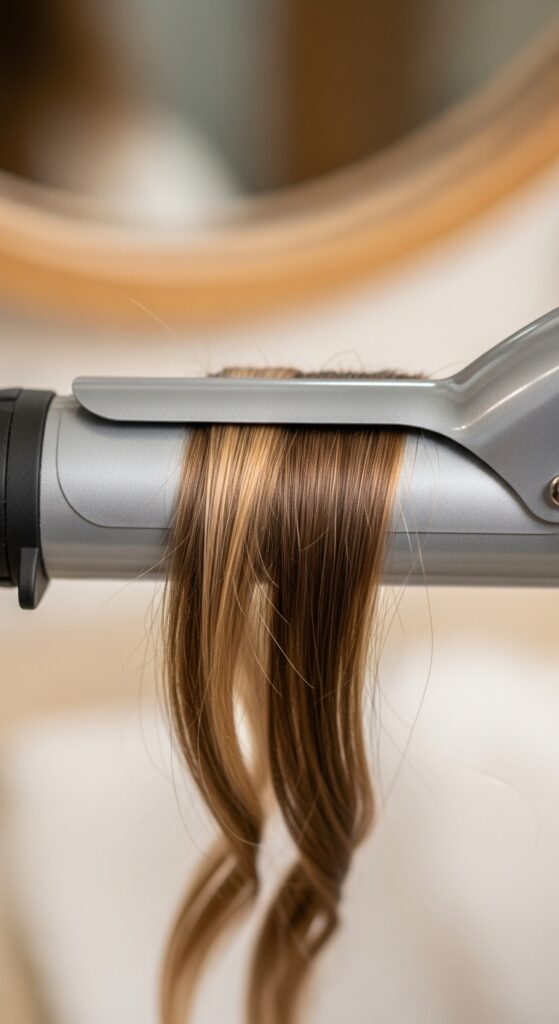
15. The Slide-Out Release
Don’t just open the clamp and let the curl spring out. Gently slide the curling iron down and out of the hair to release the wave.
This creates a softer, more relaxed bend and prevents dents from the clamp. Let the curl fall over your shoulder. Do not brush it out yet!
16. Working Through The Bottom Layer
Complete the entire bottom left section, working from the back of your head toward your face. Alternate the direction of each wrap for a more natural look.
One piece wrapped away, the next toward your face. This variation is what gives that effortless, “I was born with this” texture, unlike a uniform hime cut.
17. Repeat On The Other Side
Unclip the bottom right section. Repeat the exact same process: one-inch subsections, alternating wrap directions, sliding the iron out to release.
Consistency is key. Try to match the size of your subsections and the hold time to create symmetrical, balanced waves.
18. Releasing The Top Sections
Unclip the top half of your hair. Split it down the middle into a left and right top section. Clip the right side out of the way.
You’ll now work on the top left quadrant. These top layers are the most visible, so take your time here for maximum impact.
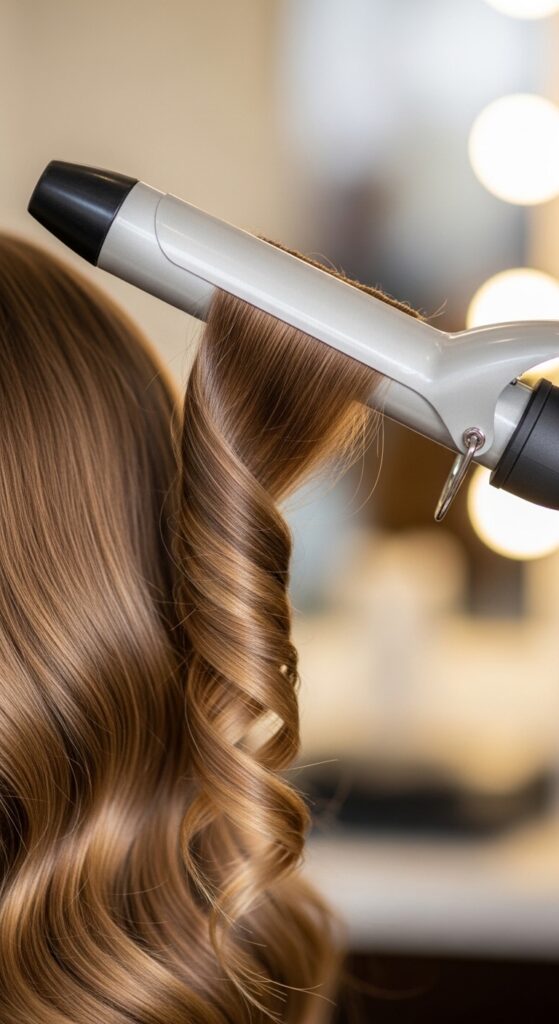
19. Curling The Top Layers
For the top layers, take slightly smaller vertical subsections. This helps integrate the waves seamlessly with the bottom layer you’ve already done.
Wrap these pieces carefully, always keeping the iron pointed downward to avoid kinks. Remember to alternate directions.
20. The Face-Framing Pieces
When you get to the pieces right around your face, be extra strategic. Wrap these away from your face to create a flattering, opening effect.
You can hold these for a couple seconds less if you want them even softer. These are your signature pieces—they frame everything.
21. Complete The Top Right Side
Move to the final section: the top right. Use the same vertical subsections and alternating pattern. Check your work in the mirror as you go.
Ensure the wave pattern matches the left side. You’re in the home stretch now! The full head of waves is coming together.
22. The Cool-Down Rule
This is critical. You must let all the curls cool completely before you touch them. The heat has set the shape, but as they cool, the style locks in.
Use this time to clean up your tools or do your makeup. Distract yourself for 10-15 minutes. Let the waves just sit.

23. The Break-Up & Shake
Once completely cool, flip your head upside down. Gently run your fingers through your roots to break up the waves and add volume.
Then, flip back and give your head a gentle side-to-side shake. Don’t use a brush yet! You’re just loosening the curls into waves.
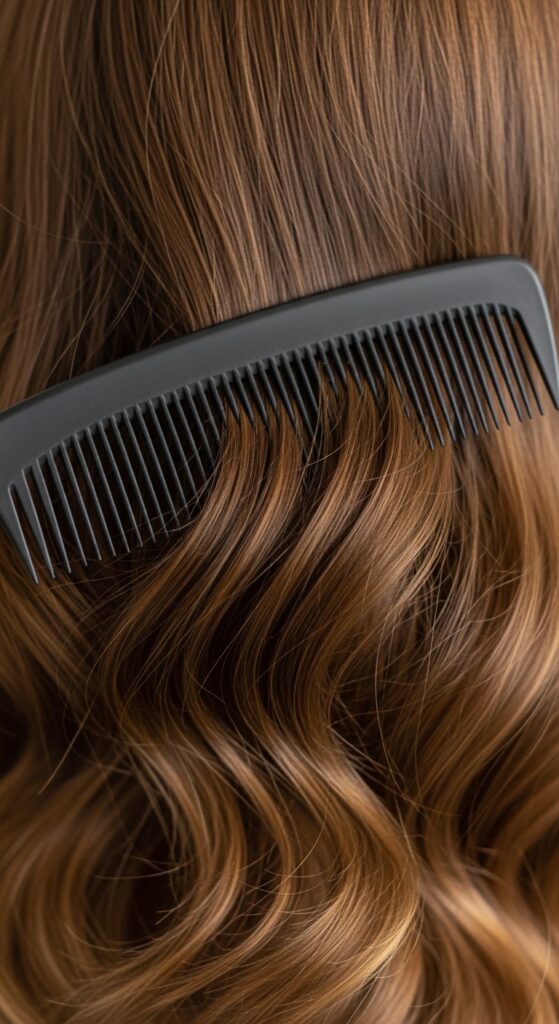
24. Softening With A Brush
Now, take a wide-tooth comb or a flexible boar bristle brush. Lightly brush over the surface of your hair, just once or twice.
This marries the waves together and removes any separation lines, creating a seamless, flowing look. It softens the curls into waves.
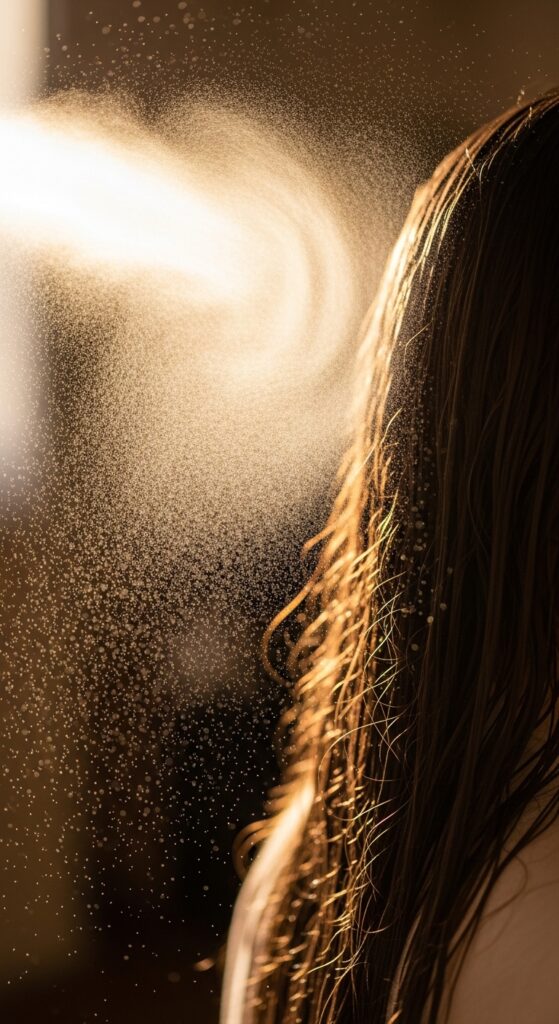
25. The Texturizing Spray Finish
Hold a texturizing or sea salt spray about 10 inches from your head. Mist it lightly over your mid-lengths and ends.
This adds grit, hold, and that perfect beachy texture. It also helps fight frizz and makes the waves look more lived-in, less “just curled.”
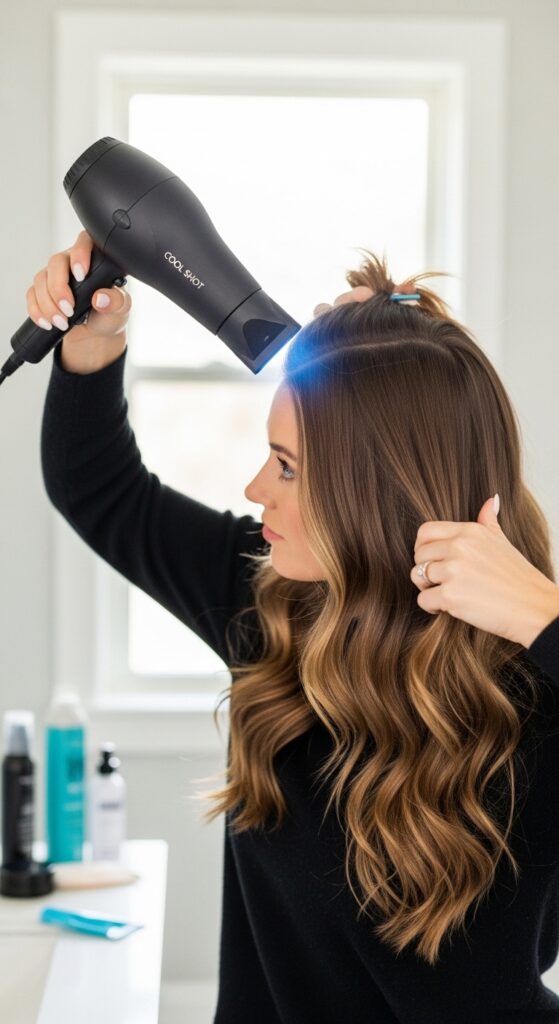
26. Final Volume Check & Fix
Check your volume in the mirror. If any areas have fallen flat, lift the top layers and spray a tiny bit of dry shampoo or volume spray at the roots.
Use the cool shot setting on your blow dryer to blast the roots for 5 seconds, lifting with your fingers. This revives any flat spots.
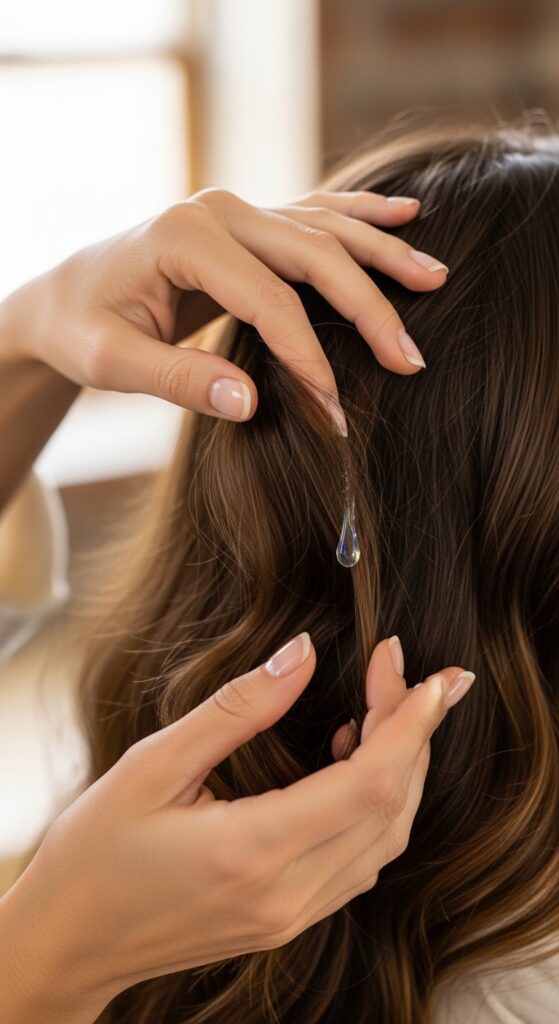
27. The Shine Serum Touch
For that siren allure, you need shine. Rub one drop of shine serum between your palms and then lightly skim it over the surface of your hair.
Avoid the roots. Focus on the ends and the outer layer. This gives a gorgeous, healthy glow and tames any flyaways without making hair greasy.
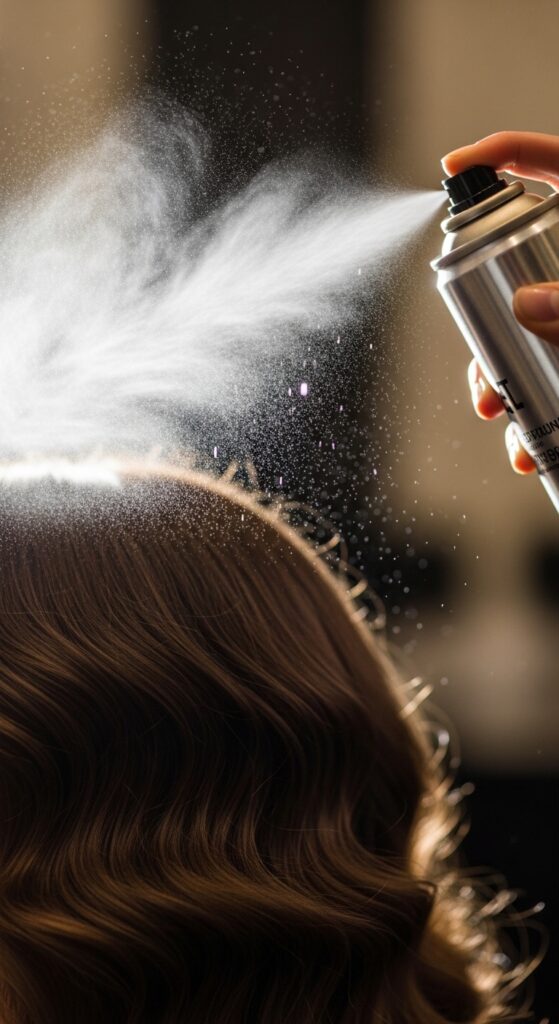
28. Make It Last All Night
To lock this style in, do a final, light mist with a flexible-hold hairspray. Hold the can far away for just a light veil of product.
This fights humidity and keeps the waves intact through dancing, dinner, or a breezy walk—whatever your night holds.
29. Next-Day Revival Tips
Sleep with your hair in a loose, high ponytail or a silk scarf. In the morning, shake it out. Revive waves with a mix of water and conditioner in a spray bottle.
Scrunch the dampened sections and let them air dry. Add a bit more texturizing spray. It’ll look great for day two!
30. Own Your Siren Allure
This look is about confidence as much as technique. Stand up straight, toss your hair, and own it. It’s romantic, it’s powerful, and it’s yours.
Whether you’re channeling romantic goth hairstyles with a dark lip or keeping it classic, these waves are your canvas. Have fun with it!And there you have it—the complete, no-stress guide to getting those dreamy mermaid waves at home. It might seem like a lot of steps, but once you do it a couple times, it becomes a quick, relaxing ritual. The key is in the prep and the cool-down.
This look is such a classic, but it also gives you a perfect base to play with other trends. Feeling edgy? Add some glitchy glam hair accessories. Want something sharper? These waves grow out beautifully into an asymmetrical lob. It’s all about having the skills to create your own signature look.
I want to see your results! Did these steps work for you? What’s your favorite product for beachy waves? Spill all your secrets in the comments below—I read every single one. And if you want to keep this guide handy for your next hair night, be sure to save this post to Pinterest! You’ve got this.