Boho Braids with Curly Ends: Step-by-Step for Beginners
Hey friend! Let’s talk about that perfect, lived-in summer hairstyle we all dream about. You know the one: those effortless, textured braids that look like you just came from a beach festival, with those gorgeous, bouncy curls at the ends. It’s the ultimate boho look, and I promise it’s way easier to create than it seems.
I used to think this style was only for people with magic fingers or a professional stylist on speed dial. But after a lot of trial and error (and some seriously tangled hair days), I cracked the code. This is the beginner-friendly, step-by-step guide I wish I’d had.
We’re going to break it down into super simple steps. No fancy terms, no complicated techniques. Just you, some basic products, and about 30 minutes. Whether your hair is straight, wavy, or naturally curly, this method works. Let’s get those romantic, free-spirited vibes going!
Why Boho Braids Are Your New Go-To
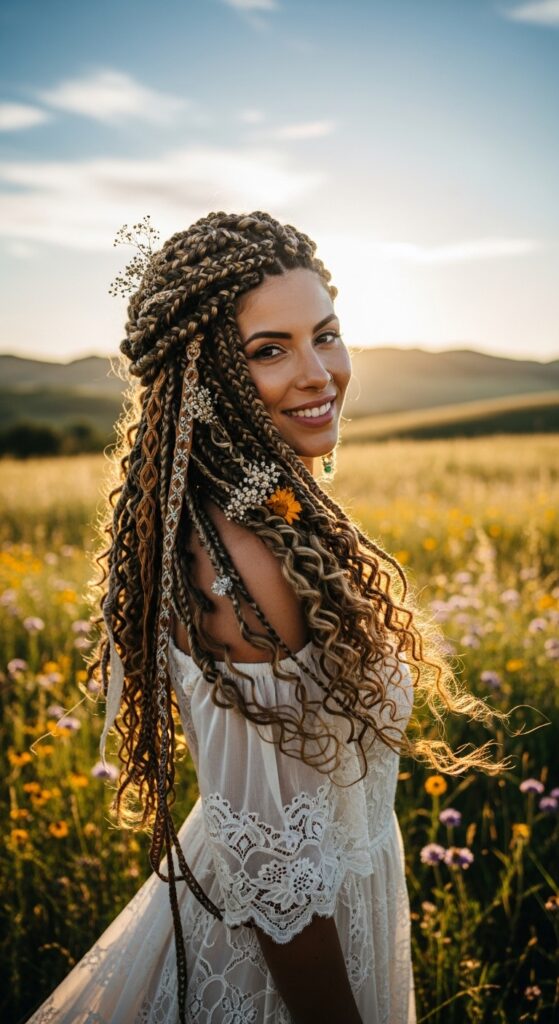
Boho braids are more than just a hairstyle; they’re a feeling. They’re effortlessly cool, incredibly versatile, and they work for almost every hair type and length. This look gives you that “I woke up like this” texture with intention, perfect for everything from a casual brunch to a summer wedding.
While trends like the quiet luxury bob or asymmetrical lob are sleek and polished, boho braids are their playful, free-spirited cousin. They pair the structure of a braid with the softness of curls for a balanced, romantic look. It’s a timeless style that feels fresh every time.
Gathering Your Tools & Products
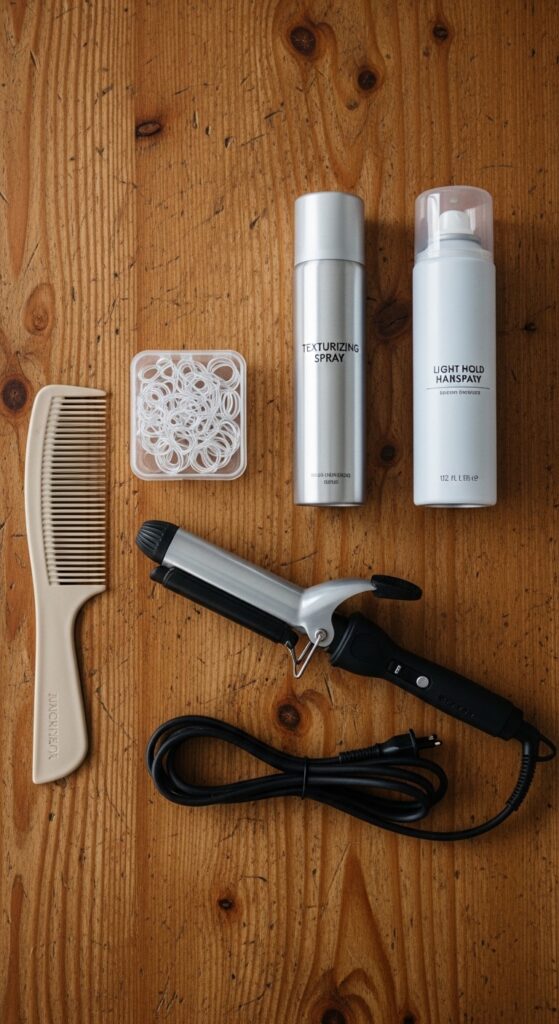
You don’t need a salon full of products. Keeping it simple is key for this look. Here’s your basic toolkit:
- Wide-Tooth Comb or Detangling Brush: For gentle prep without breakage.
- Clear Hair Elastics: They disappear into your braids.
- Heat Protectant Spray: Always protect your hair before using heat.
- 1-Inch Curling Wand or Iron: A barrel this size gives perfect, bouncy curls.
- Texturizing Spray or Dry Shampoo: For grip and that lived-in volume.
- Light-Hold Flexible Hairspray: To lock in the style without stiffness.
Start with Day-Old Hair for Grip
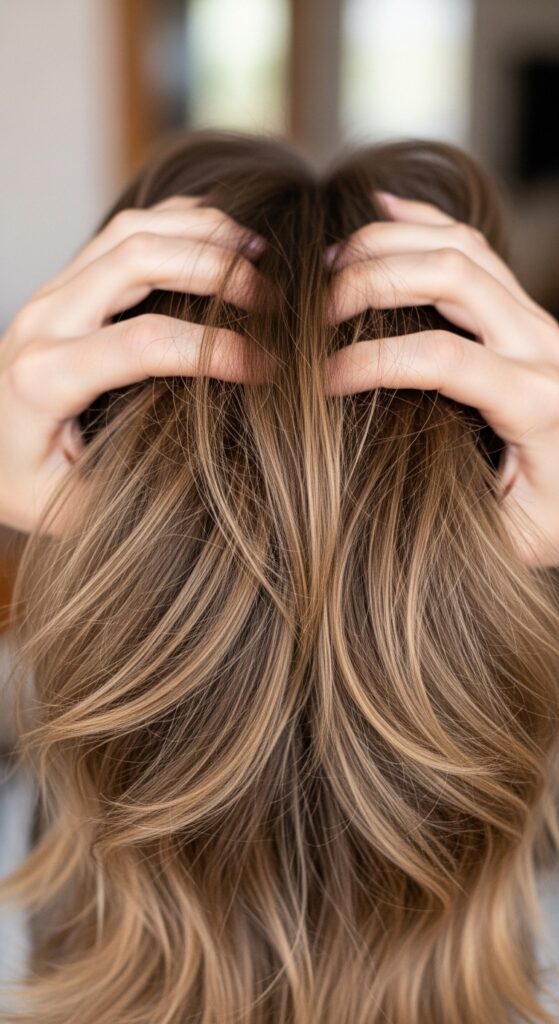
Here’s a pro secret: freshly washed, silky hair can be too slippery for braids. This style holds best on day two or three hair. The natural oils and texture give the braid something to grip onto, so it stays put and looks fuller.
If your hair is freshly washed, no worries! Just spray some dry shampoo or texturizing spray at your roots and through the mid-lengths. This adds the necessary grit and volume. It’s the same principle behind many 2026 hairstyles—embracing texture and movement over sleek perfection.
Detangle Gently from the Ends Up
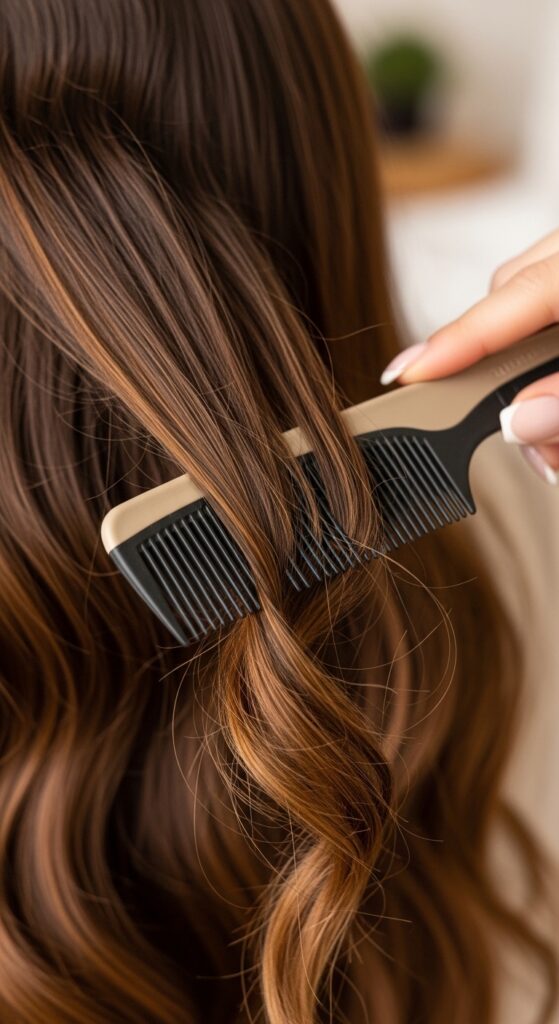
Before you do anything, detangle. Start at the very ends of your hair, gently working out any knots. Slowly work your way up to the roots. This prevents breakage and makes the entire braiding process smooth and pain-free.
I like to do this before applying any product. If your hair is dry or prone to frizz, you can spritz a light leave-in conditioner on the ends first. The goal is smooth, knot-free hair that’s easy to section and manage.
Create a Deep Side or Middle Part
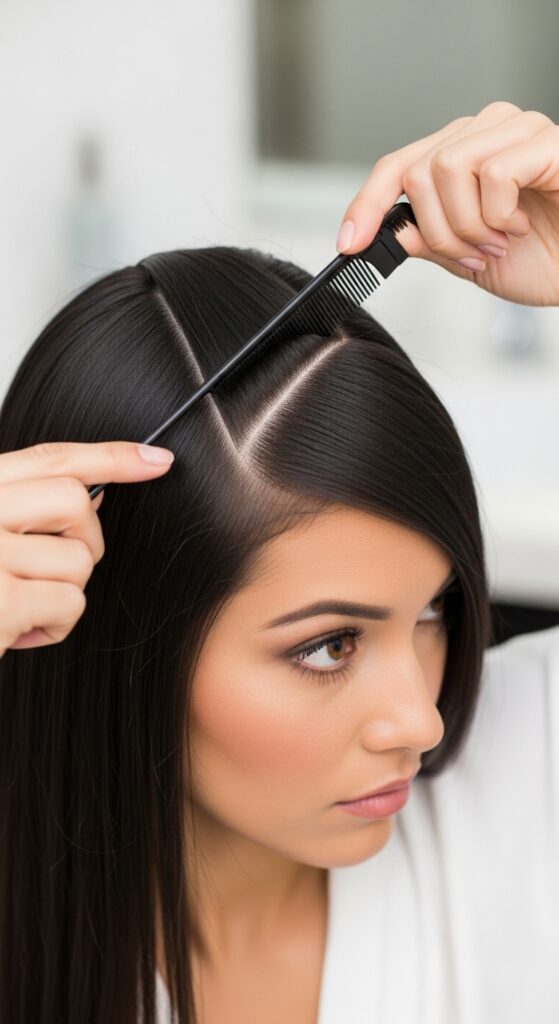
Your part sets the stage for the whole look. A deep side part feels romantic and soft, while a middle part is more modern and balanced. Use the pointed end of a comb or your finger to create a clean line.
Don’t stress about it being perfectly straight. A slightly imperfect part can add to the boho vibe. This is your foundation, so take a moment to get it how you like it. It influences how the braids frame your face.
Section Your Hair for Two Braids
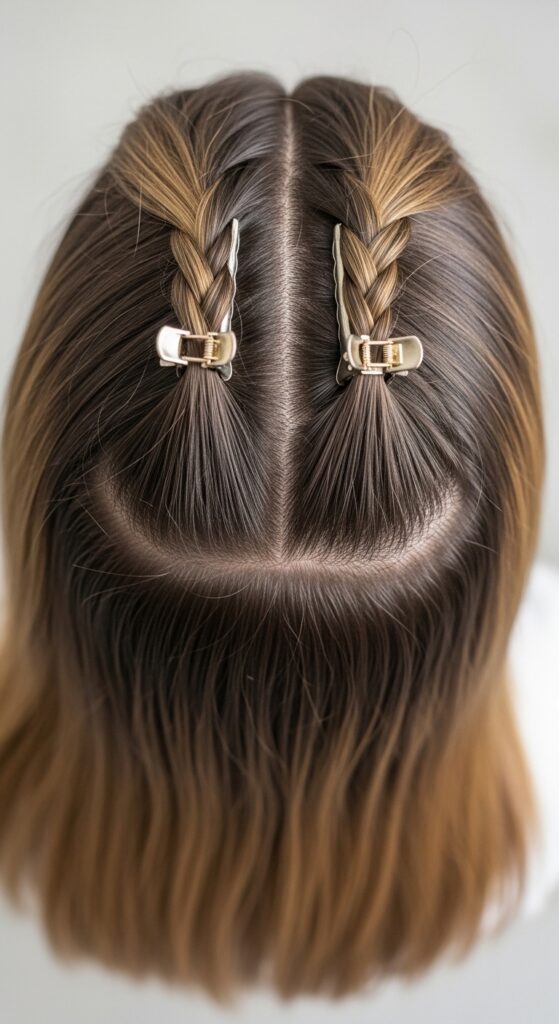
We’re doing a simple two-braid style. Use your part as the dividing line. Separate all your hair into two equal sections—one on the left, one on the right. Clip one side out of the way so you can focus on the other.
Make sure the division is clean from your forehead all the way down the back of your head to your neck. This ensures your braids are even and start at the same point. You can make a zig-zag part for more texture, but a straight part is easiest for beginners.
Begin a Classic Three-Strand Braid
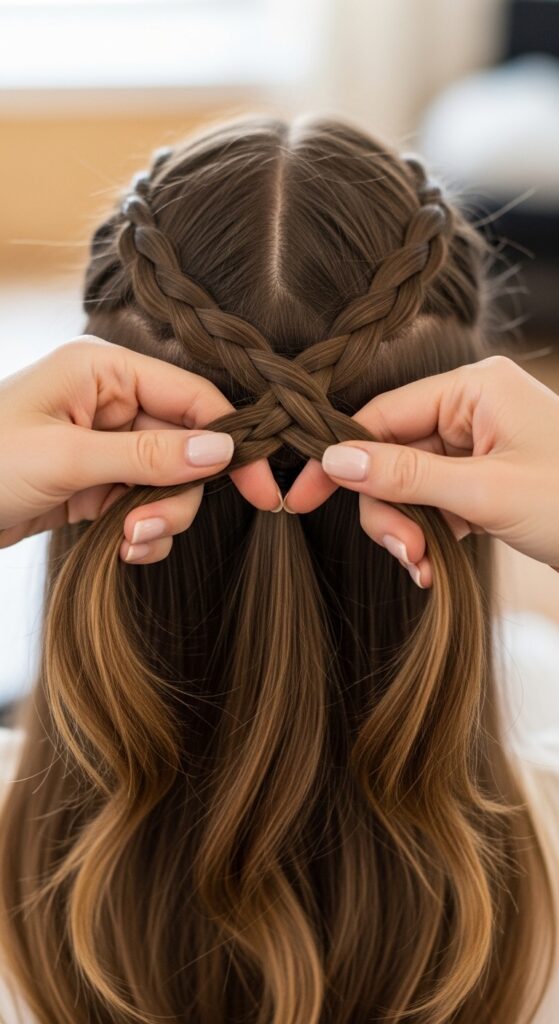
Unclip your first section. Divide it into three even strands near the top of your head, right behind your ear. Now, just do a regular braid: right strand over the middle, left strand over the new middle.
Keep your grip firm but not tight. You want control, but you don’t want to pull or create tension. Braid down about two or three crosses before you start adding in more hair. This secures the base of your braid.
Switch to a Dutch Braid for Volume
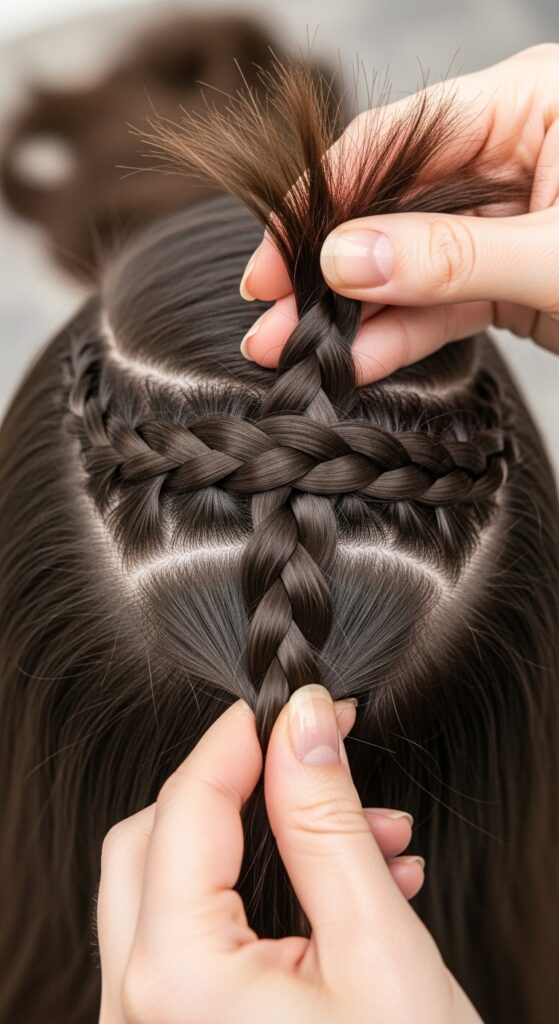
For major volume and that iconic boho look, we’ll use a Dutch braid (which is just an inside-out French braid). Instead of crossing the side strands *over* the middle, cross them *under*.
As you cross each strand under, grab a small section of hair from the loose hair on that side and add it to the strand before crossing it under. This technique pulls the braid upward, making it sit on top of your head for a fuller, more romantic look.
Add Hair Gradually as You Braid
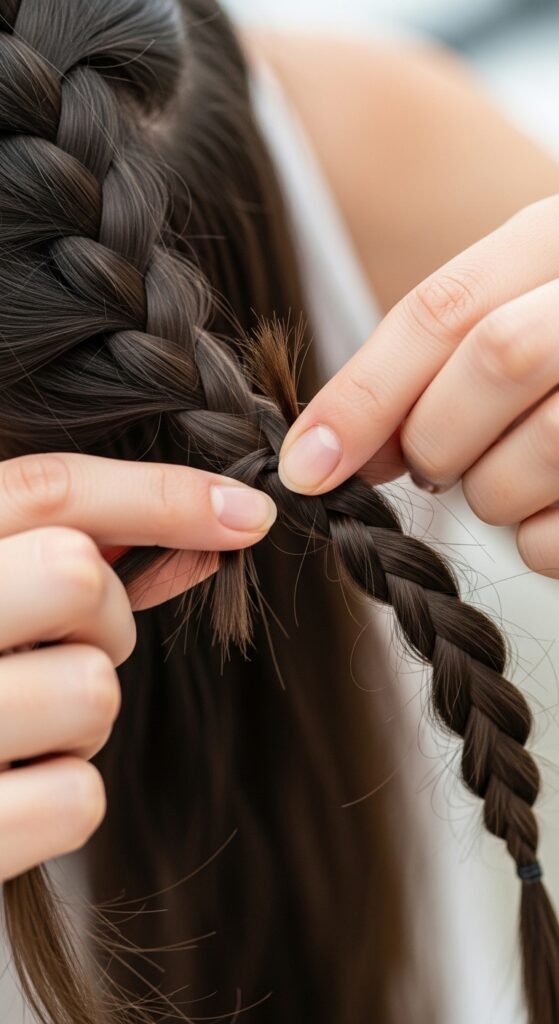
The key to a good Dutch braid is adding hair in small, consistent sections. Each time you go to cross a side strand under, pick up a new piece of hair from your loose hairline and incorporate it.
Keep the sections you add neat and thin. This builds the braid seamlessly into your head. Don’t grab huge chunks; smaller sections give you more control and a prettier, more detailed finish.
Braid Down to Your Nape
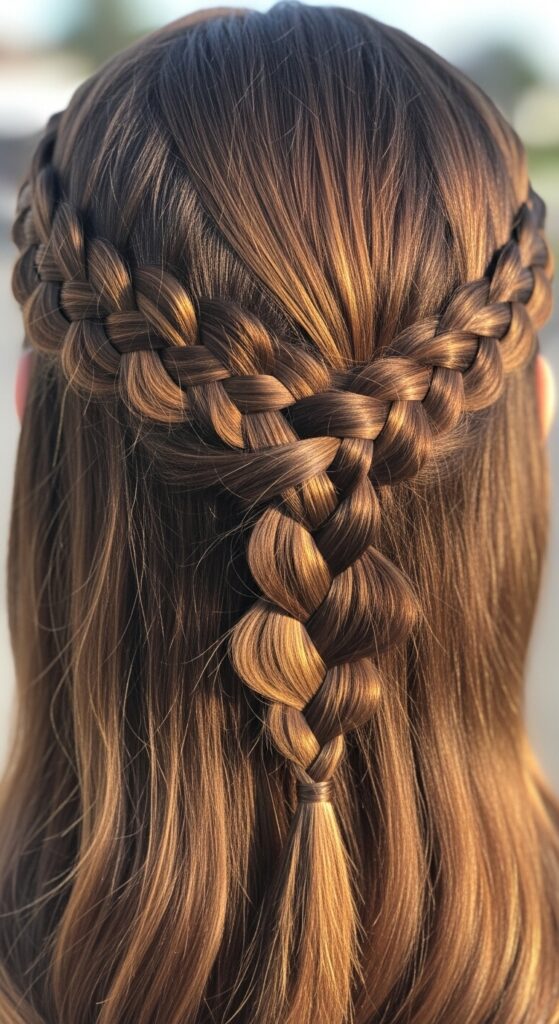
Continue your Dutch braid along the side of your head, adding in hair each time. Once you reach the area behind your ear and down to the nape of your neck, you’ll run out of loose hair to add.
When all the loose hair from that section is incorporated, simply finish with a classic three-strand braid all the way to the ends. Secure the end tightly with a clear elastic. Repeat the entire process on the other side.
Loosen the Braid for That Boho Feel
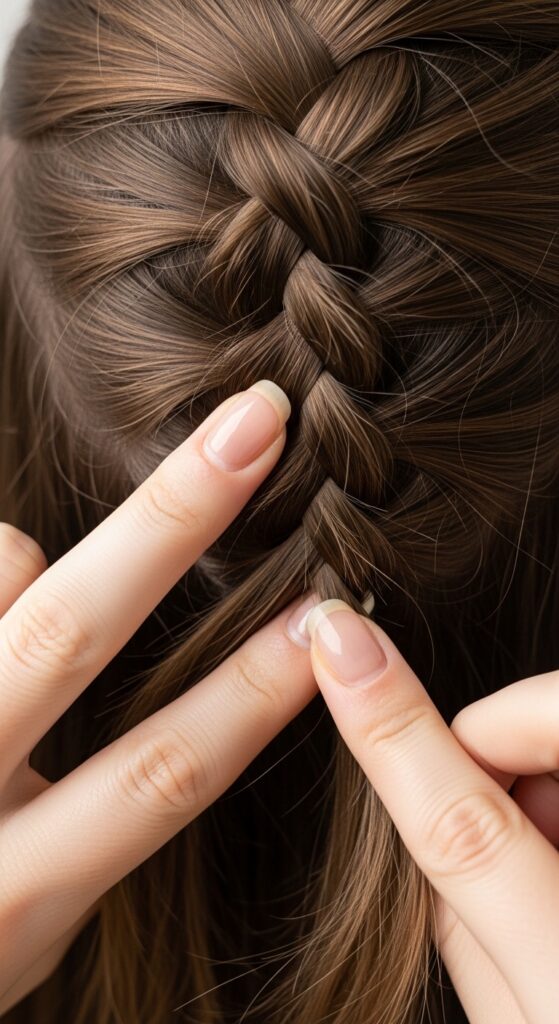
This step is magical! Gently tug on the outer loops of your braid to loosen it. Start from the top and work your way down. Pull horizontally, not vertically, to widen the braid and make it look fuller and softer.
Don’t be shy here. The goal is to transform a tight, neat braid into a piece of boho art. This volume is what makes the style look effortless and lived-in, contrasting with the precise feel of a hime cut or a sharp vampire haircut.
Prepare Your Ends for Curling
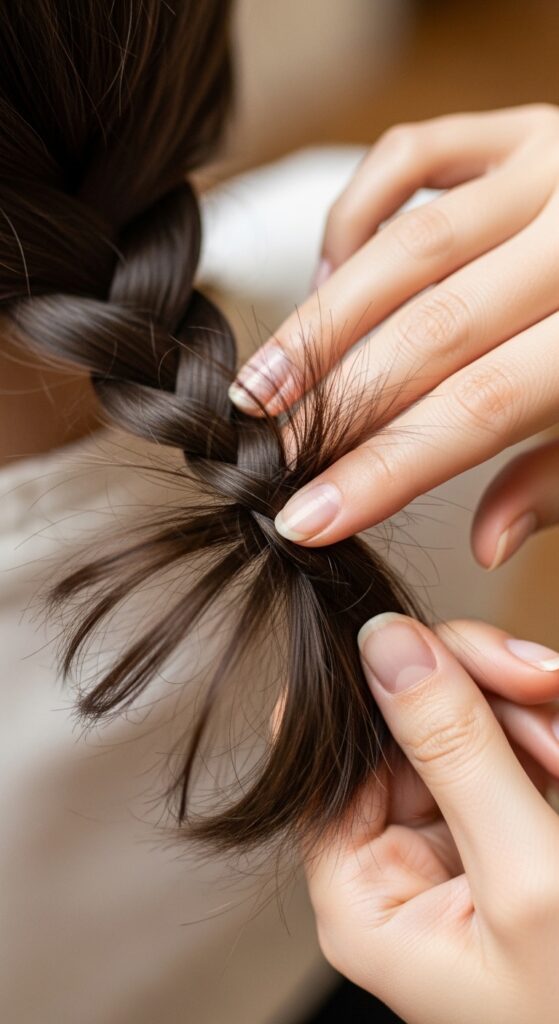
Take out the clear elastic from the end of one braid. Gently separate and finger-comb the last 4-5 inches of the braid. You want to smooth out any major kinks from the braid so you have a clean canvas to curl.
I like to spritz a tiny bit of heat protectant spray just on these ends. This protects them and can also help the curls hold better, especially if your hair is naturally straight or fine.
Curl Away from Your Face
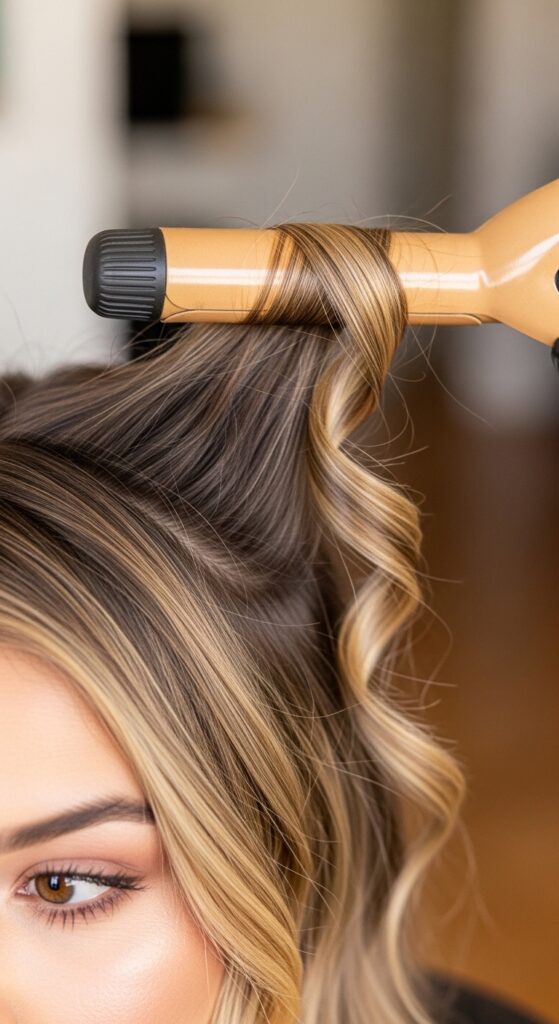
Divide the tail end of your braid into 3-4 small sections. Wrap each section around your curling wand, holding for 8-10 seconds. A key tip: curl each section *away* from your face.
This direction creates a flattering, face-framing bounce. Don’t worry about perfection. Alternate the direction of a few pieces for even more texture. The mix of curled pieces from both braids will create a gorgeous, full effect.
Let the Curls Cool Completely
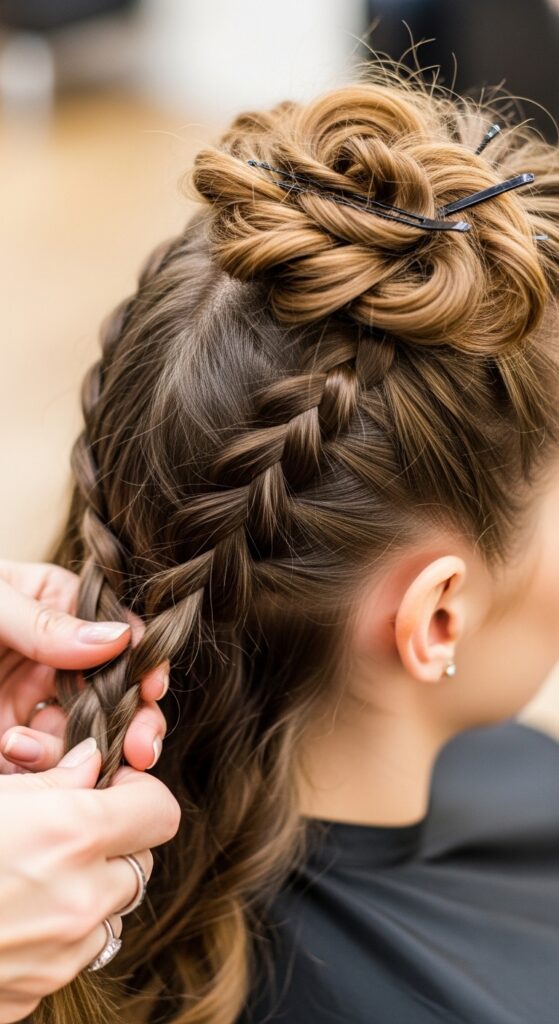
This is a non-negotiable step for long-lasting curls. After you release a curl from the iron, don’t touch it! Let it cool down completely. You can gently pin it up on your head or just let it hang without disturbing it.
As the curl cools, the hydrogen bonds in your hair reset into the curled shape. If you mess with them while they’re hot, they’ll fall out much faster. Be patient here—it makes all the difference.
Gently Separate the Curls with Fingers
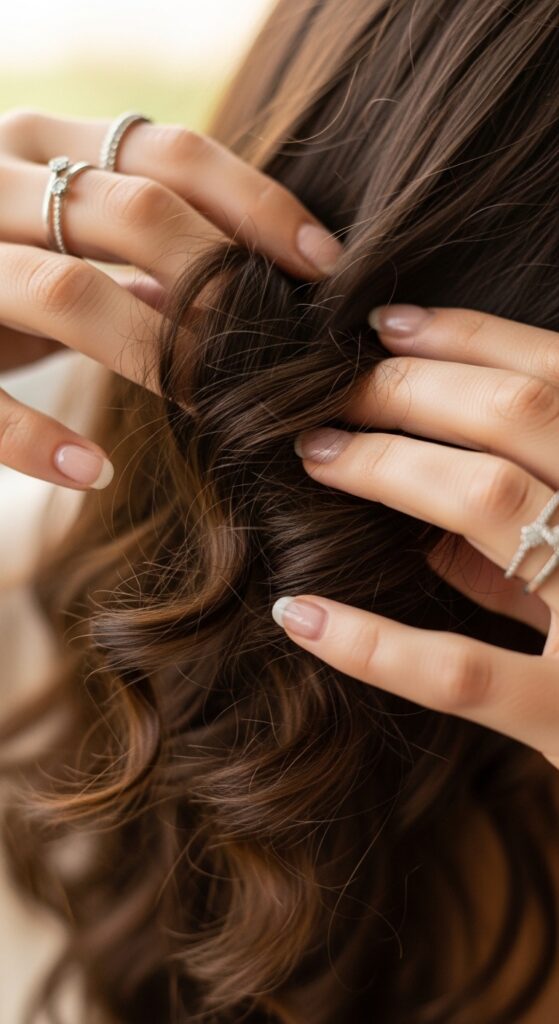
Once all your ends are curled and completely cool, it’s time to break them up. Using your fingers, gently separate the curled sections. Don’t use a brush, as that will create frizz and straighten the curls.
Just run your fingers through them to create soft, bouncy waves. This gives you that romantic, full curl effect instead of uniform, ringlet-style curls. It’s the final touch that makes the style look natural.
Secure the Braids with Invisible Elastics
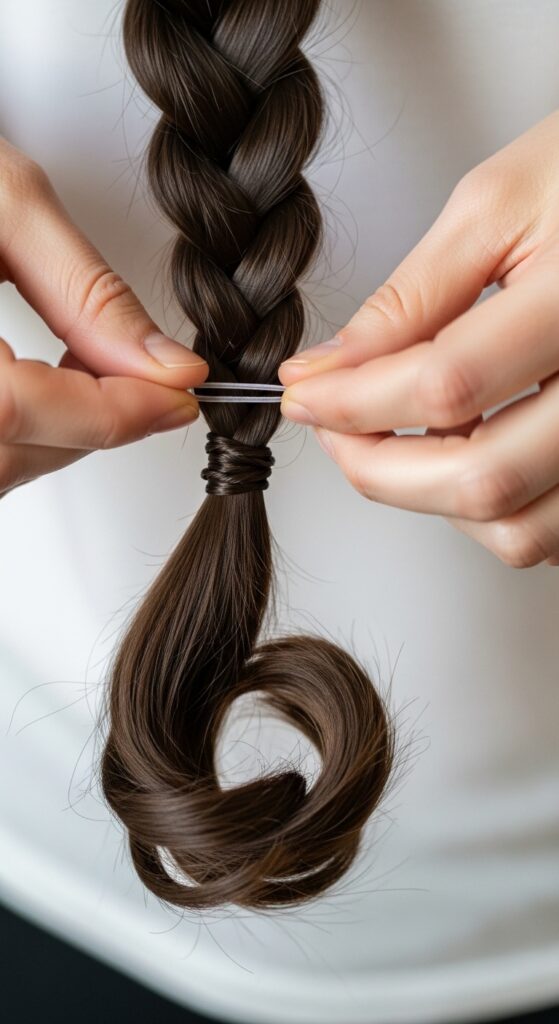
Now, gather the tail of your braid again, just *above* where your curls start. Re-secure it with a new clear elastic. This holds the integrity of the braid while letting the curls below flow freely.
Make sure the elastic is tight enough to hold but not so tight that it creates a harsh line or dent in your curls. You want a smooth transition from the textured braid to the curly ends.
Apply Texturizing Spray for Hold & Grit
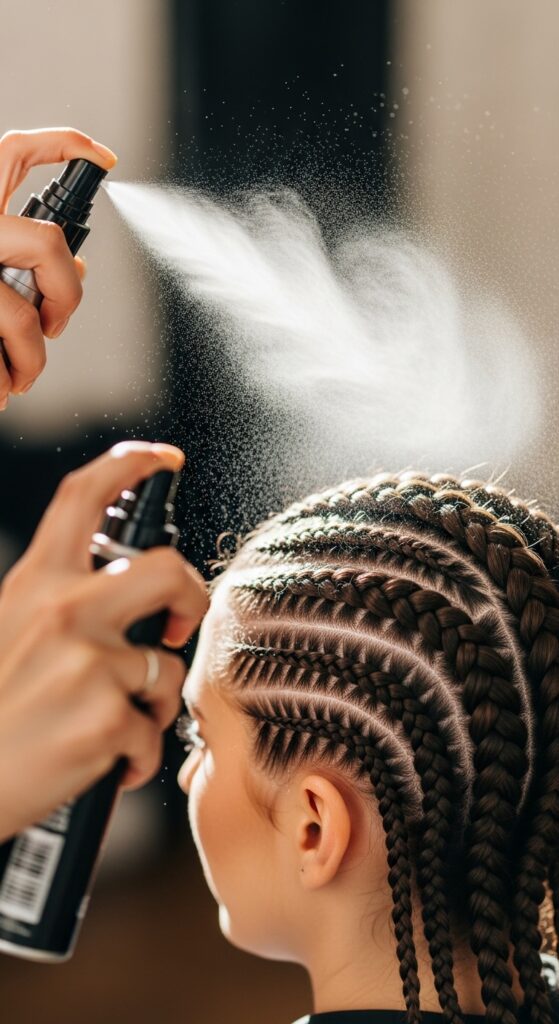
Lightly mist a texturizing spray or a flexible-hold hairspray over the entire style. Focus on the braided portion to help it hold its loosened shape and on the roots for a bit of lift.
This adds that final piece of “grit” that keeps everything in place without looking crunchy or stiff. It’s the secret to styles that last all day while still looking touchably soft.
Style Your Baby Hairs & Flyaways
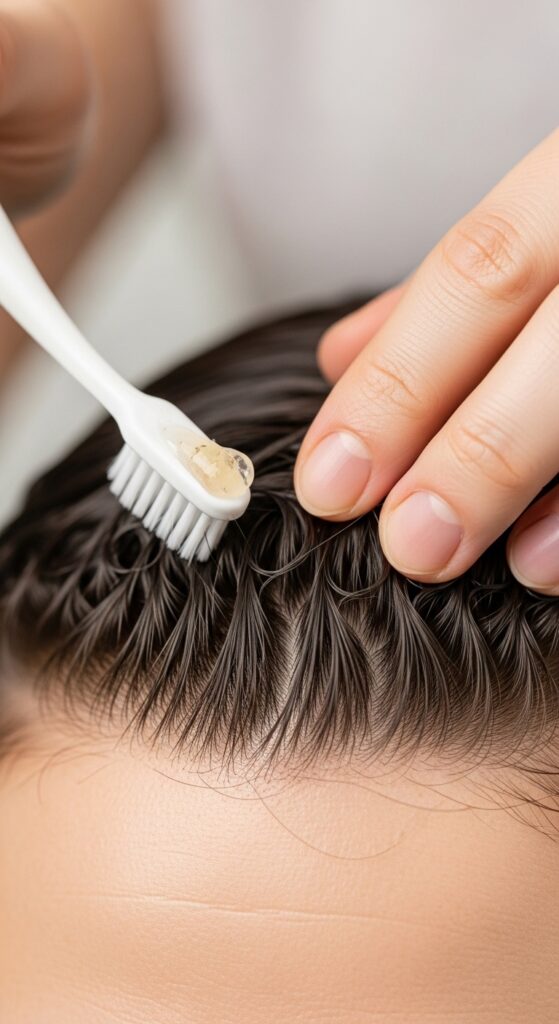
For a polished finish, tend to your edges. Use a clean toothbrush or a small bristle brush with a tiny bit of gel or pomade to gently style any baby hairs or flyaways around your part and temples.
You can sweep them back, curve them into little waves, or just tame them. This small detail makes the whole style look intentional and complete, bridging the gap between boho and old money hair elegance.
Make It Last All Day & Night
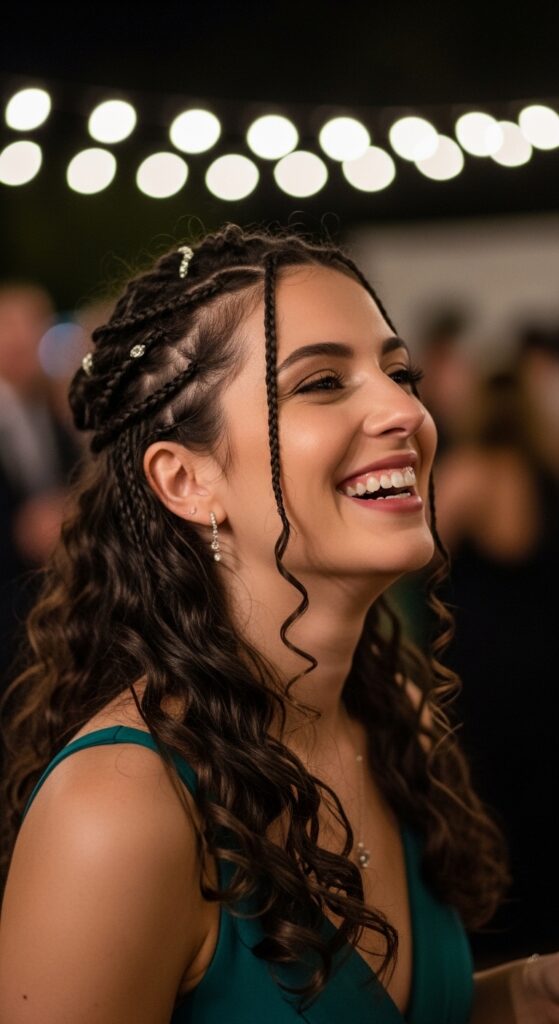
To ensure your style survives the day, carry a few clear elastics and a travel-size hairspray for touch-ups. If your curls start to drop, you can quickly re-wrap a few pieces around your finger for a boost.
Sleep with your braids in a loose, high ponytail or a silk scarf to potentially wake up with second-day waves. This style often looks even better on day two as it softens, much like the effortless appeal of glitchy glam hair.
Adapt This for Shorter Hair
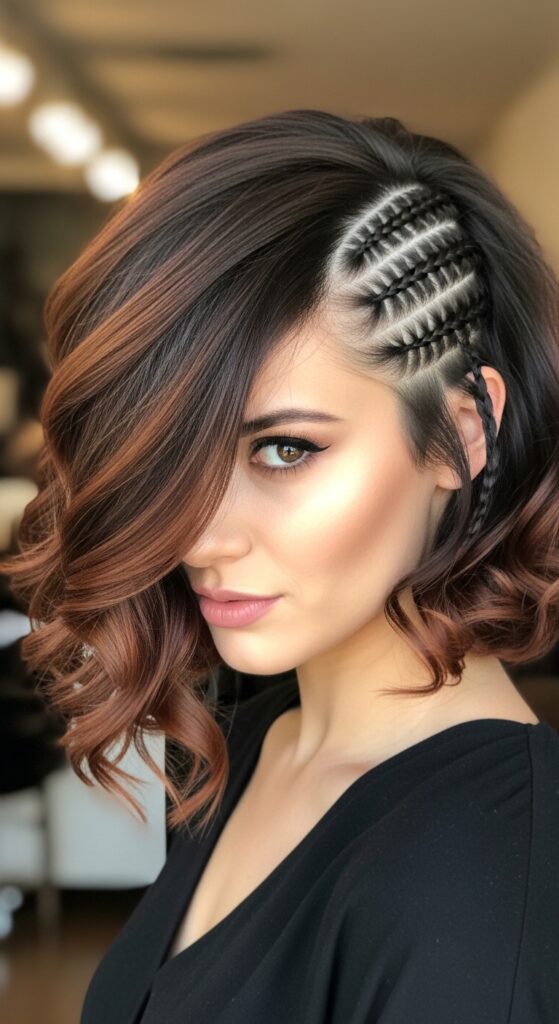
Have a bob or lob? You can still rock this! Instead of full braids, create two smaller, thinner Dutch braids along your part, starting at the front. Braid back as far as your length allows, then secure.
Curl the rest of your hair, including the short tails of the braids. It gives a similar boho, textured feel perfect for shorter cuts like the asymmetrical lob or even a quiet luxury bob with a playful twist.
Mix It With Other 2026 Trends
Boho braids are incredibly mixable. Weave in a few black ribbon strands for a touch of romantic goth hairstyles. Or, keep the braids sleek and pair them with a sharp, tailored outfit for a high-low texture clash.
This versatility is why it’s a forever style. It adapts to your mood and other trends, letting you add your personal signature. It’s about expressing your own unique blend of cool.
And just like that, you’ve done it! You’ve created a gorgeous, head-turning boho style with your own two hands. The best part? It gets faster and easier every time you do it. Your fingers will learn the rhythm, and you’ll find little shortcuts that work for your specific hair.
Remember, the true boho spirit is in the imperfections. If a piece comes loose or a curl falls faster, it just adds to the effortless vibe. This style is about feeling beautiful, free, and a little bit romantic—without trying too hard.
I’d love to see your creation! Did you add your own twist to it? Save this post to Pinterest so you can find it whenever you need a dose of hair inspiration. And drop a comment below telling me what you’d pair this hairstyle with—a big floppy hat for the beach or some delicate gold jewelry for a dinner out? Let’s chat!


