Invisible Part Braids: How to Achieve That Seamless Look
Okay, let’s talk about one of the most requested braid styles right now: the invisible part. You’ve seen it everywhere, from the red carpet to your favorite influencer’s feed. It’s that impossibly seamless, scalp-showing braid that looks like magic.
I used to think it was a hairstylist-only trick. But after a ton of practice (and some serious trial and error), I cracked the code. It’s all about the setup and a few simple techniques.
This guide is your shortcut. I’m breaking down everything, from prep to finish, so you can achieve that flawless, seamless look at home. No salon appointment needed. Let’s get your braid game to that next level.
What Are Invisible Part Braids?
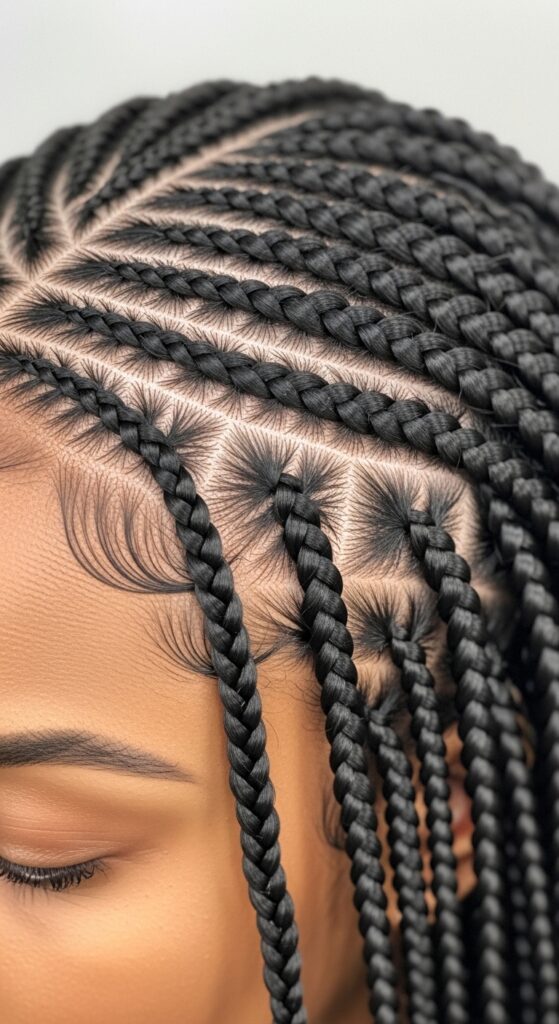
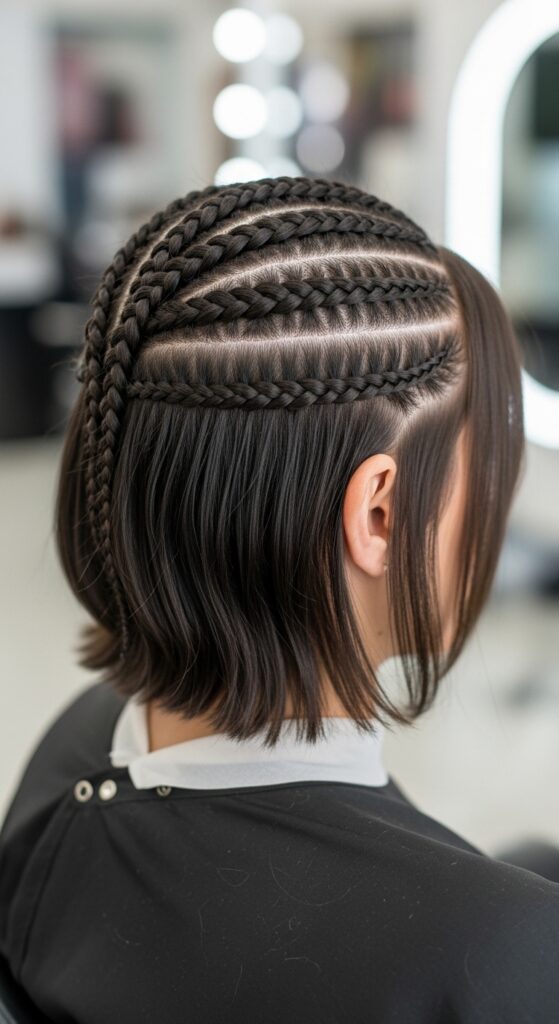
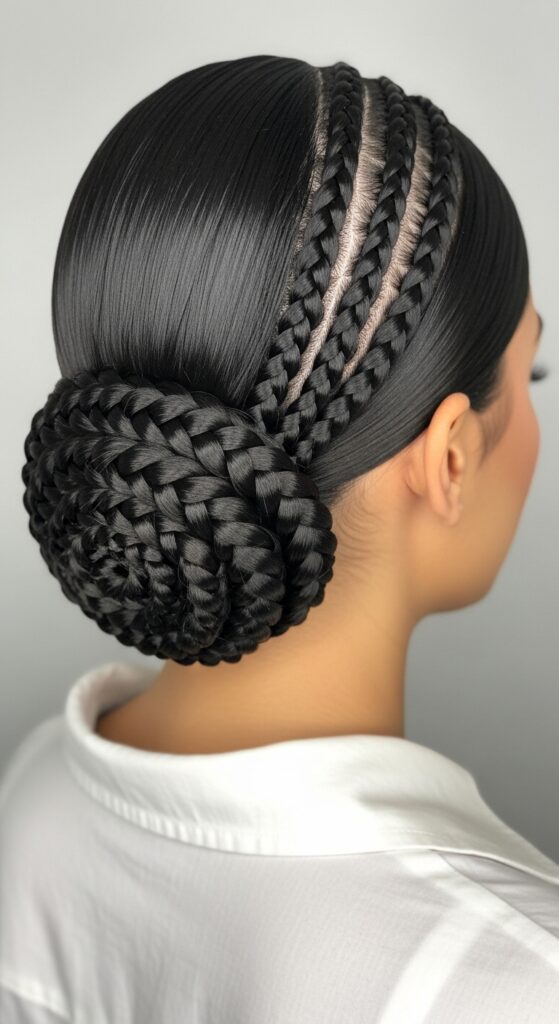
Invisible part braids, sometimes called feed-in braids, are all about creating a natural-looking hairline. Instead of a harsh, straight part, the braids start with tiny sections of your natural hair, with extensions added in gradually.
This technique hides the “track” or base of the braid, making it look like the braid is growing directly from your scalp. The result is incredibly clean, elegant, and versatile. It’s a foundational technique that elevates any braided style.
Why This Style is Everywhere in 2026 Hairstyles
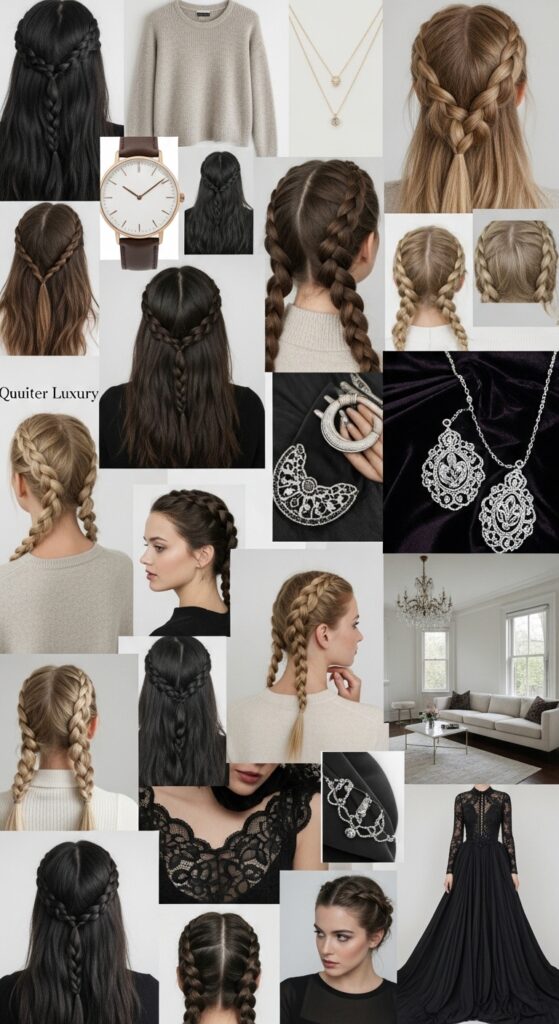
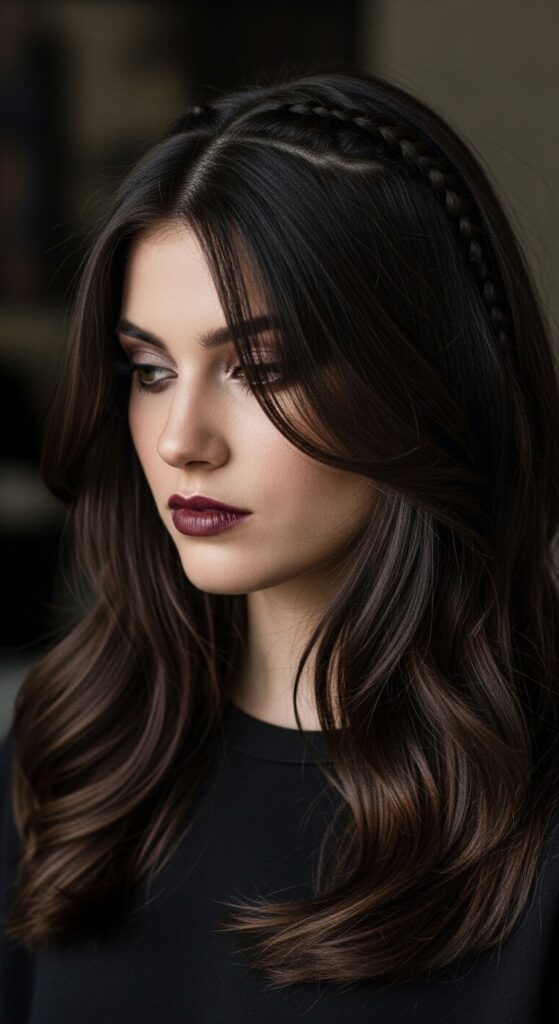
When we look at the biggest 2026 hairstyles trends, it’s all about precision and a polished finish. The invisible part fits perfectly into the “old money hair” and quiet luxury aesthetics—it’s understated but shows incredible skill.
It also works across so many trends, from the sleekness of a quiet luxury bob to the edge of romantic goth hairstyles. That versatility is why it’s staying power. It’s a modern classic.
Gathering Your Essential Tools
You can’t build a masterpiece without the right tools. Don’t worry, you don’t need a salon full of equipment. Here’s your must-have list:
- Rat-tail comb: For super precise parting.
- Small hair clips: To section and hold hair out of the way.
- High-quality braiding hair: Kanekalon or similar synthetic hair that matches your texture.
- Edge control or gel: A strong-hold one for laying down baby hairs and edges.
- Mousse or light holding spray: For your natural hair before braiding.

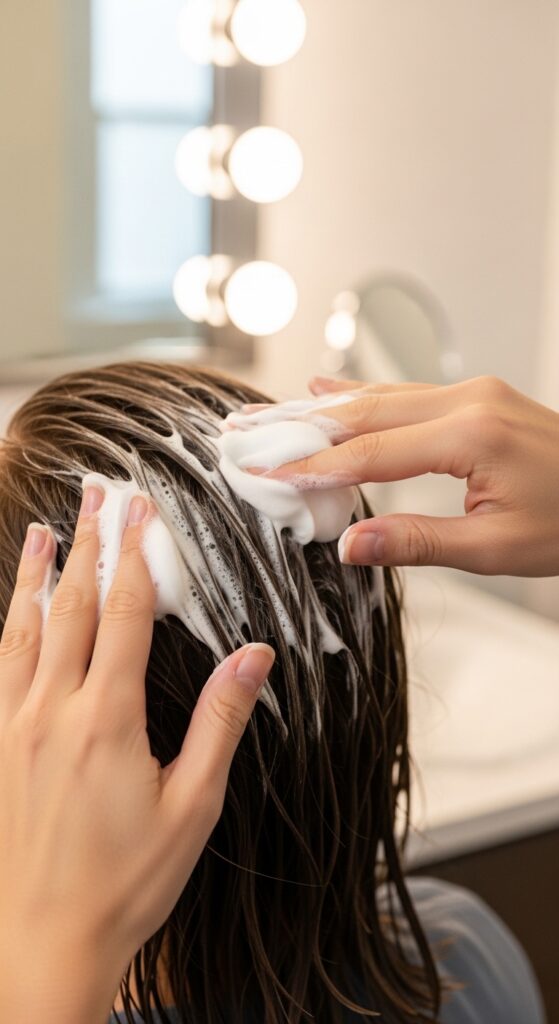
The Crucial First Step: Hair Prep
This might be the most important section. Start with clean, deeply conditioned hair. If your hair is dry or tangled, the braids will be harder to install and won’t last as long.
Apply a light mousse or holding spray to damp hair. This gives your natural hair a bit of grip and control, making it easier to blend with the extension hair. Blow-dry or stretch your hair so it’s smooth and tangle-free before you even think about parting.
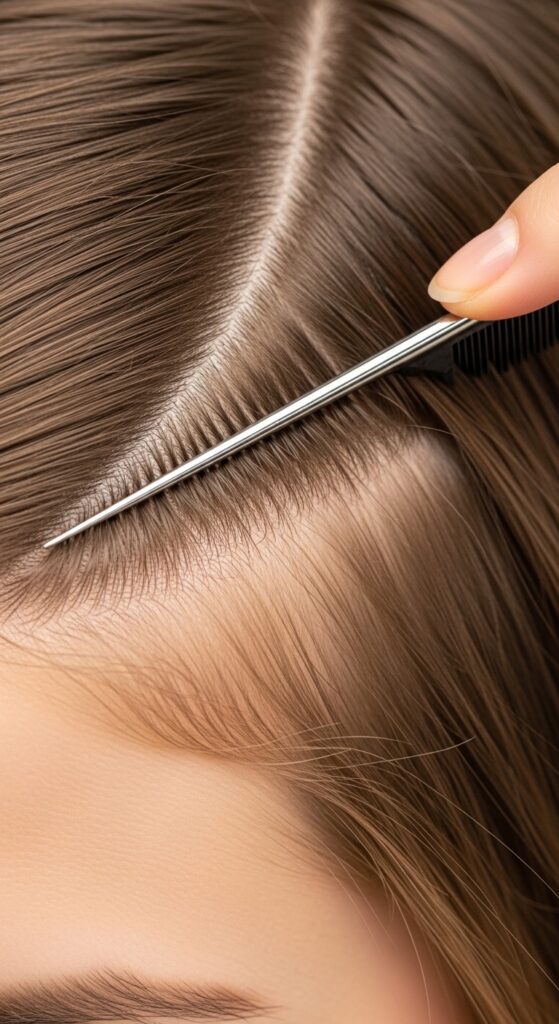
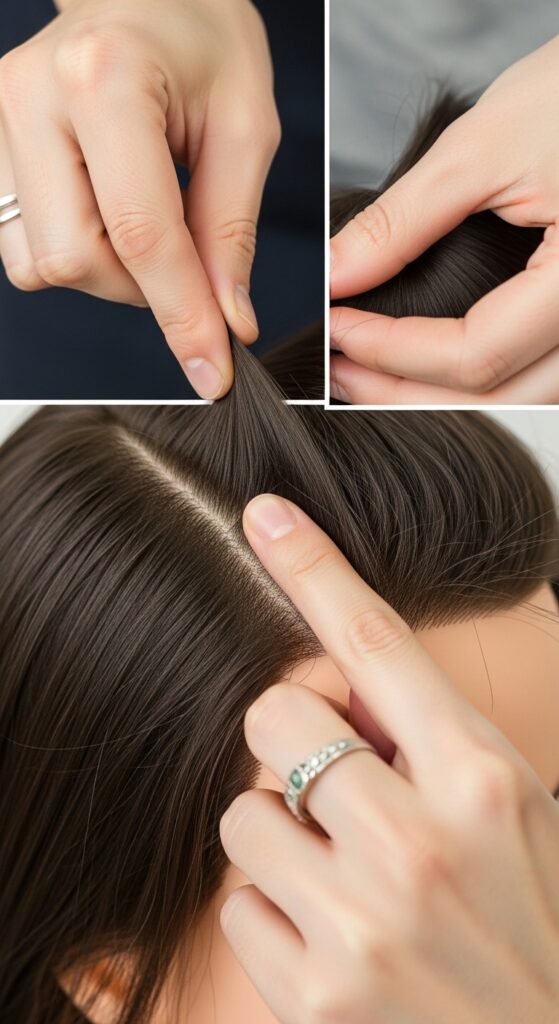
Mastering the Perfect Part
For a true invisible look, your part should not be perfectly straight. It should follow the natural curve of your hairline. Use the pointed end of your rat-tail comb to create a clean, thin part.
Make the part slightly zig-zagged or curved. This tiny detail makes a huge difference in mimicking a natural hair growth pattern. It’s the secret to making the braid look “invisible” from the start.
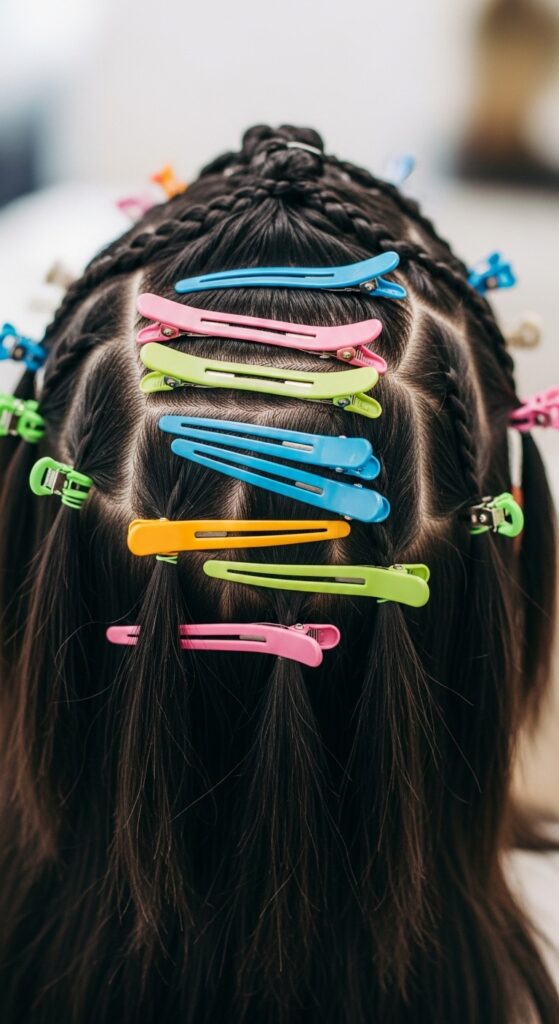
Sectioning Your Hair for Control
Don’t try to braid your whole head at once. Work in manageable, small sections. Clip away the hair you’re not working on. This keeps things neat and prevents your hands from getting overwhelmed.
Start at the front hairline for your first braid. This is where the invisible technique is most critical. Smaller sections at the front will give you that seamless look, while you can use slightly larger sections as you move back.
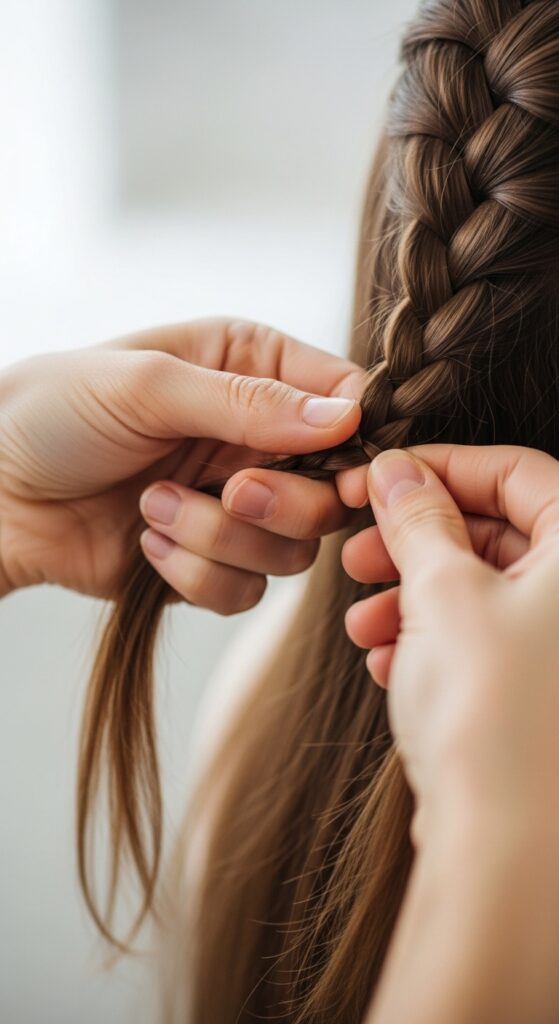
Starting Your First Braid: The Feed-In Technique
- Take a very small triangle of your natural hair at the front.
- Split it into three equal strands to begin a basic three-strand braid.
- After one or two crosses, add a tiny piece of extension hair to the strand you are about to cross over.
- Continue, adding extension hair to each strand every time you cross over.
How to Add Hair Seamlessly
The key is to add the extension hair in tiny, thin pieces. Think of it as “feeding” the braid. You’re not adding a whole chunk at once. Each addition should be about the same thickness as the strand of your natural hair it’s being added to.
Keep the tension consistent. Pull firmly but not too tight—you want a sleek look without discomfort. As you add hair, gently pull the braid upward and away from the scalp to maintain tightness at the root.
Maintaining Consistent Tension
Inconsistent tension is what leads to bumpy, messy braids. Pull each strand with the same amount of pressure every time you cross over. Your dominant hand will likely be stronger, so be mindful.
If you feel the braid getting loose at the root, you can gently tug the completed section upward. But the real fix is focusing on equal pressure with each new stitch of the braid.
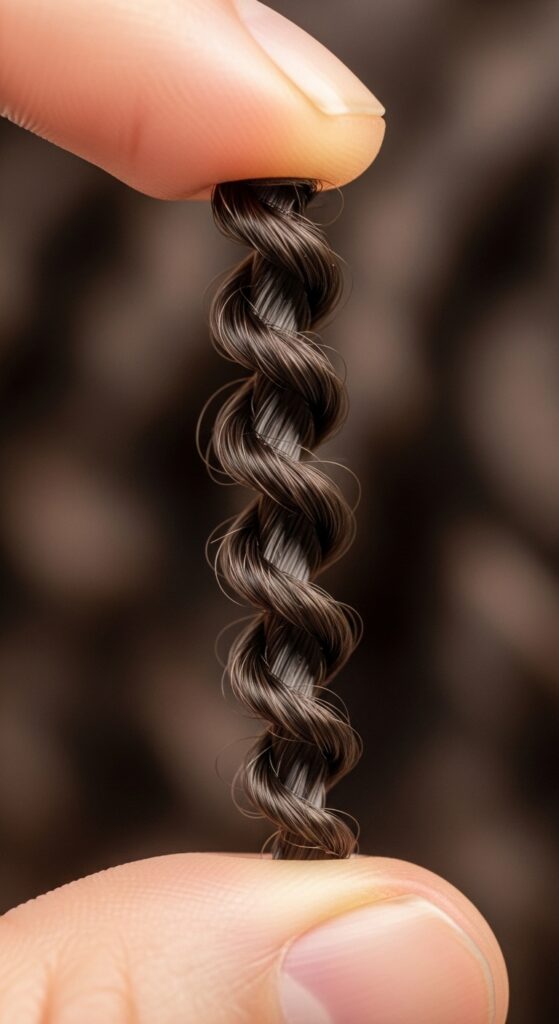
Dealing with Different Hair Textures
If you have fine or silky hair, use that mousse or a light gel on your roots for extra grip. For thicker, coarser textures, make sure your hair is well-stretched and moisturized to avoid frizz at the base.
The principle is the same: small sections, thin feed-ins, and consistent tension. The prep work might vary slightly, but the technique is universal for that seamless result.
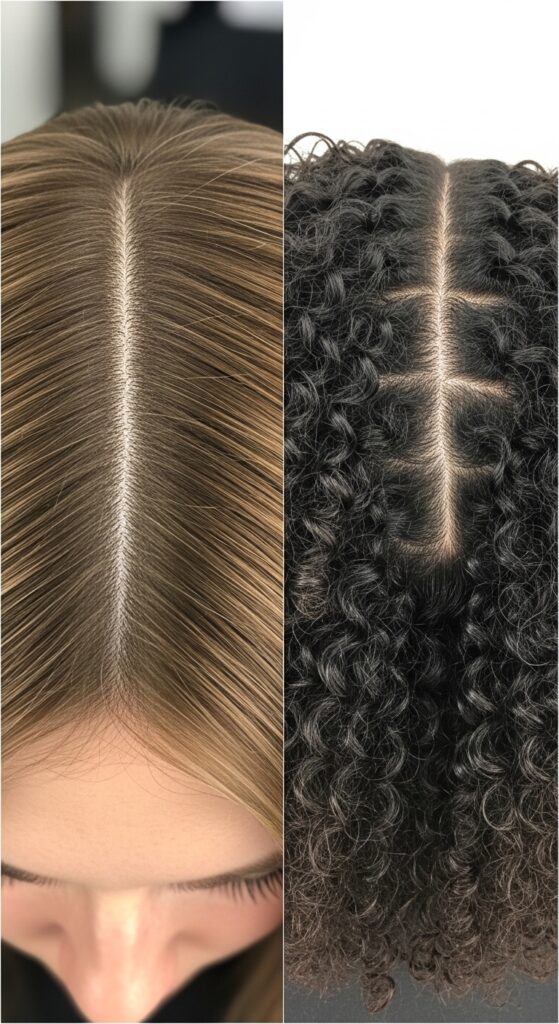
Creating the Illusion on Tighter Curls
For very tight curl patterns, the “invisible” part is about blending. You may need to make your initial parts even smaller. Use the pointed comb to carefully separate curls without causing frizz.
A tiny bit of edge control applied directly to the part line with a toothbrush can help smooth the hair right at the scalp, creating that clean launch pad for your braid.
Styling the Braids into an Asymmetrical Lob
Love the asymmetrical lob? You can get the look with braids! Once all your braids are in, gather them at one side of your nape. Trim the ends to a blunt, one-length cut that sits at your collarbone, shorter in the back and longer in the front.
It gives a chic, architectural shape. This is a great way to play with the bold lines of 2026 hairstyles without cutting your hair.
Achieving a Vampire Haircut Vibe
The vampire haircut is all about sharp, face-framing layers and a moody feel. Use your invisible part braids to create this. Leave out two front sections before you braid.
Later, you can cut these into dramatic, long layers or curtain bangs. The contrast between the sleek, seamless braids and the soft, face-framing pieces creates that perfect romantic goth hairstyles aesthetic.
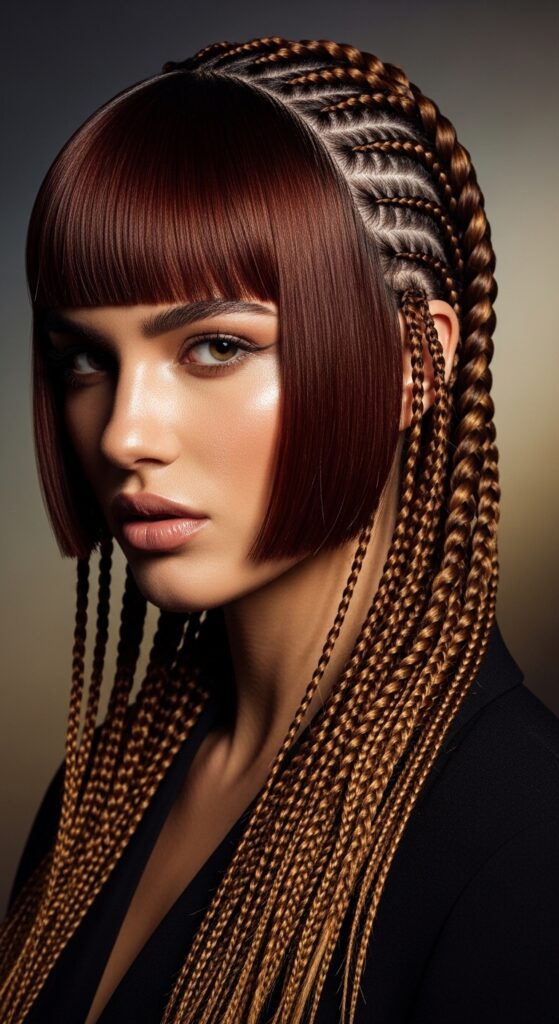
Incorporating a Hime Cut Influence
The hime cut, with its straight-across front pieces and longer back, is so striking. To adapt it, create your braids as usual, but leave out two large front sections from temple to temple.
Keep these sections sleek and straight, cutting them to jaw length. The rest of your hair in flawless braids creates a stunning, modern take on this traditional Japanese style.
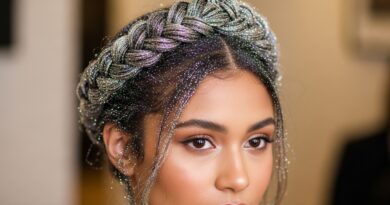
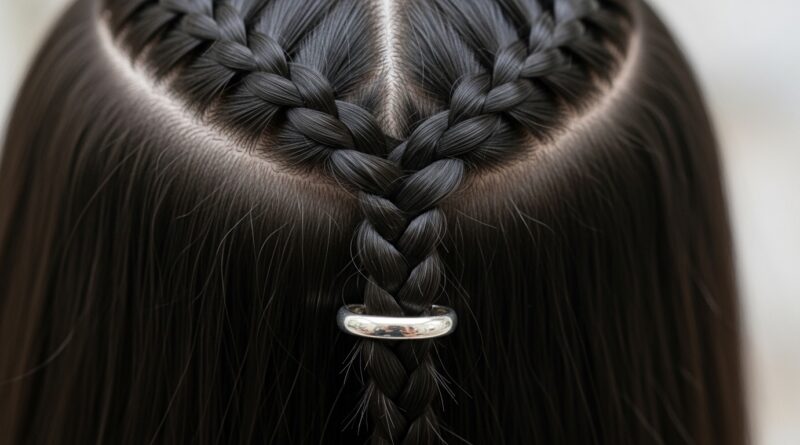
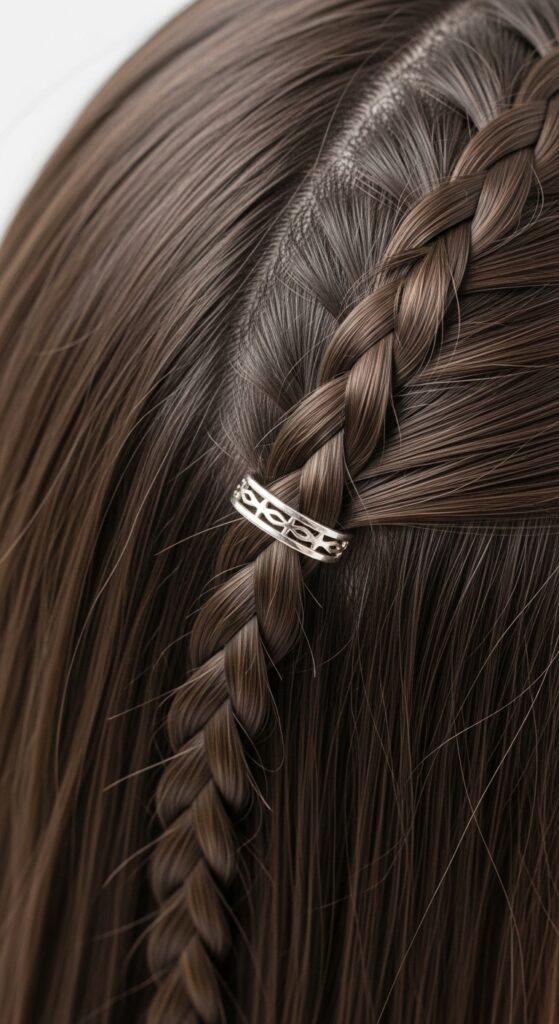
Adding Glitchy Glam Hair Accents
Glitchy glam hair is about unexpected, cool-girl details. Once your braids are done, add a few temporary accessories. Think: tiny silver cuffs, or weaving through a single strand of metallic yarn or ribbon in one braid.
It’s that one imperfect, edgy touch on a perfectly sleek base. Don’t overdo it—one or two accents are all you need for that “glitchy” effect.
Blending Braids with a Quiet Luxury Bob
Imagine the polish of a quiet luxury bob, but in braids. The goal is extreme sleekness. After braiding, use edge control on a soft toothbrush to lay down every single baby hair and flyaway.
The braids themselves should be uniform and not too thick. The overall silhouette should be smooth, closed, and incredibly refined—no frizz, no loose ends.
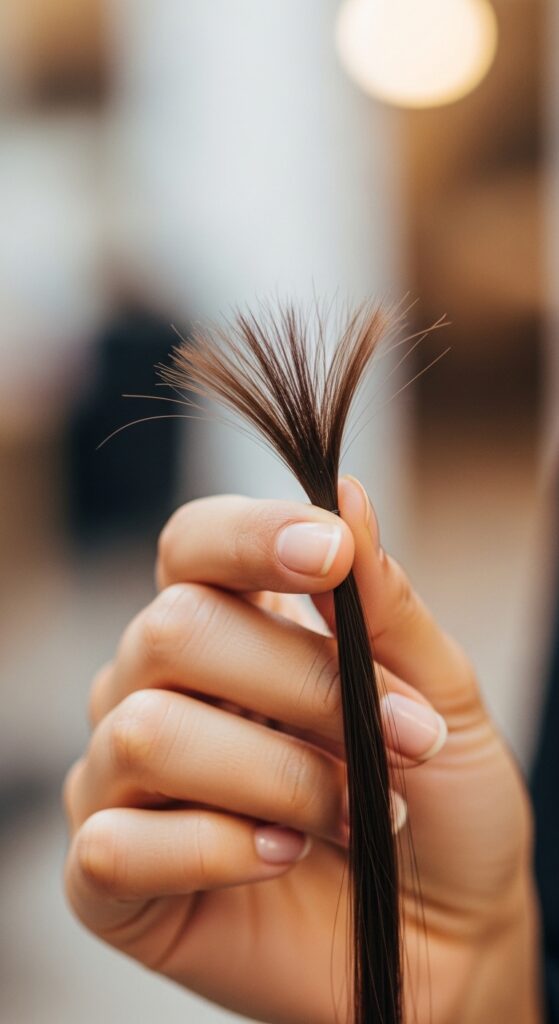
Finishing the Ends Neatly
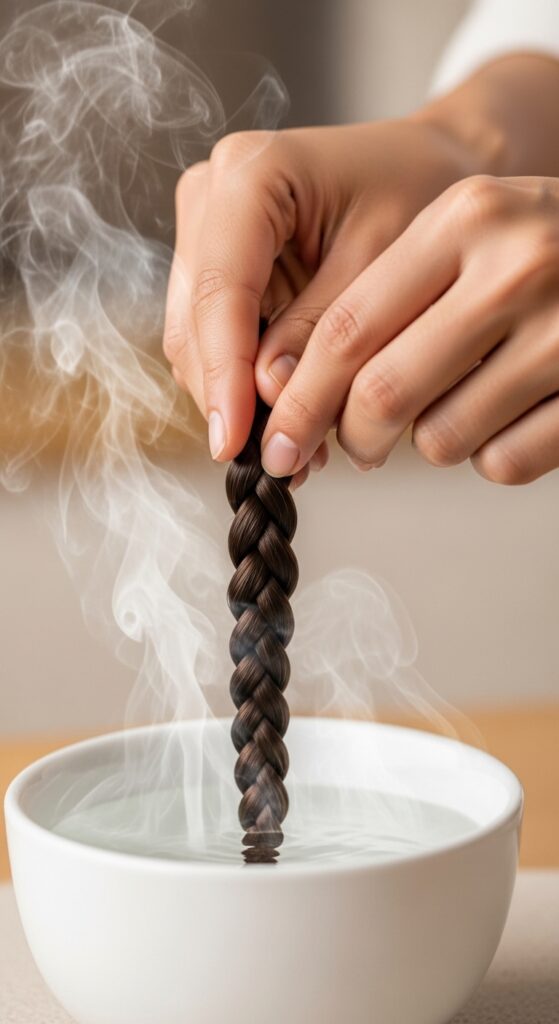
How you finish matters. Once you’ve braided to the desired length, braid the extension hair only for an inch or two. Then, use a small, clear elastic band to secure the very end.
You can dip the end in hot water to seal it, or carefully burn the tip with a lighter (be very cautious!). This prevents unraveling and keeps the end looking tidy for weeks.
Caring for Your Scalp & Braids
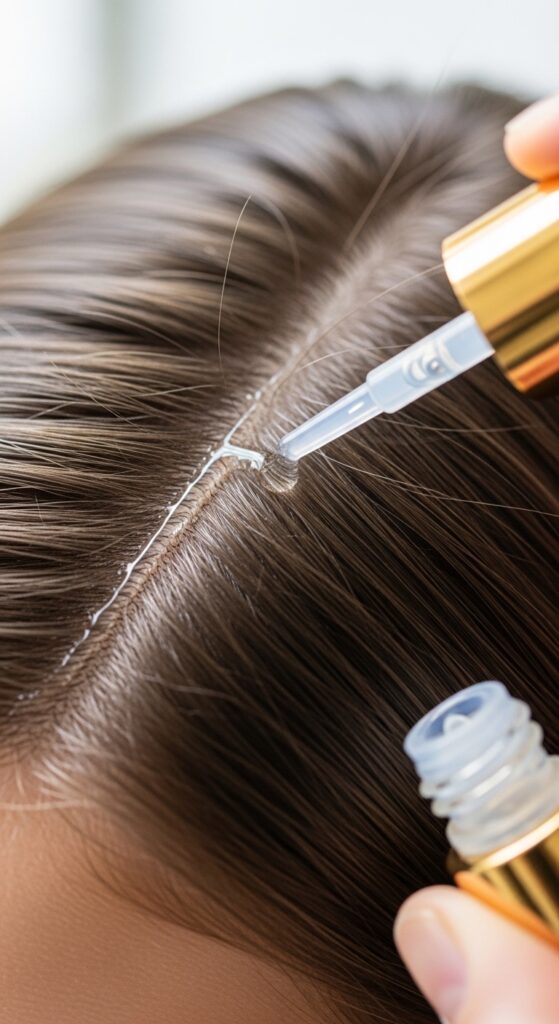
Your scalp needs to breathe. Use a light, alcohol-free moisturizing spray every few days to hydrate your scalp along the parts. A light oil on your hands rubbed down the length of the braids keeps them shiny.
Don’t scratch! If your scalp itches, use the tip of an applicator bottle to apply moisturizer directly to the part lines. This care makes them last longer and stay fresh.
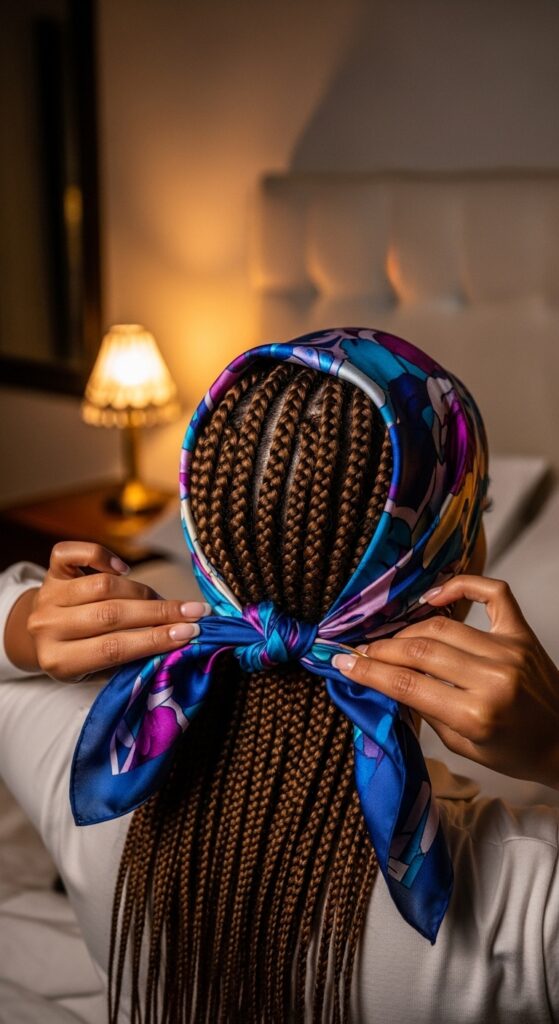
Nighttime Maintenance Routine
Protect your work while you sleep. Always wrap your braids in a silk or satin scarf, or sleep on a satin pillowcase. This prevents friction, frizz, and keeps your edges laid.
In the morning, you might just need a quick pass with edge control on your hairline. No re-braiding needed! This simple step doubles the life of your style.
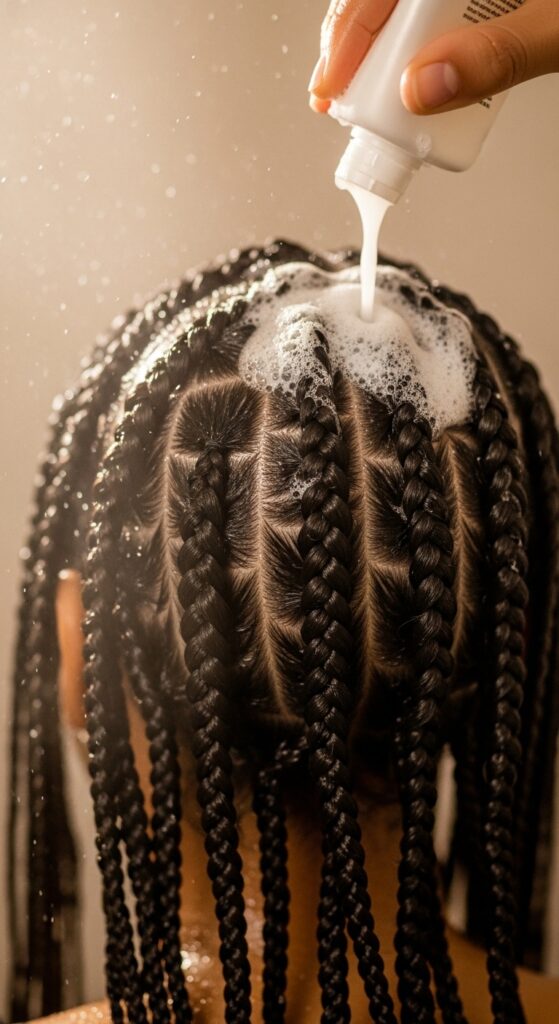
How to Make Braids Last Longer
Longevity is about gentle care. When washing, dilute shampoo in a bottle and apply it directly to your scalp, massaging with your fingertips—don’t scrub the braids. Condition your scalp only, rinse thoroughly.
Avoid heavy products that build up. The cleaner your scalp, the longer your braids will look and feel good. You can easily get 4-6 weeks with proper maintenance.
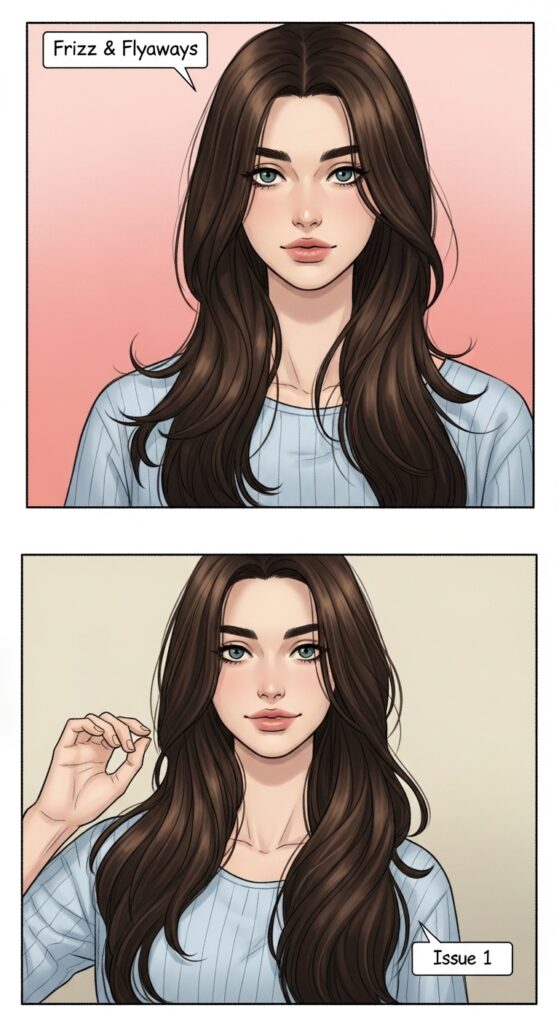
Troubleshooting Common Problems
Frizzy roots? That’s often from too-large starting sections or not enough product for grip. Next time, go smaller and use that mousse.
Braids too tight? Your tension is too high. Loosen up your hands. It should feel secure, not painful.
Extensions showing at the base? You’re adding pieces that are too thick. Use wispier, thinner pieces of extension hair for each feed-in.
Taking Them Out Without Damage
Be patient. Use sharp hair shears to carefully cut the extension hair away from your natural hair at the tip. Never rip or pull. Once the extension is removed, gently unravel the braid.
Follow with a thorough detangling session under conditioner, and a deep conditioning treatment. Your natural hair should feel just as healthy as when you put the braids in.
And there you have it—your complete roadmap to mastering invisible part braids. It’s a skill that feels amazing once you get the rhythm. Remember, your first attempt might not be perfect, and that’s totally okay. Mine definitely wasn’t!
What makes this style so special is its versatility. It’s a clean canvas for so many looks, from the minimalist to the dramatic. It’s the kind of detail that shows you know your stuff.
I’d love to hear how it goes for you! Did you try the asymmetrical lob version? Or add some glitchy glam hair accents? Drop a comment below and tell me all about your braiding journey.
Save this post to Pinterest so you can always come back to these steps when it’s braiding day!